Make in the technique of Kansas beautiful wedding champagne with a photo and description.
Surely, many of you have seen at the weddingcelebrations of beautifully decorated bottles of champagne. We suggest you create no less beautiful bottles, using the technique of Kanzash. The appearance of this technique was for a period when there was still no costume jewelery, and jewelery from jewelry was available only to very wealthy women. The rest of the fairer sex adorned the hair with the help of fresh flowers. But these jewelry life is not long. Therefore, they had to invent jewelry from artificial flowers. 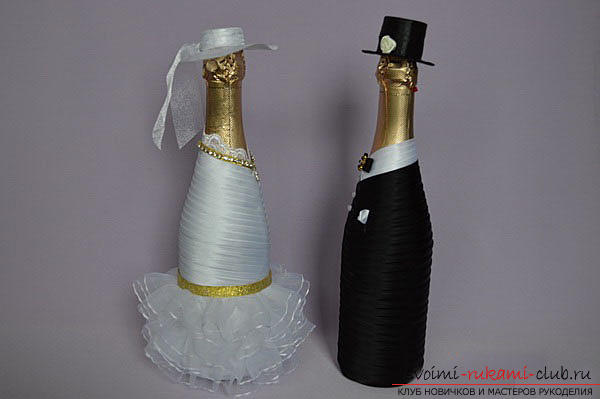 For this master class we will need:
- The oblique black stalk of black color - 8 meters;
- lace - ten centimeters;
- quick-drying glue;
- Rhinestones;
- The oblique biachka of white color - 10 meters;
- A slanting beech in cream color - 4 meters;
- glue stick;
- The bow is wide - three meters.
Of course, the design of wedding champagne canoccur also with the help of a tape made of satin. However, the ribbon, unlike the beika, does not stretch. Therefore, the finished product will not have the same neat appearance as with a beech. Bonding gluing should be done with glue-pencil. The main description of the master class will be on the champagne bride. Making the champagne groom is done similarly, but a little easier. We begin with a champagne-bride. First, remove all the labels, leaving only the golden foil on the neck. This is done simply. Soak for an hour a bottle in water, and then use a sponge and a knife to remove the labels. Try on the lace and cut off the unnecessary part. Lubricate the bottle with glue and apply lace. 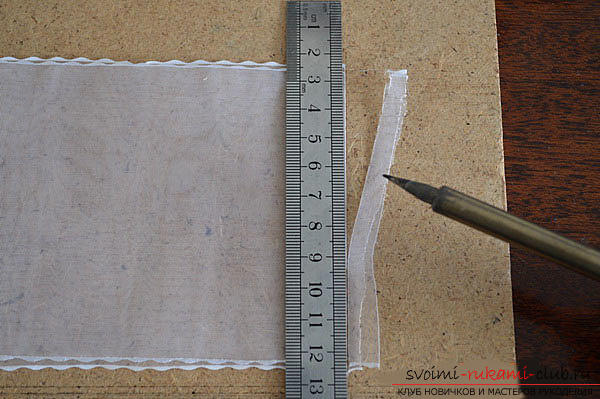 Next, we begin to glue the white-colored beika. Measure first you need only one turn, and the rest will be cut off as you stick. This approach will save you a bite. As the diameter increases, the length of the bent will change with each turn.
  Further we do as follows: We process the bottle with glue, touching the adjacent coil a little. Then you need to attach the bake, pull it up a bit. When you reach the place where the edges join, it is necessary to cut off excess fabric. After that we raise the edge of the beika, which is located outside, we work with the glue edge and again attach it. Next, in this way, the entire bottle should be pasted.
 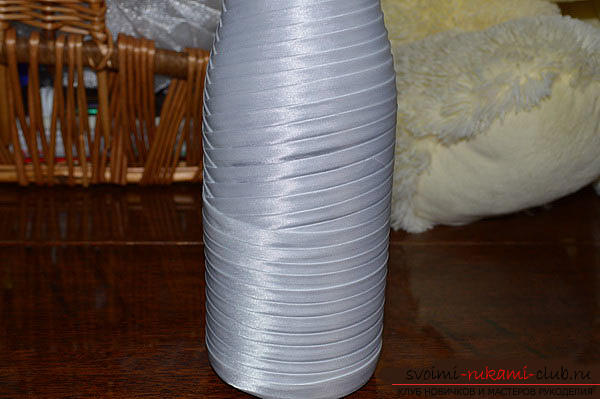 After the entire bottle is pasted, you canproceed directly to the design of her under the bride. For this we create a skirt, a hat and ornaments. You can create a skirt from 3 branches of a wide bow of organza. The bow must be folded, and not in 2 parts, but so that on one side there is more by one centimeter.
 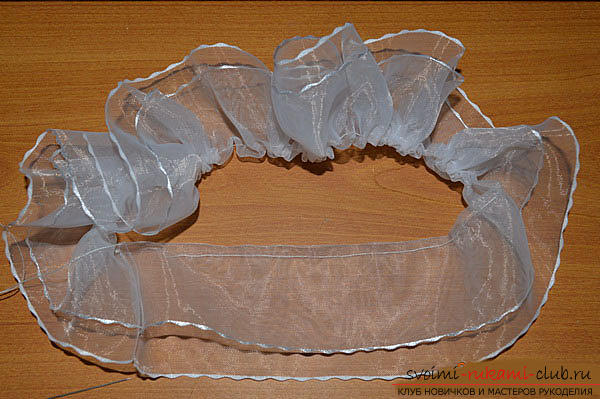 On the edge of the bow make small stitches andprisparivaem it. In order to determine the width of the skirt, you can put the ruche on the bottle and pull the thread in such a way that it is in a free state, fixing the thread.
 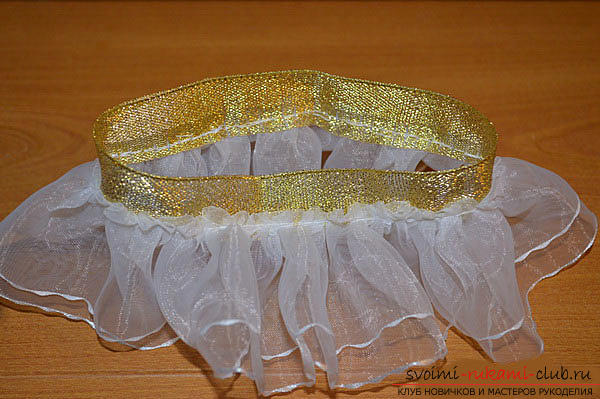 Assemblies we need to create 3 pieces. For each assembly should be evenly distributed all the folds. One of the assemblies can be decorated with a golden ribbon. We make it the top of the skirt. To create this, you need to take a tape of a golden hue two and a half centimeters wide, and its length will be as follows: a bottle in the girth plus two centimeters at the joints and another half centimeter for a free fit. On the wrong side, stitch the collar. Next, we will need to bend the gold ribbon, thus closing the rim. Then we sew with a single thread.
 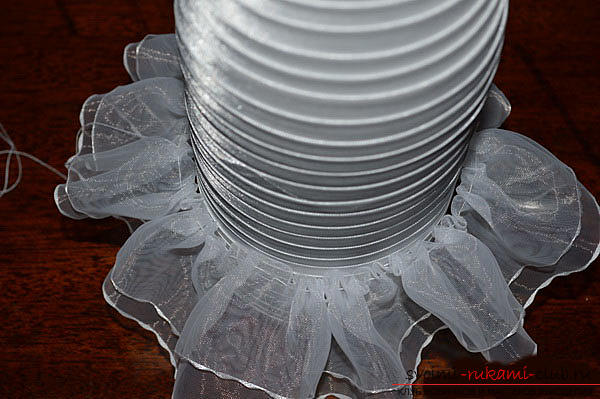 The next step is to join the defenses. We attach the 1st collar, and then, having retreated to the upper side two centimeters, glue the next frill.
 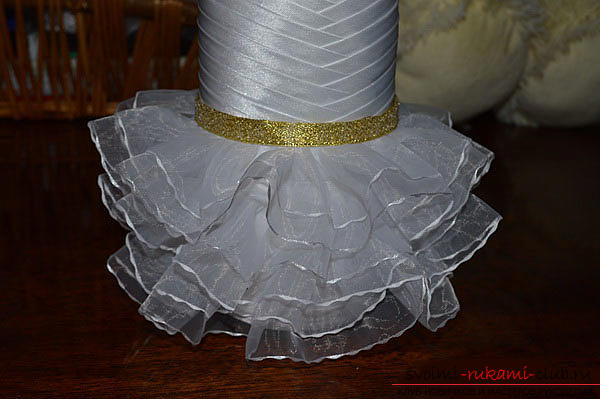 And the 3 rd collar, which is decorated with a golden ribbon, is fixed with monofilament. Here, in fact, that's all. We make a hat and our bride is ready!
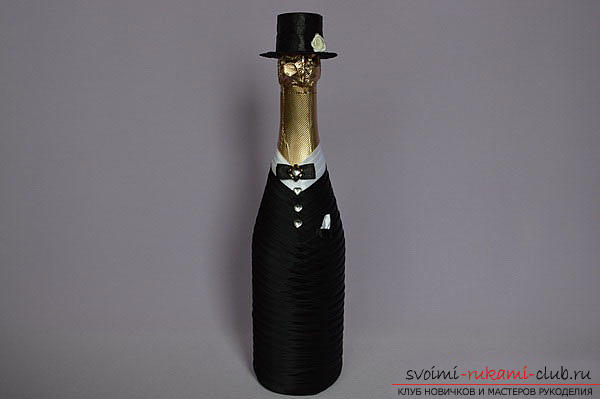
 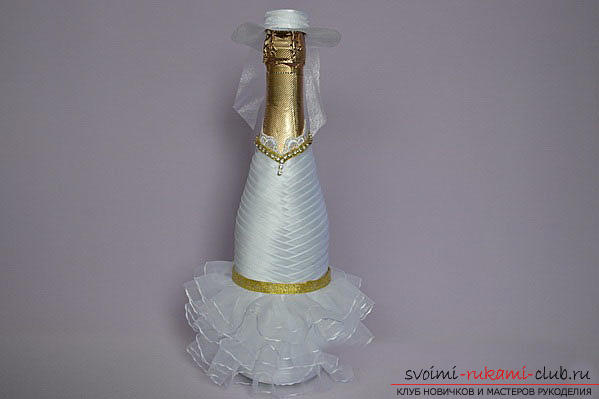 A bottle of champagne, decorated as a groom, is made on the same principle as the bride. The only difference is that the first 4 branches need to be created from a white beech, and all the others - from a black one. Another decoration here will be a butterfly, which we create from a black thin ribbon, and then decorate with a bit of stitch. They can also replace the buttons. Thus, we created holiday champagne in Kansas technique.
Comments
Related posts:
 Master class with photo and description will teach how to make a decoupage of bottles of champagne for the New Year
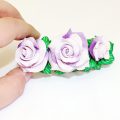 This master class with a photo and description will teach you how to make flowers - roses - from polymer clay in texturing technology.
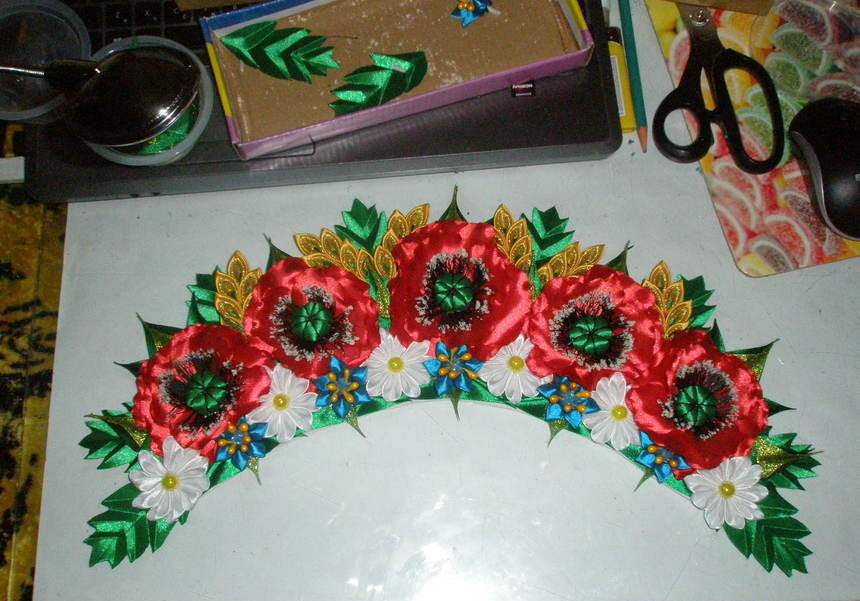 Headbands with flowers ribbons technique kanzashi (photo)
 A bow from a tape in Kansas technique with his own hands (photo and video)
A beautiful panel for a salted dough kitchen. Master class with detailed descriptions and photos for beginners.
A bow from a tape in Kansas technique with his own hands (photo and video)
A beautiful panel for a salted dough kitchen. Master class with detailed descriptions and photos for beginners.