
Making a pregnant tilde yourself, patterns, scheme, idea / Toys with their hands, patterns, video, MK
Dolls-tildes have long ceased to be an ornament of the houseand complement the interior. Now these are real talismans that protect the owner from everything bad and bring good luck. Most of all, luck and protection need future mothers. 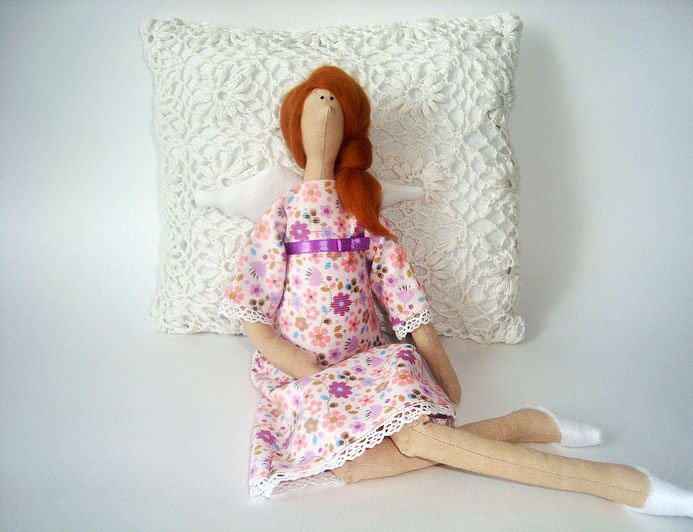


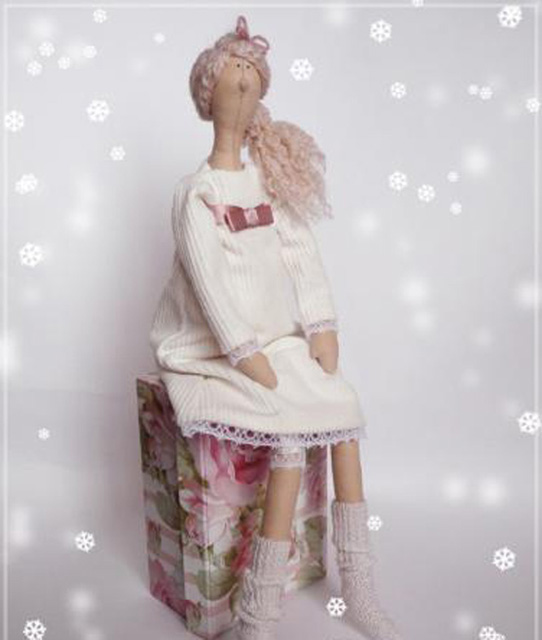
 Everyone can make his own gift - a doll with a small tummy (Figure 1). Pregnant tilde is very simple, for its tailoring does not need any specific skills.
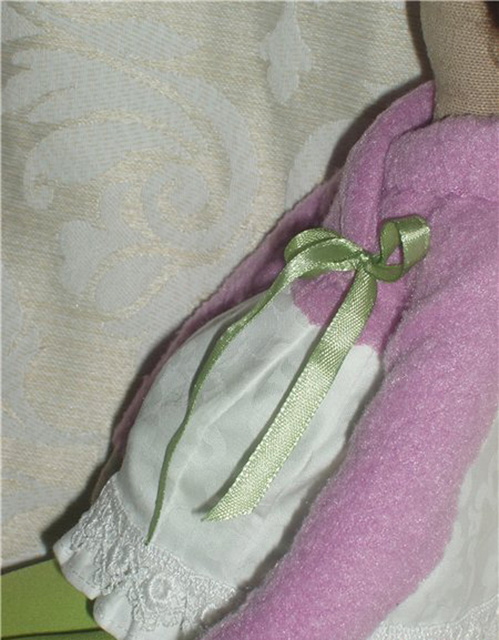
Manufacture of tildes
This master class involves the creation of a rag doll. For a basis it is possible to take any available pattern of a tilde, simply having finished her a tummy (fig. 2). List of necessary materials and tools:
- pattern
- scissors
- needle and thread
- natural fabric of corporal color
- sintepon
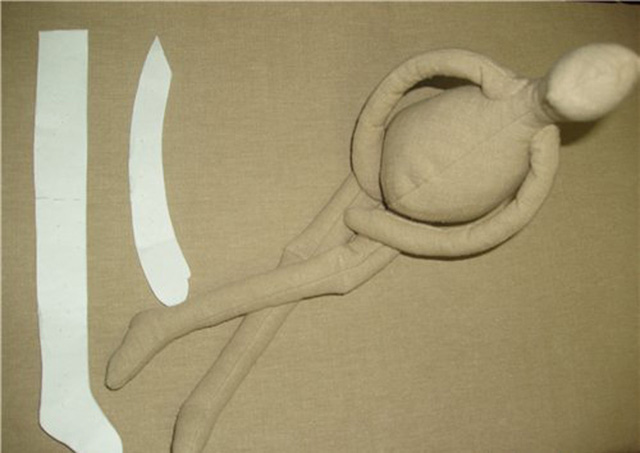
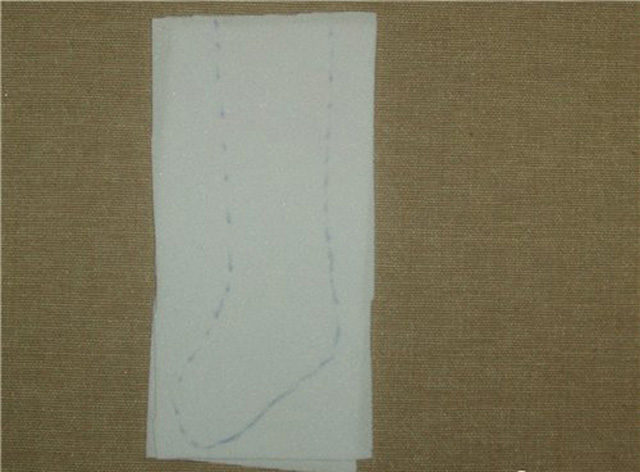
Patterns of the body, legs and hands of the doll should be movedon cloth and cut. The master class is extremely simple and describes in detail the process of creating a doll and its accessories. All parts are stitched, turned out and sewn to the trunk with the help of a secret seam (Figure 3-4). During stuffing dolls in the stomach, she can put a large bead. The tilde's legs do not need to be densely packed, otherwise the doll will become unwieldy. It is enough to fill them up to half. 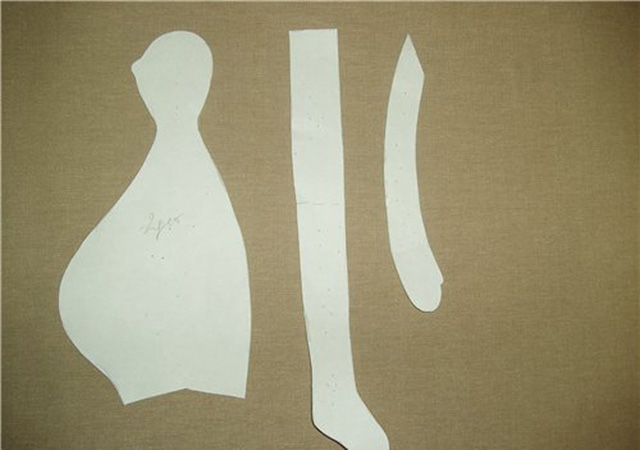
Making clothes and hair
This master class will show how to give the toy its characteristic features - with the help of hair and clothes. List of materials:
- satin ribbon
- fleece in several colors
- lace
- wool for felting or thread
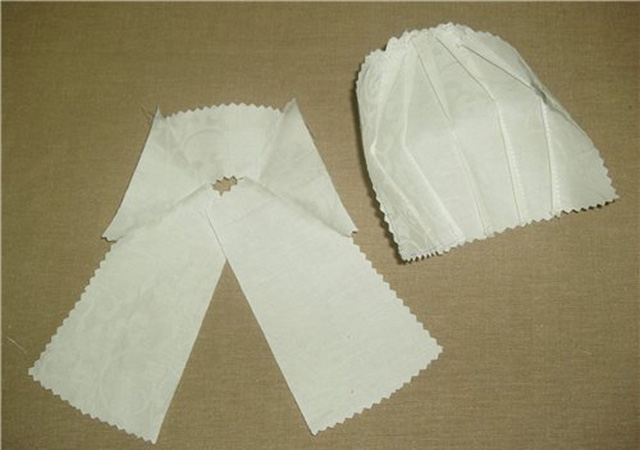
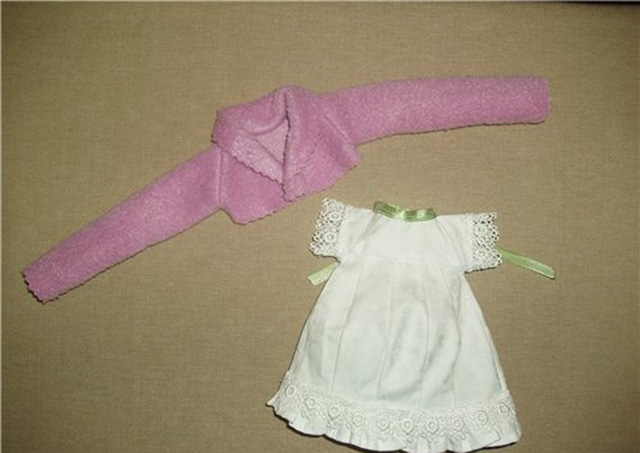
Pregnant tilde can be dressed in cheerfuldress, panties and jacket or robe, the main thing is that clothes do not hide round puziko. This master class describes the sewing of a shirt, jacket and panties. Clothes are made according to patterns. You can start work with a shirt. All details of the shirt should be cut, stitched along the sleeves and stitching up the tummy tucks on the front fabric (Figure 5-6). Very nice looking shirt with lace sleeves (Figure 7). Next, the front fabric should be sewn to the front yoke. 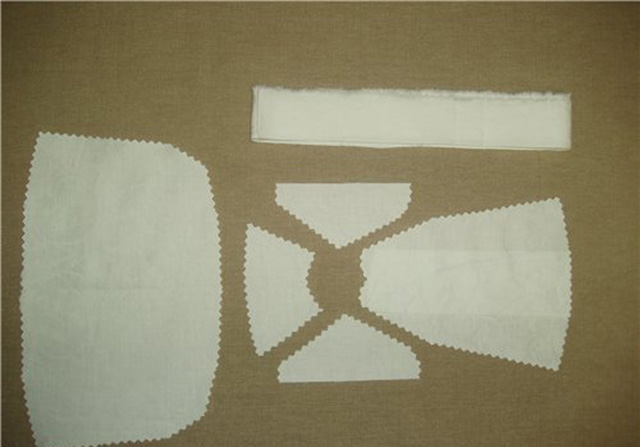
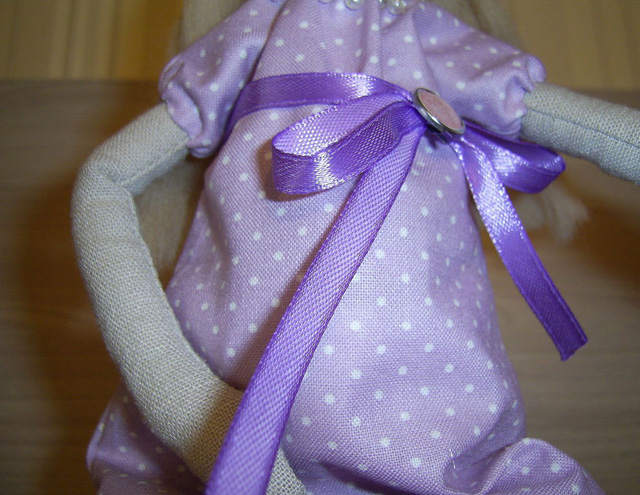
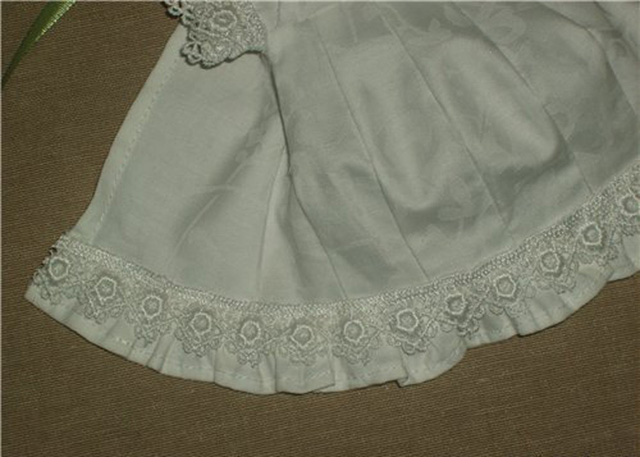
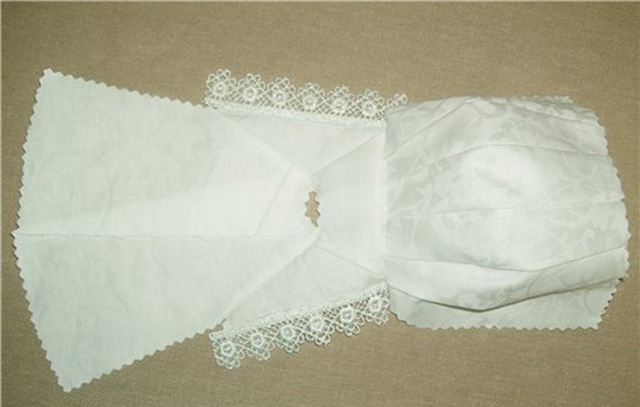 After this, it is necessary to sew the side seams,gently bend the edge of the rear shelves and sew a bright satin ribbon to the top (Figure 8). From the fabric from which the shirt is made, cut a strip 3 cm wide and 45 in length. One side is bent, and the second is assembled into a ruffle (Figure 9). On top of the resulting shuttlecock you need to sew lace and stitch everything together to the bottom of the dress (Figure 10-11).
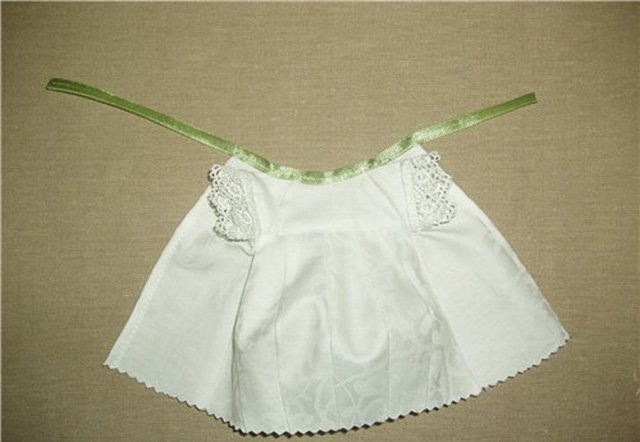

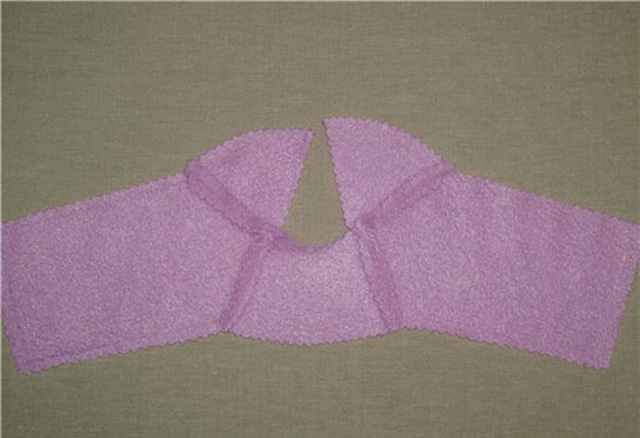
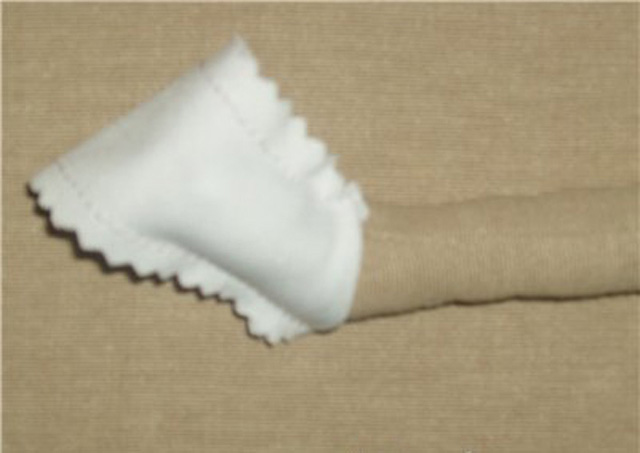
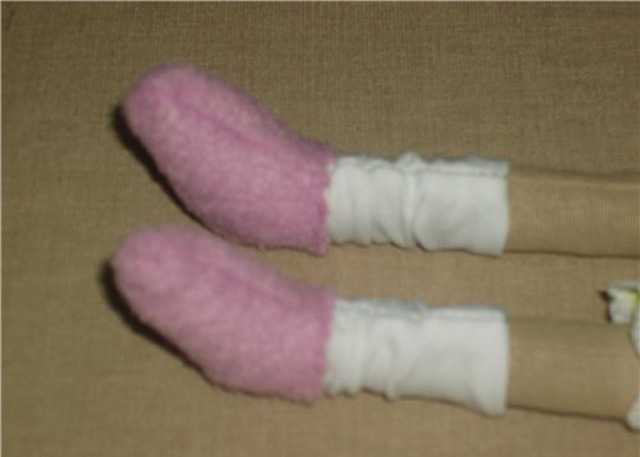
 From a piece of fleece it is necessary to find shoes andjacket (Figure 12). The sleeves must be sewn along the raglan line (Figure 13). Then sew the sleeves. Lateral sutures are absent, as the jacket is short - to visually emphasize the bulging tummy (Figures 14-15). After that, sew a collar and sew it with a seam to the front side - this will allow him to close the allowances (Figure 16). Boots and socks are sewn in the same way (Figures 17-19). They can be decorated at their discretion - bows, beads, etc.

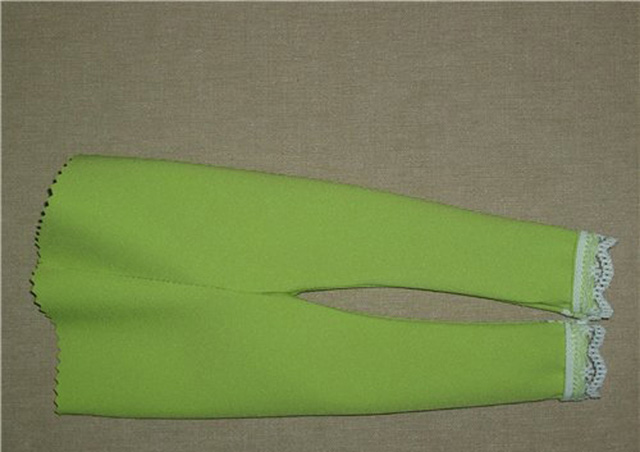
 Next, you need to cut pants with allowance for the increasefor the tummy and stitch. The pants underneath can immediately be decorated with lace (Figure 20-21). If desired, you can dress the doll in any outfit, selecting the appropriate master class for tailoring. To put things on a tilde is best after she has her hair done, otherwise all things will be in felting wool.
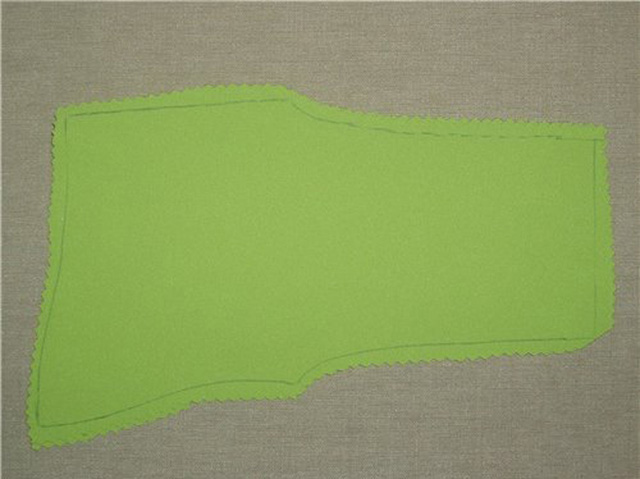
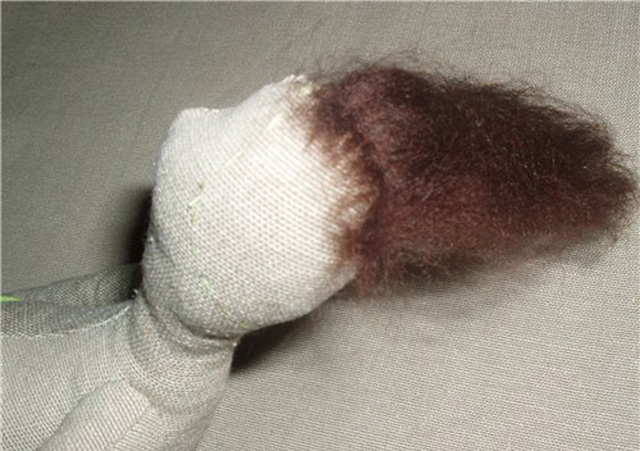
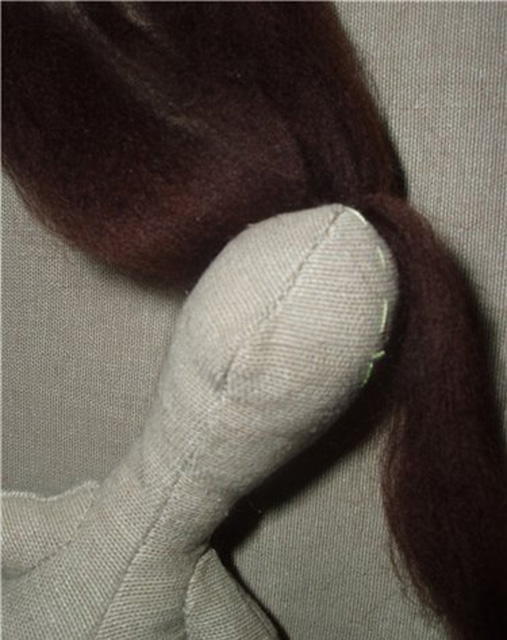
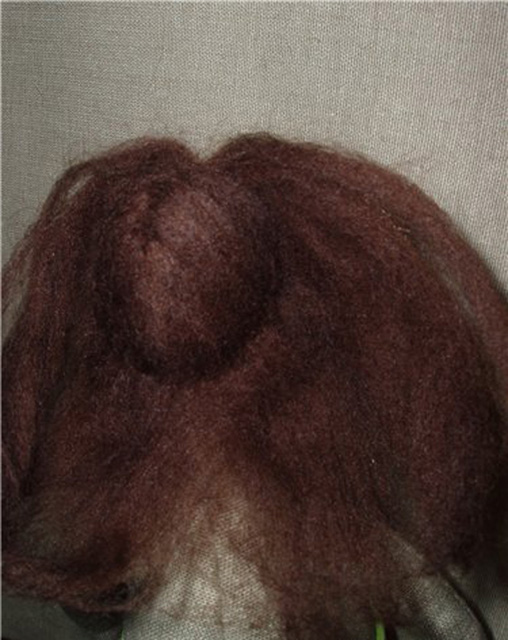
 The first step is to outline the hairstyle border with a pencil(Figure 22). The first strands are pinned on the parting on both sides, then along the forehead - so the hairline will get an even contour (Figure 23). Next, carefully trim the strands and twist them along the face oval (Figures 24-25). Care must be taken to insert the needle, otherwise it may break. Finished strands need to be twisted along the face of the tilde, insert a needle and tape from the back of the head and pull it out near the ear (Figure 26).
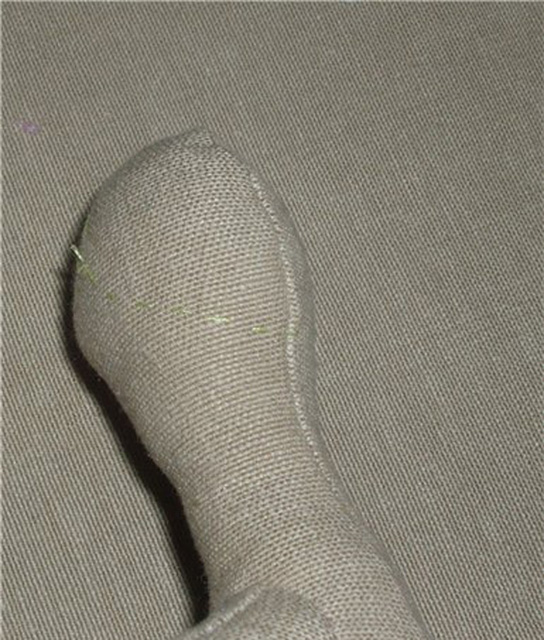
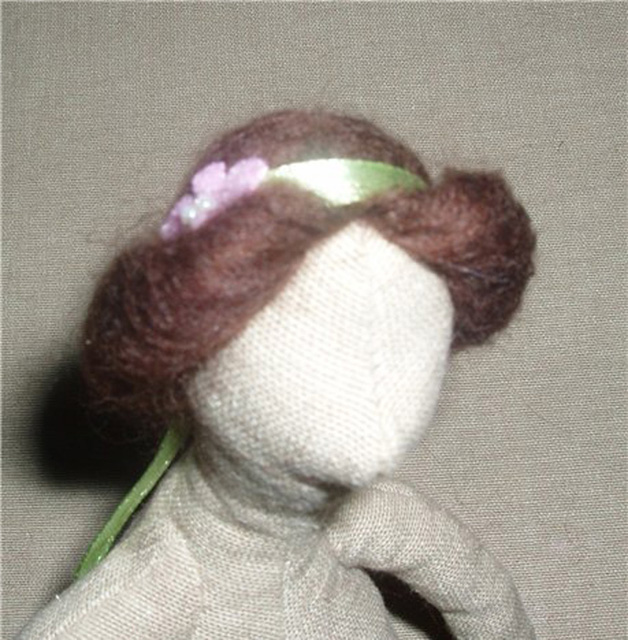 It remains only to embroider eyes, draw a blush, put a jacket and panties on it - and the doll is ready (Figure 27).
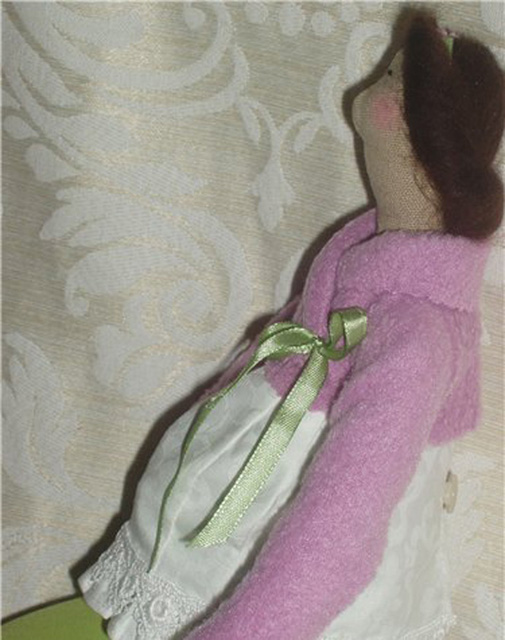
Ideas for inspiration
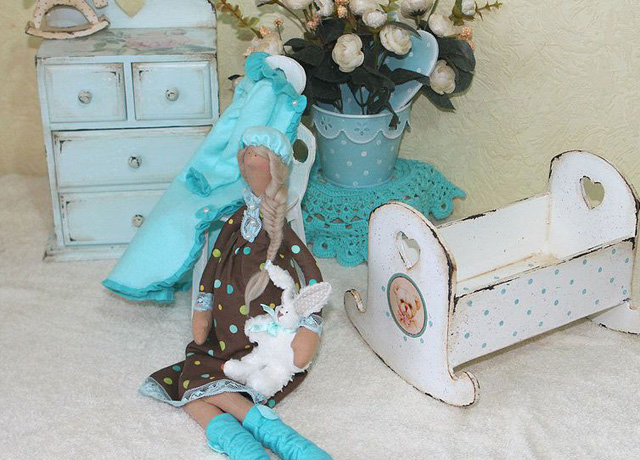
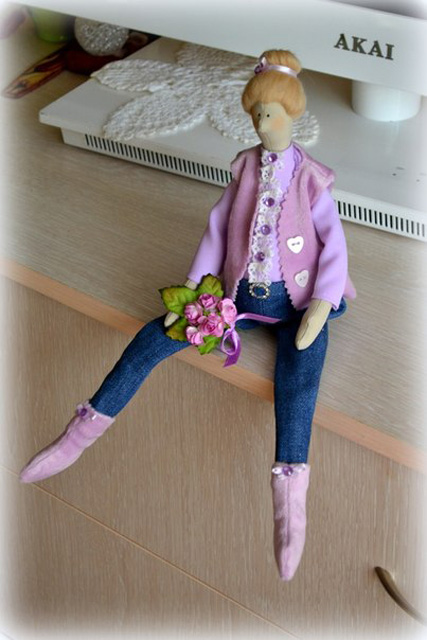
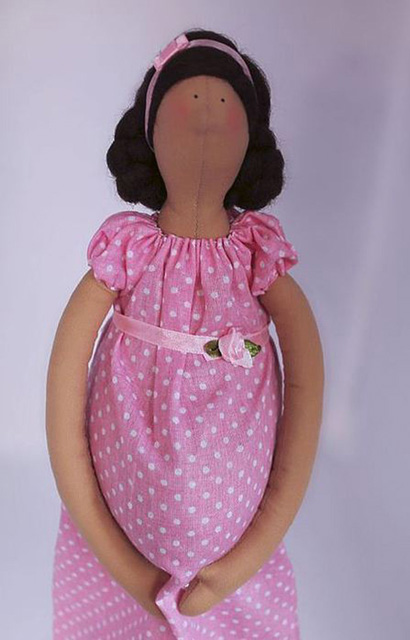
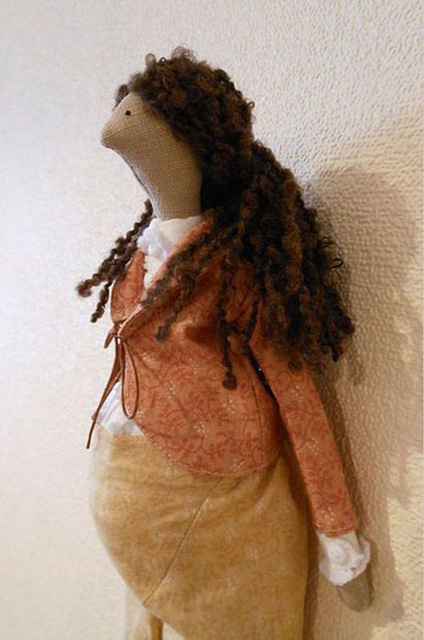
Using and combining different materials, you canto make puppets of different nationalities, to impart to them peculiar traits. So, instead of wool for felting for a hairdo, the usual threads will also suit. They are more convenient to use - with them the doll can at least change its hairdresses every day. For example, melted hair will come out if you combine dark and light yarn. Pregnant woman can turn out to be an exact copy of her owner - it would be only a wish (Figures 28-31)! 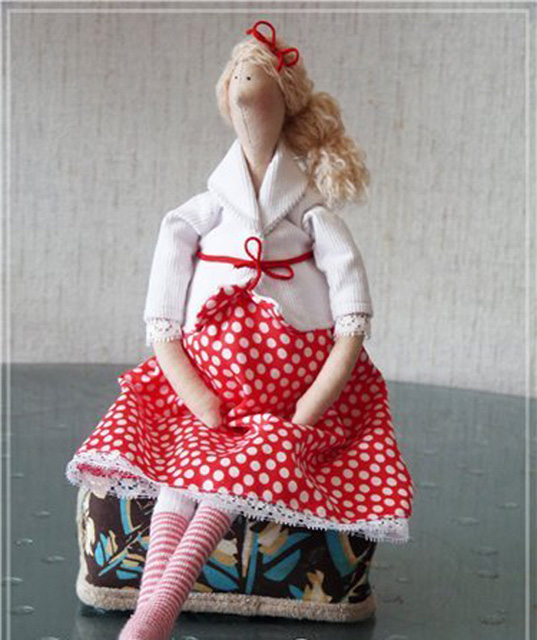
Comments
Related posts:
 Clothing for tilde dolls, dress, shoes, patterns, ideas / Toys with own hands, patterns, video, MK
 Tildes are inseparable: rabbits, angels. Master Class. Video / Toys with own hands, patterns, video, MK
 Country Tildes are very good for giving. garden. Master Class. Video / Toys with own hands, patterns, video, MK
 Modular Origami chicken made of paper, diagram, video / Toys with own hands, patterns, video, MK
 Crane origami from paper, instruction, diagram, video / Toys with own hands, patterns, video, MK