Marine bottle decoupage: master class
 Today we decorate the bottle in a nautical style. Let's fantasize: the southern coast of France, Riviera. The warm sea caresses the shore and the departing sun is reflected by the rays in a glass of white wine. In my heart peace and harmony. In the meantime, we turn to the decor. We work in a mixed technique: in our master class there will be the actual sea decoupage bottles, and volume patterns, and stencil.
For work you will need the following materials and tools:
Glass bottle; cork; acrylicpaints; putty wood; stencils; brushes and palette knives; rubber spatula; napkins for a decoupage (the rests or incomplete drawing will approach also); texts related to the sea; acrylic lacquer; hot melt glue; twine.
Sea bottle decoupage: master class with photos and description of work order
The first step will be preparation and degreasingsurface. It is necessary to wash the bottle inside and out, dry and cover with white paint. If the hiding power of the paint is small, and the layer of paint has laid down unevenly, gaps are visible here and there, this is “cured” by re-painting after the previous layer is completely dry. Thus sometimes it is necessary to make up to 5-6 layers of staining. 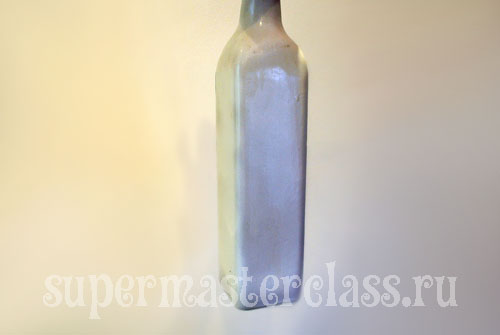 Glue the napkin. To do this, remove the bottom two white napkin layers and leave only the top, with a pattern. Cut out the necessary fragments from it, attach them to the bottle, finding the right location of marine motifs. Instead of decoupage glue or PVA, it is quite possible (and even desirable) to use acrylic lacquer diluted with water in a ratio of 1:10. In this way, it is much easier to avoid smudges, the napkin motifs stick more evenly, and the whole structure dries much faster! In addition, PVA gives yellowness, and diluted acrylic lacquer is completely devoid of such a disadvantage. We glue small fragments as follows: we apply a piece of napkin to the surface of the bottle and smooth it with a brush dipped in an acrylic lacquer solution. Larger pieces can be glued in various ways. The first way is to pour a little diluted varnish on the middle of the fragment, and then, lifting the edges of the napkin, distribute it over the surface. When the main part of the napkin is already stuck, and then it is already inconvenient to act in this way, we glue the edges with a brush moistened in a varnish solution with movements from the center to the edges. The second method is to lay the fragment face down on a multifore (stationery file) or a piece of dense polyethylene. Pour the varnish solution onto the napkin and distribute it over the entire surface of the motive with a brush. If excess liquid remains, drain it. Now we wrap the surface of the bottle with a file so that the napkin gets to its intended place, and then remove the polyethylene. This method is gaining all the great popularity among needlewomen, because it allows you to glue the napkin motif without tears and creases. There is a third, already obsolete way of fixing the tissue motif. When we have found the right location of the sea fragments, we apply glue for decoupage on the surface of the bottle, gently apply the napkin element and smooth it out, trying not to tear the thin napkin layer. For smoothing it is convenient to use a rubber trowel for grouting. If the fragment is large, you can apply glue to the bottle with parts, smooth the napkin, and then glue the next area under the napkin with glue. Learn more about working with a spatula and gluing a napkin. We expel air bubbles using the same rubber spatula, from the center to the edges of the fragment. When the napkin is glued and completely dried, it should be opened in several layers with acrylic varnish.
 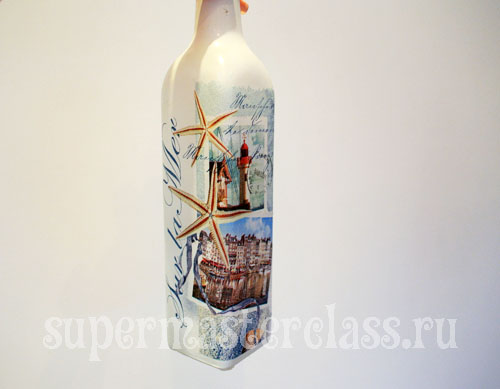 Next, we will work with putty and text. In our case, the text is popular, about navigation.
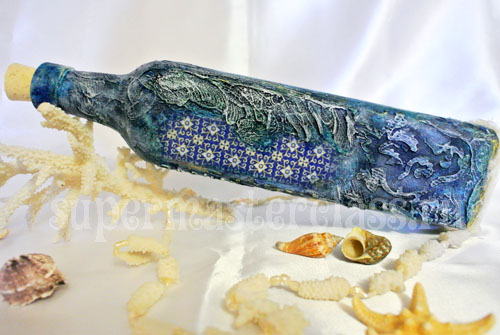
 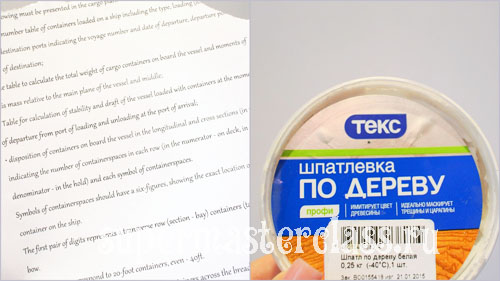 Cut out arbitrary pieces of text andglue on the bottle as described above. Apply on top of the stencil pattern. And when the first part dries out (so as not to spoil the pattern by accident), we apply a pattern with a putty in any form with a palette knife. It is important for us to create an invoice that we will further allocate, so the more intricate the pattern will be, with pores and irregularities, the more interesting the sea bottle will look like in finished form. If you work with the stencil for the first time, you should know that in order to use it more than once, immediately after work it must be cleaned immediately of any putty residue. Remove the putty with a spatula, then lay the stencil on a hard, lined surface with unnecessary paper, and wipe with a damp cloth. After that, rinse under running water and leave to dry.
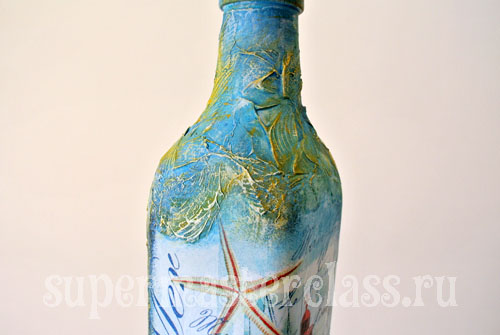
 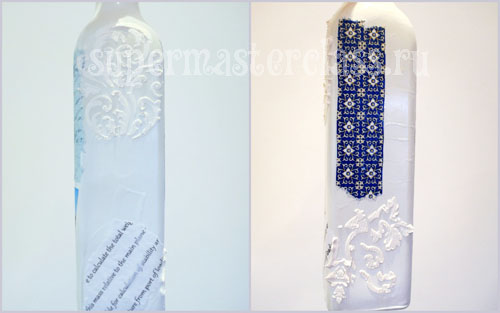 Acrylic paint align the main background. Create color variation. Apply light shades of blue, on the other side - darker, cobalt or FC. Then whiten with a semi-dry brush with white paint. Light movements are carried out on irregularities.
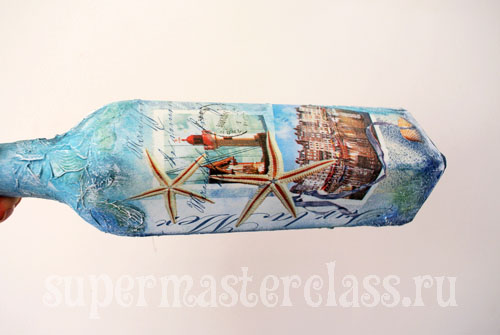
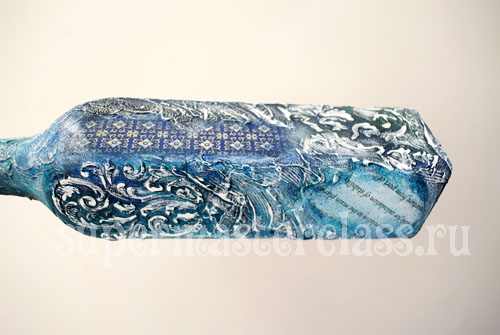 We apply gold acrylic paint.
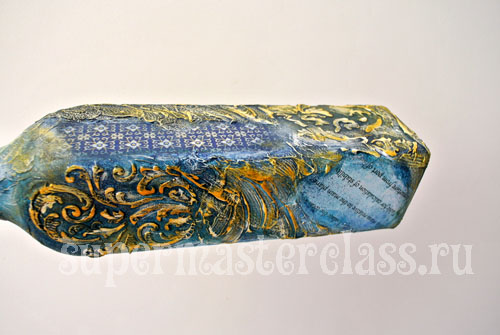
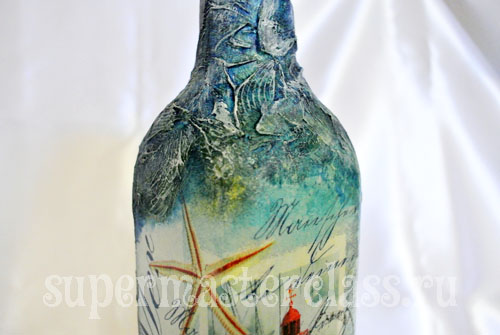
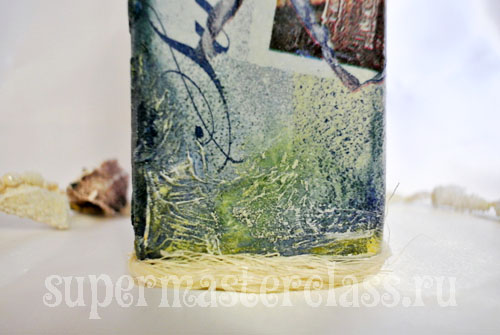
 Coat again with cobalt and white. Thus, interesting transitions and play of colors are obtained. Where the blue color is found on a golden color, interesting greenish hues with a slight metallic glow are formed.
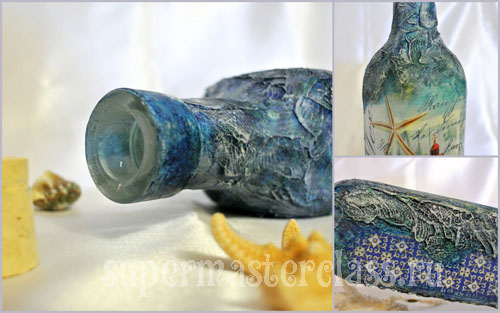
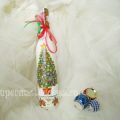
 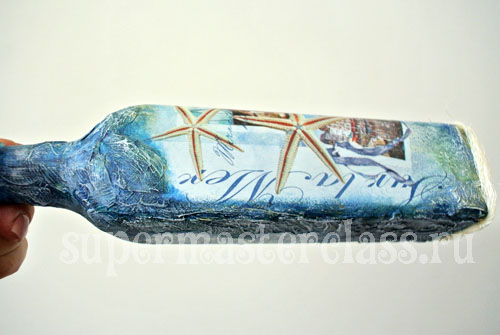 We decorate the bottom with a twine. It is most convenient to glue it with a thermogun.
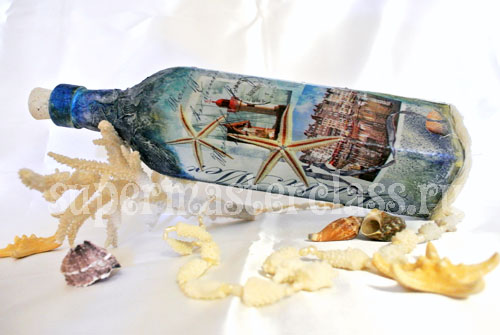
 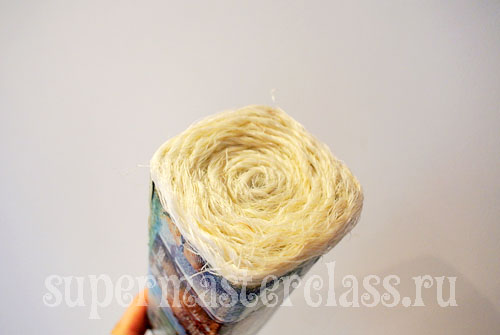 We clean the neck of the paint, corkcork and enjoy the result. Where can I find the use of such a marine bottle decorated using decoupage technique in our master class? It can be put on the shelf as an interior object or used as a container for any liquids. Inspiration and creative flight!
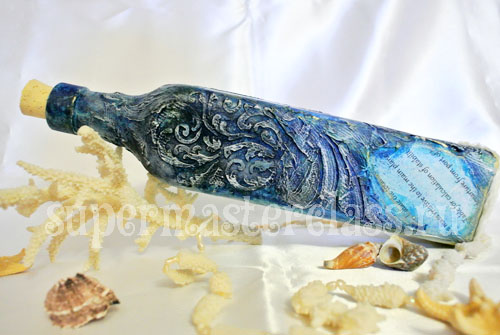
 And on the eve of the winter holidays, the master class ““ becomes more topical. Lyudmila Dementieva (Forest fairy) specifically for the site Previous article: Next article:
Comments
Related posts:
 Master class with photo and description will teach how to make a decoupage of bottles of champagne for the New Year
 Master class with a description and photo will teach how to make decoupage of a bottle of champagne with your own hands
 The master class will show you how to make a craft from a bottle, decorated in the style of decoupage with your own hands.
 Decoupage champagne bottles for the New Year: master class
 Decoration of bottles and decoupage with tights with their own hands - master class