
Master class with detailed photo and description will teach crochet crochet needle crochet
I suggest you tie the needle bed in the form of a frog. Although it is simple, it looks very interesting and original. And such a frog will store our needles and pins. 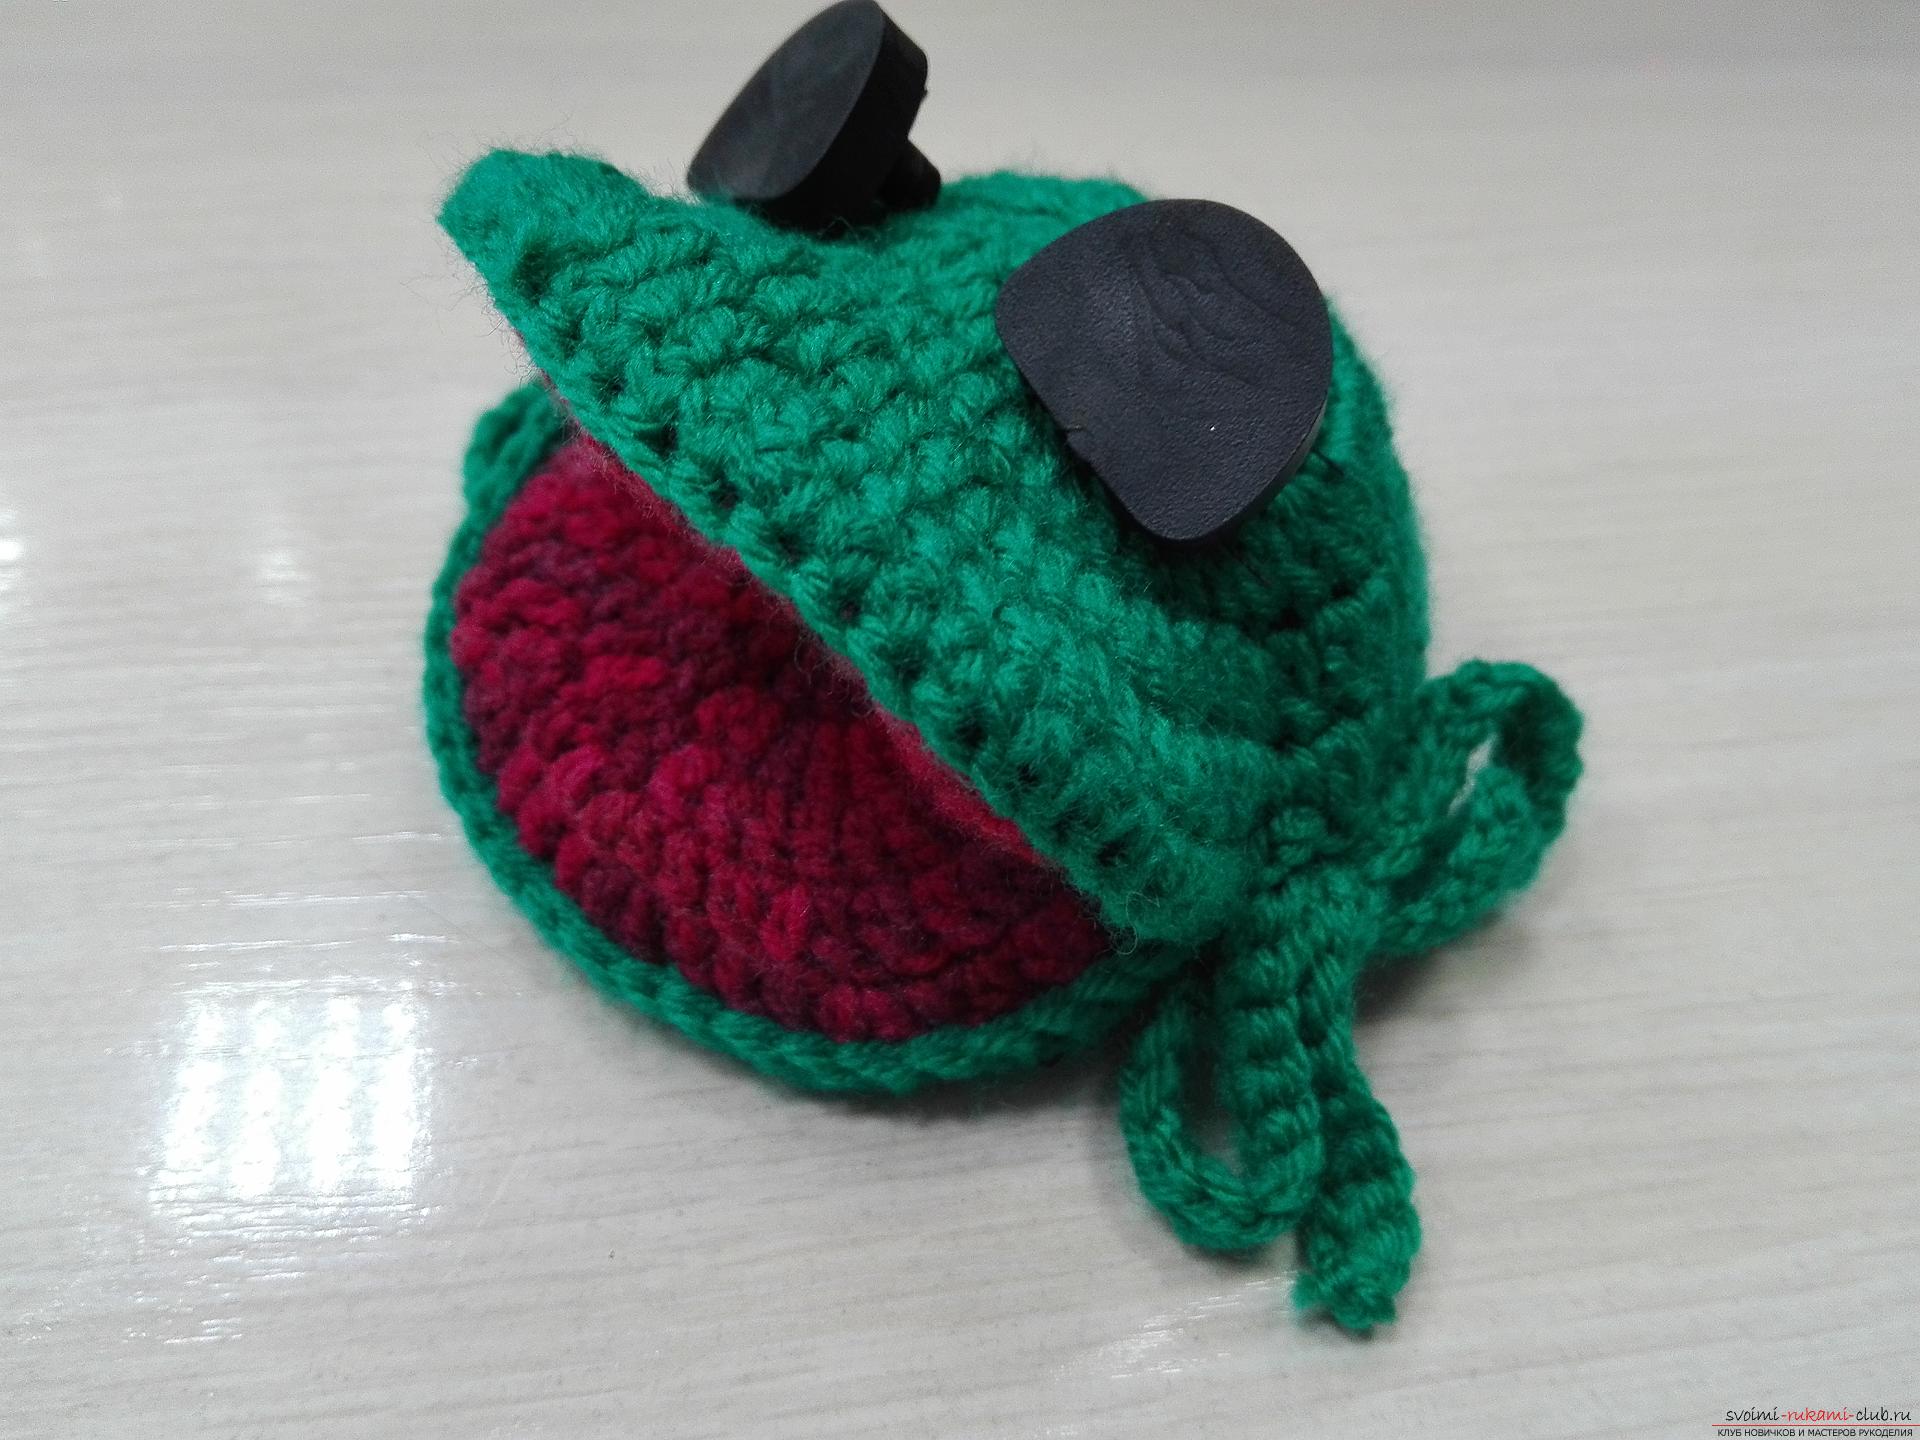 To produce a needle bed, we will need:
- yarn of red and green color;
- hook;
- sintepon;
- two buttons.
So, let's get to work using green yarn. We make a chain of 8 loops and close it in a ring. We make 2 lifting loops and we sew inside, our ring, 11 st. with a 1-st cape. 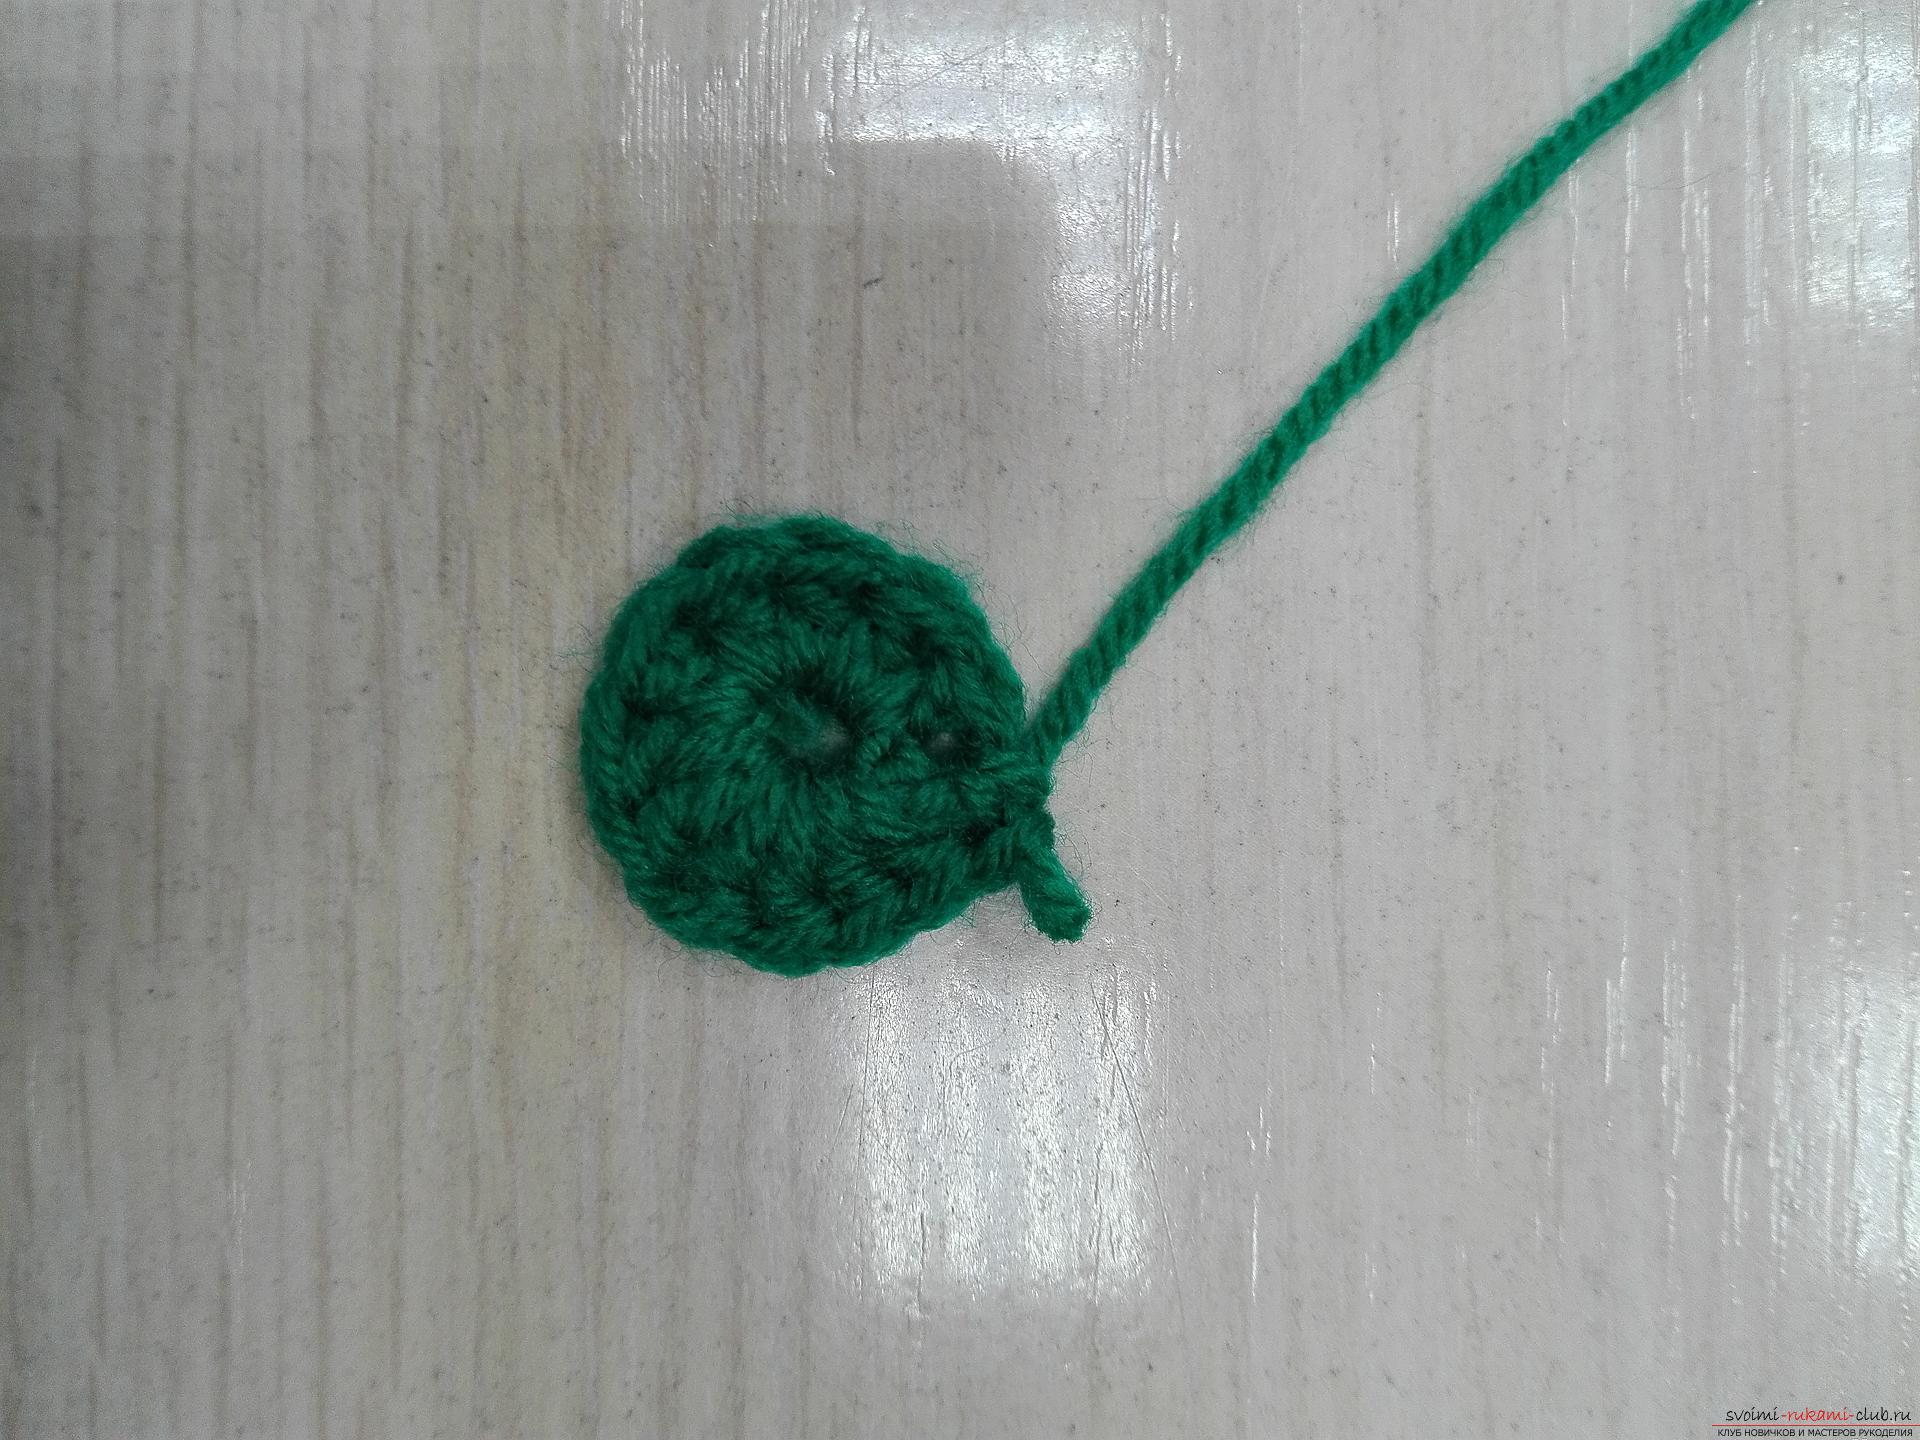 So we tied the first row. Next, we will make 3 lifting loops and make art. with a 1-nakid in the same loop, in the next loop we sew art. with a 1-st ring, in the next loop another 2 tbsp. with a 1-st cape. So we sew the series to the end.
 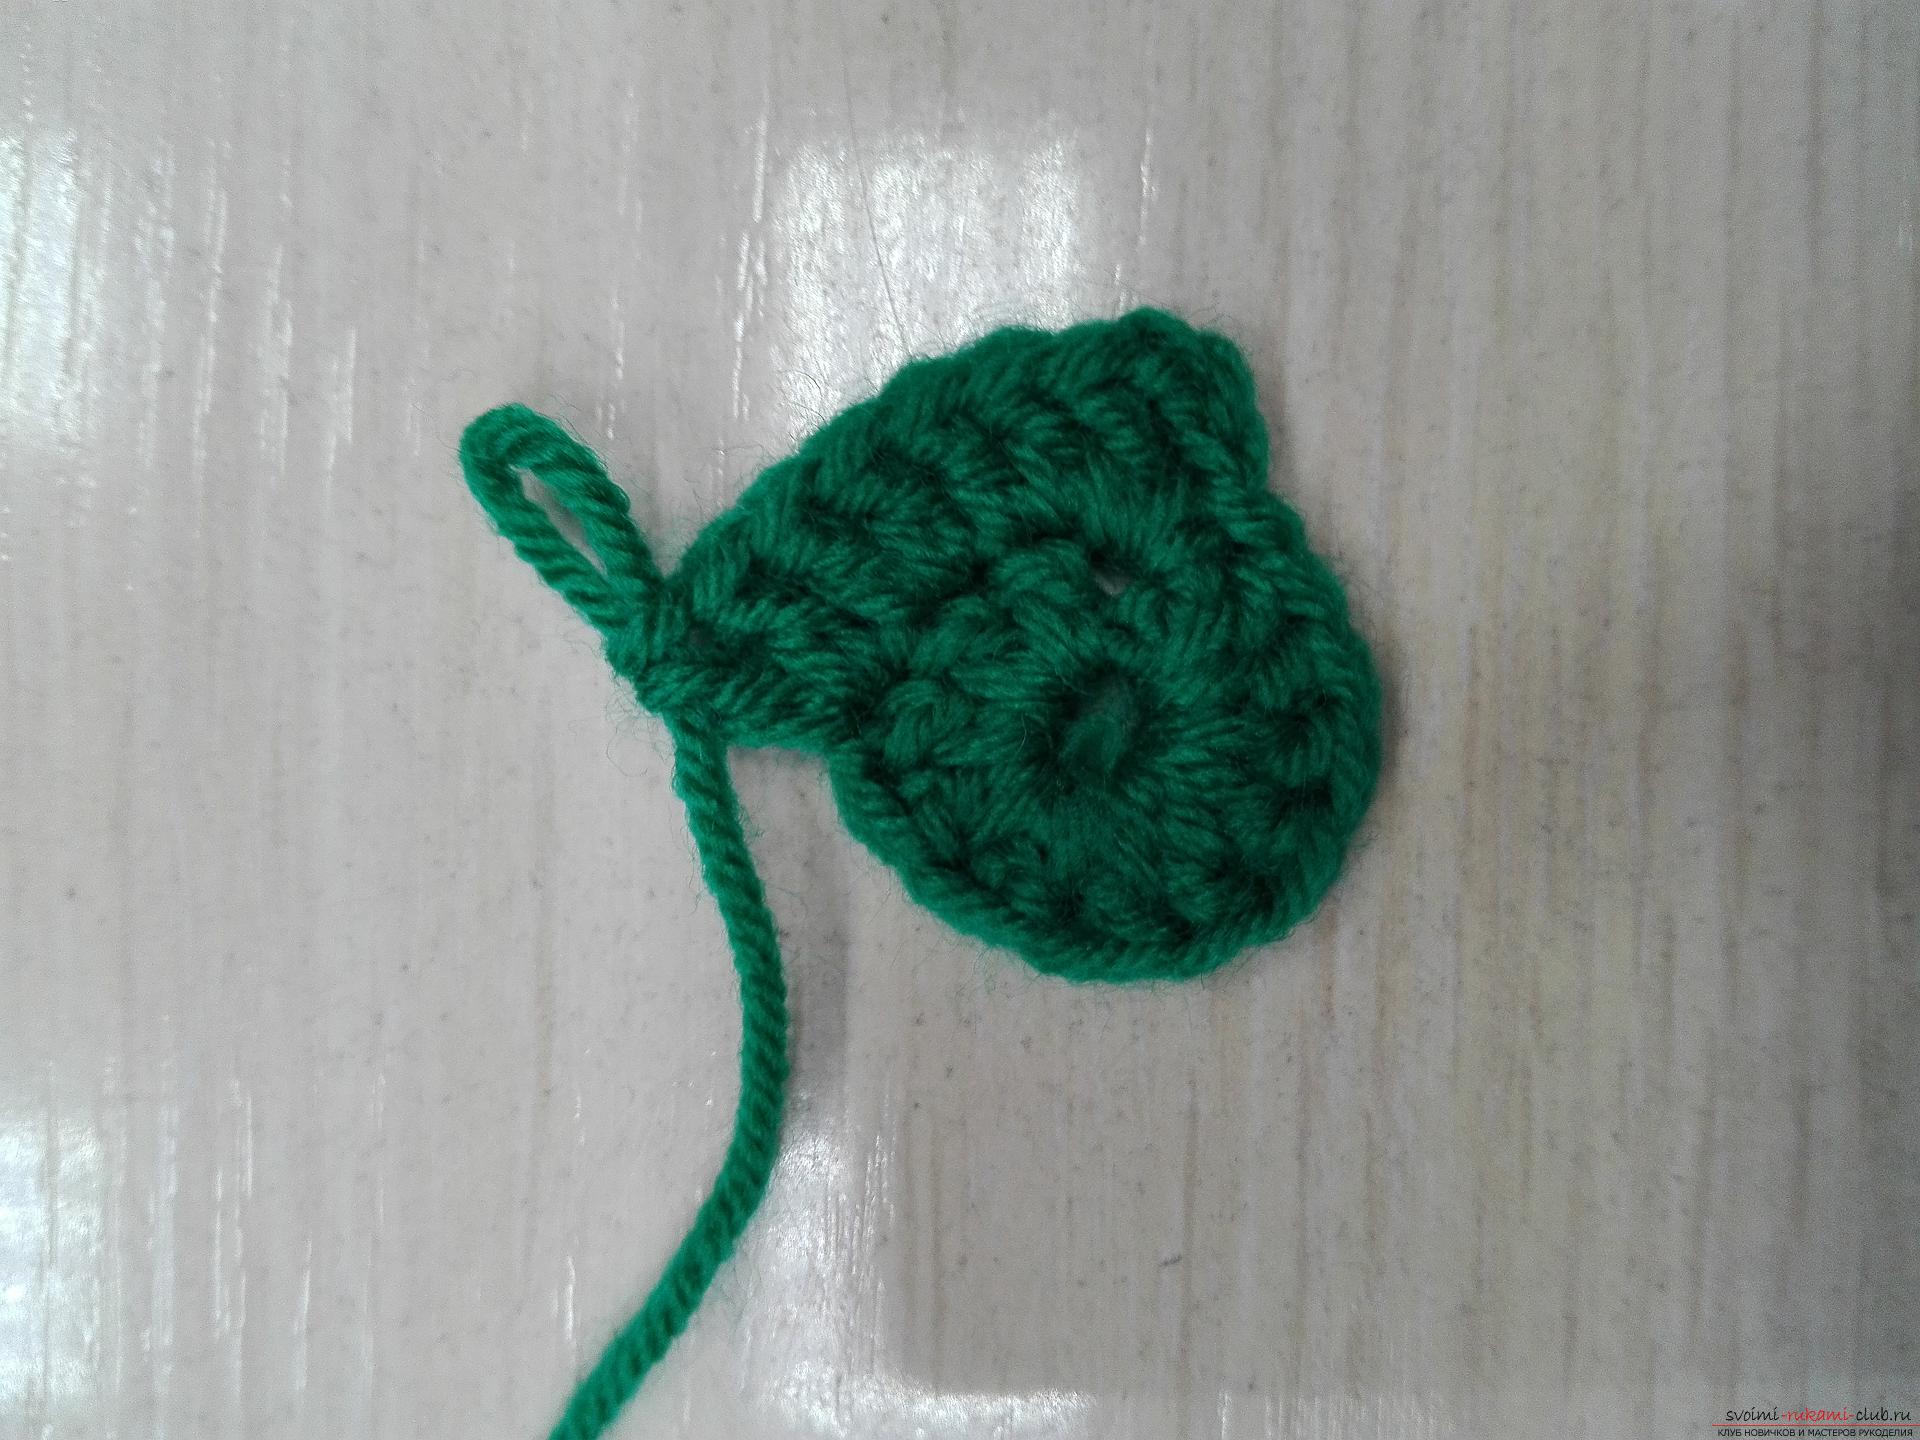 Begin to knit 3 rows. 3 lifting loops, st. with a first crochet in the same loop, then into the next loop of st. with a 1-st cape. 2 tbsp. with a 1-piece on the next loop, and one st. with a 1-piece on the next. And so to the end of the series. The next row we begin with the fact that we make 3 lifting loops, in the next loop st. with a 1-nikidom, and the next loop, we are tying 2 tbsp. with a 1-st cape. So finish the series. And the last row. 3 lifting loops and st. with the 1-th crochet in the same loop. Then we knit 3 tbsp. with 1 cape, one st. in each. Then 2 tbsp. with 1 cape in one loop, 3 tbsp. with 1 crochet, 1 st. in each. Thus, we finish the series.
 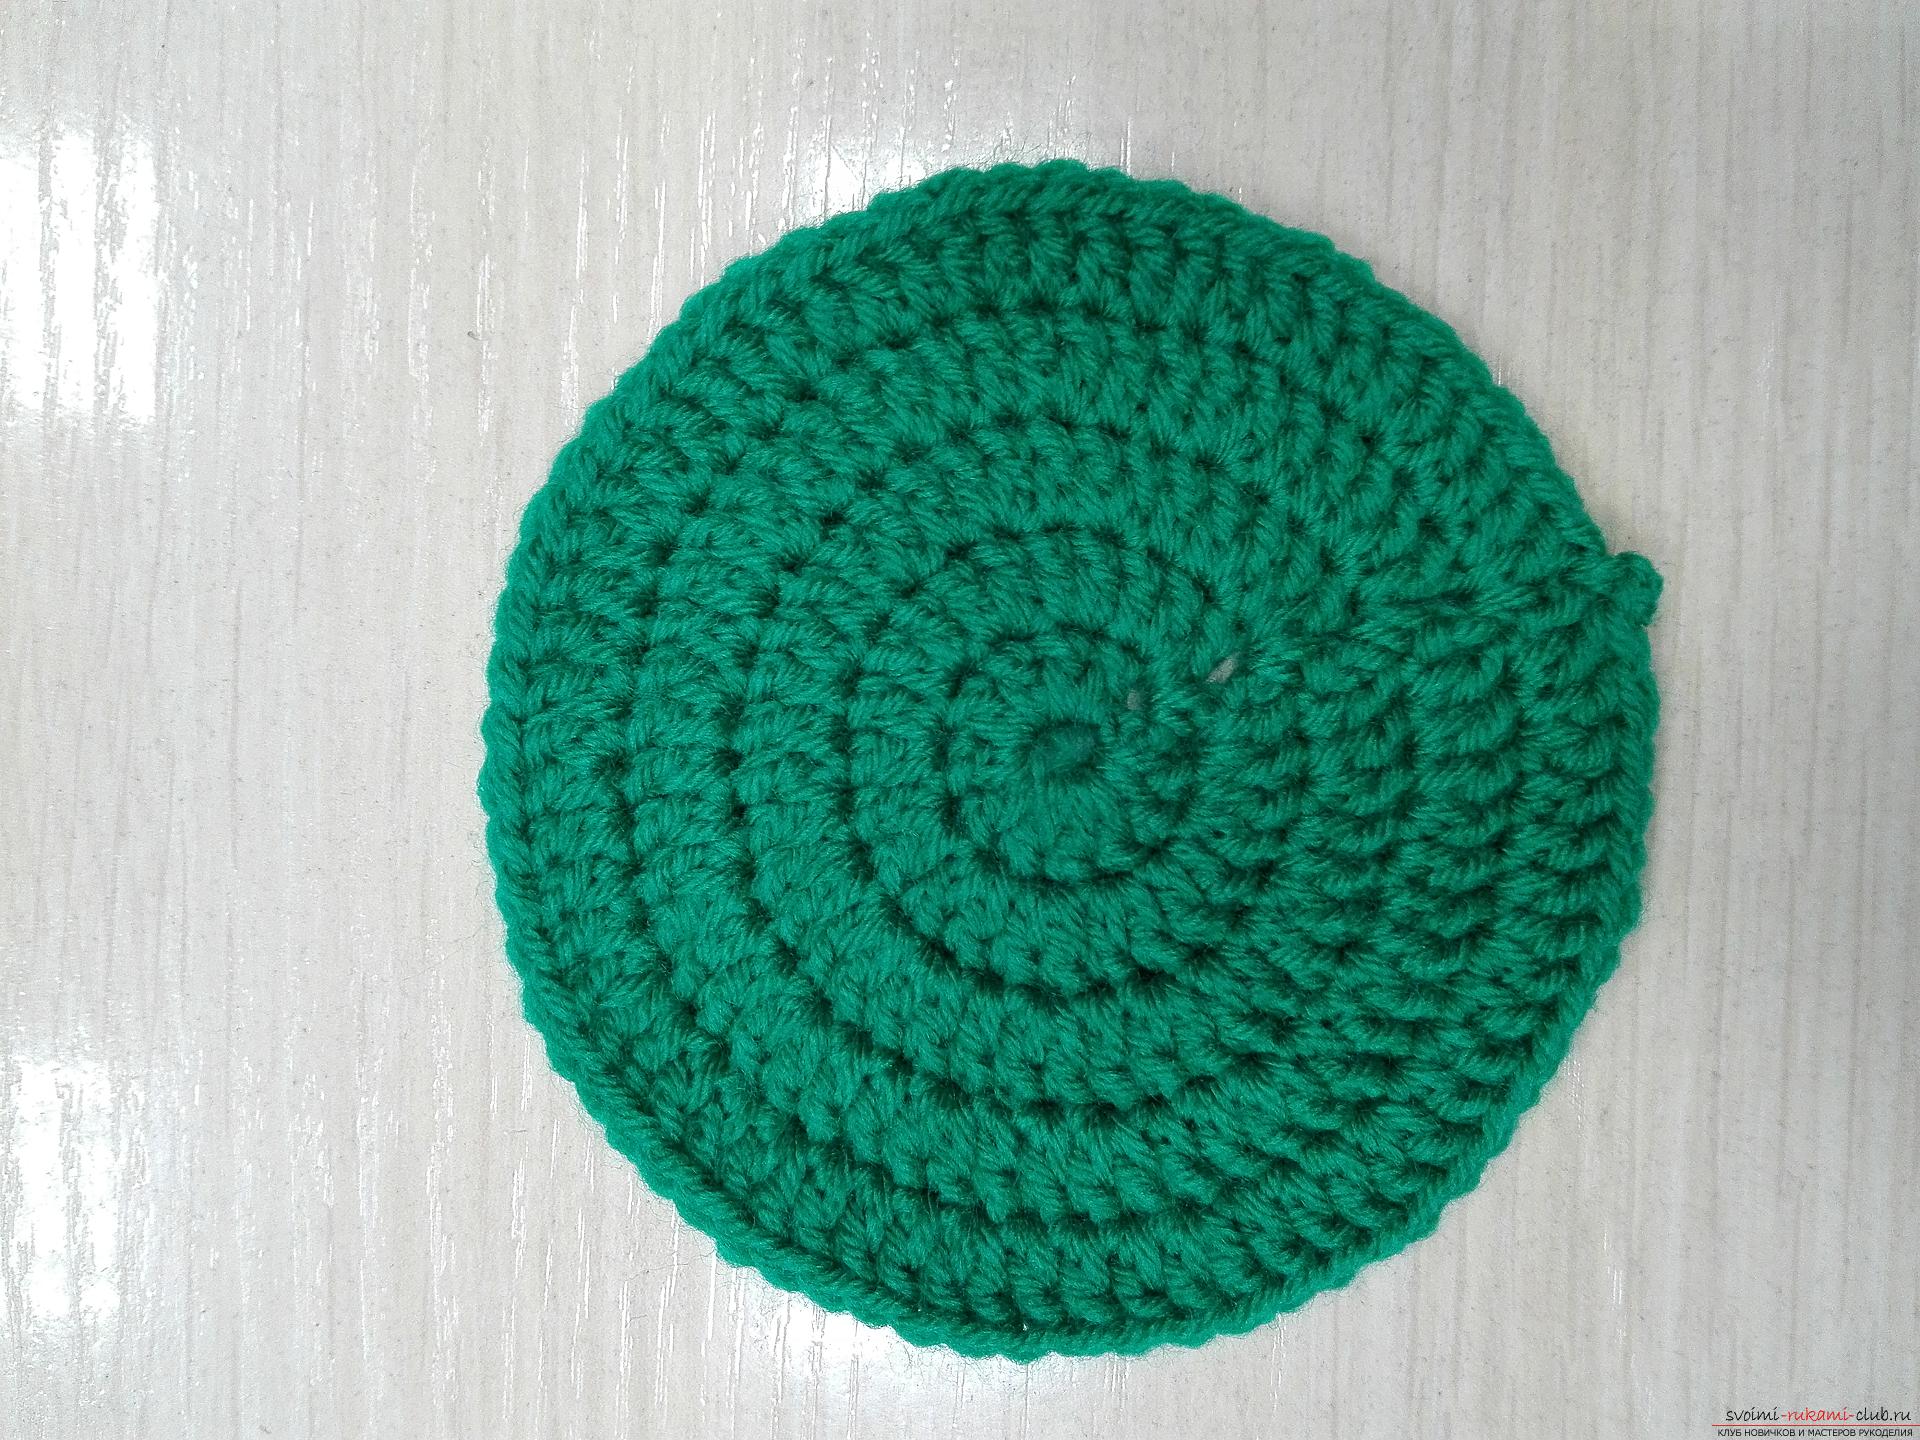 One of the elements of our frog is ready. Now, according to the same scheme, we knit the second such circle of green color.
 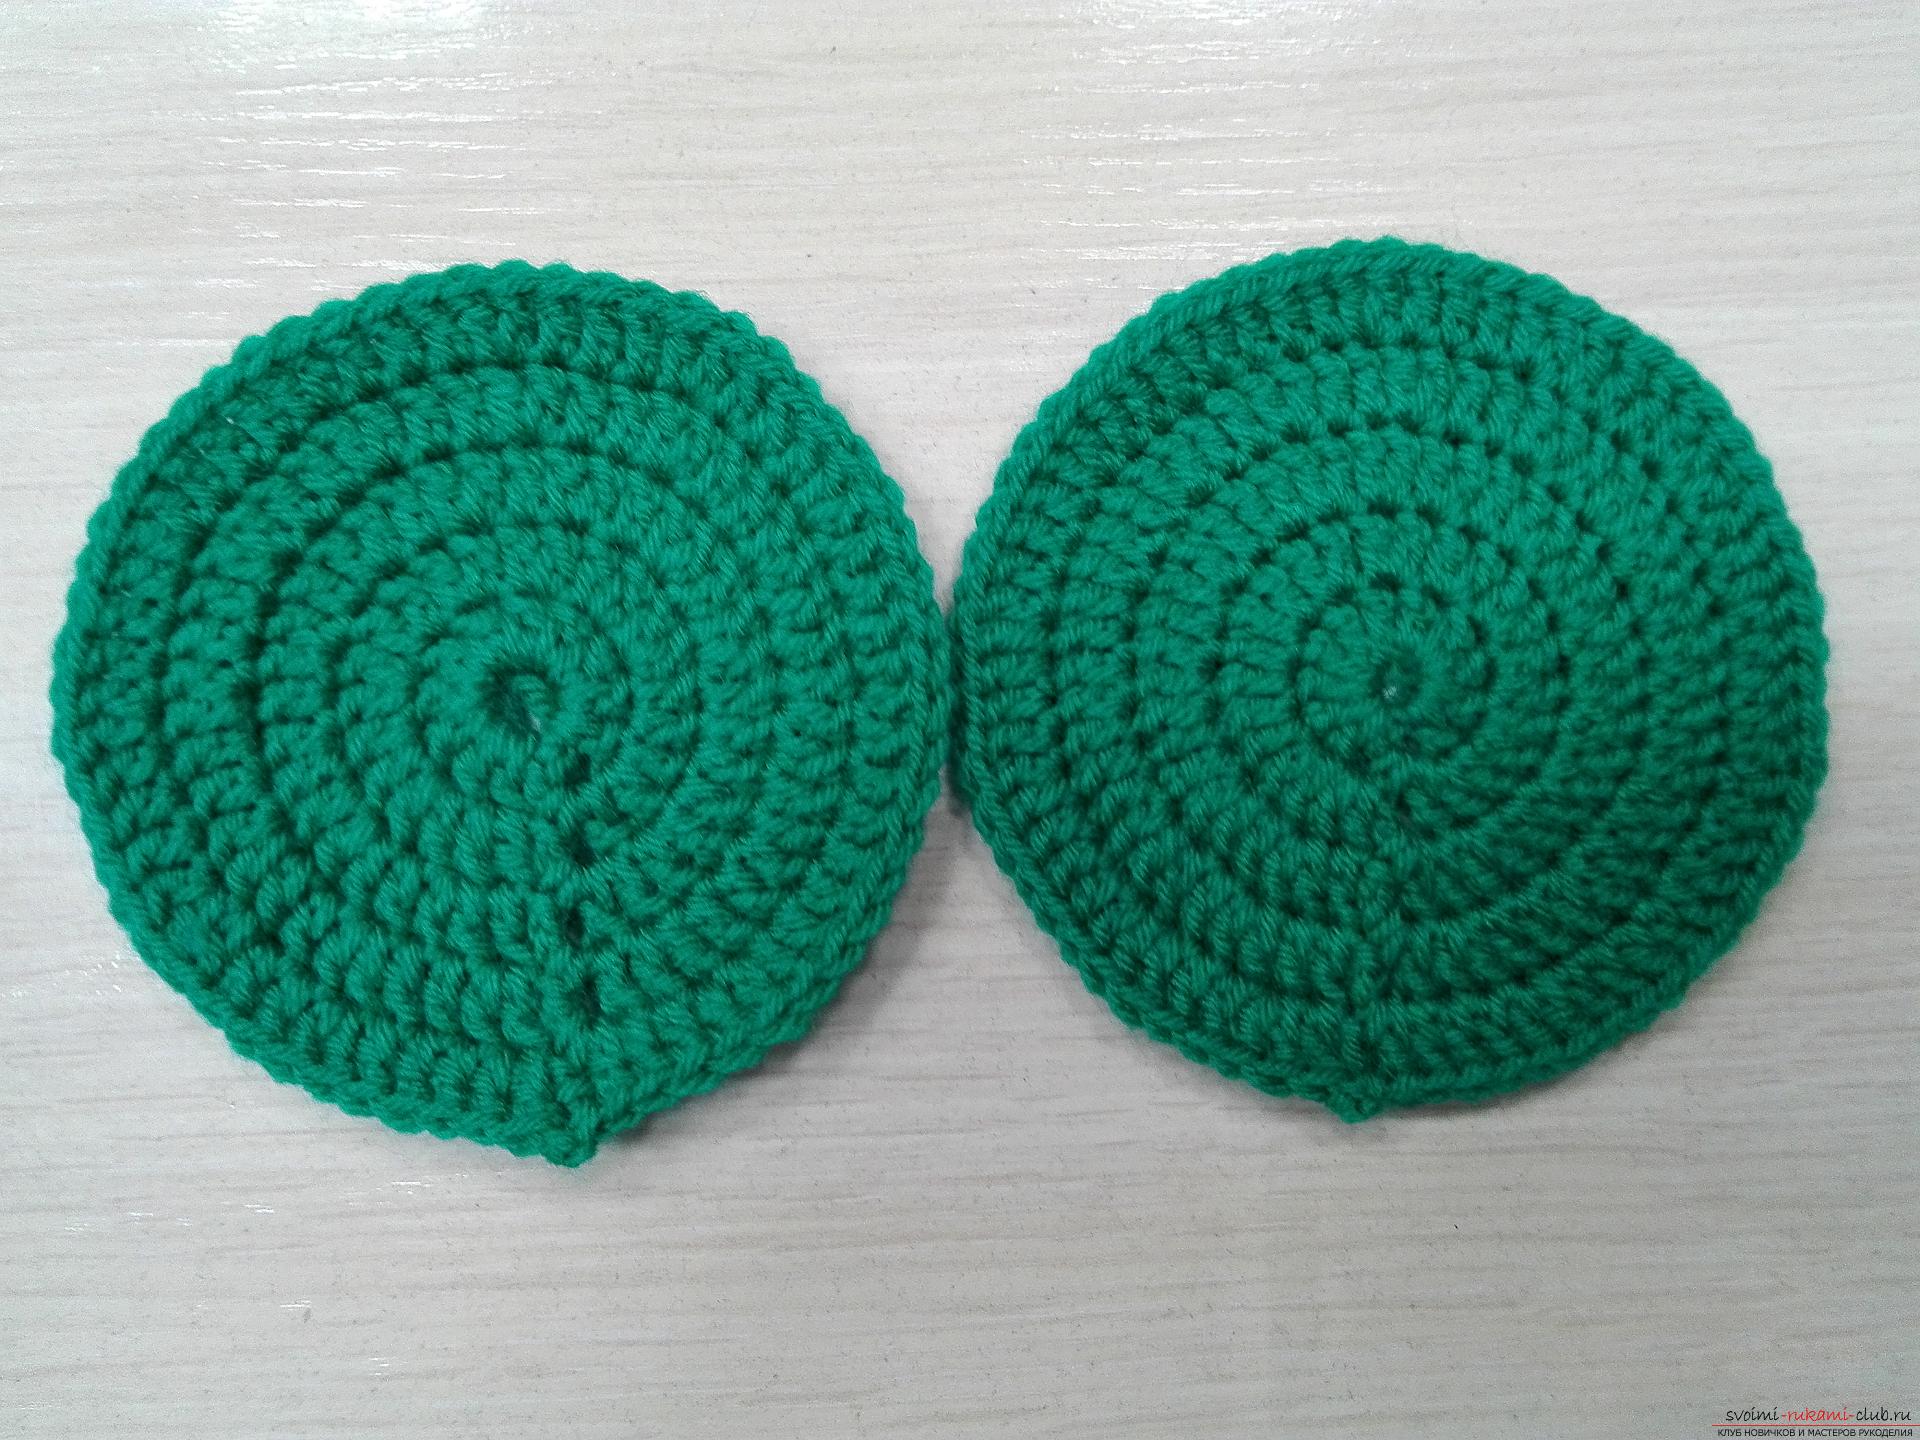 Now we have 2 parts ready for the frog. Now we put one circle on the other. And we begin to tie them around to the middle, in order to combine the two parts.
 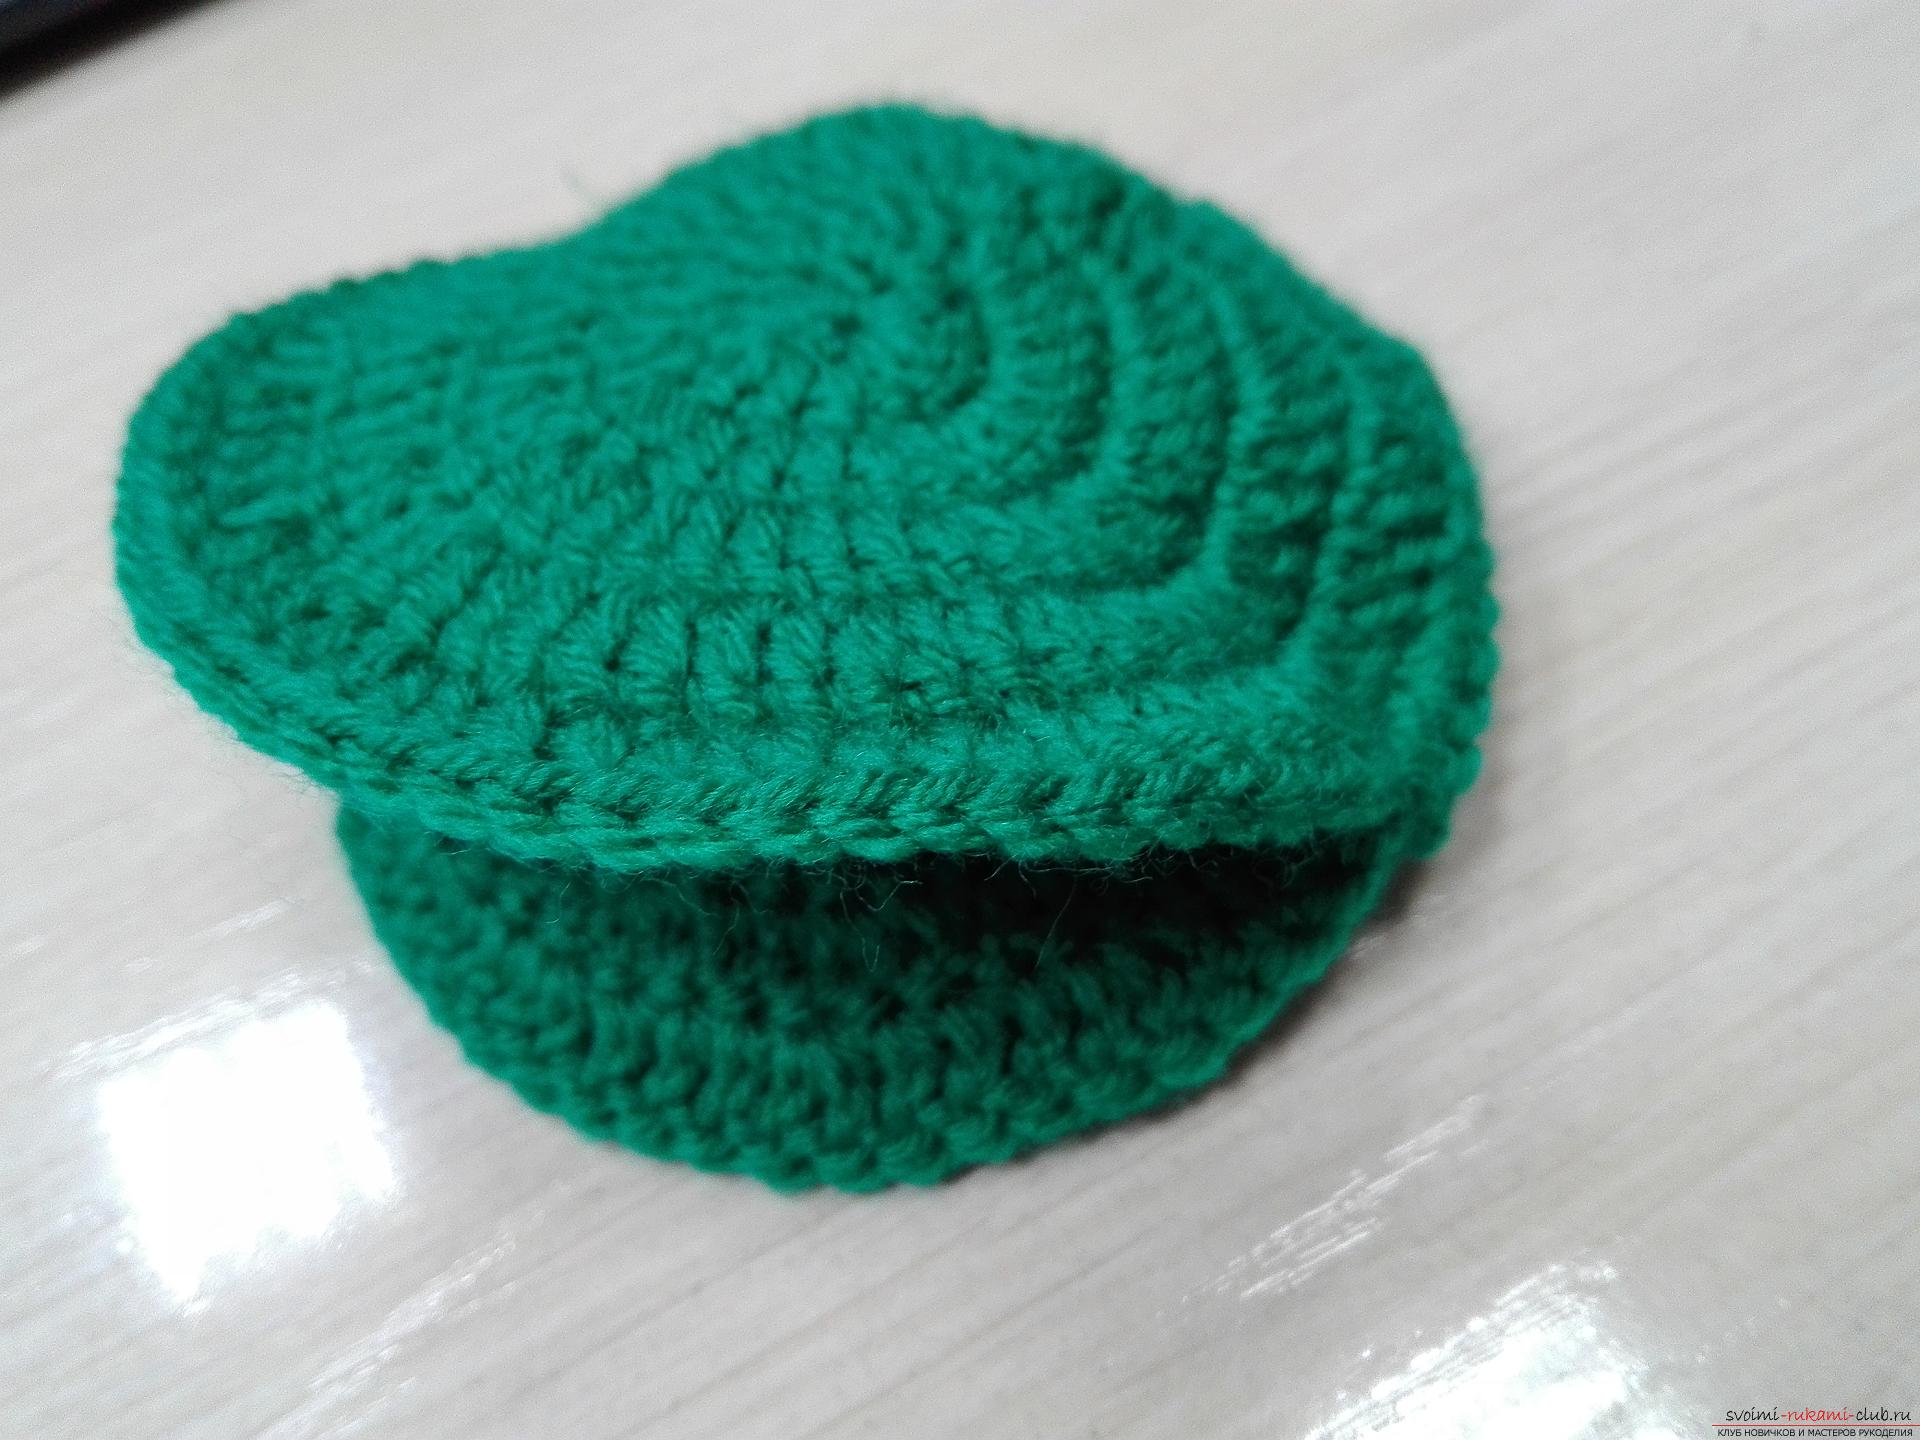 So the frog's body is ready! For further work we use red yarn. And according to the same scheme, according to which green circles were knitted, we knit a circle of red color. We loop the loop into a ring. 1 row. 3 lifting loops, 11 tbsp. with a 1-piece on the inside of the ring.
 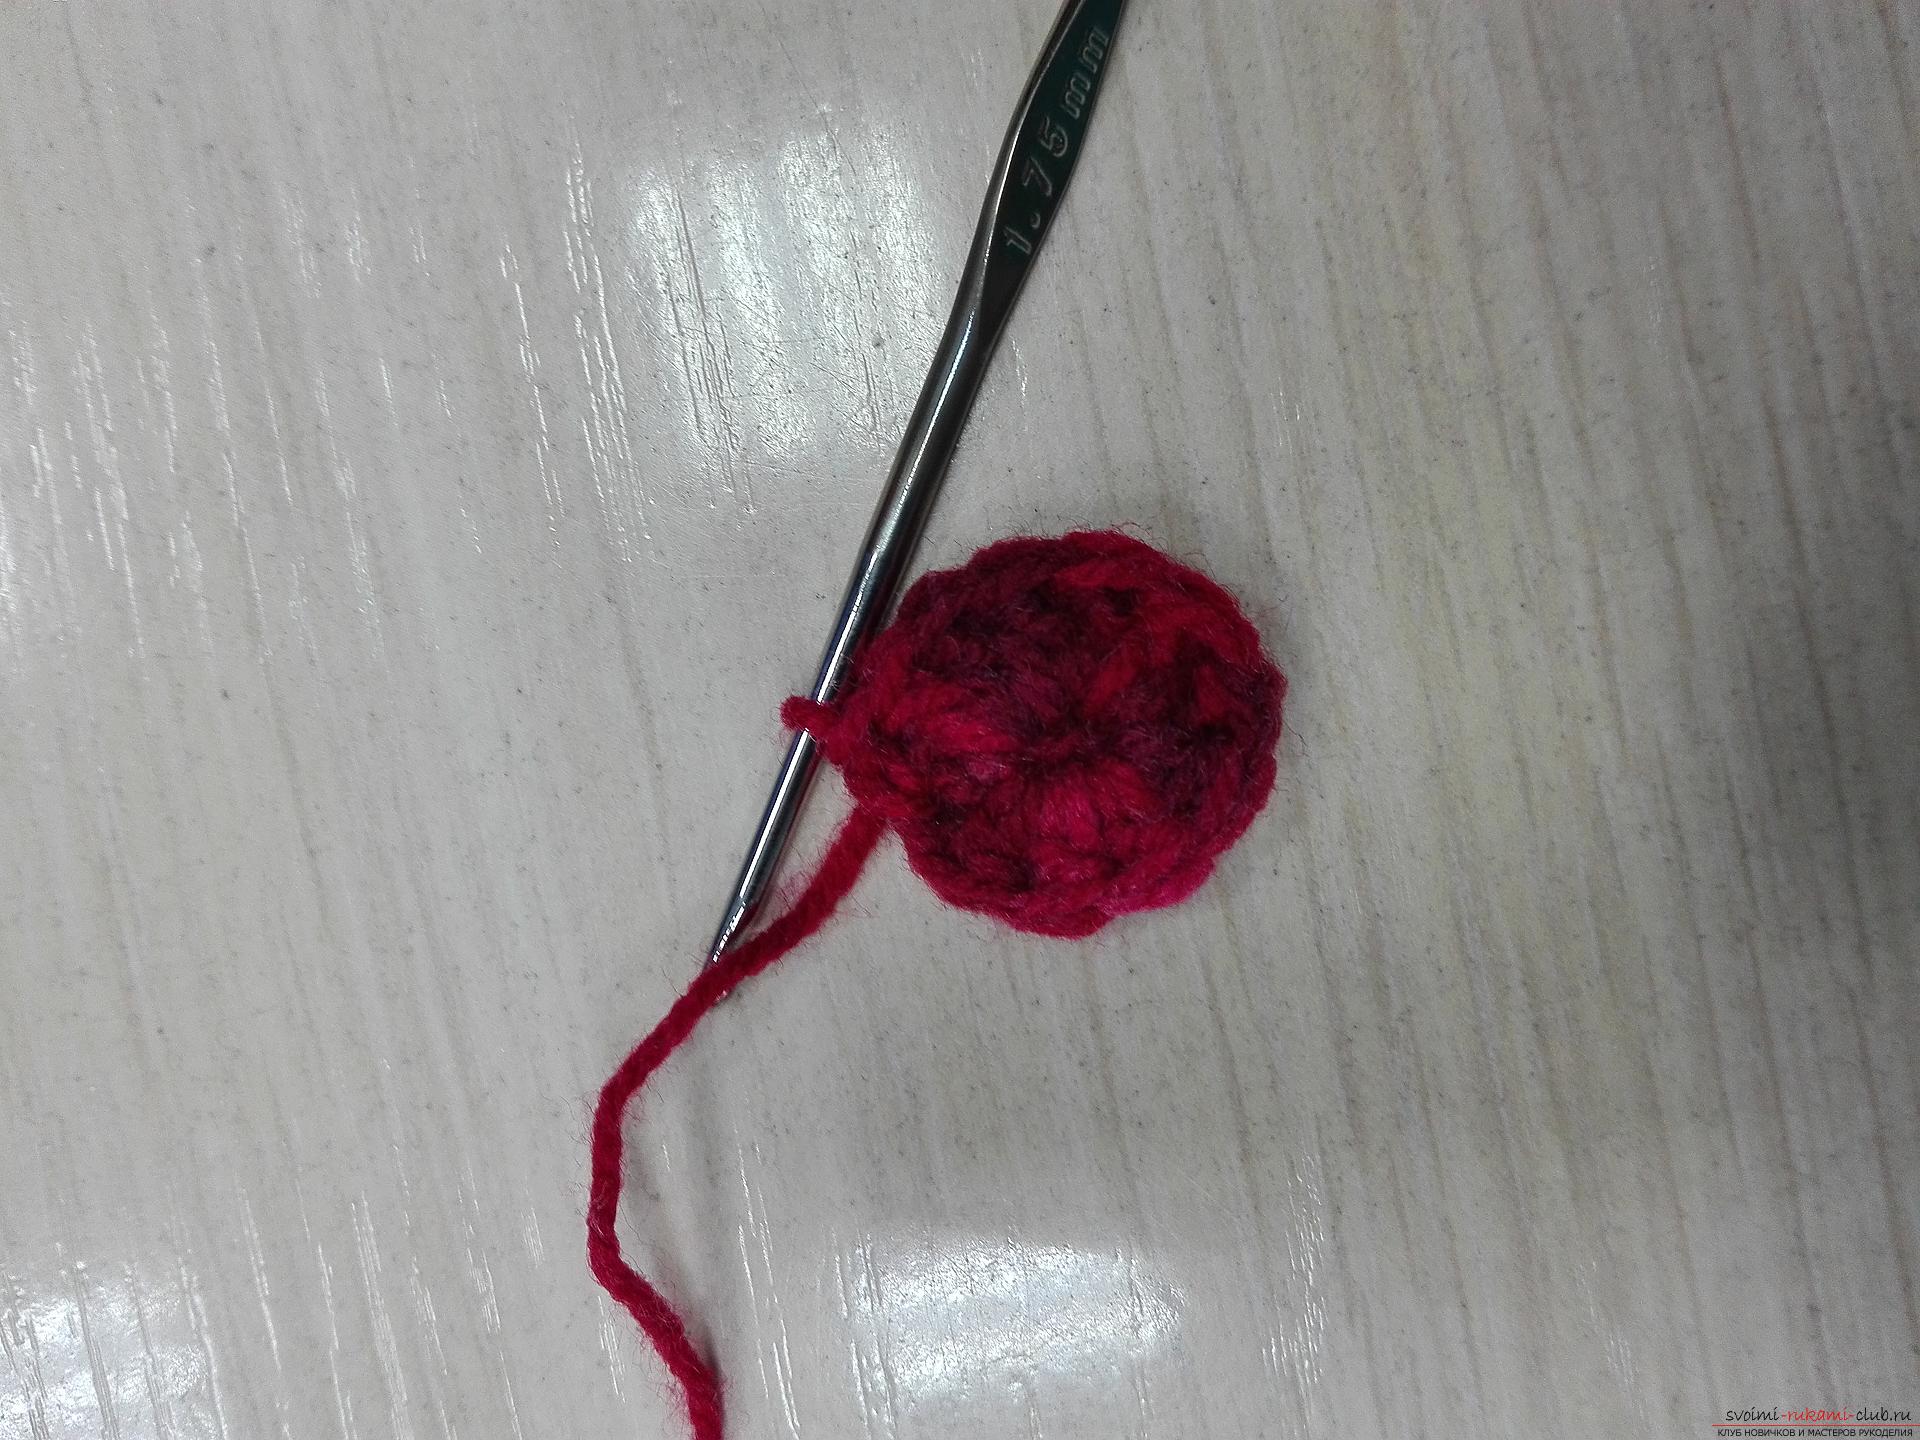 2 row. 3 lifting loops 1 tbsp. with a 1-nakid in the same loop, in the next loop, 2 tbsp. with a 1-st cape. So until the end of the series, according to 2 tbsp. with 1 cape in each loop.
 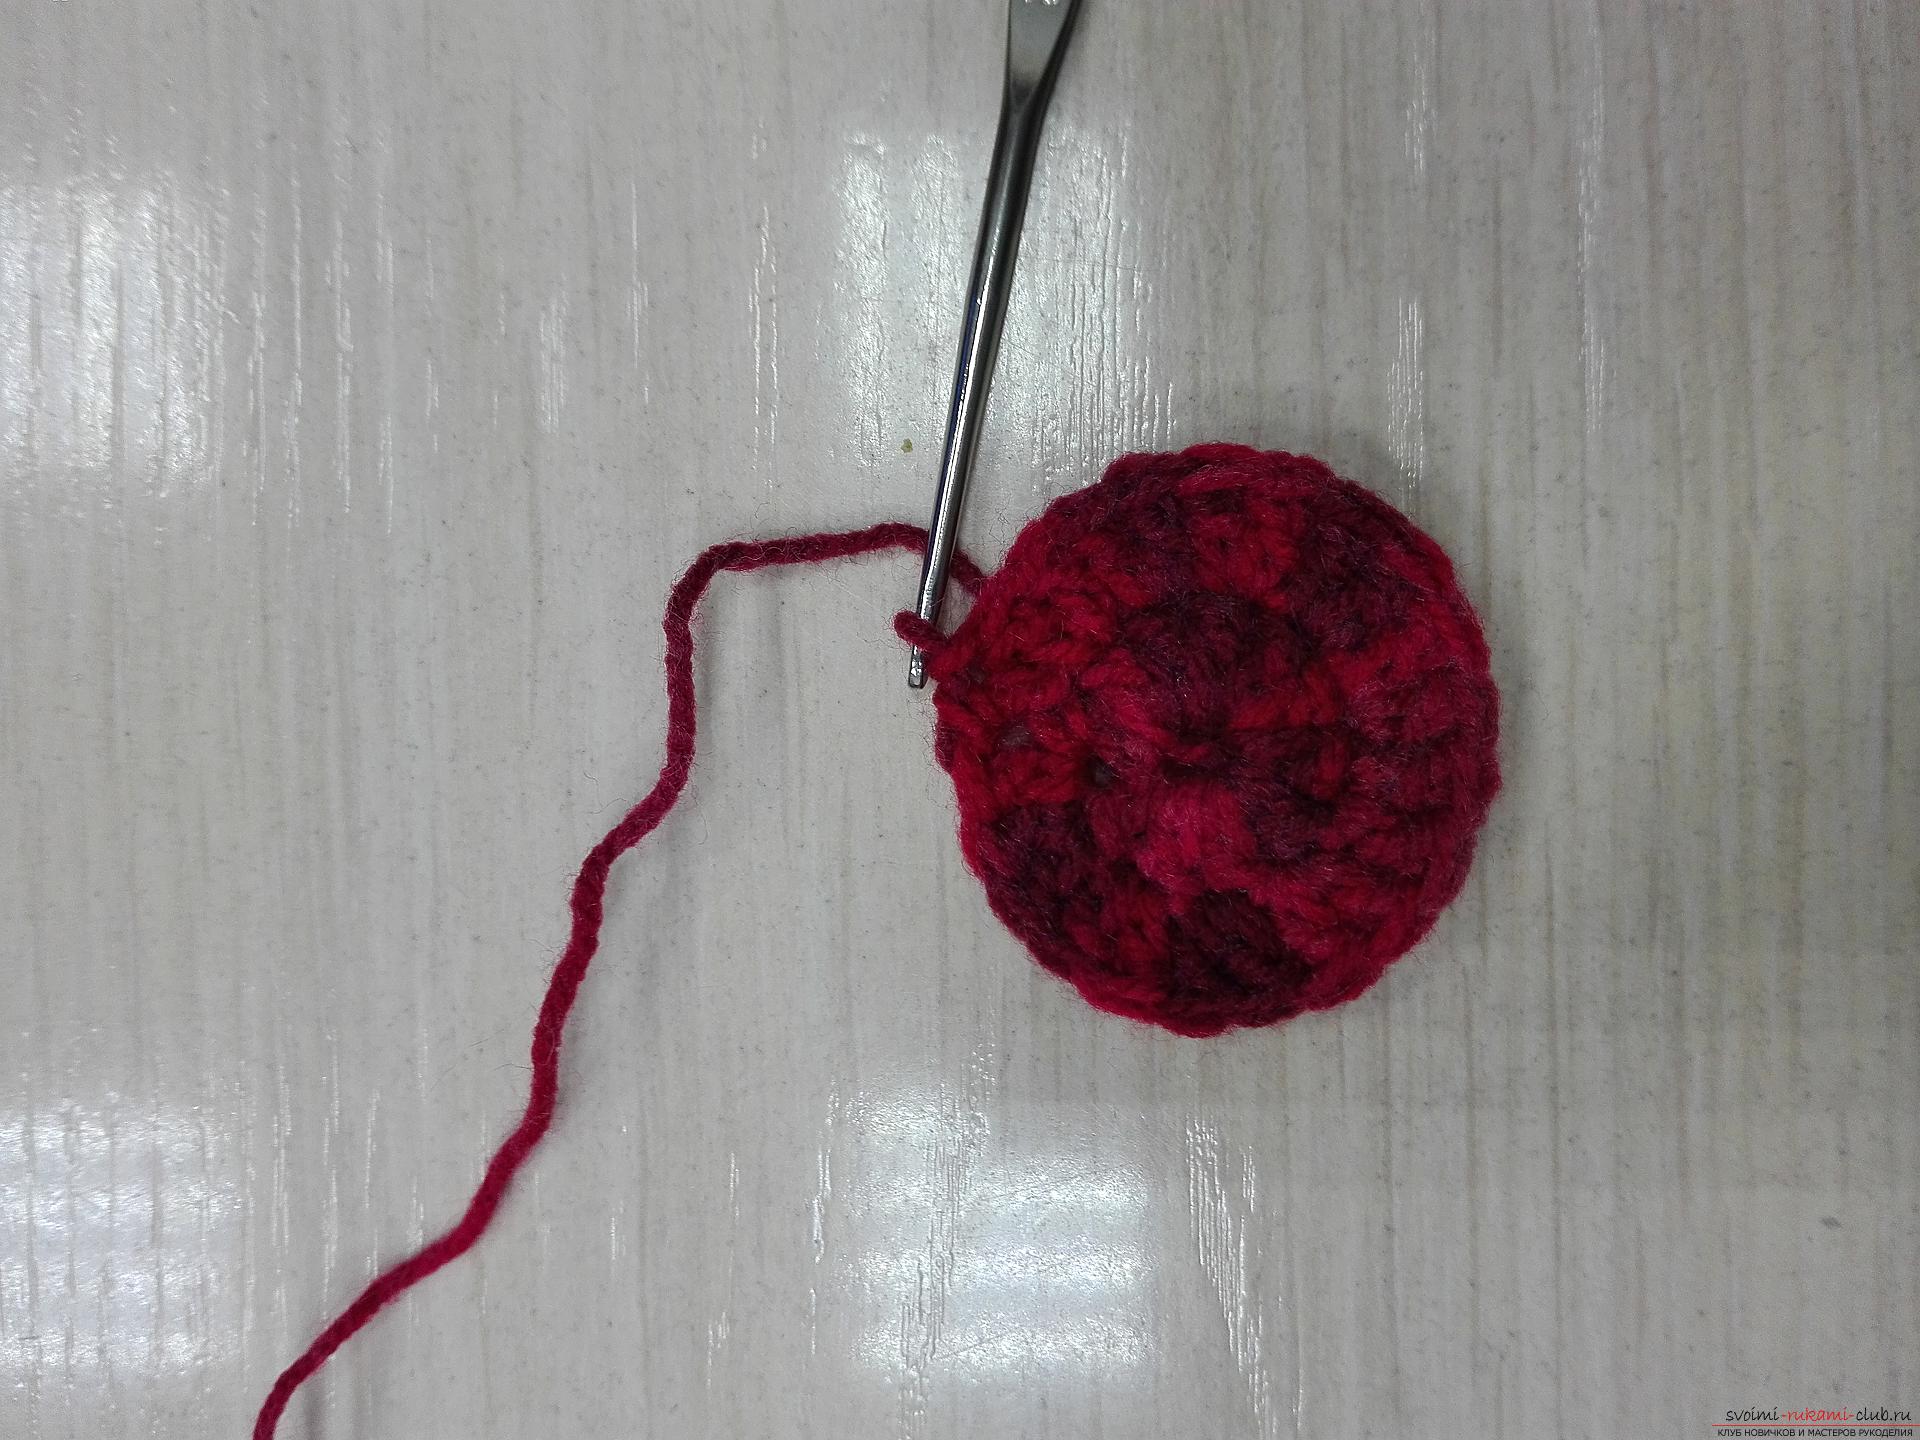 3 row. 3 lifting loops, st. with a crochet in the same loop, in the next loop we knit one st. with a 1-st cape. And until the end of the series we knit, 2 tbsp. with 1 cape in one loop, 1 tbsp. with a crochet in the next loop. 4 row. 3 lifting loops, in the next loop st. with a 1-st cape, and in the other loop, 2 tbsp. with a 1-st cape. 5 row. 3 lifting loops and in the same loop one st. with 1 cape, in the next 3 loops we knit one st. with 1 cover.
 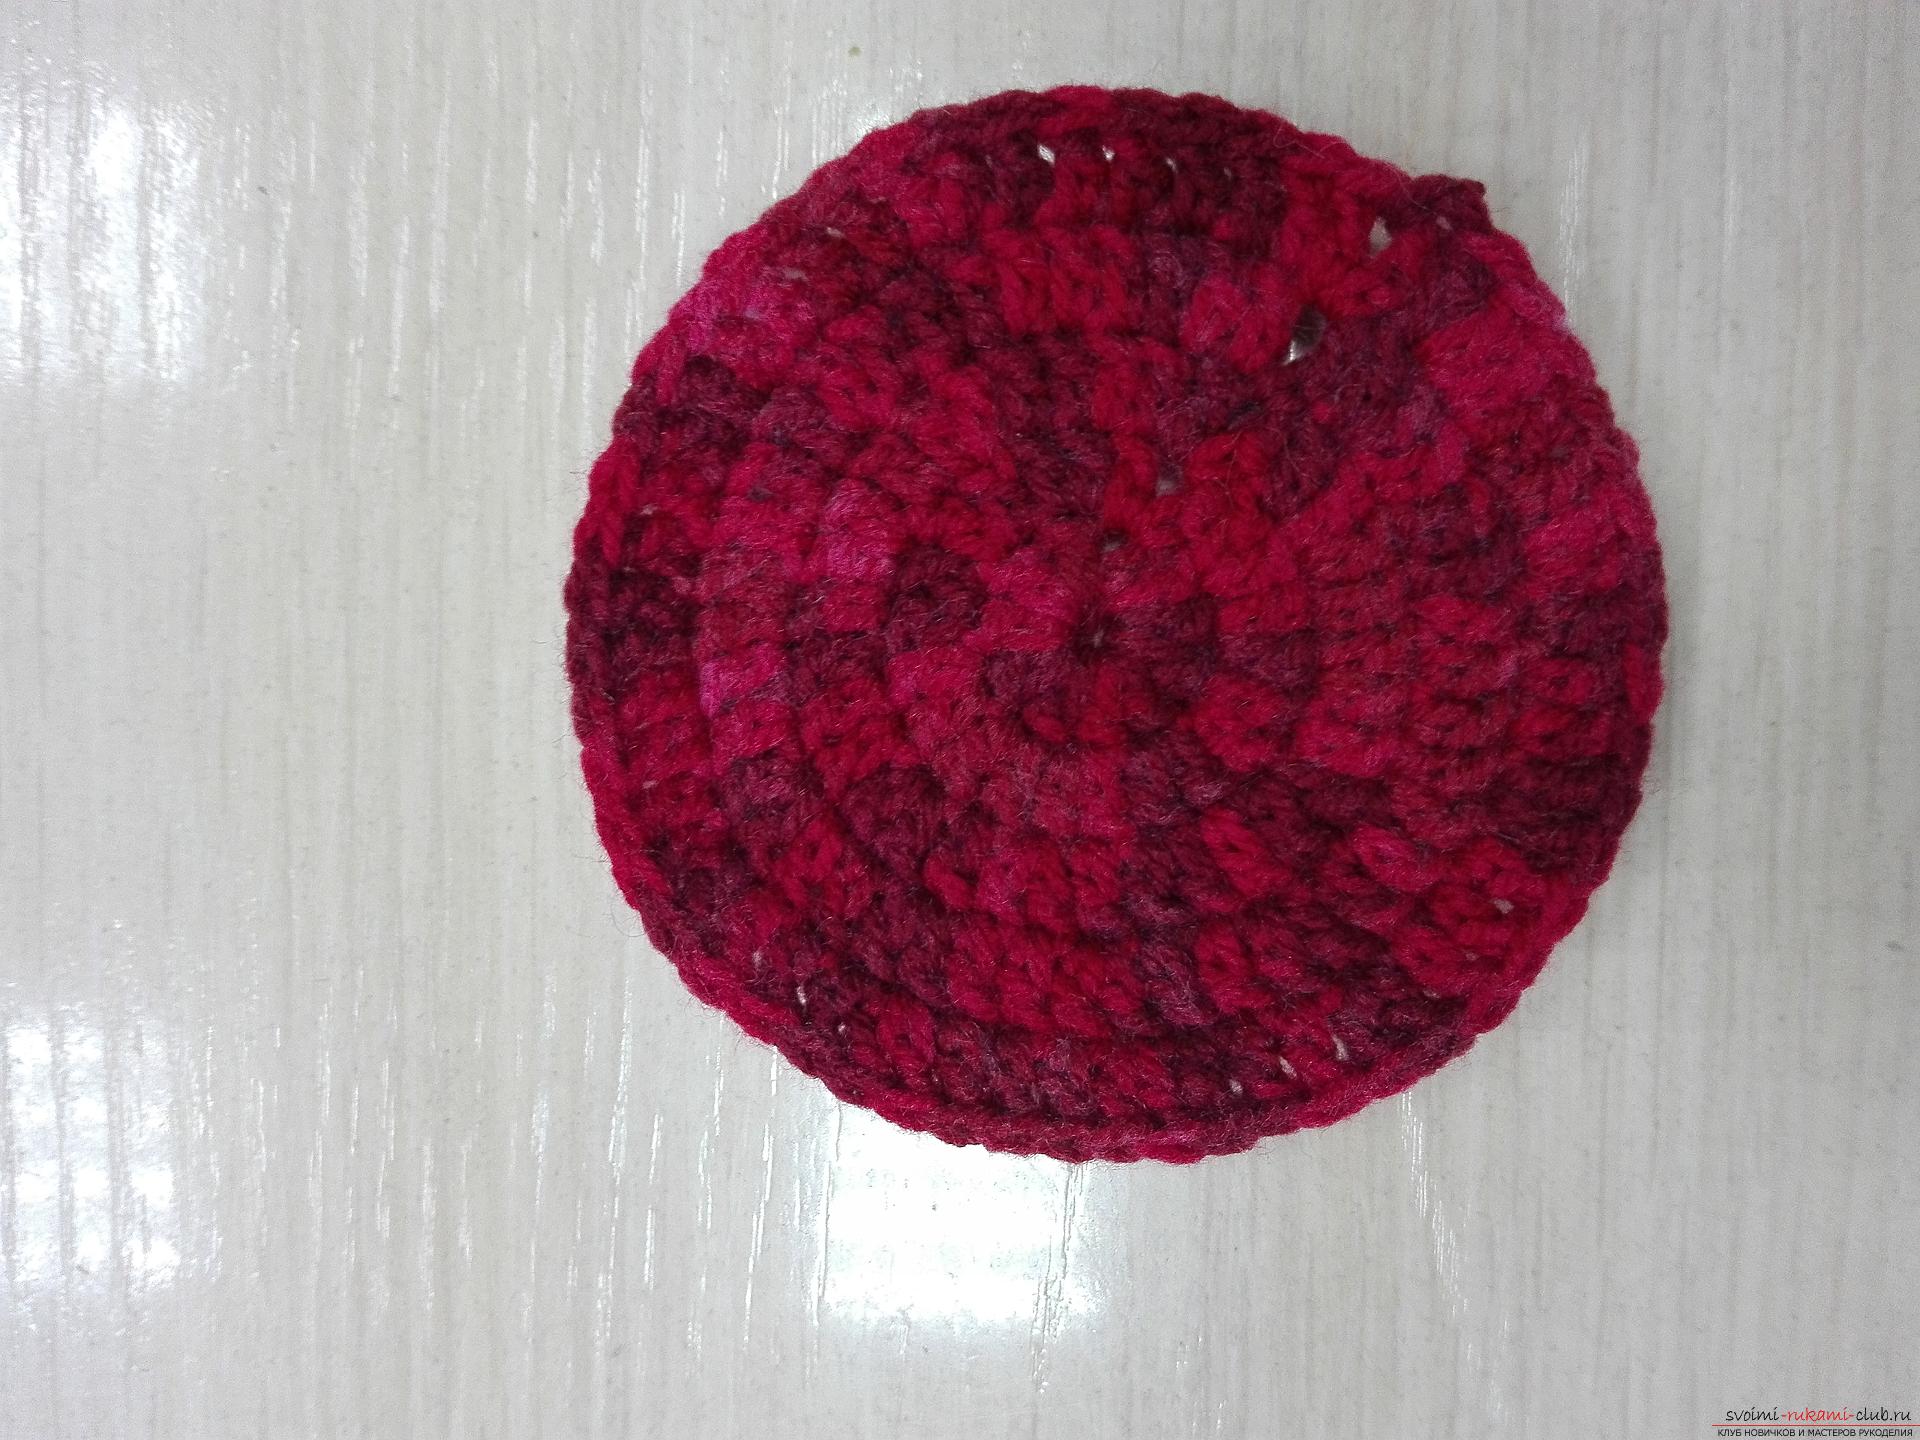 So the mouth of our frog is ready. Now we combine the details, we impose a circle of red color, to the trunk.
 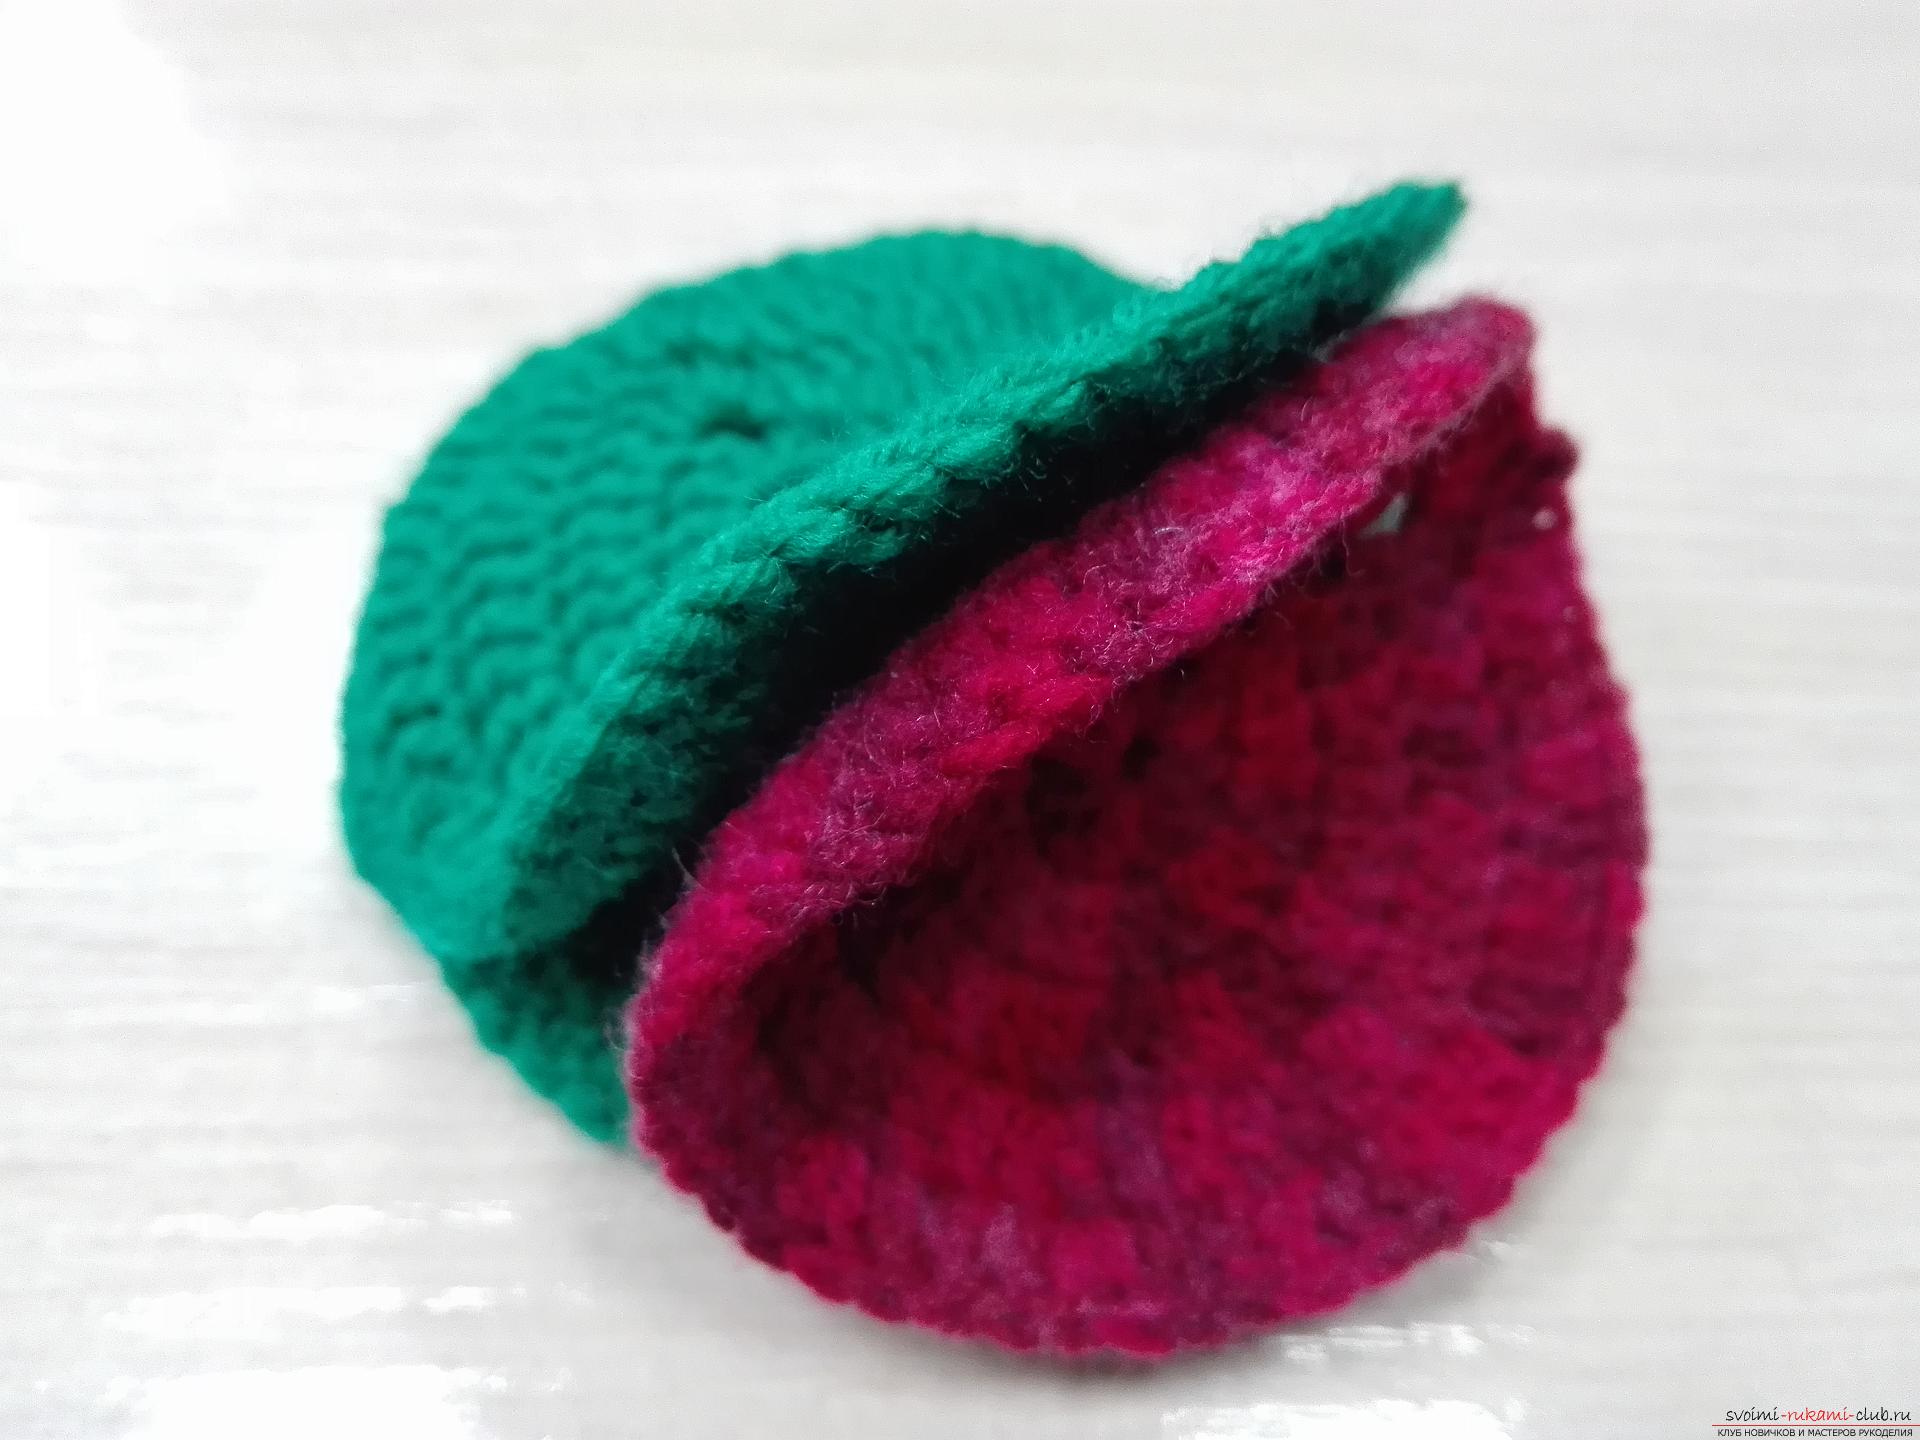 And with the help of Art. without a crochet we tie the upper part of the mouth.
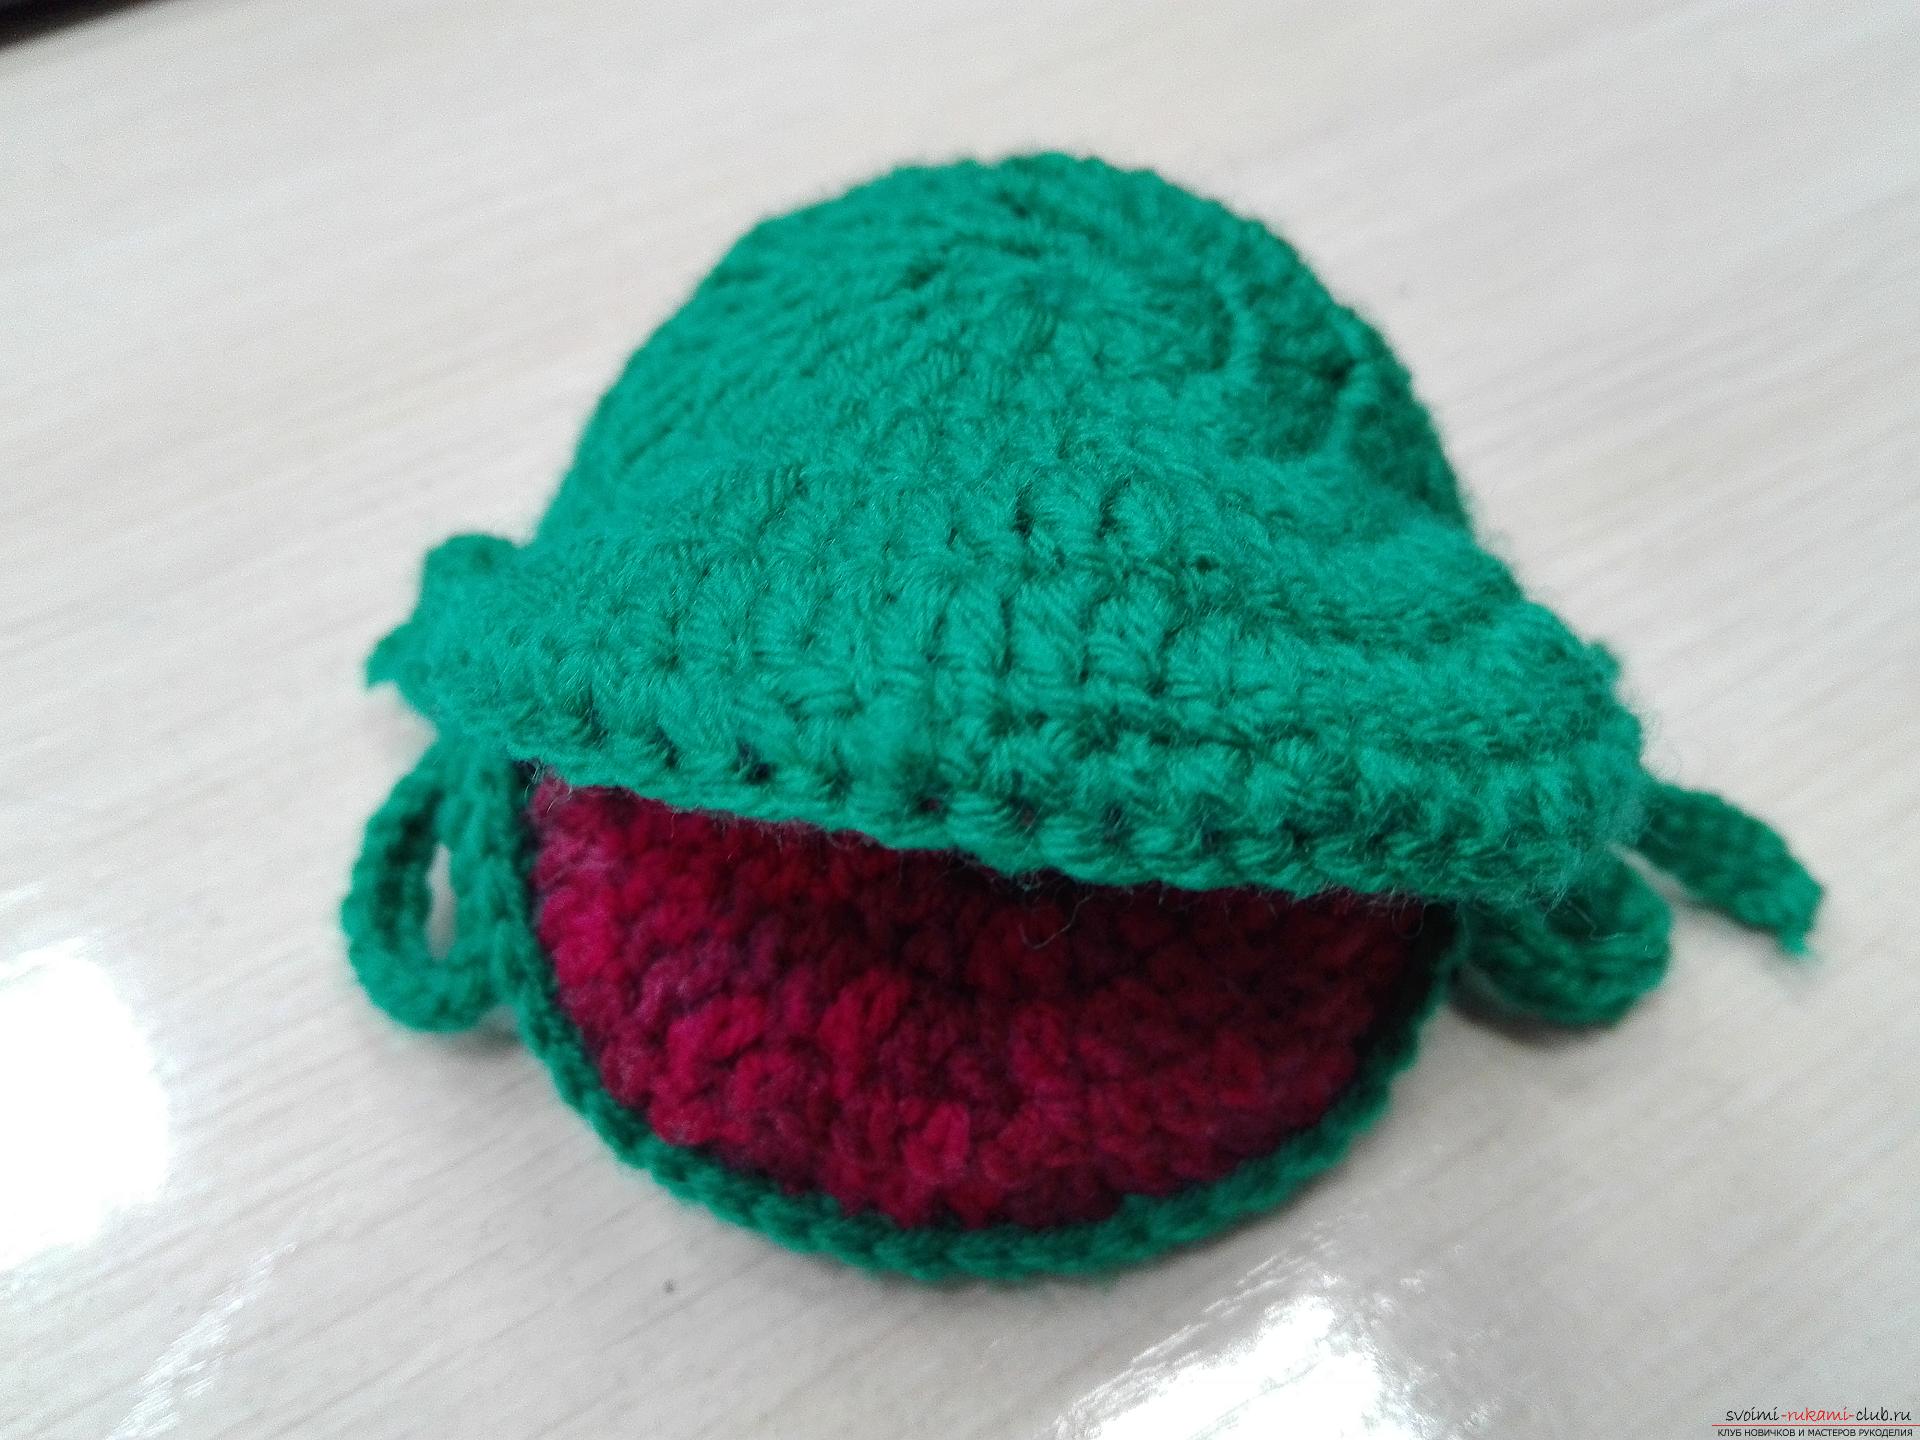
 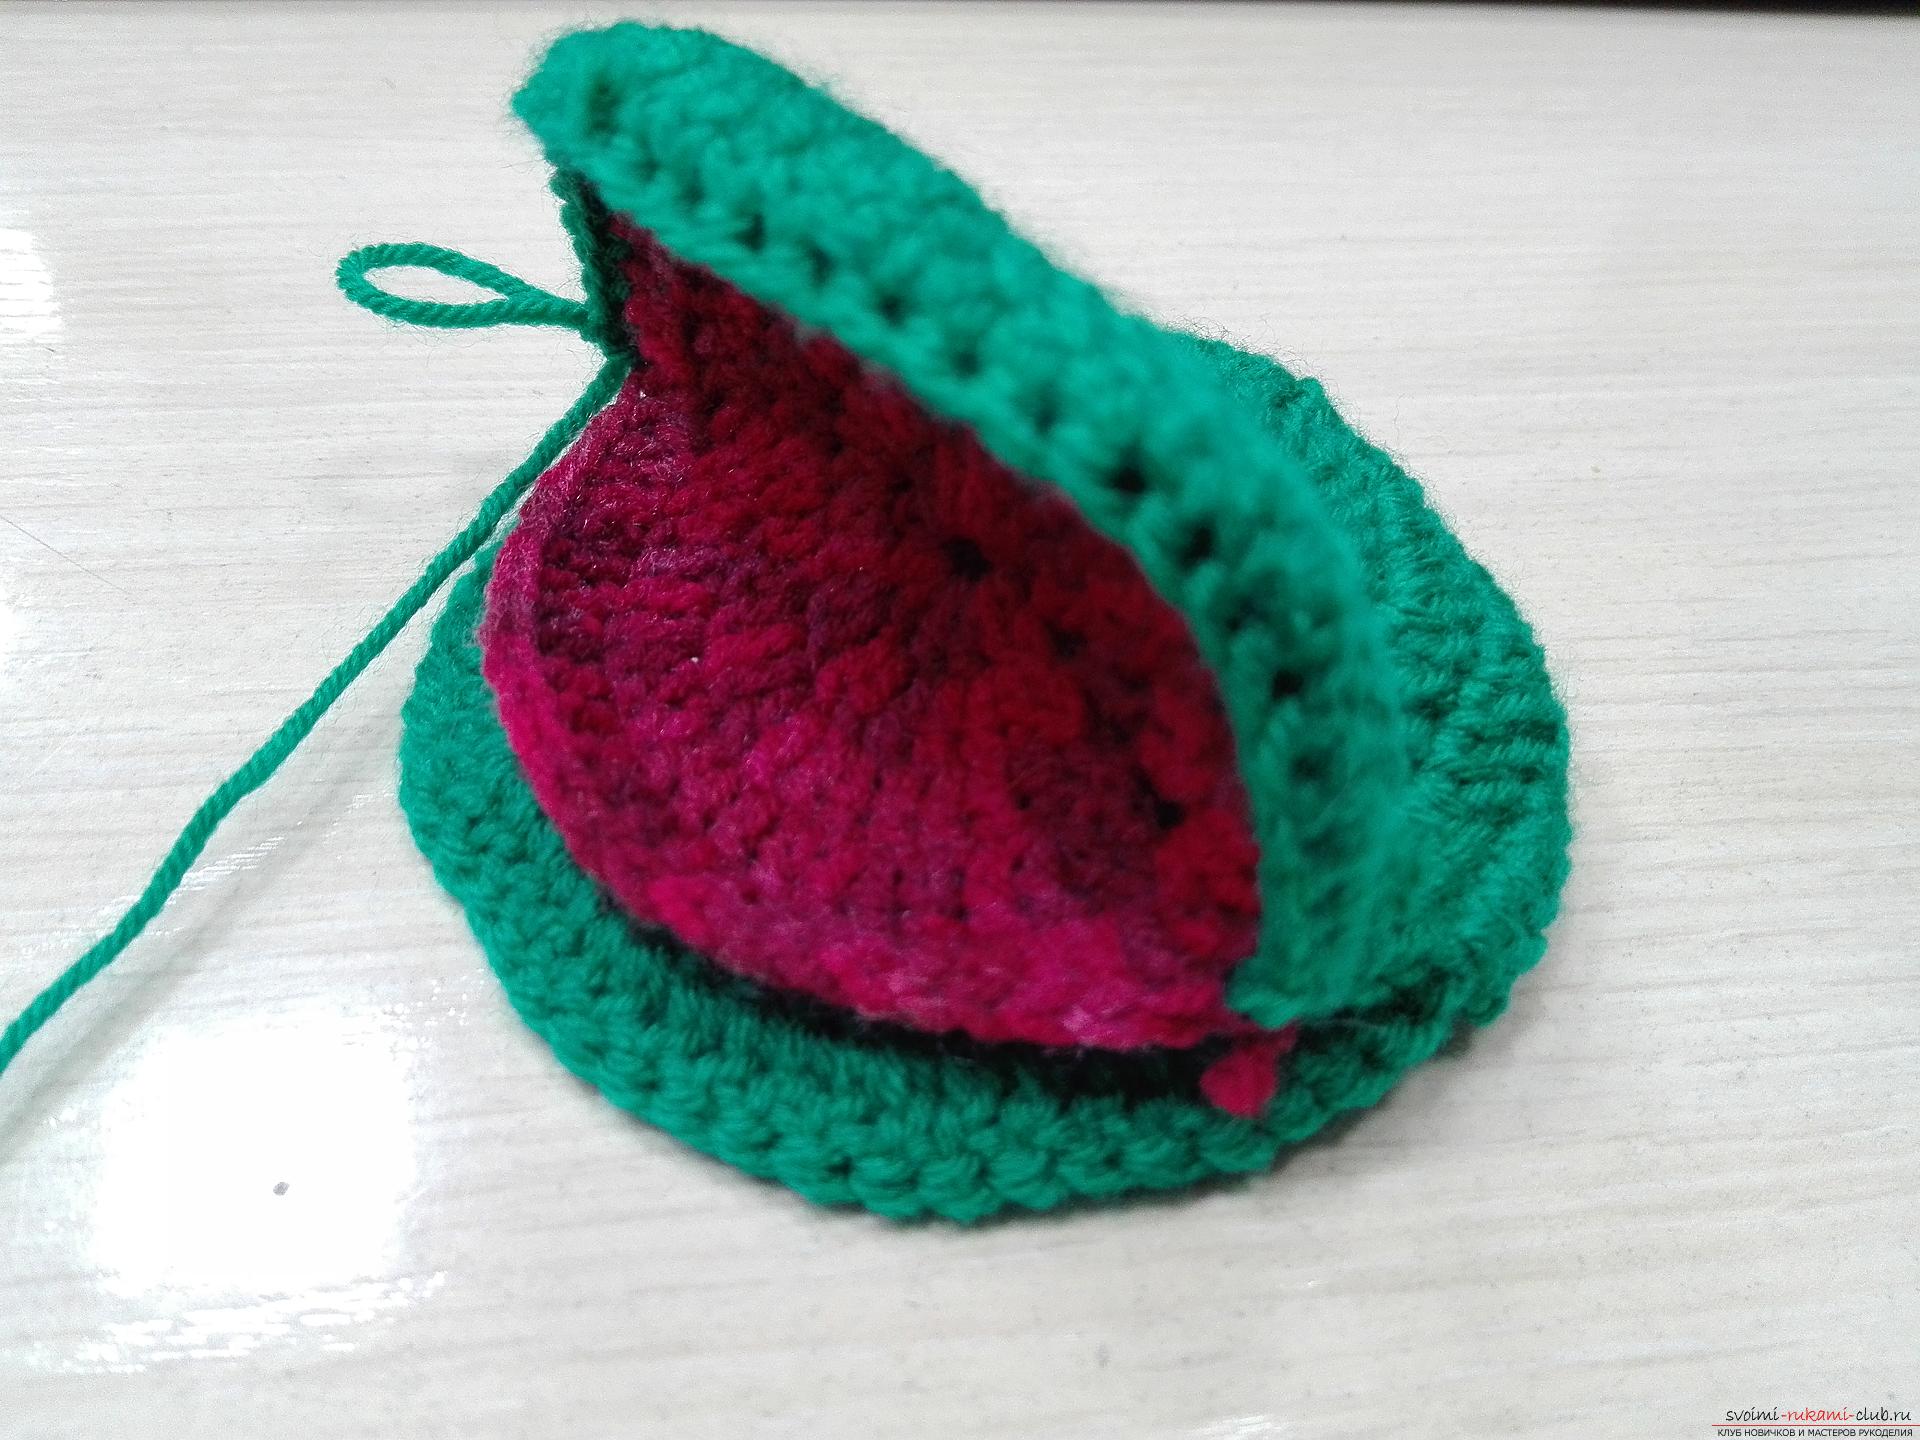 Then we fill the needle bed with a sintepon. And with the help of Art. without a crochet, fix the lower part of the mouth.
  To make our frogs paws, we'll make a chain of 50 hanging loops and tie her art. without a crochet. We have to prepare two such chains.
 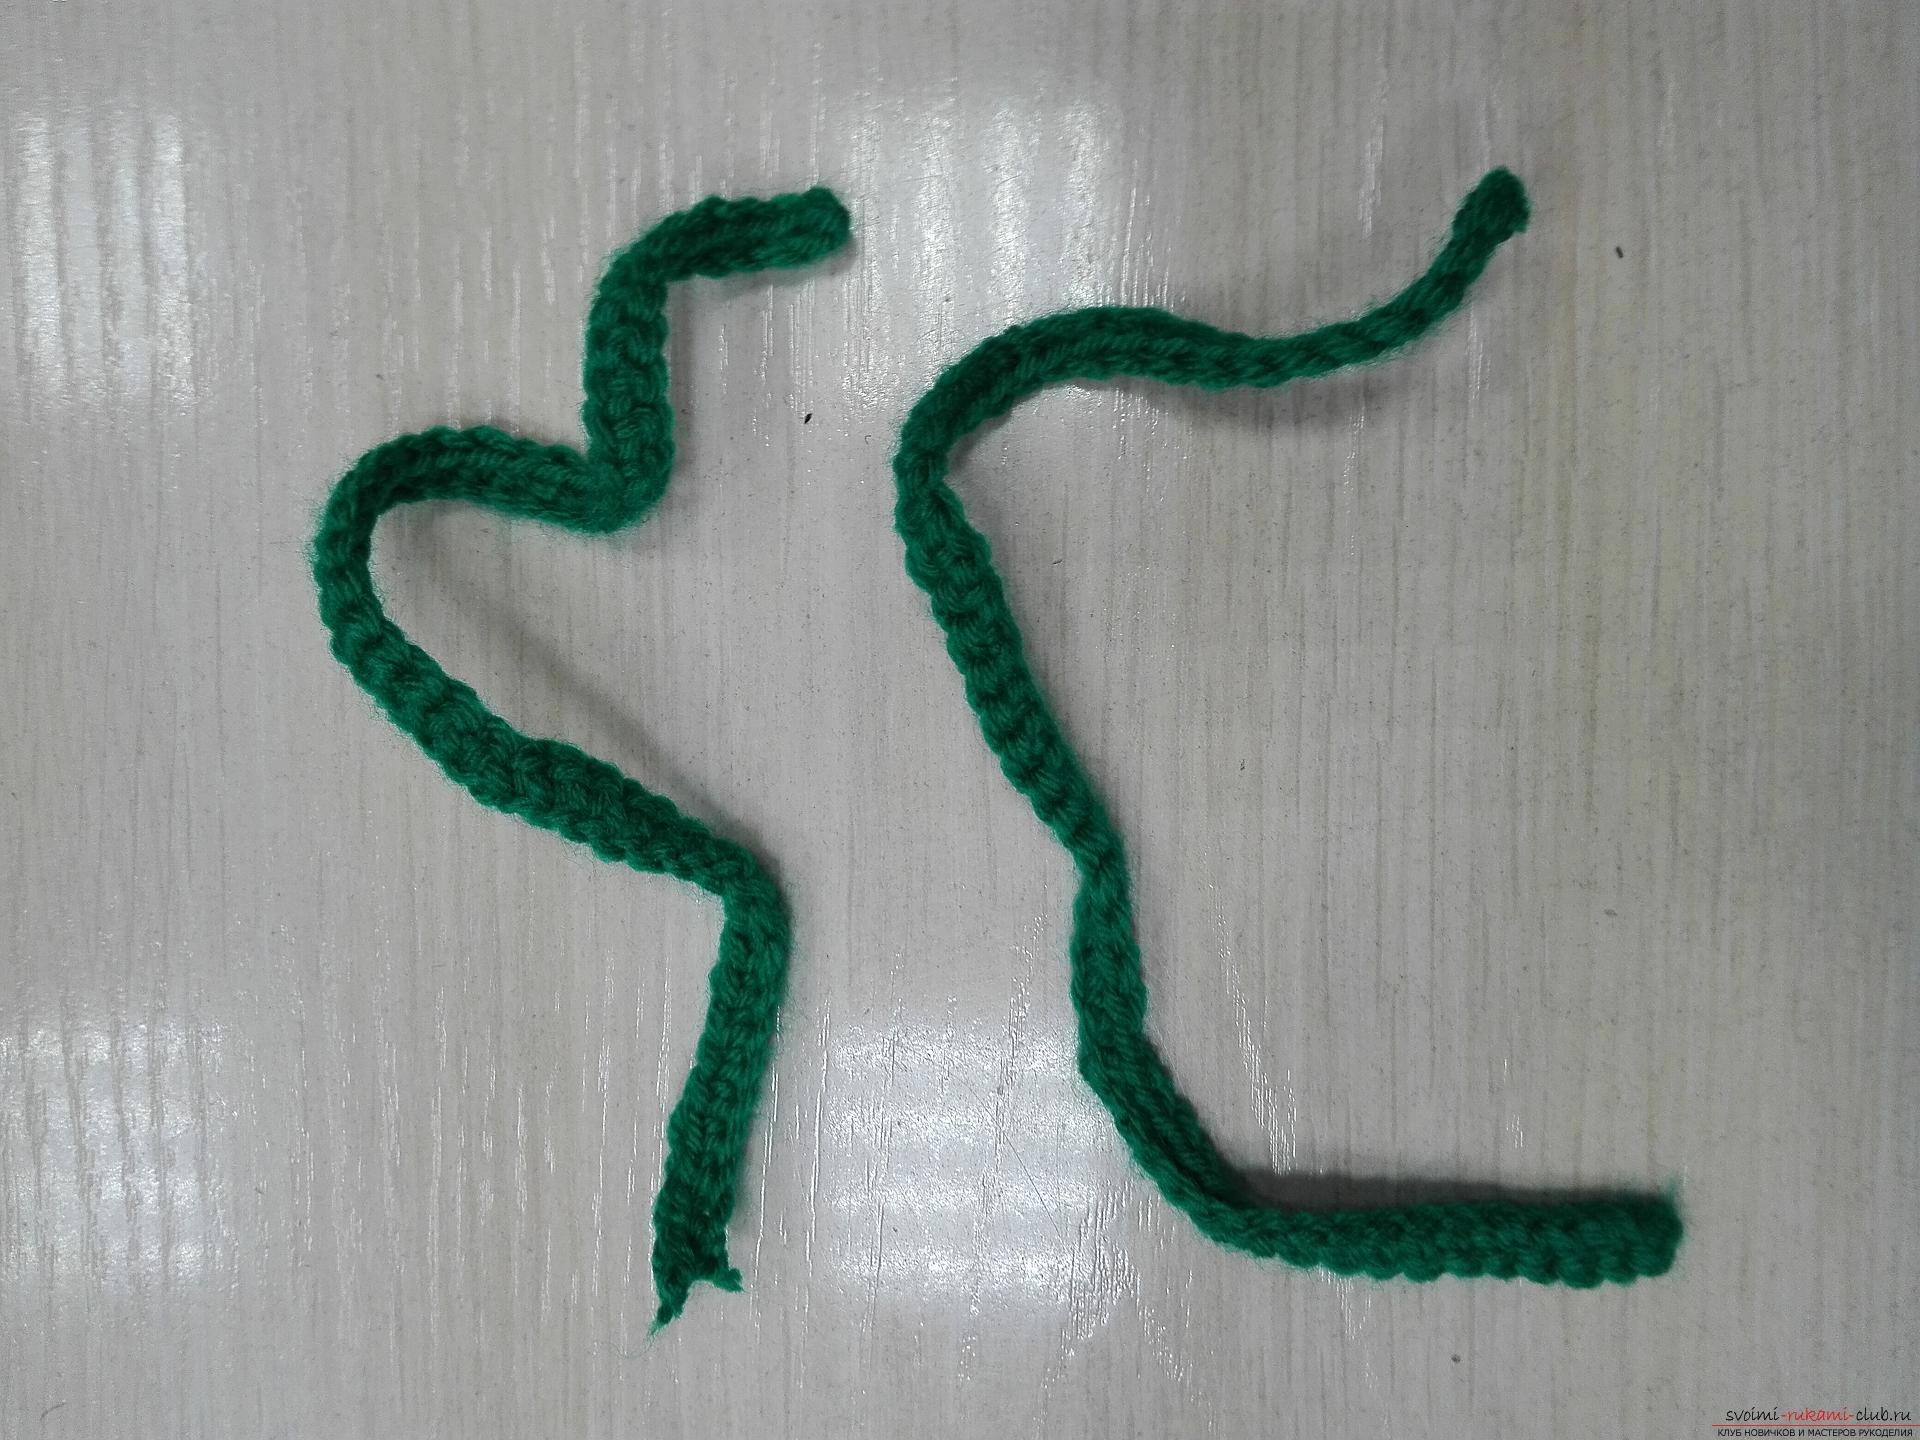 Next, add each chain in the form of a bow.
 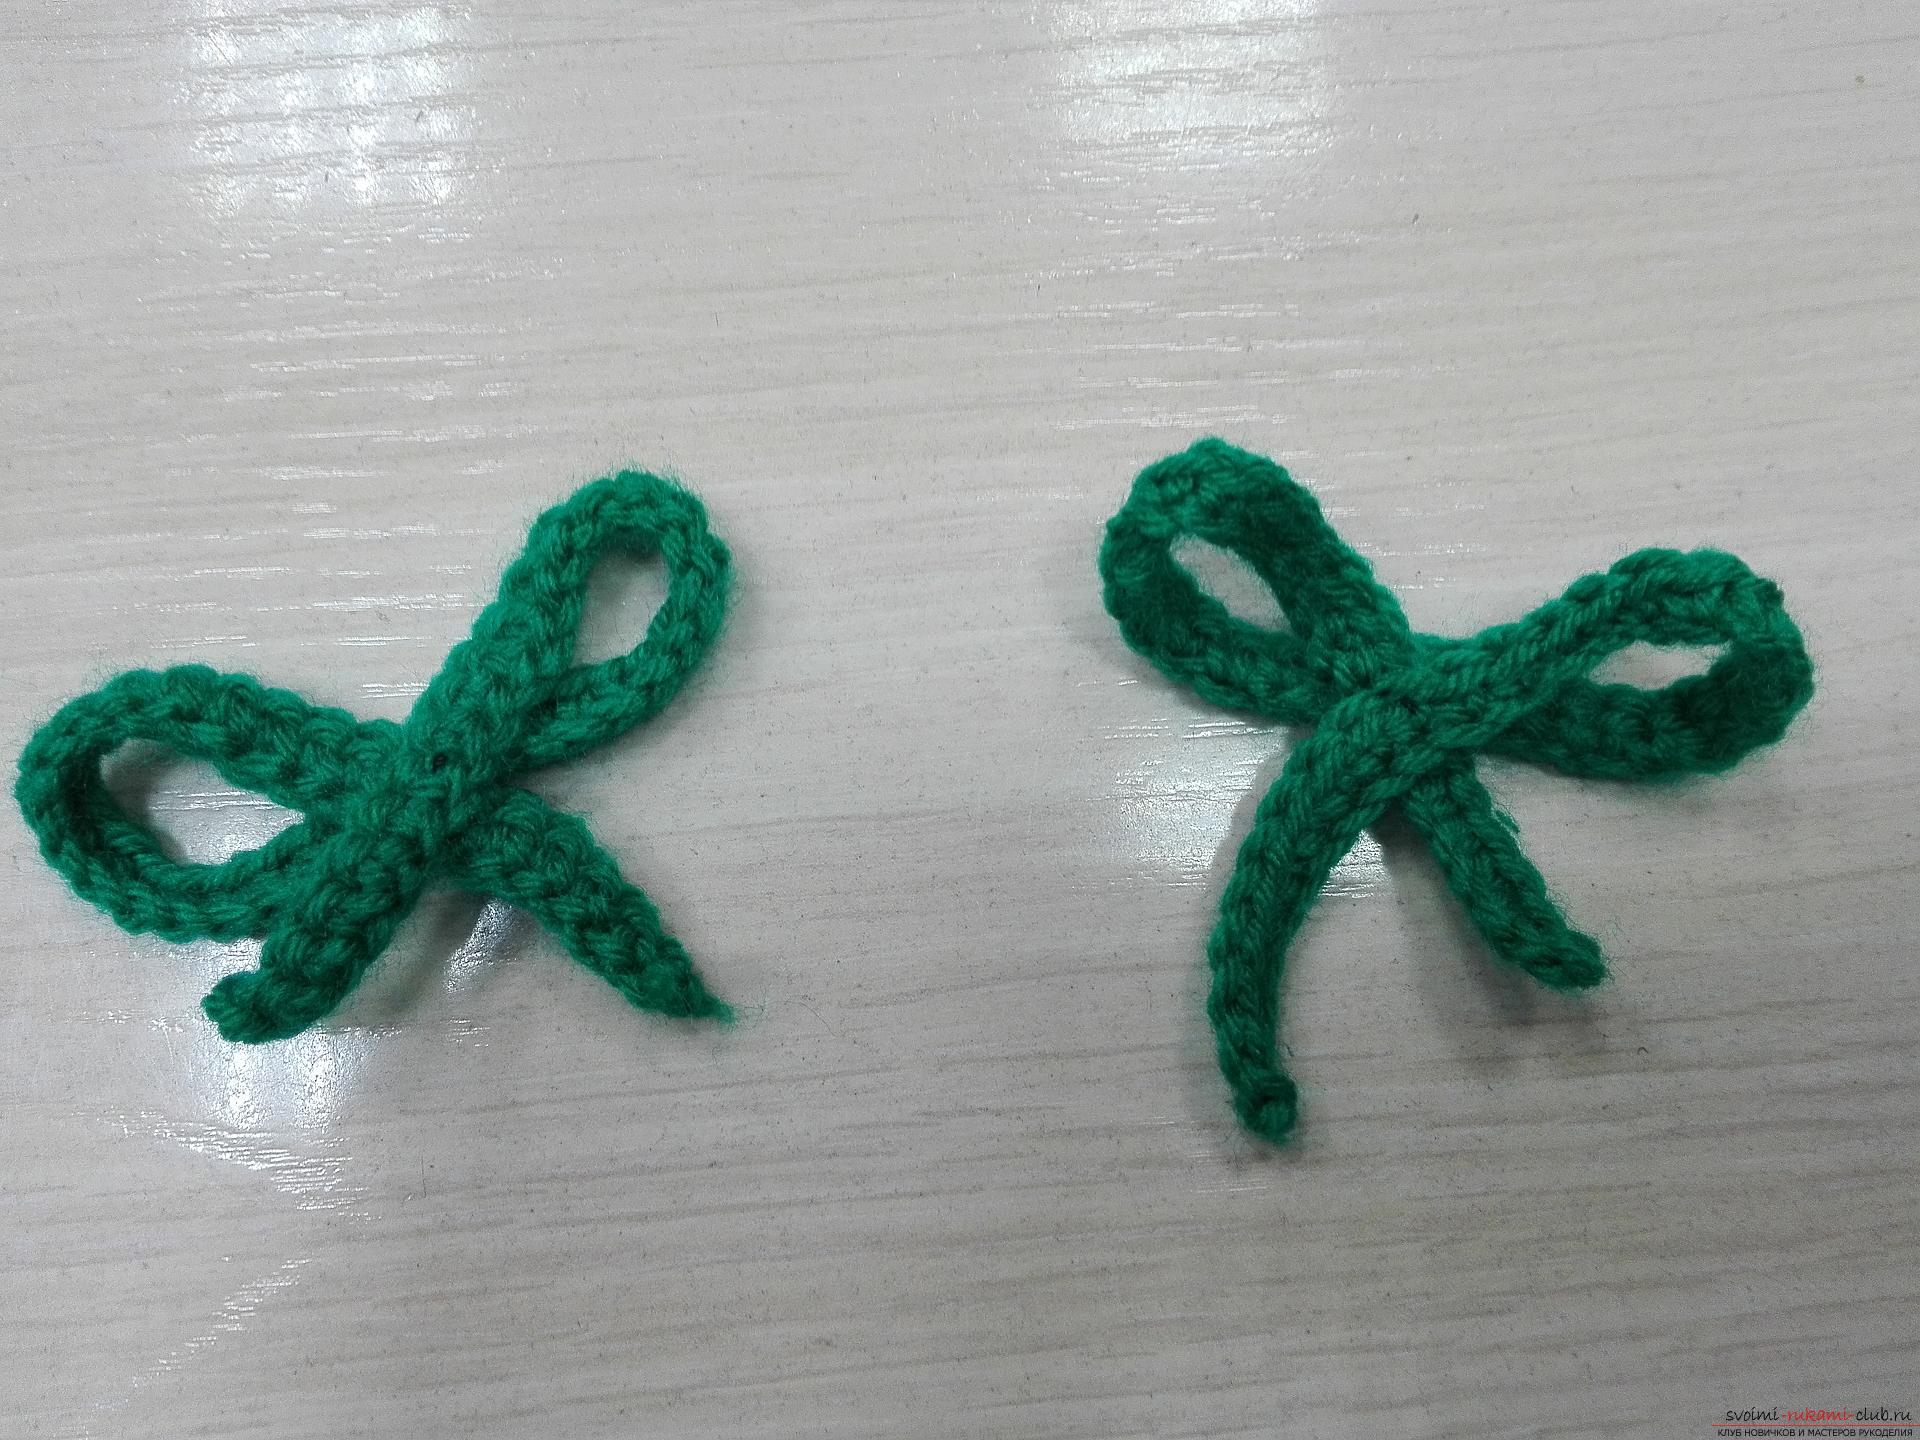 And tie the frogs to the sides.
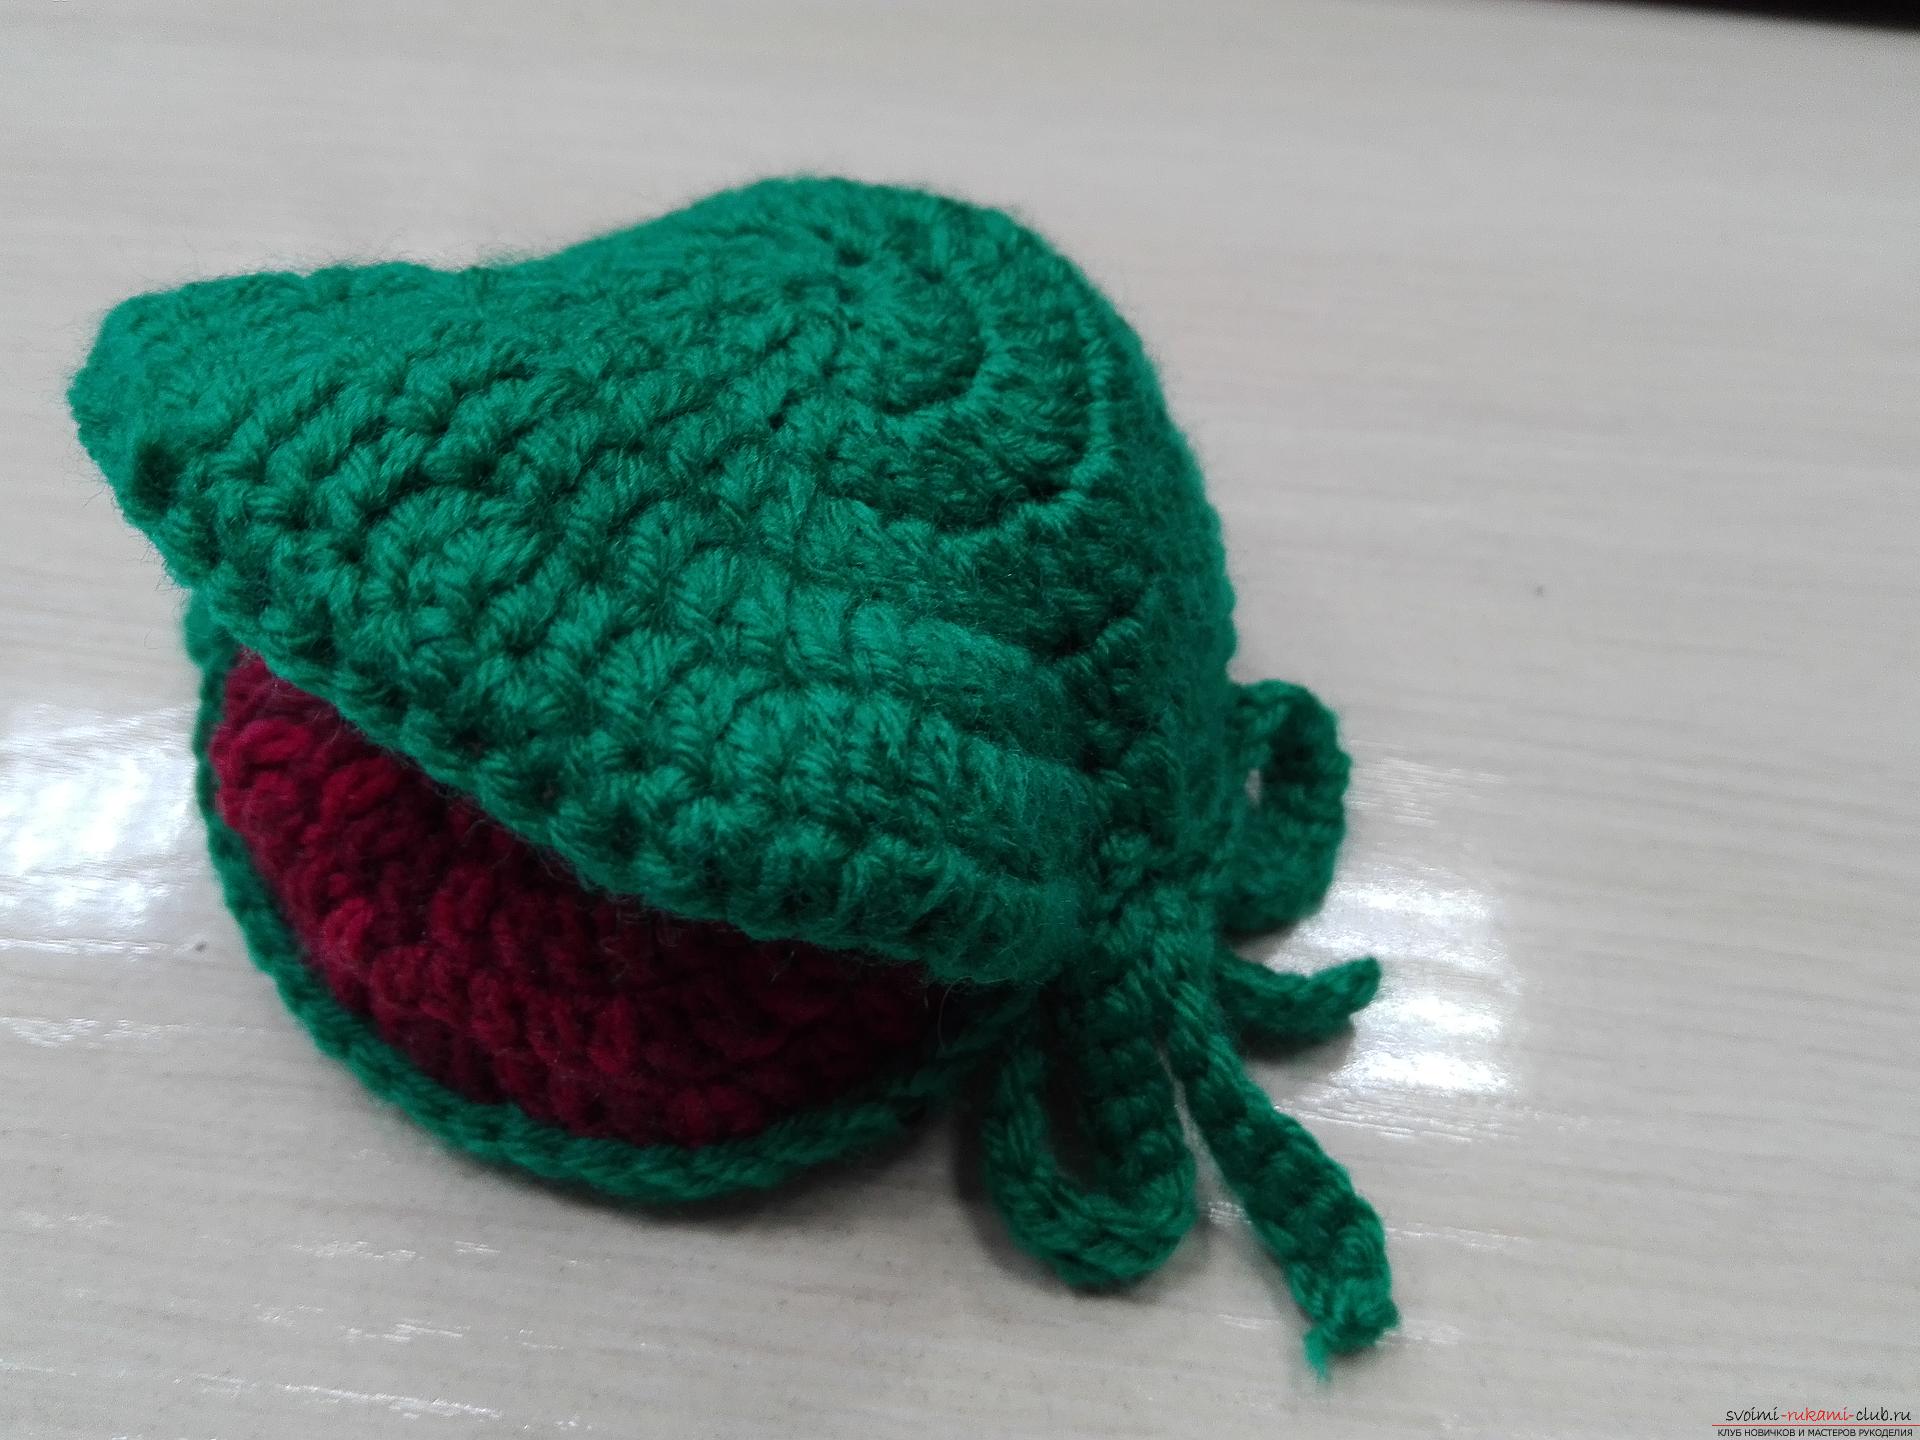
 Well, and the final touch, it's eyes-buttons. With the help of needles and thread sewing eyes. And our wonderful frog needle bed is ready!
 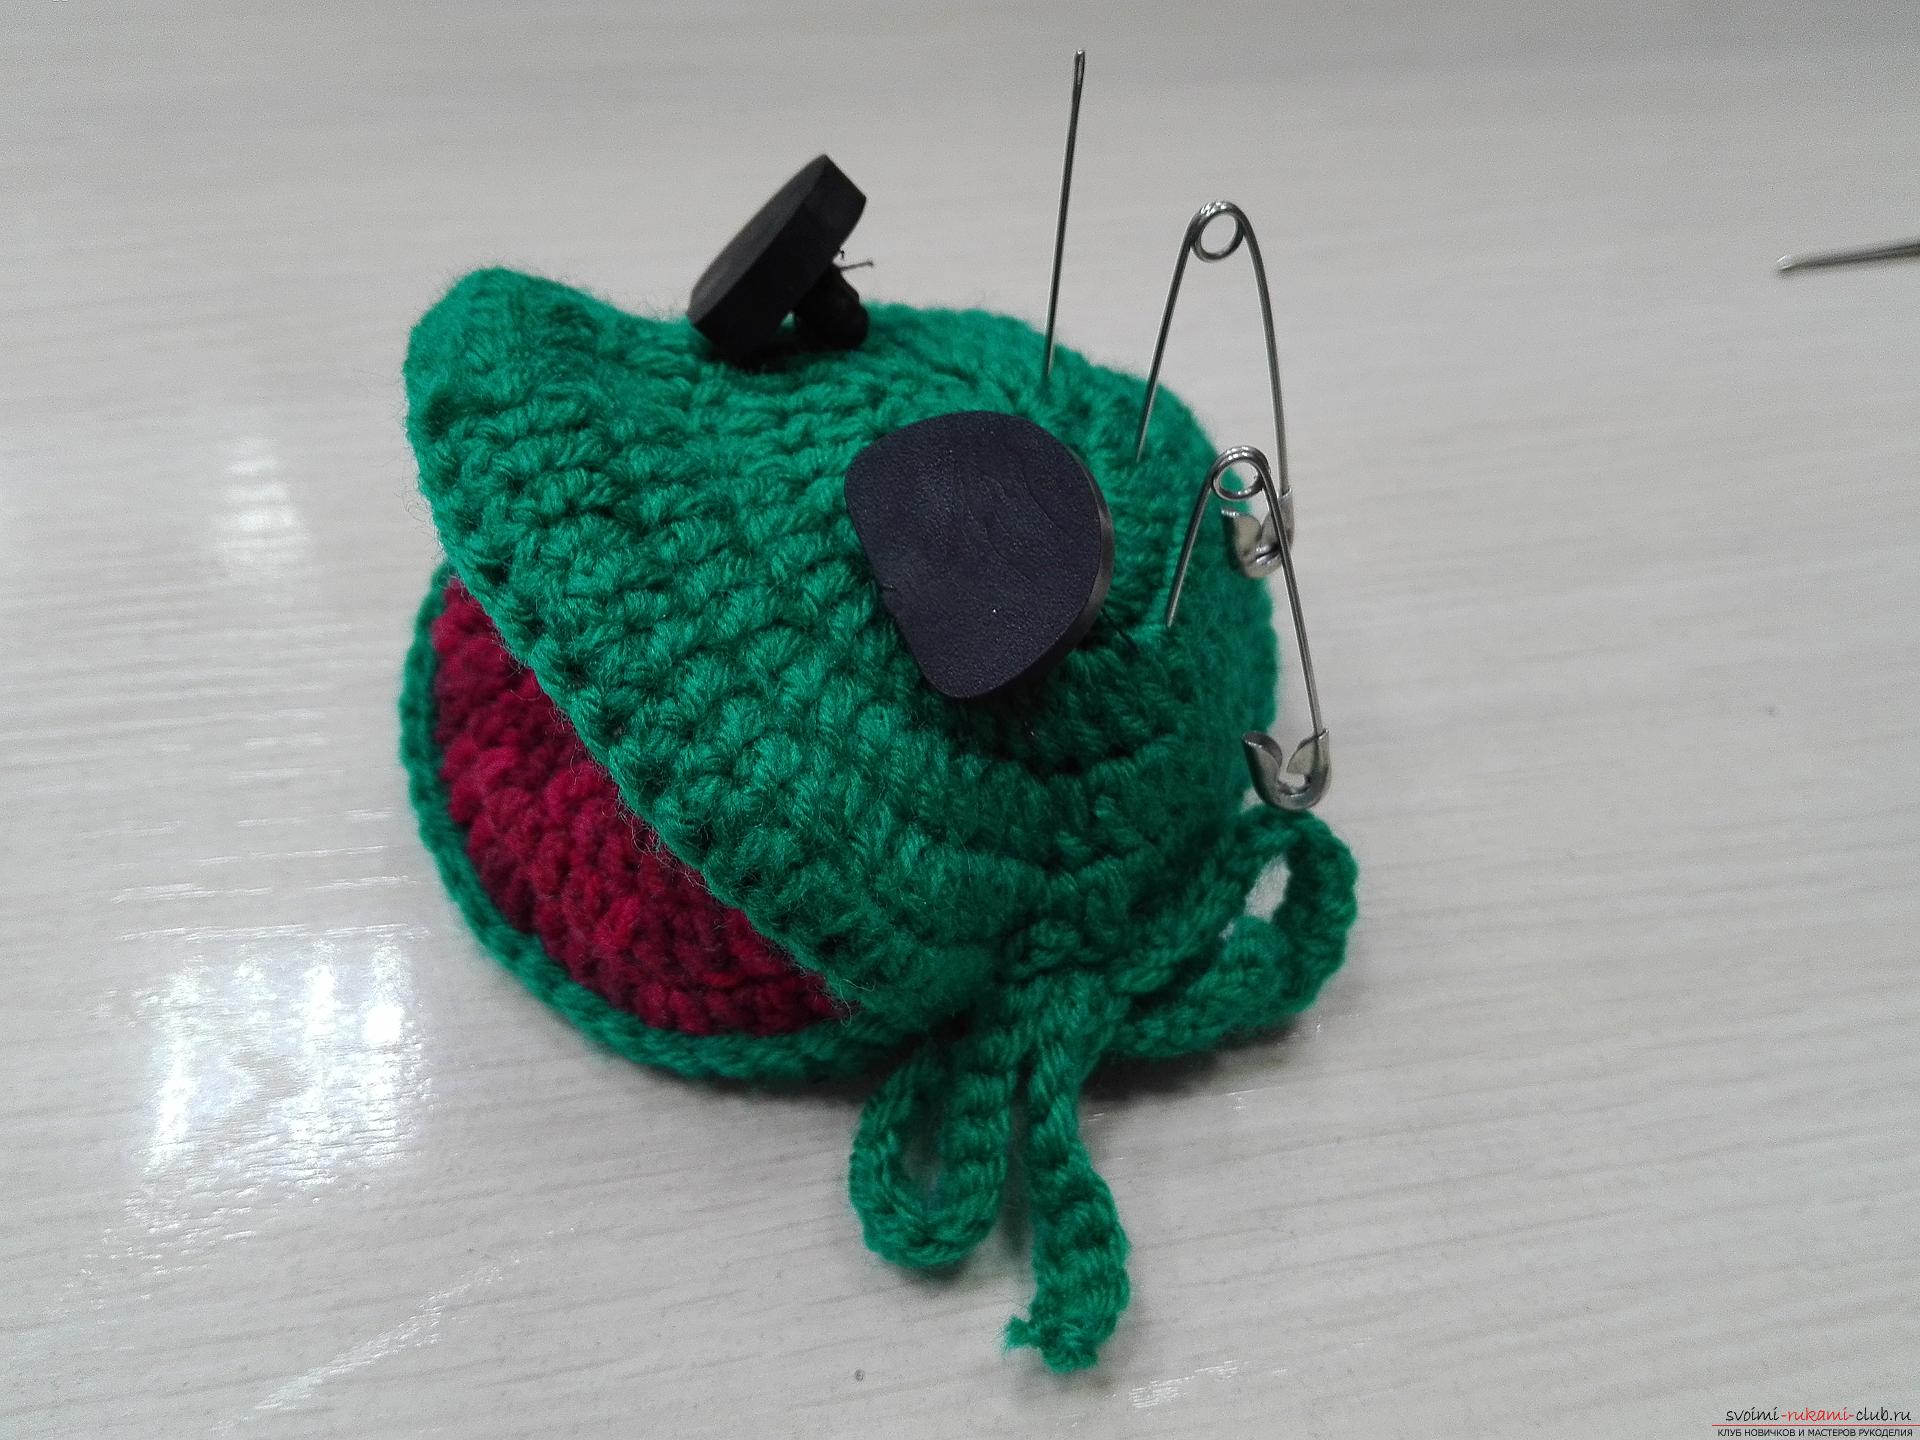 Needle will be a wonderful gift and decoration of the desktop of any needlewoman! It would seem such a trifle - needle bed. But even it can become an interesting and unusual thing!
Comments
Related posts:
 Master-class on crocheting with photo and description will teach knitting of children's pinets
 Master-class with detailed photos and step-by-step description will teach how to crochet a toy minion
 Master-class with a diagram, photo and description will teach knitting crochet for a girl with a crochet
 Master class with photo and description will teach crochet crochet, which will be understandable for beginners too
 This master class will teach crochet toys, you can create a cat crochet.