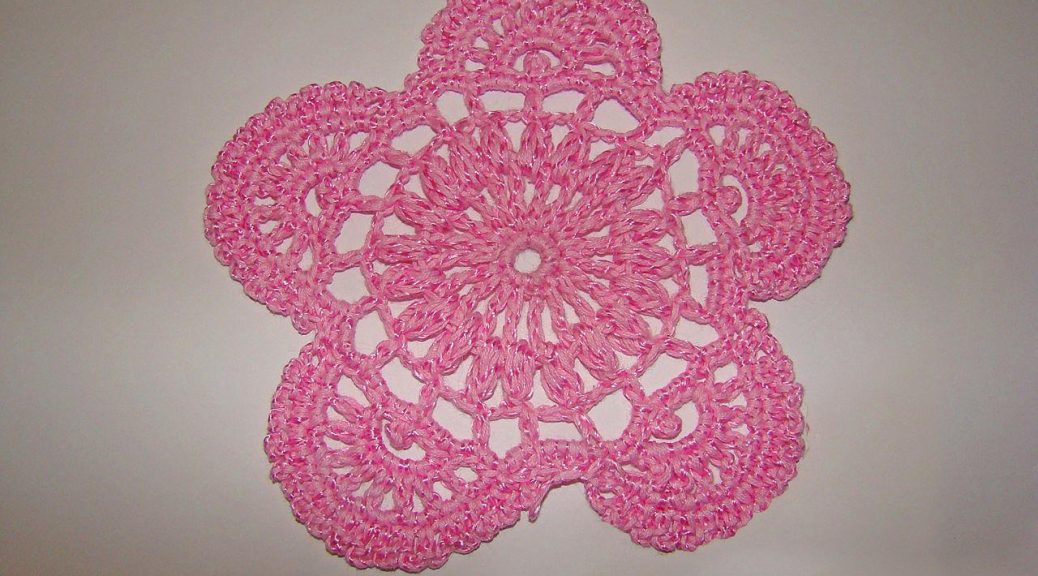
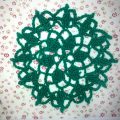
Master-class knitting with a diagram and a photo will teach crochet an openwork flower
For knitting the motif I use the yarn Summer and the hook number 1.5. 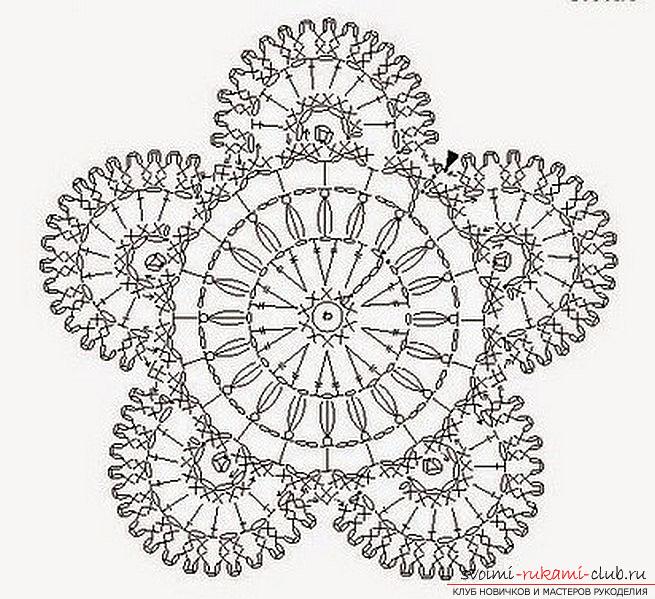 Scheme 1. Getting started with a set of chains of 5 air. loops, connecting which we close the ring connect. the loop (SP). In the resulting ring we sew 10 half-columns, starting the row with 1 air. loops (VP) of lifting, we finish a number of connections. loop.
  2. In each half-column of the first row, we fasten two bars with two capers (CC2N), between which we make 1 VP each. We begin the series with 5 VPs, 4 of which replace one CC2N, we finish a series of joint ventures.
 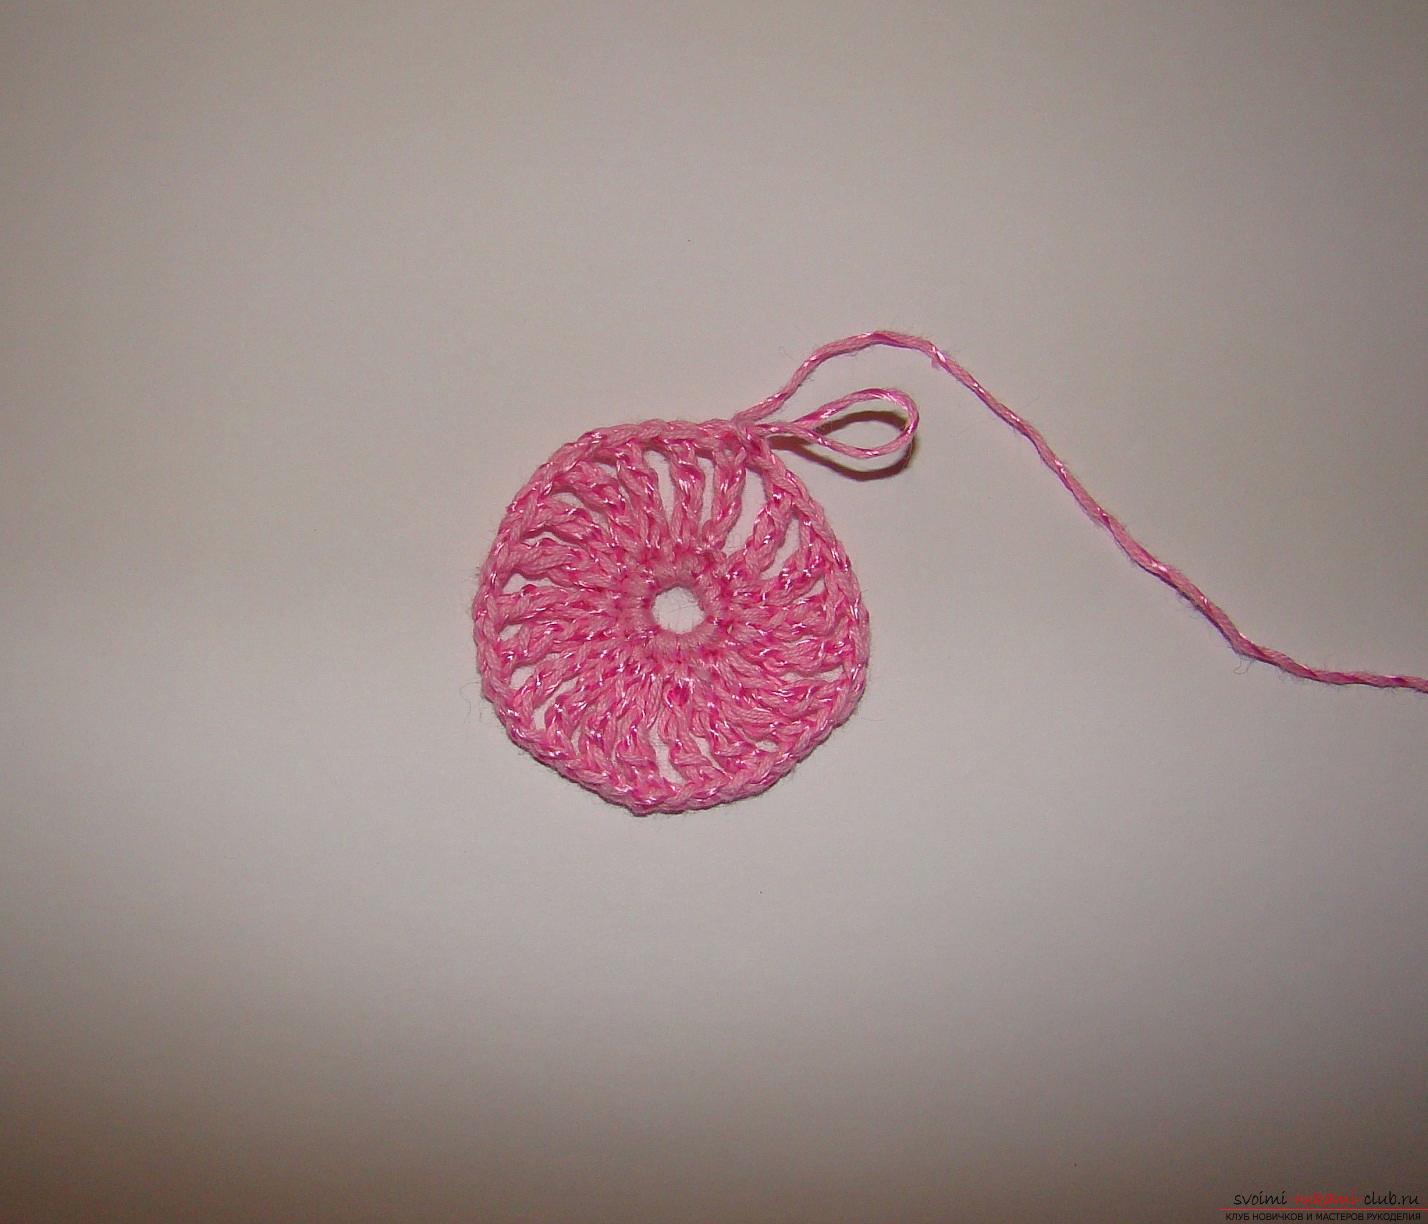 3. In the third row we knit lush pillars with a crochet, do this between each CC2N of the second row. Between lush columns we knit 2 VP. To knit the first lush column we stretch the thread to the height of the CLS - this will be our first gigantic COS, then we make a cape, insert a hook between the two CC2N of the lower row, grab the thread and extract it to the height of the first elongated loop, repeat again, then grab the working thread and stretch it through all the loops and nakidy on the hook, we make one EP. Our magnificent CLO is connected. For knitting the next lush STS, we no longer extract the thread to the height of the CLS, since we are already at this height, and we immediately make a cap and insert a hook between the two CC2N of the lower row, grab the thread and extract it, so repeat 2 more times and then knot all hinges and hooks on the hook together. So we knit to the end of the row.
 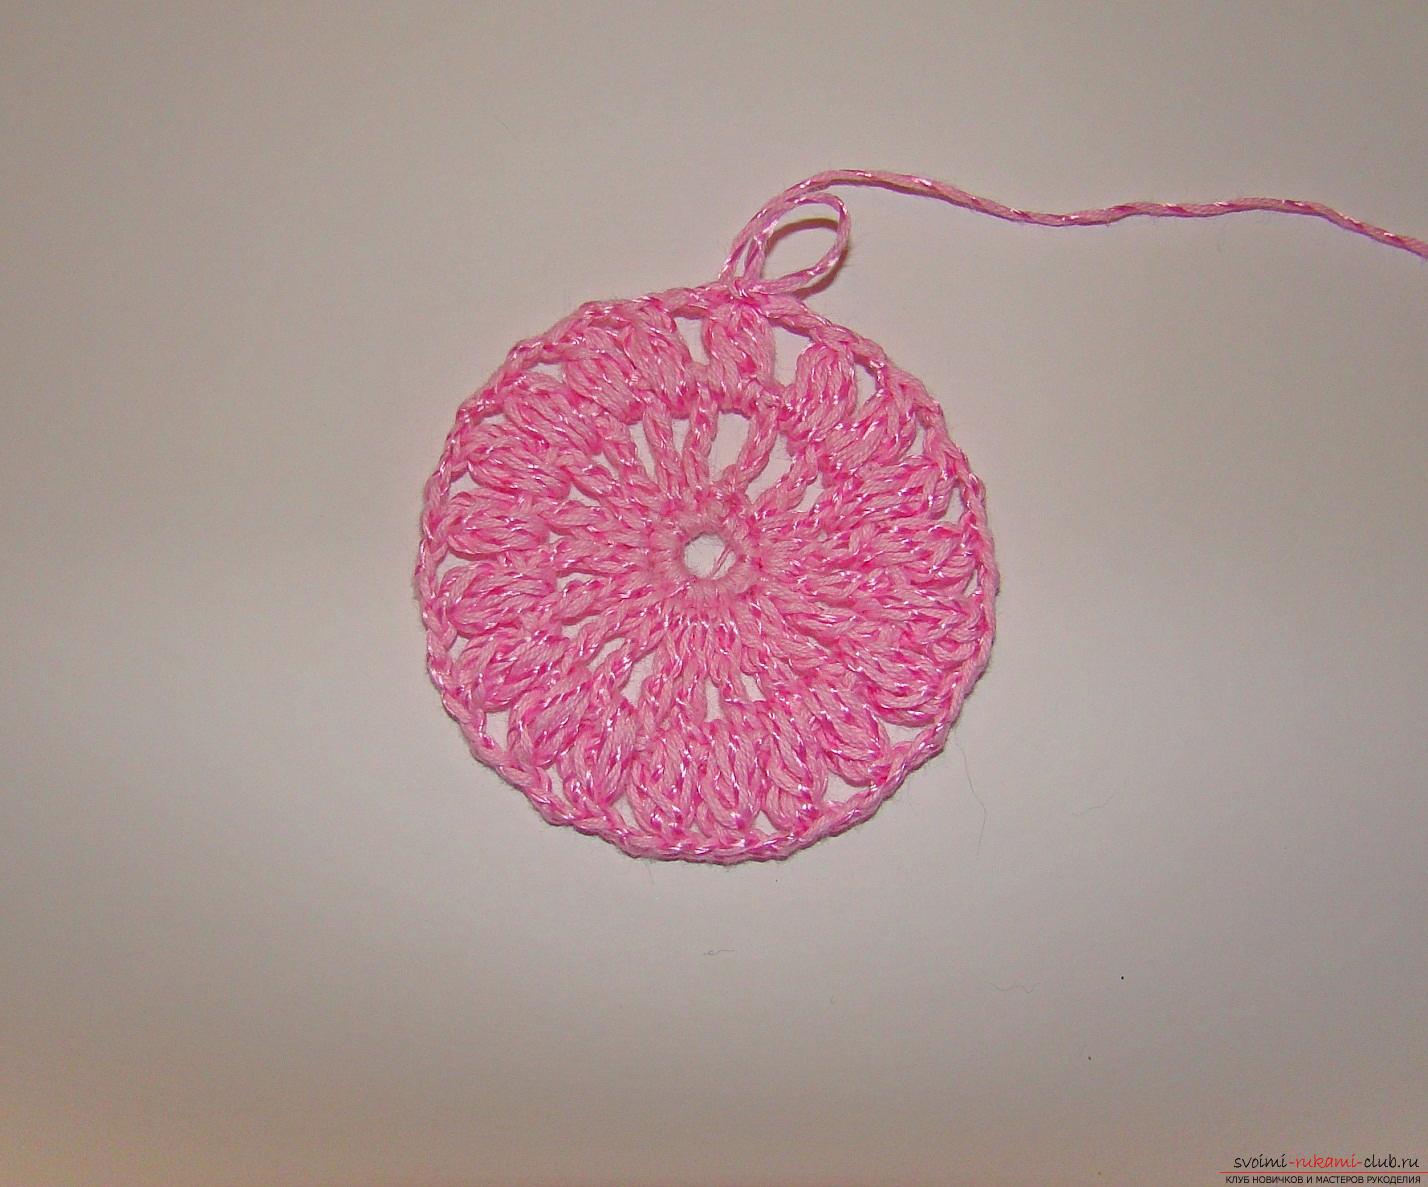 4. In the fourth row on the top of each lush column we knit a column without a crochet and 3 VP.
 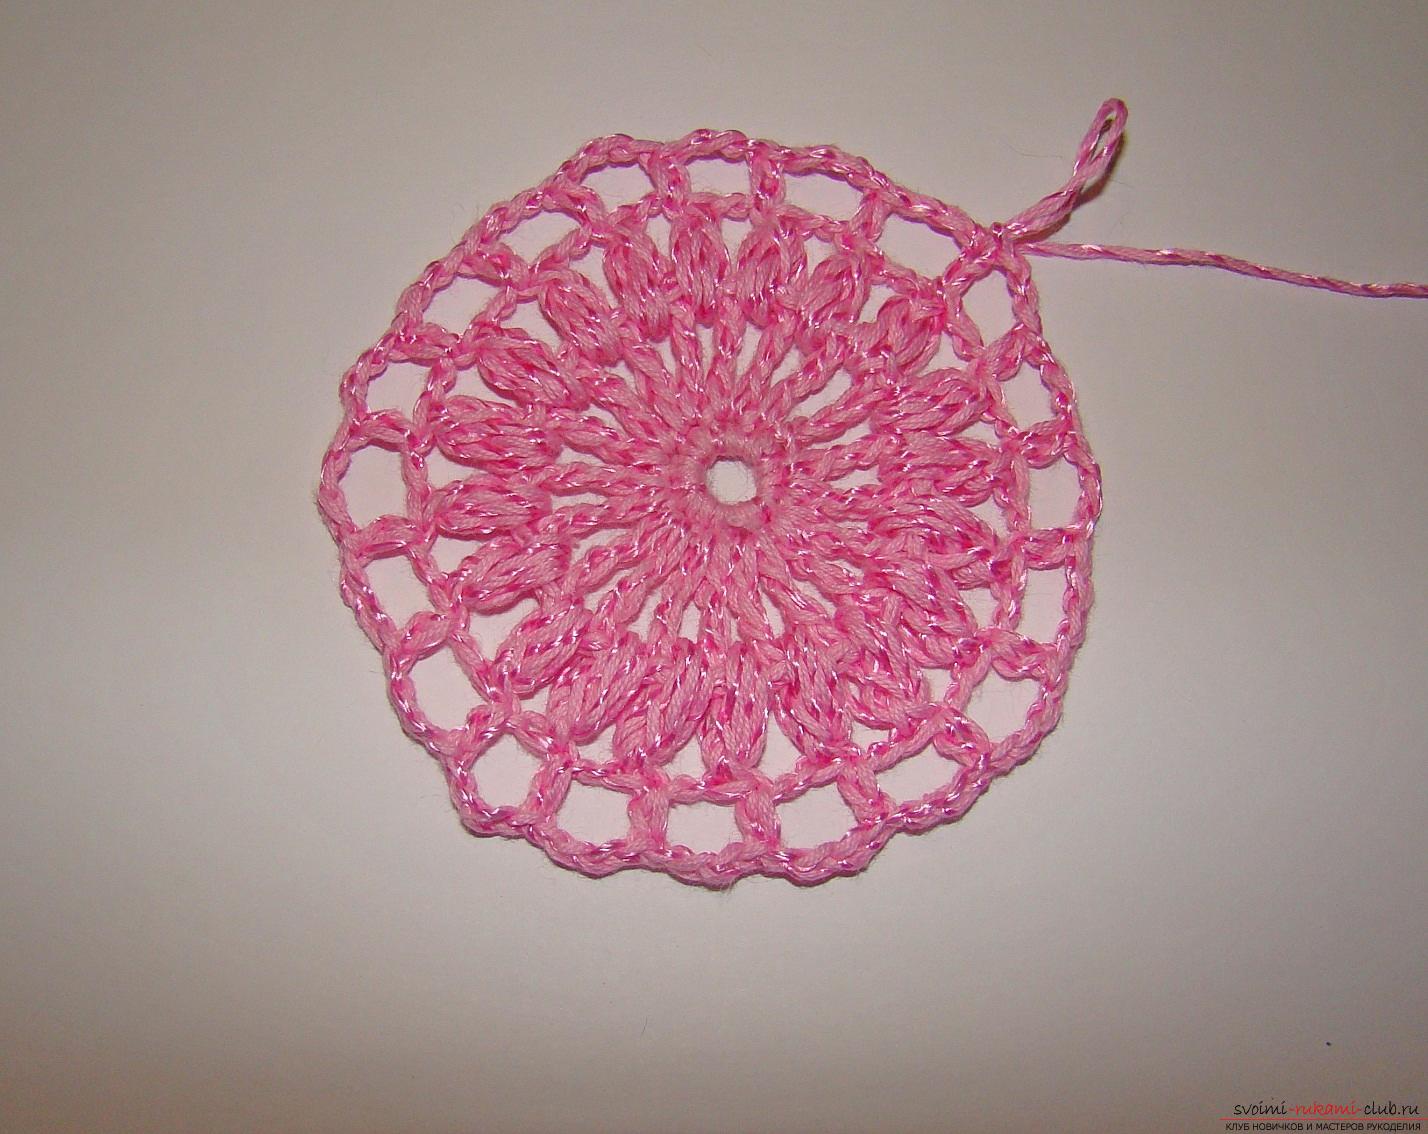 5. Next, we will knit petals, each petal is knitted separately. We knit according to the scheme: 4 half-columns in 2 VPs of the bottom row, then we make a peak of 3 VP, then we knit 2 half-columns already in the other 2 VPs of the bottom row.
 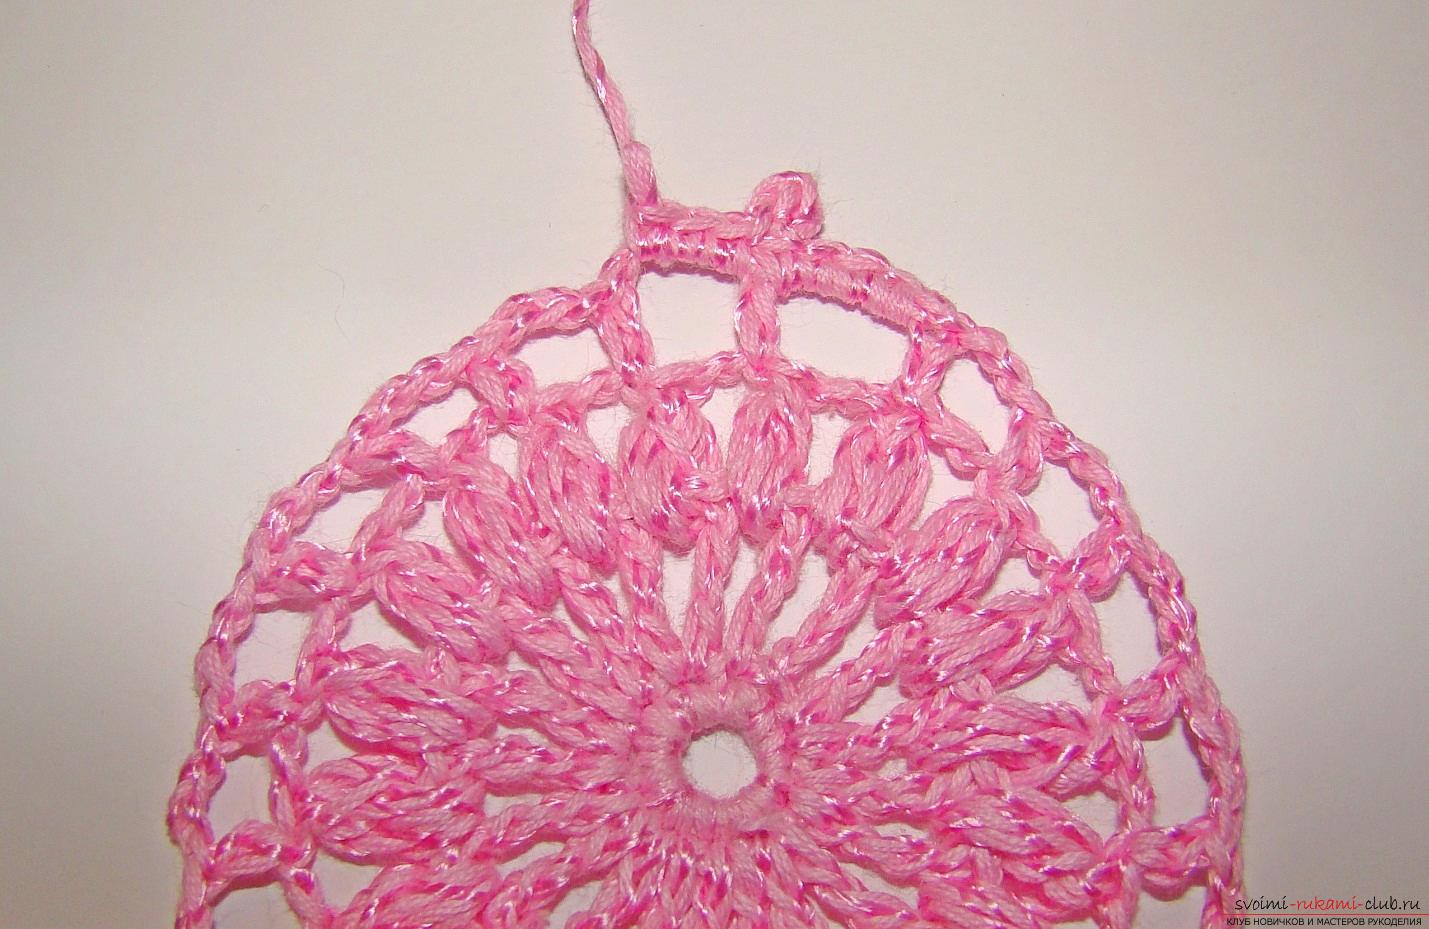 6. By connecting them, we turn the work inside out, we knit 5 VPs and fix their joint venture, returning to 4 half-columns back.
 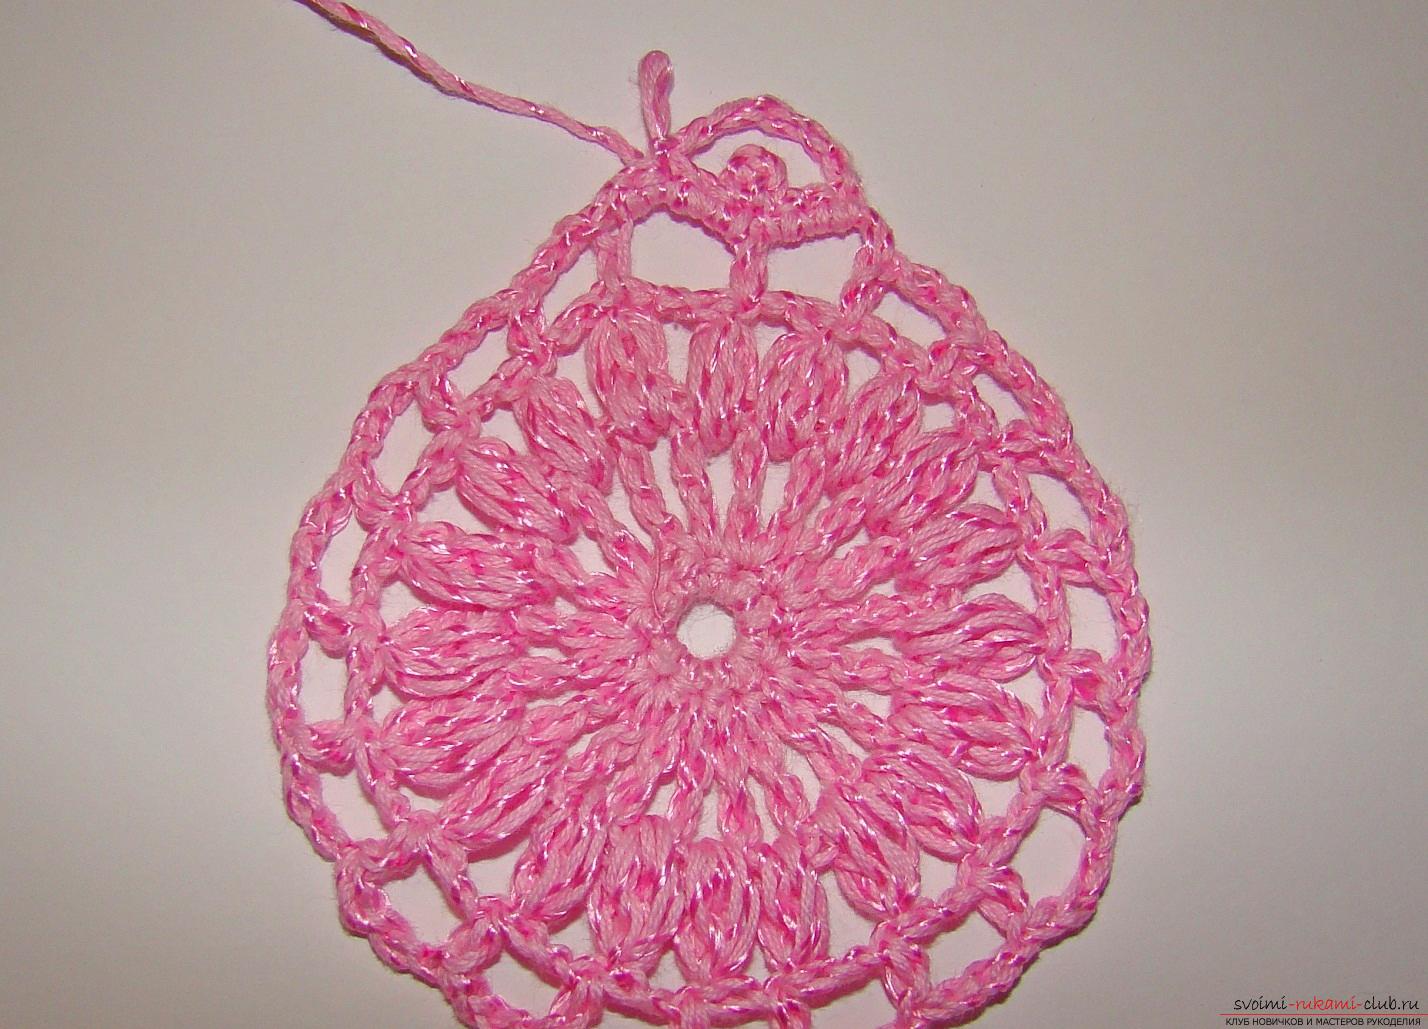 7. Again, turn the work, and already on the front side we begin to knit in an arch of 5 VP 8 pololostbikov. Having connected them, we knit 2 half-columns in 2 lower-rank EP so that we have 4 half-columns in the two lower-rank VIs.
 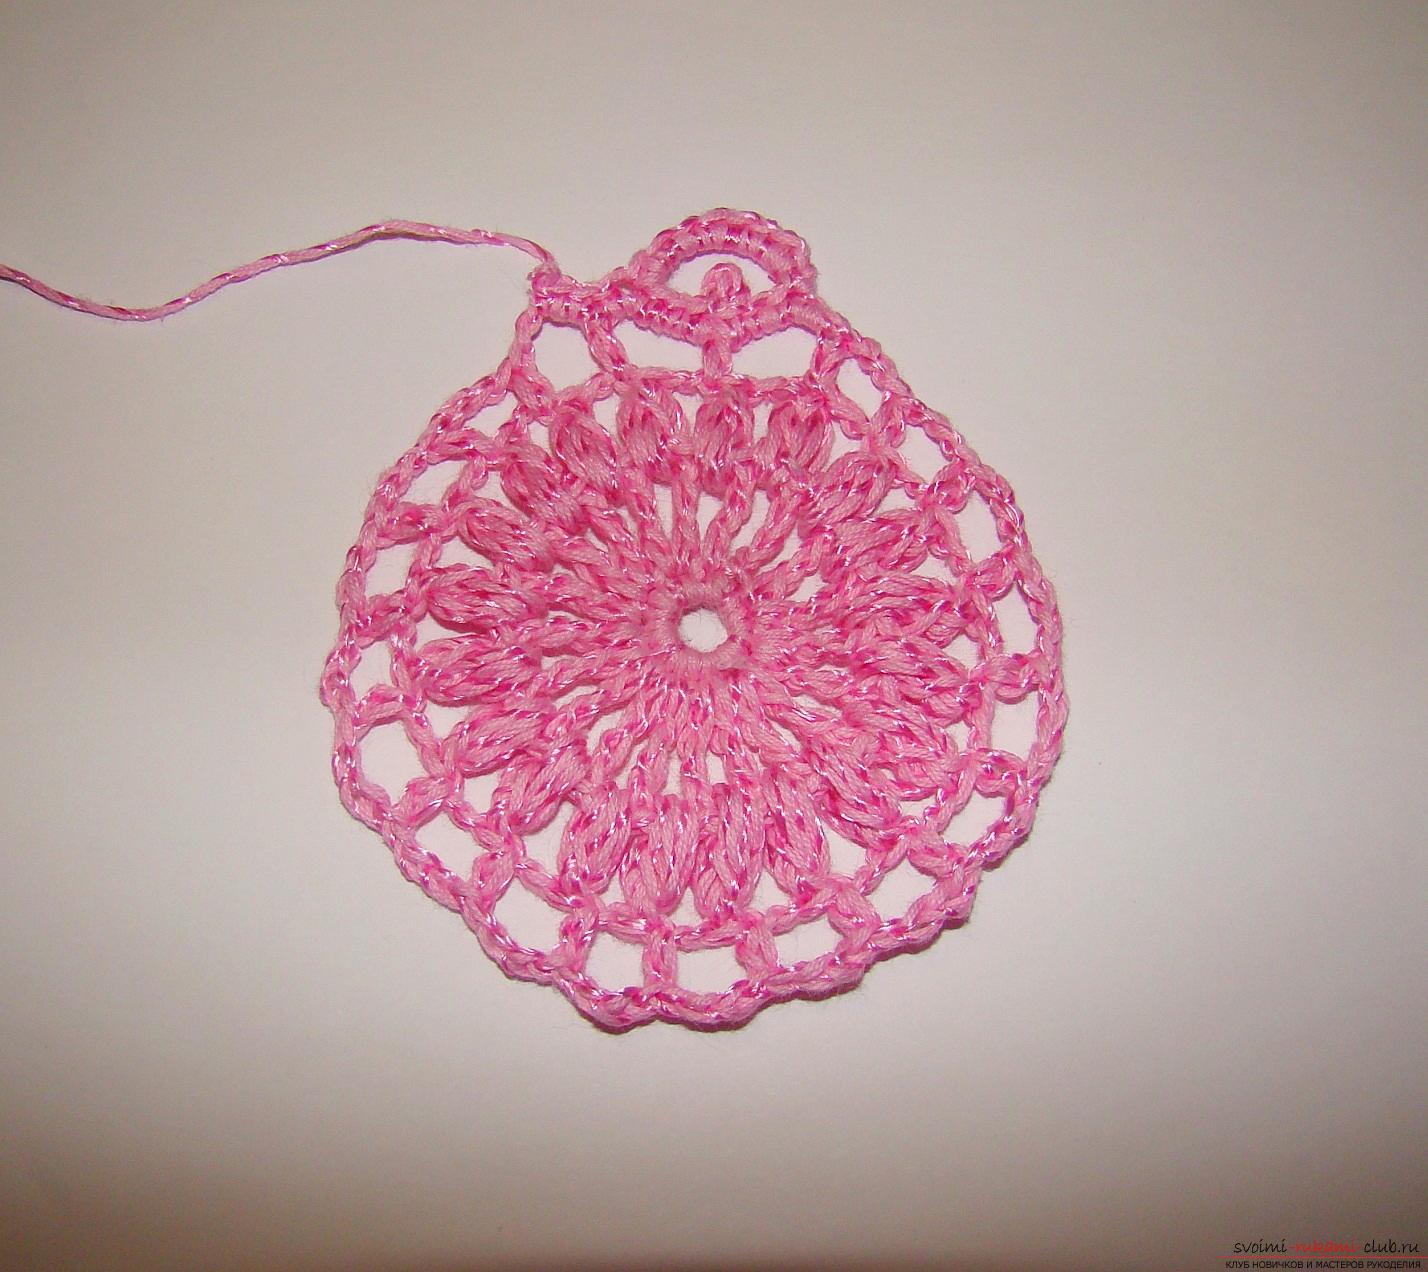 8. Then we pass to the next 2 VPs of the lower row, we knit 2 half-columns, then we turn the work to the wrong side and we knit one CLS in each of the 8 half-columns, we do 1 VP between the SSN. By linking the last STS and making 1 VP, we attach its SP.
 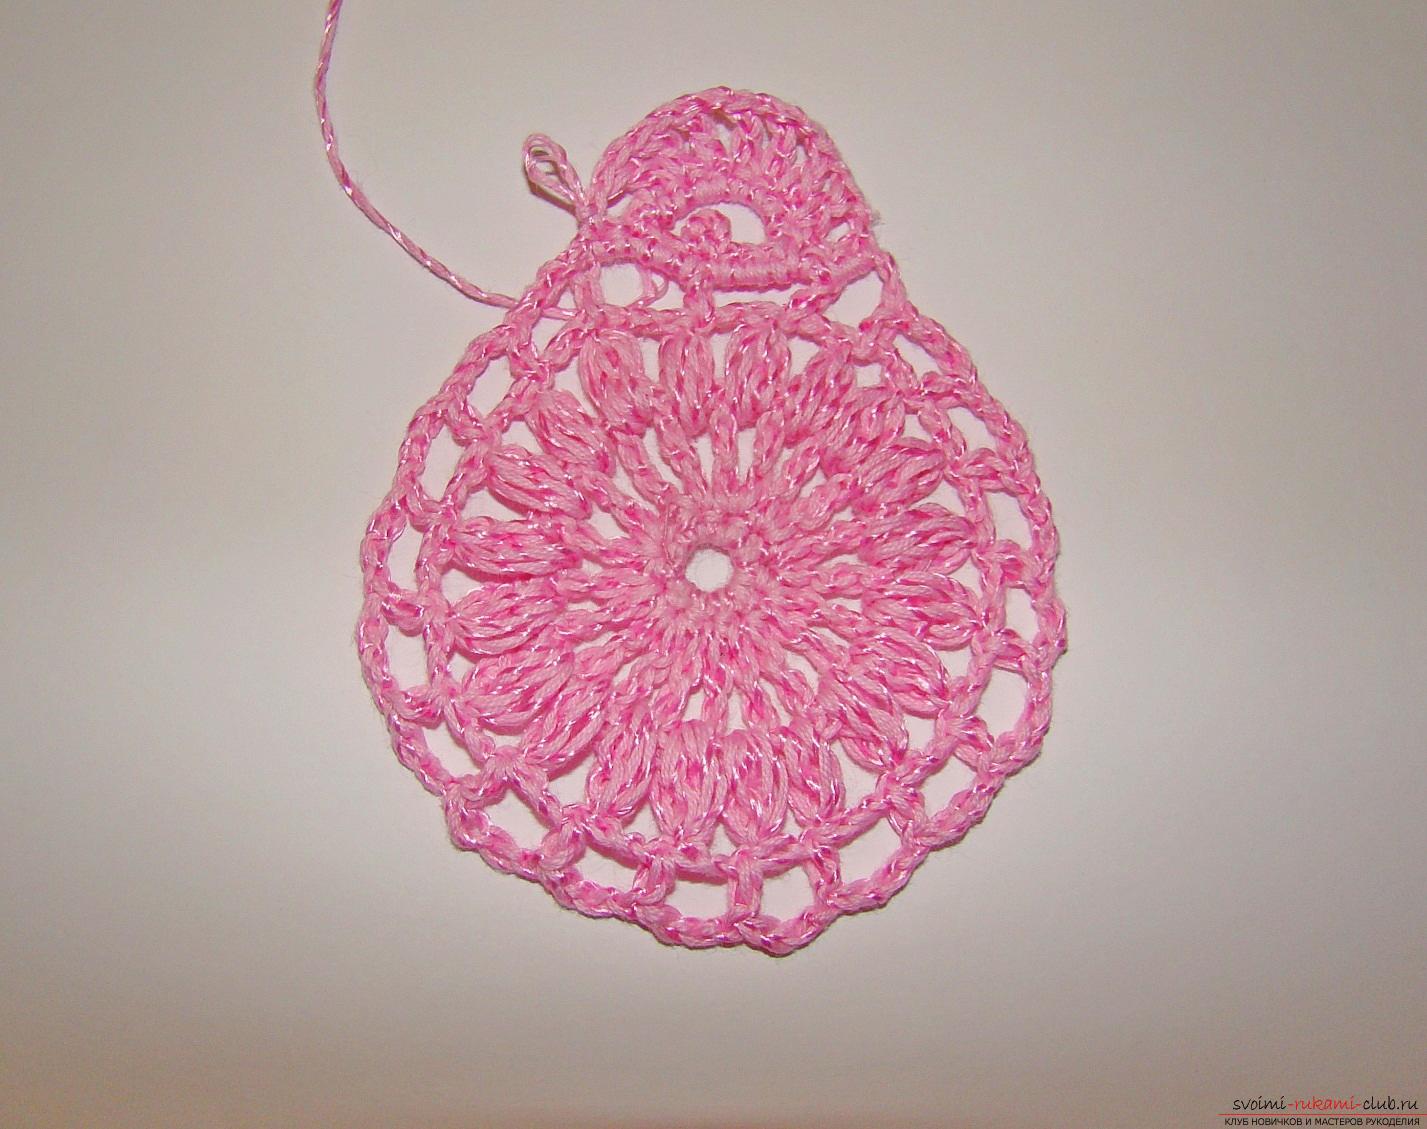 9. Now we again turn the work on the front side and go back, tying in each EP between the SSN for 2 polustolbika.
 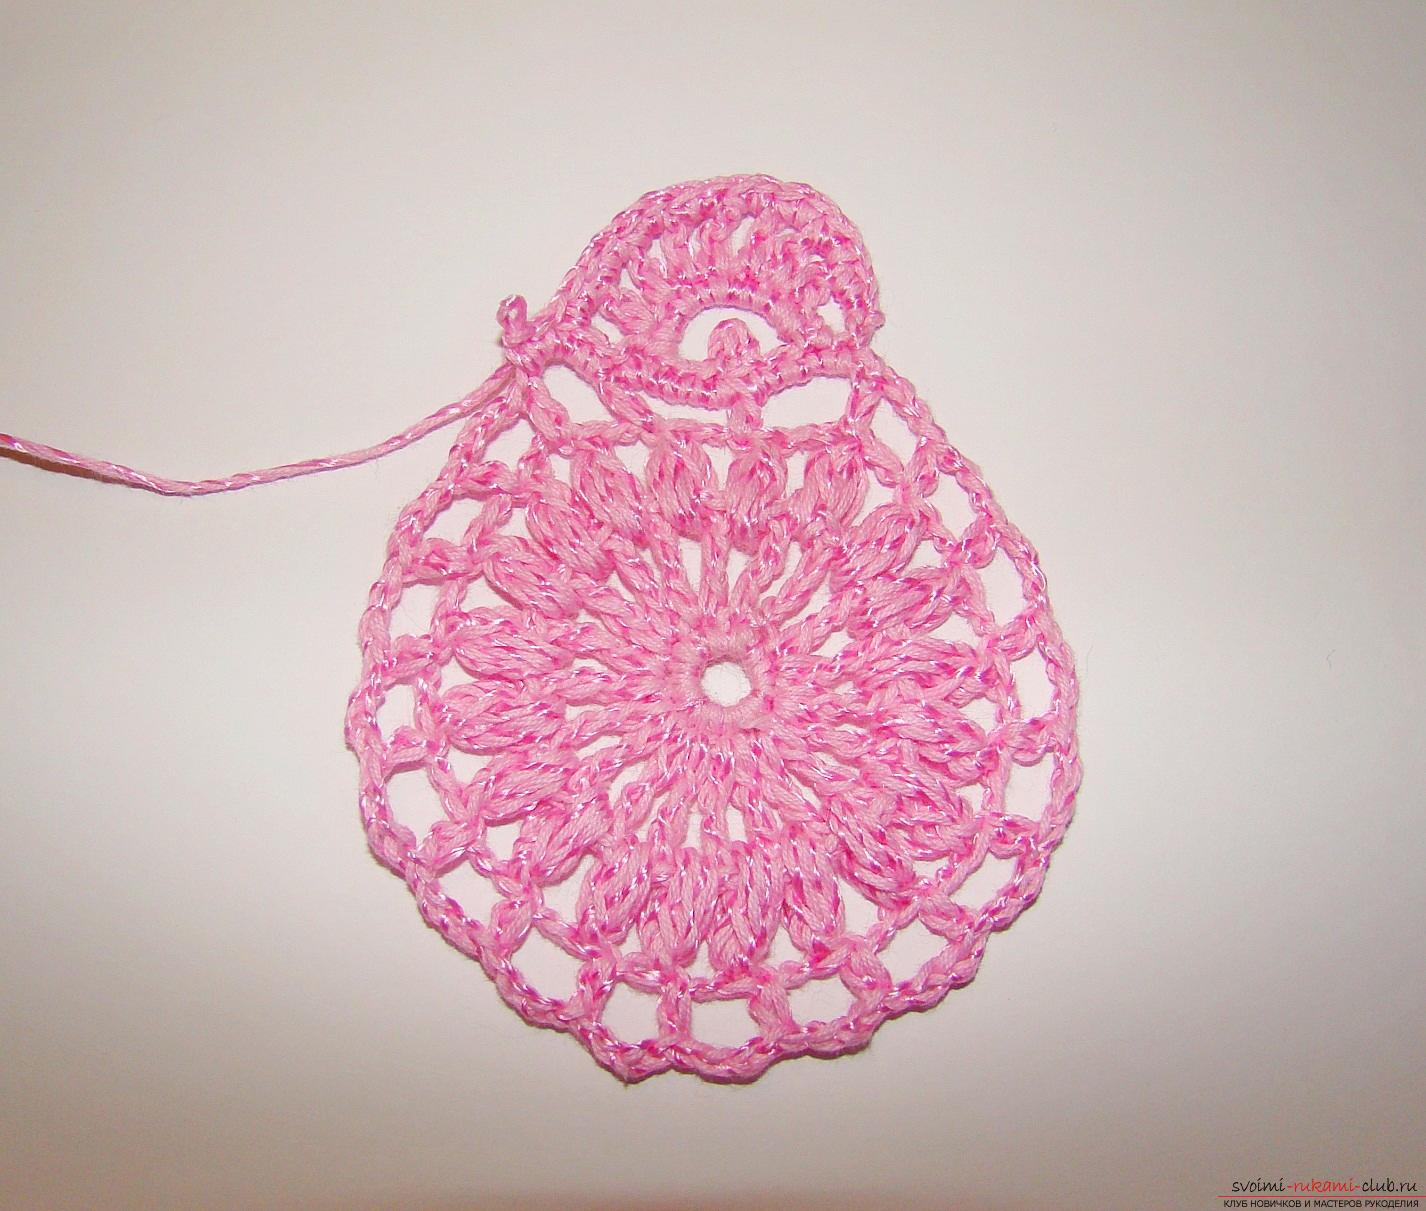 10. At this stage, we leave our petal and go to knitting the next petal according to the scheme, we make the transition, tying up 4 polustolbik in 2 lower-ranked VIs.
 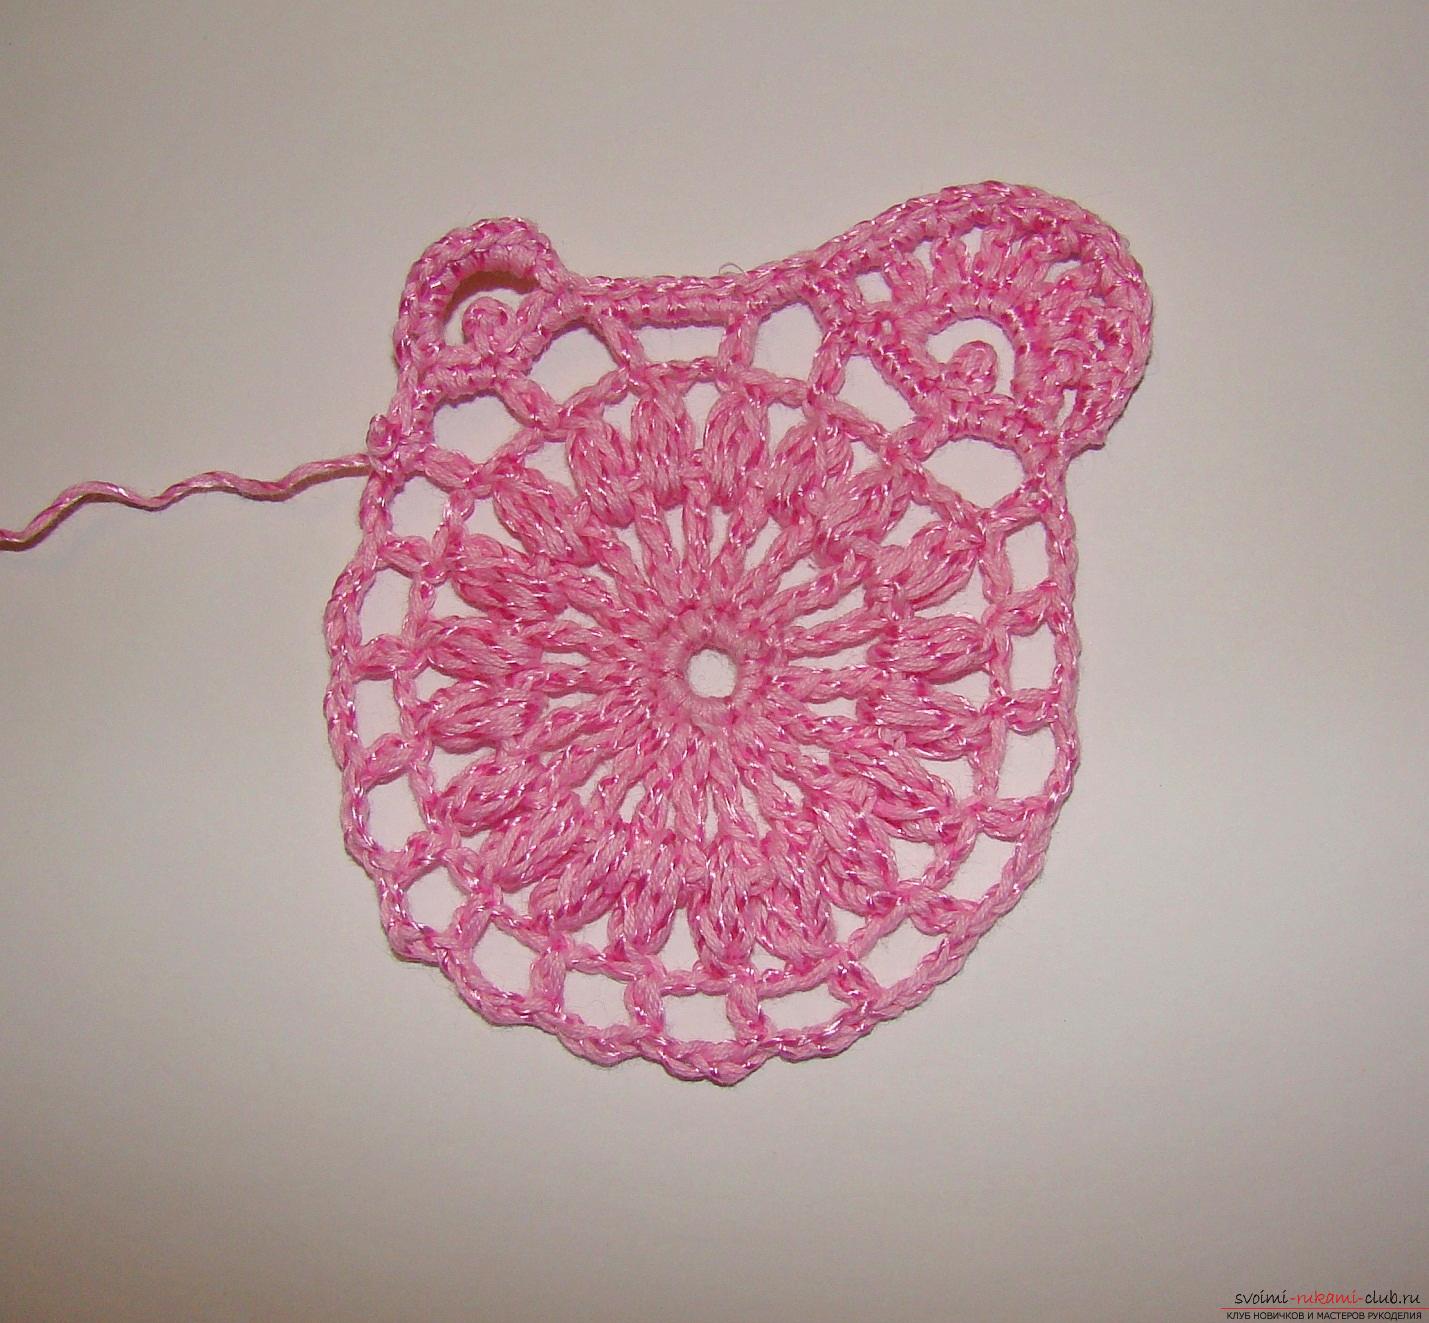 11. So we connected the 5 petals.
 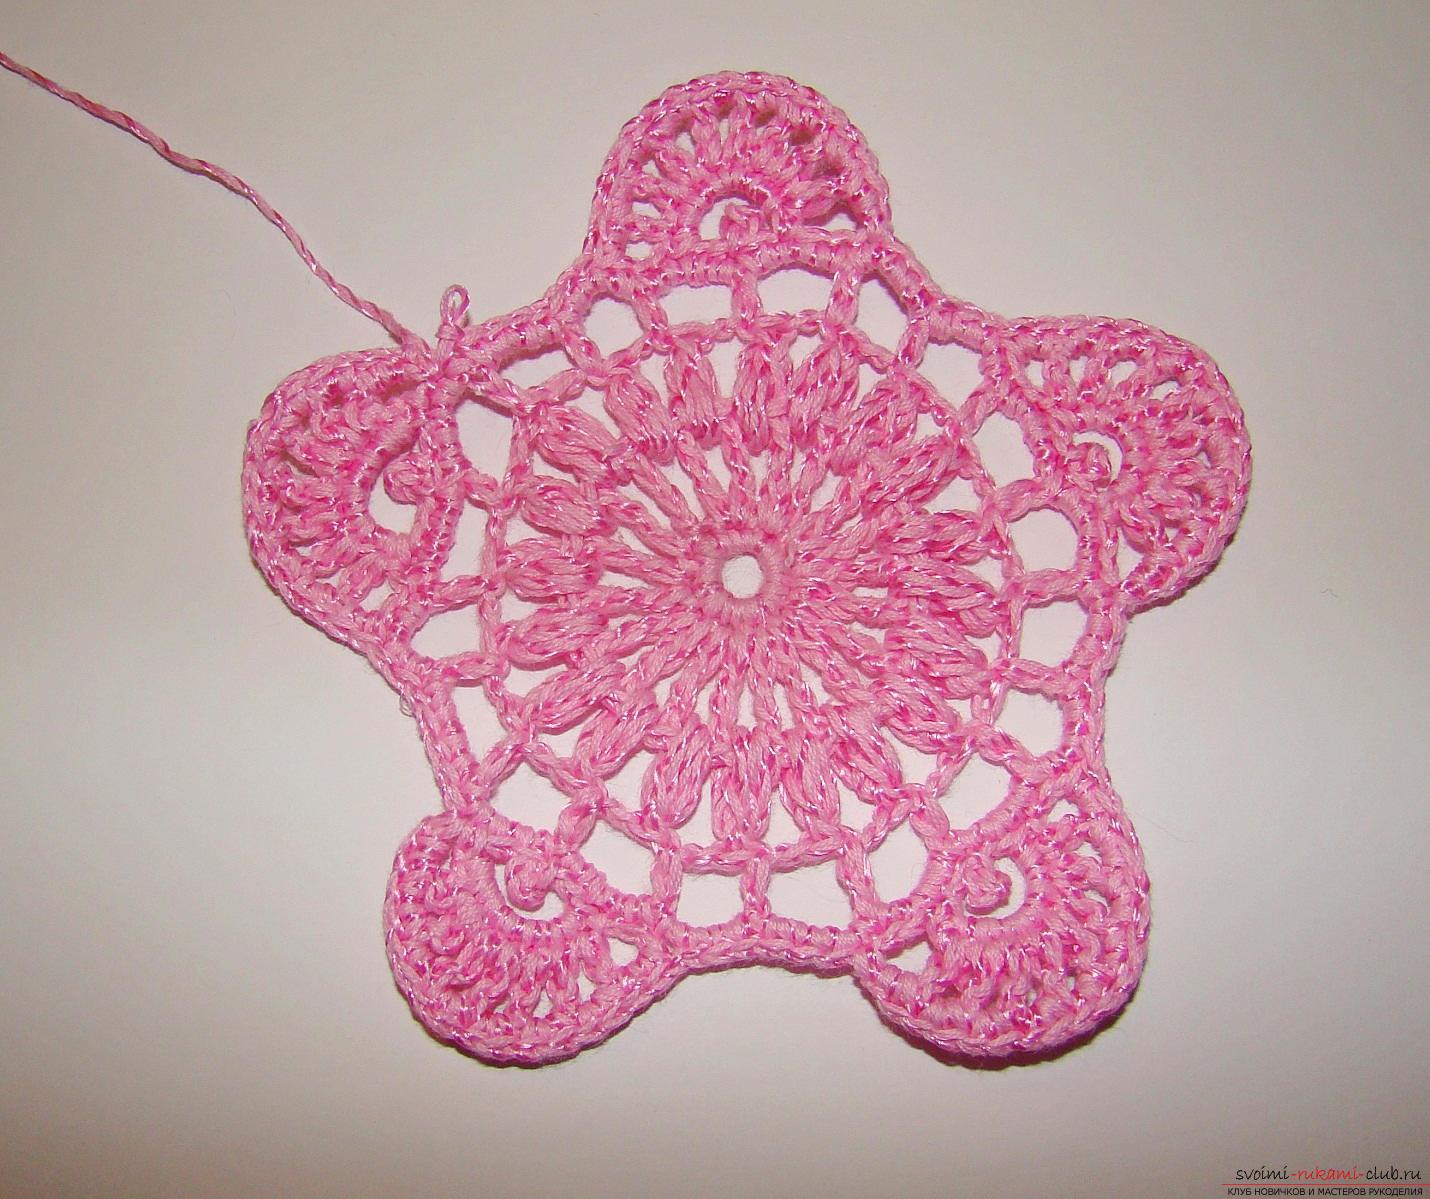 12. Now we proceed to the last row, in which we will tie our petals with half-tumblers, between the polustolbiki make a small arch of 3 VP. Between the petals, we make a decrease by tying two half-columns with a common apex.
 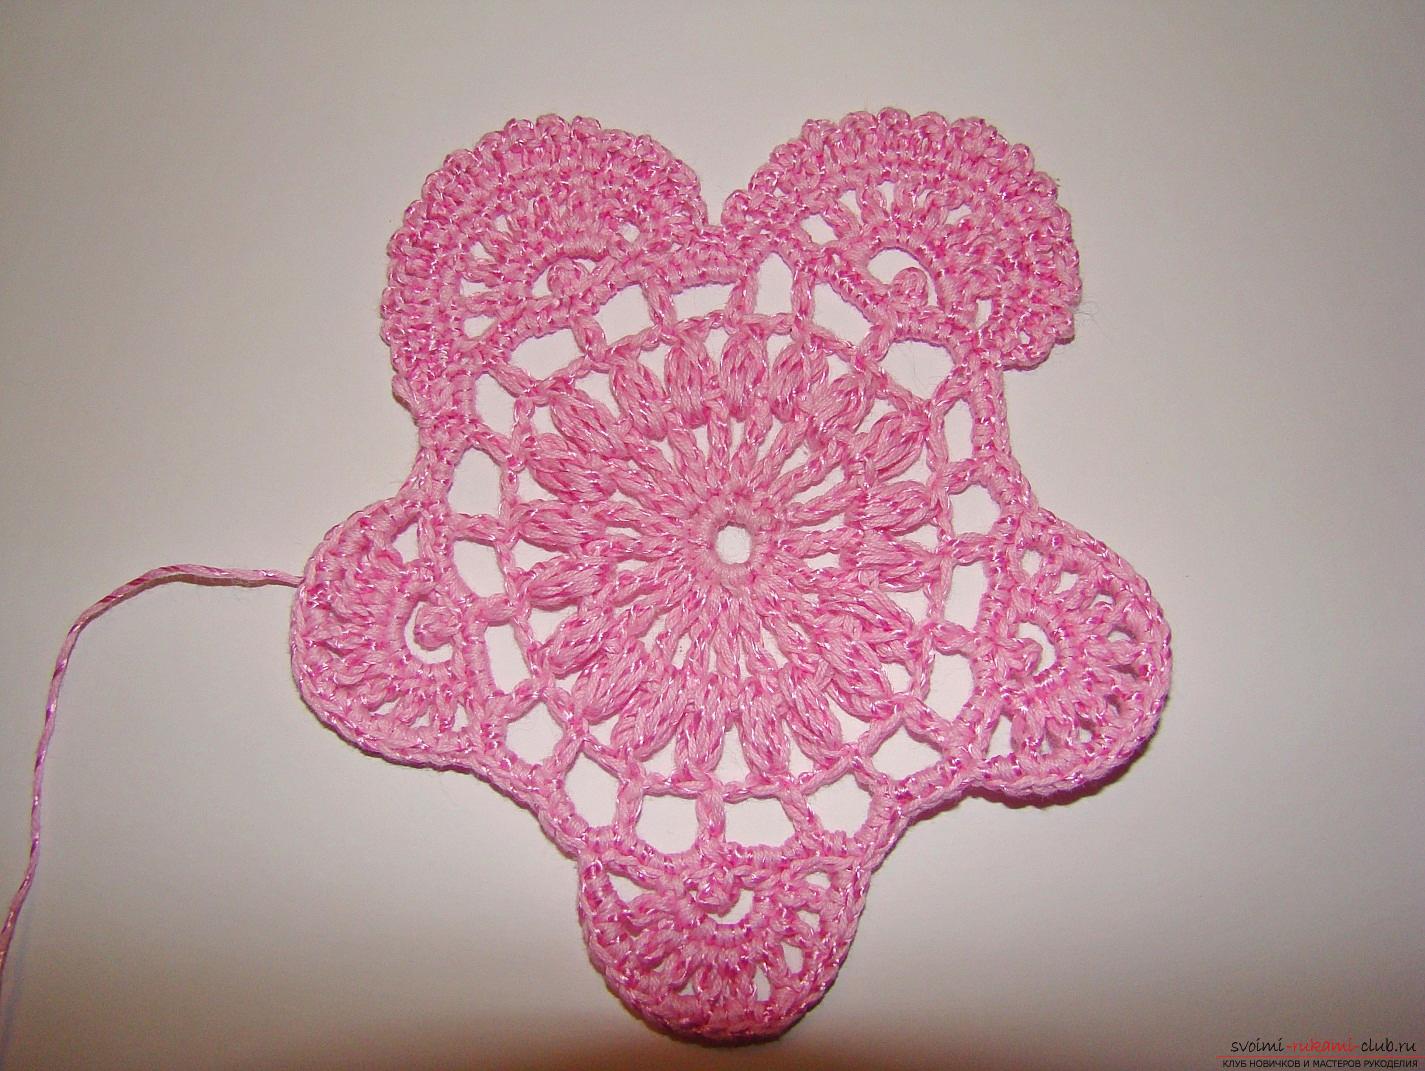 13. Our motive is ready.
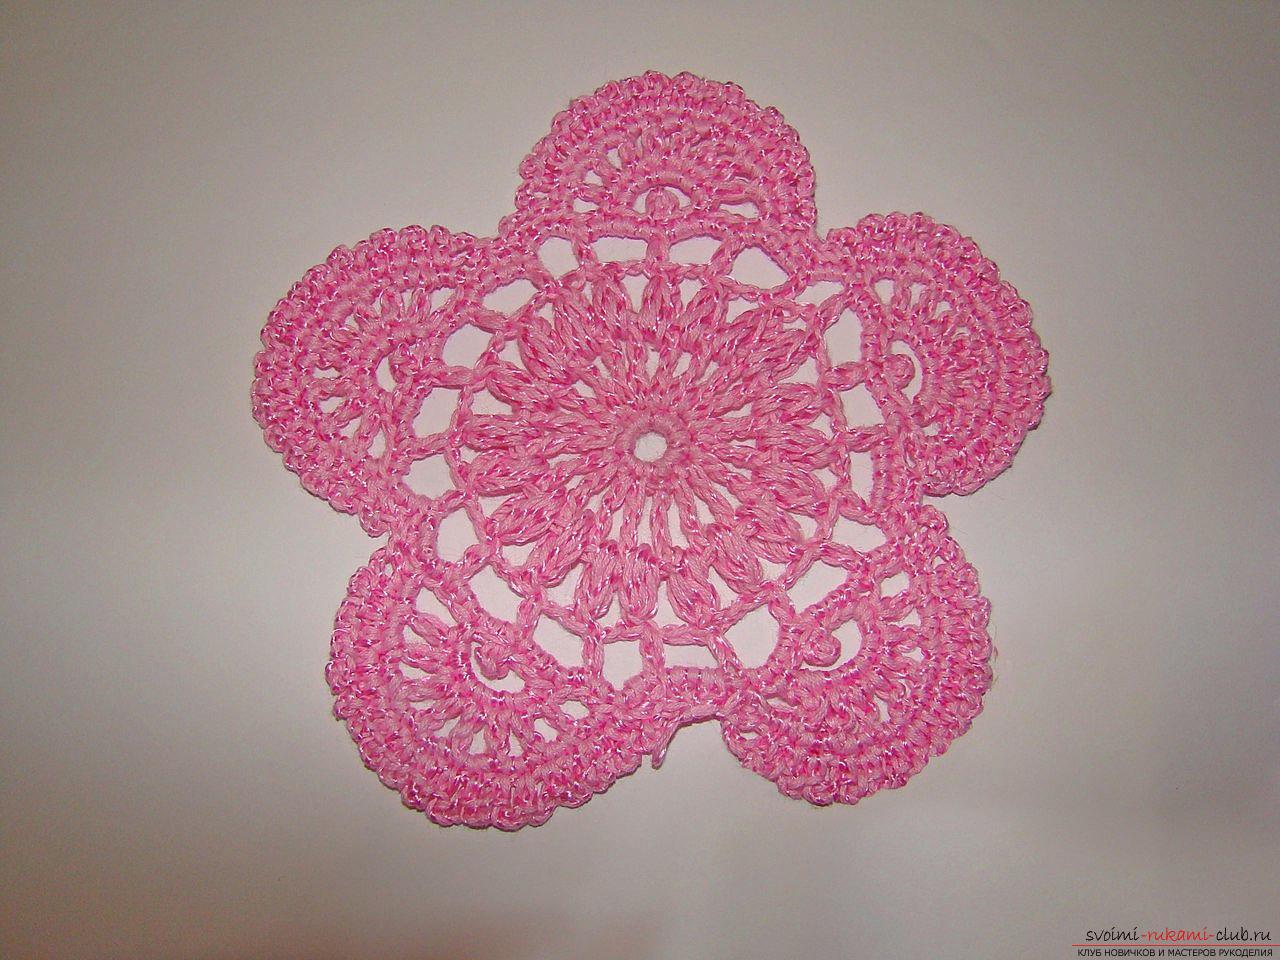
Comments
Related posts:
 This master class with a description, diagram and video will teach how to knit booties crocheted.
 This master class crochet with a detailed description will teach you how to knit crochet flowers
 Master-class crochet for children will teach how to make an interesting hand-made hanger
 Master-class crochet step-by-step and with the photo will teach the creation of crocheted wipes
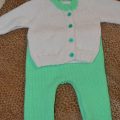 This master class with a knitting pattern will teach you how to tie a suit for a newborn or babe with knitting needles.