
Master class for decorating wedding glasses for newlyweds with step-by-step description and photo
Day of marriage is special in the life of eachpair. At the wedding table everything should be unusual, festive and conform to one style. The accent on the table of newlyweds belongs to wedding glasses, they are adorned gently and inimitably. The master class describes in detail how to decorate your own glasses in traditional black and white style with your own hands. If you want, you can change the color of ribbons to any one that matches your wedding theme. 
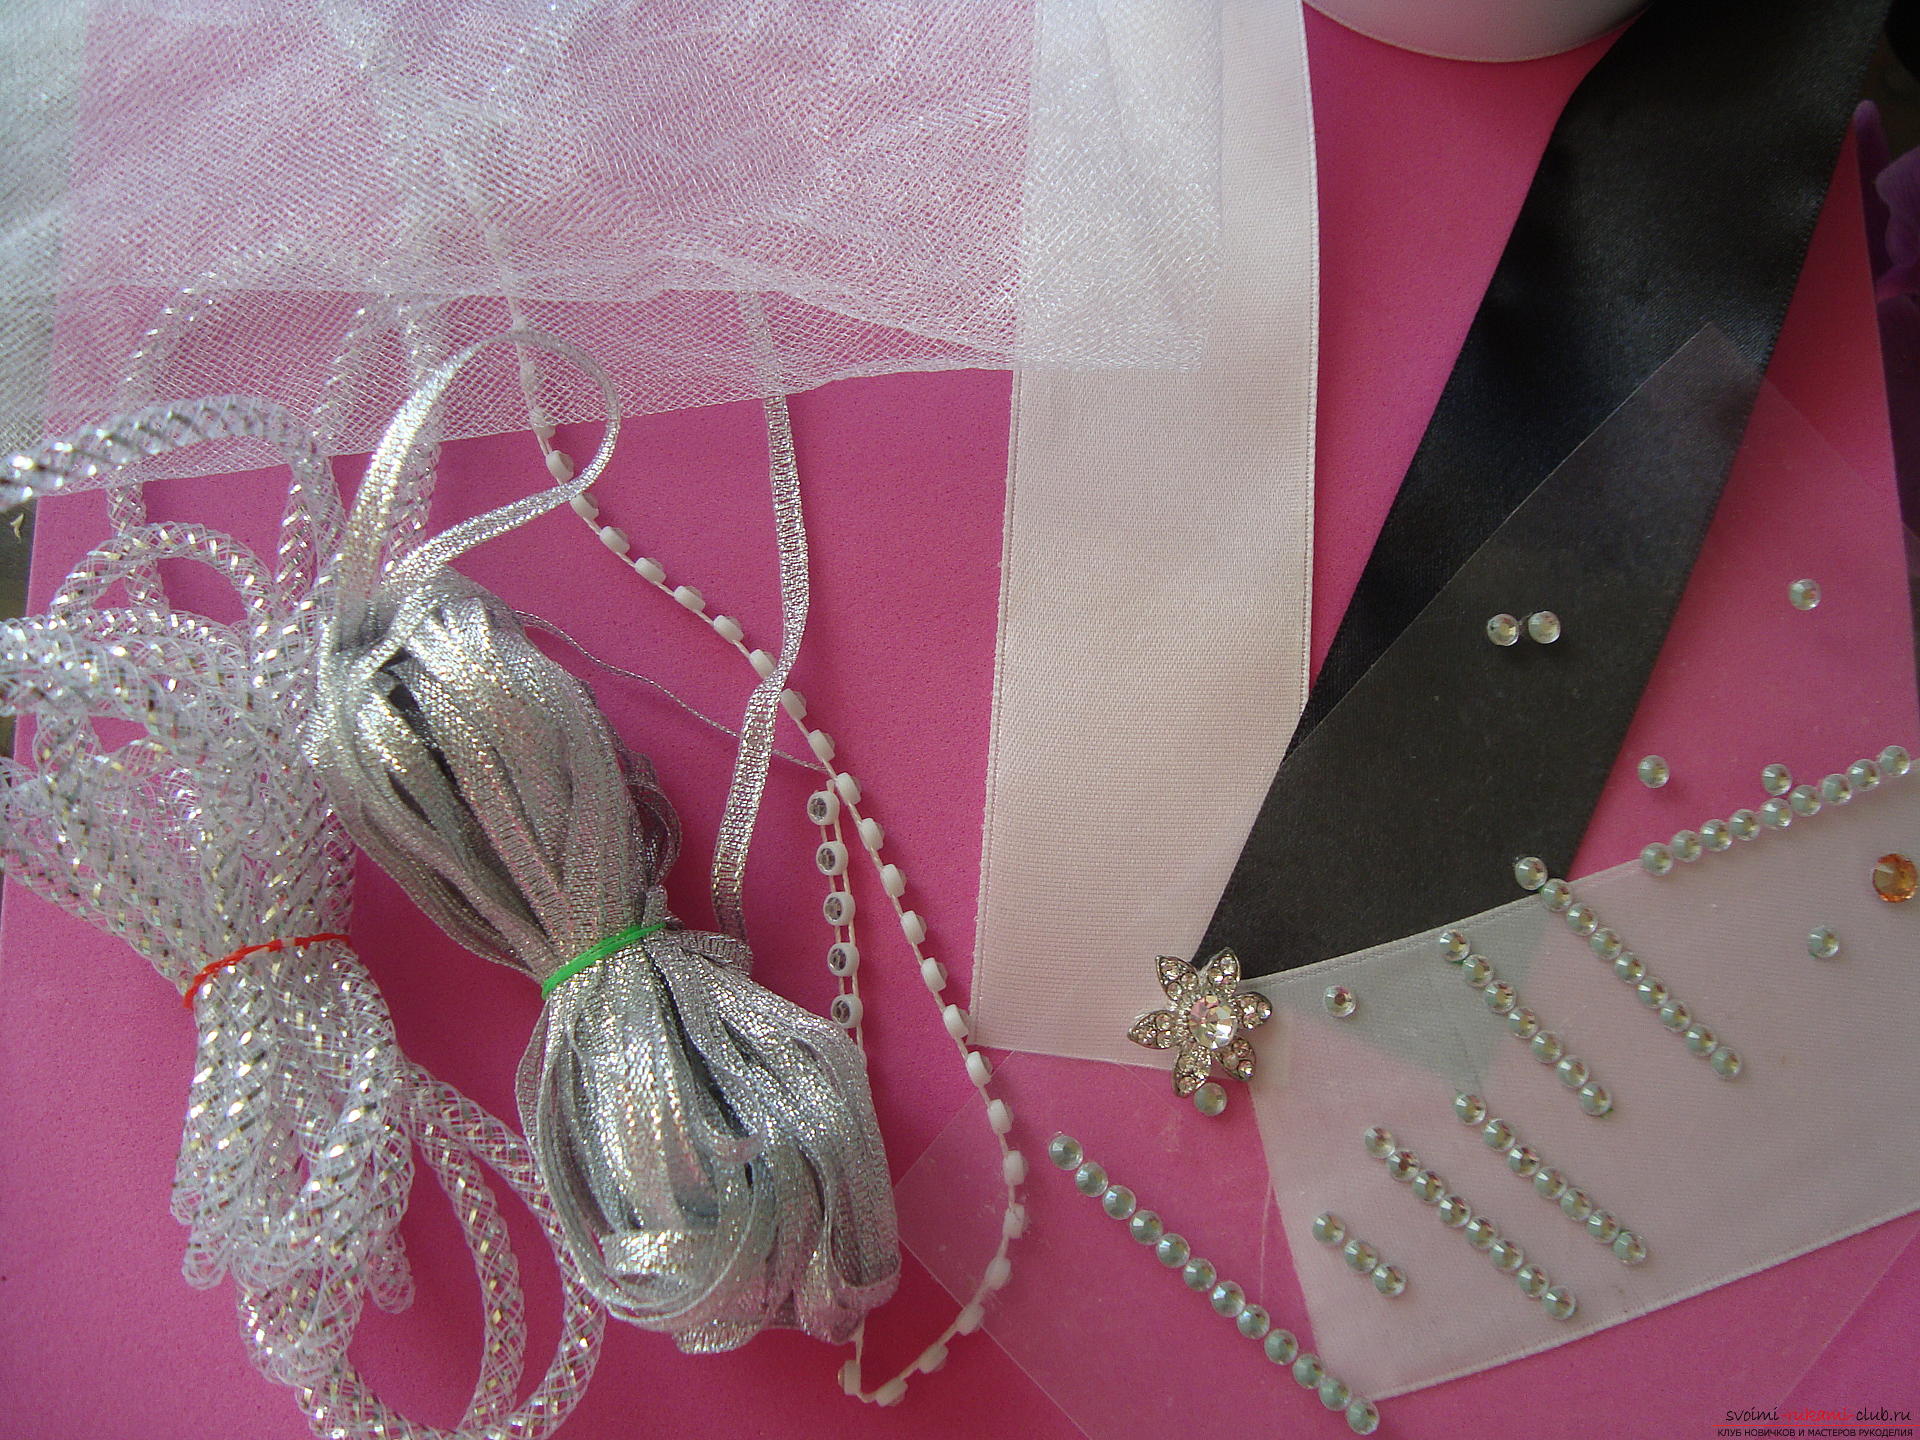
 To convert a glass into a wedding attribute, you will need:
 We begin to transform the festive glass from the bottomparts. On the leg of the glass you need to make an openwork skirt of a thin white mesh, called tulle. Cut a rectangle from the fabric, the width of which is 1.5 times the height of the leg of the glass, and the length is about 25 cm.
 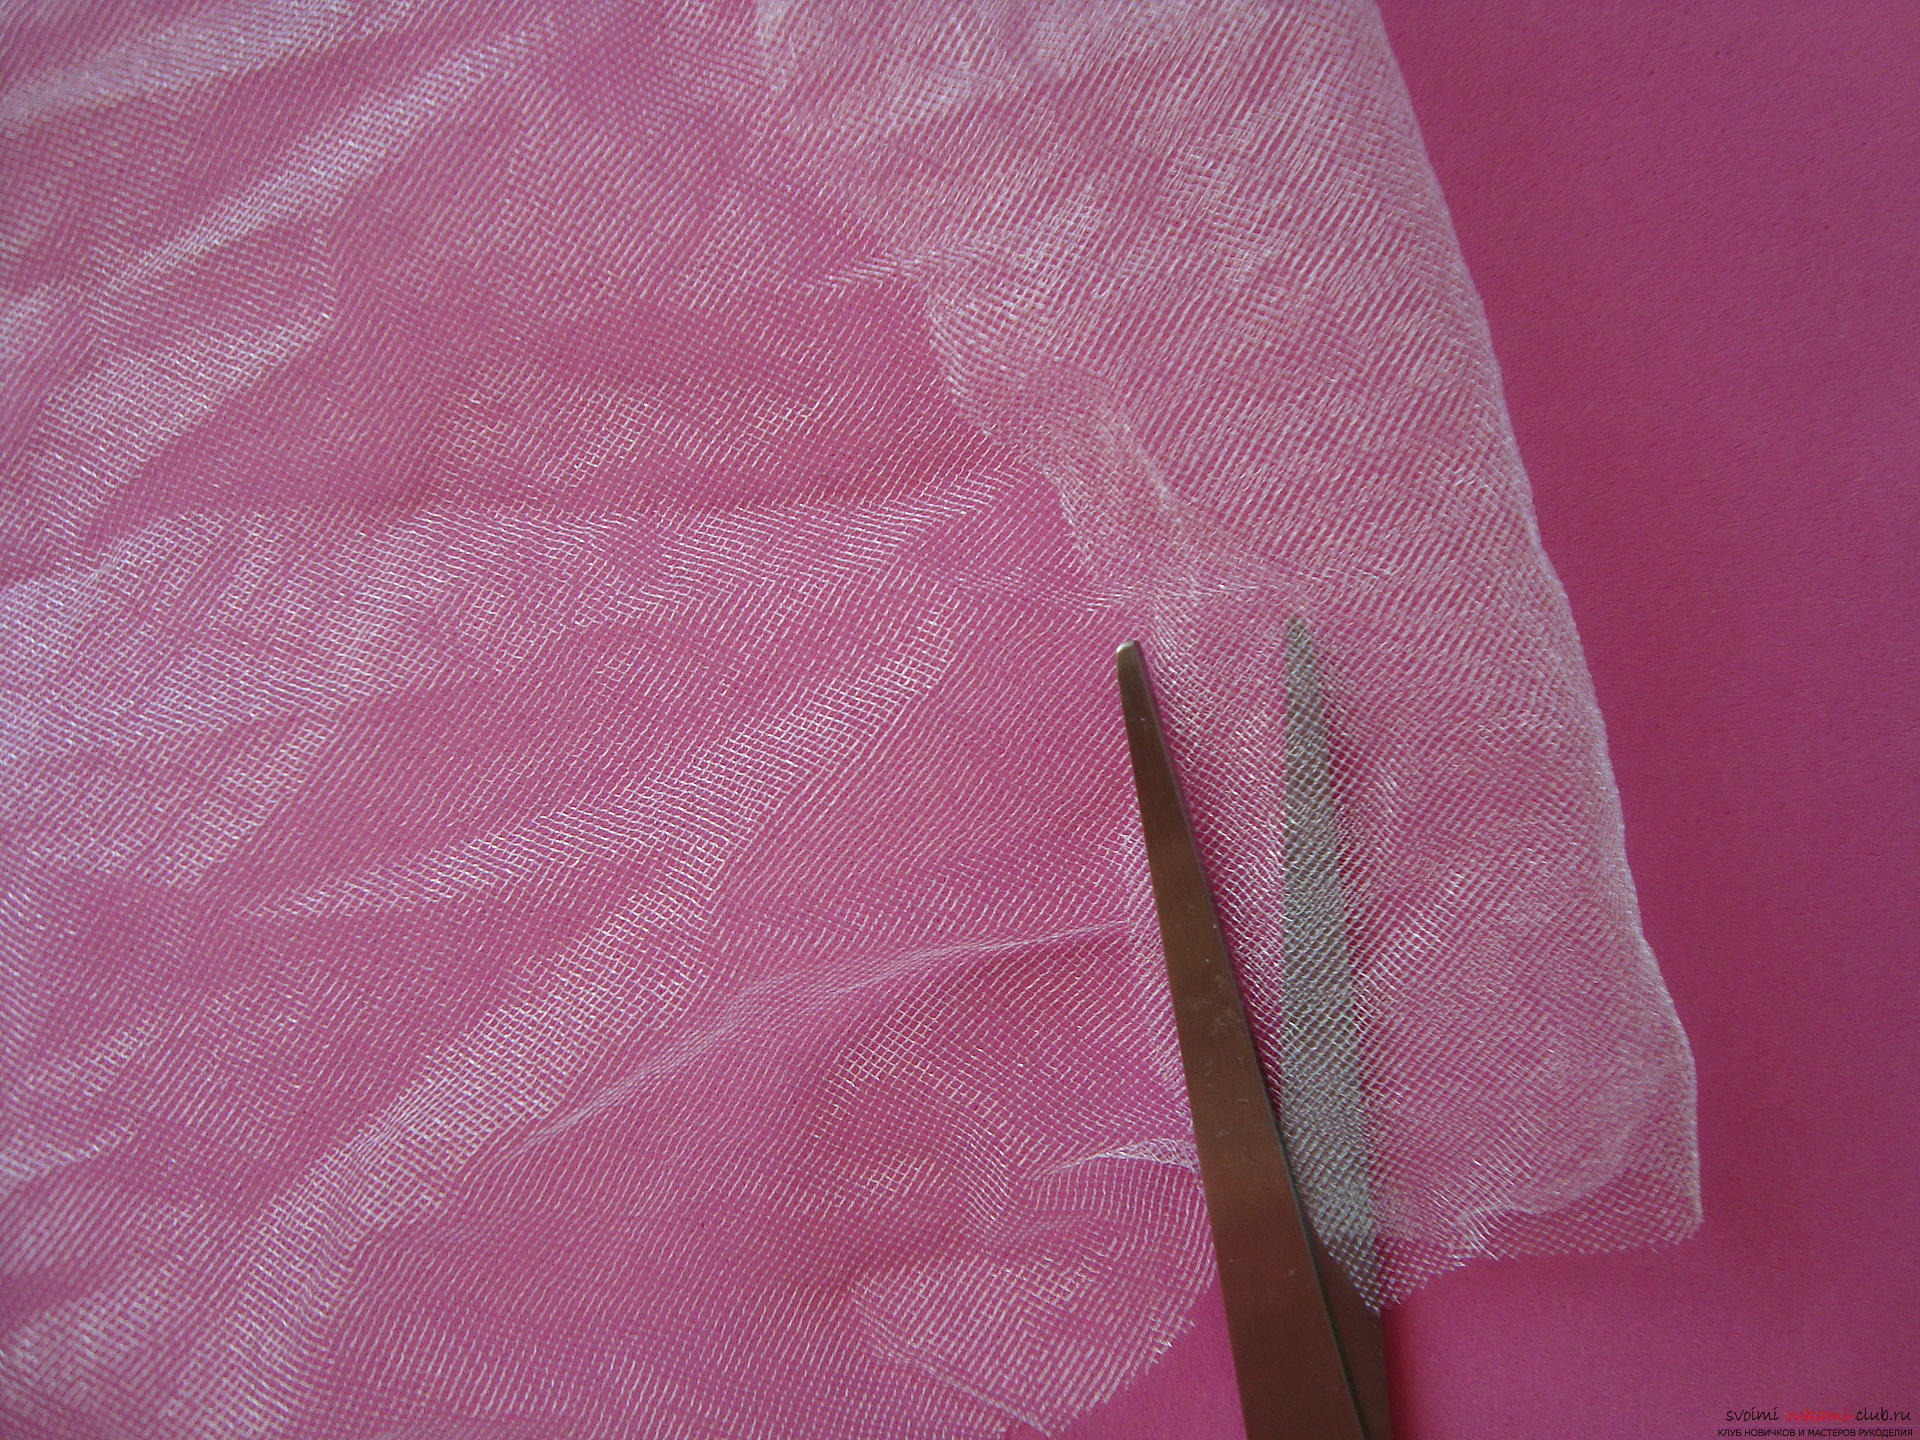 Unscrew one side of the net so that the edge of the second layer lies in the middle of the first. At the bend site, create an assembly that needs to be fixed with glue. The hall is made about 1.5 cm wide.
 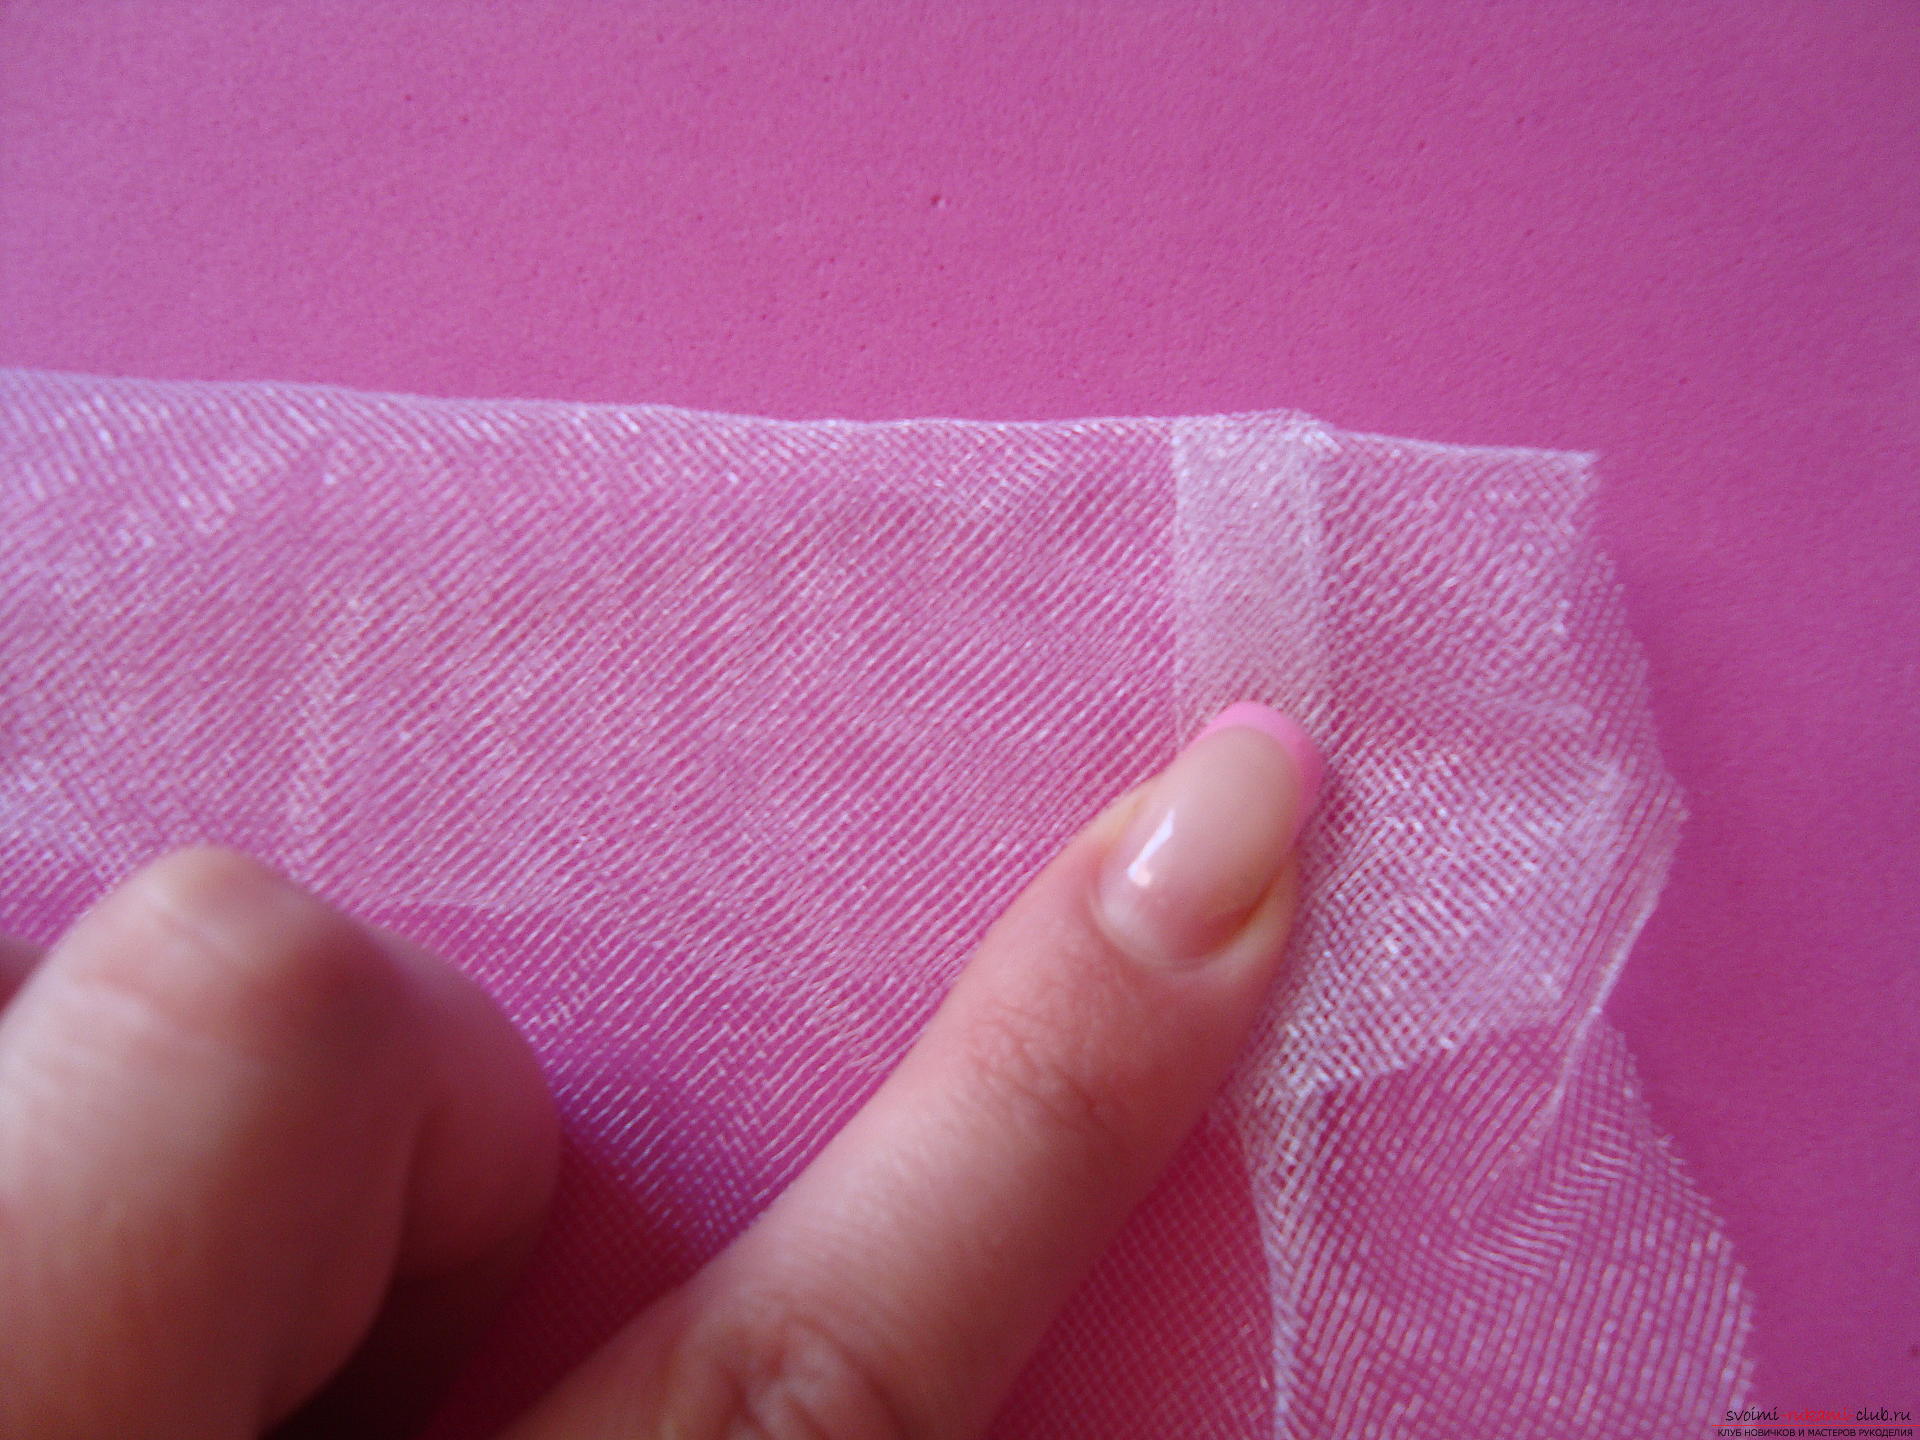 The upper part of the skirt should correspond to the "waist" of the leg of the glass, that is, about two centimeters.
 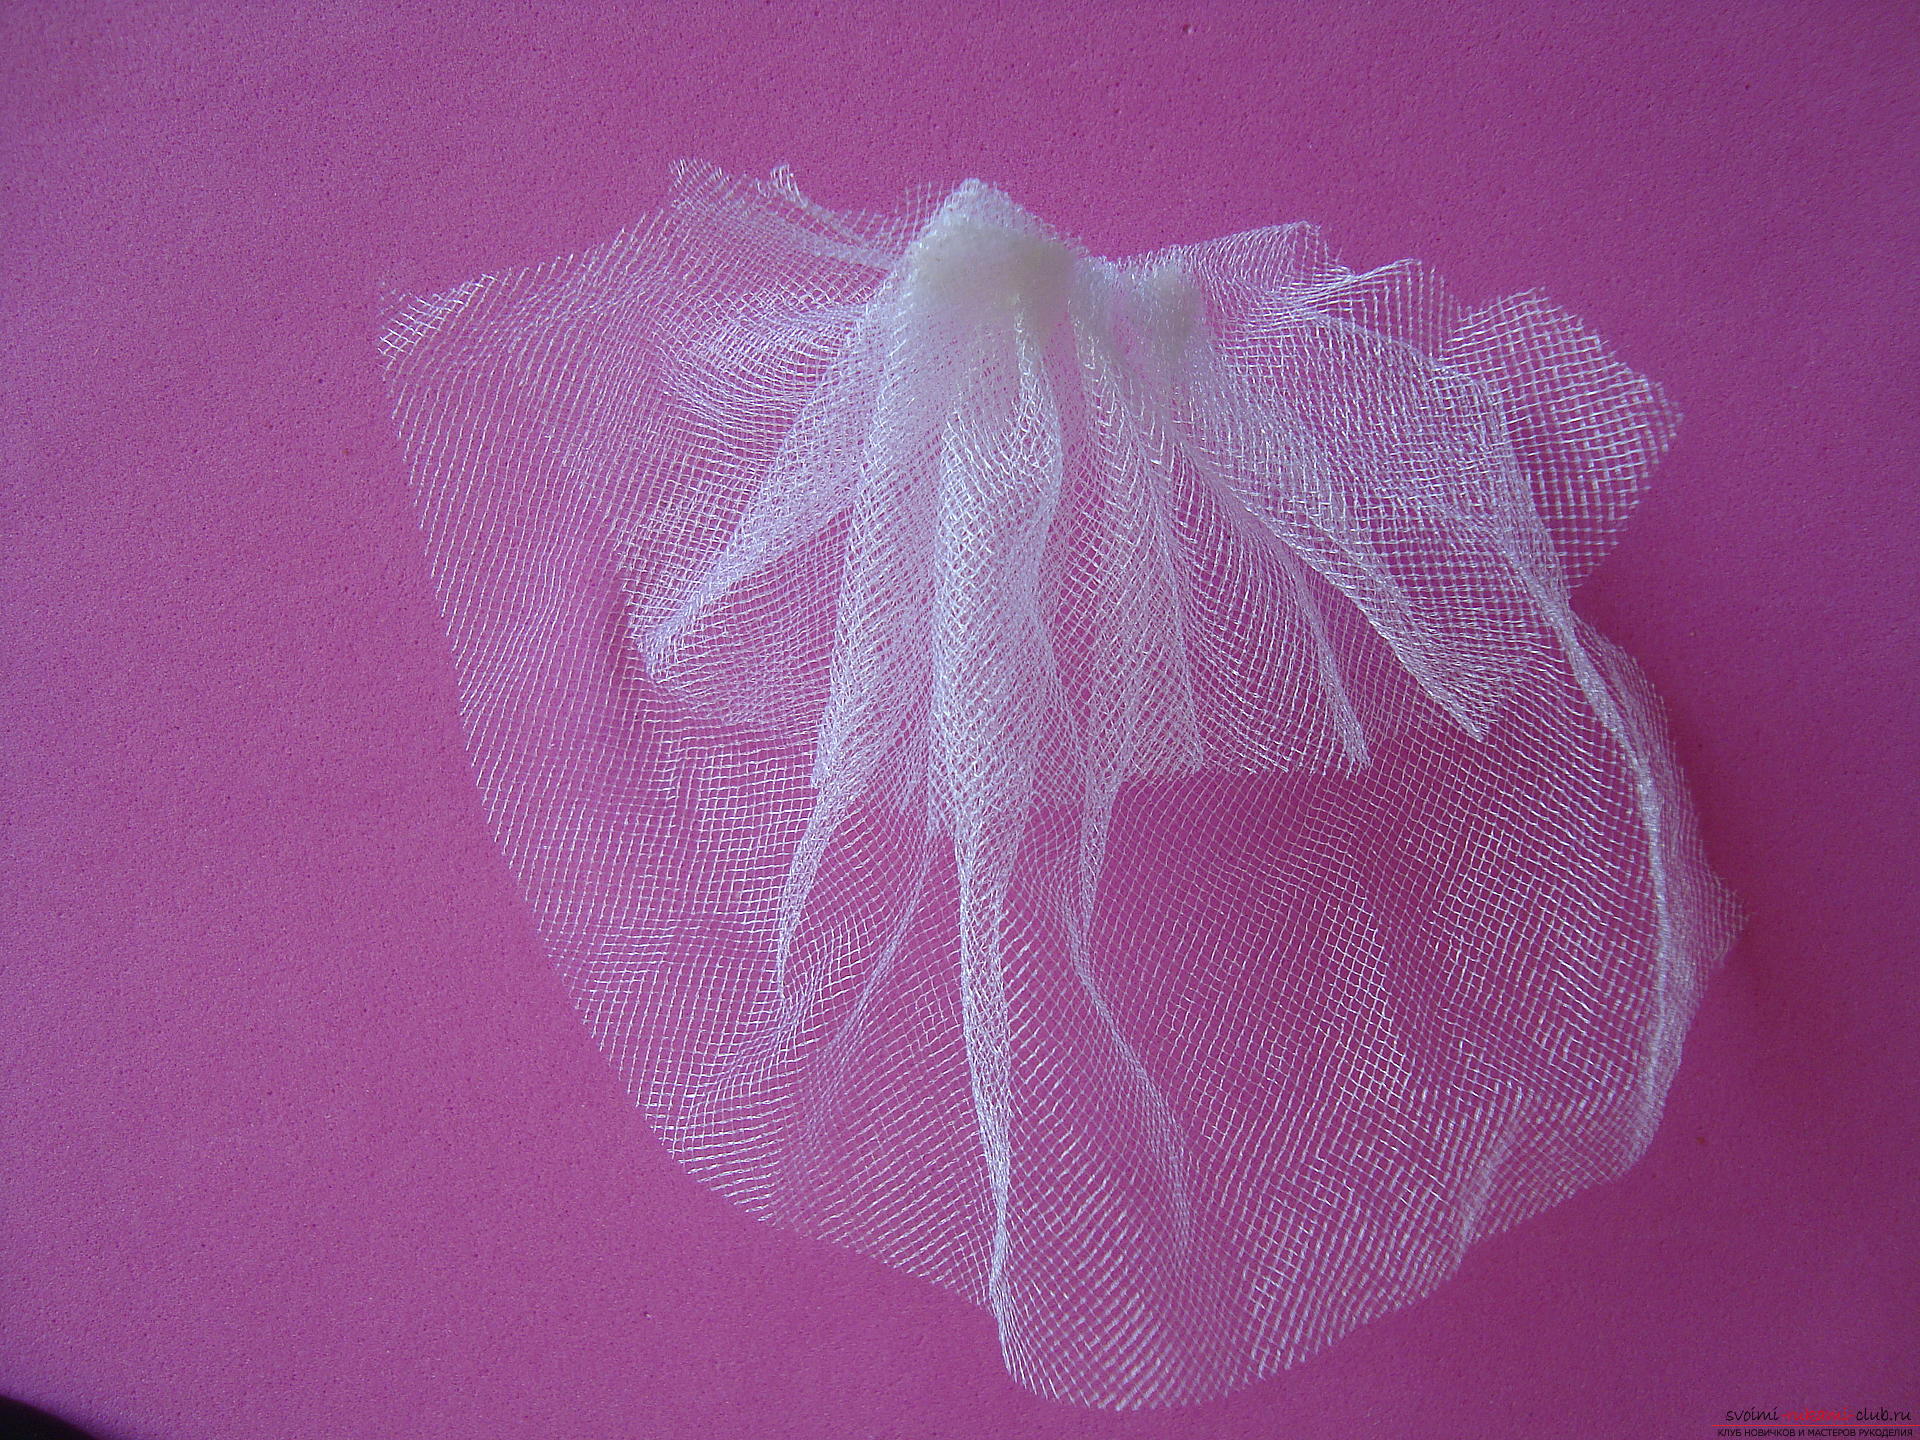 Fix glue tulle at the place of transition of the wide part of the wine glass to the narrow leg. The glue should be pressed until it cools down.
  The seam that connects the edges of the skirt must remain behind. It is also fastened with 2-3 drops of hot melt.
  It is necessary to form a bow from the tubular tape. First glue one round part.
  Next, continue to create a second bend, forming a bow in the form of a figure of eight.
 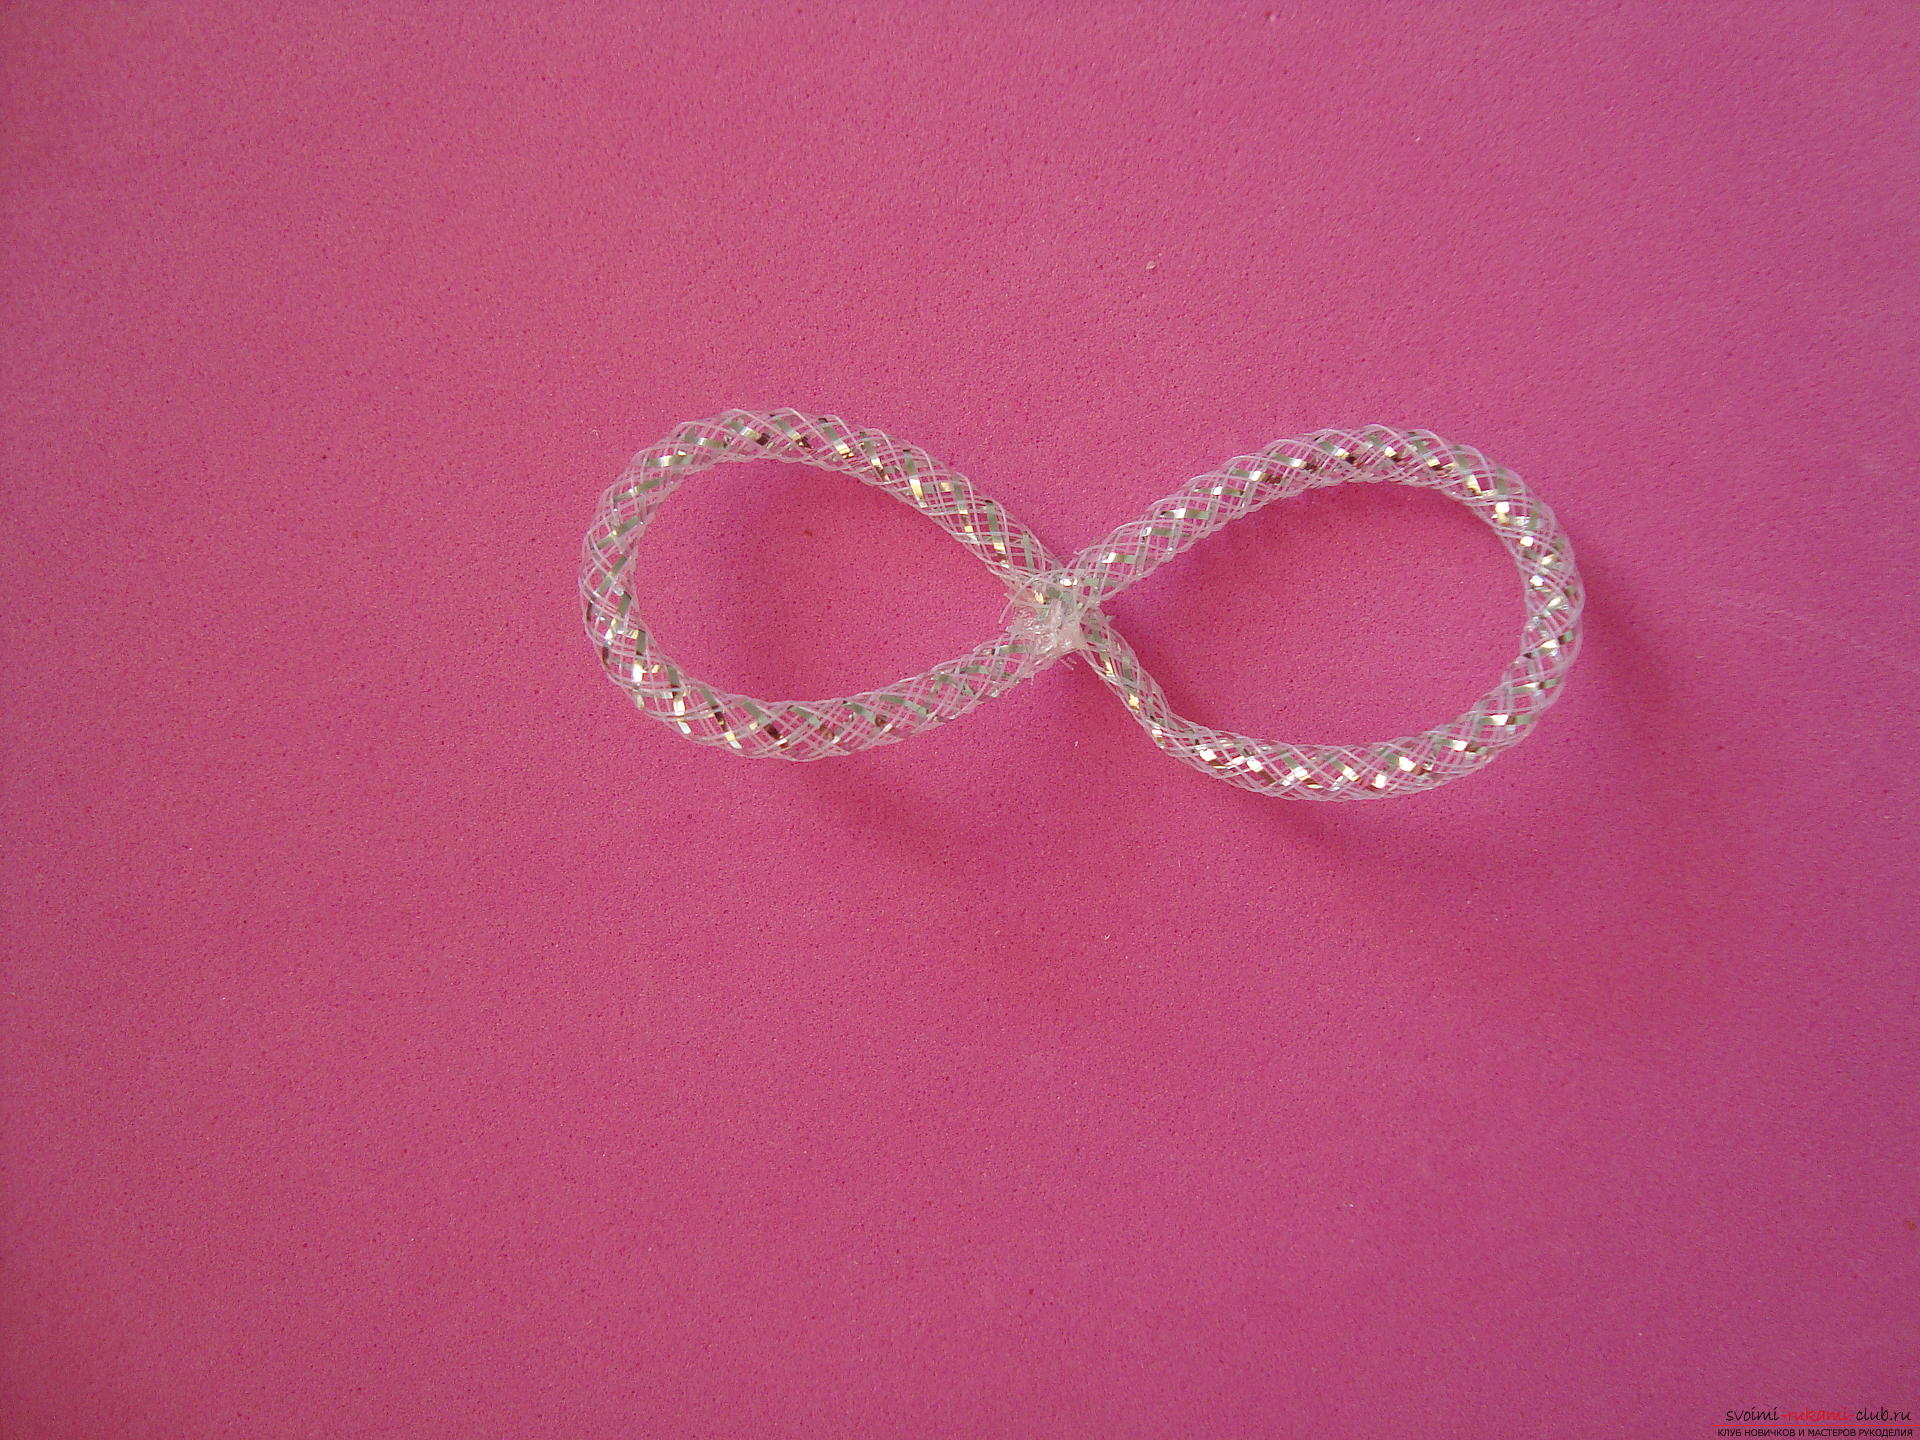 This bow is clinging to the top, that is, in the place of pasting the tulle to the glass. This decoration will not only complement the design, but also hide the traces of glue on the stem of the glass.
 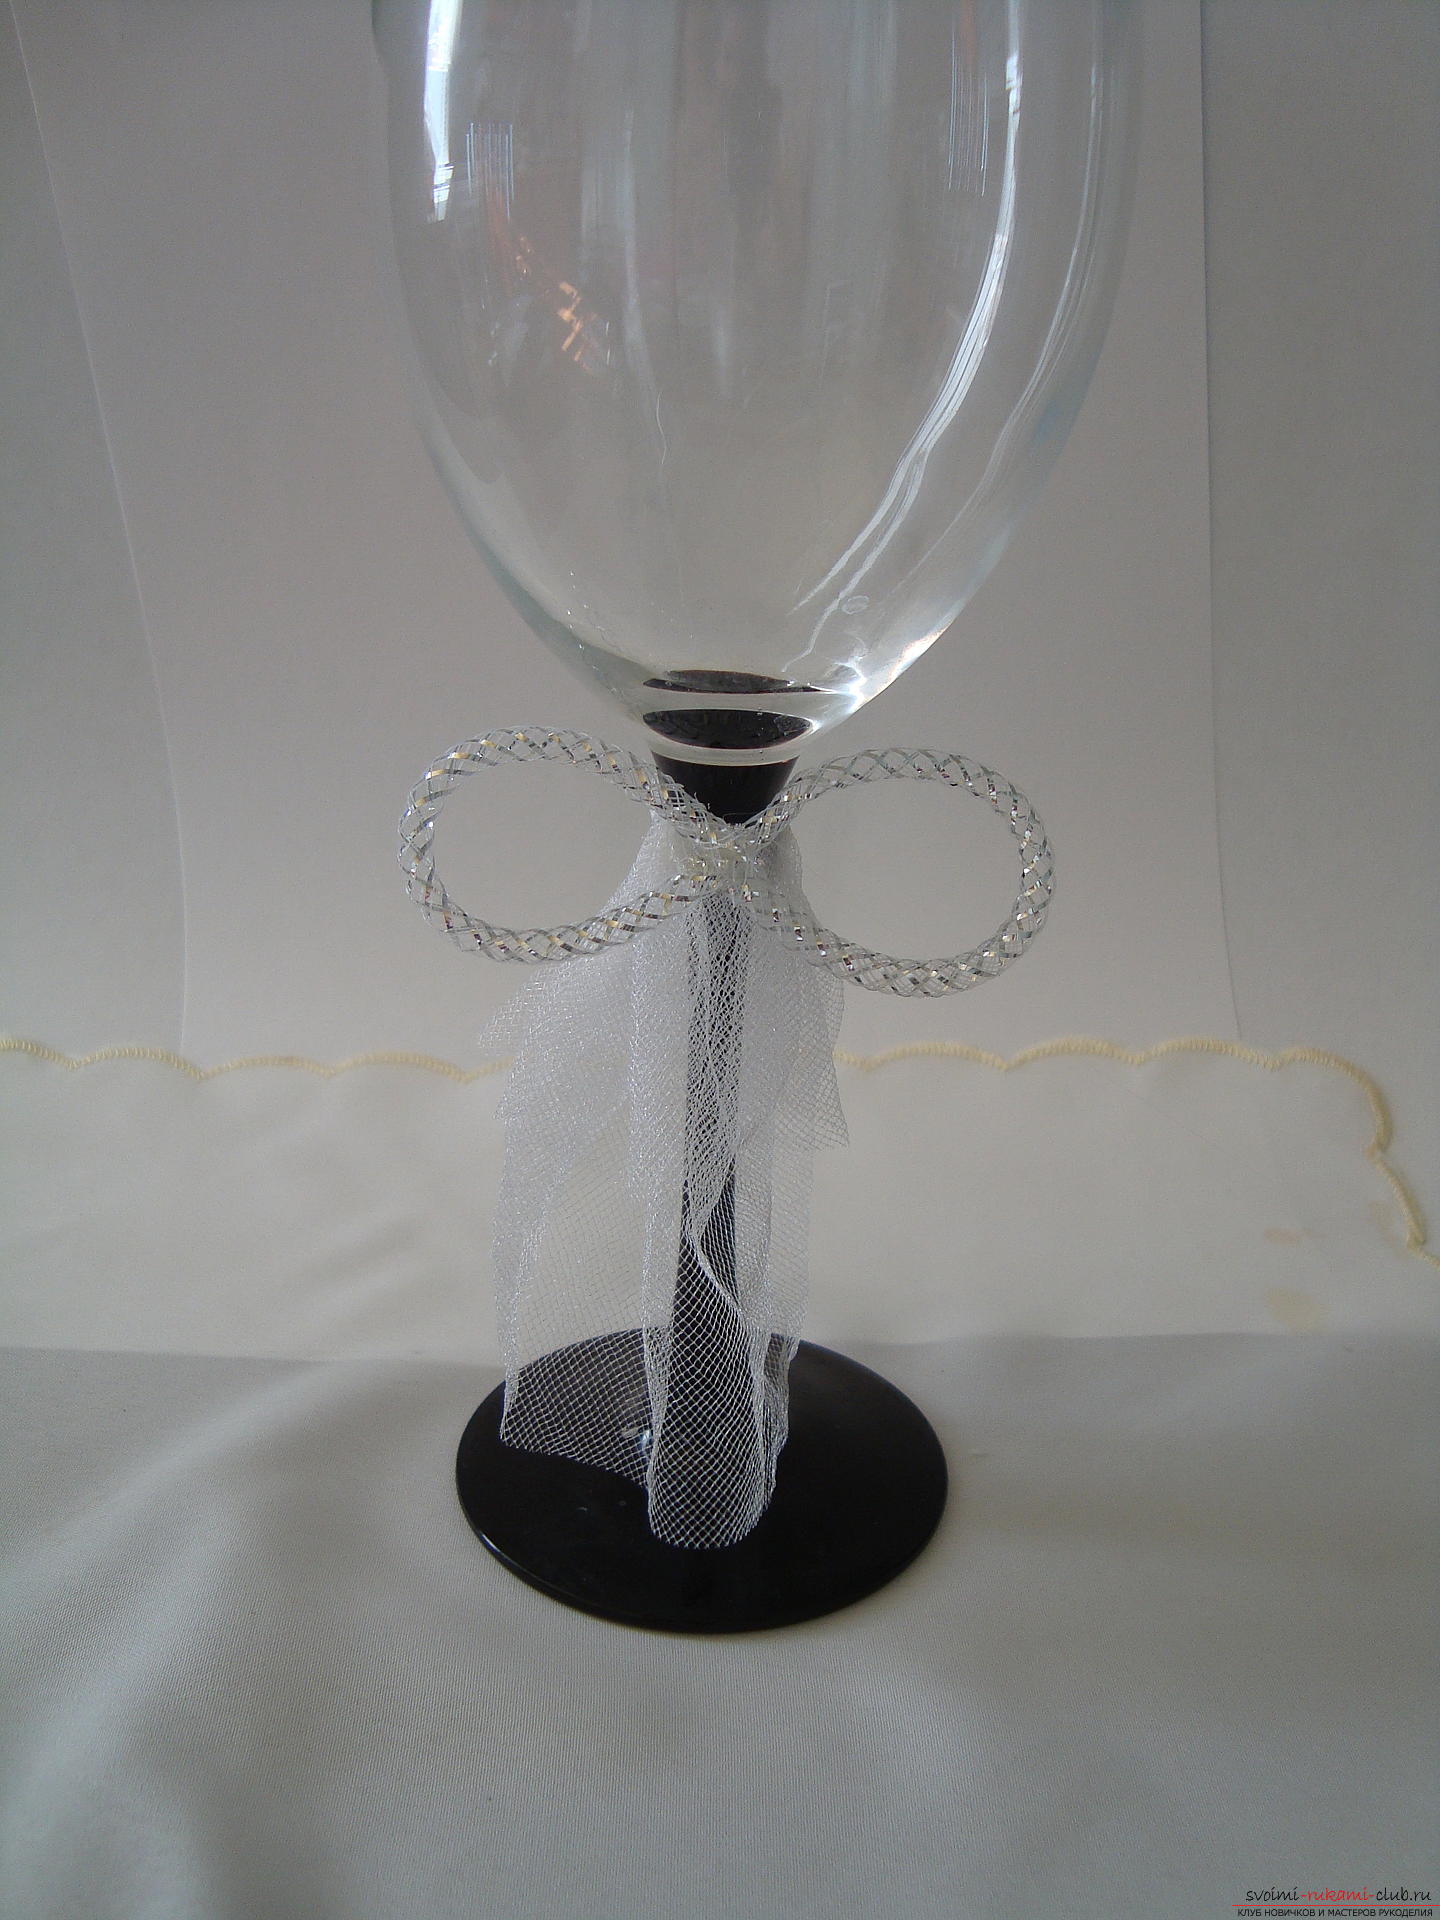 Strasses decorate the fabric in a checkerboard pattern. One row of rhinestones is glued to the upper cut, the other to the bottom. Self-adhesive elements need to be pressed tightly to the fabric, and they will stay there for quite some time.
 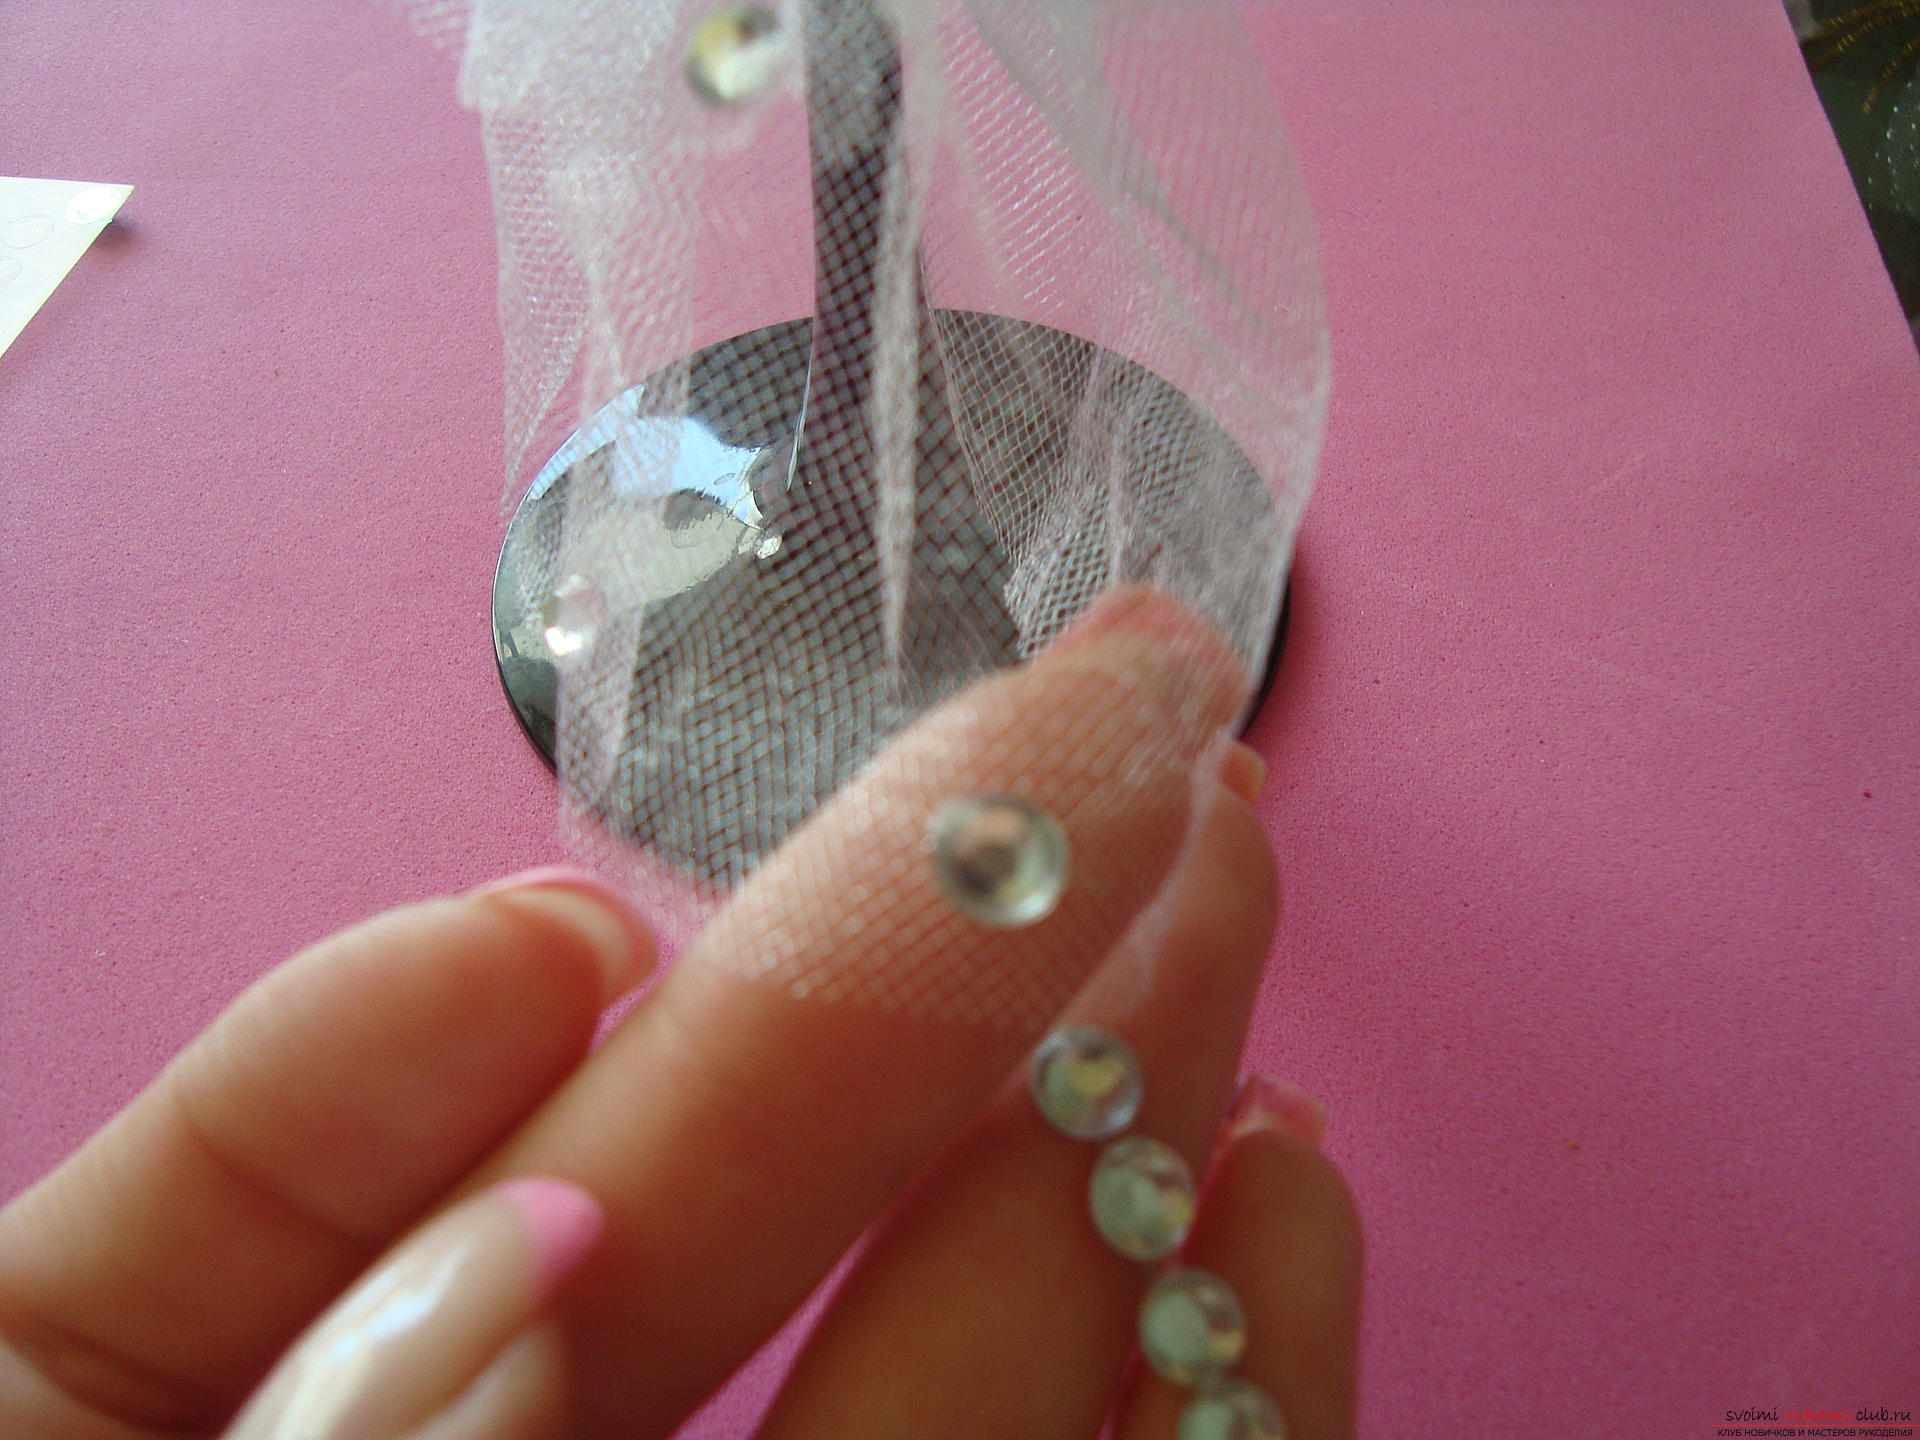 The central part of the wine glass will be decorated with a flower froma gentle satin, it combines the two main wedding colors - black and white. The petals of the flower are complex, because they are formed from three pieces of fabric. First, prepare squares of a smaller white and black ribbon (4 cm elements) and a light ribbon with a width of 5 cm (the side of the square will be 5 cm, respectively). White blanks of 8 pieces, and black will need 16 elements.
 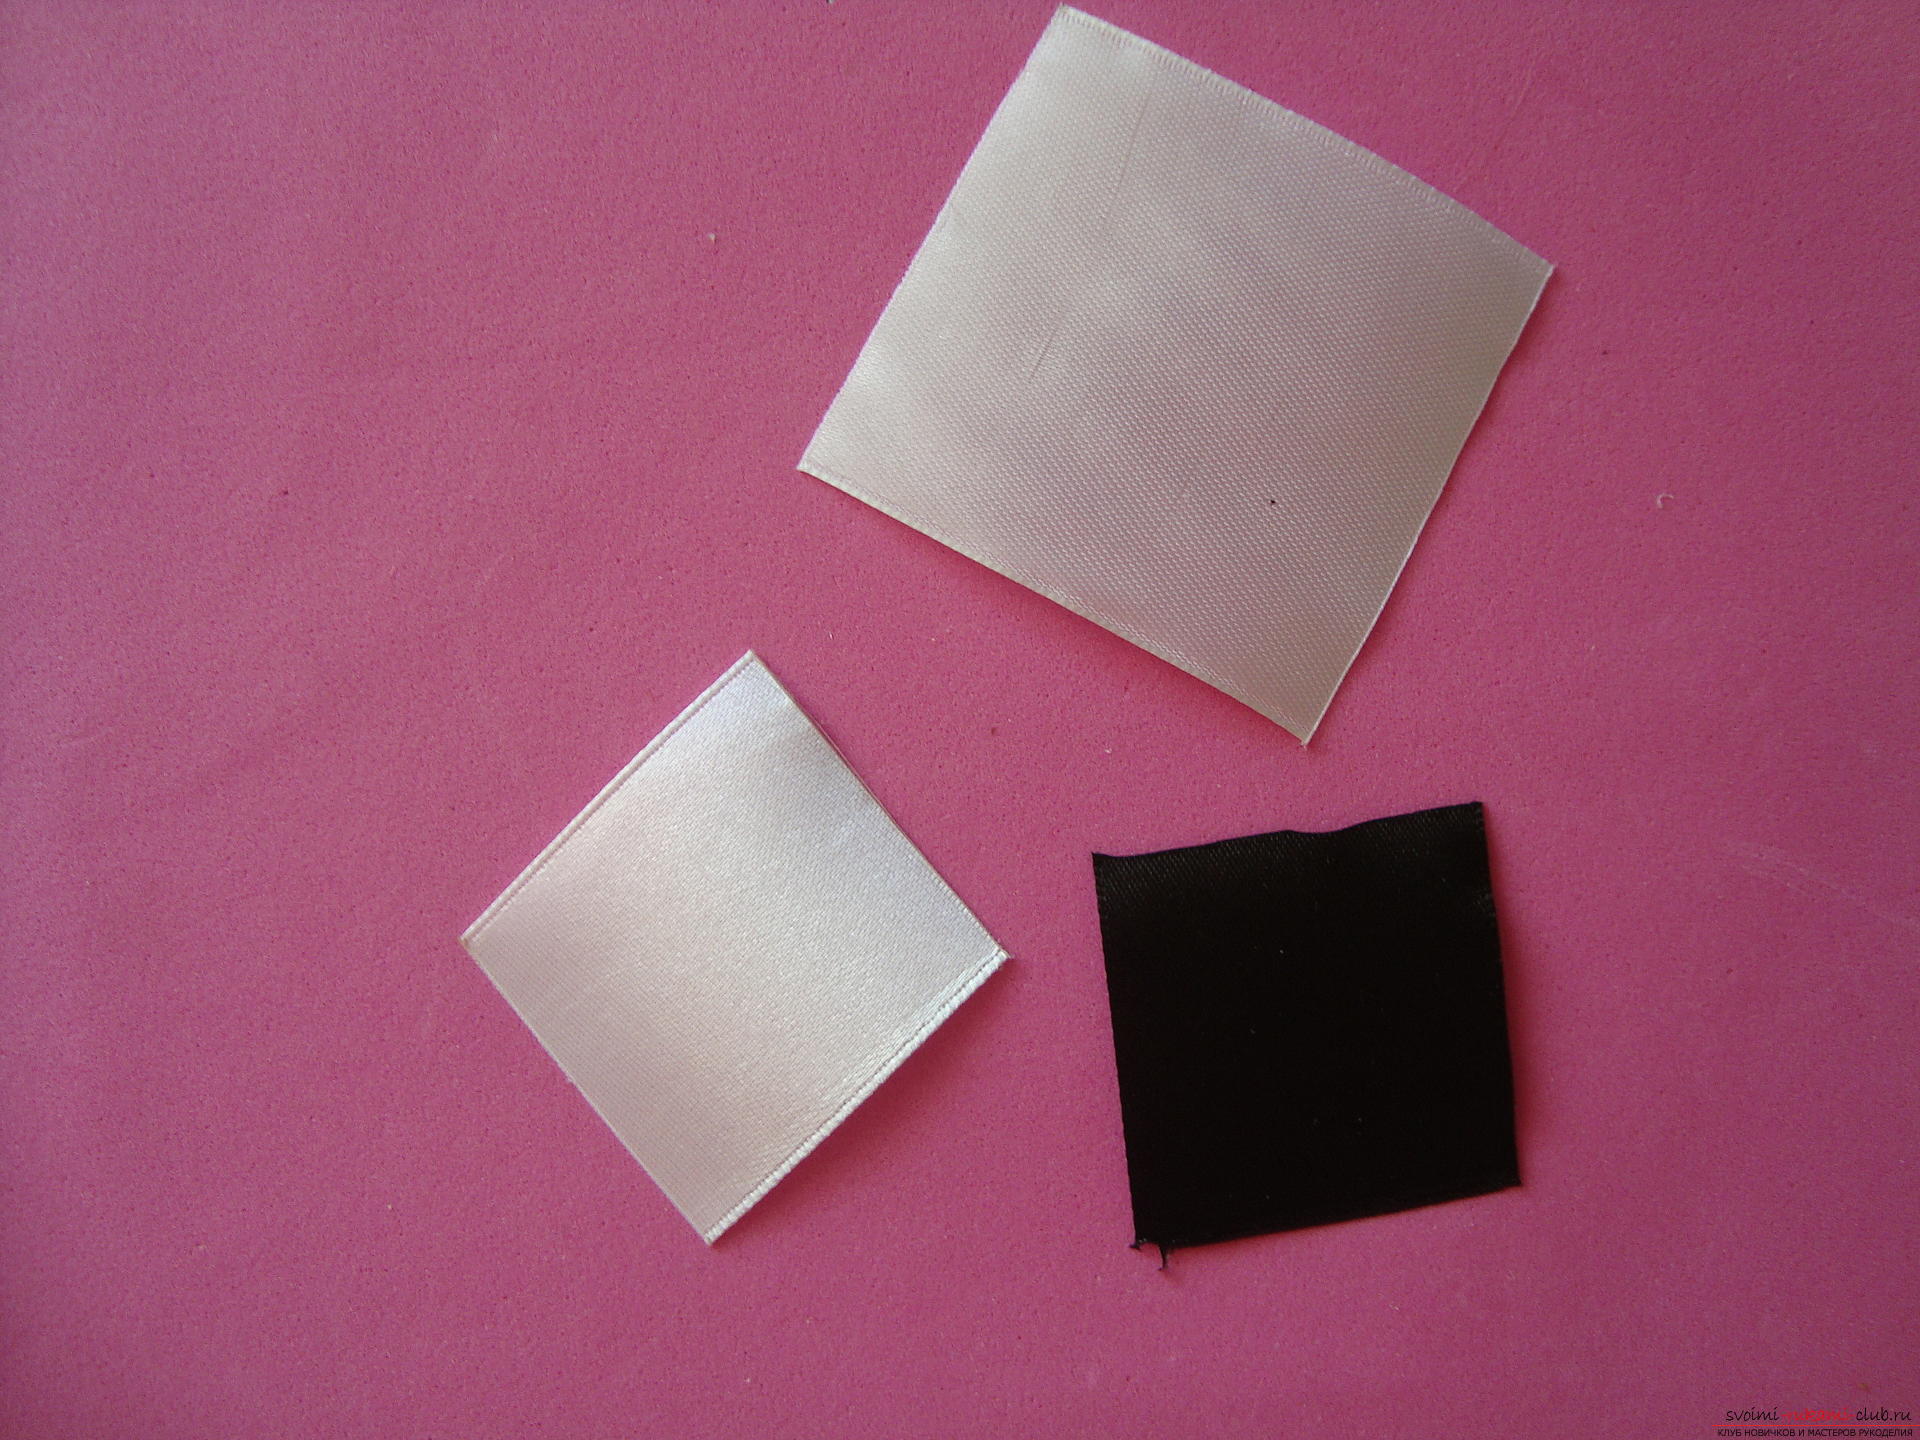 A large element of white color is bent into a triangle.
  Then bend the workpiece again, but along the center line so that a new triangle is obtained.
 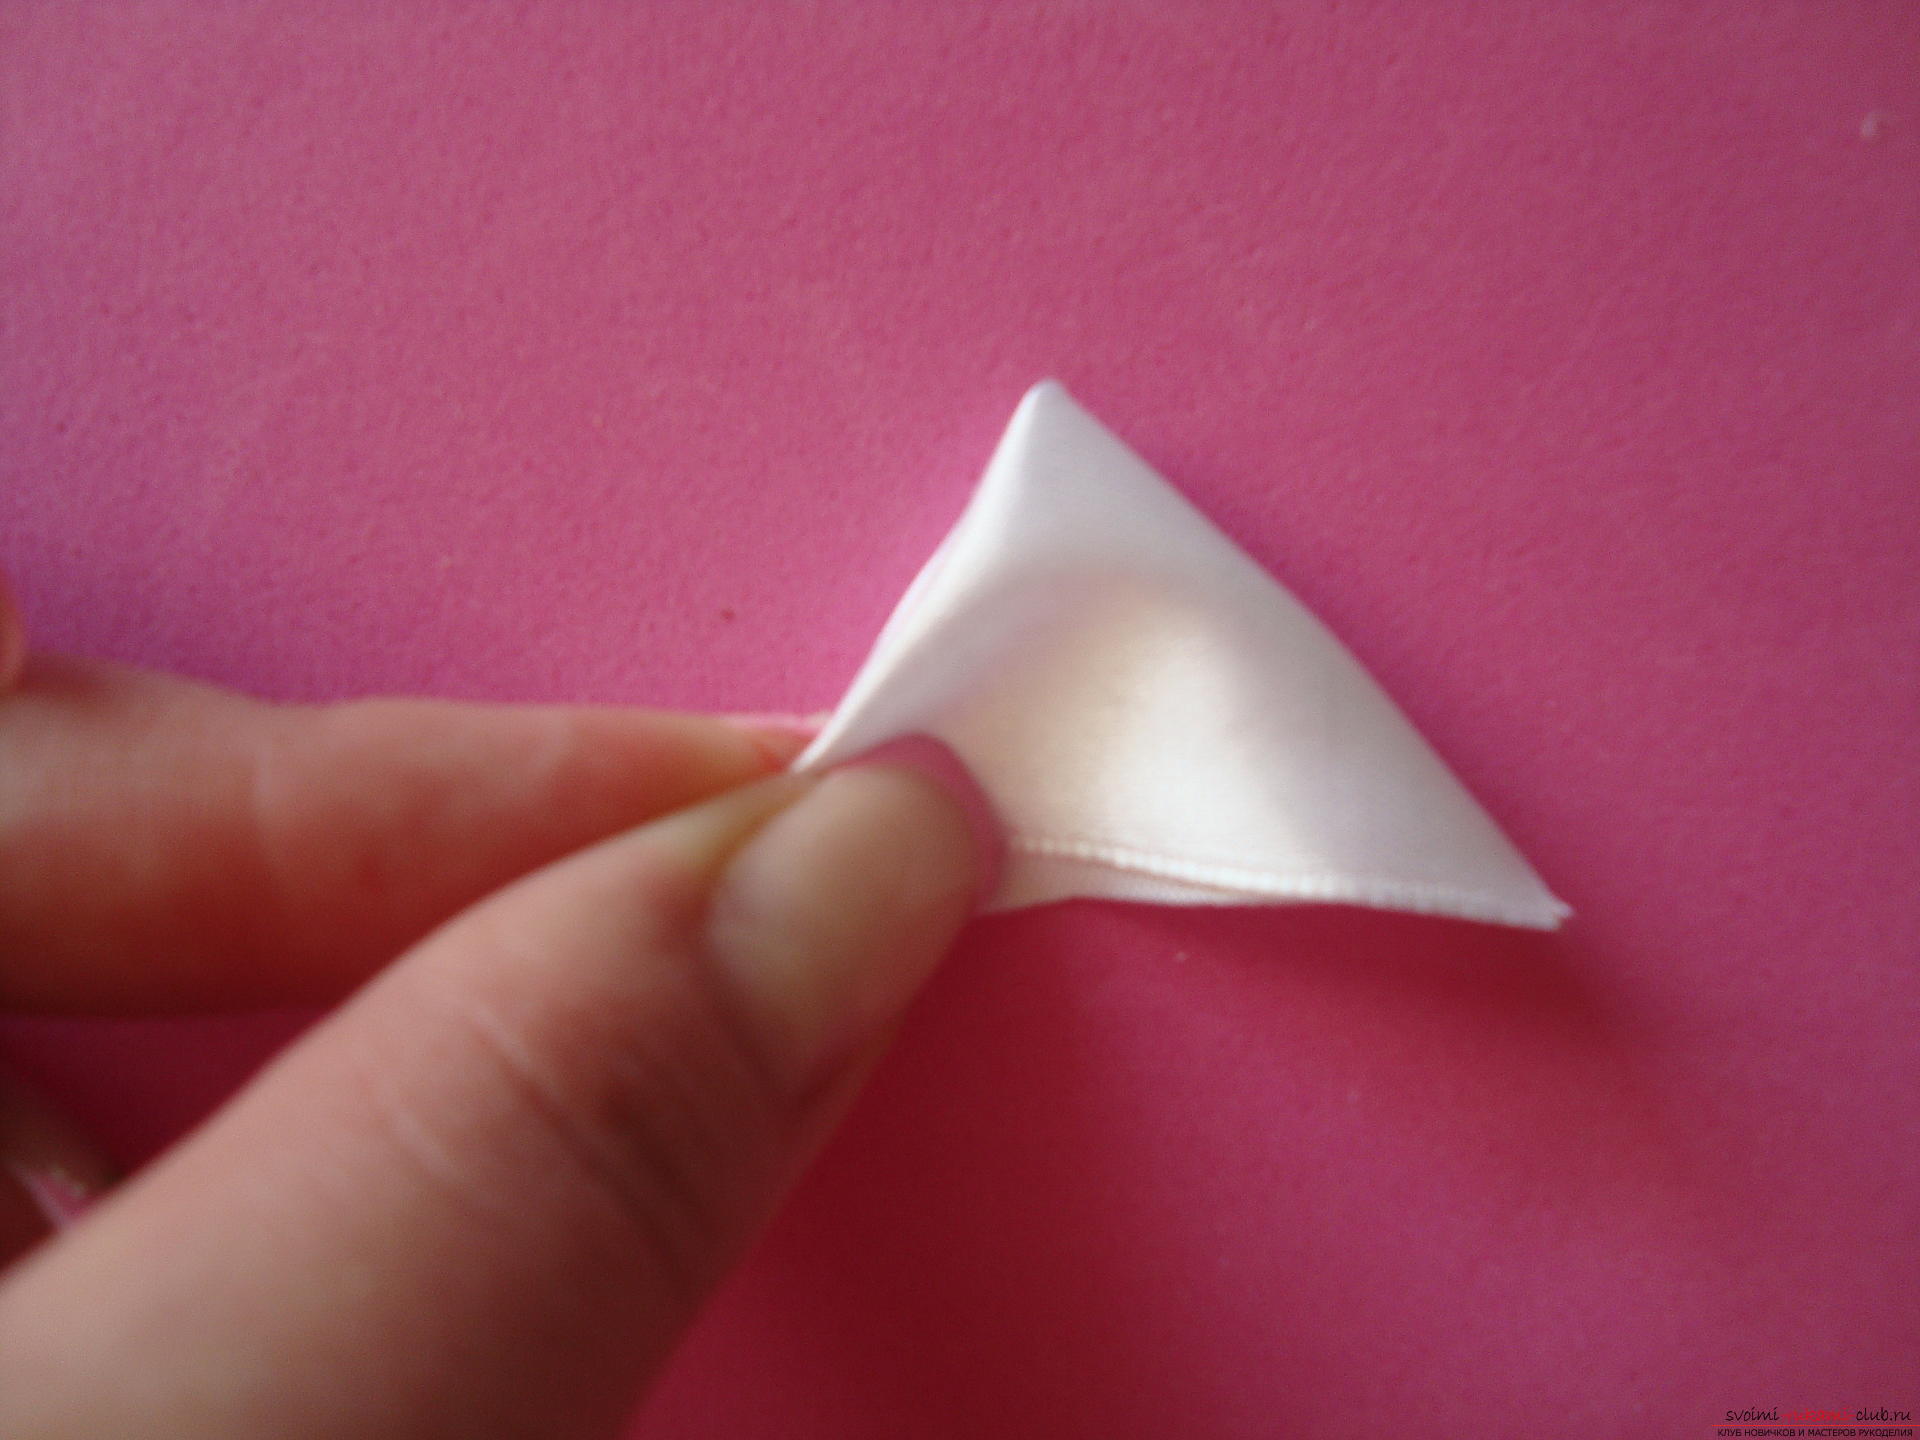 Similarly, bend and other blankssmaller size in black and white. The dark triangle is superimposed on the first large element with an indent of 1mm. The third white part falls on the black workpiece also after 1 mm.
  Transfer these details to the glass surface, press the upper part with a ruler and cut off the bottom of the triangles with a red-hot incinerator in a straight line.
 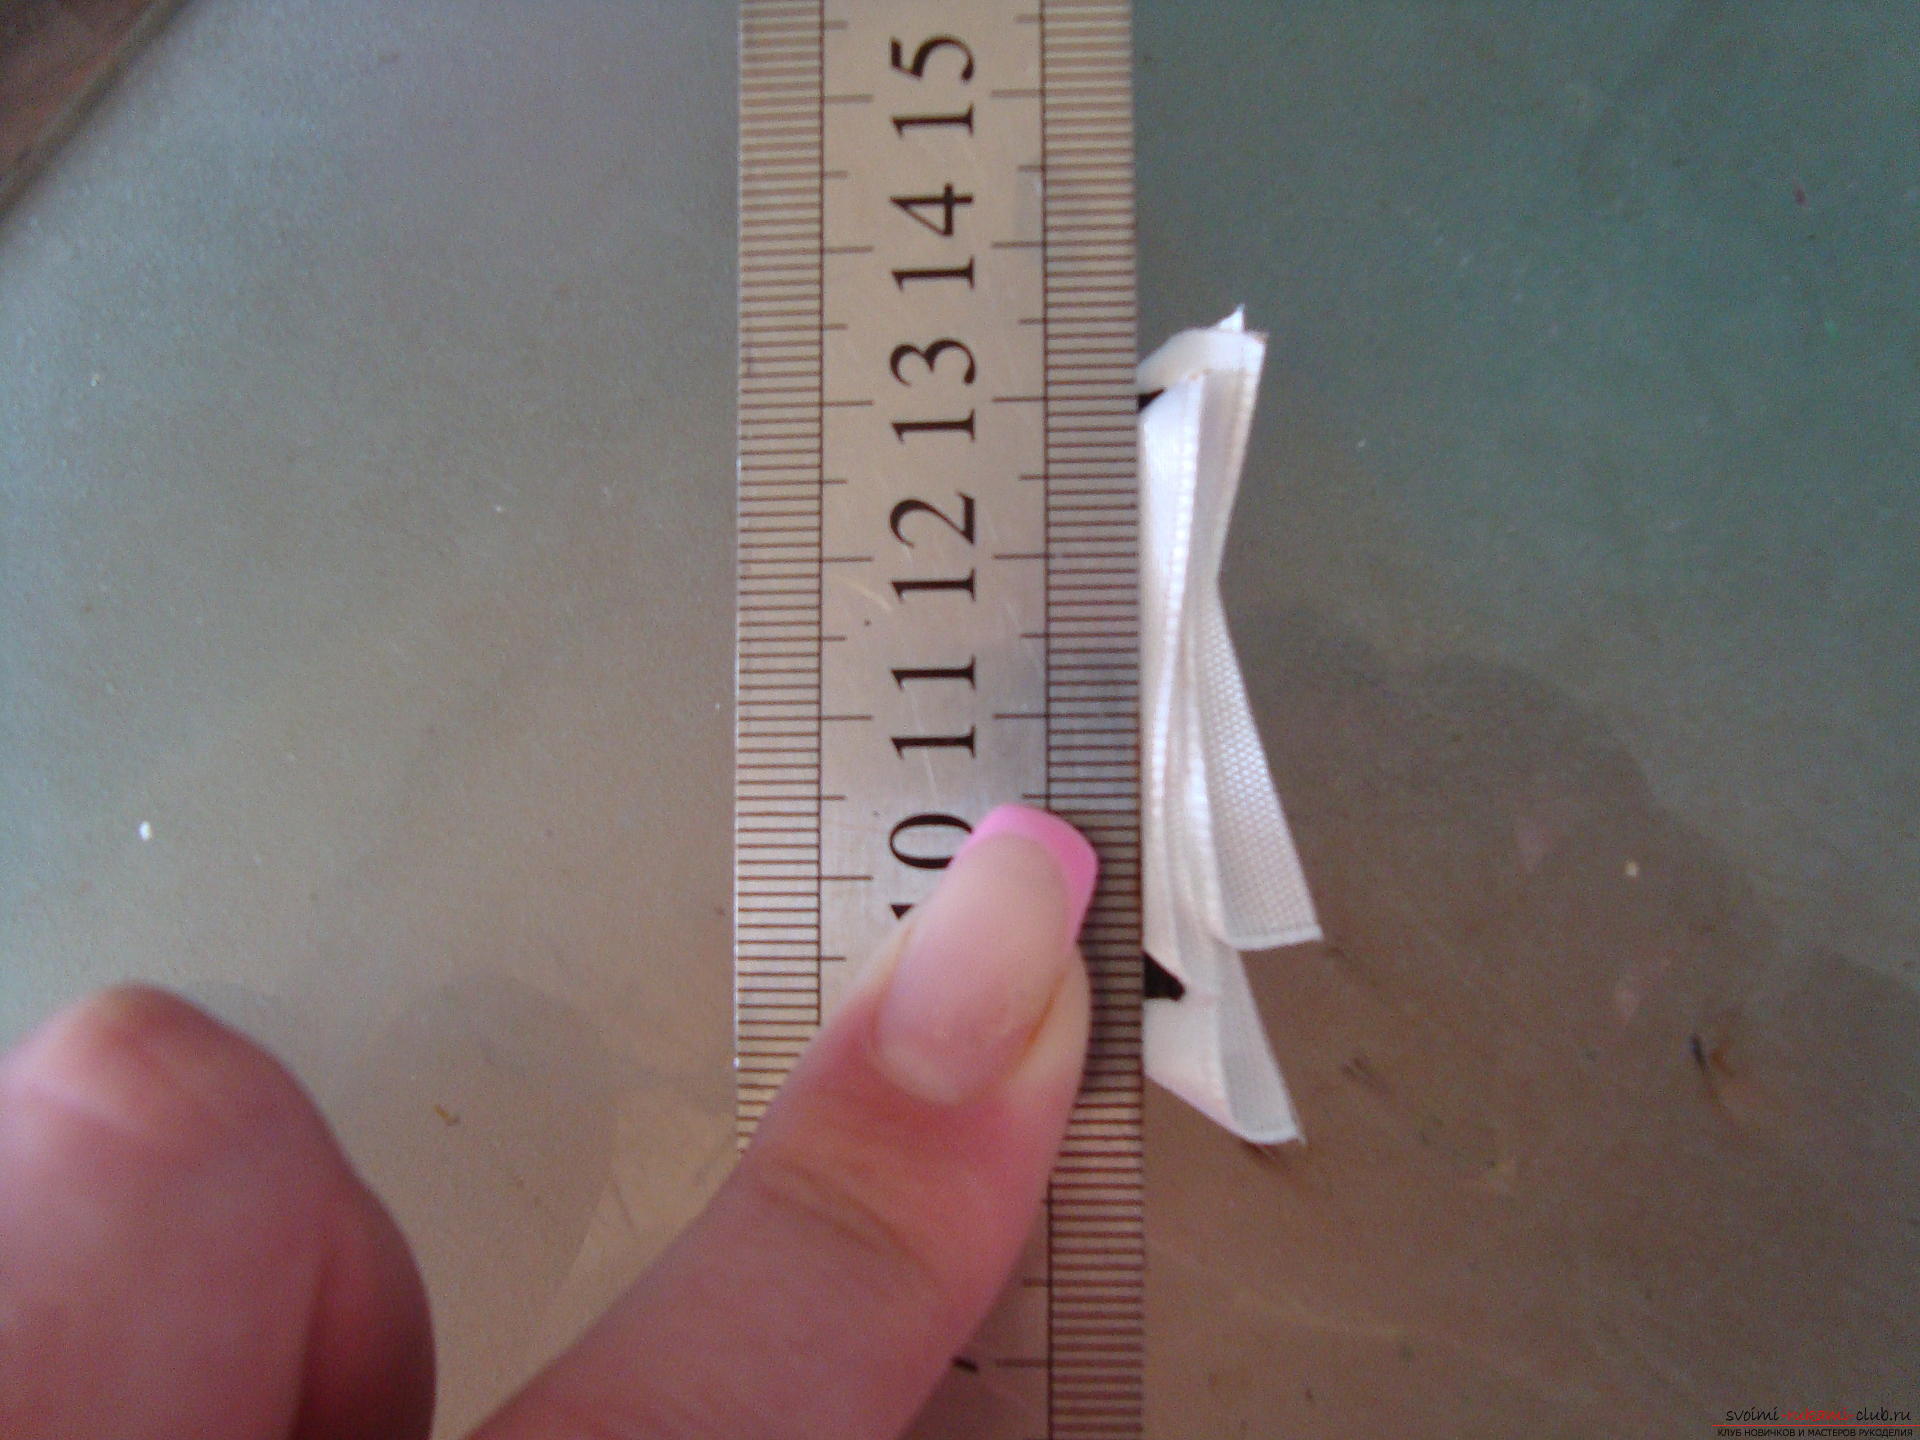 The bottom edges of all layers should be soldered to each other and form a common detail.
 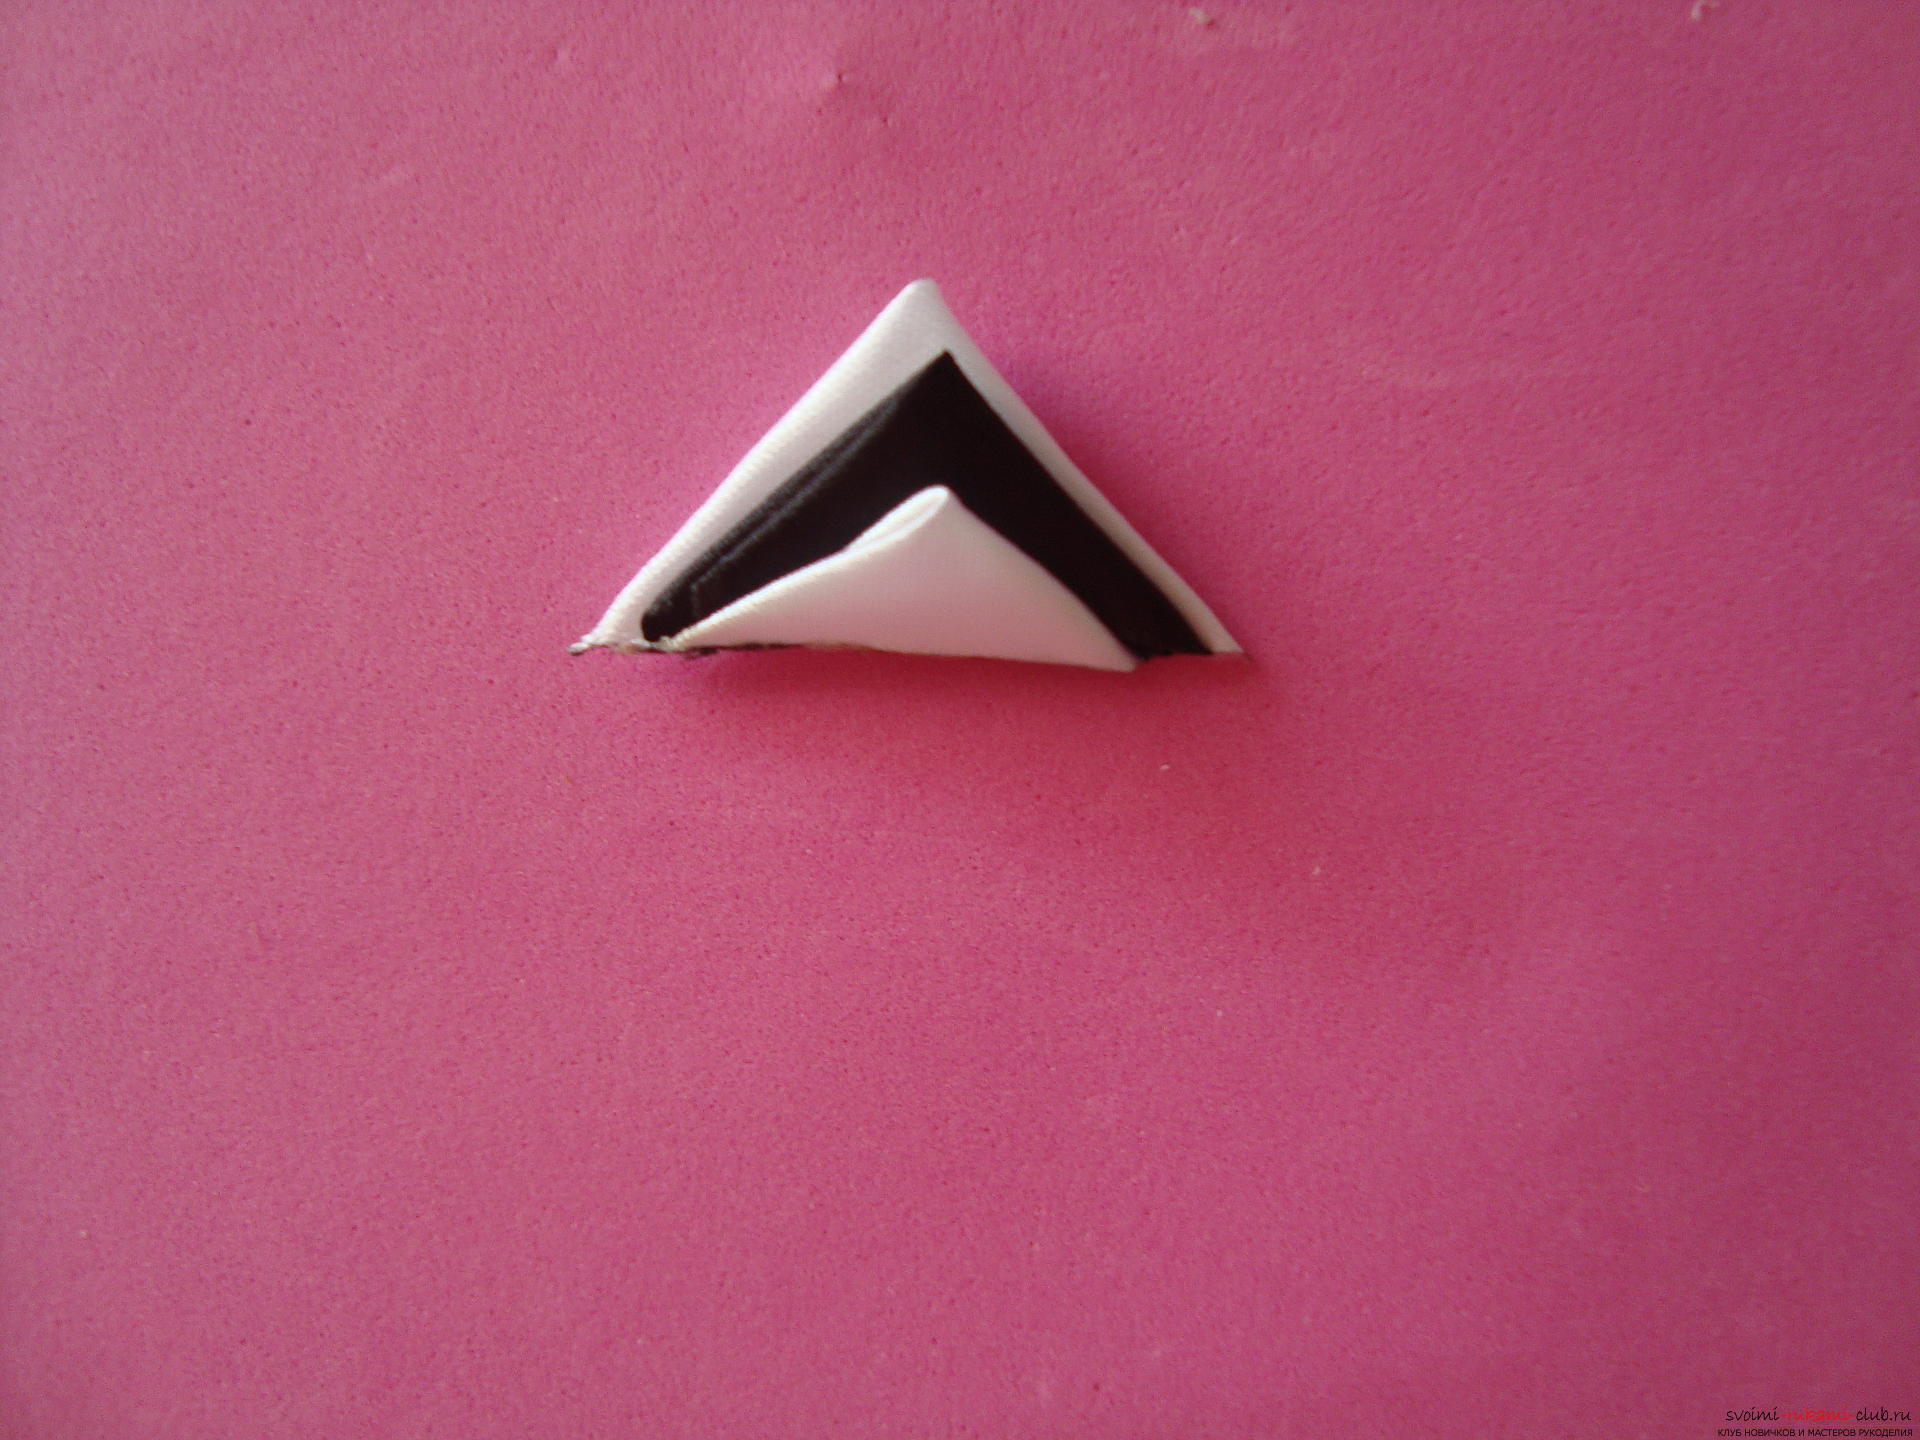 On the central line, the triangle bends and forms a multi-layered sharp petal. It is important that all corners lie along one line, because only in this case a beautiful petal will form.
 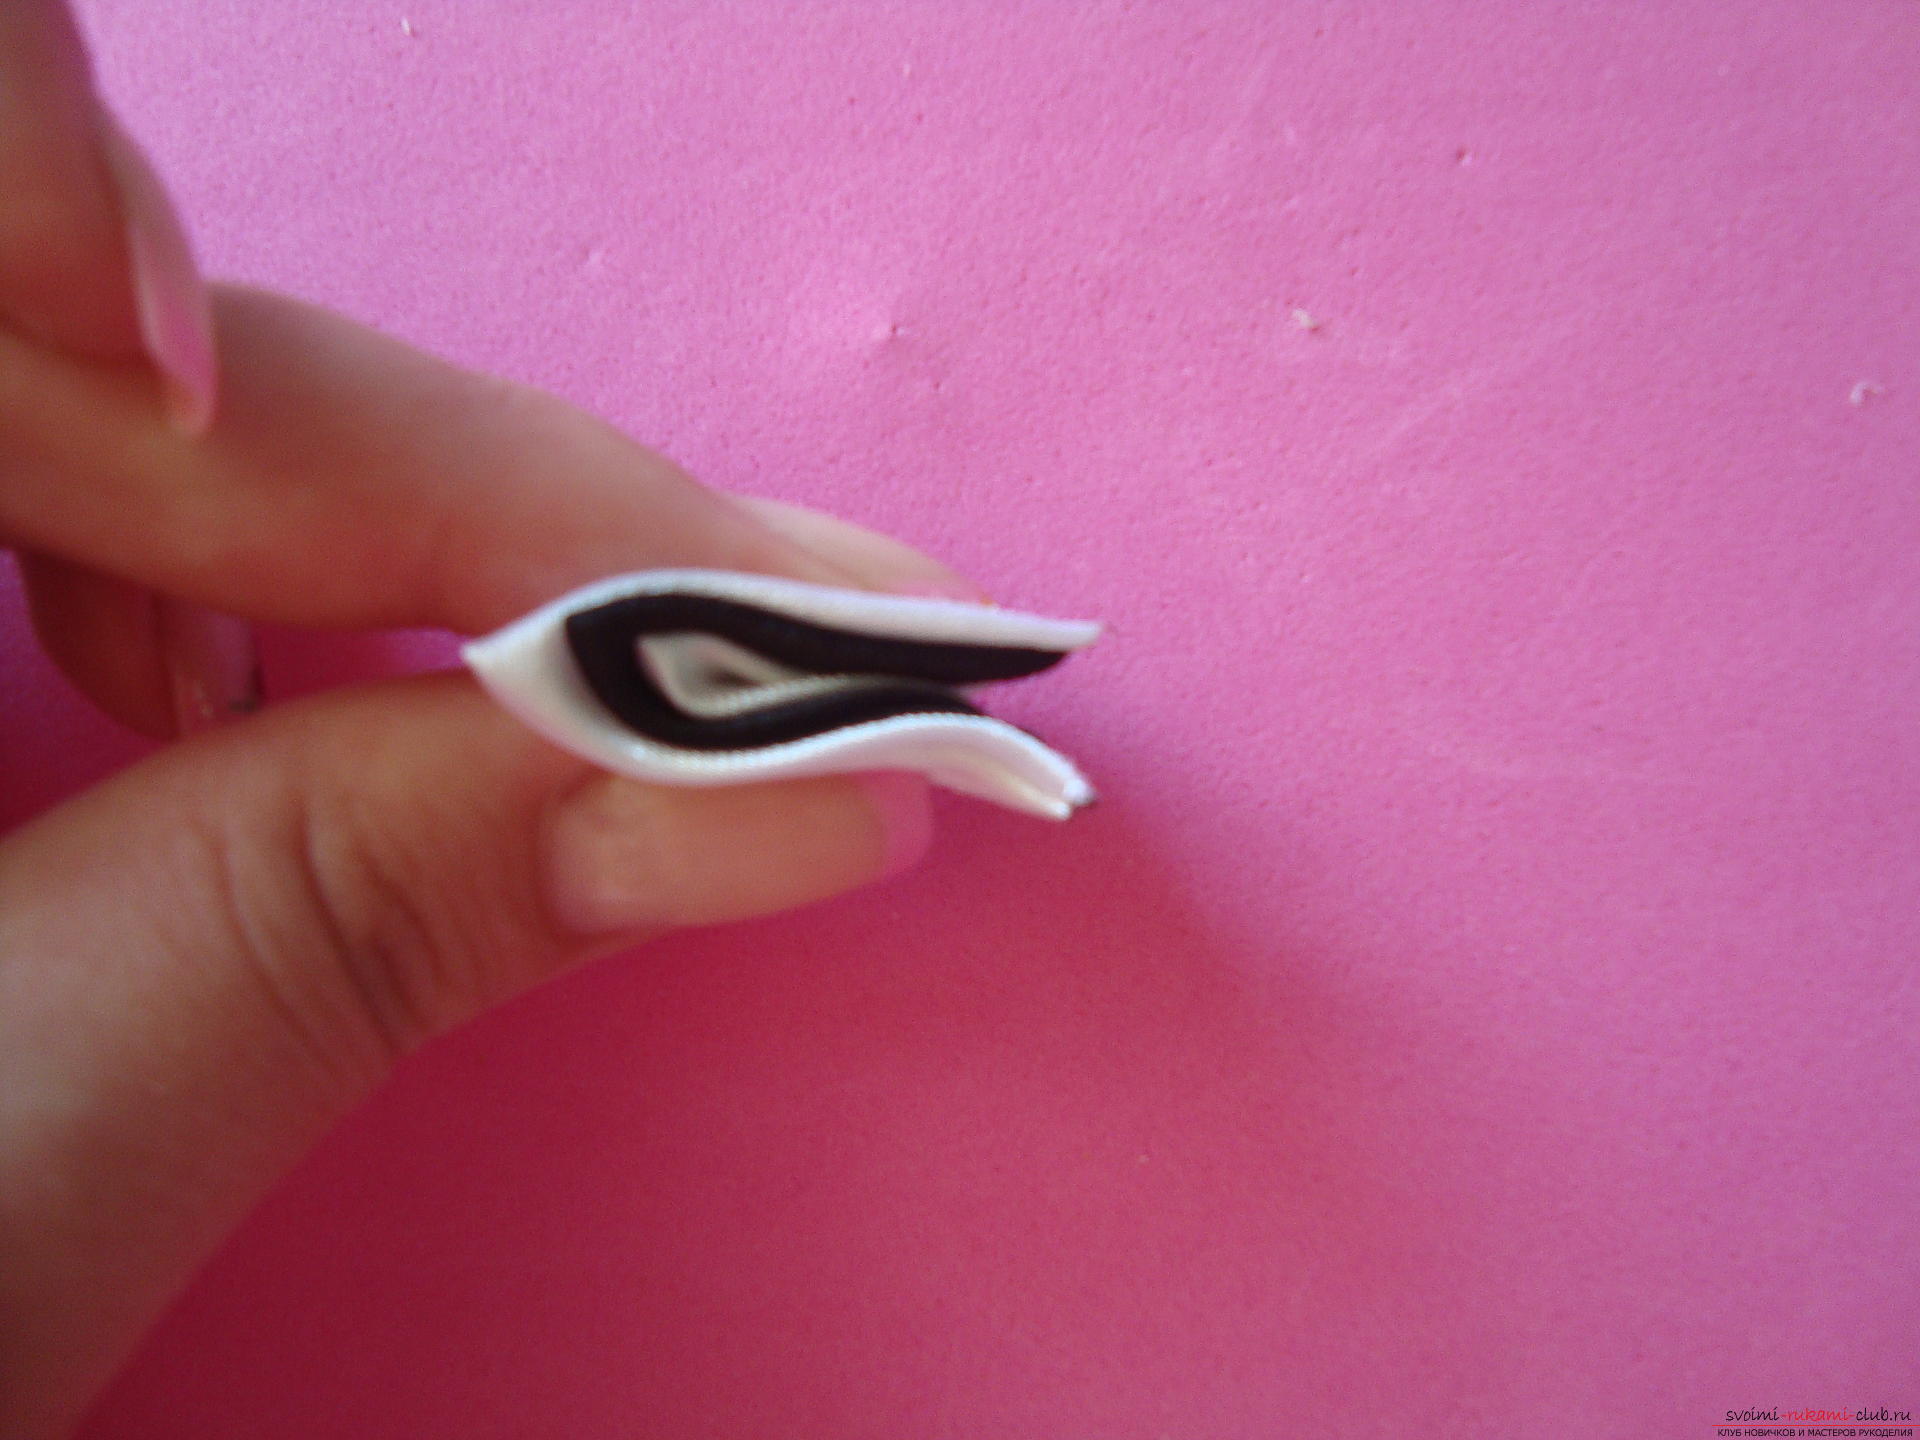 The edges of the triangle drawn to each other are soldered by the burner, this is the last stage in the formation of the petal.
 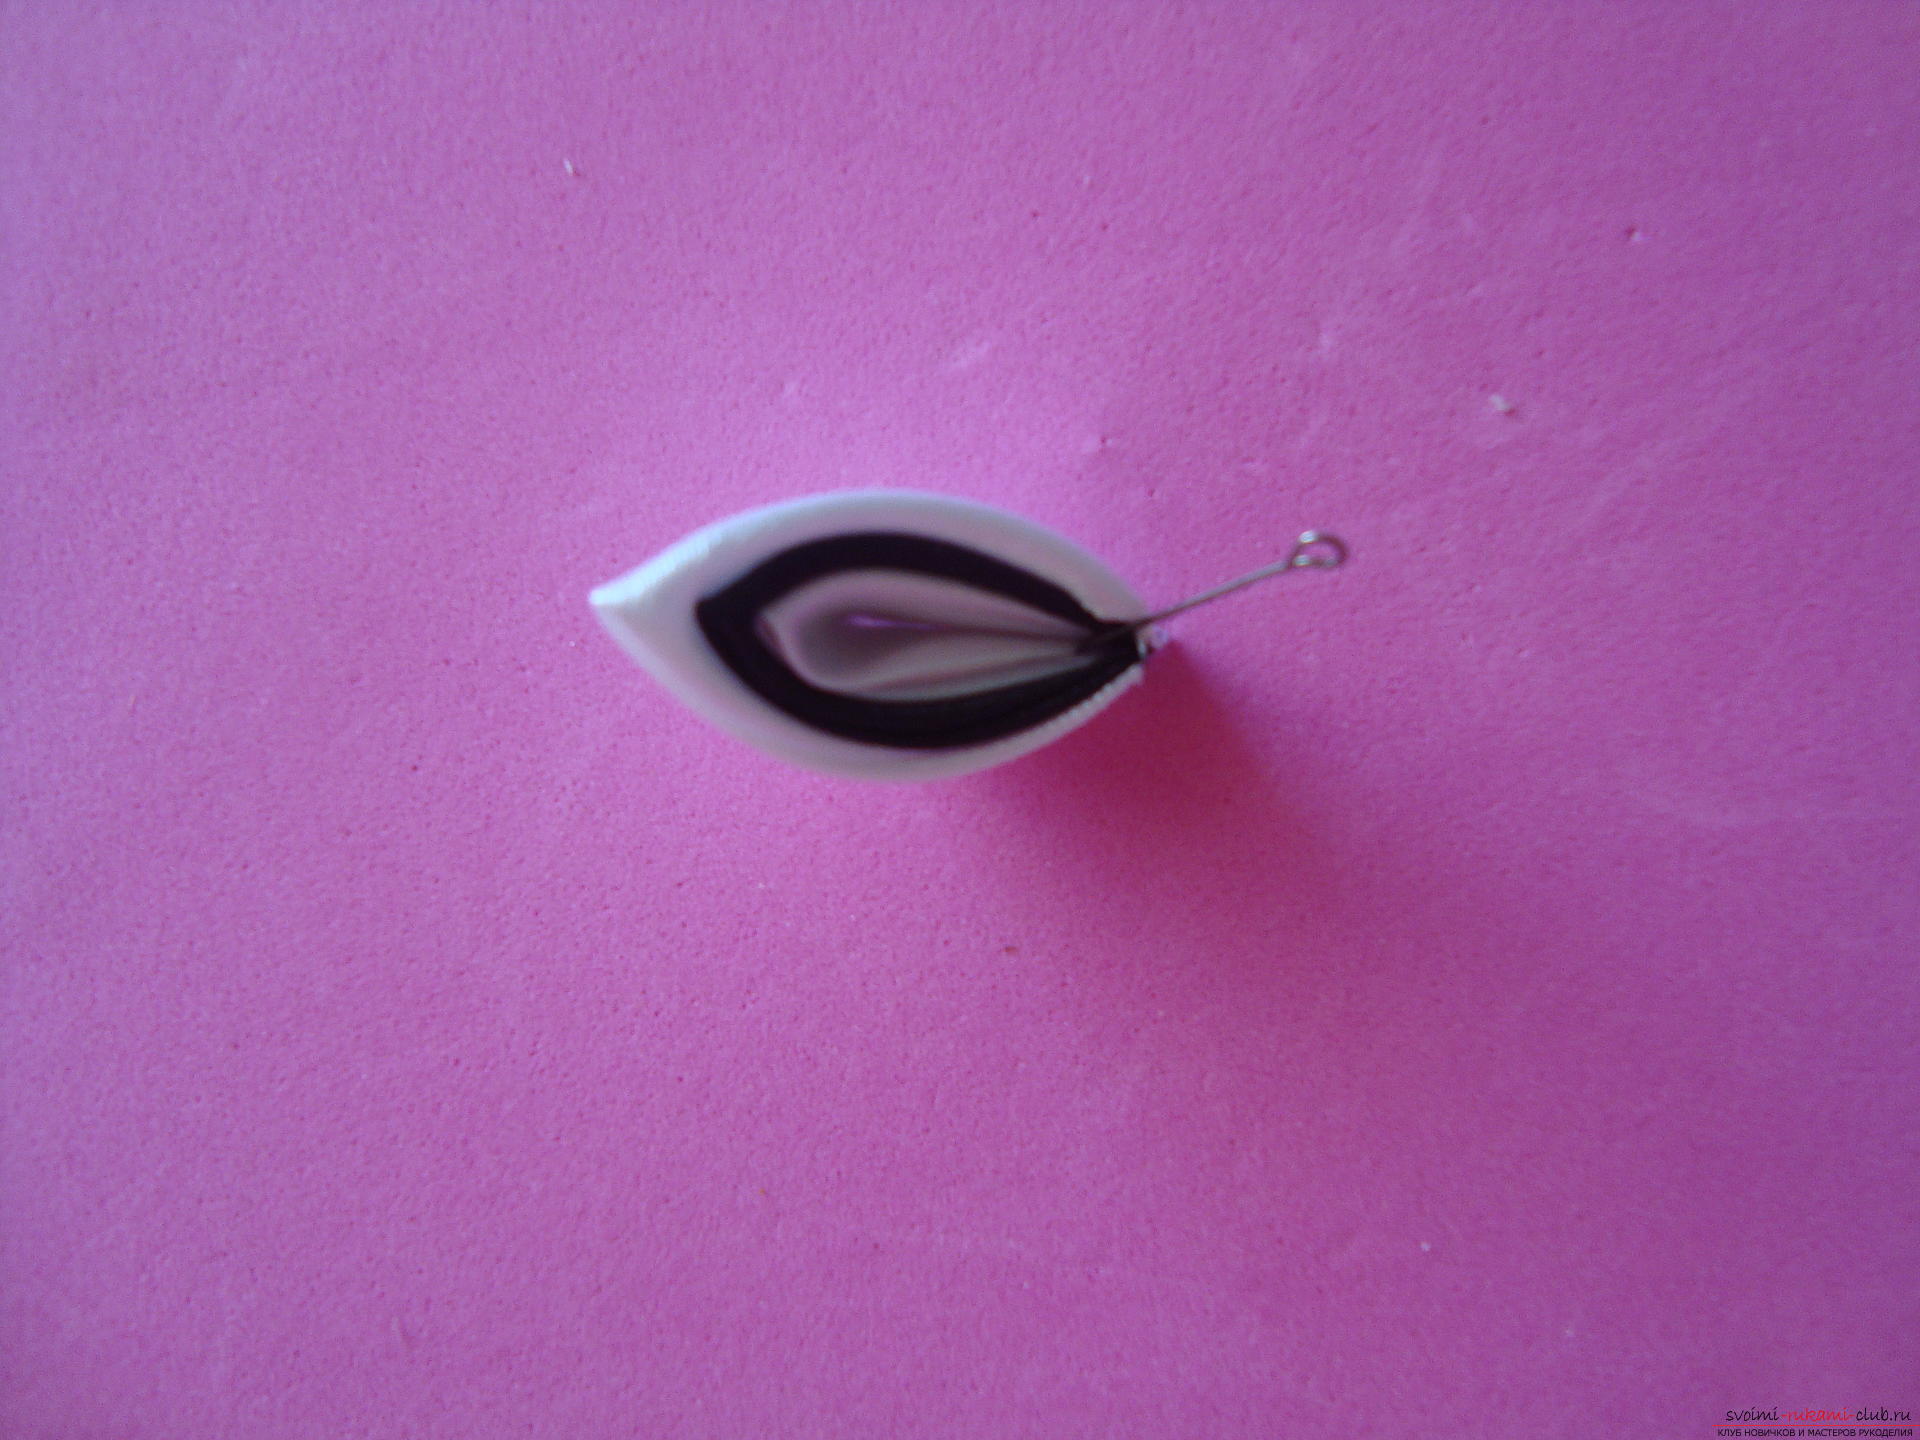 Sew eight petals and glue them to a roundish base of a small size (about 2 cm in diameter).
  It is also necessary to create single-layer sharp petals. For them, flaps of 4 cm tapes will be required on each side.
 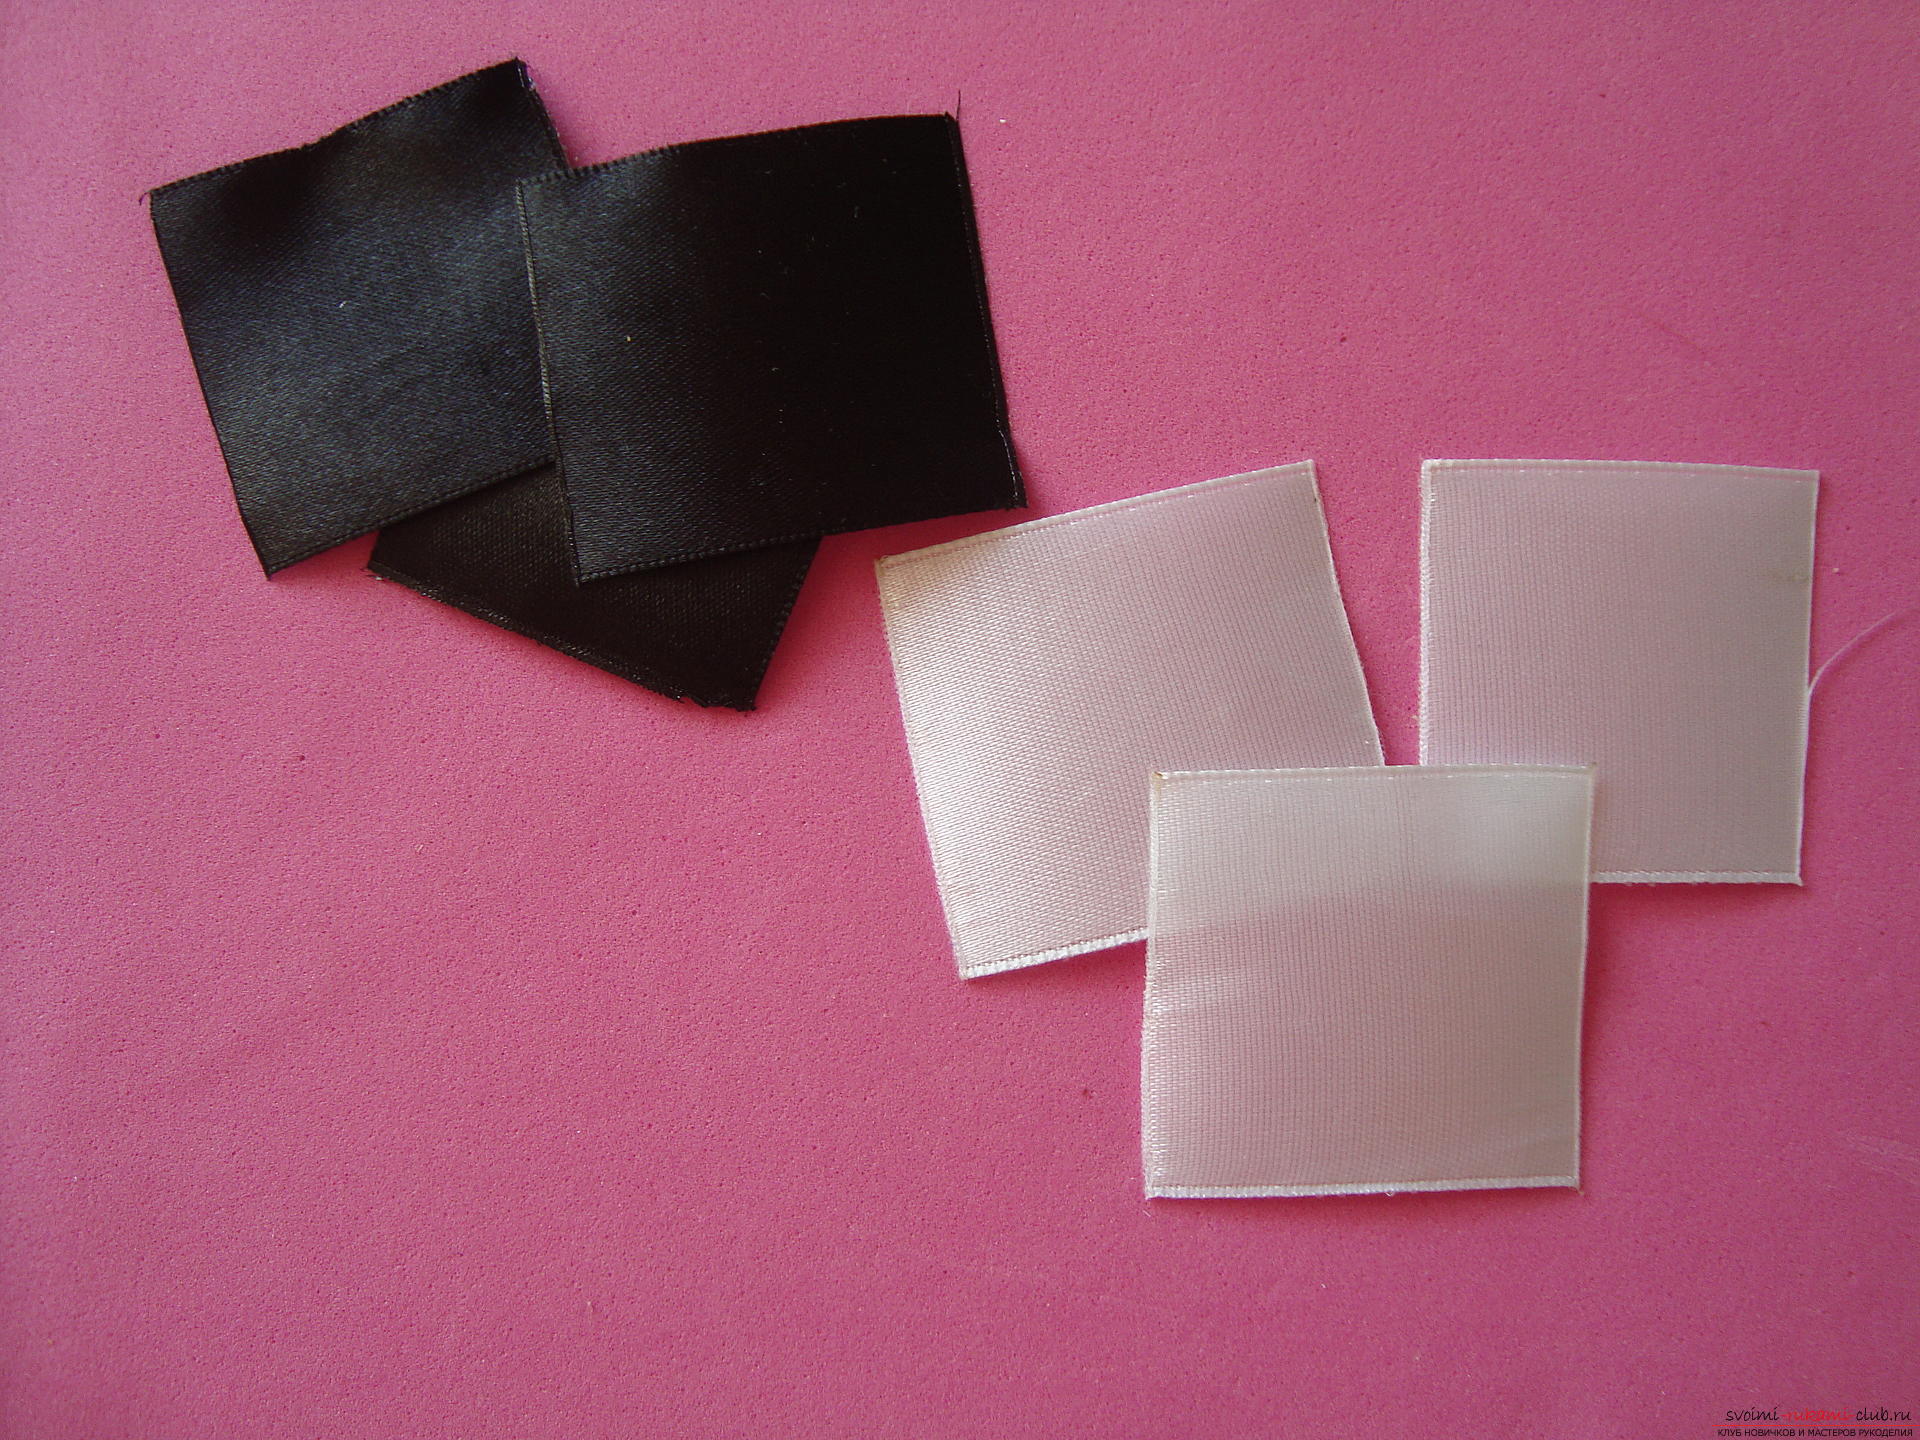 Fold each element twice, as in the previous petals, to form a triangle in four layers.
 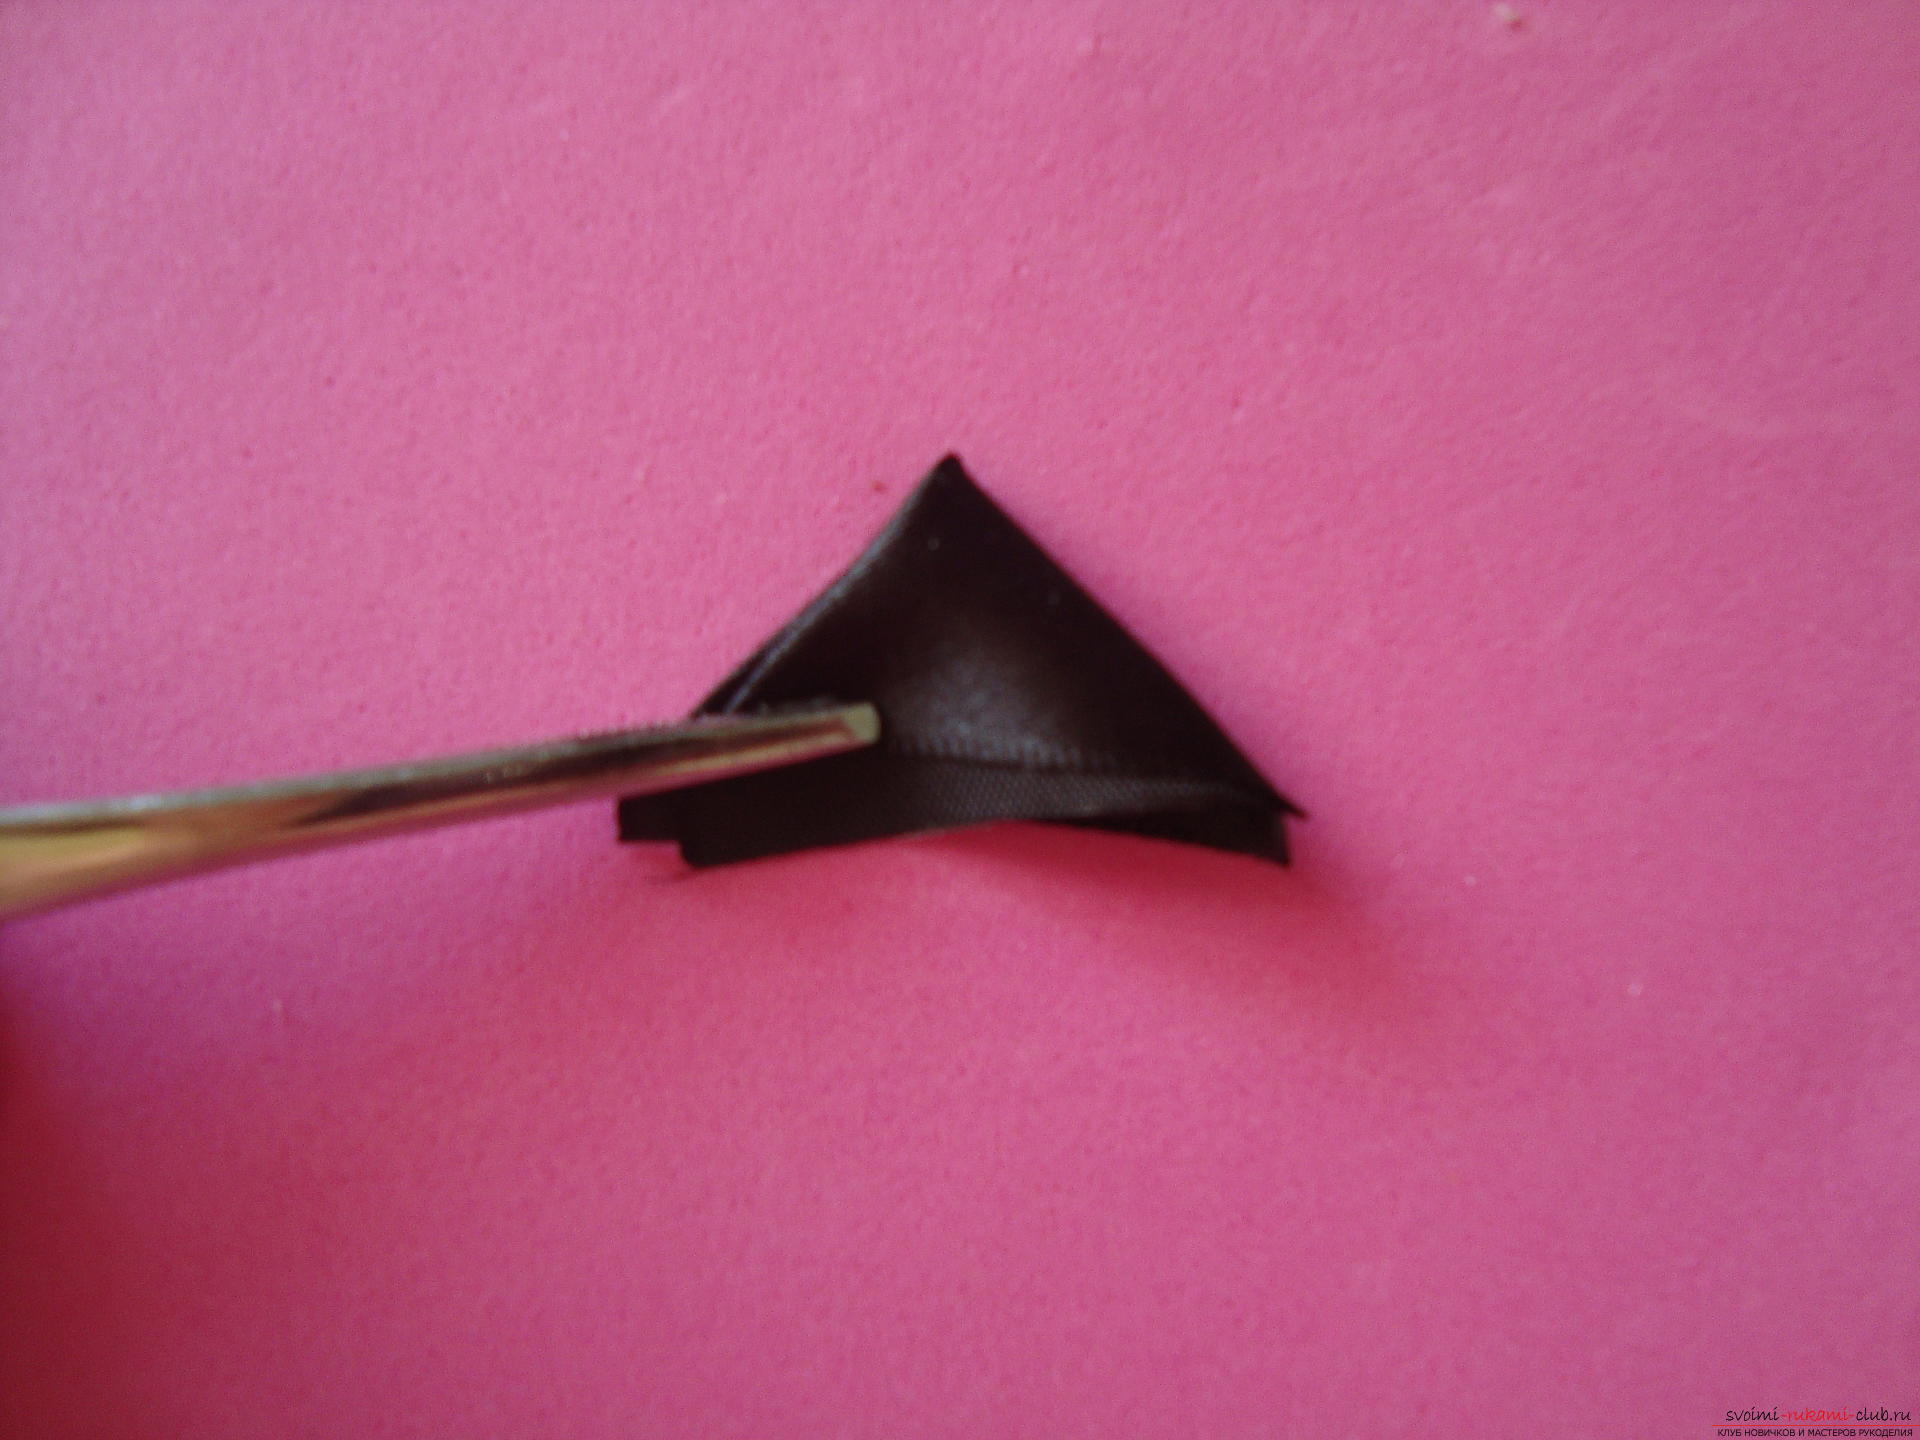 Bend the element, forming an acute angle in the upper part, and the bottom is soldered with a hot tool.
  Black single-layer petals are glued between the details of the main flower to give a larger volume, forming a second tier.
 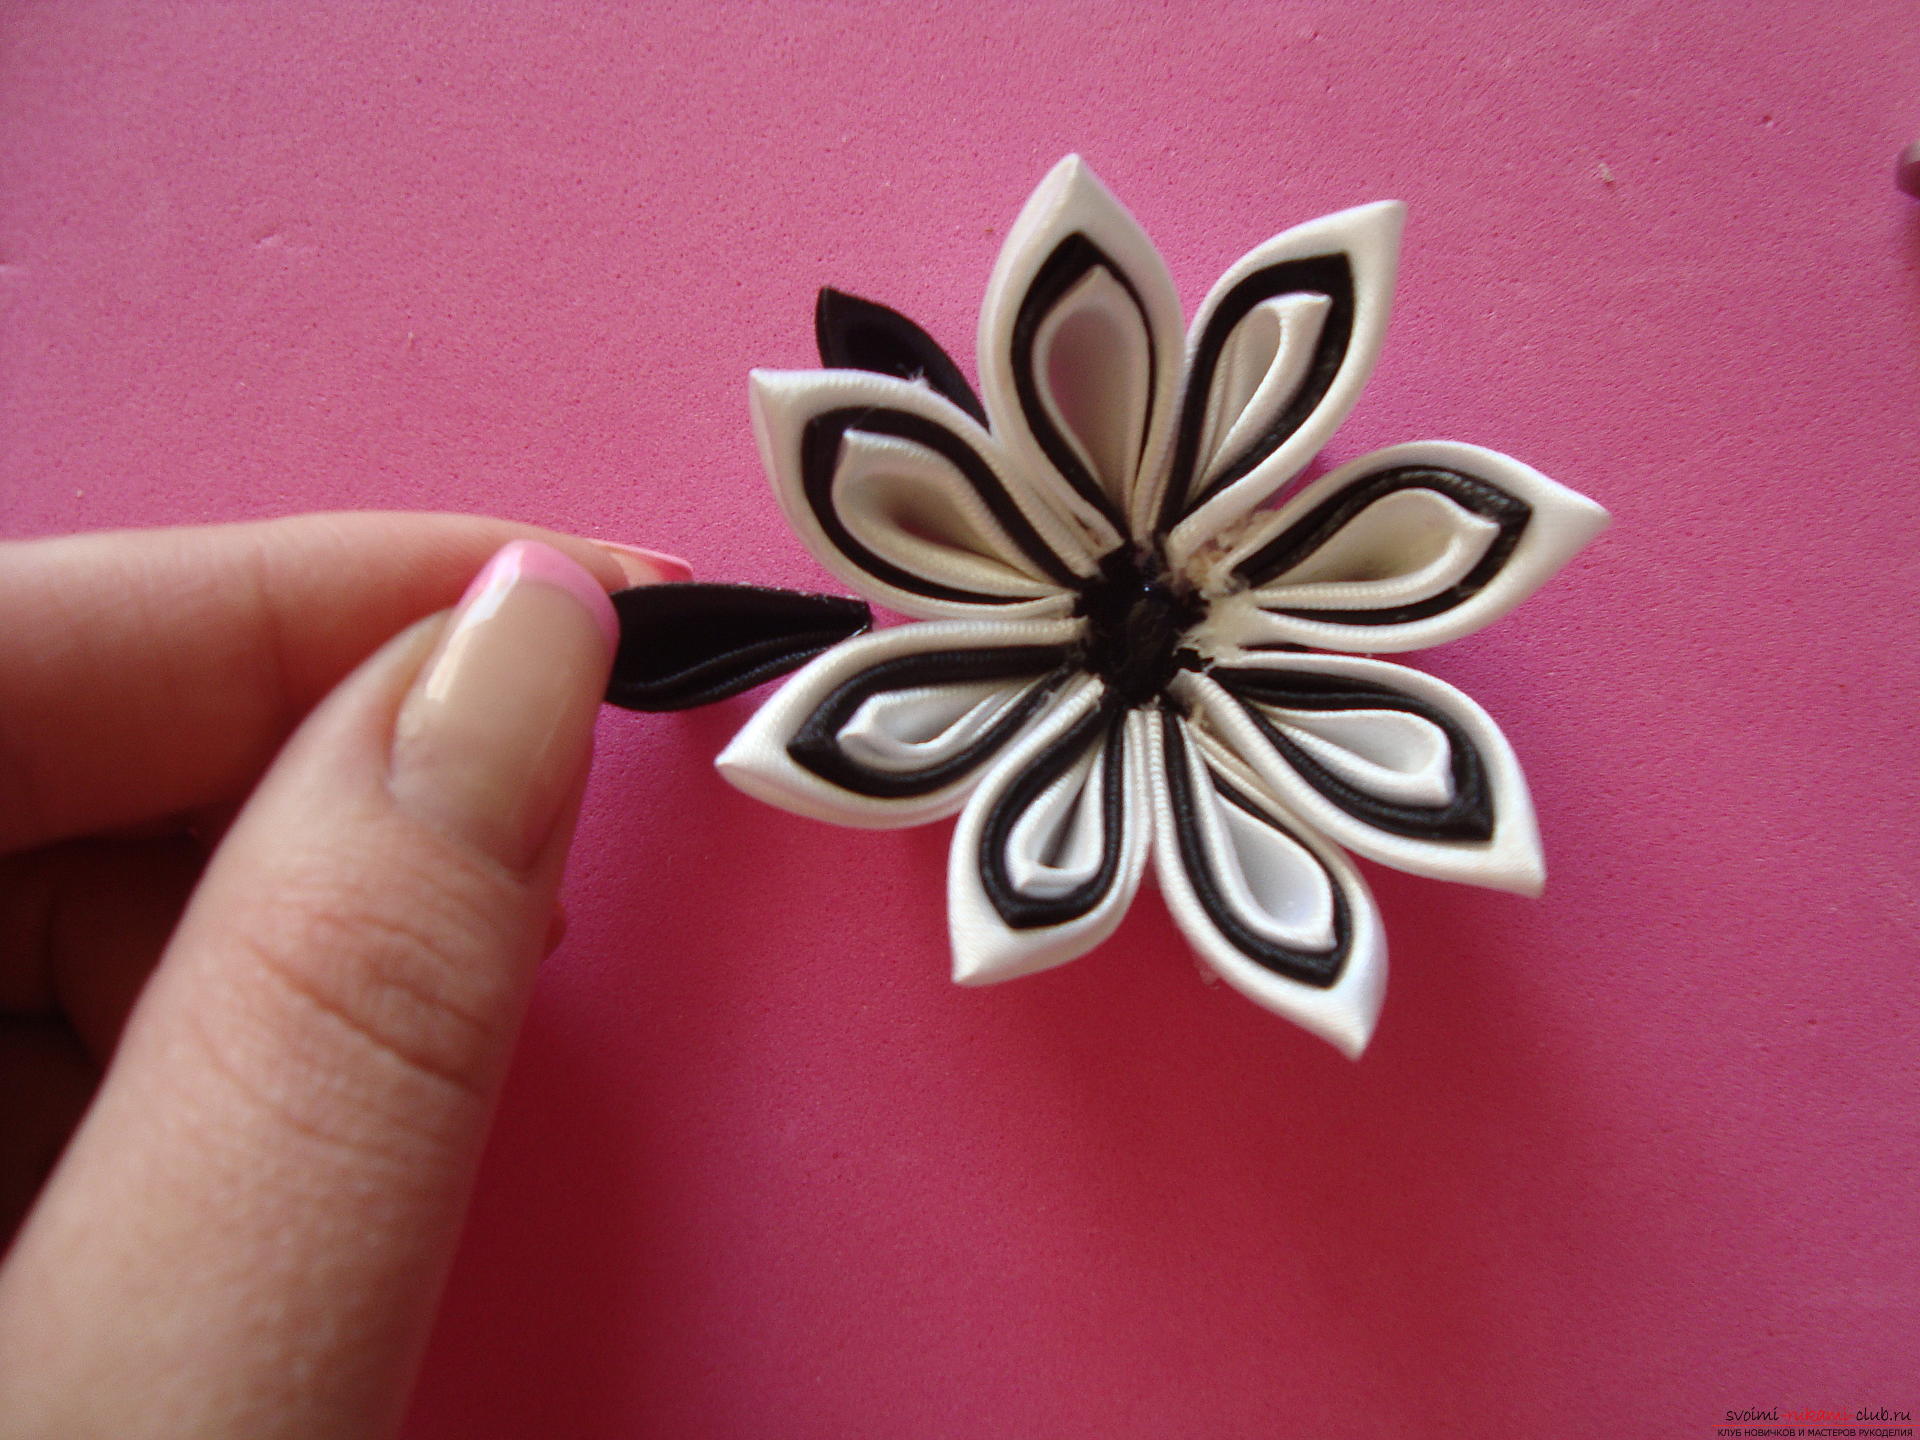 All parts must be glued to the same depth and form a circle.
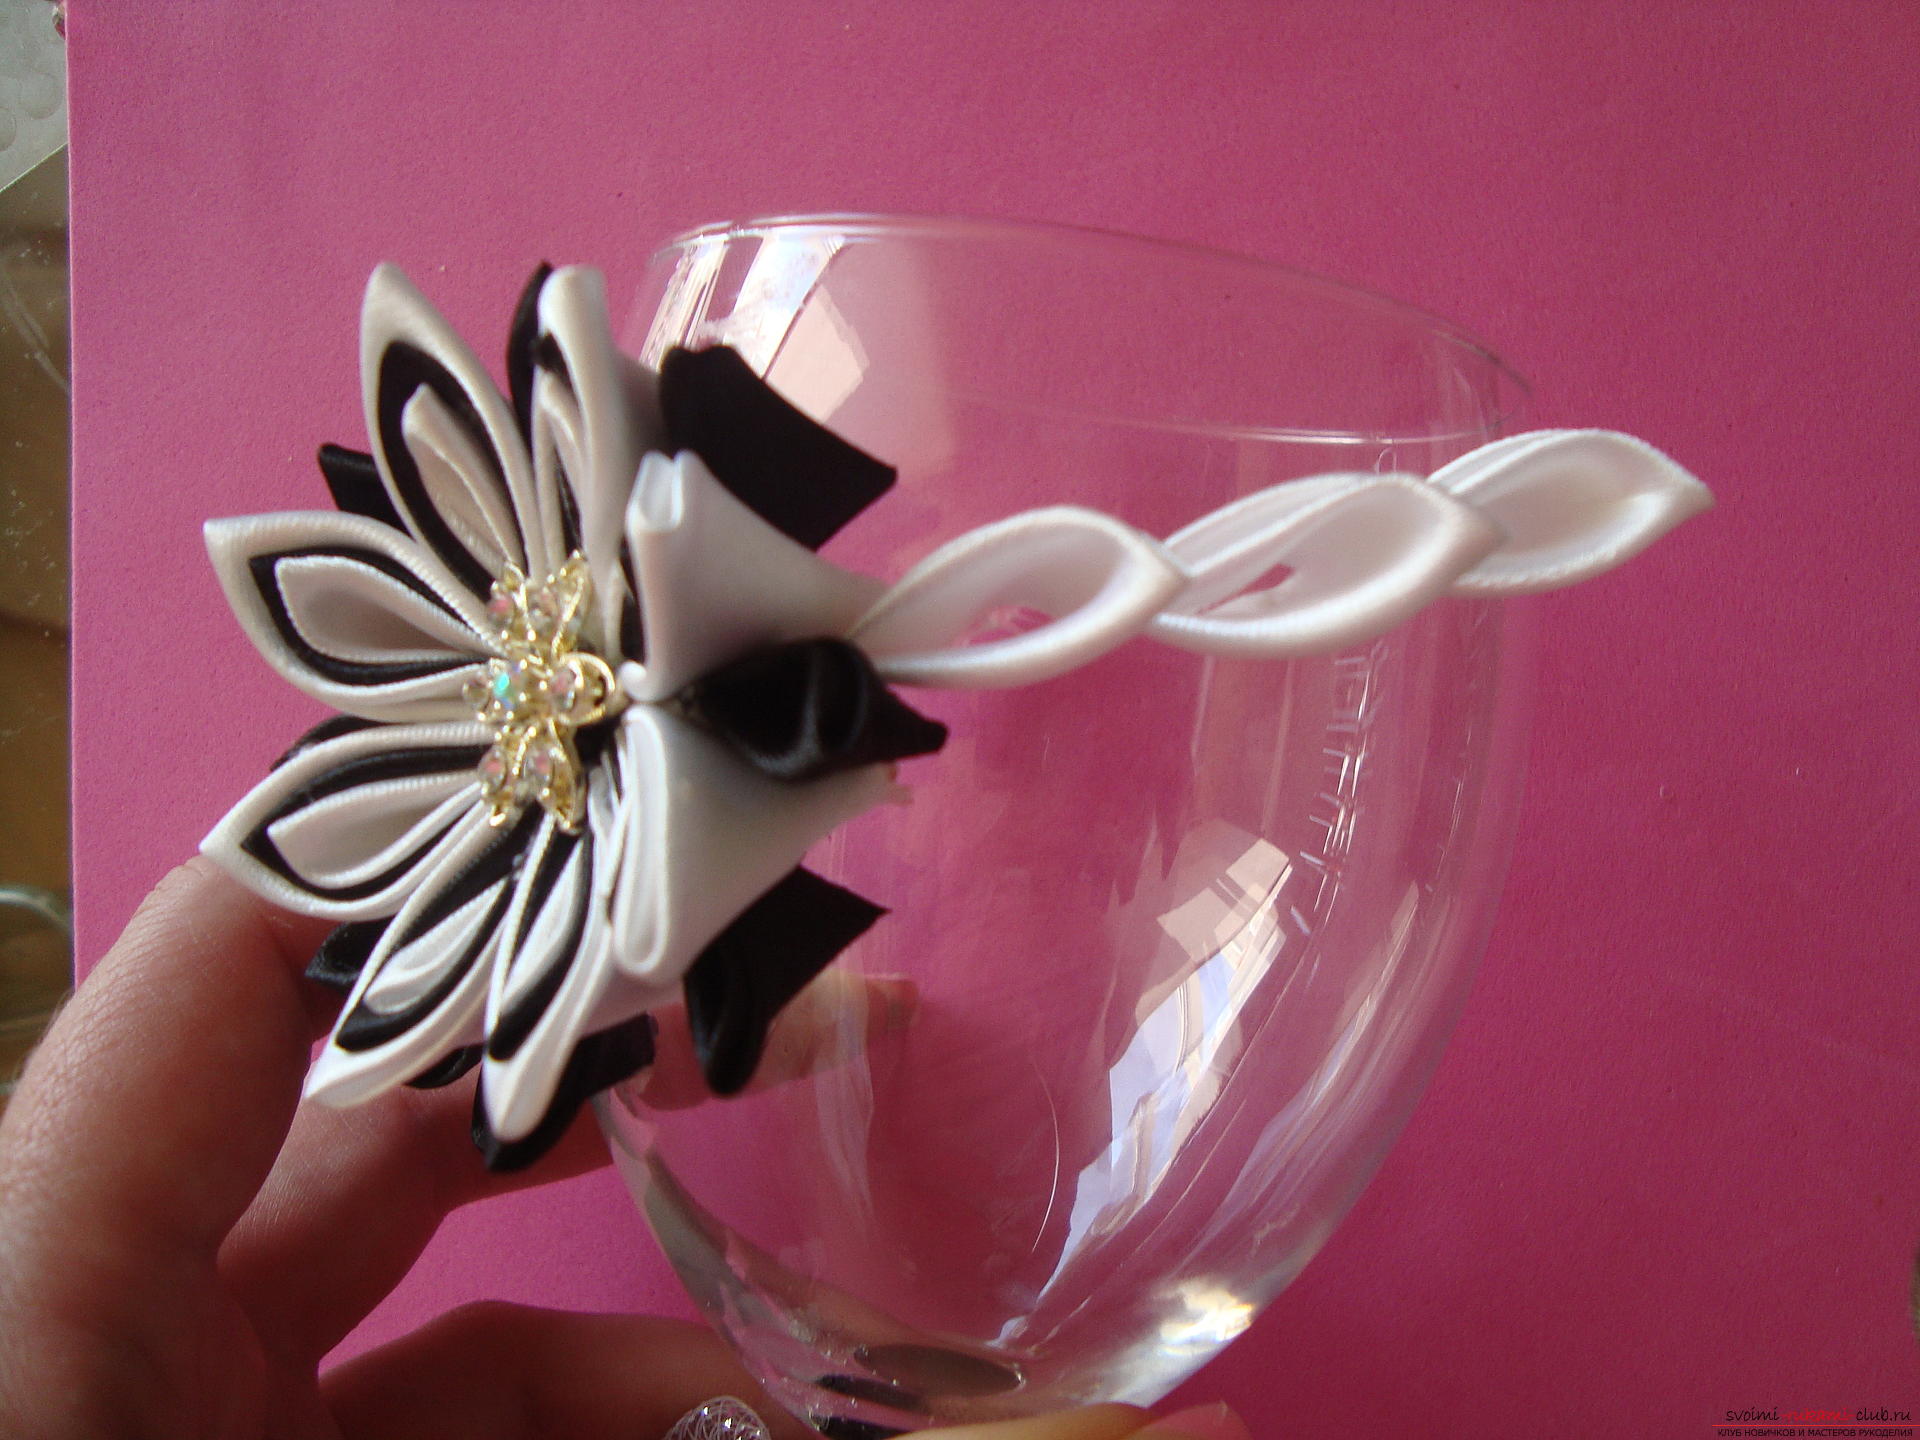
  Using a transparent hot glue floweris fixed in the middle of a festive glass. The middle of the flower should be decorated with an effective element, for example, a flower from a festive hairpin or a big pearl. A similar decoration adorns the central part of the bow on an openwork skirt.
 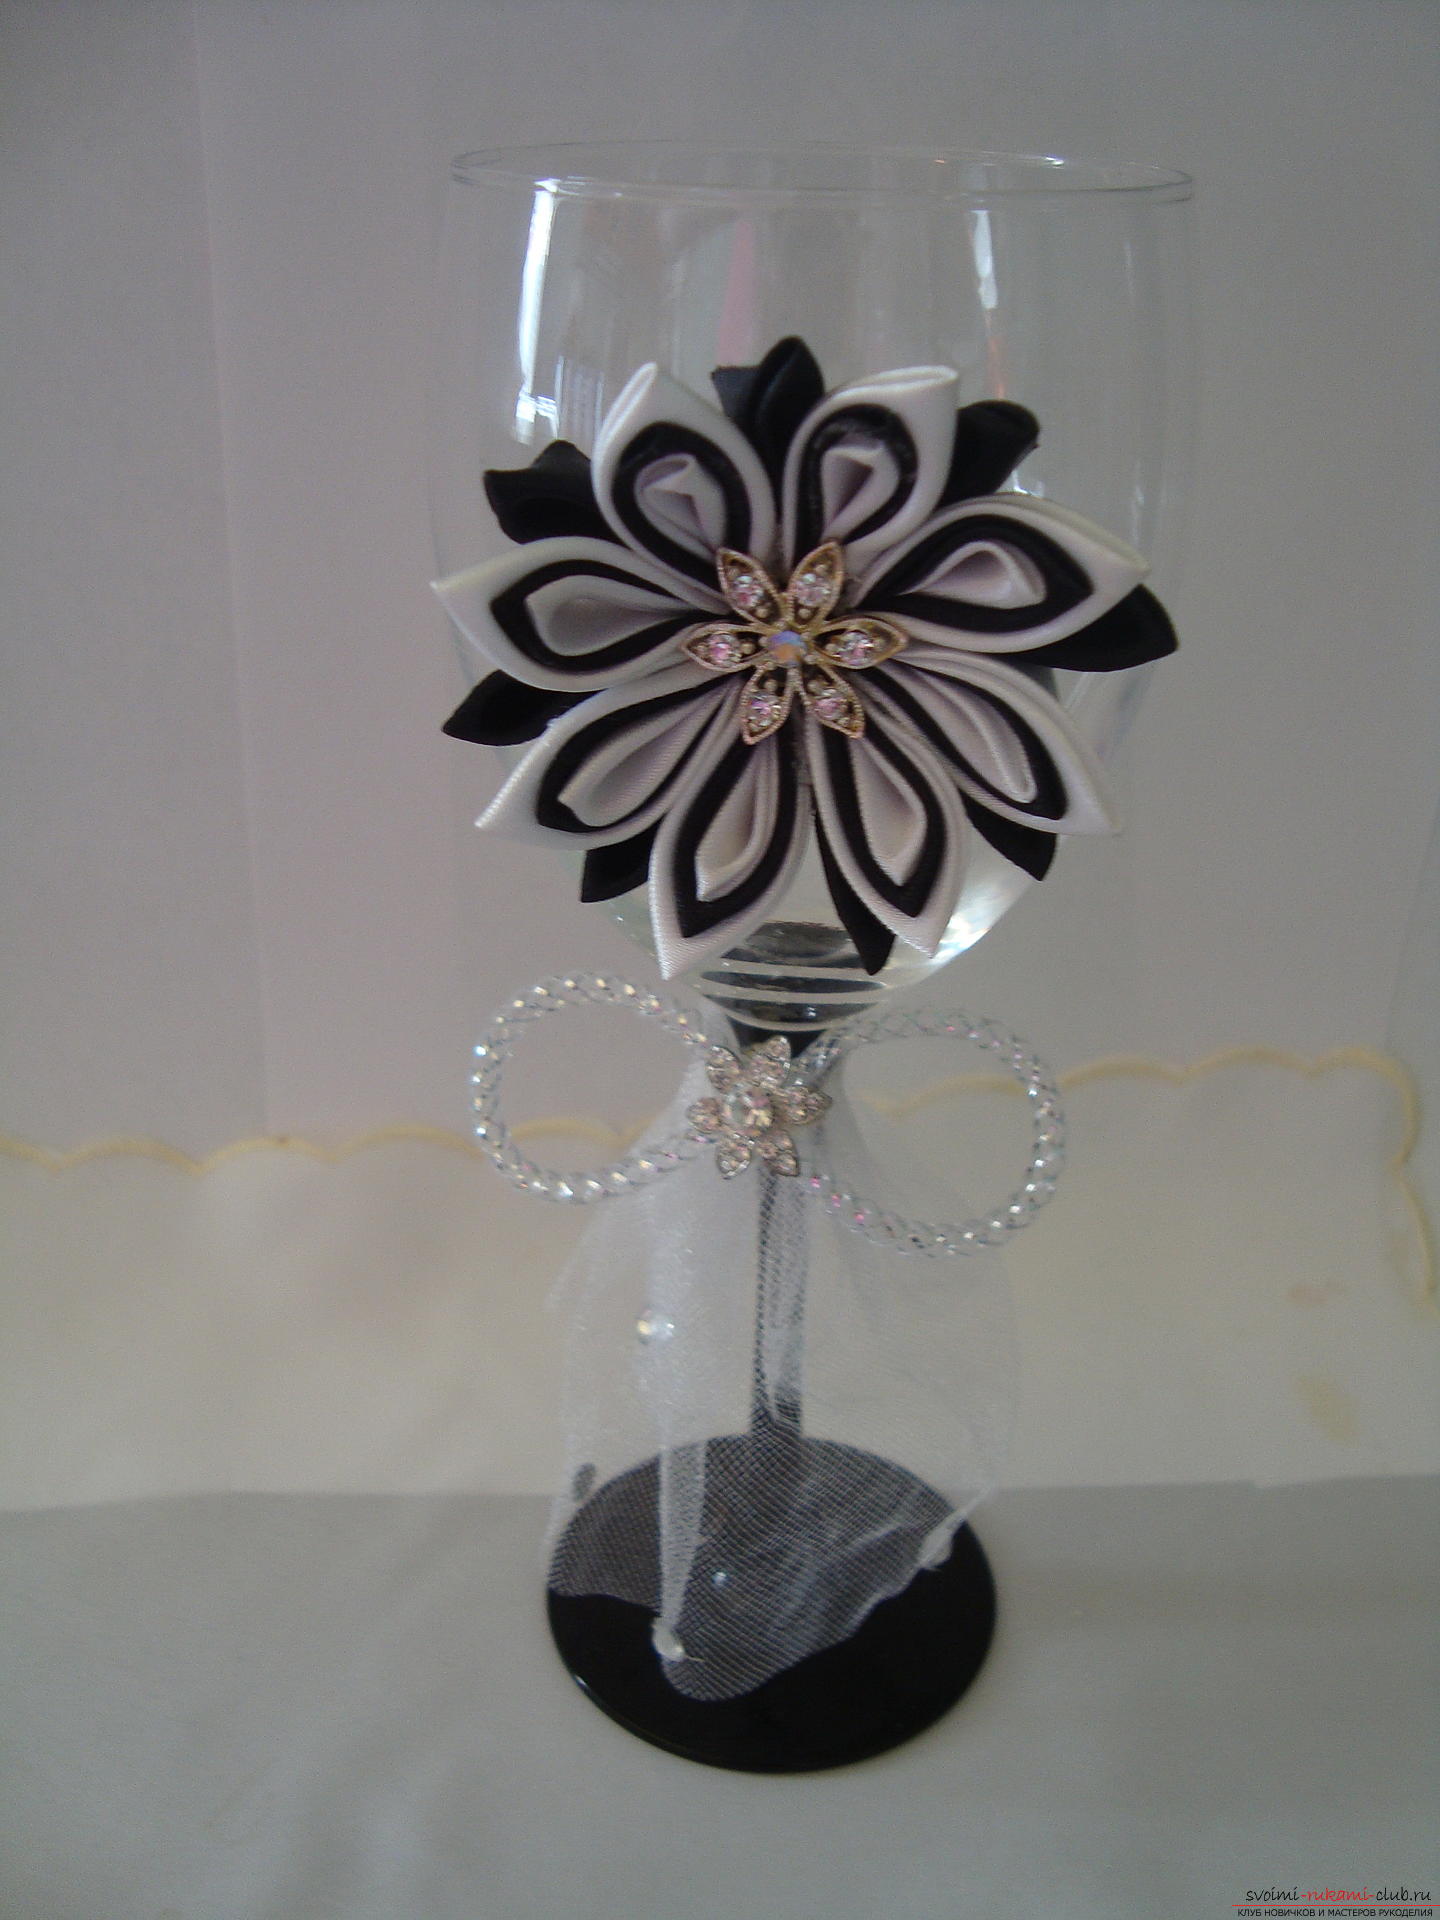 Complement the flower are two branches of single sharppetals. They will need three pieces of each color. It is very important that the bottom of this part is well-burned and has a straight line, then the elements are glued exactly.
 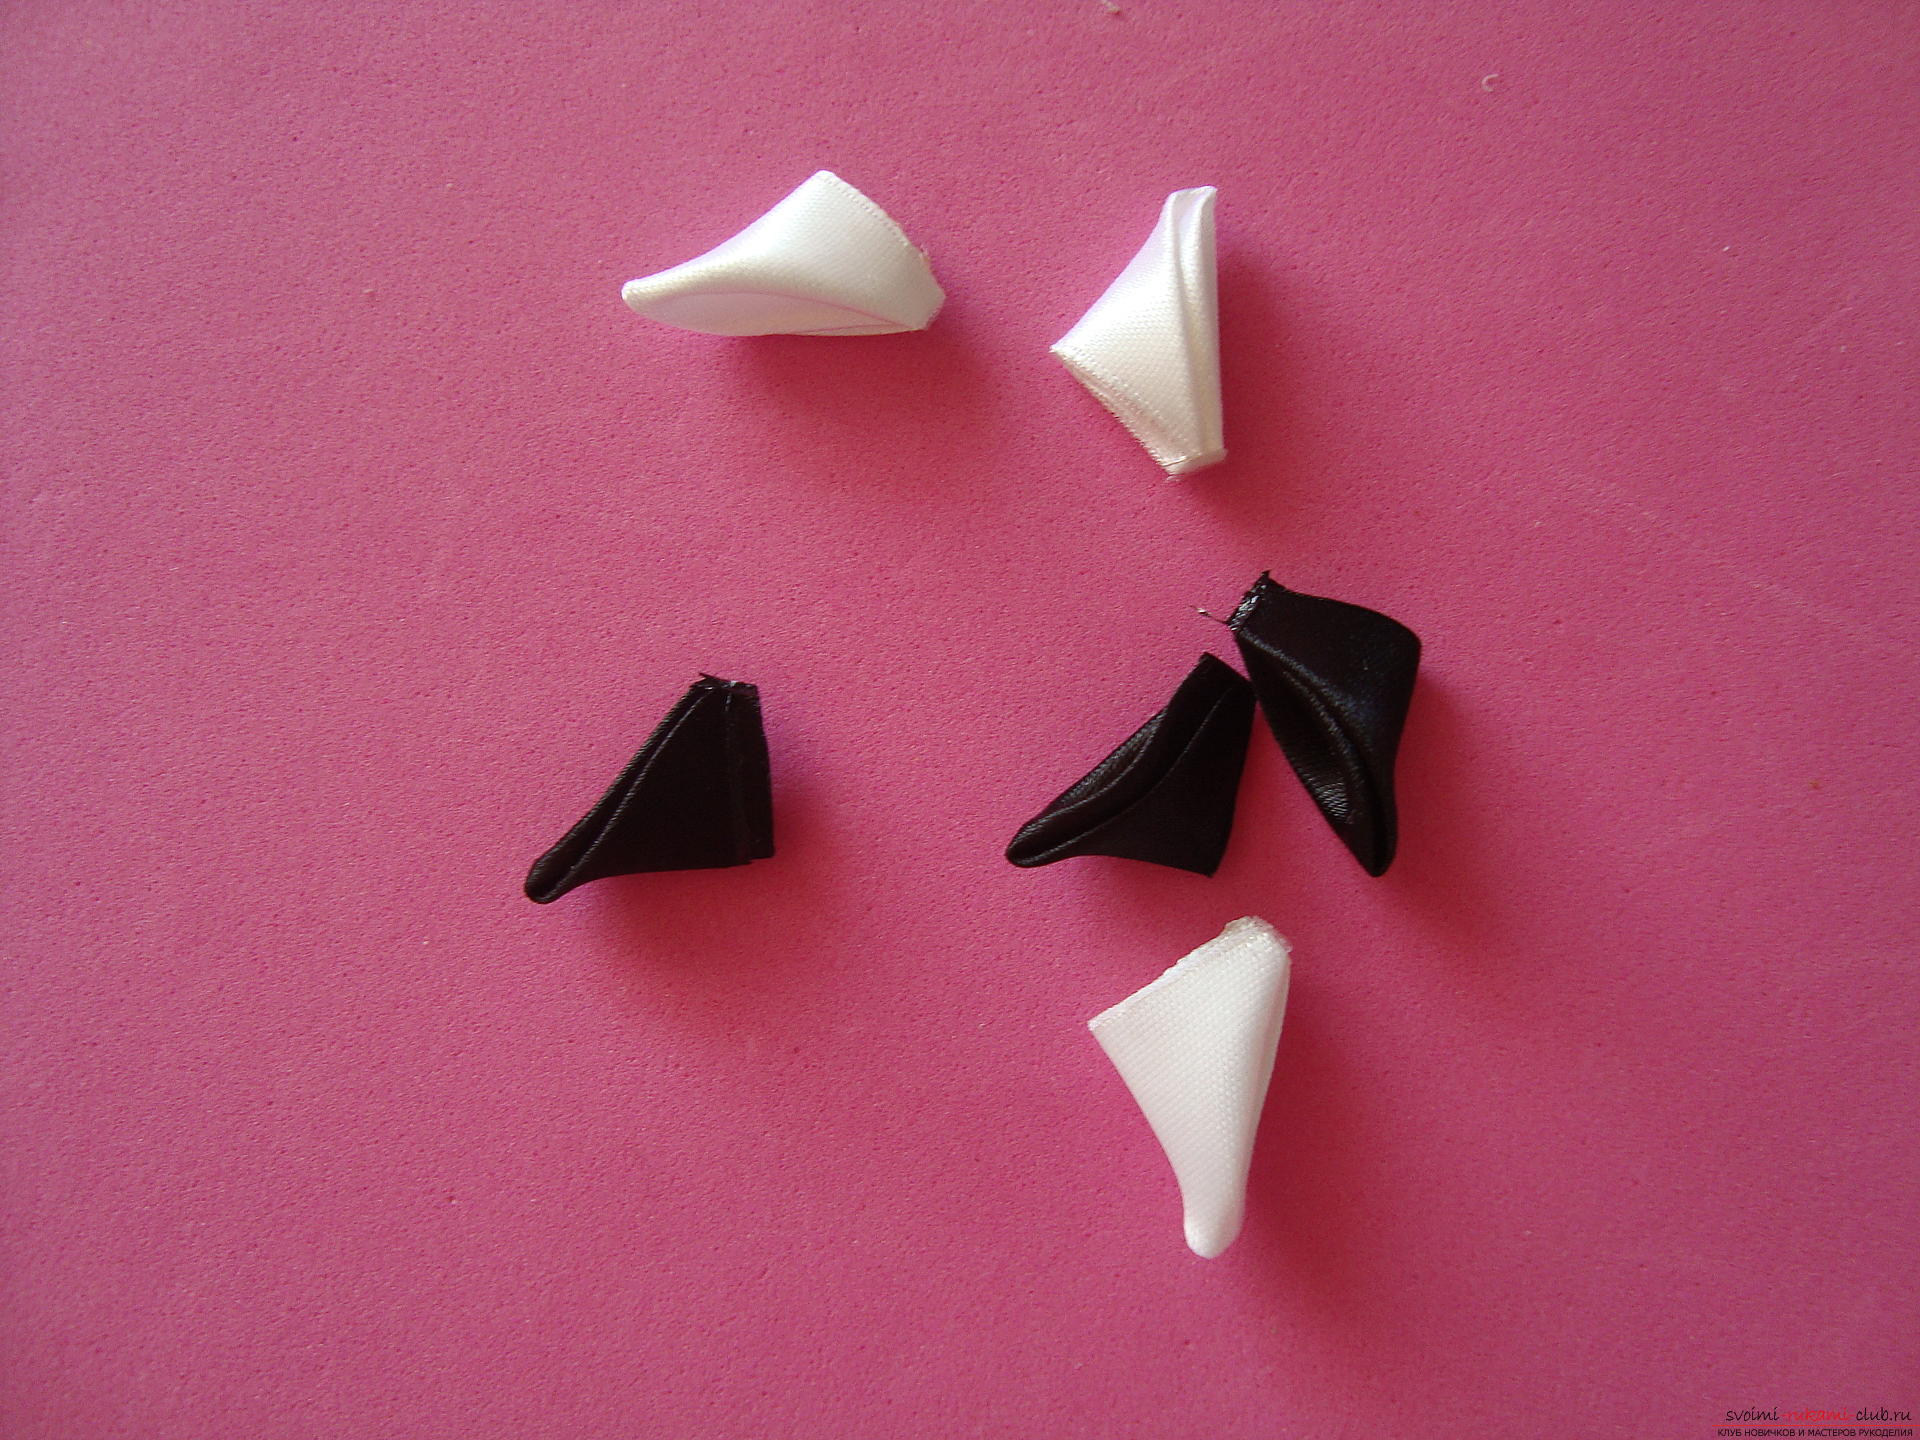 At eight o'clock there is a black branch on the dial. It begins to form between a triple and a single petal.
  Subsequent petals are glued tightly to each other so that the base of the element where it was soldering is not visible.
 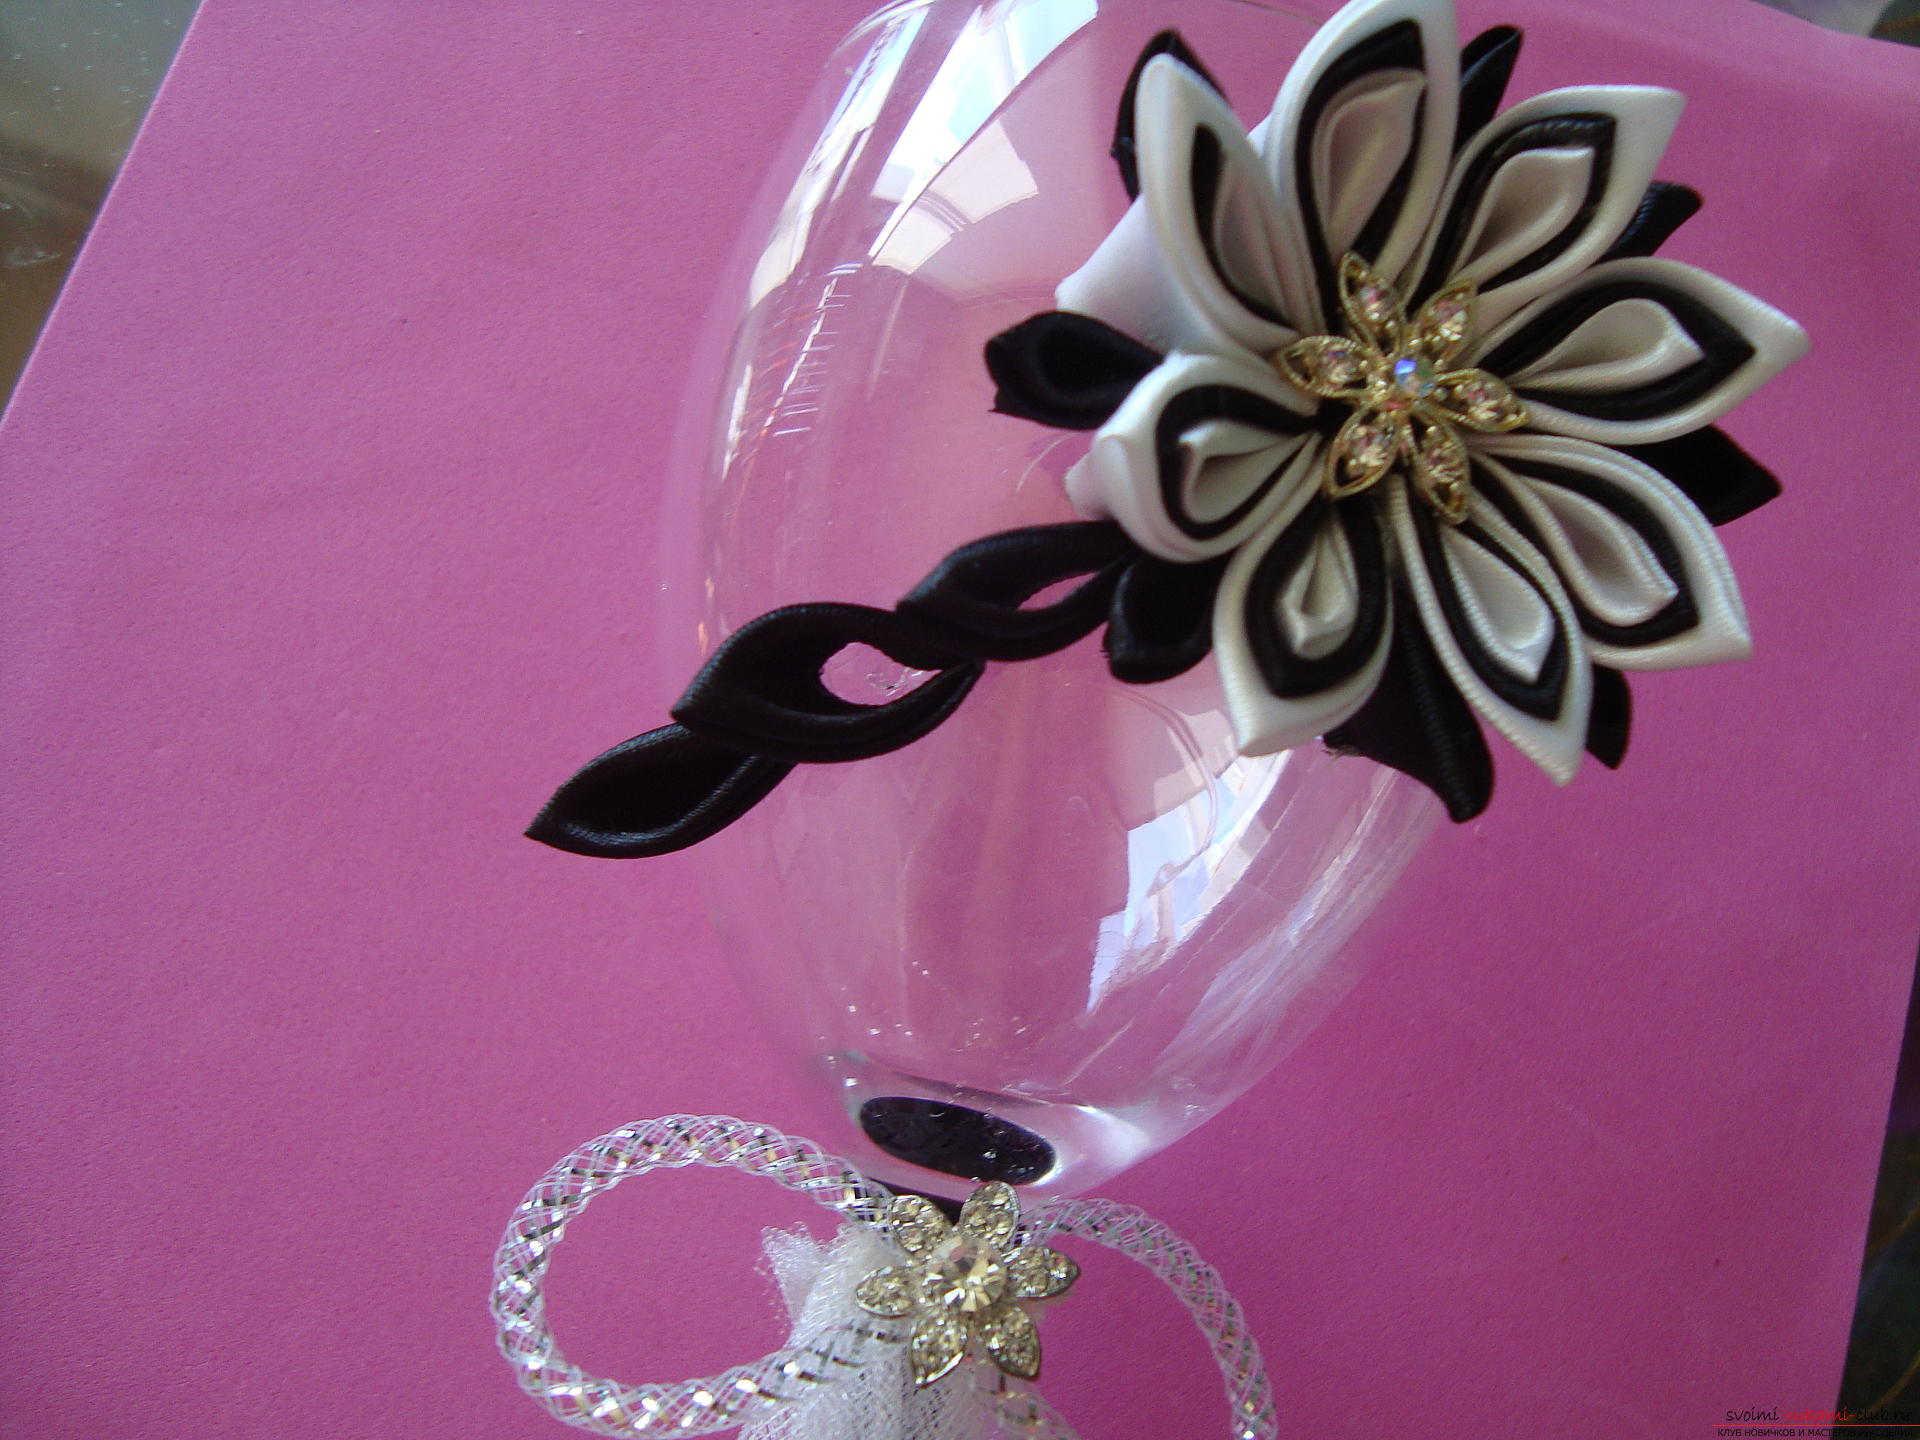 Approximately two hours on the marking of the dial formed a snow-white branch.
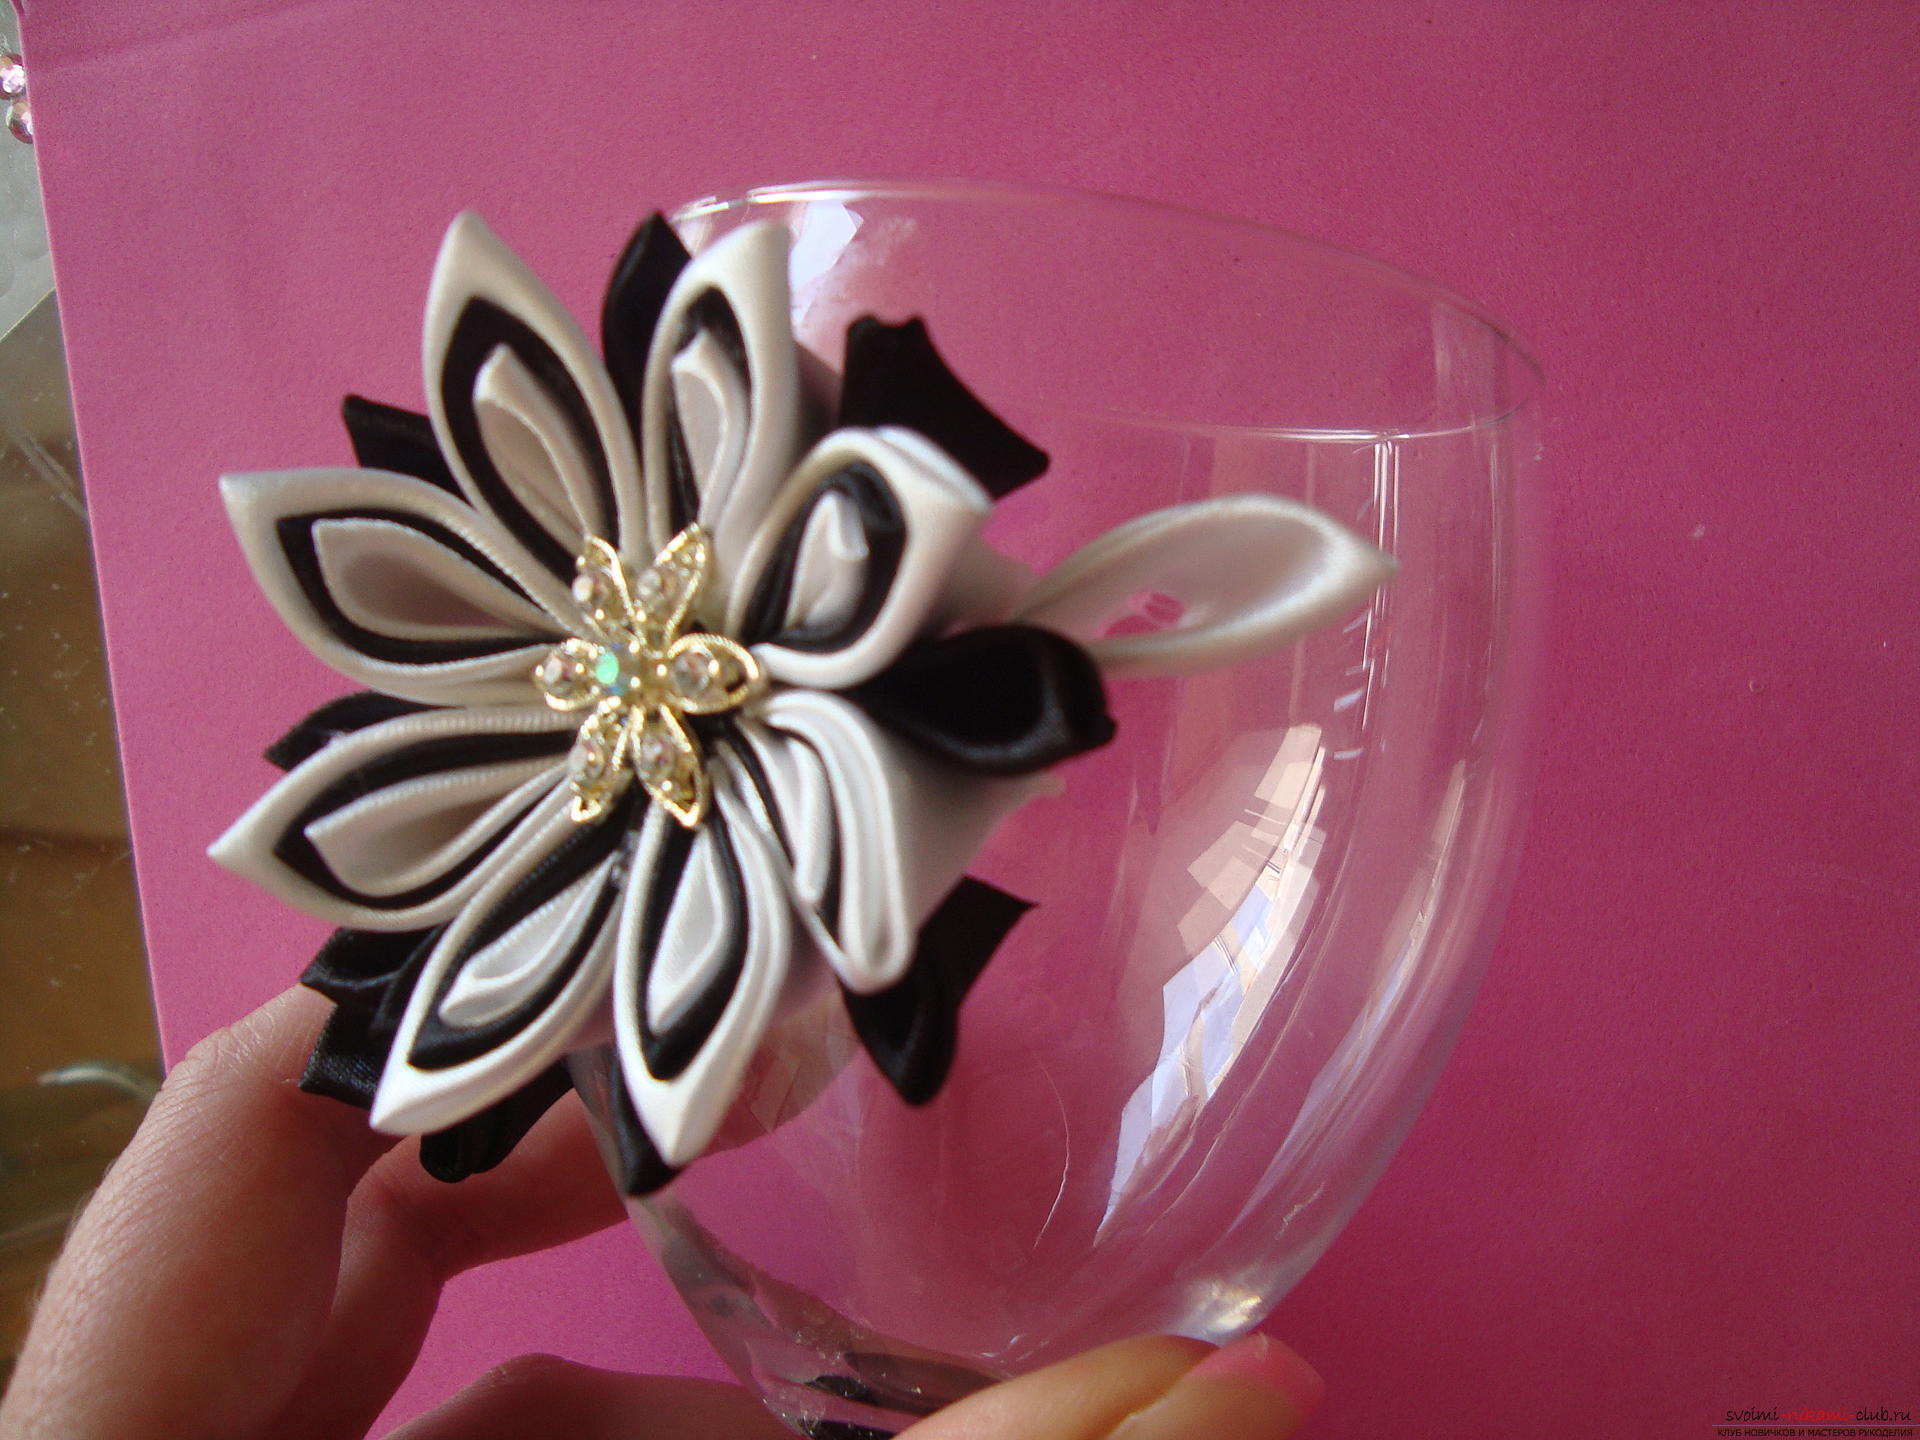
 Press the petals of the branch to the glass and allow time for the glue to dry.
  A charming wedding glass will not remainundetected on the table of the newlyweds. For the bride and groom their hands create a pair of glasses with an absolute repetition of all elements. At the request of the groom and the bride on the fouger, the first letter of the name or other symbol is laid out with rhinestones.
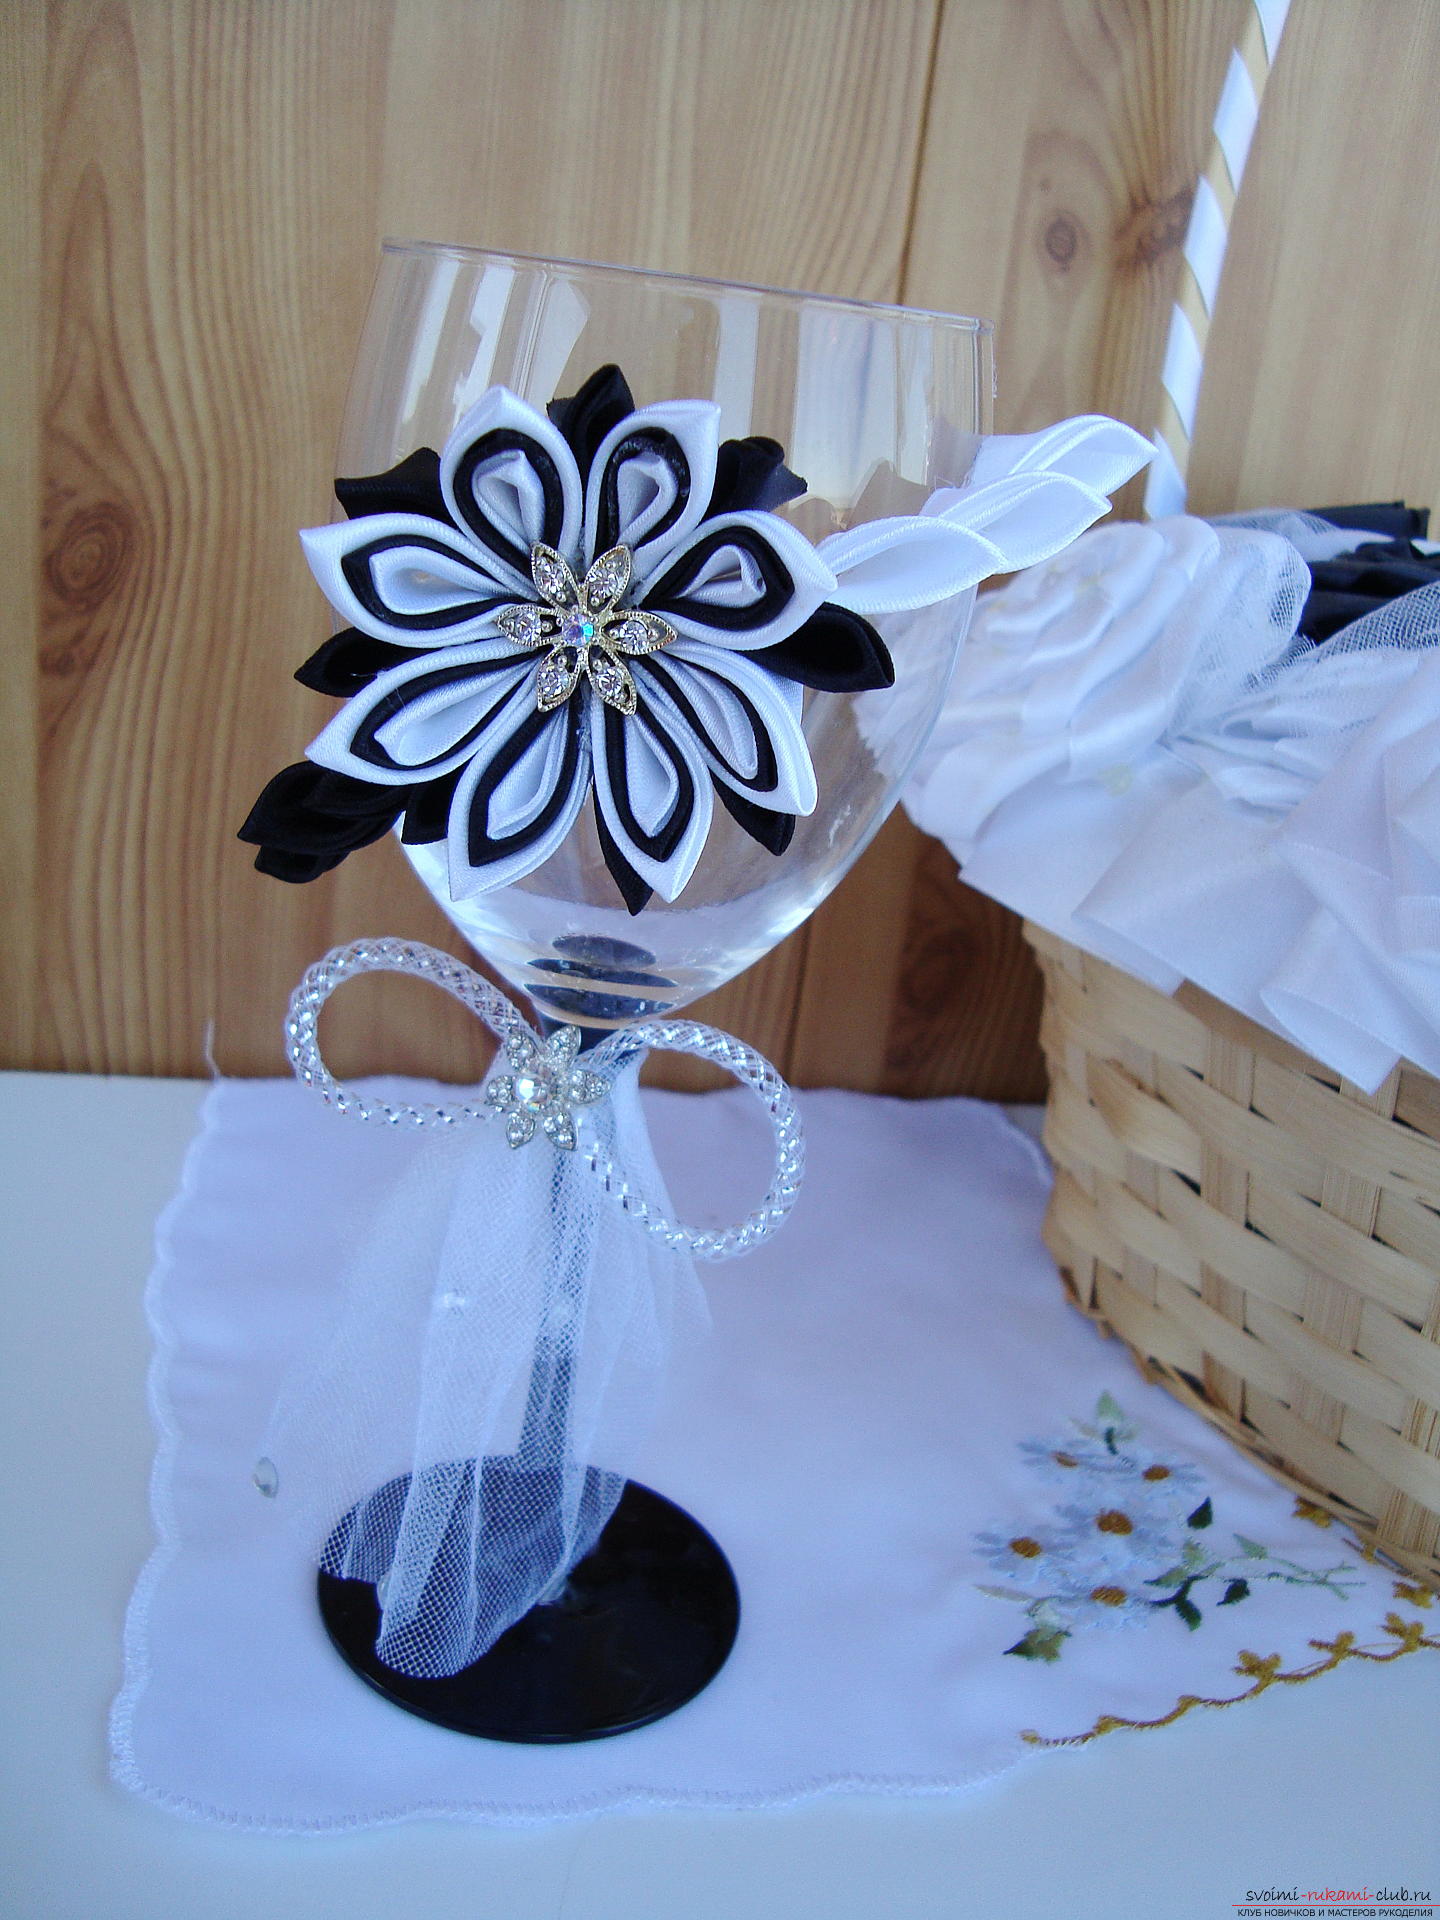

Comments
Related posts:
 Dove of the world in the technique of quilling for wedding glasses - a master class
 A master class with a description and a step-by-step photo of a toy made by oneself - a crocheted monkey crochet.
 How to make an original basket of newspaper tubes themselves - a master class with a photo and a step-by-step description.
 Master class with photo and step-by-step description will teach how to tie an amigurumi crochet toy
 Master class on knitting monkey amigurumi crochet with their own hands with step-by-step description and photo.