
Master class on making a garter for the bride with their own hands with step-by-step instructions and photo
Each wedding is famous for its traditions. Not so long ago it was introduced into the wedding fashion to define not only the next bride, throwing a festive bouquet, but also to mean the guy for the role of groom in the near future. To do this, the newly-made husband removes the garter from the bride and throws it lightly at the bachelors who have gathered. Of course, the garter should be unusual, as it will remain an auspicious souvenir for one of the guests.  To make a wedding garter you will need:
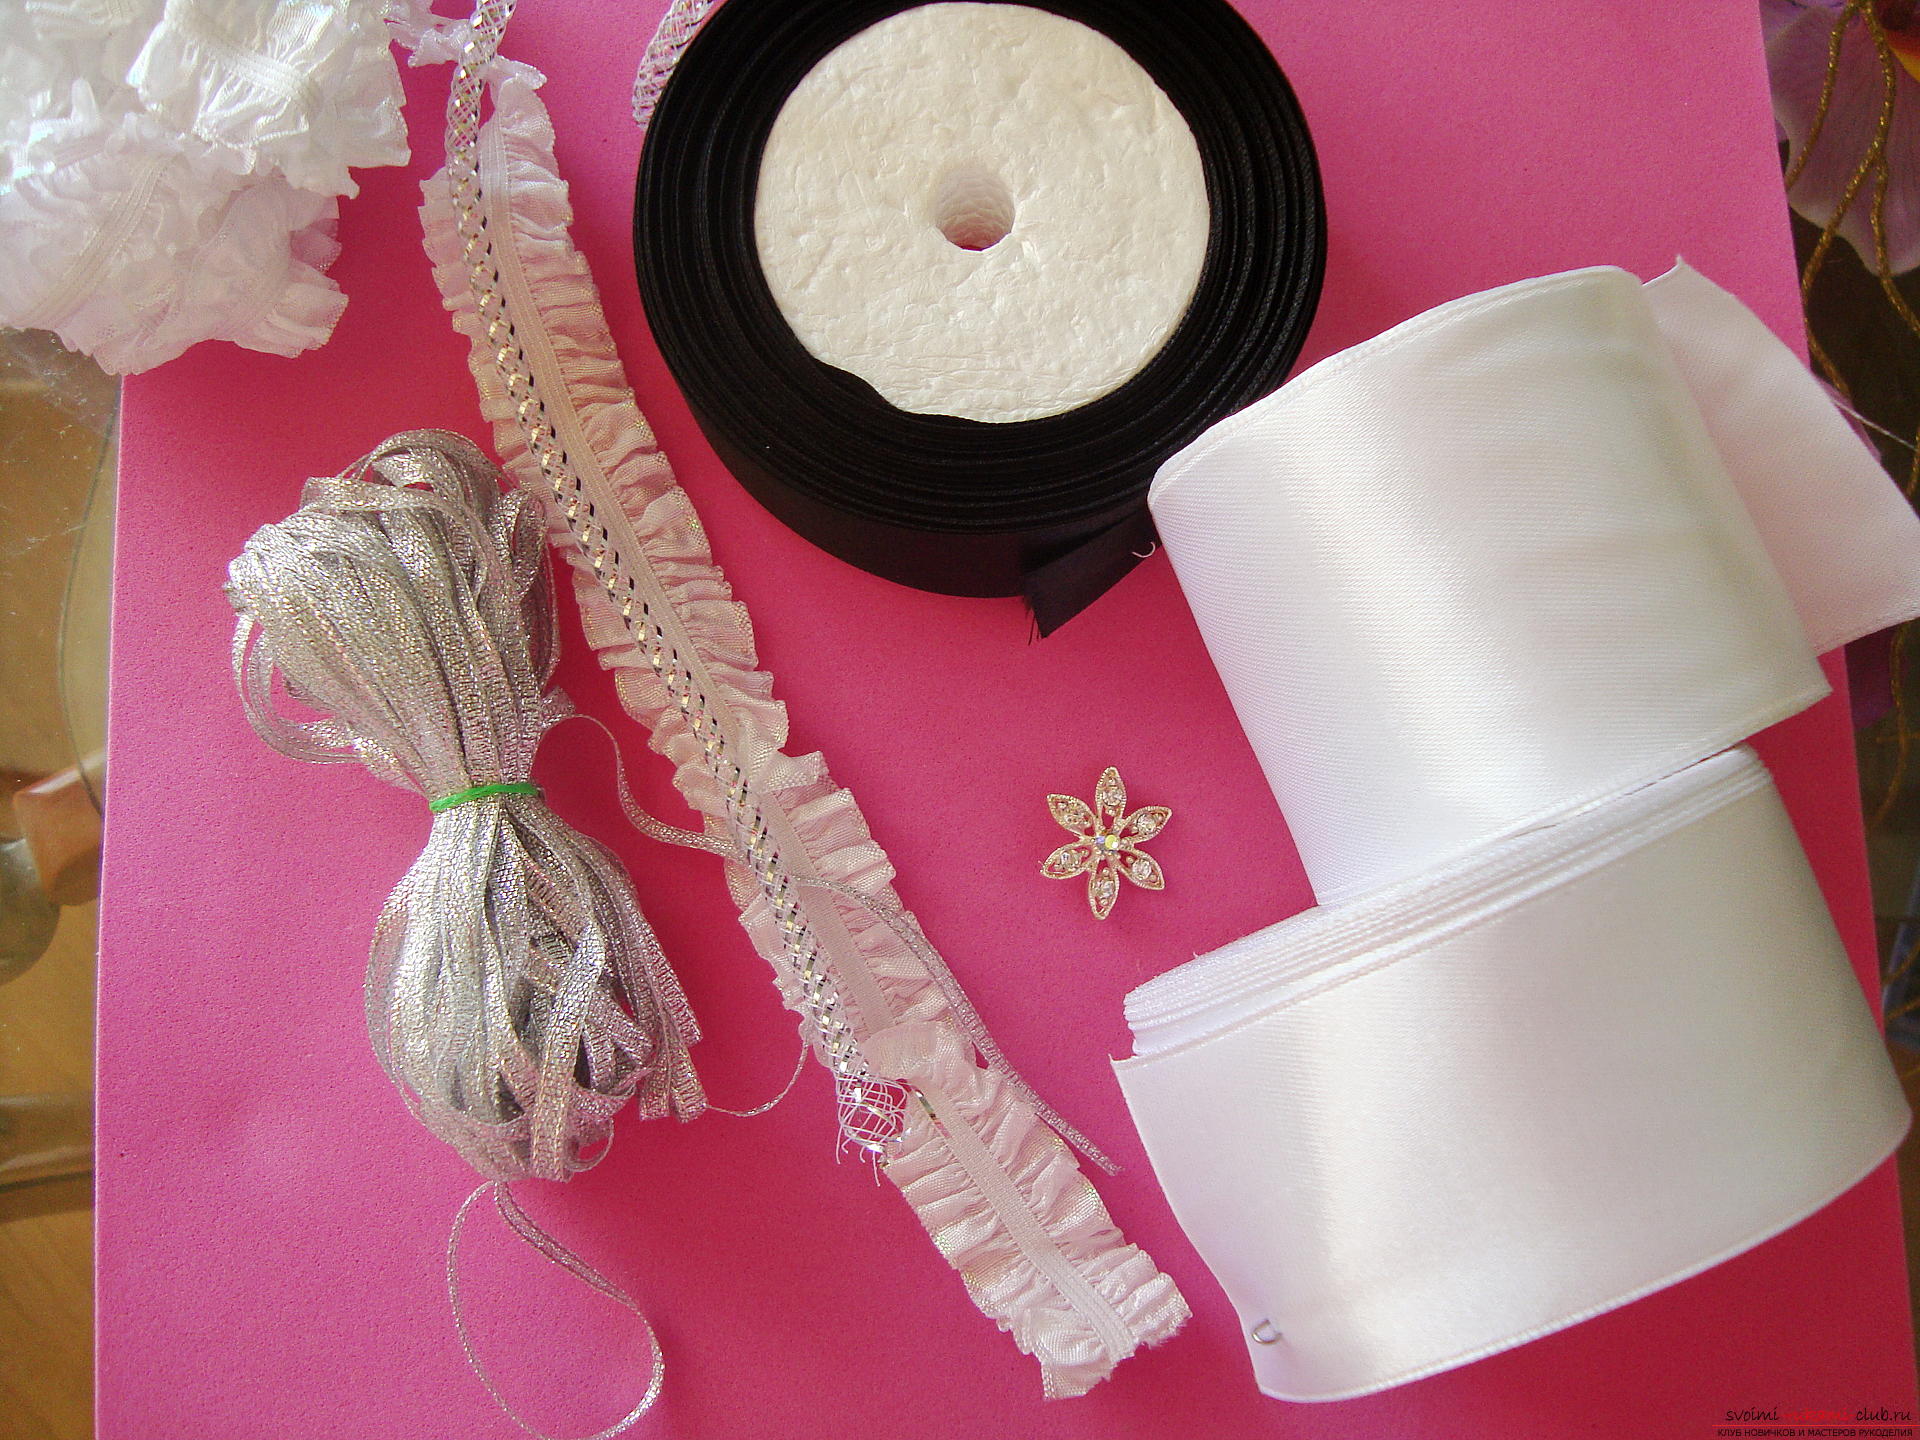
 First you need to measure the length of the braid forgarters. The edges of the braids need to be joined in the most careful way, the sewing with thread is not suitable here, since a soft cloth can creep or, worse, a thread break at the wrong time. Therefore, heaven needs to be soldered by a heated burner. Fold the braids in half, evenly connecting the ends. On the one hand, press the edges of the ruler, and on the other - smoothly melts the artificial fabric with the device, but at the same time press down on the ruler.
 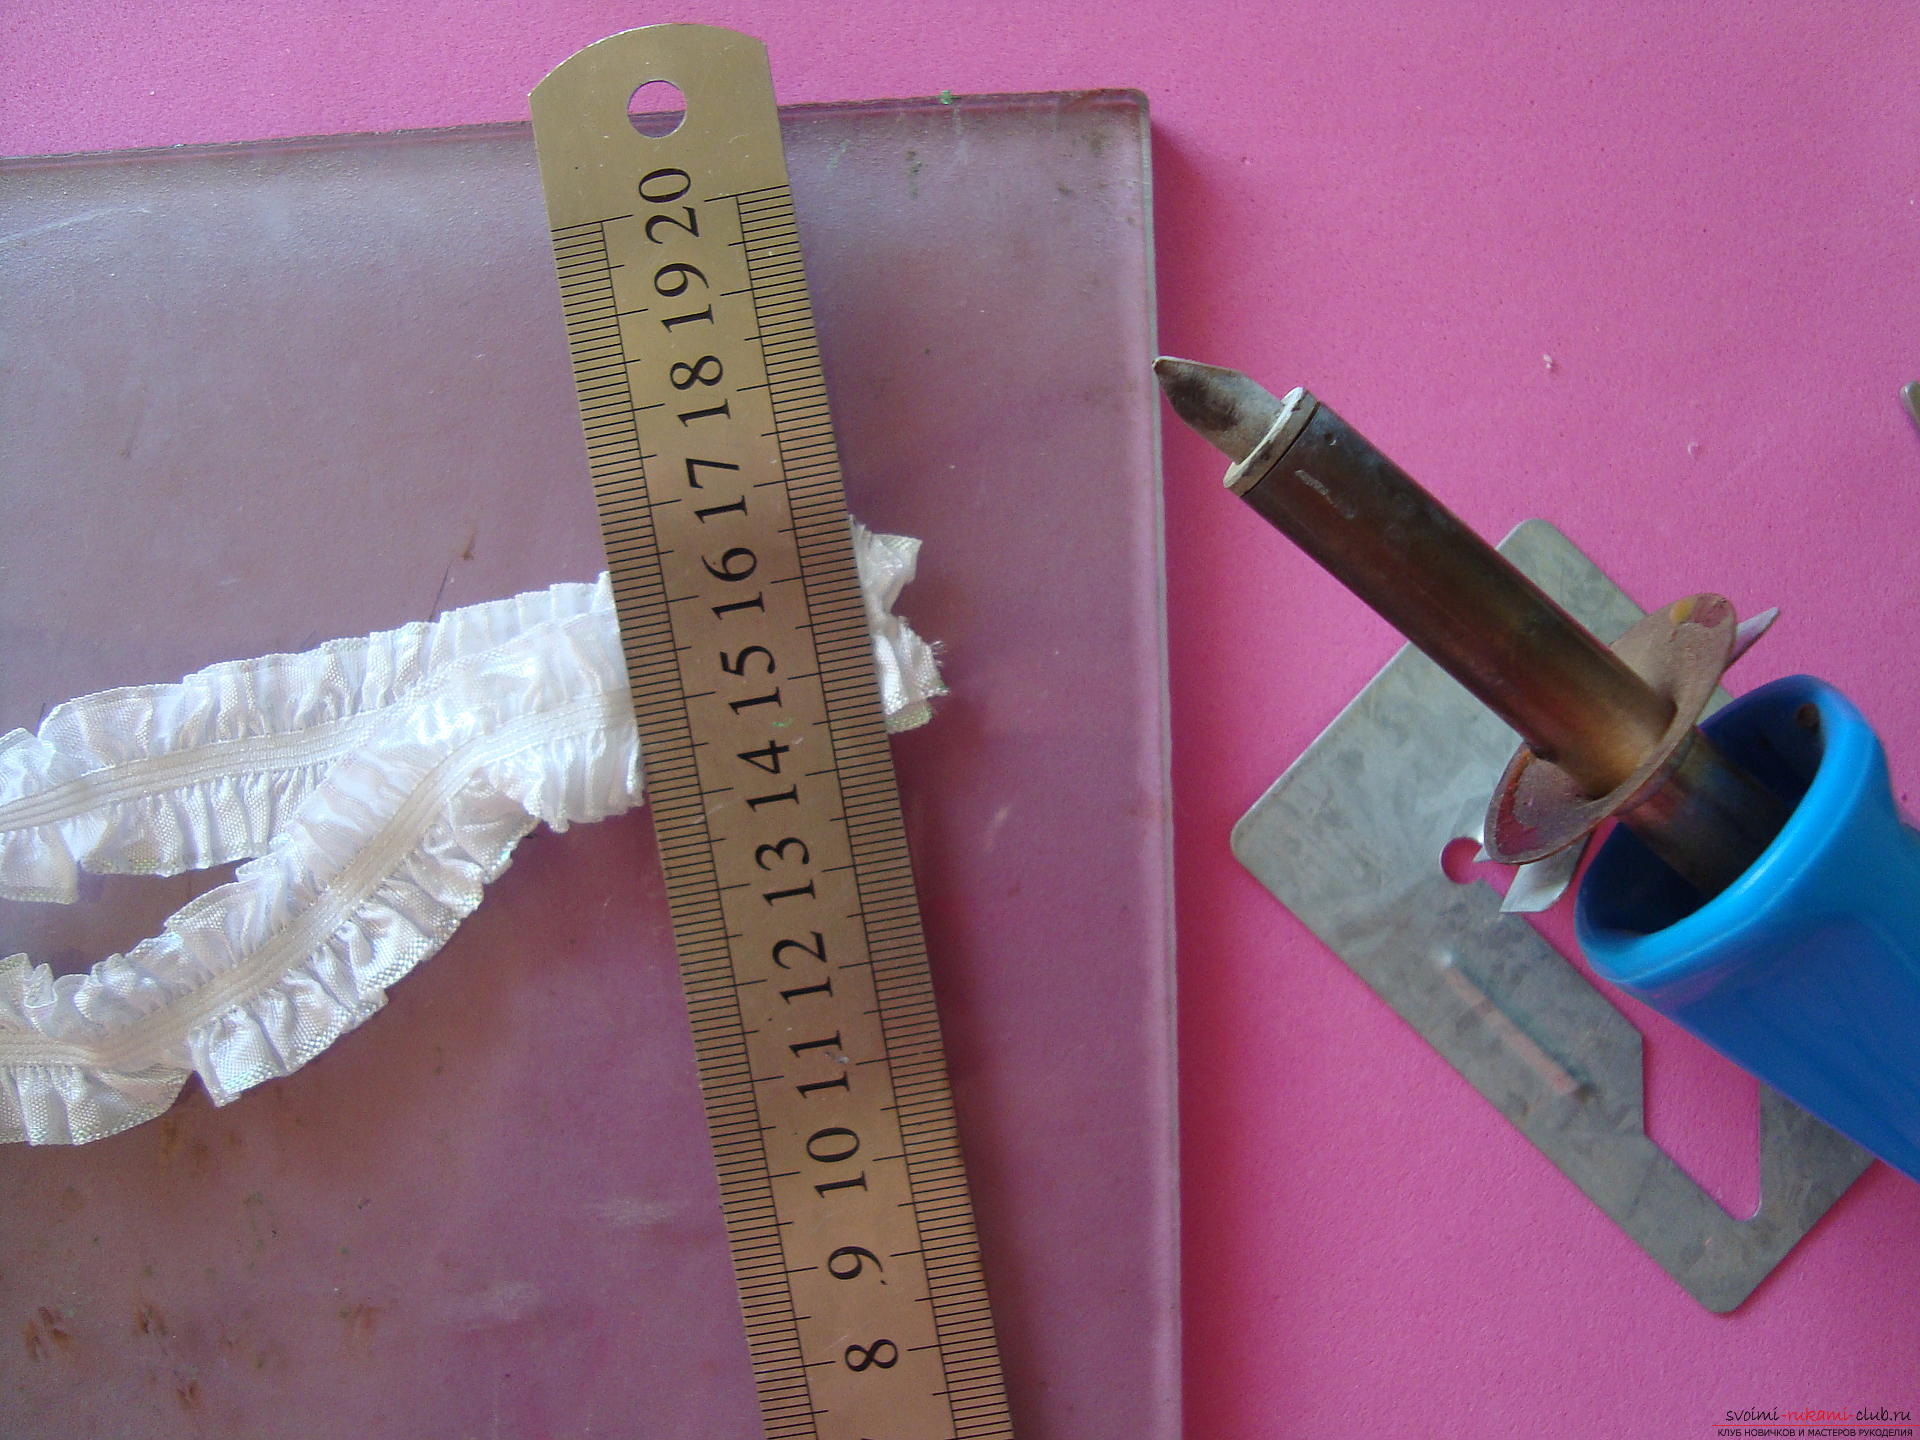 Should get here is such a smooth seam:
 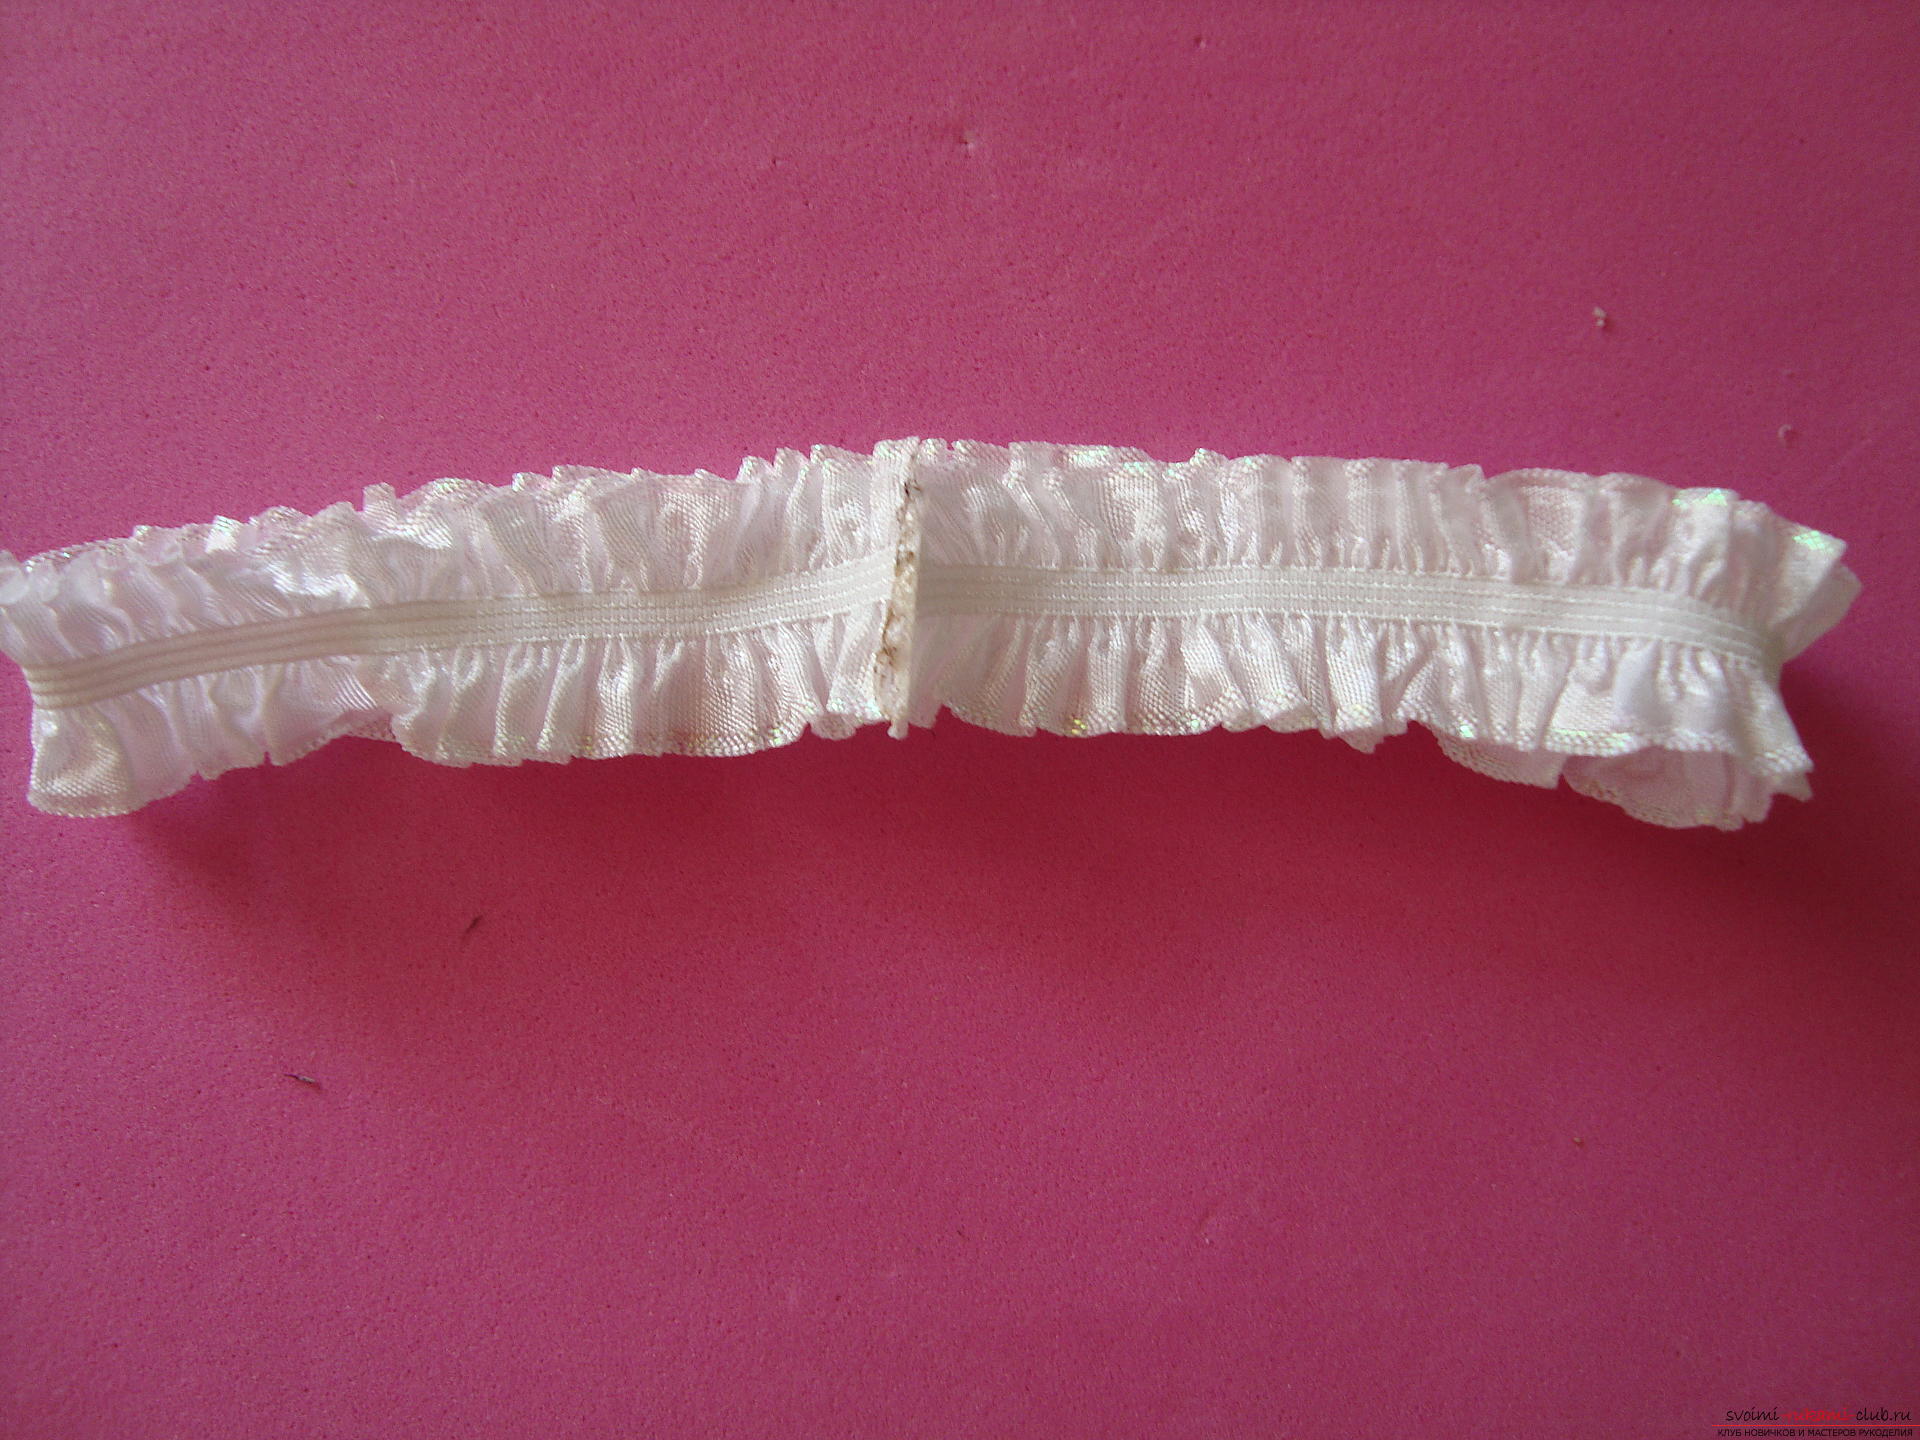 Pull strongly the elastic band in both directions, so you will see the reliability of the adhesion. If the seam is made poorly, then the work needs to be redone. The next stage is the creation of a large petal from a black ribbon. If you want to do absolutely delicate work, without adding dark notes, then change the tape to white. Measure exactly 12 cm.
 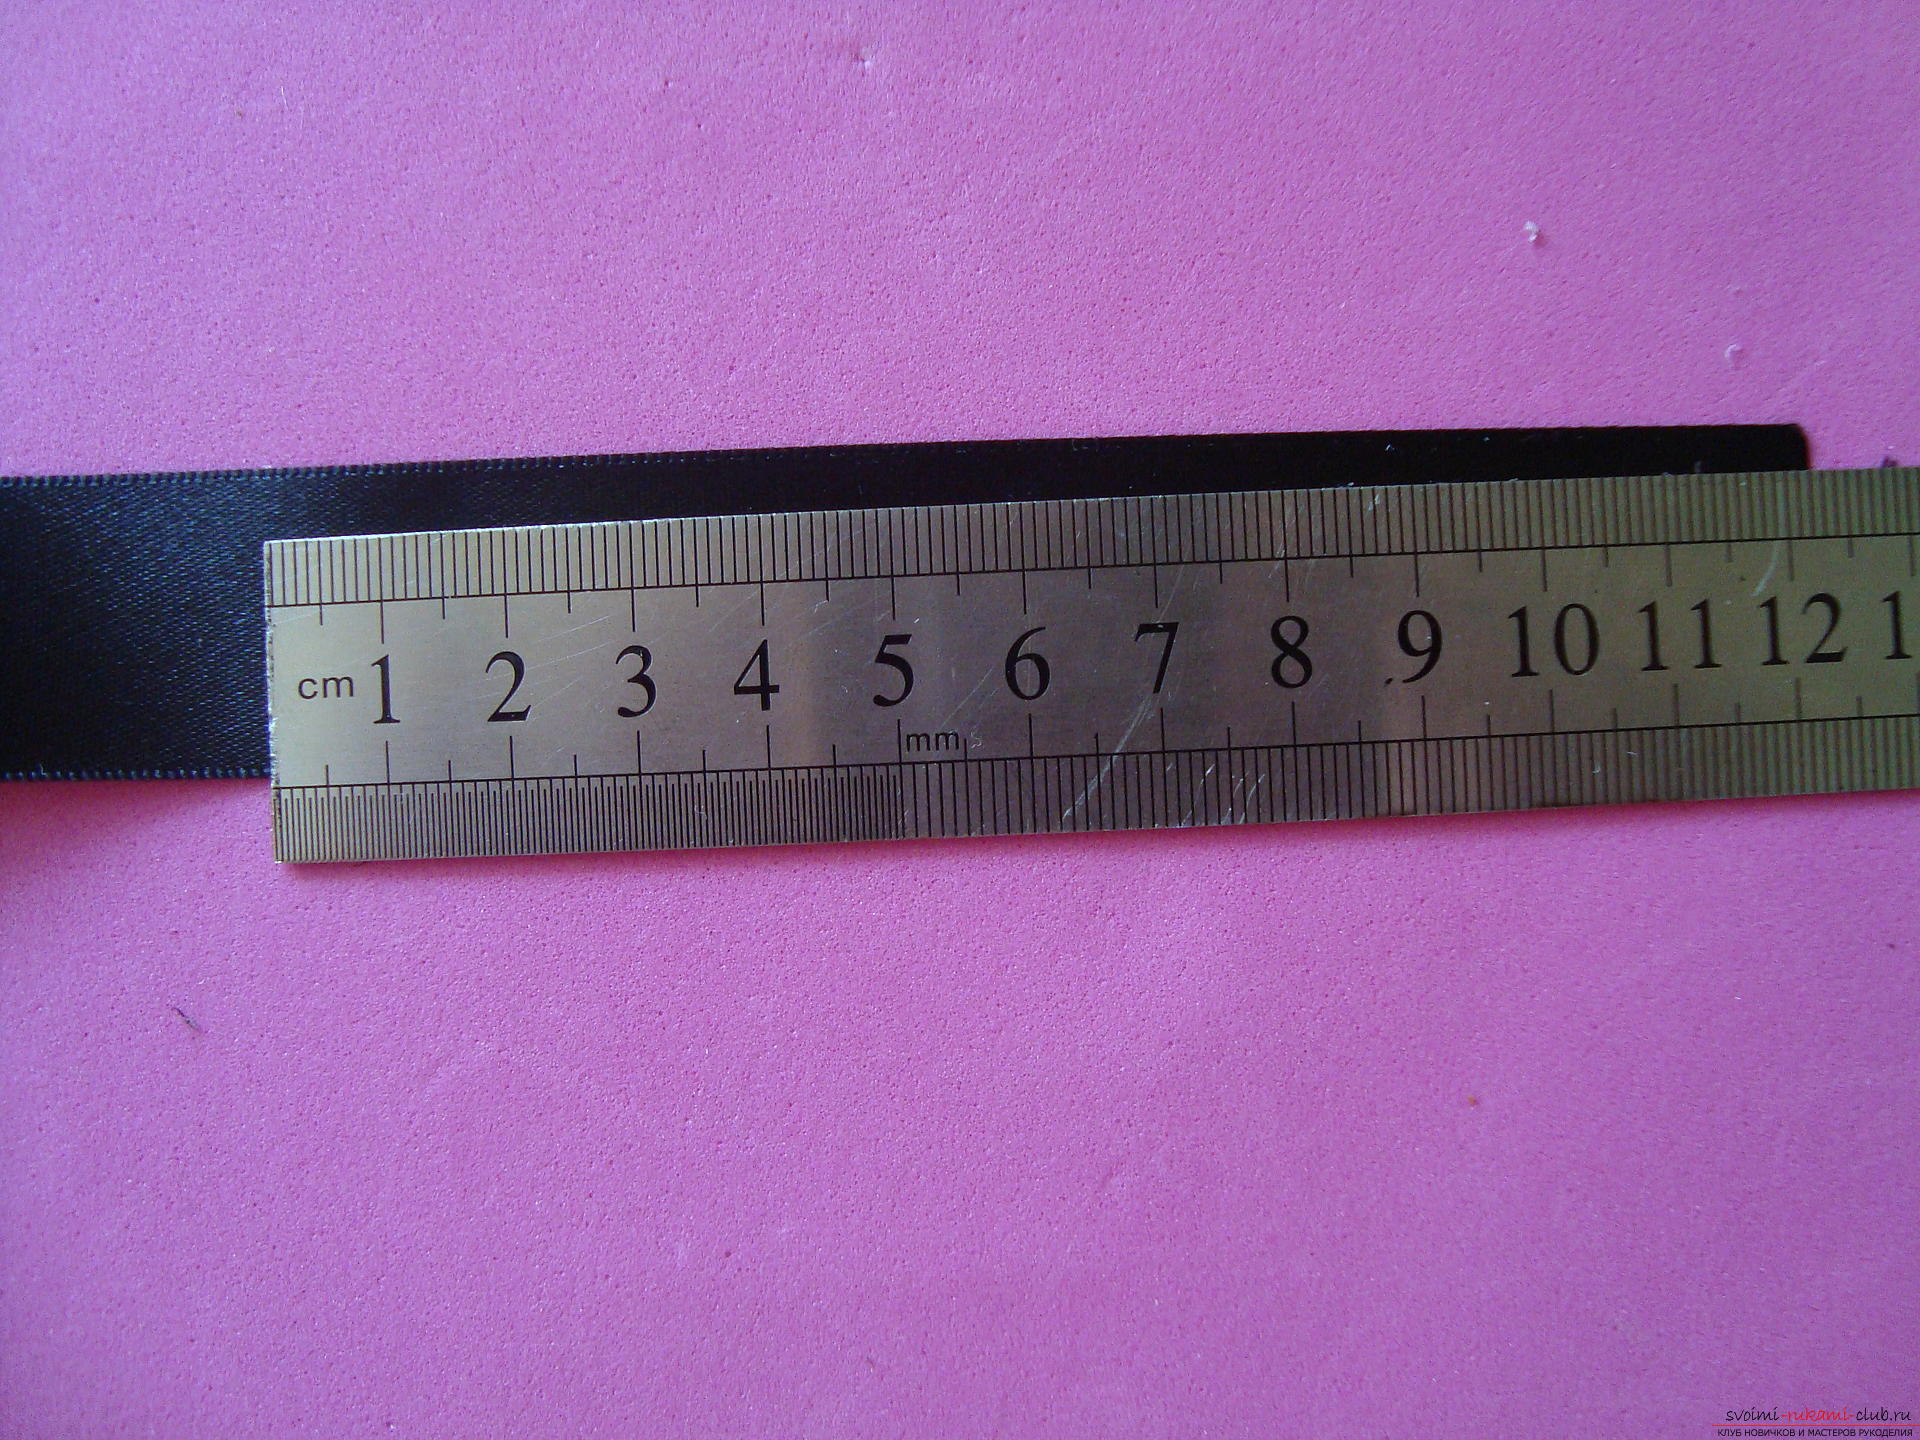 Fold the cut of the satin in half, so that the smooththe front side lay outside. To create a petal, it is necessary to cut half of the material along an oblique line, but this action is performed not from angle to corner, but from the upper corner on the left side to the point, 3-4 mm from the opposite bottom corner.
 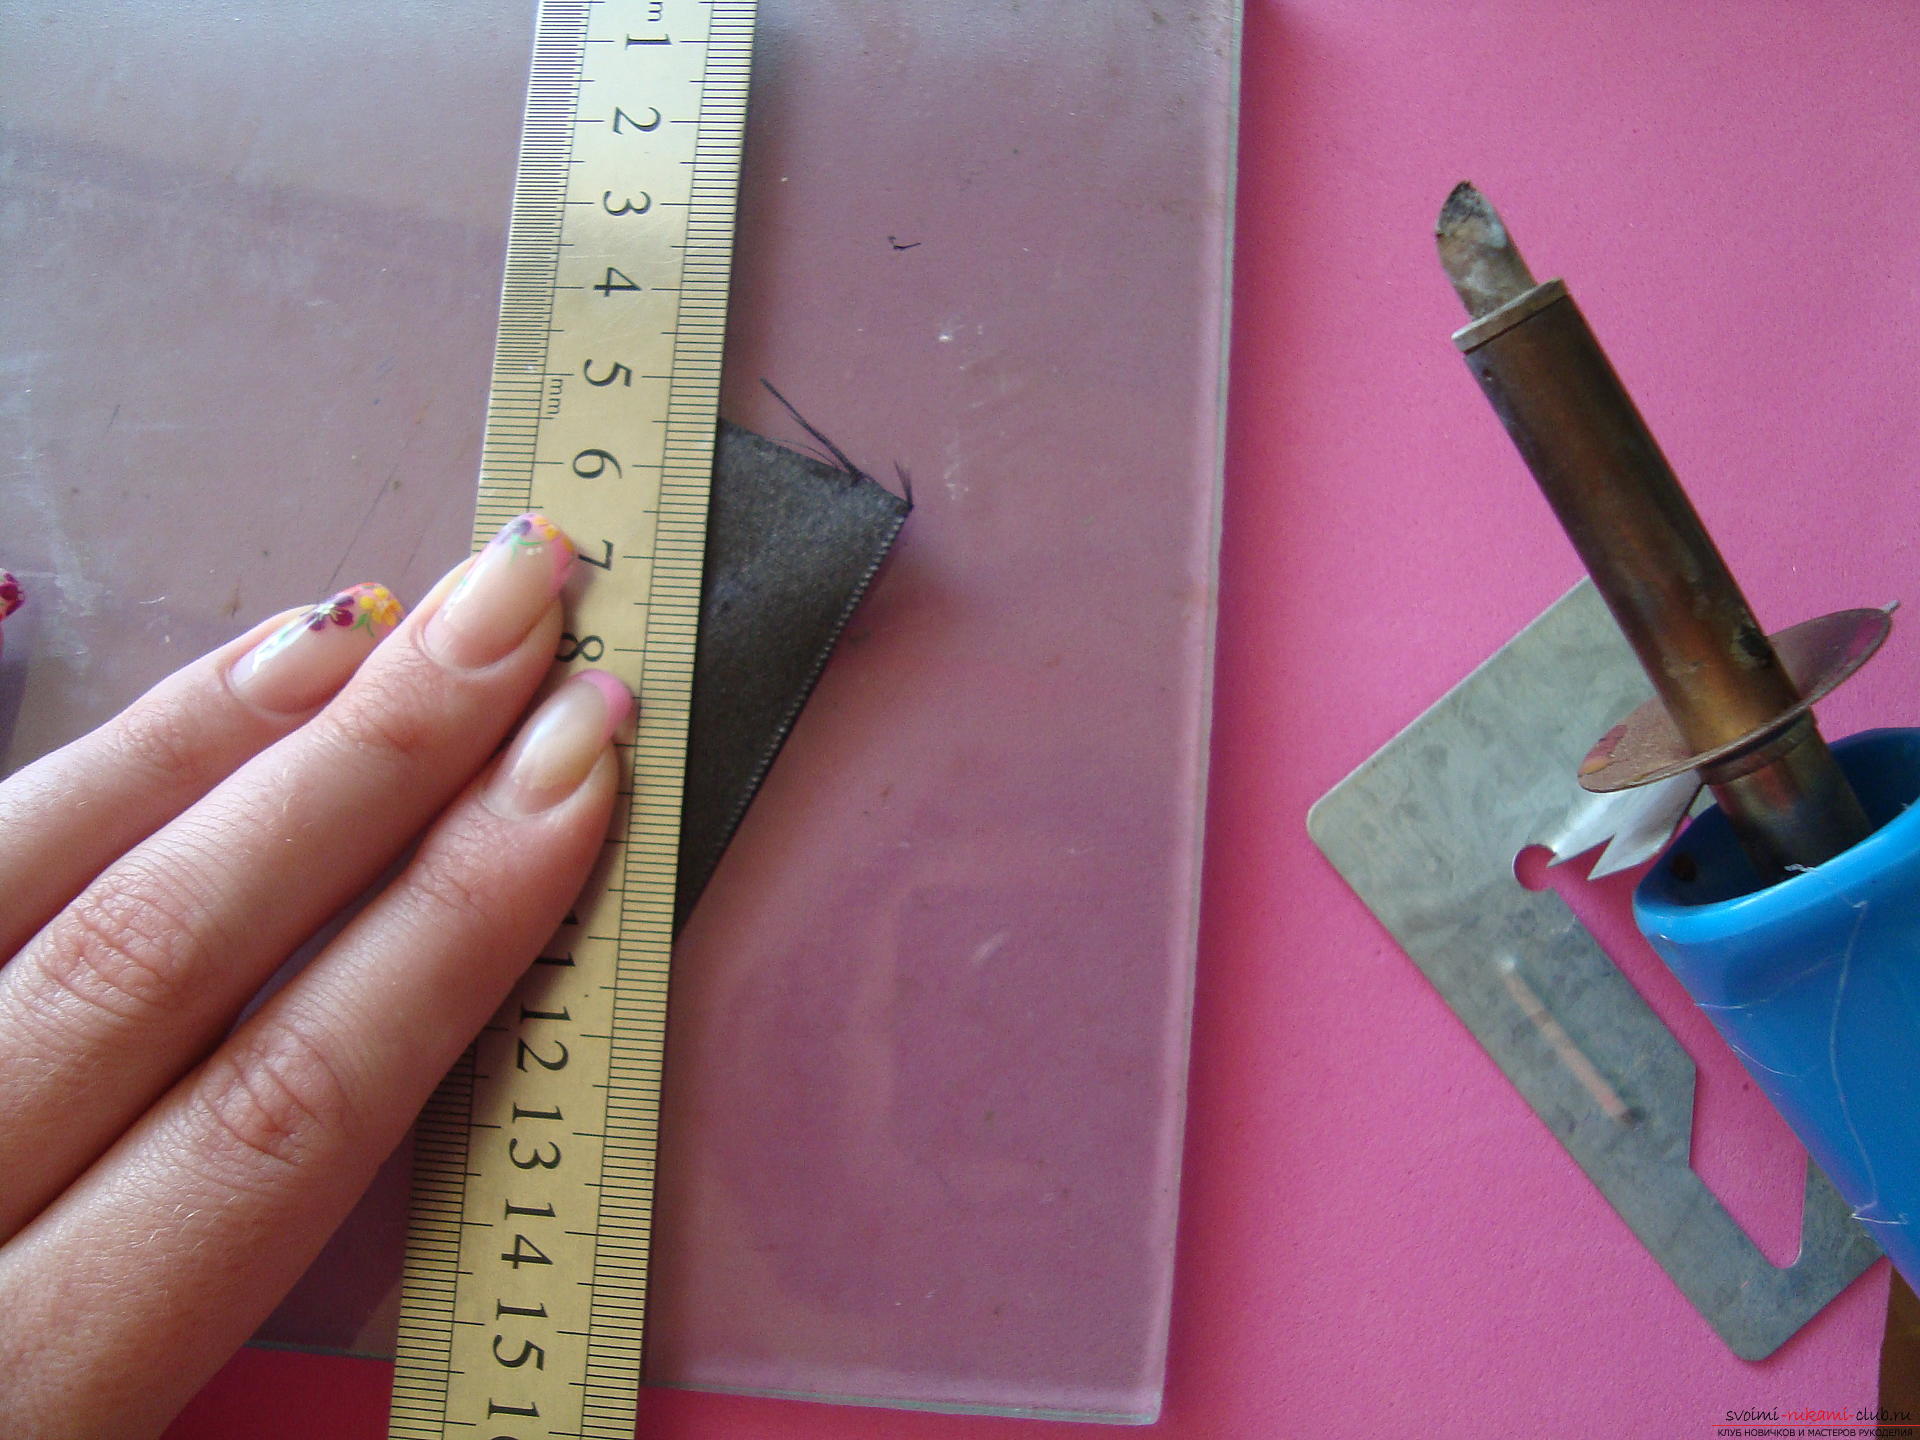 We do not need the right detail, and the left element is the prototype of the petal.
 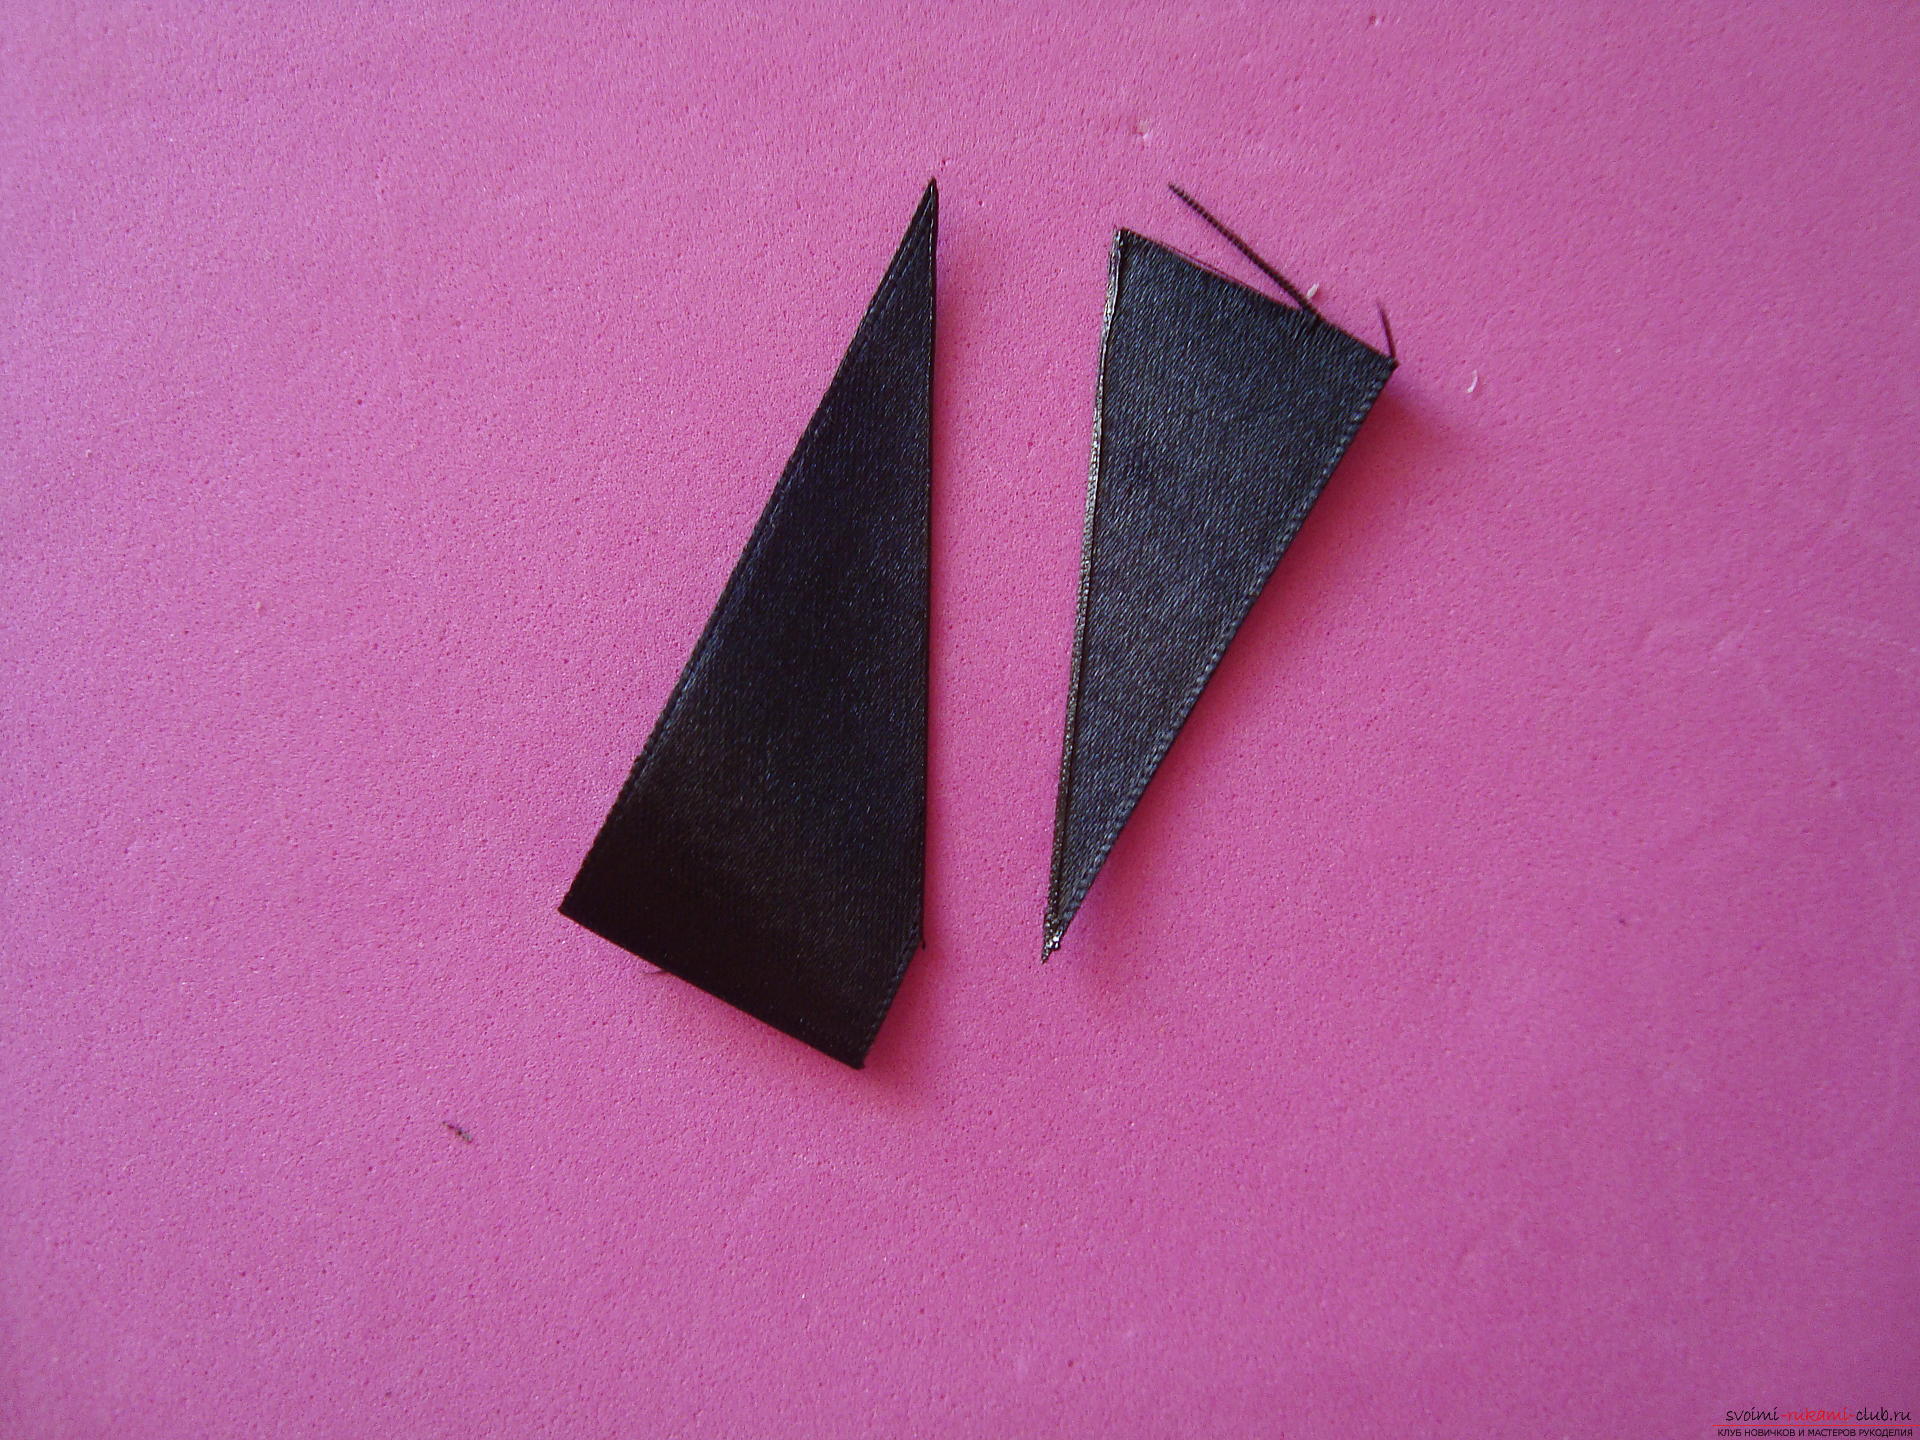 Turn the corner to the front side, fully unfolding the entire part.
 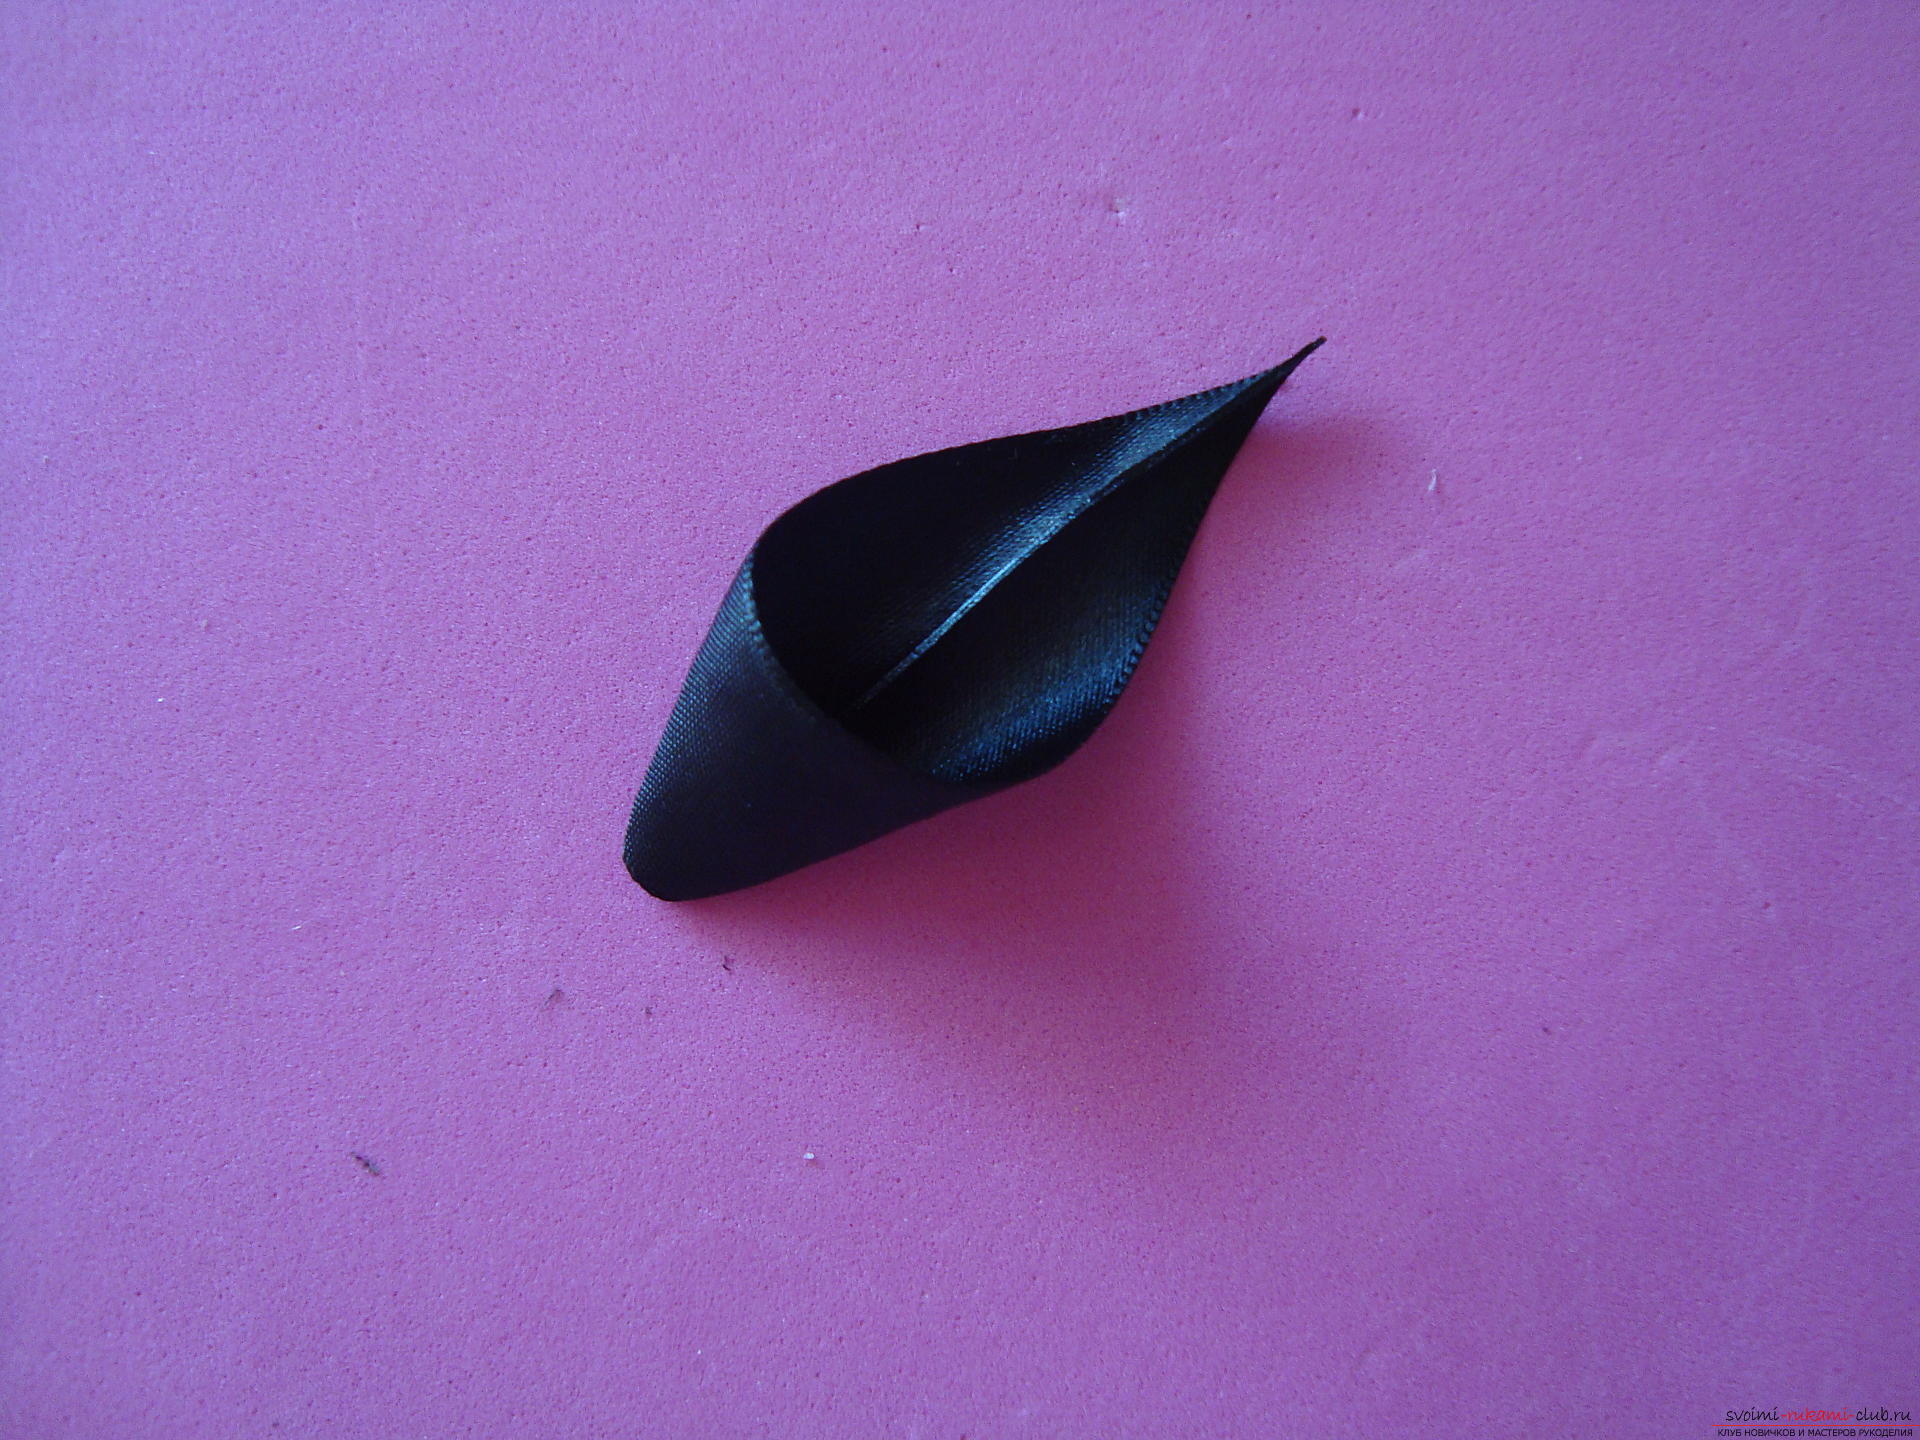 At the next stage, we take up the formation ofpetals for the main white flower. As billets, squares of satin light ribbons will be required. The sides of the squares correspond to the width of the ribbons, that is, they will be five centimeters and four centimeters. Each size requires 8 elements.
 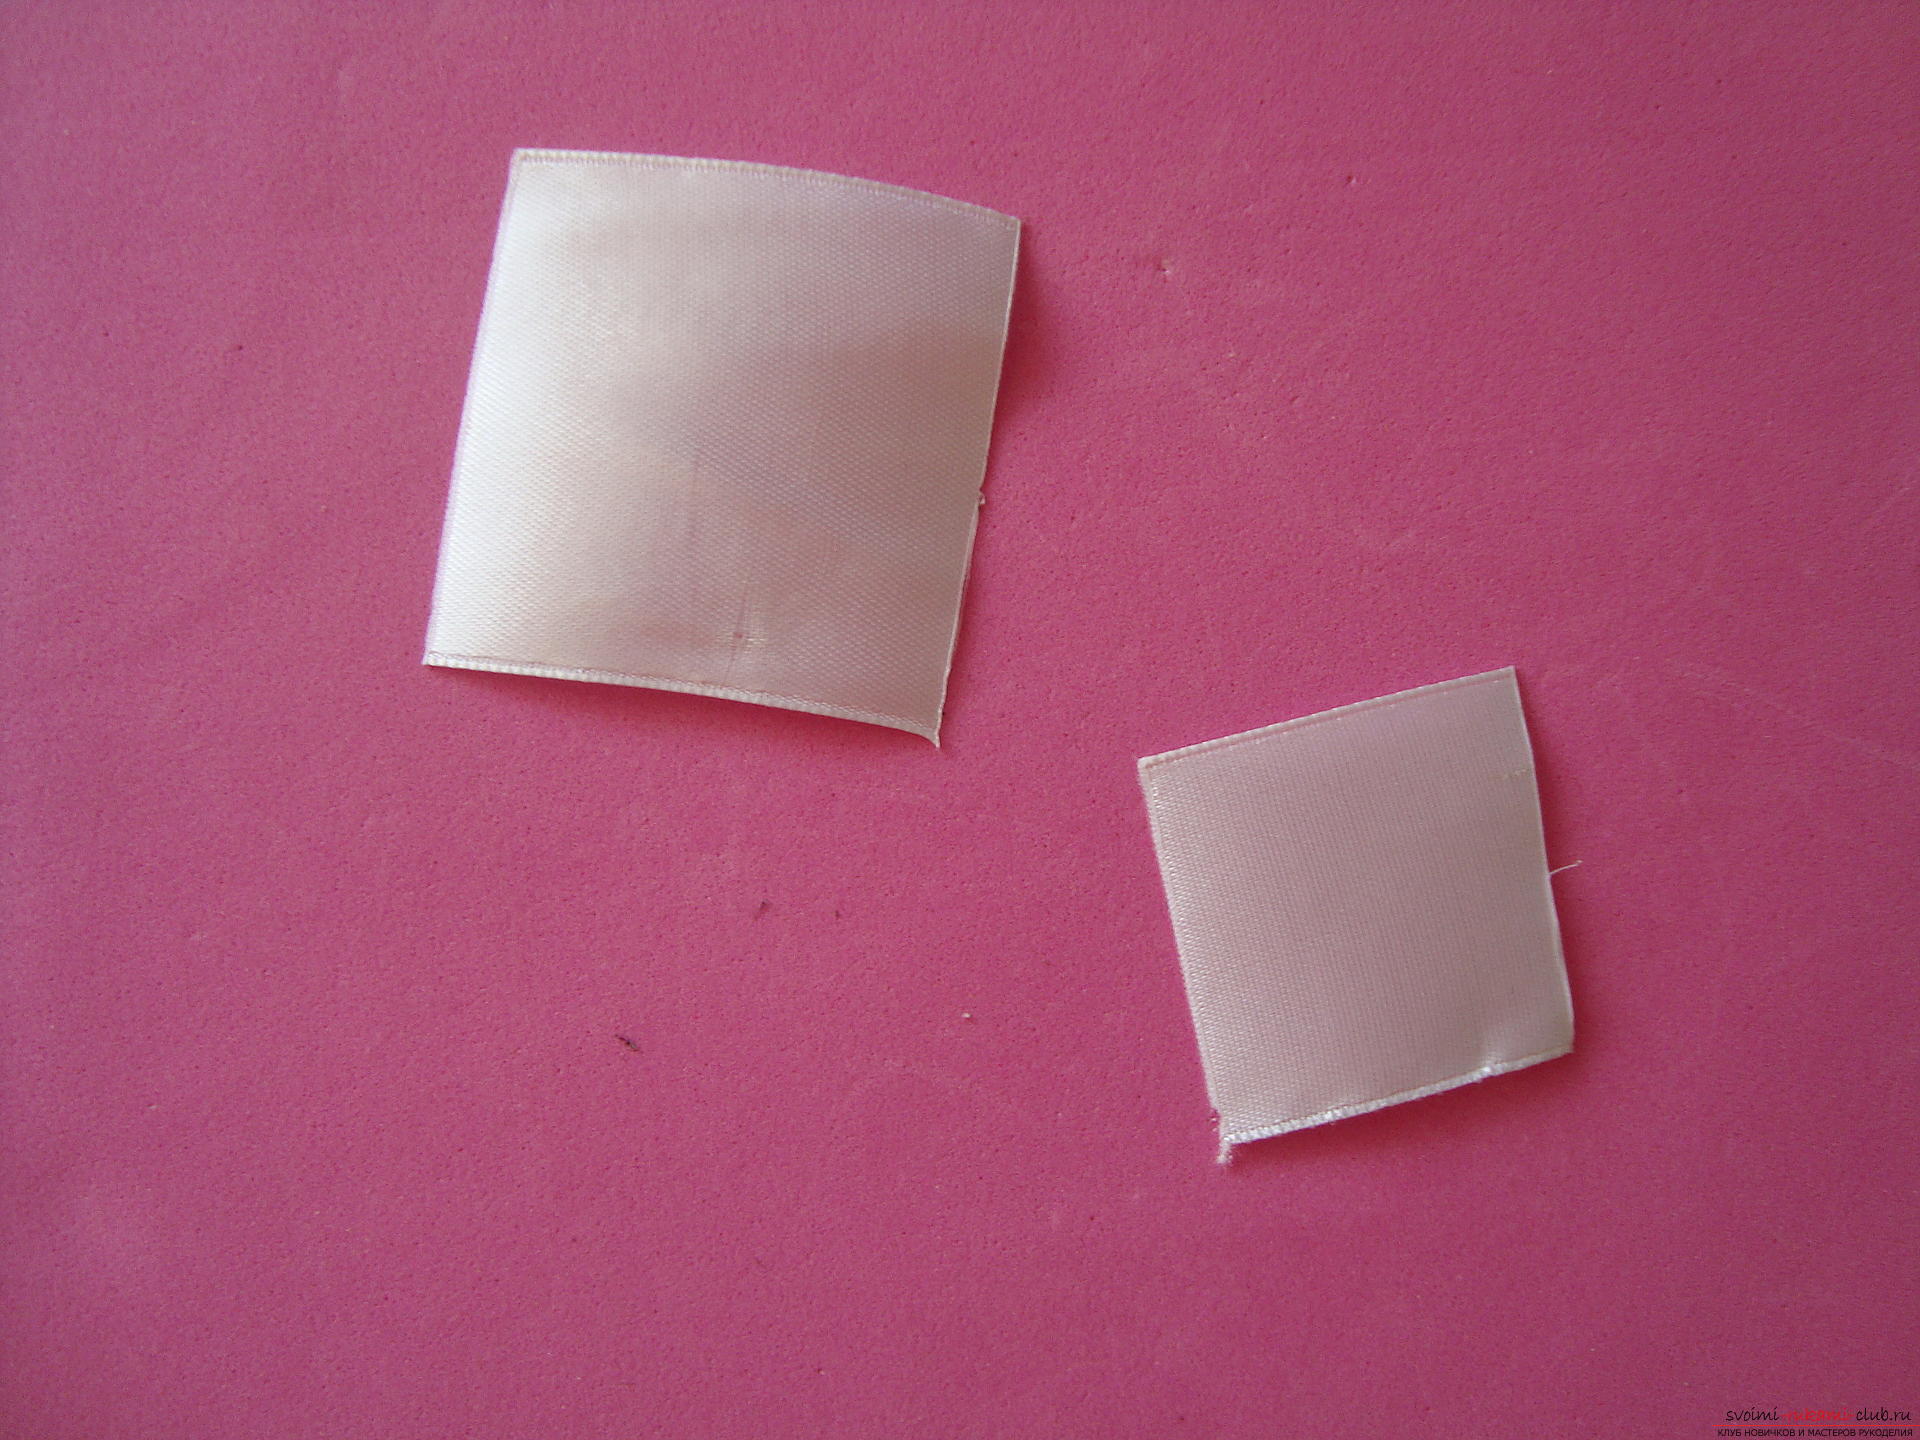 Bend a large billet to the corner, try to do this as smoothly as possible, and then the lower edges of the petal will be neat.
 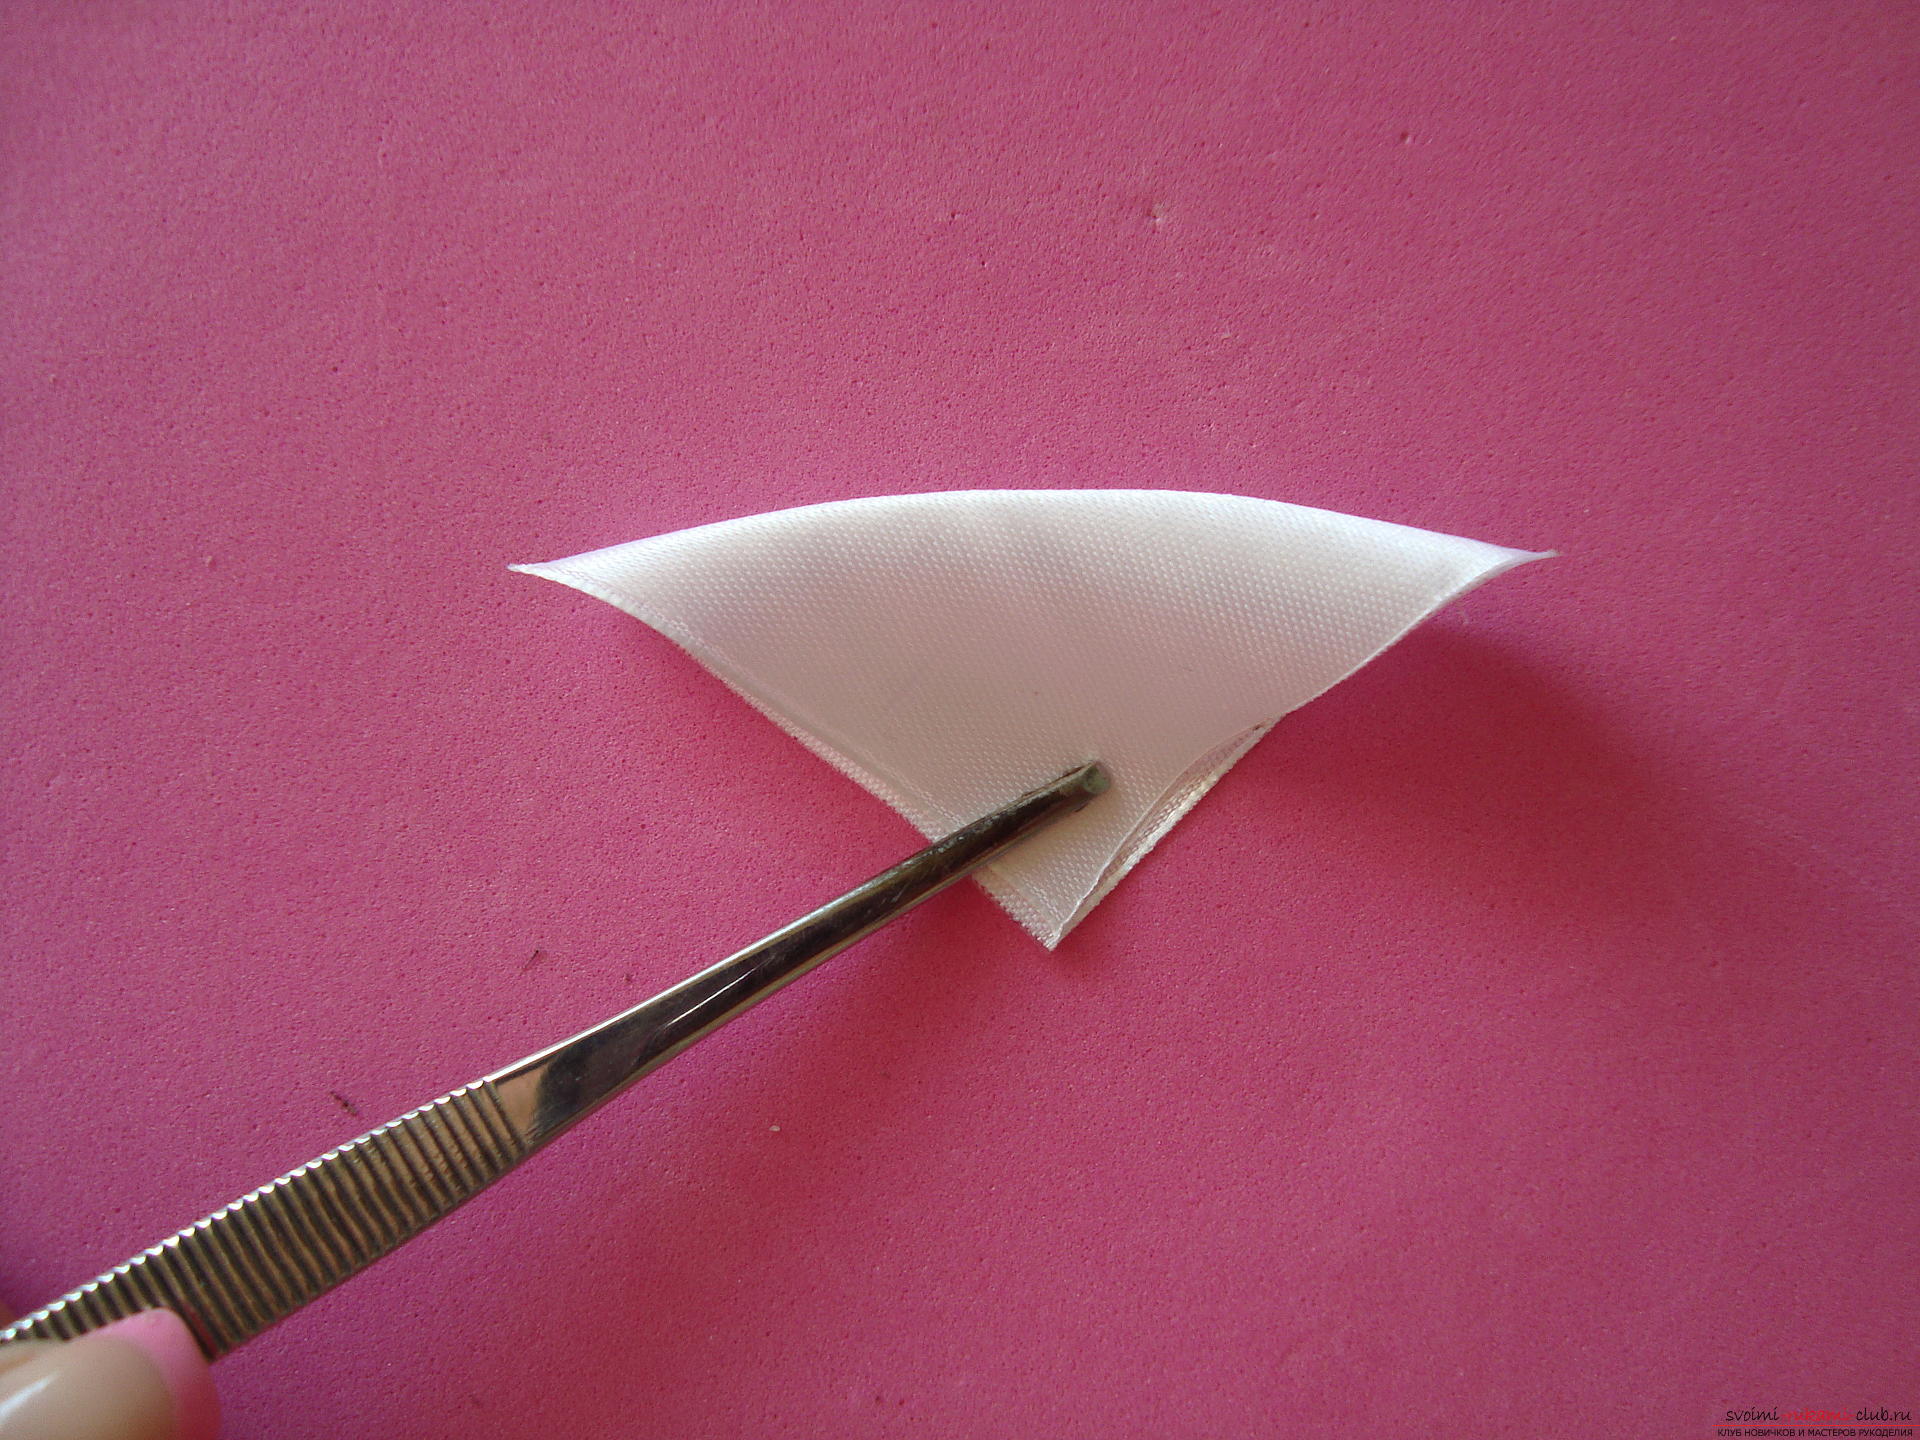 Fold the part again by turning on the center line (the median of the triangle).
 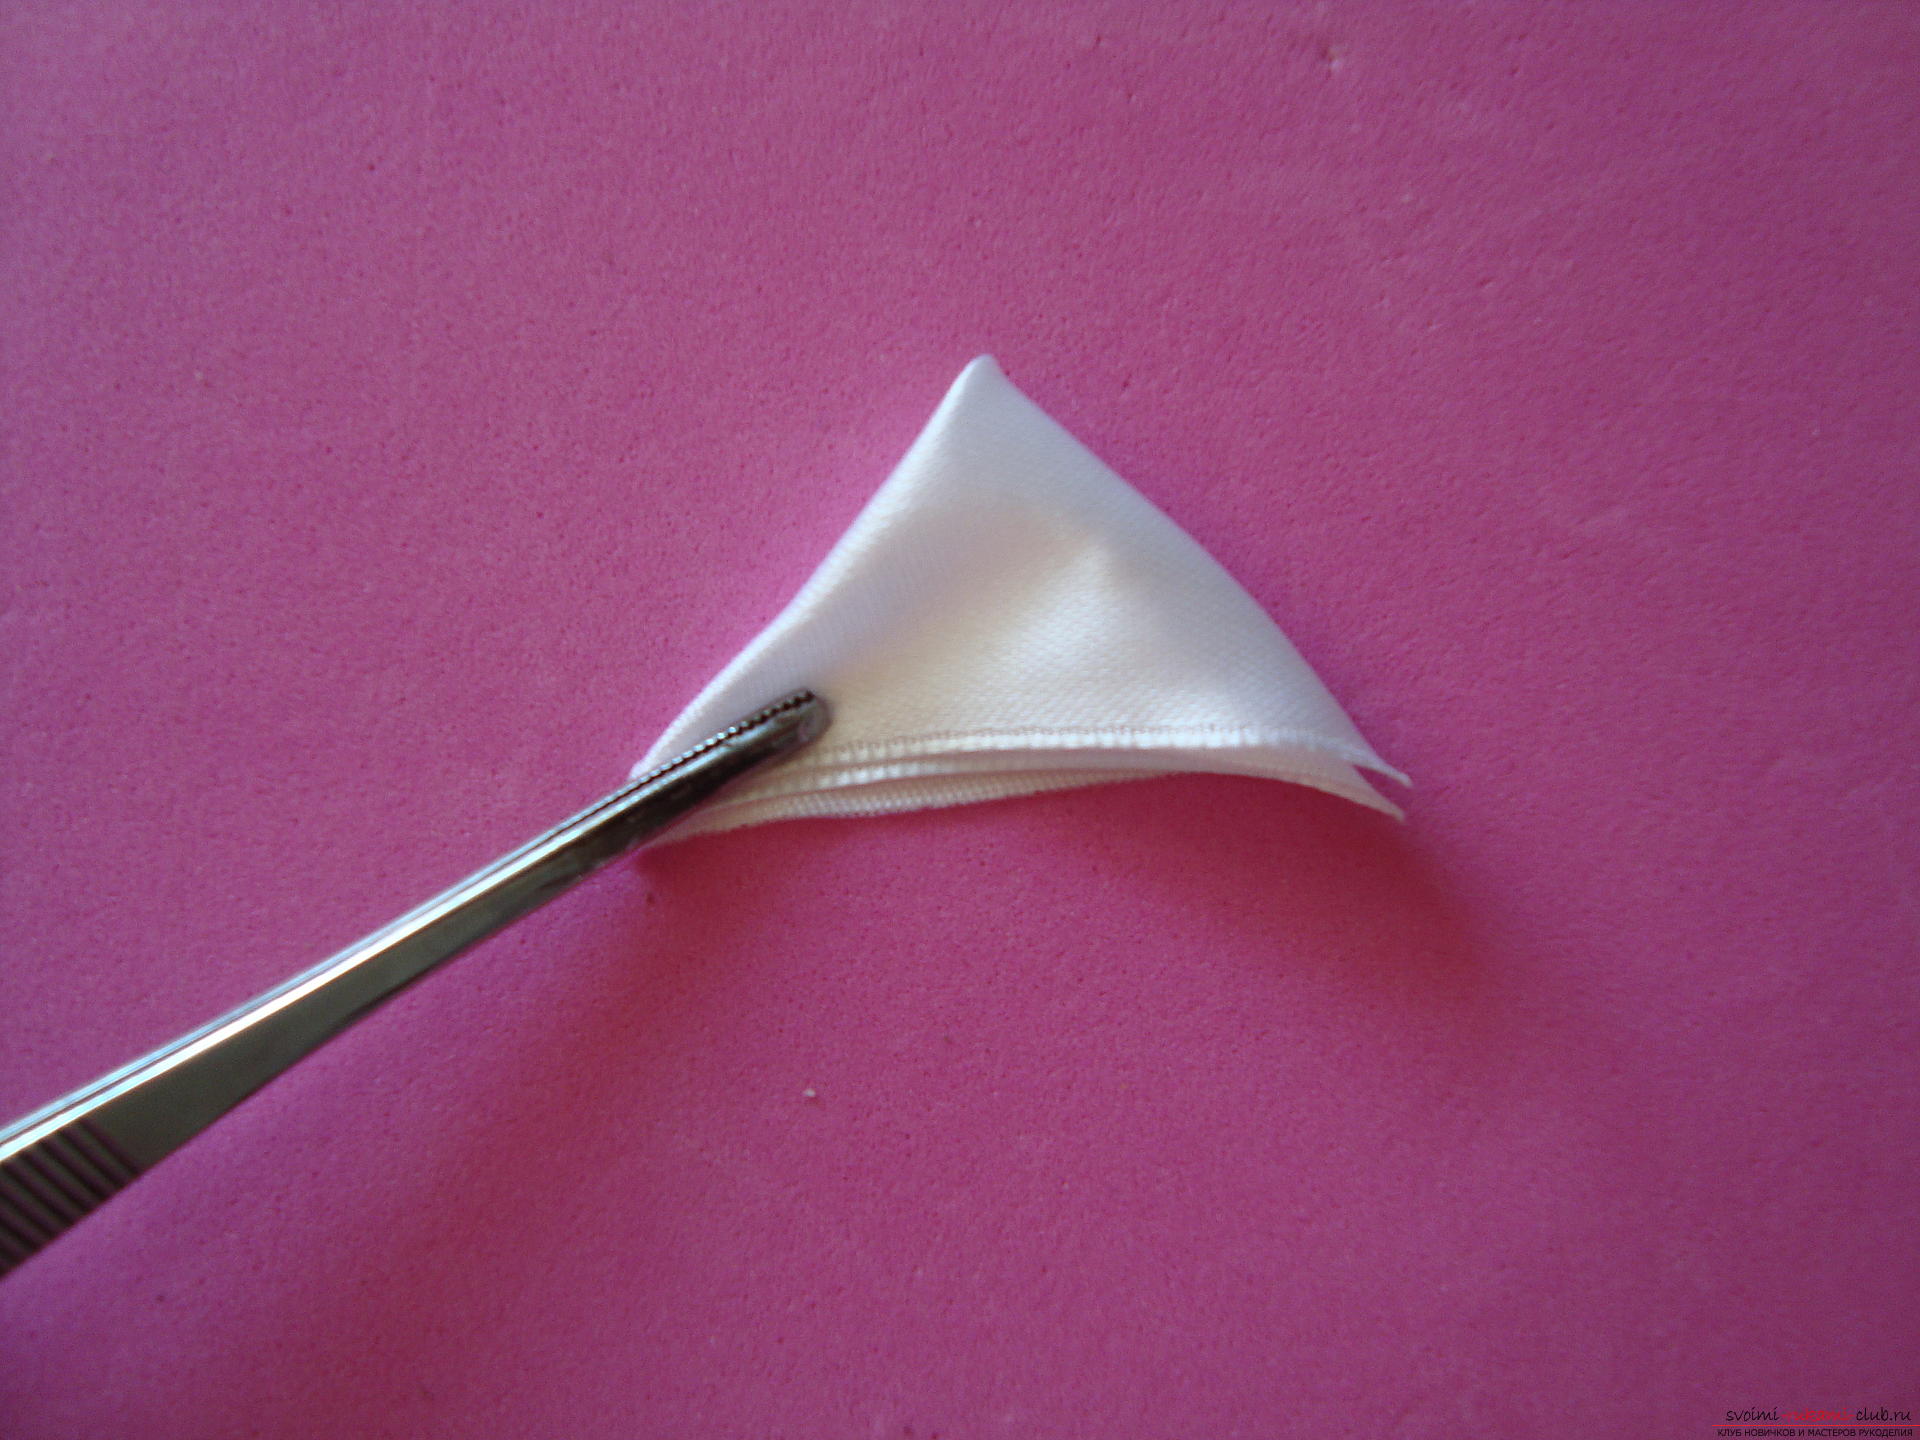 The resulting part is bent exactly in the center of the upper corner, by perpendicular line to the bottom. It should look like this:
 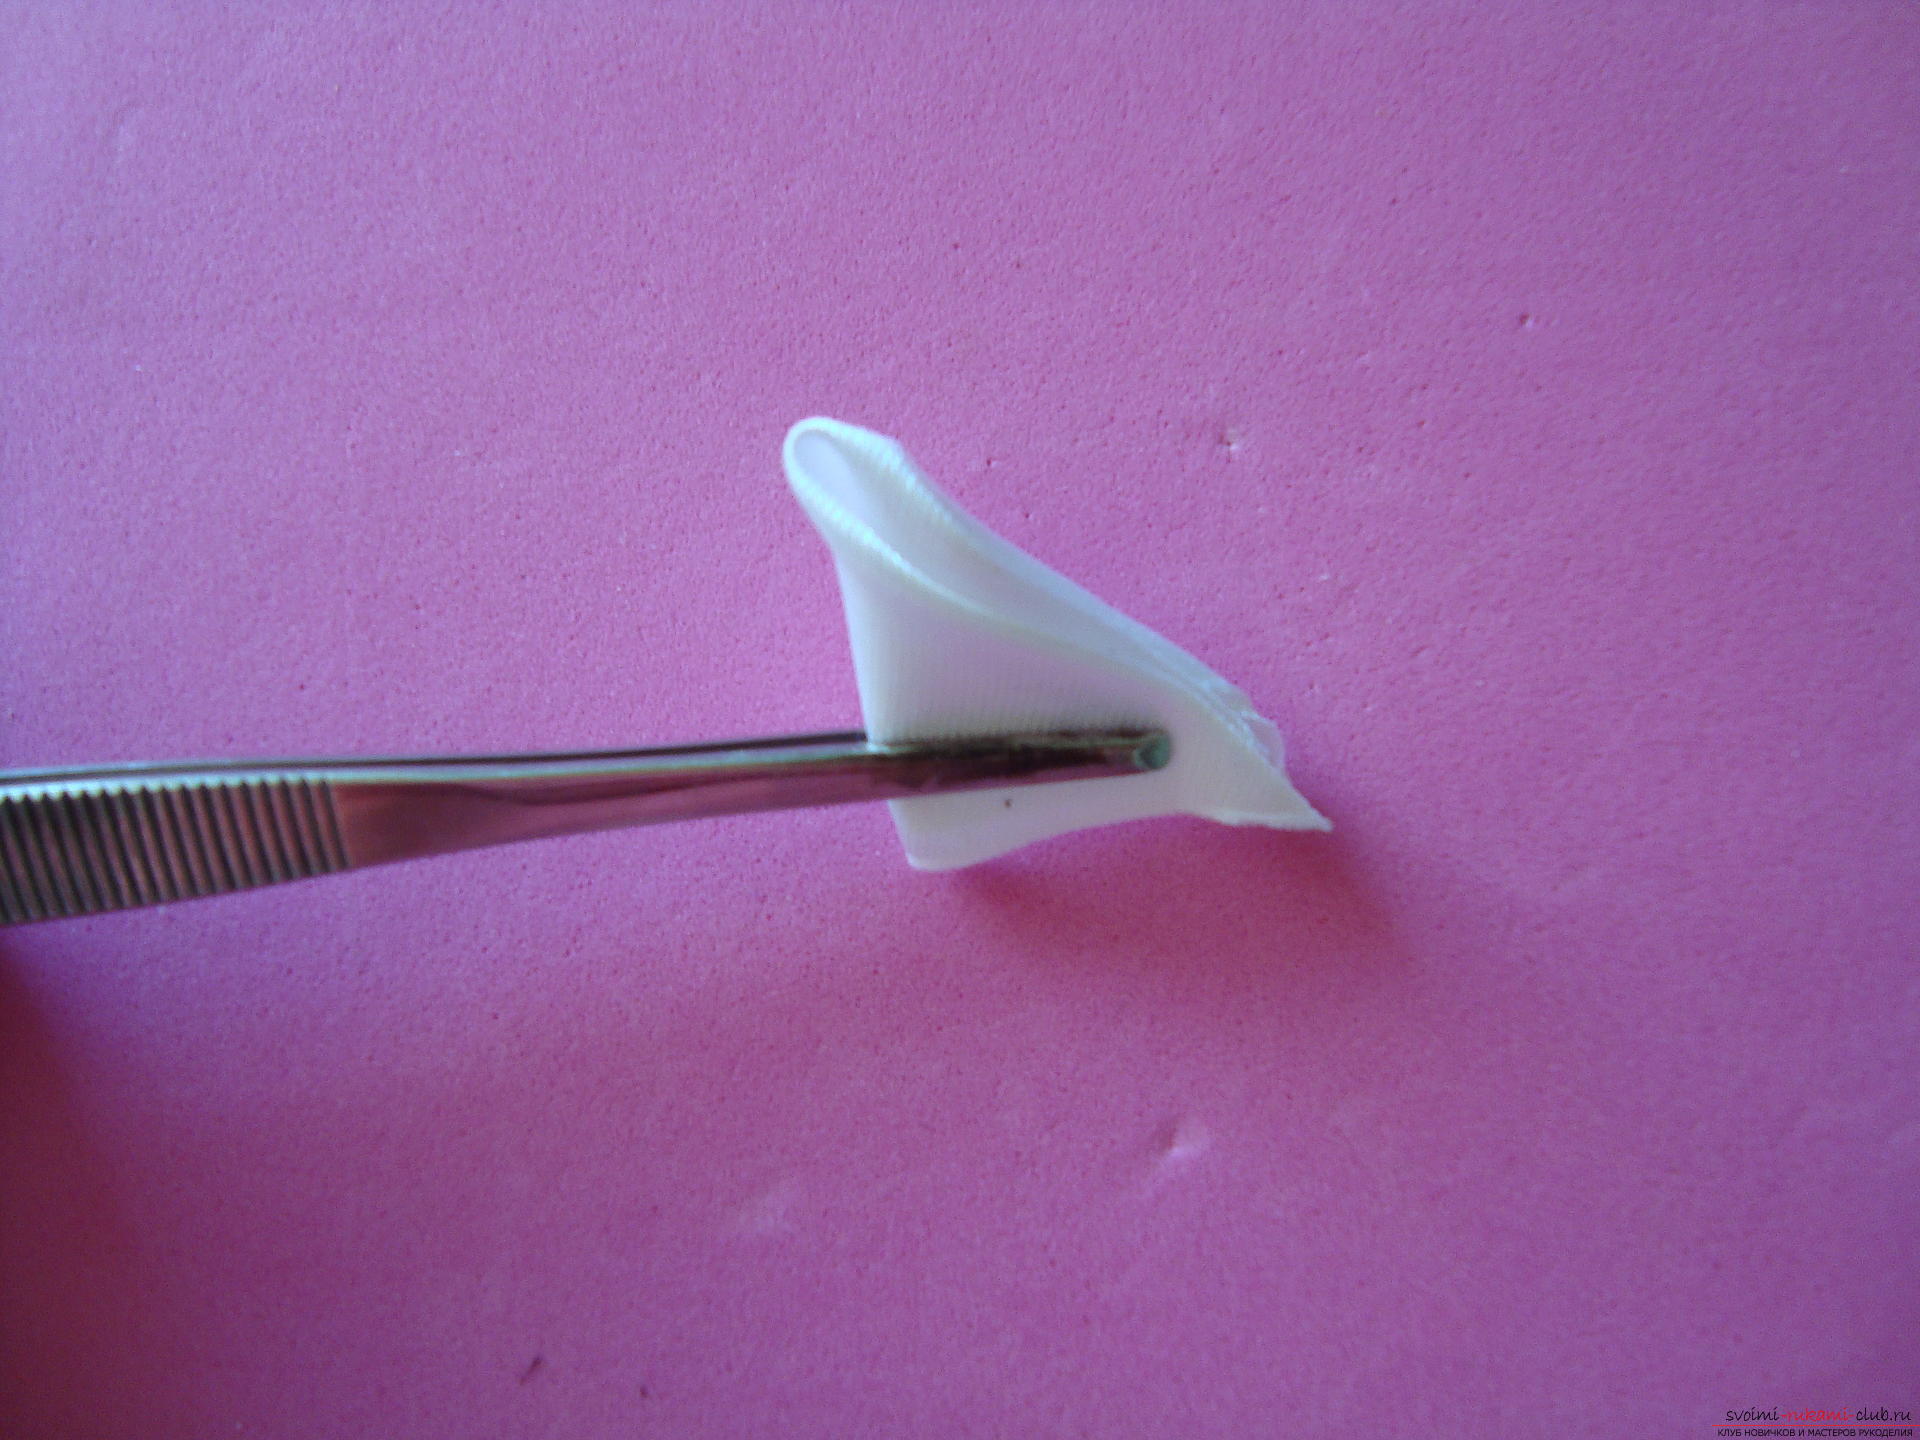 With the help of a heated burner,draw a line connecting the middle of the edge of the petal and the point of the base, from which the petal should "grow". This line in the photo is indicated by a ruler (when firing, the ruler does not stand on the edge, but runs with the petal in one plane).
  From blanks of different sizes petals are formed unequal in size.
 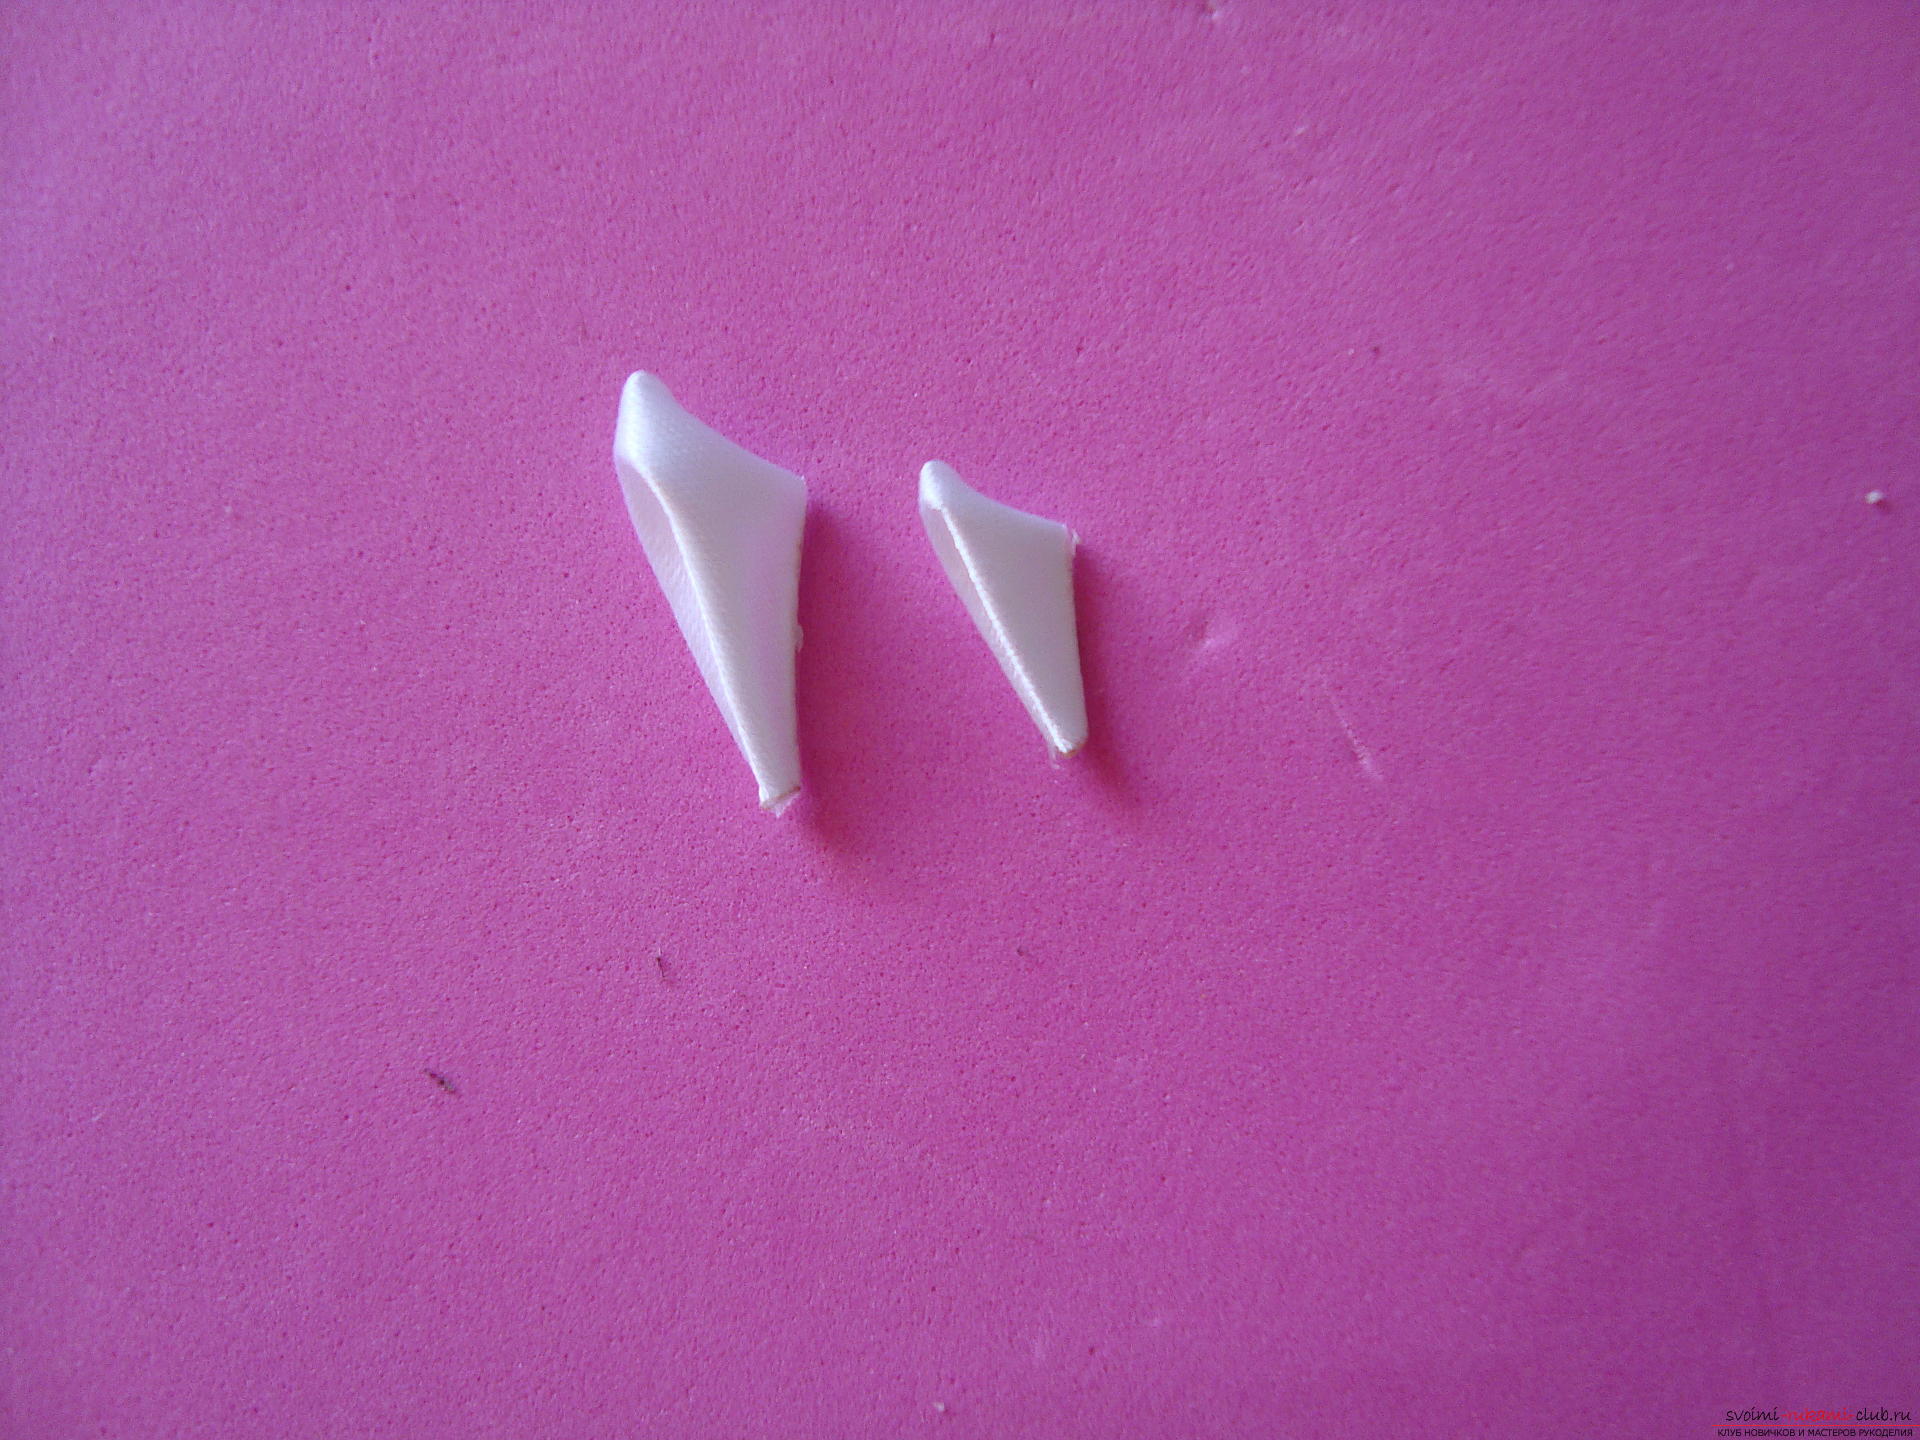 Each petal should be bent so that it takes the shape of a boat.
  On the rounded base of a small diameter, first glue the petals of a larger size. They should be arranged symmetrically and not to dock with each other.
 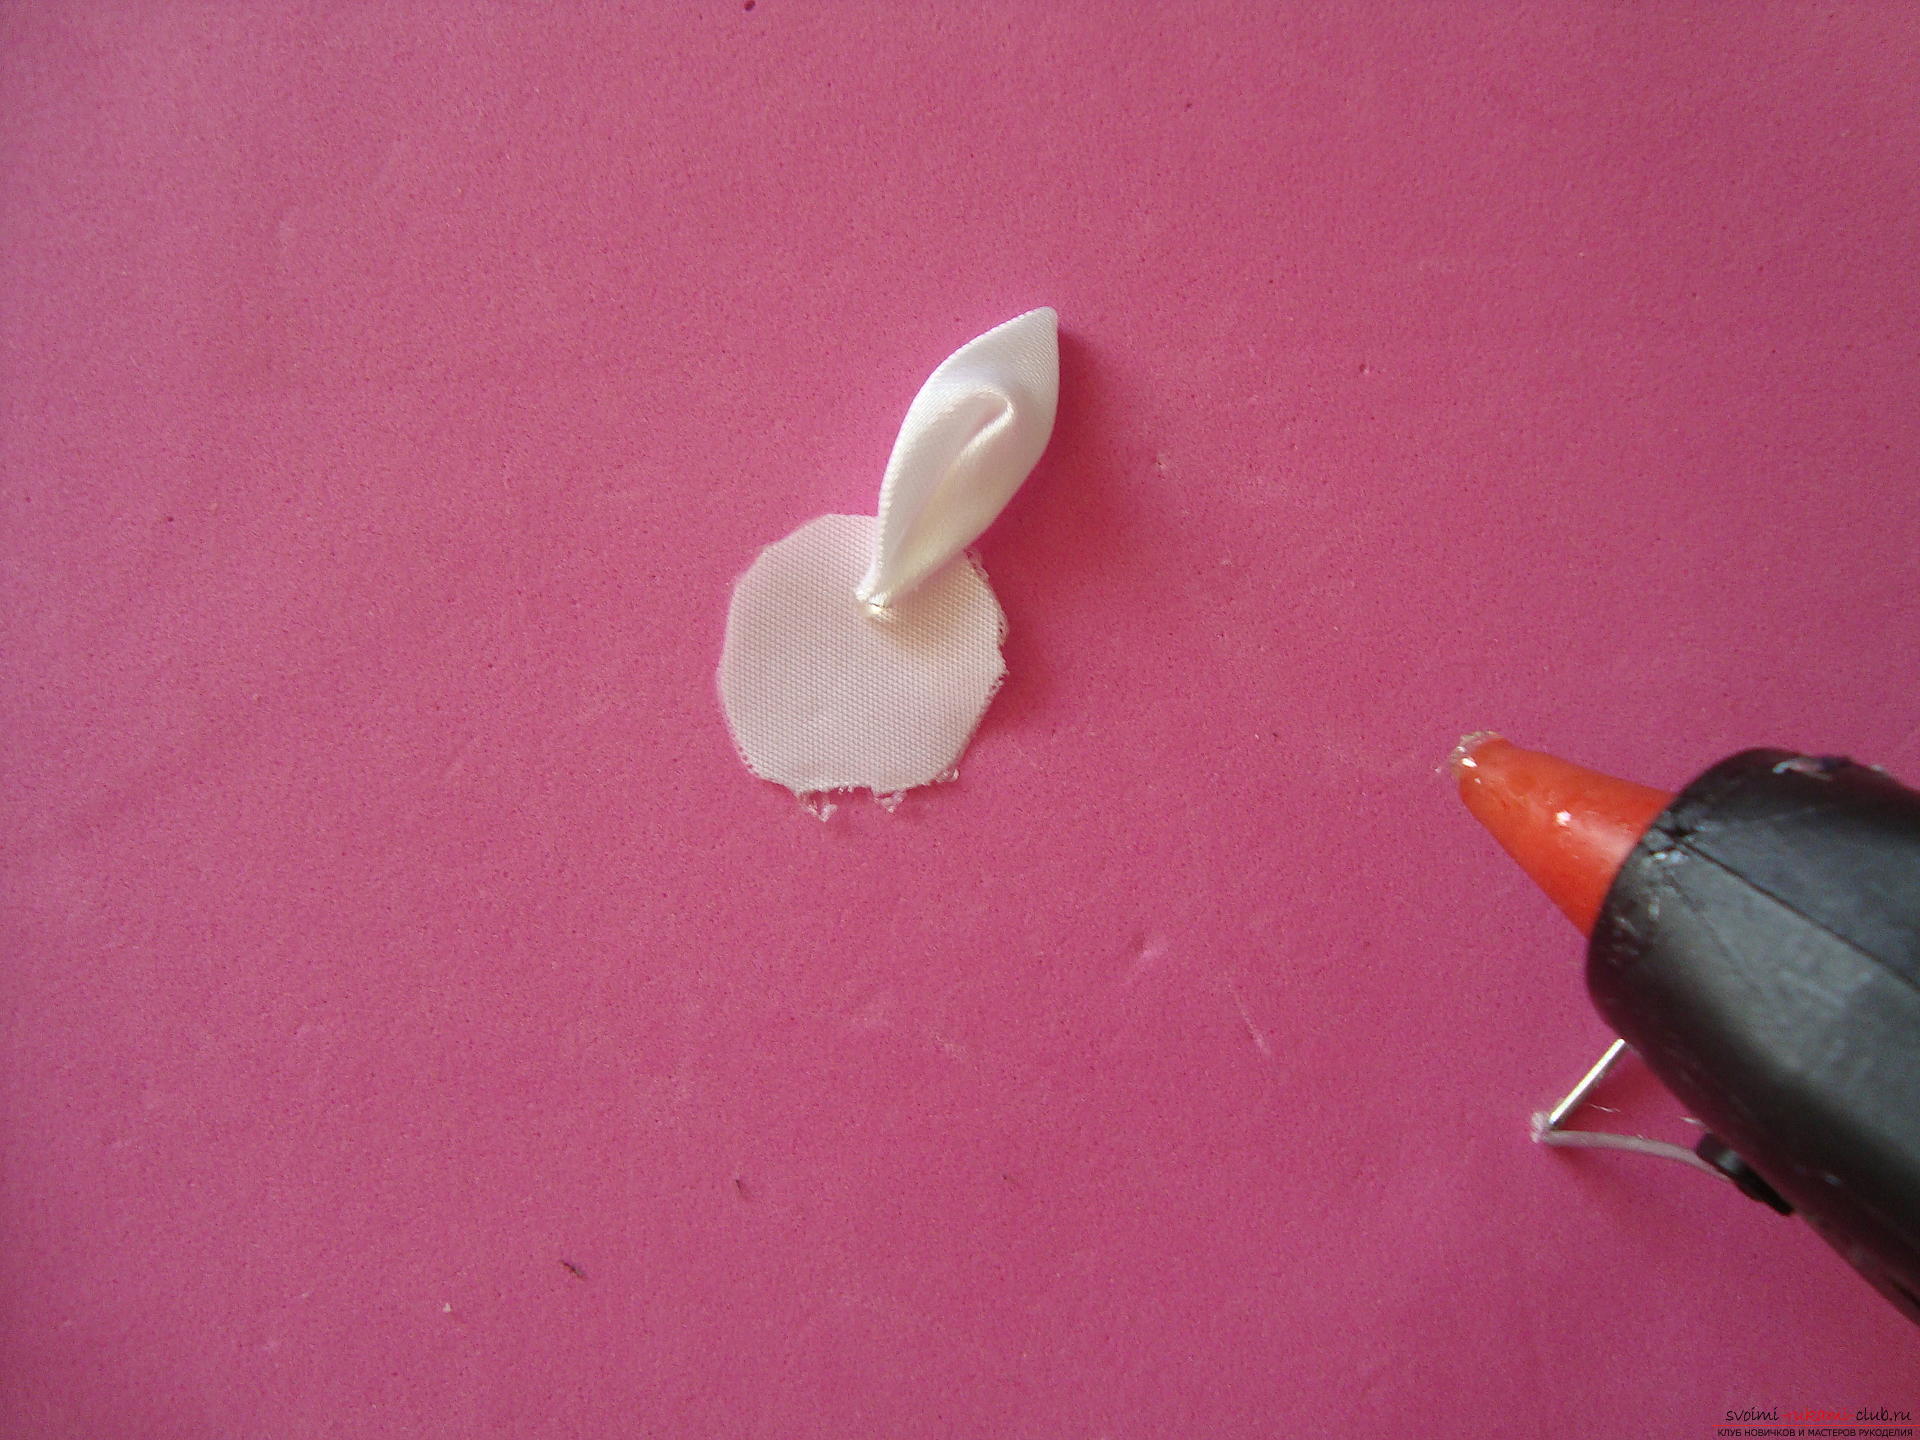 Small petals are pasted over large ones so that they cover the place of contact between the two lower elements.
 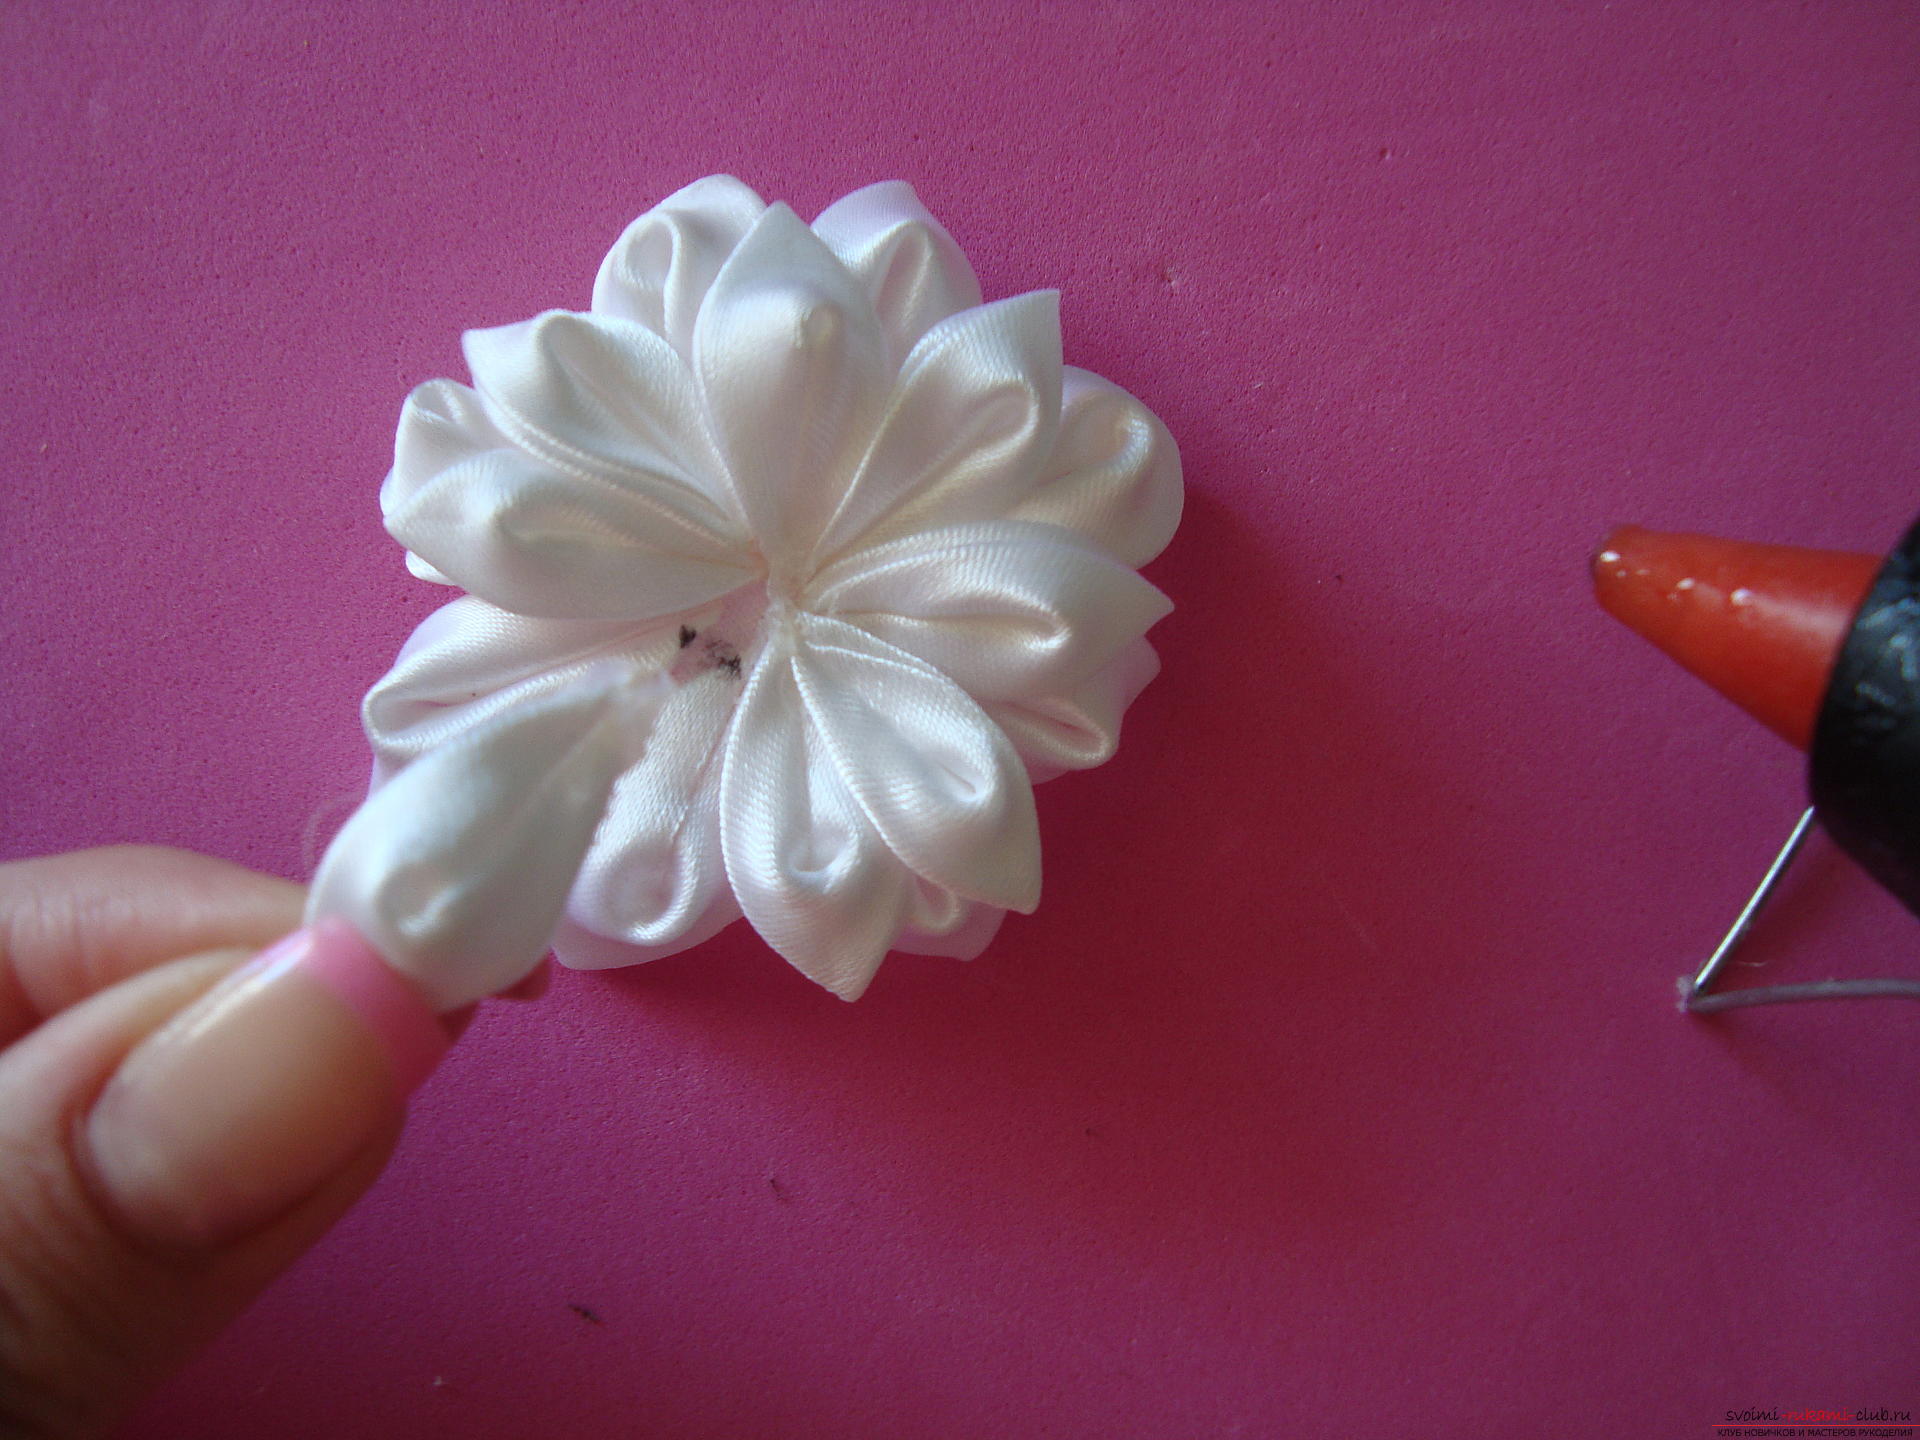 In the end, you should get a three-dimensional flower from two tiers.
 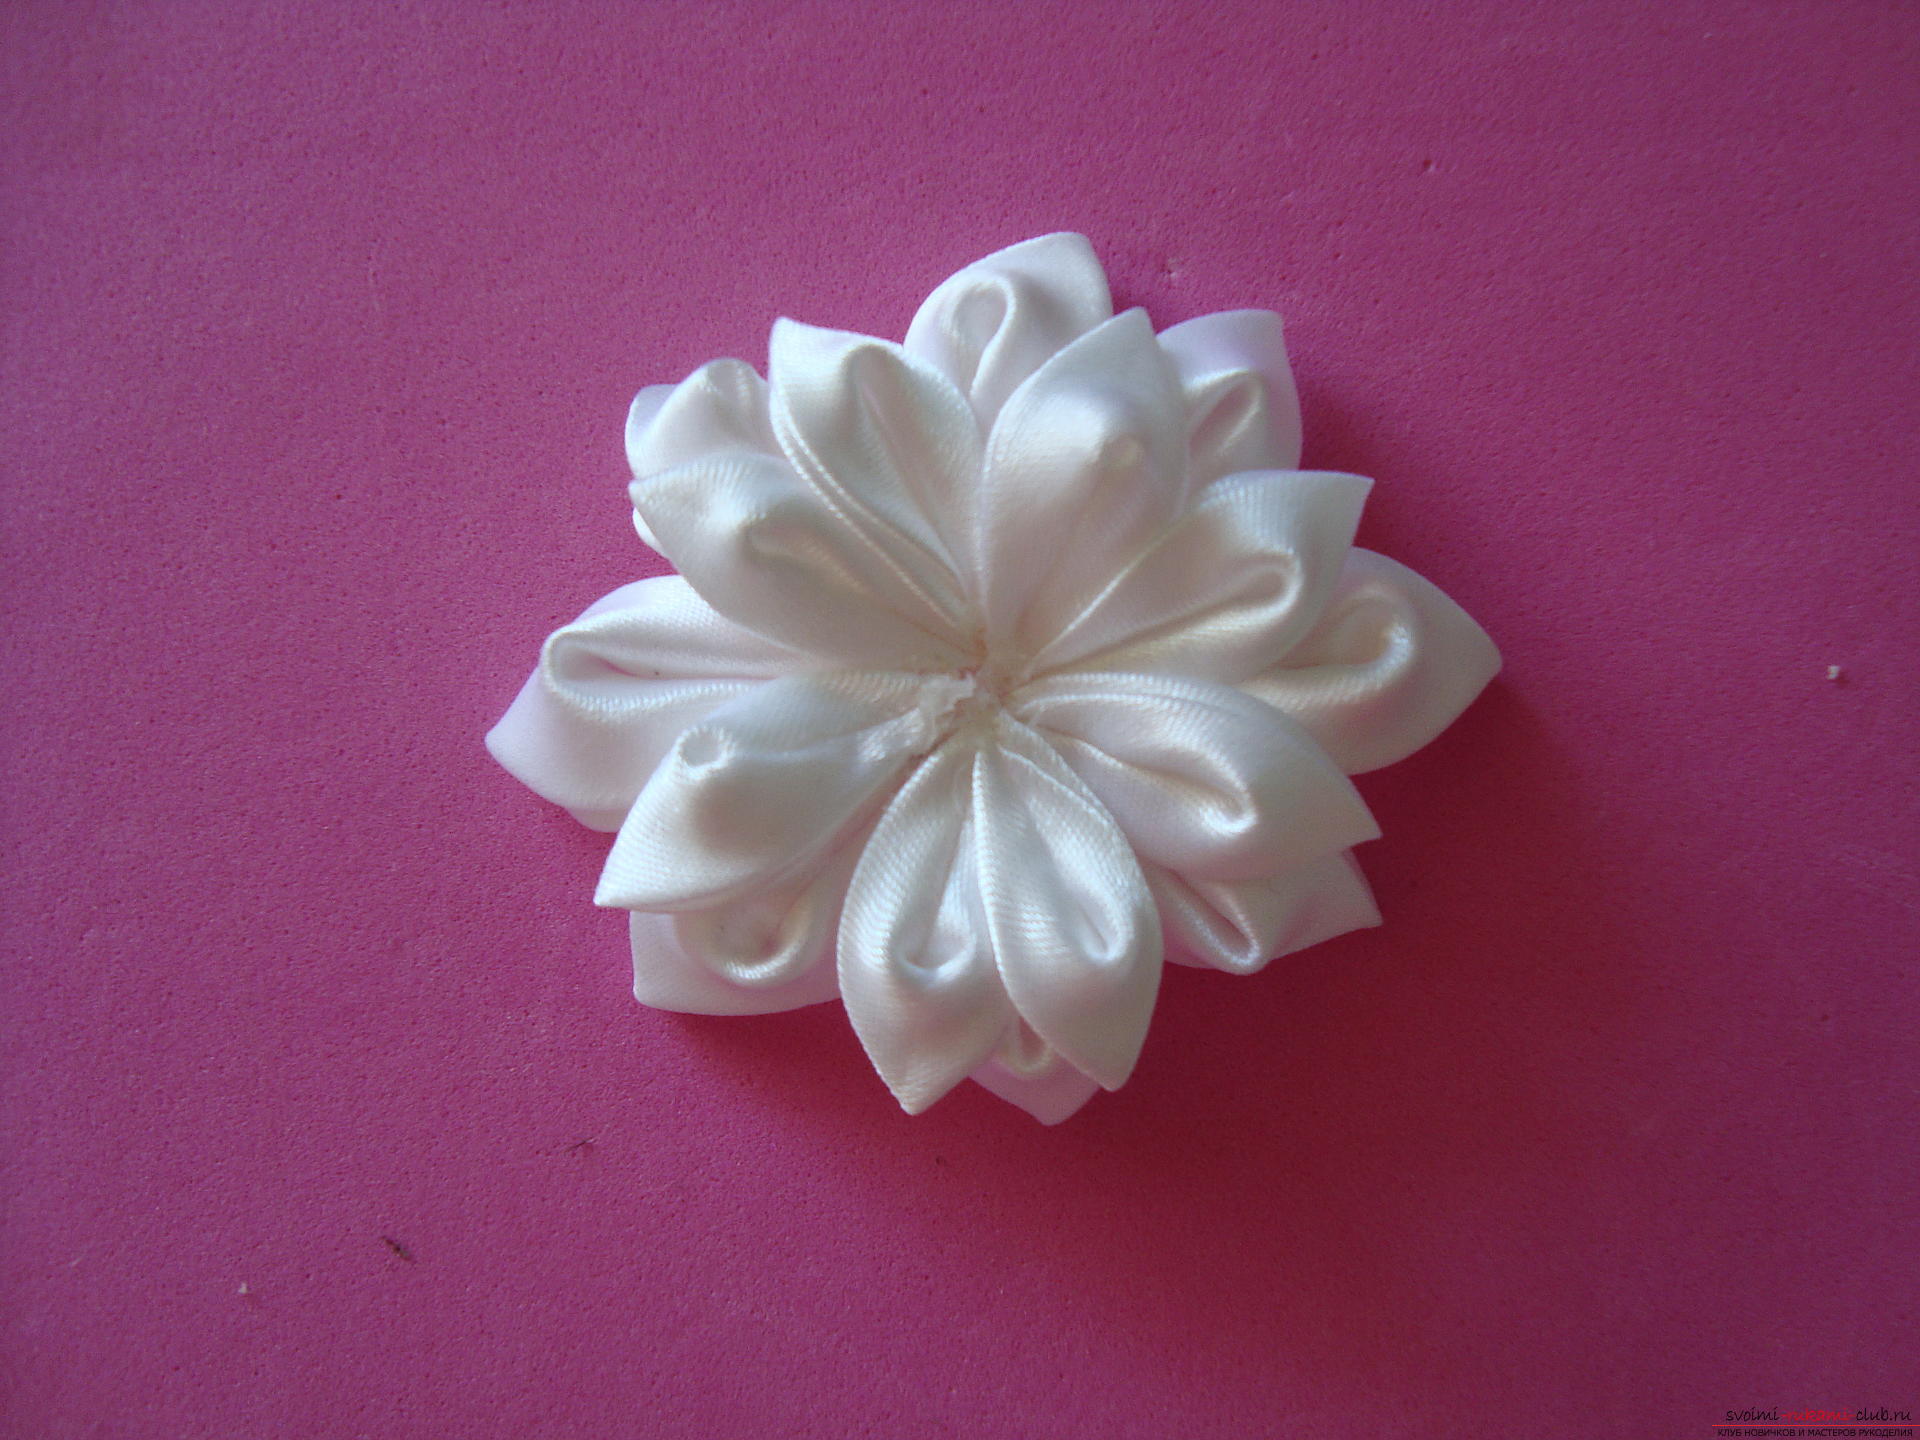 The middle of the flower should be decorated with a gentle, but effective addition, for example, a silver flower with rhinestones.
 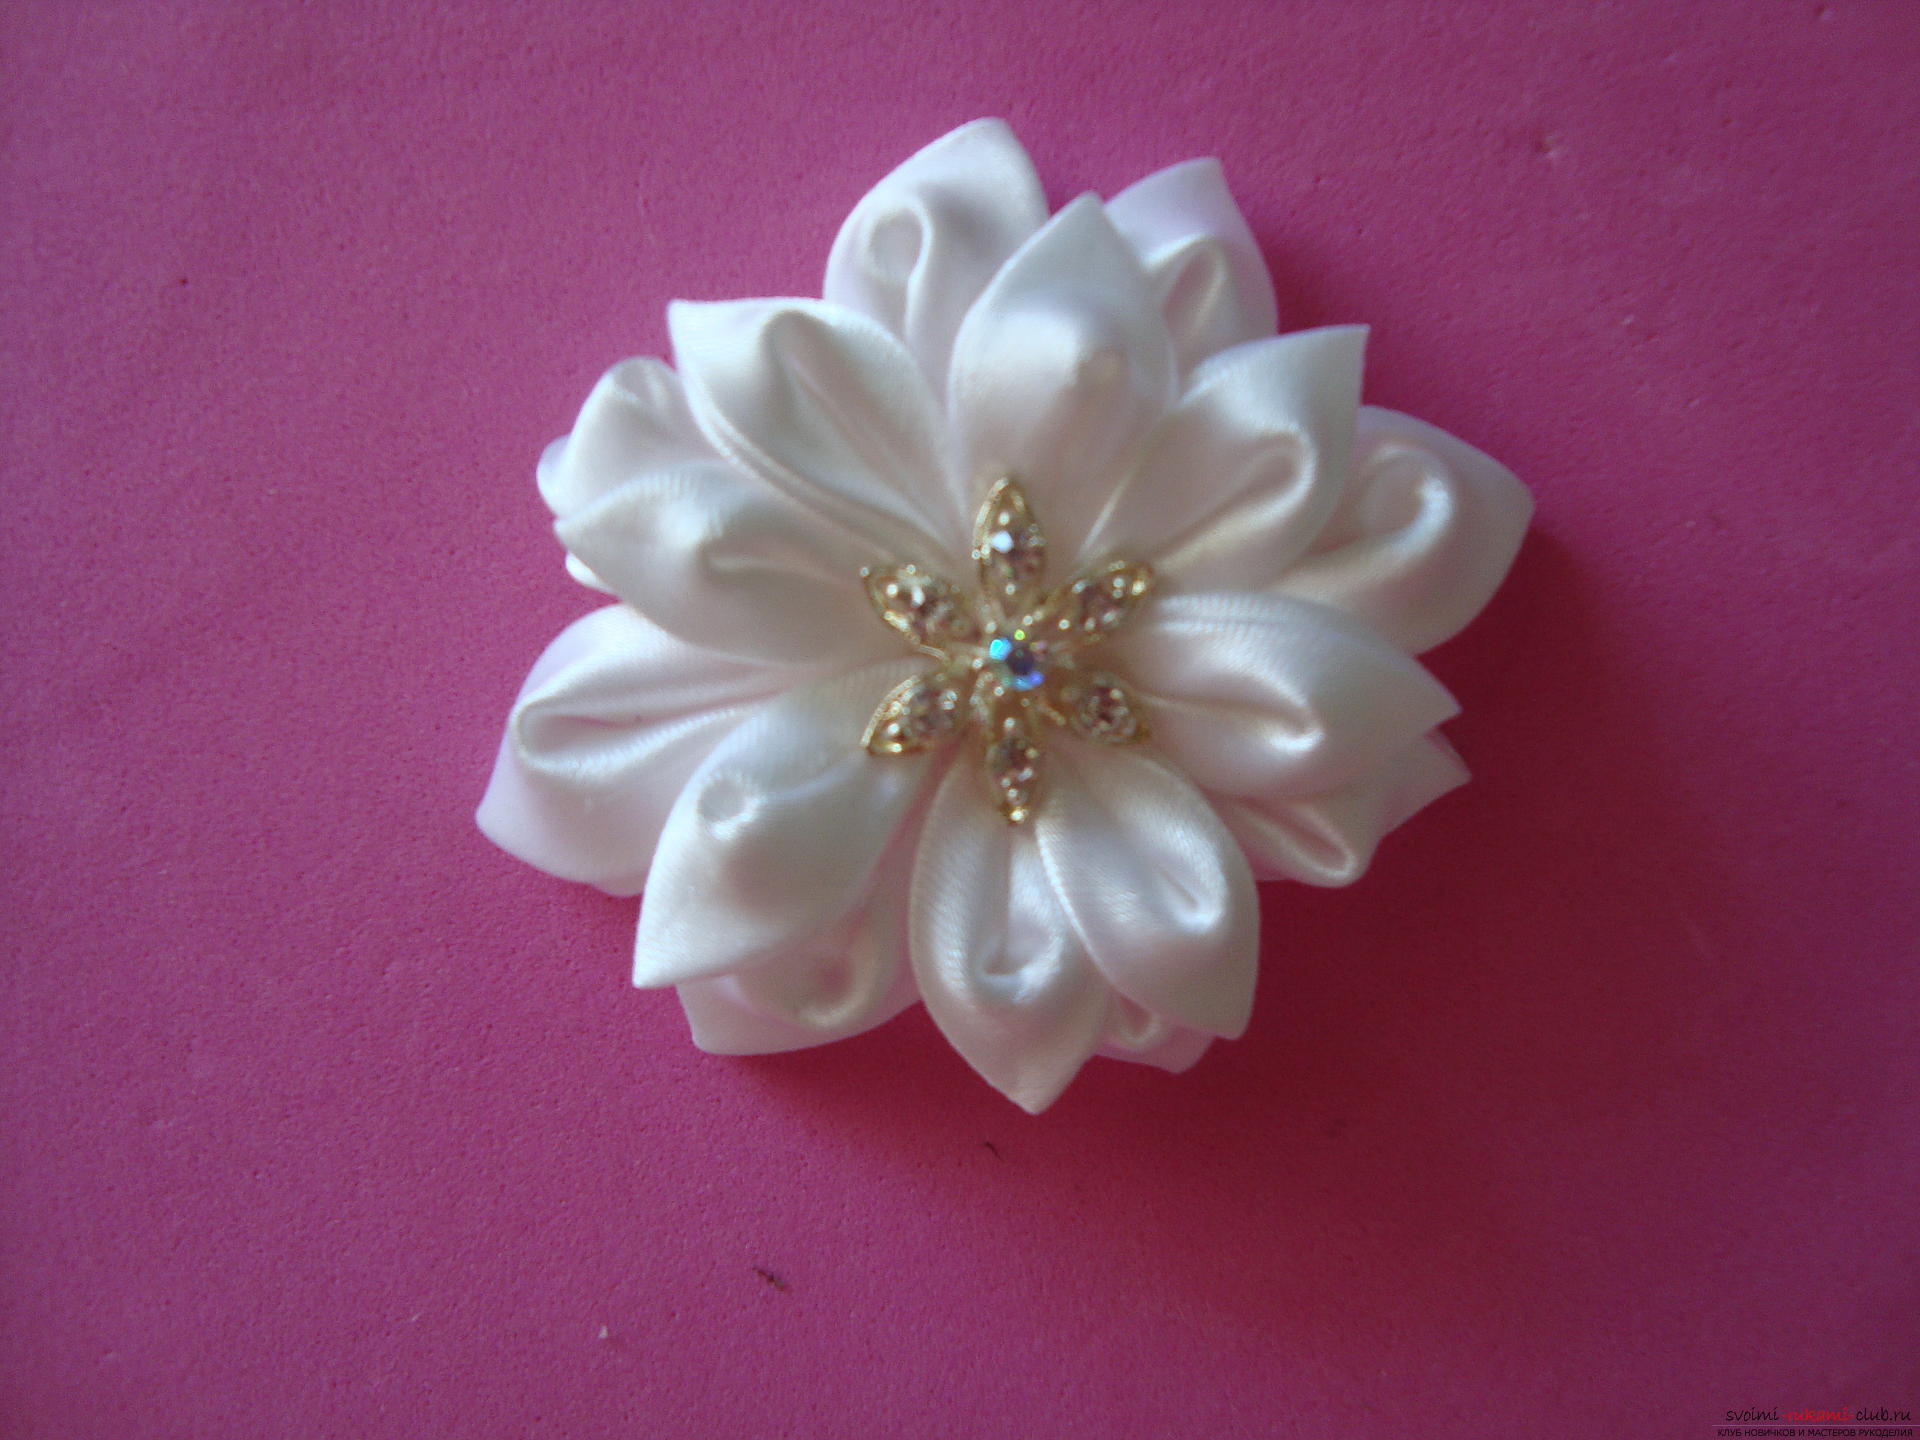 Turn the work over and attach the loop of the tubular tender tape to the underside.
  Then create a couple of elements from the rounded tape.
 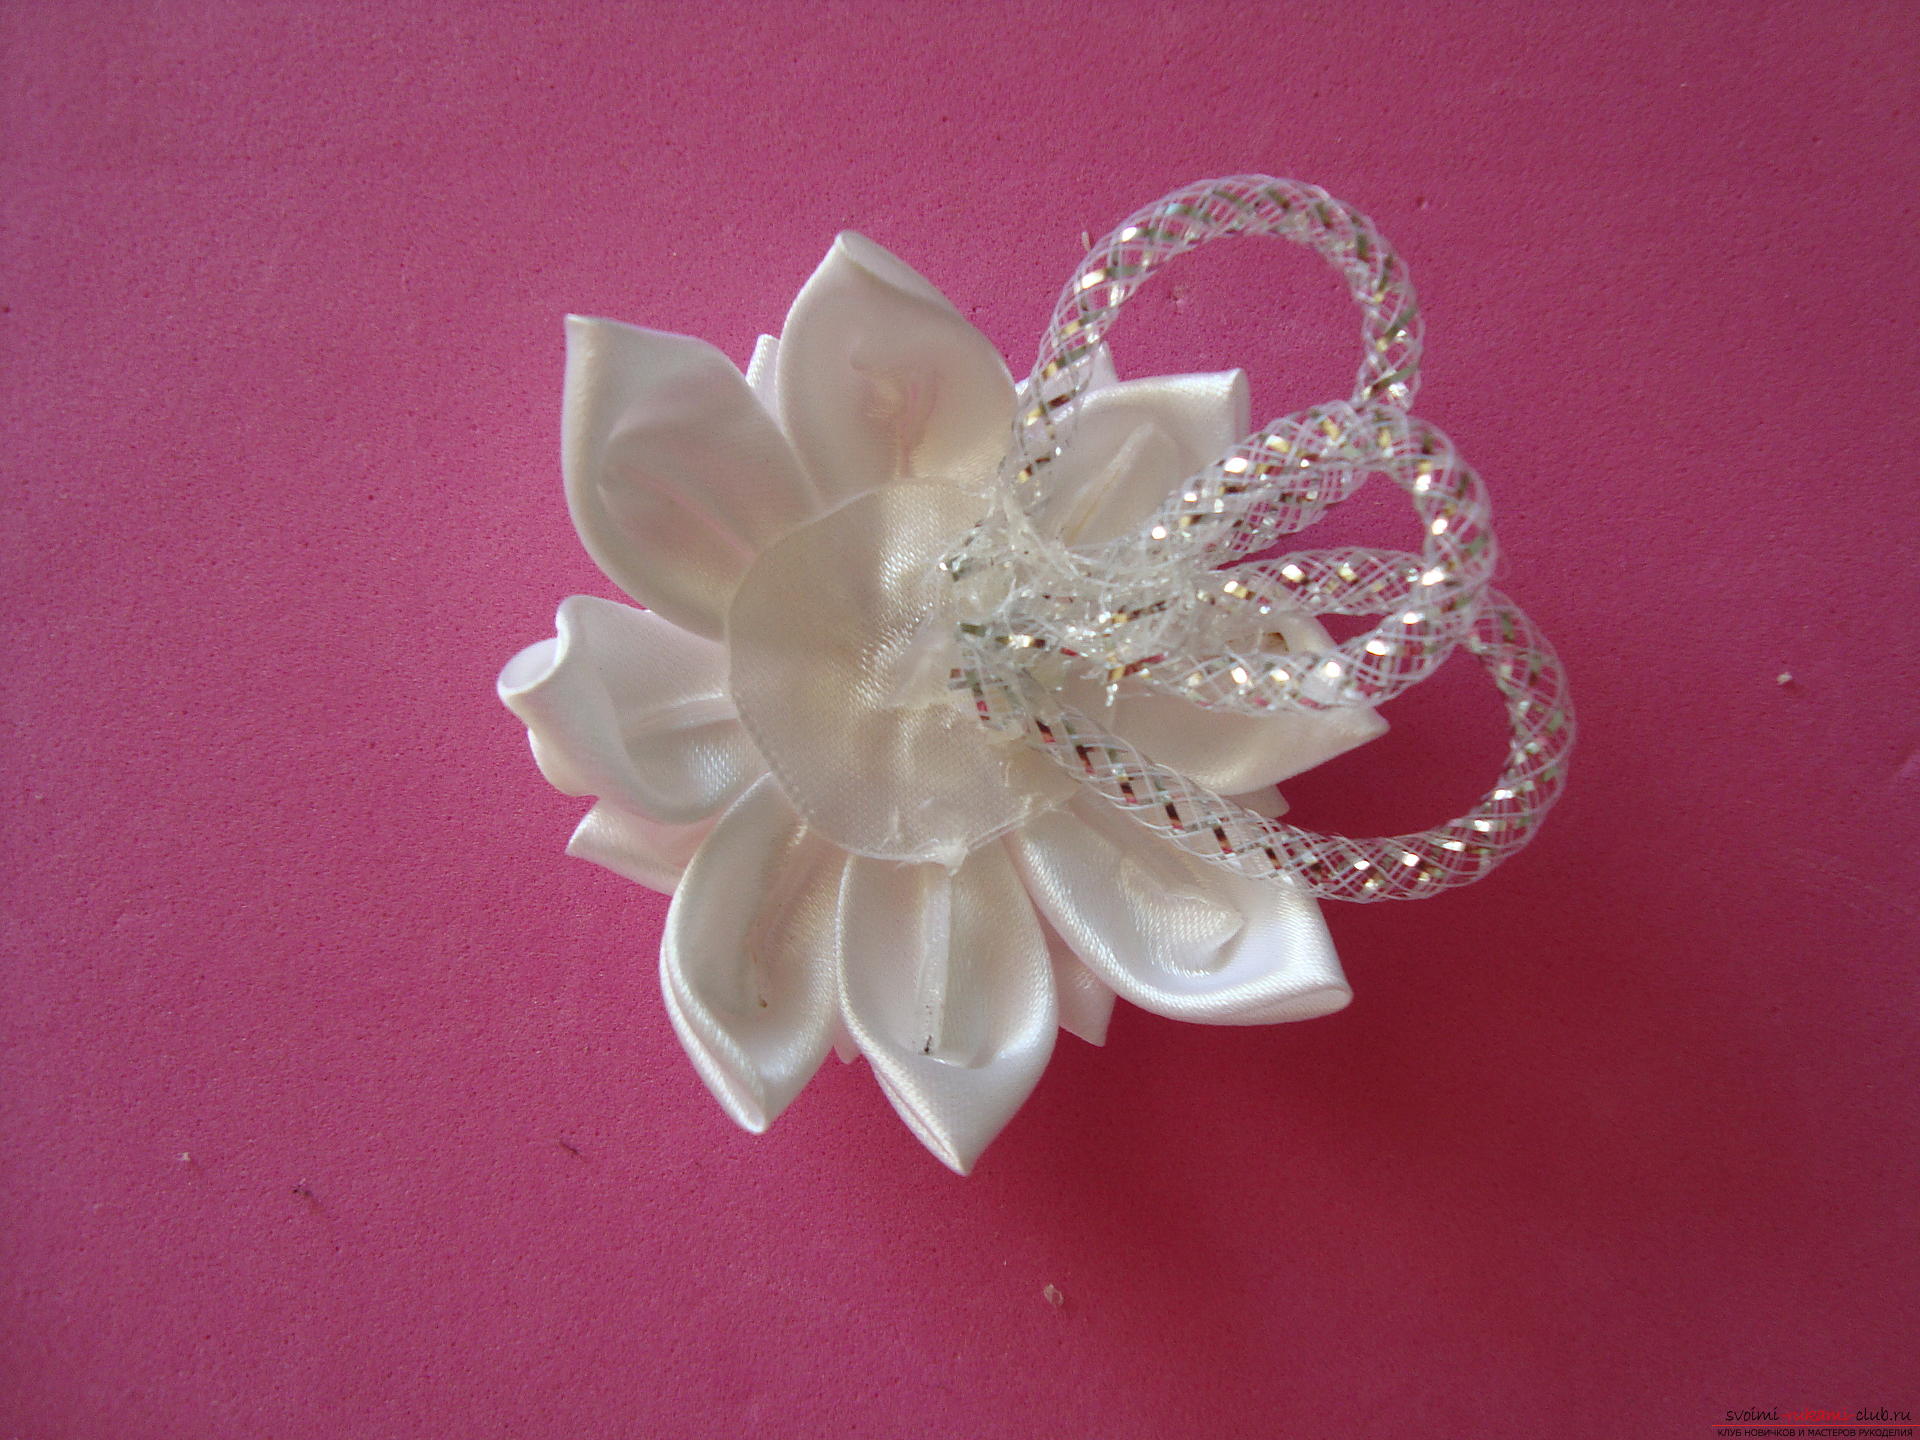 On the front side, these will be airy openwork loops making the flower unique.
 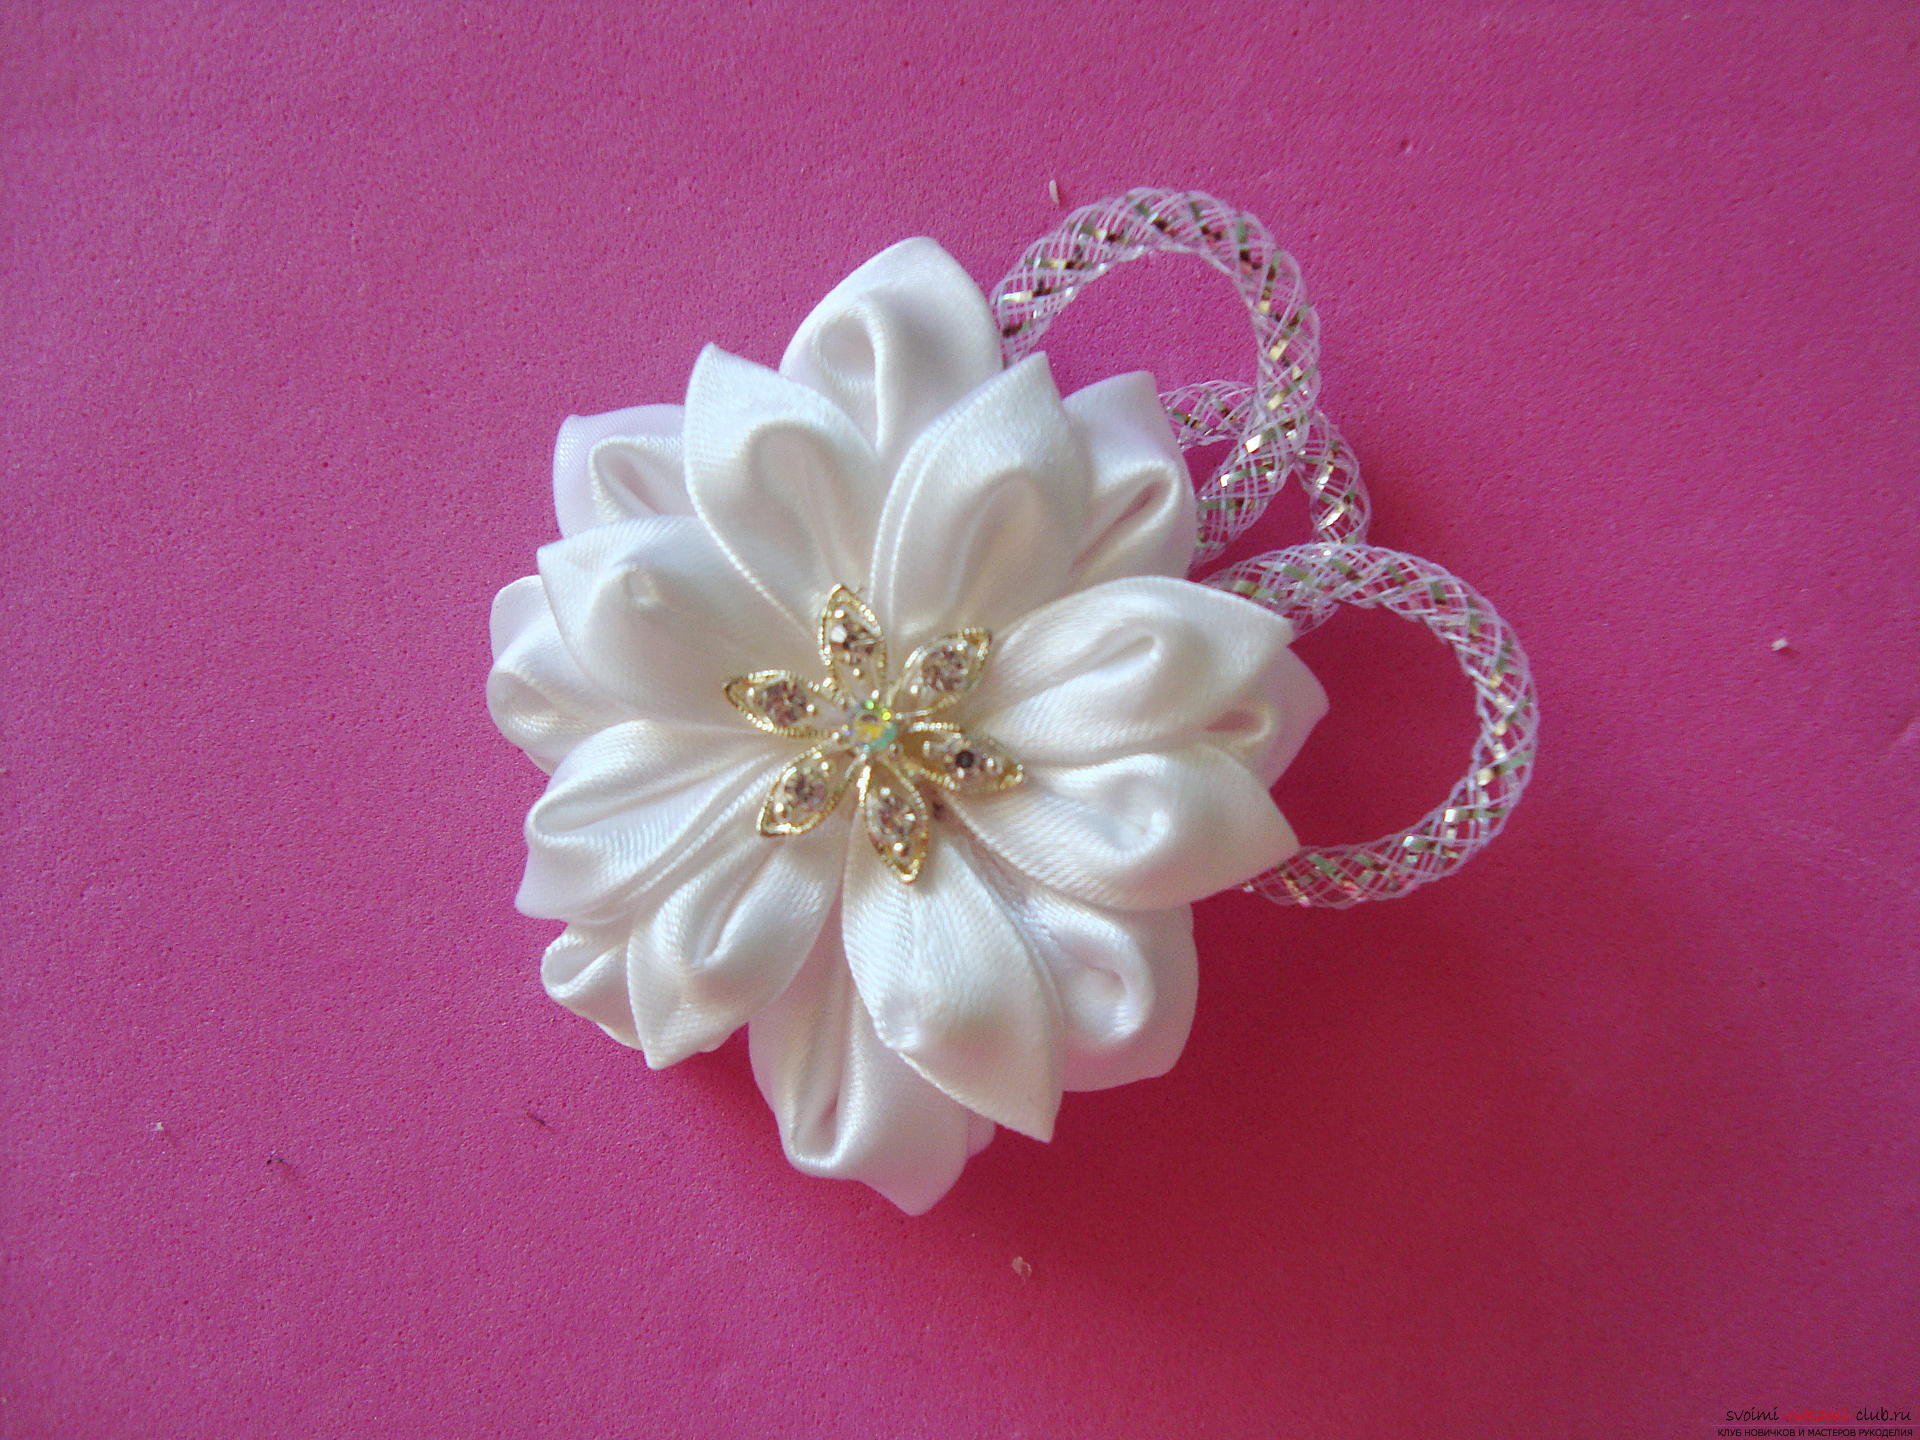 A black long petal is glued to the back of the flower next to the rounded additional elements.
 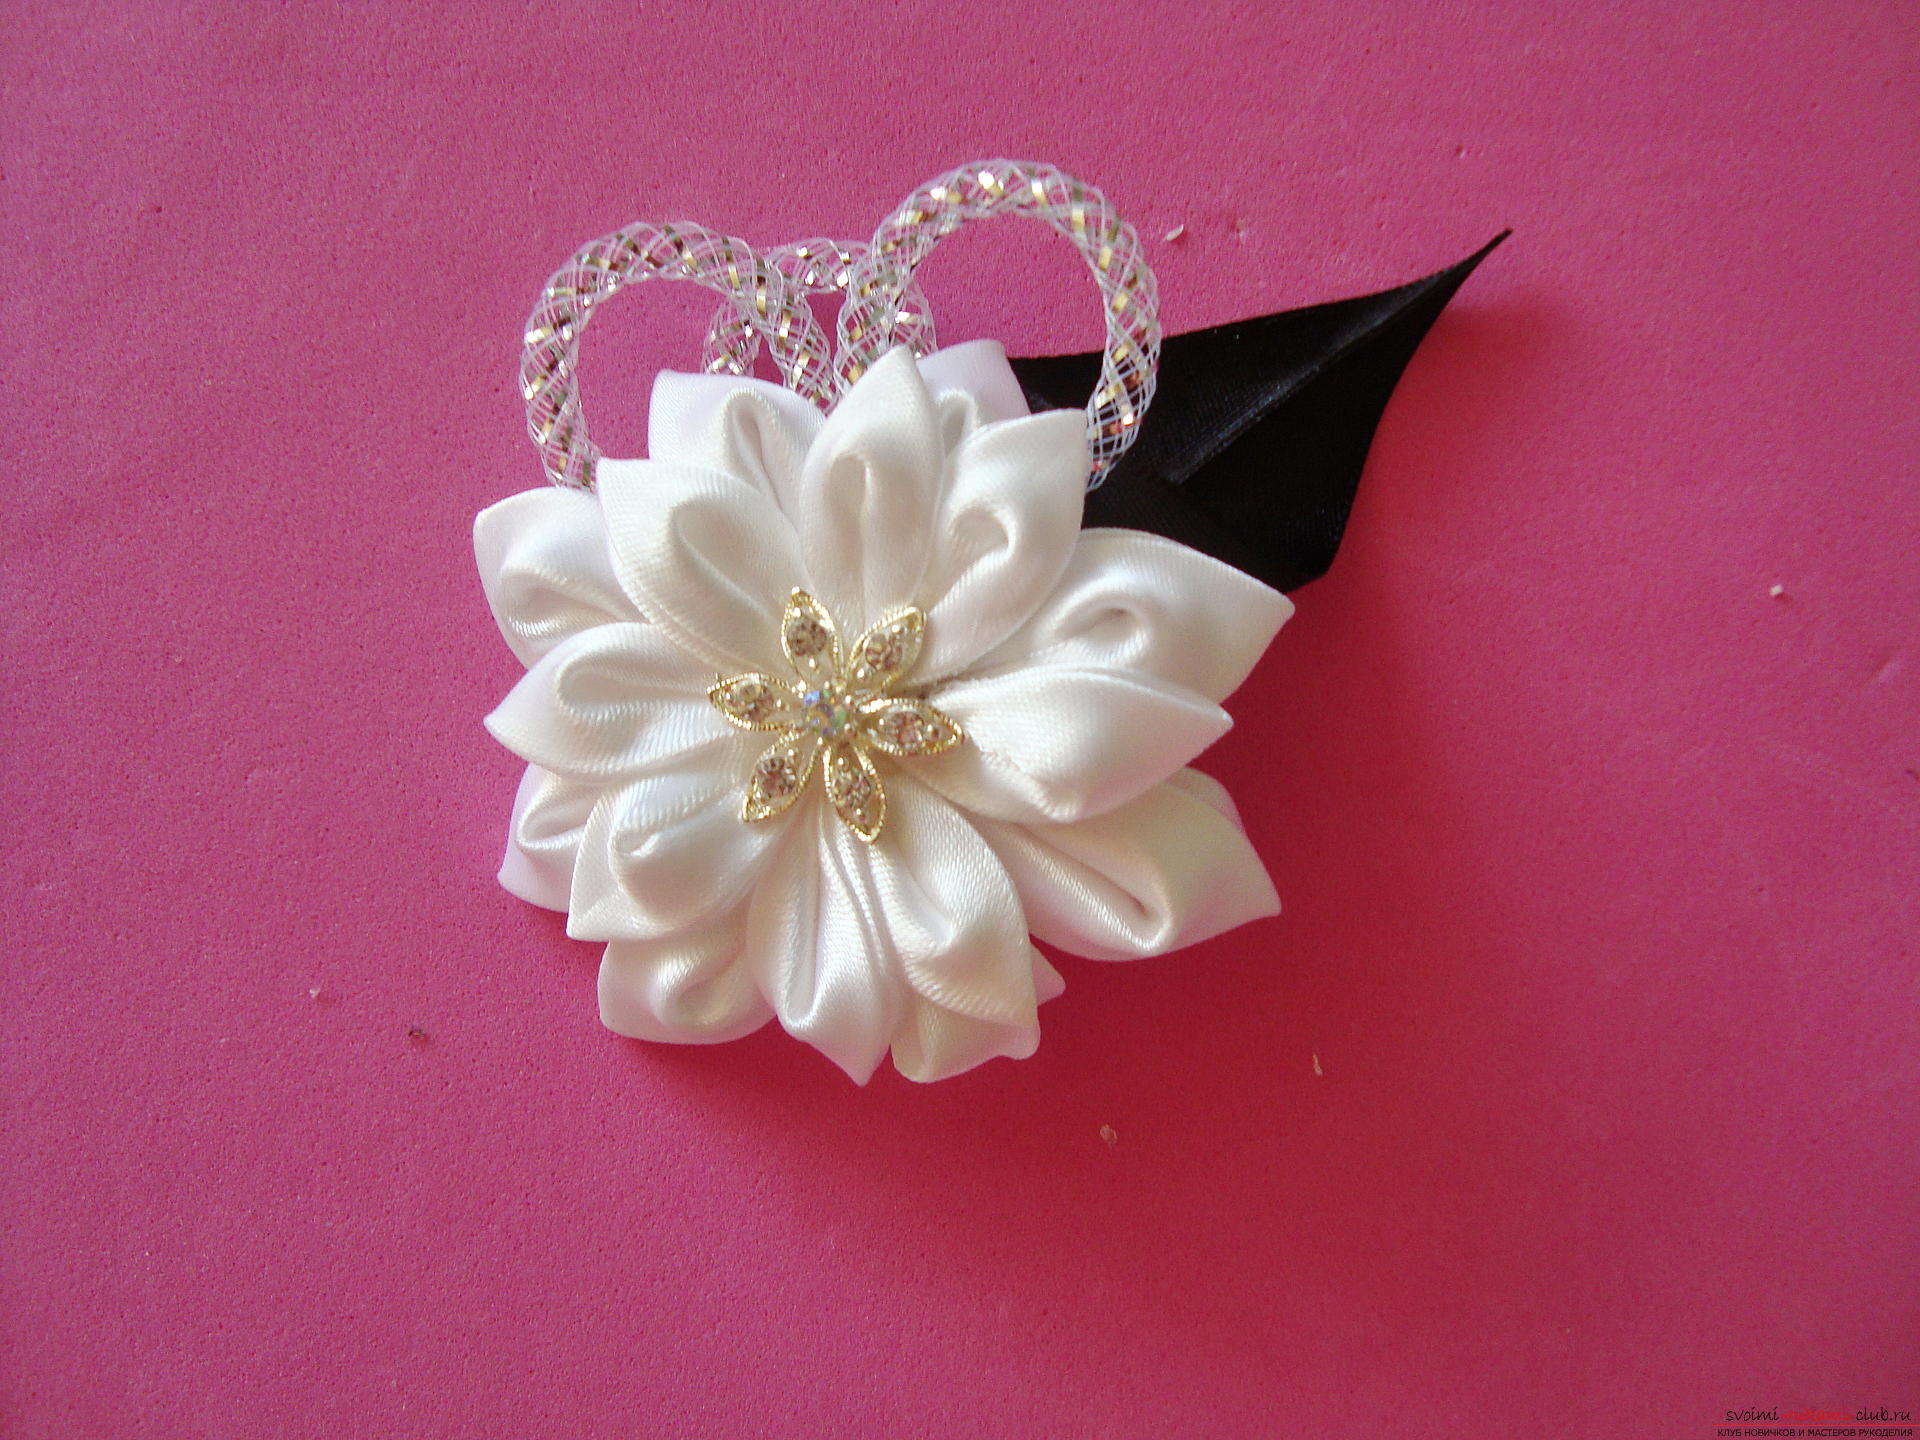 Apply the glue inside the flower and fix the decoration on the garter in the place of its adhesion.
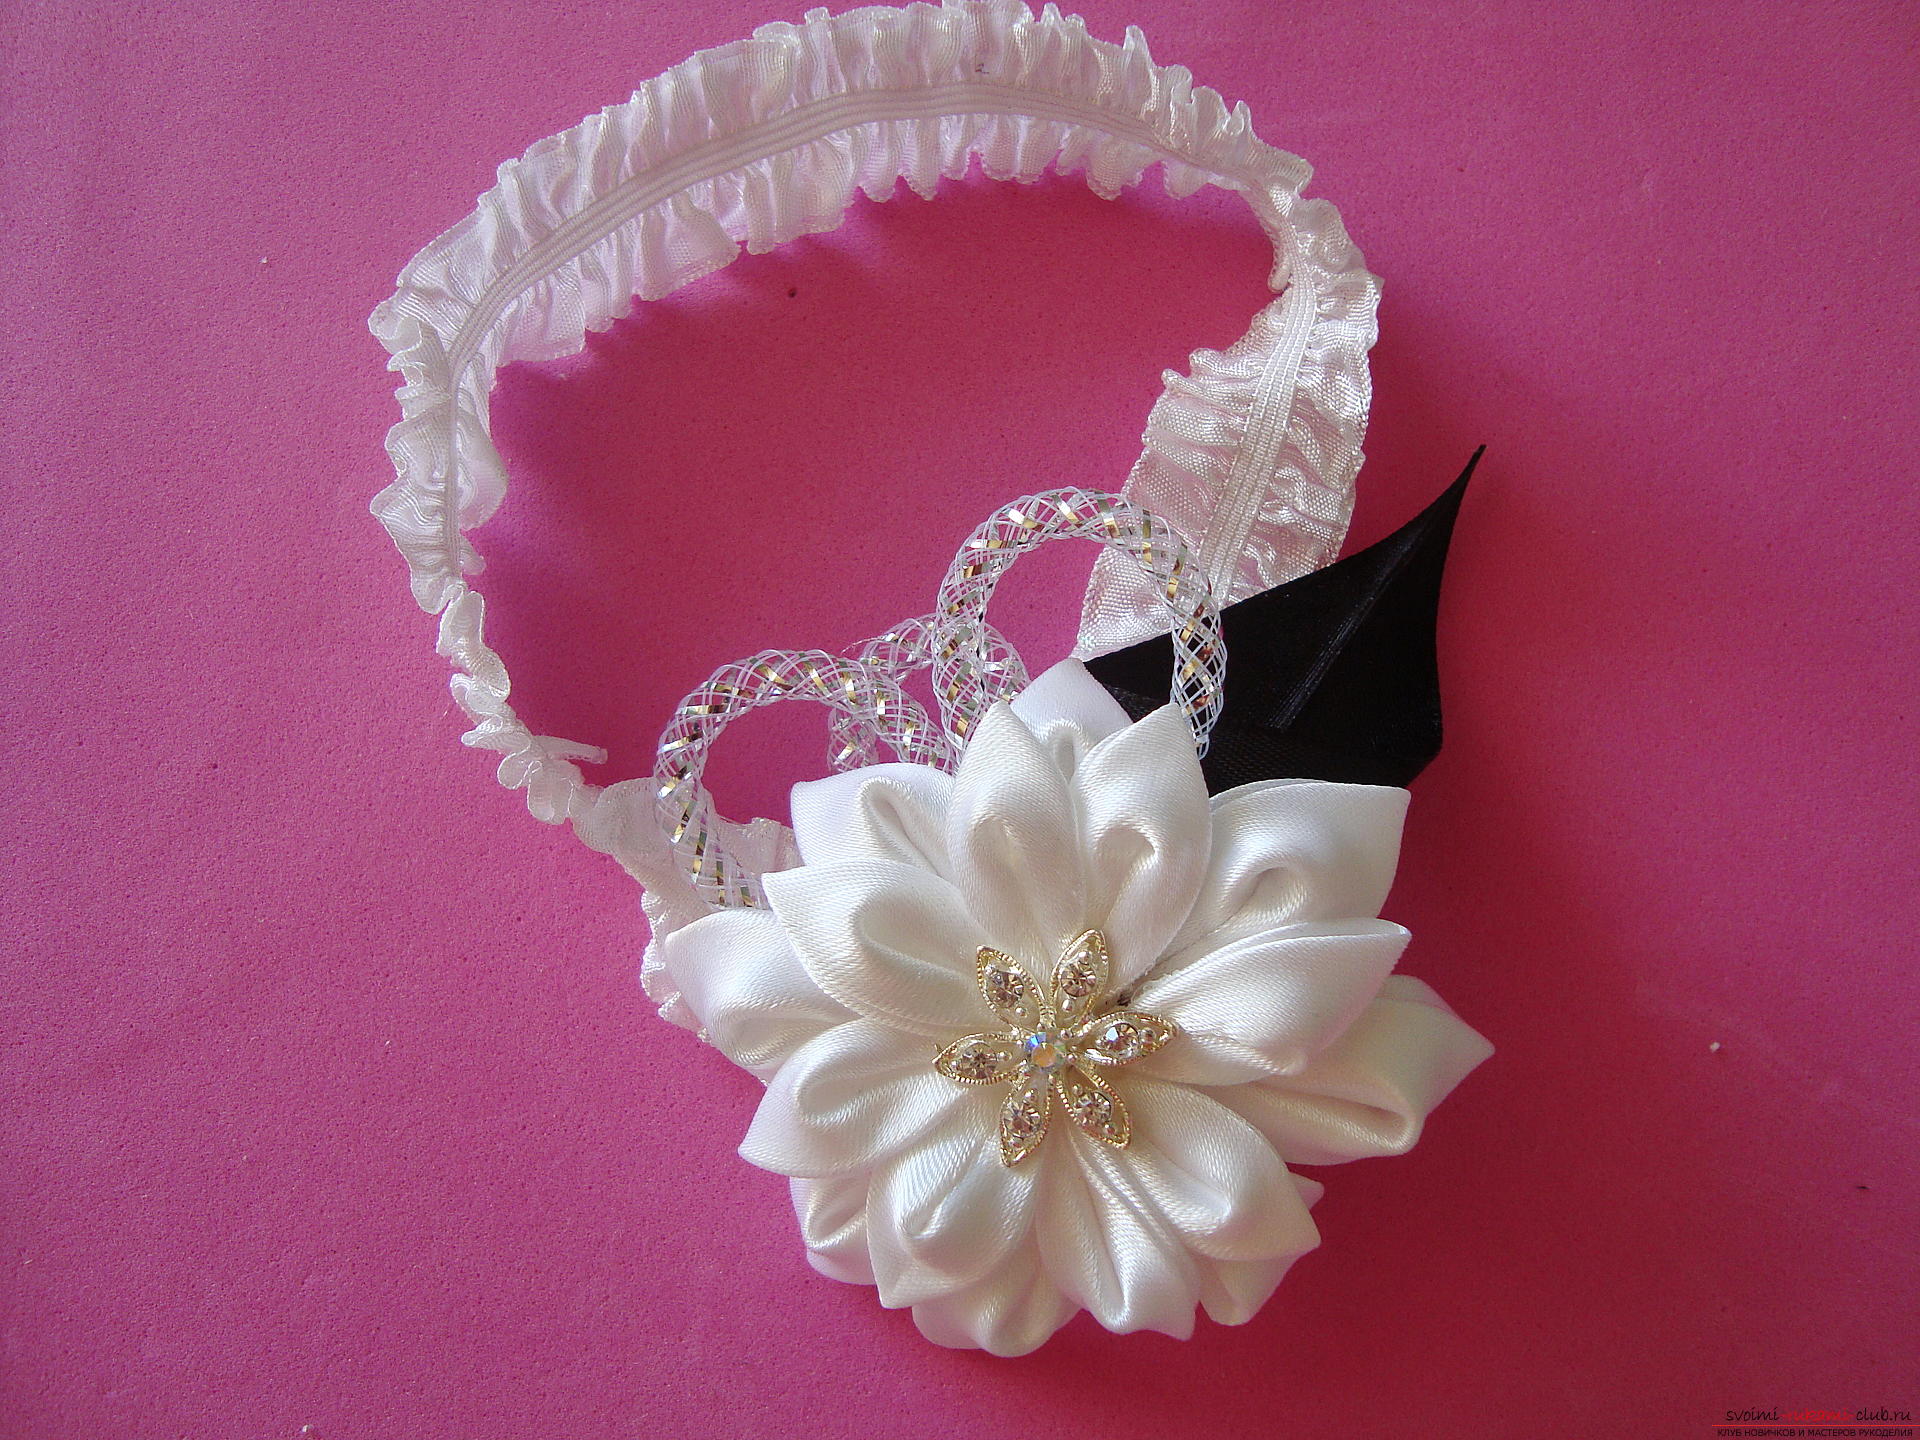
 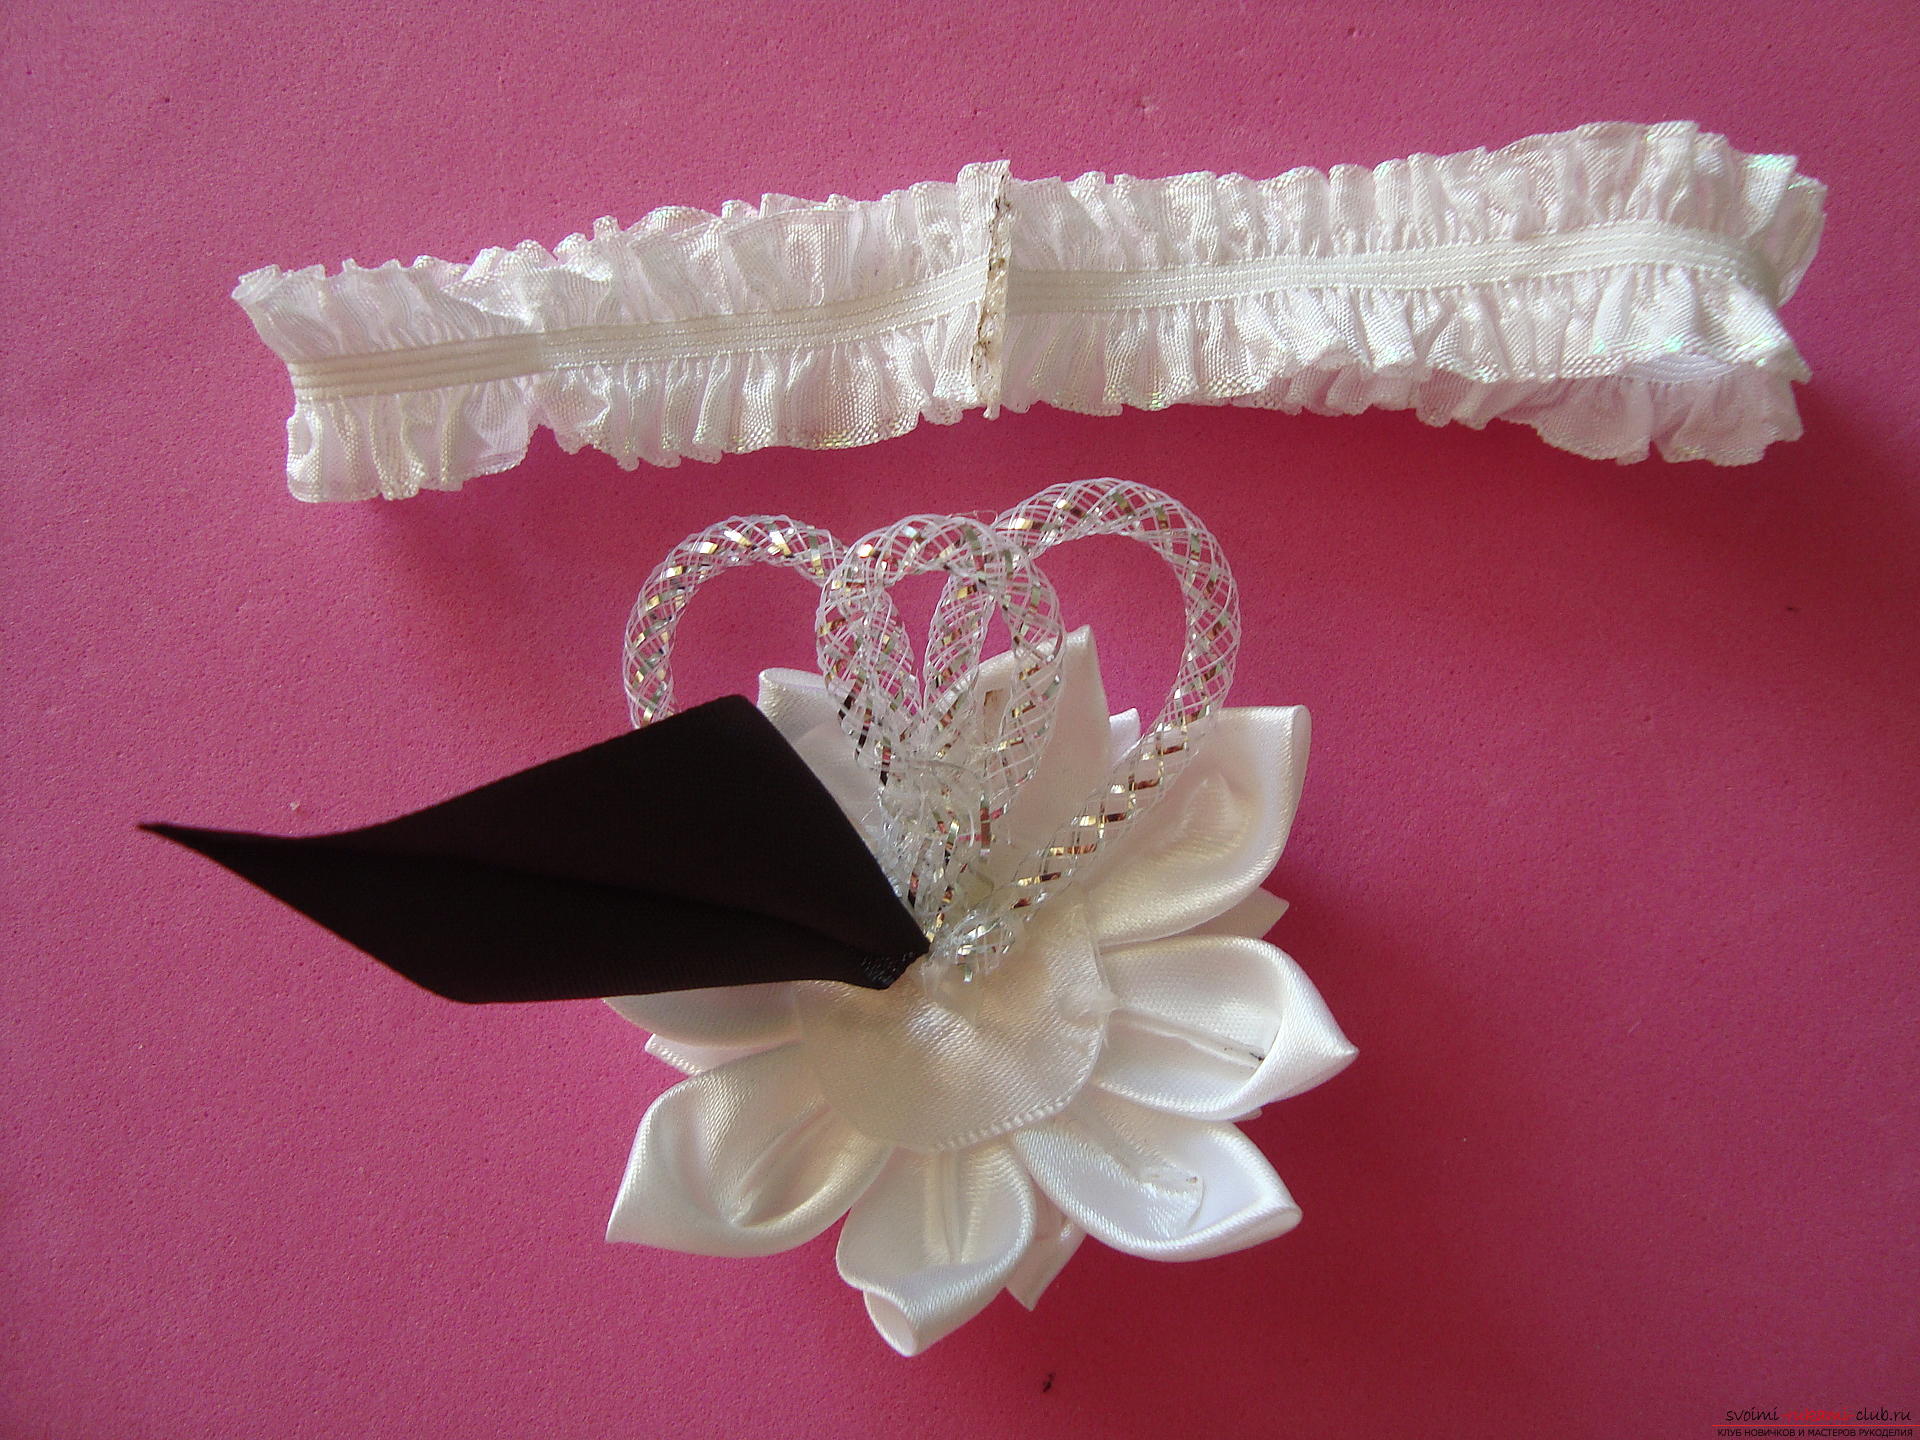 To fix the result, press the flower to the braid with your fingers and hold in this position for about one minute.
  Charming garter for the bride, createdwith my own hands, ready! She will decorate the foot of the young wife and determine at the wedding of the next culprit of the celebration. For this ritual, the groom turns his back to his unmarried friends and throws a gentle garter over his shoulder, who will catch - the next one and marry.
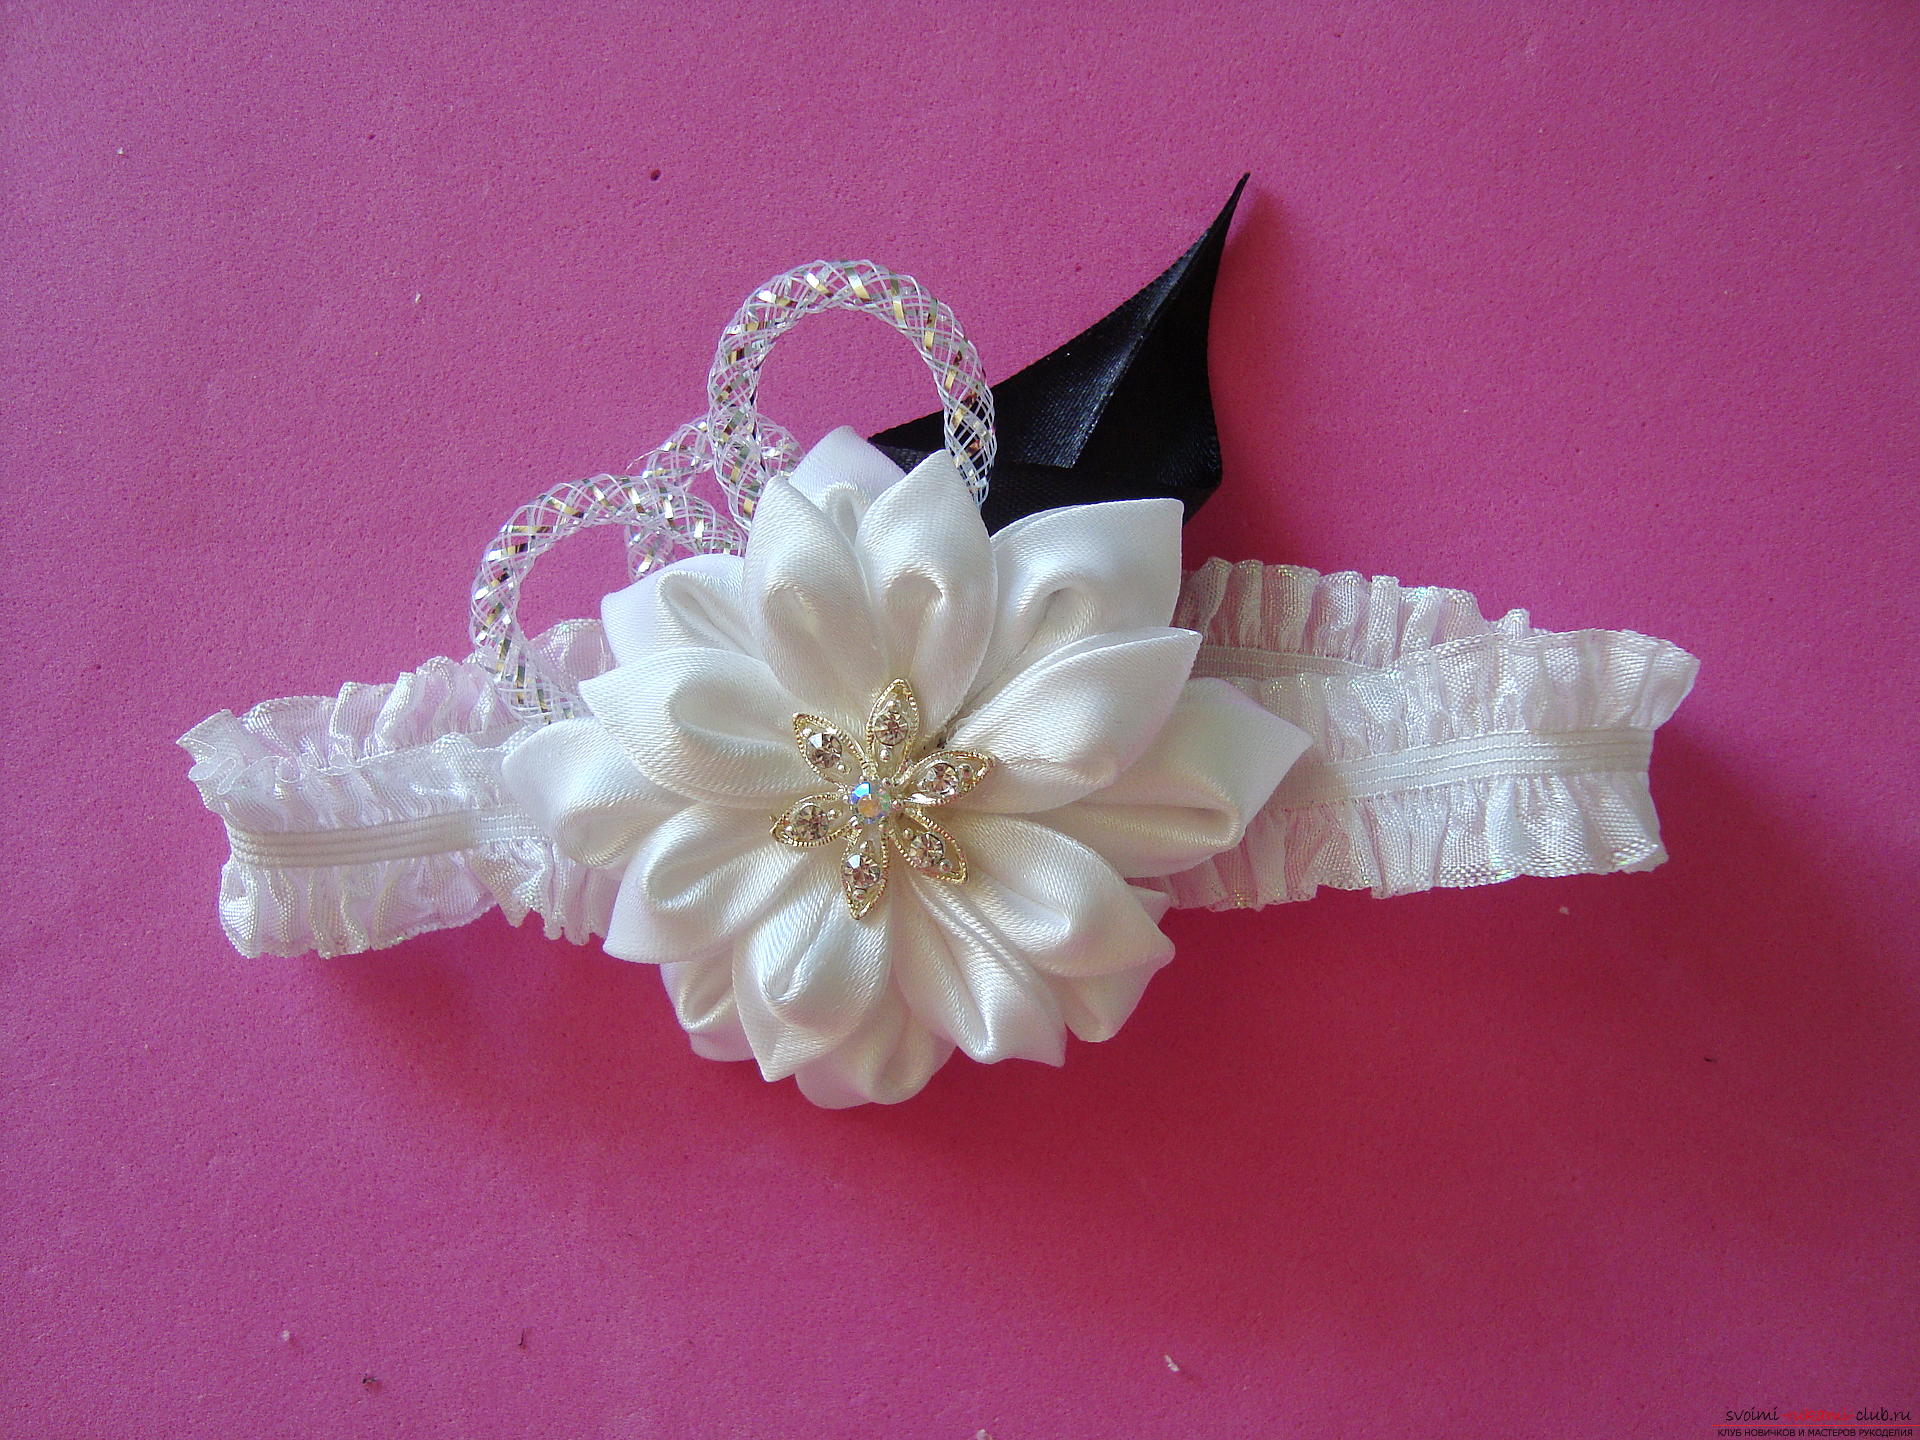
Comments
Related posts:
 Master classes for the manufacture of beautiful crafts for the New Year 2016 with their own hands with photos and step by step instructions.
 This master class will teach you how to make a topiary with your own hands using a photo and a detailed description.
 Master class on creating roses from Atlas in Kansas technique with step-by-step instructions and photo
 Master-class with step-by-step guidance and photo-instructions for making a decorative candle made from coffee beans
 Master-class with step-by-step photos will teach how to make flowers from Fahmiran with your own hands