
Master-class on making a sweet bouquet of candies for Teacher's Day by own hands
In our time, teachers are spoiled by attentionparents, mother and father of each schoolboy try to present an unusual bouquet. But roses, mimosa, orchid, etc. - were presented to the class teacher more than once, so there is a serious choice before the created gift. The original will look a bouquet of chocolates, each of which is wrapped in corrugated paper by the type of a flower. Such a gift will remain on the teacher's table for more than a week, and tasty candies from the core of flowers will cheer the teacher. 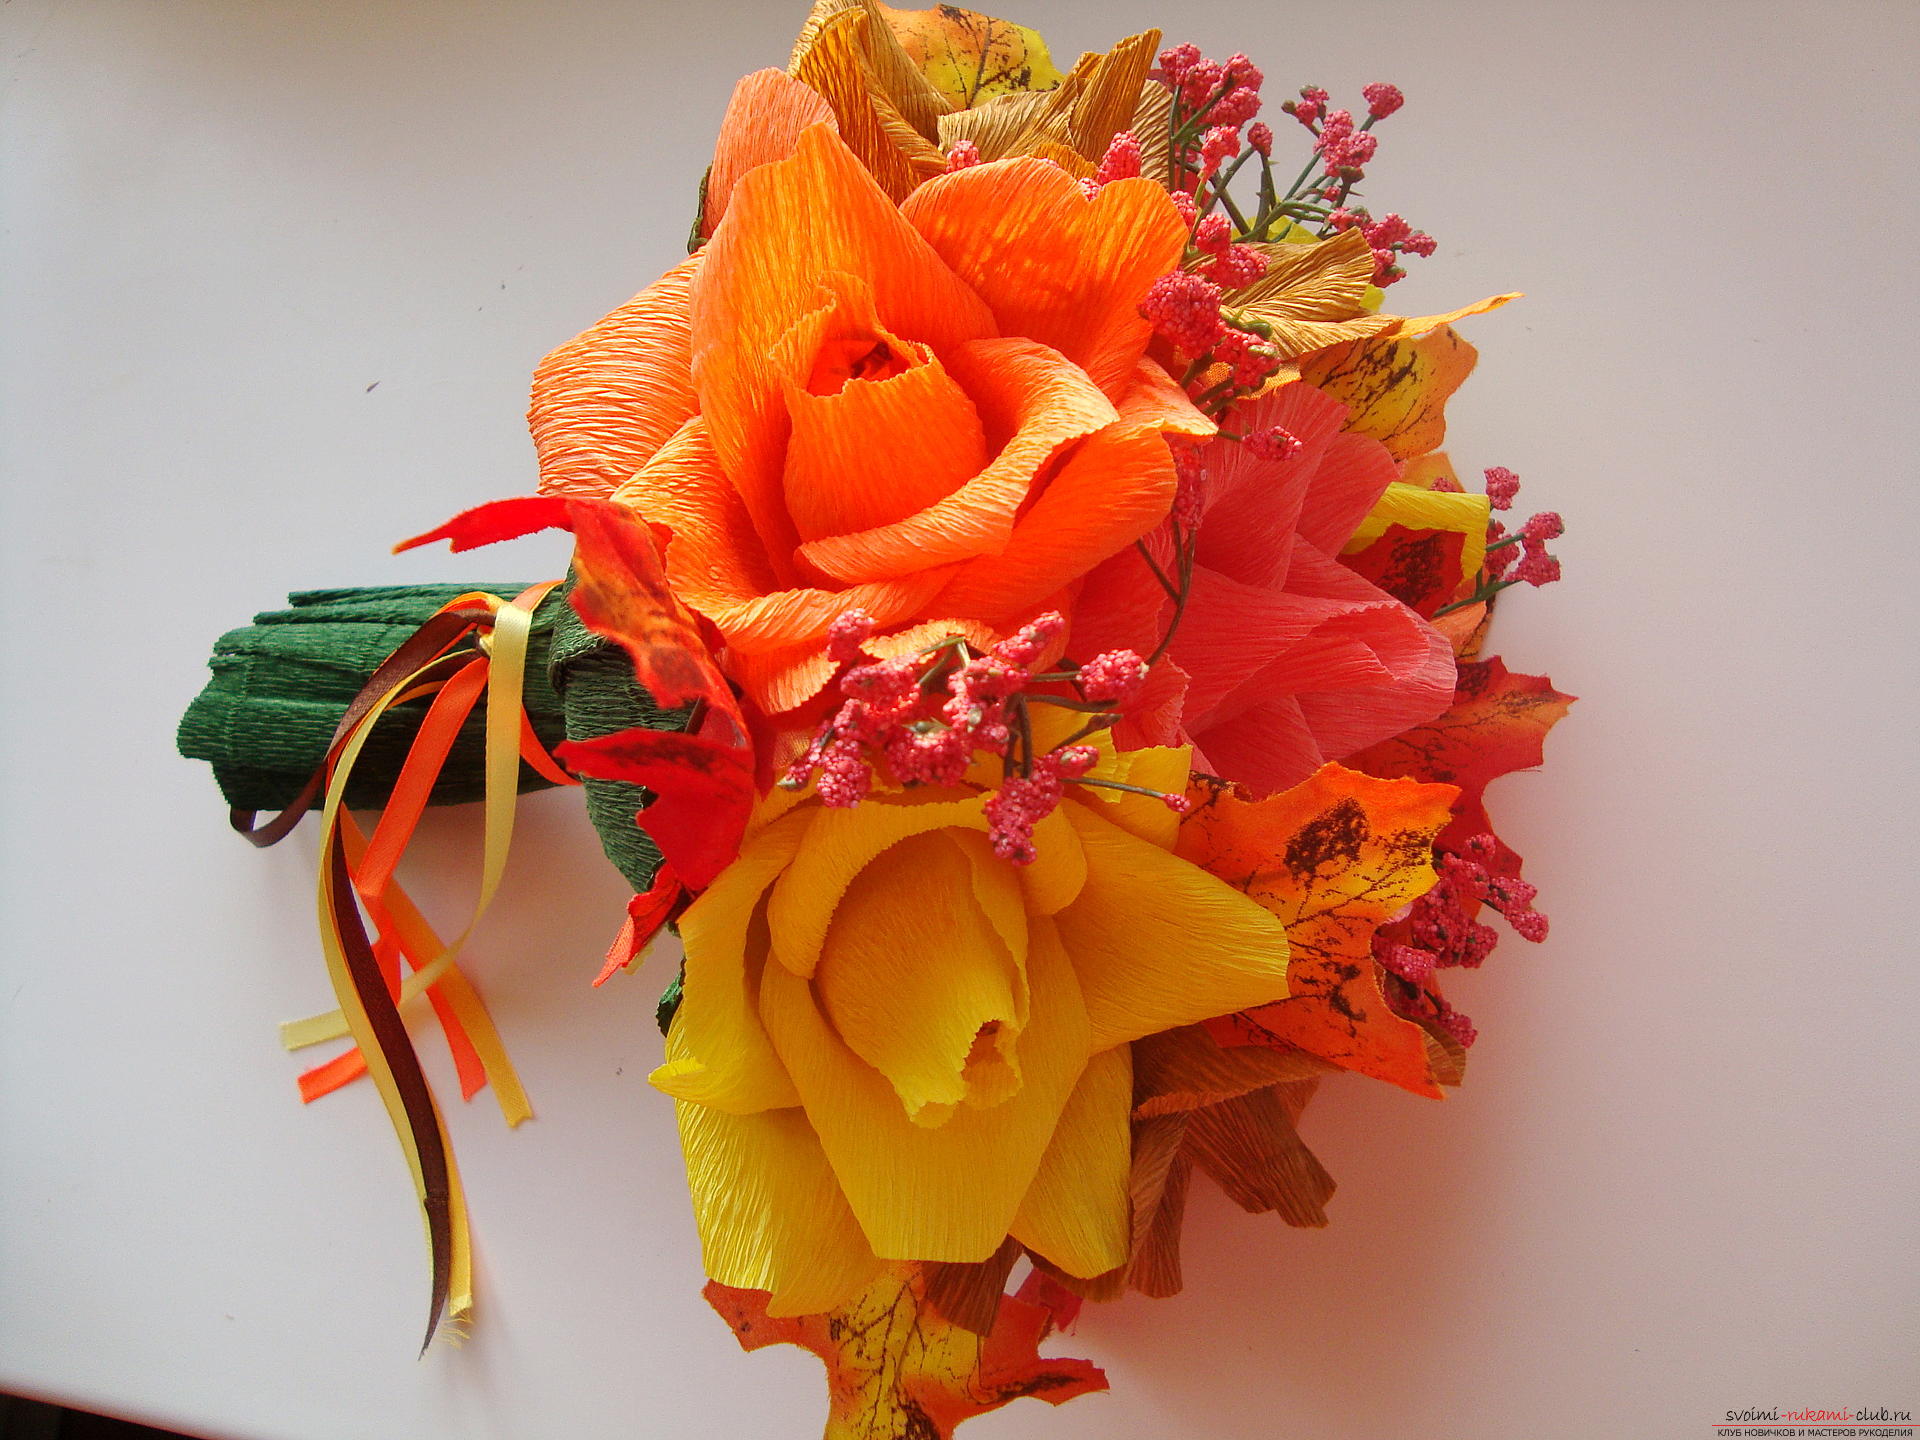 To make a chocolate bouquet, prepare:
For this bouquet, roses are used in differentcolors. For each flower, a sheet of corrugated paper with a size of approximately 20 by 10 cm is required. The number of cuts of paper corresponds to the number of colors. In a bouquet you can combine several colors or use a double palette, many bouquets look great in a one-color performance. First, we cut out the petal of the future rose. It has a size of about 7 cm in height and 5-6 cm in the wide part. The lower base of the petal should be straight, and the top of the workpiece - dome-shaped. You can cut out one template from the cardboard and traverse all the details on it. Experienced craftsmen often cut out petals without a pattern, but adhere to the same size. 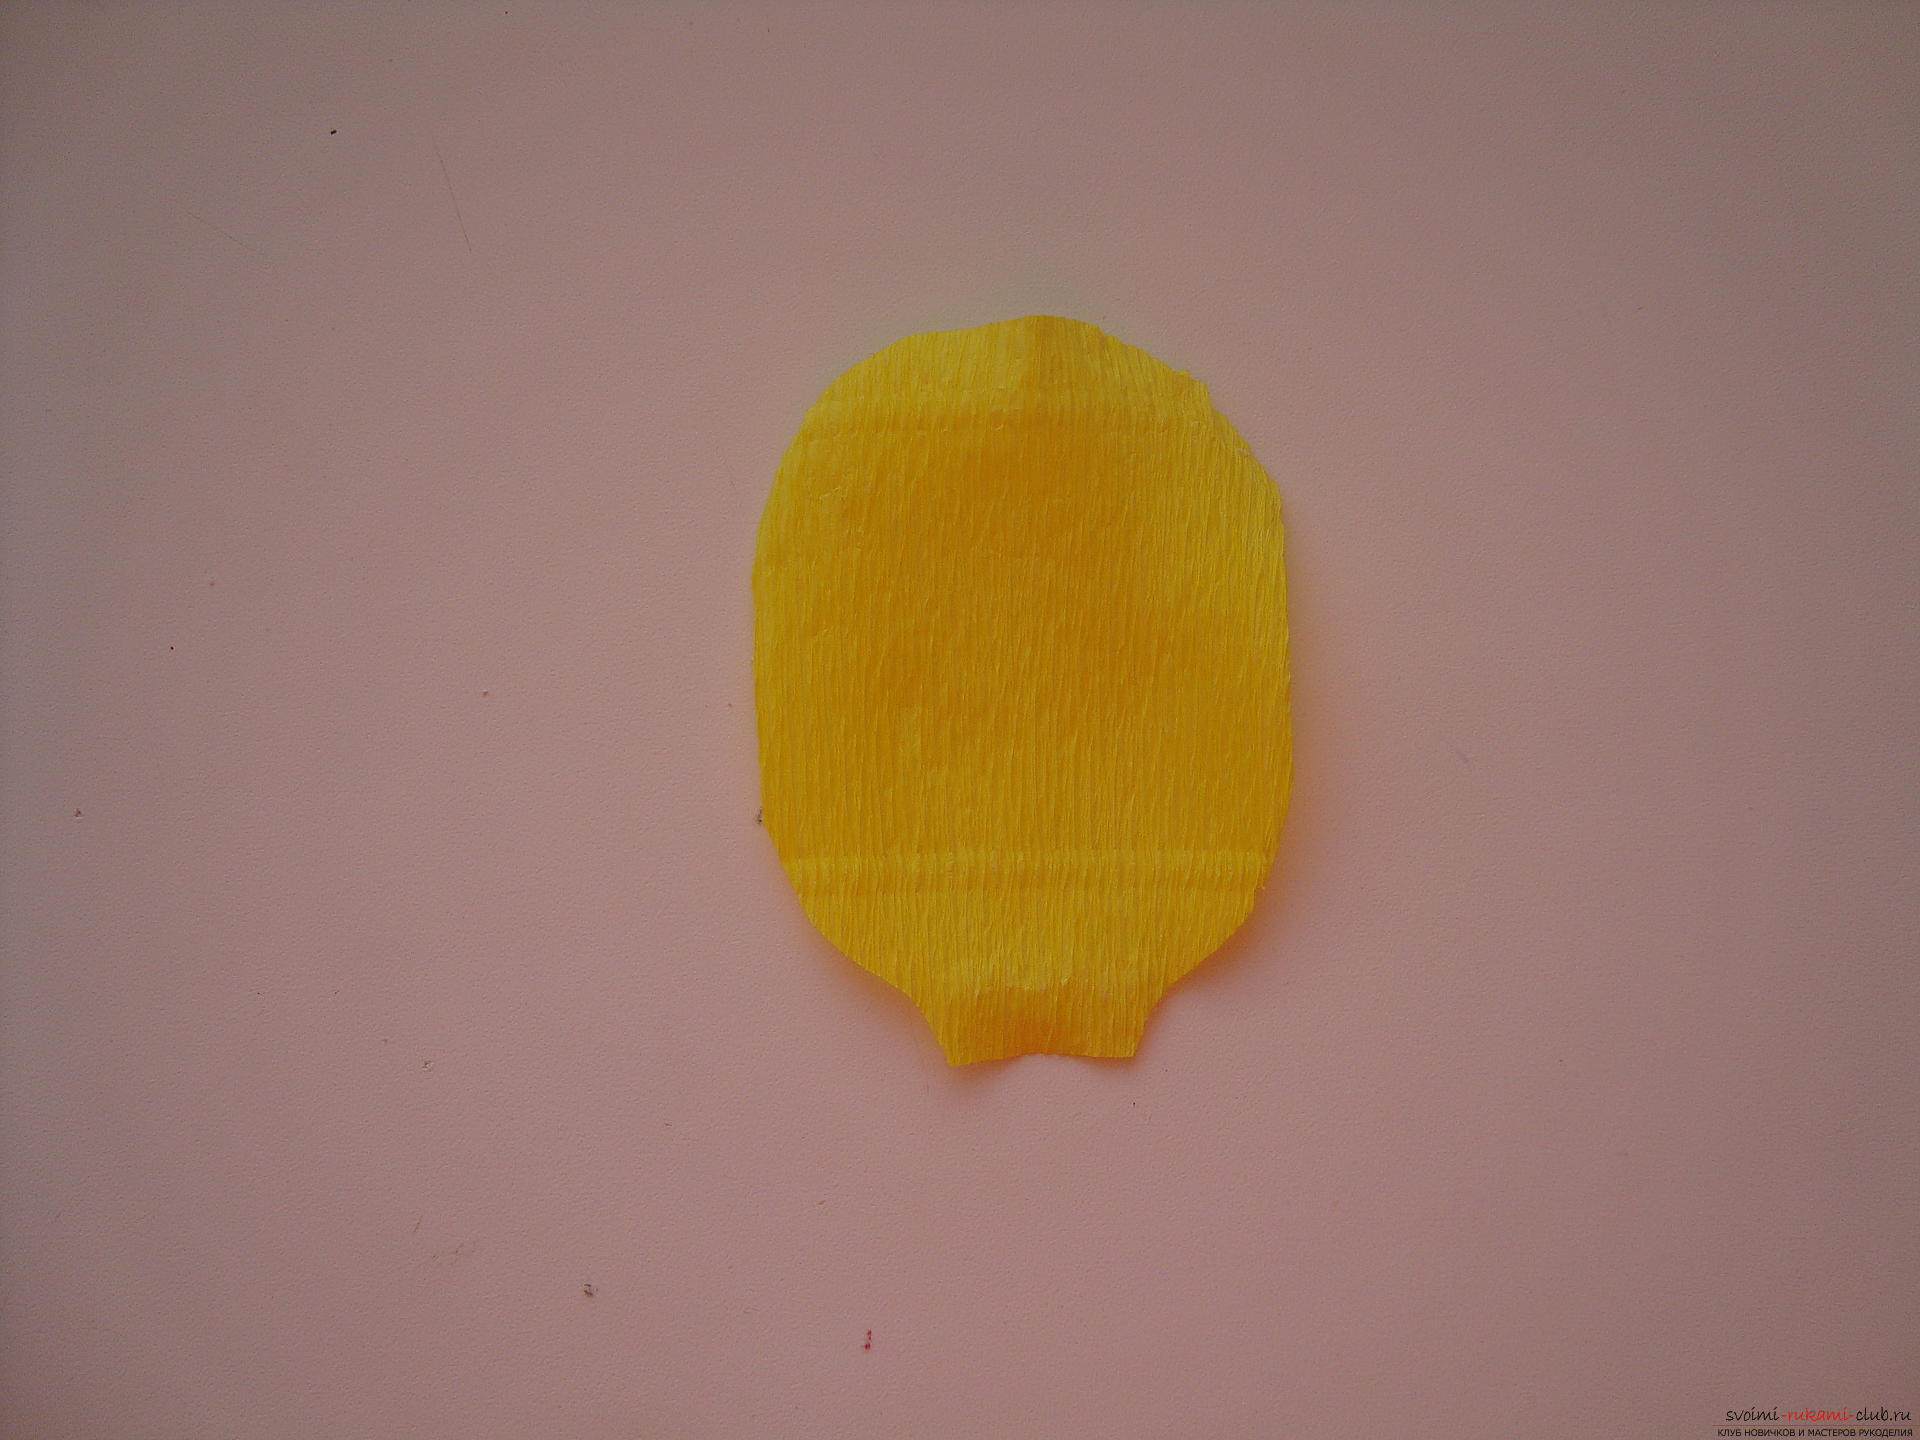 For each flower, one petal is requiredfor the bud and 7-8 elements for creating a lush inflorescence. Create the same items from all the paper blanks of different colors. To make the shape of the part identical to the living petal of the rose, it is necessary to twist the side parts of the workpiece.
 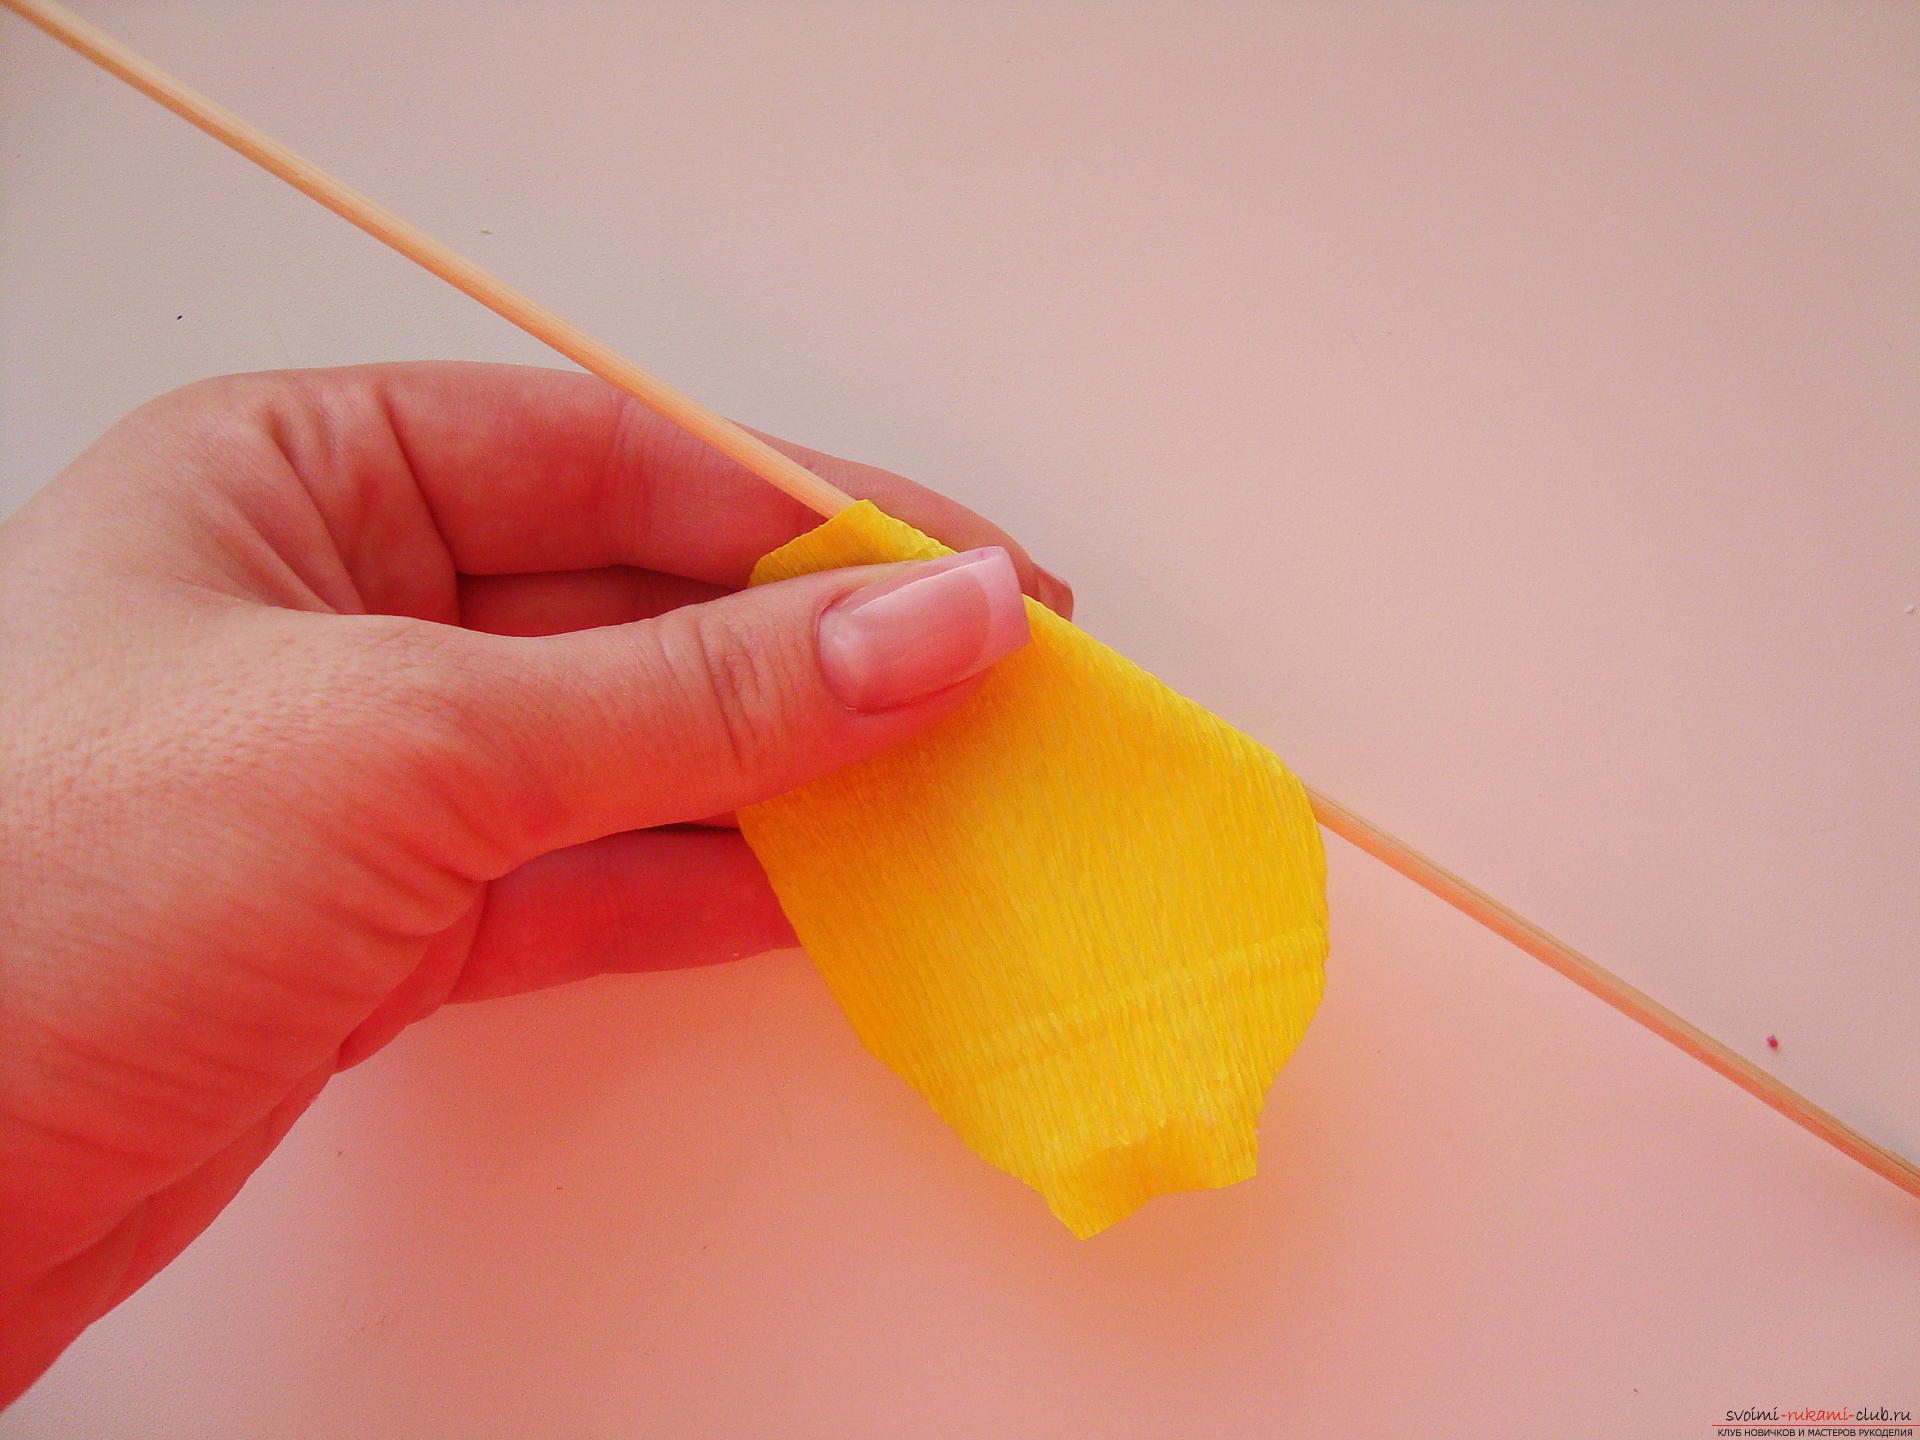 To begin with, skew 1-2 turns from one side of the workpiece, then twist the other side of the petal, but it must be symmetrical to the first bend.
  At the last stage, the upper part is formedthe dome of the workpiece, it also winds on a small stick. It is better not to use a toothpick, it is quite small for such petals, and the work will not spin, but only will crumble. An alternative to skewers can serve as a rod or the like.
 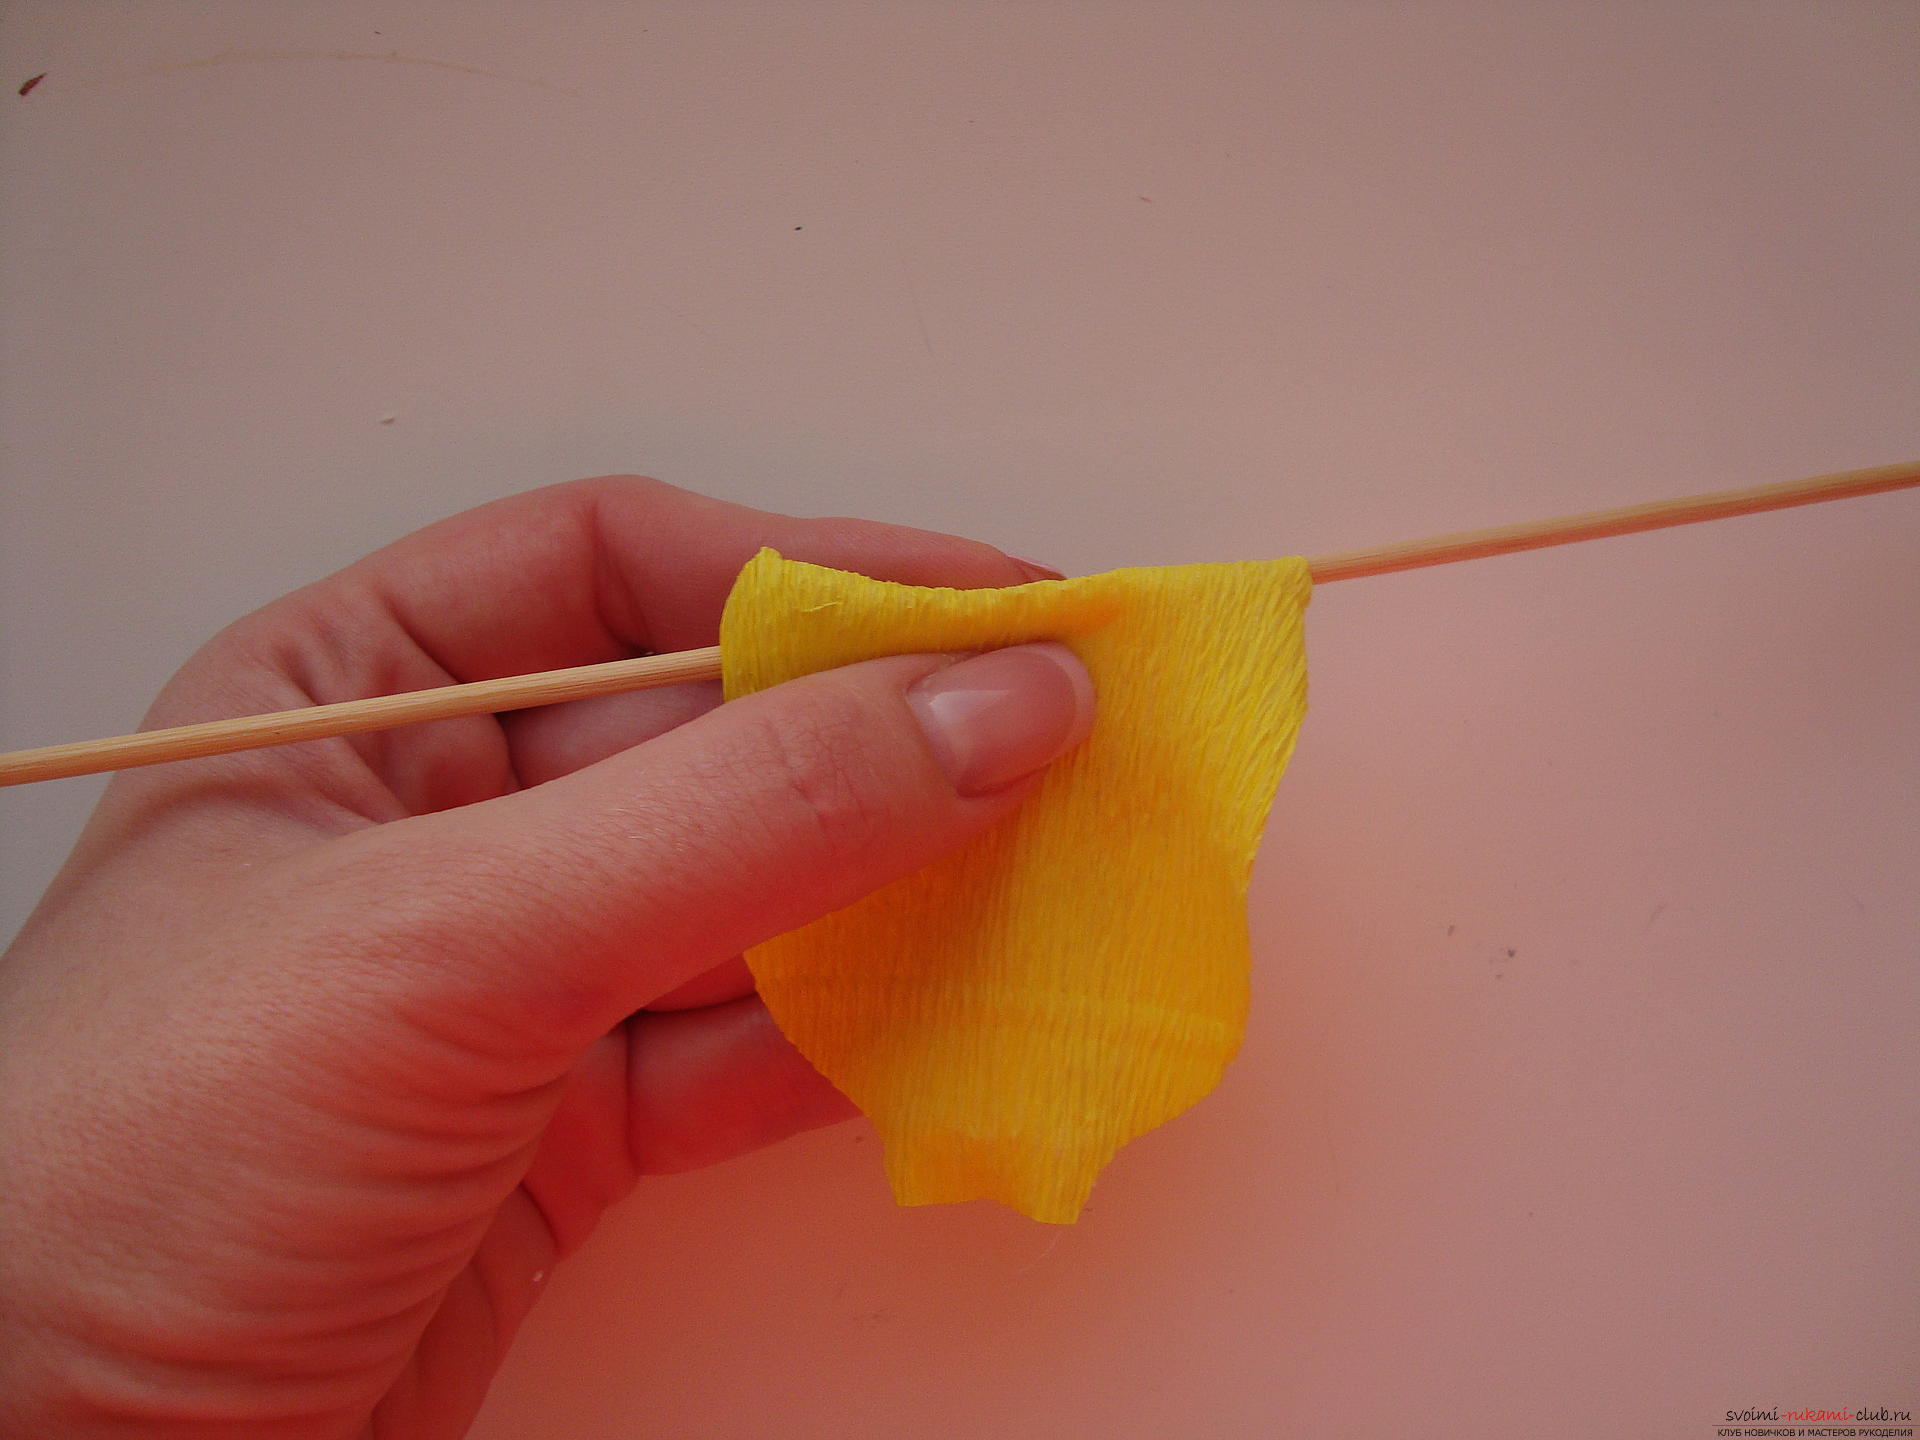 Now take the wire or skewer thatcan serve as a flower stem. On the top of the stick drop the glue and immediately attach the base to the candy. Now you need to form a rosebud. To do this, take one petal, which was not given a bent shape, and wrap it around the candy. The base of the part is necessarily smeared with hot melt and fixed to the flower's stem.
 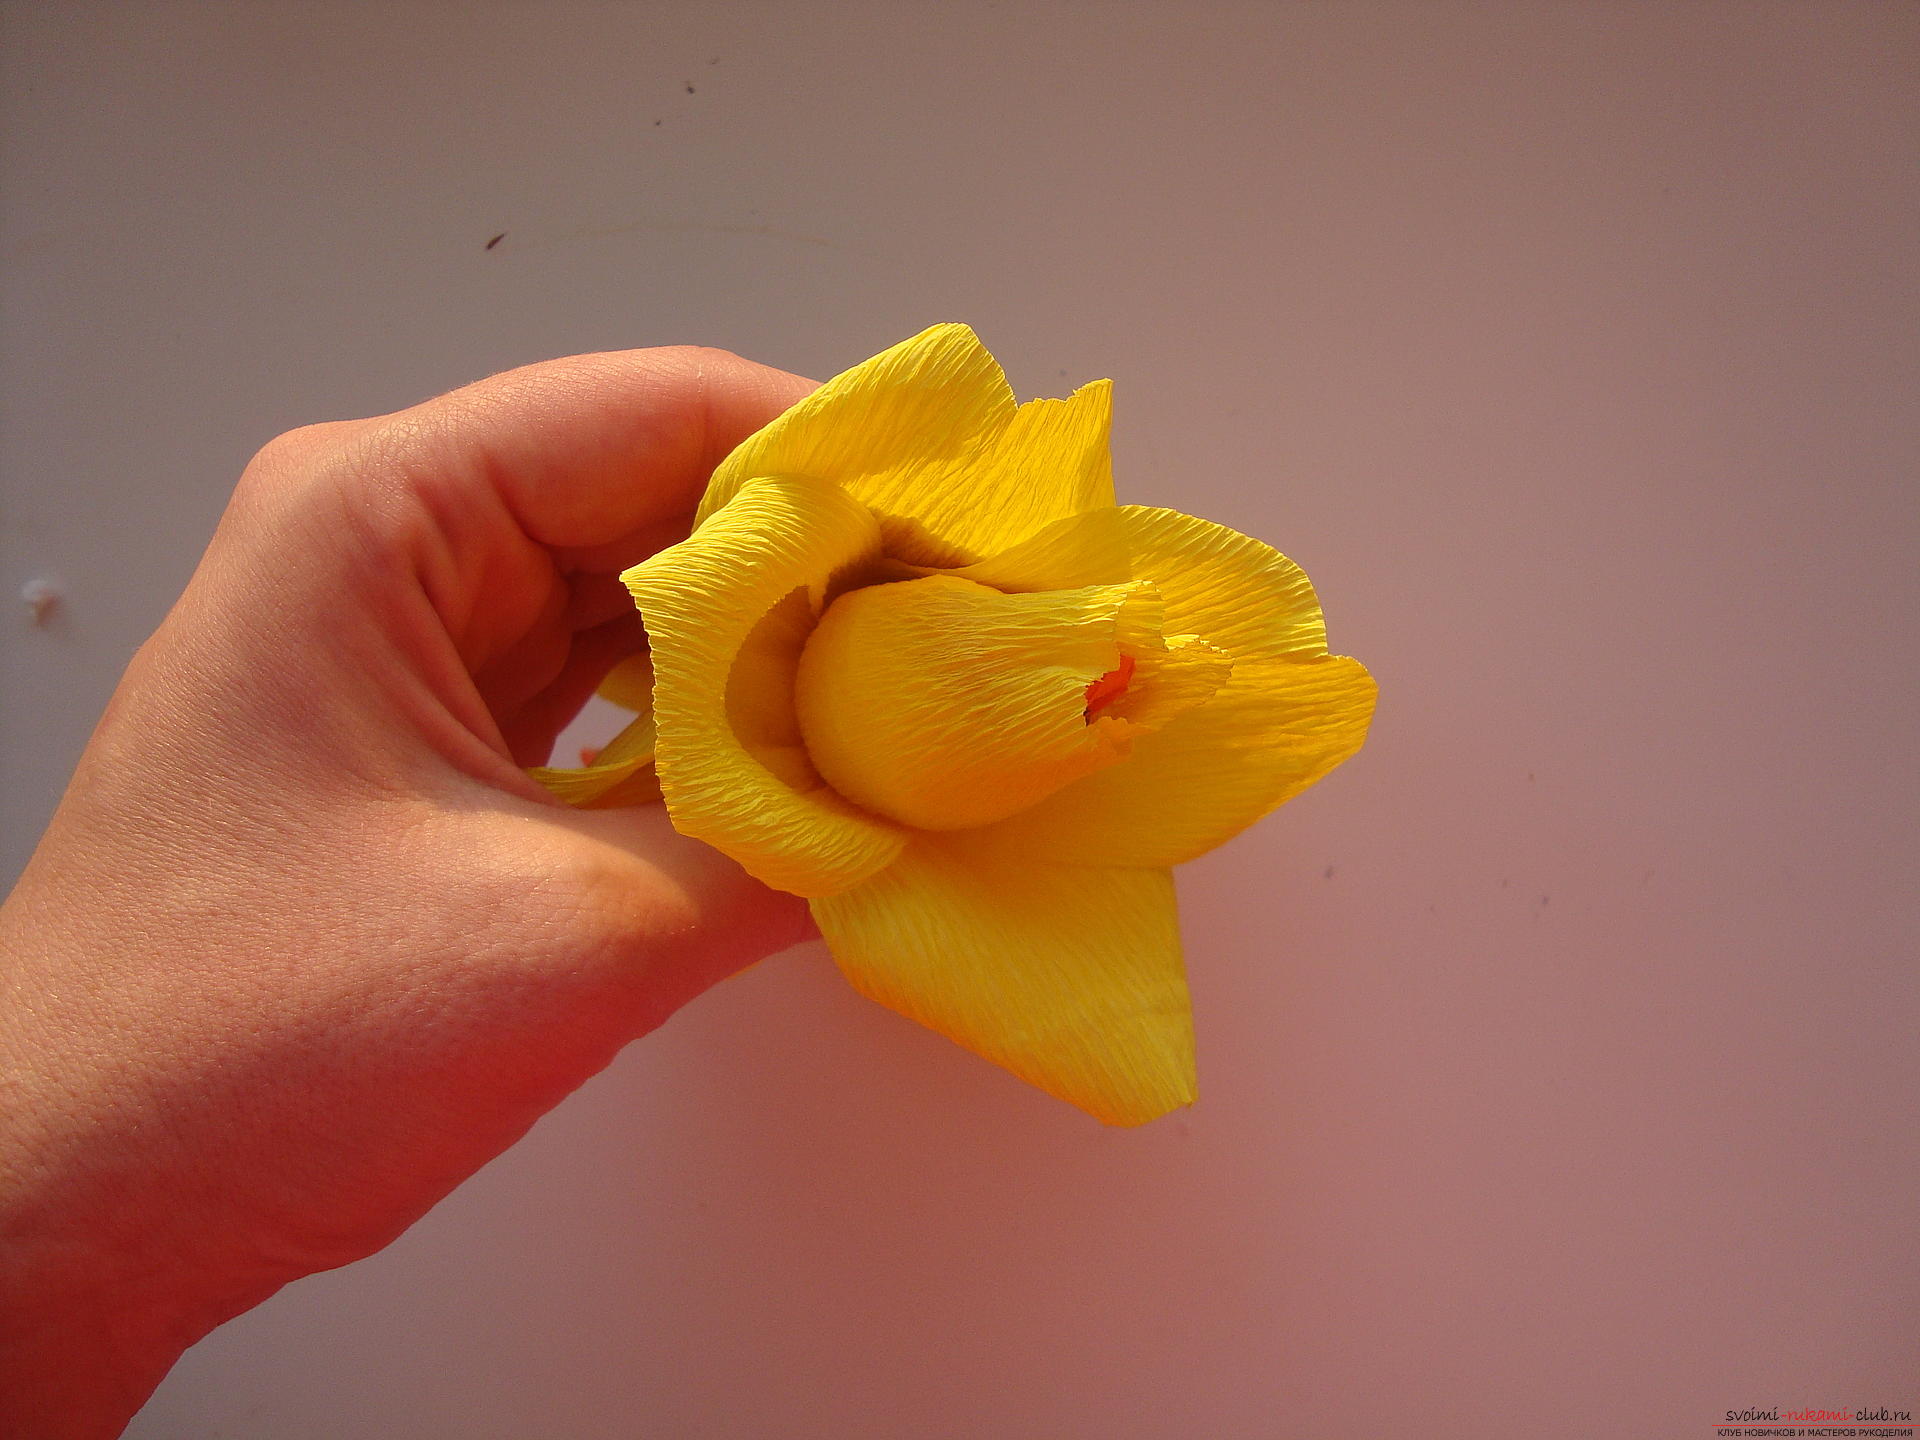 In the next step, glue two curved petals to the bud. These parts are located symmetrically. The elements are fixed with glue in the base.
 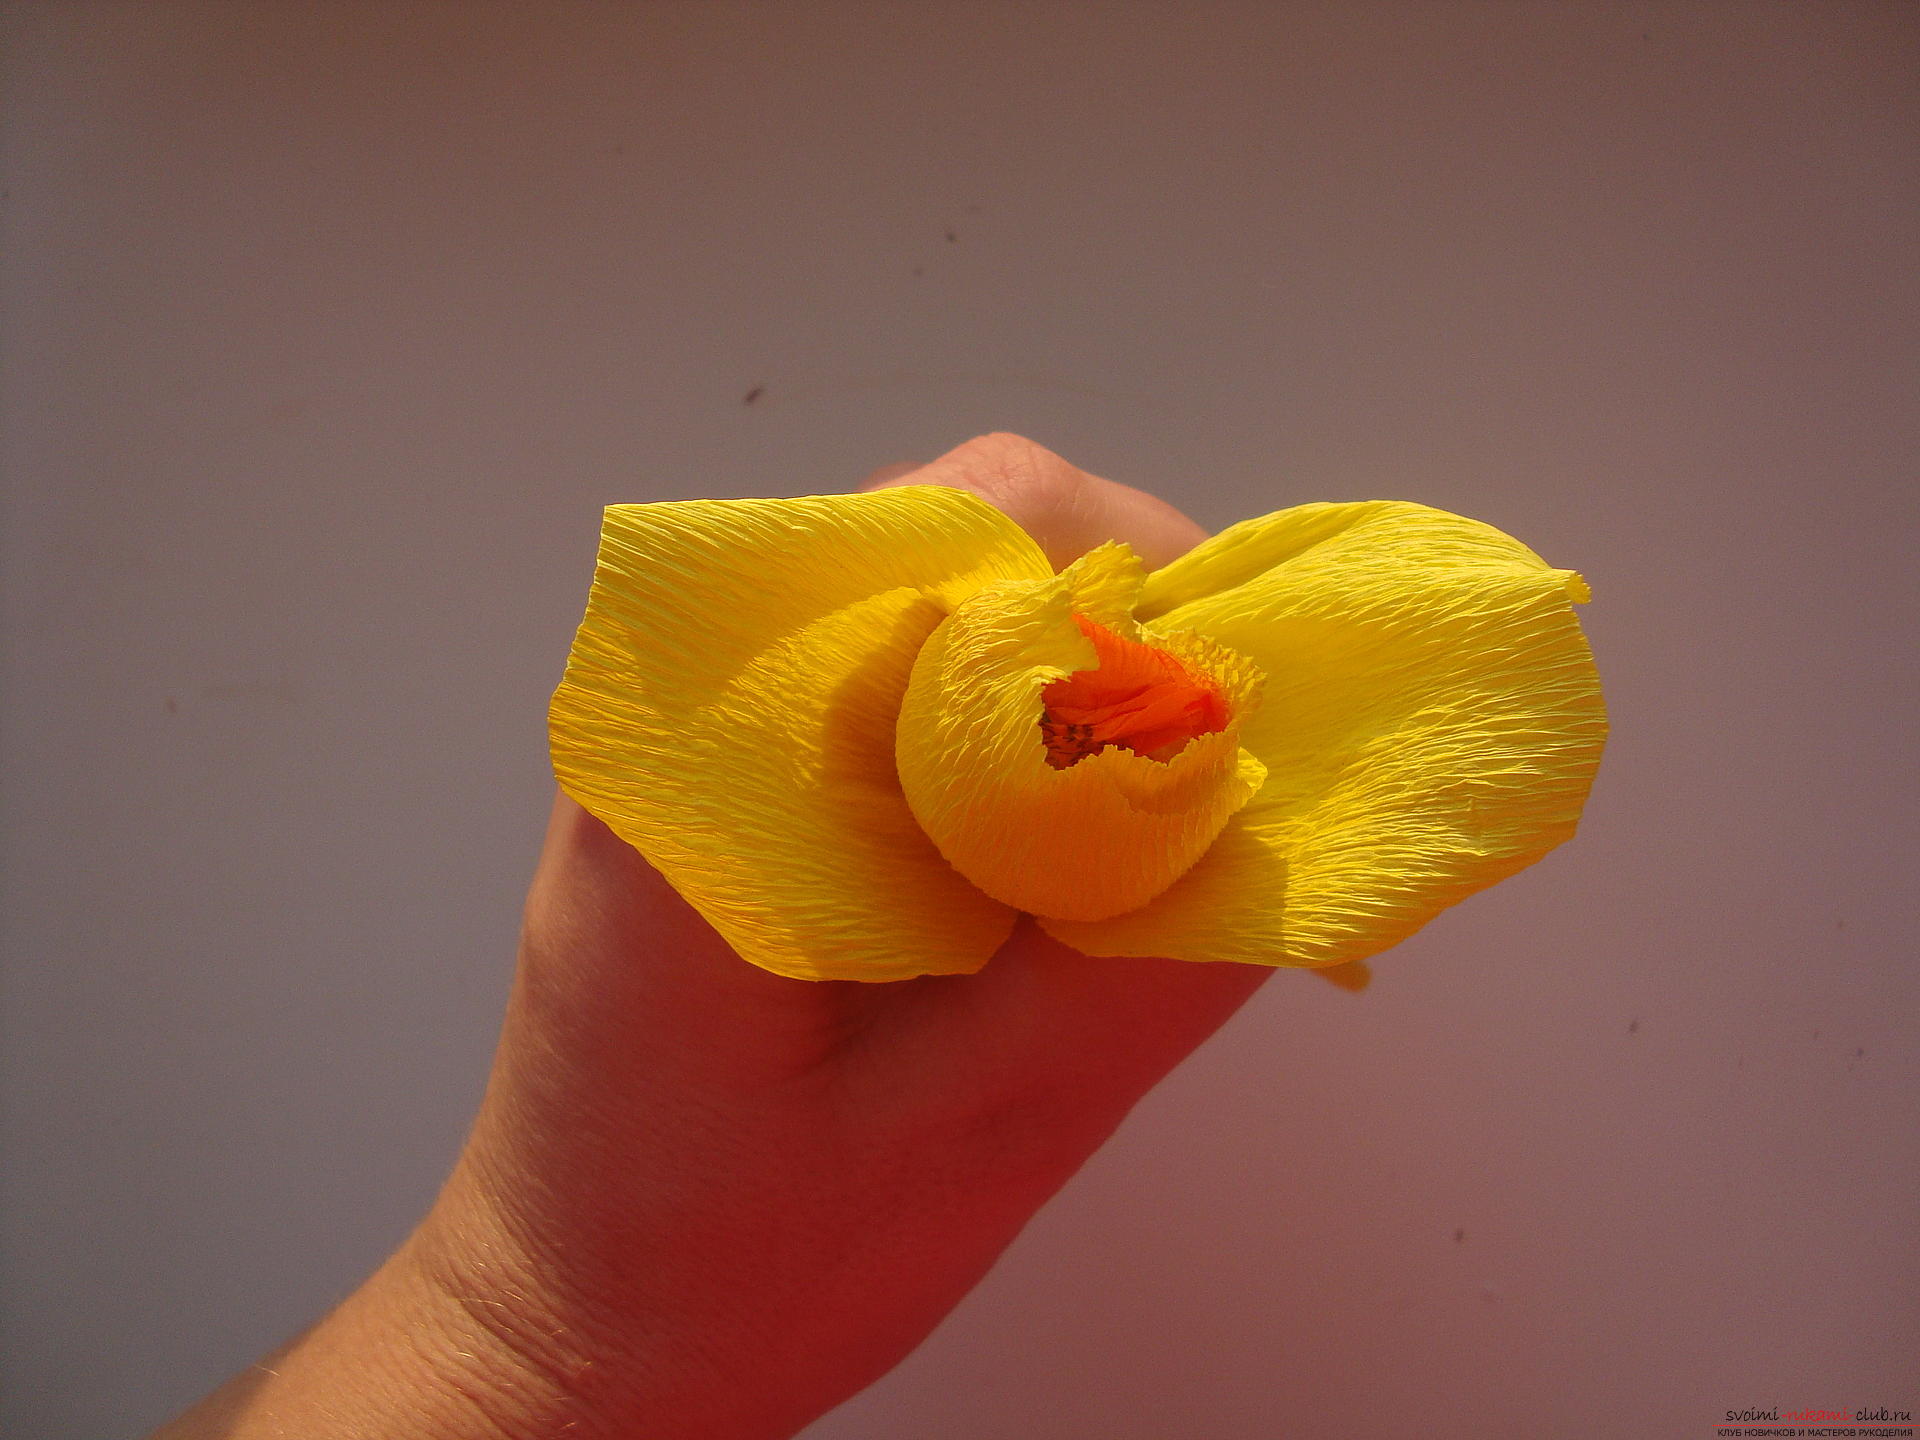 The next pair of petals is glued into the gaps betweenthe first elements and the product is more like an inflorescence of a rose. Try to straighten the petals at the bottom and squeeze the base to make a groove under the bottom of the bud, where there is a candy. Add the other petals to the third tier, supplementing the flower with a volume and making it fully conform to the shape of the rose.
 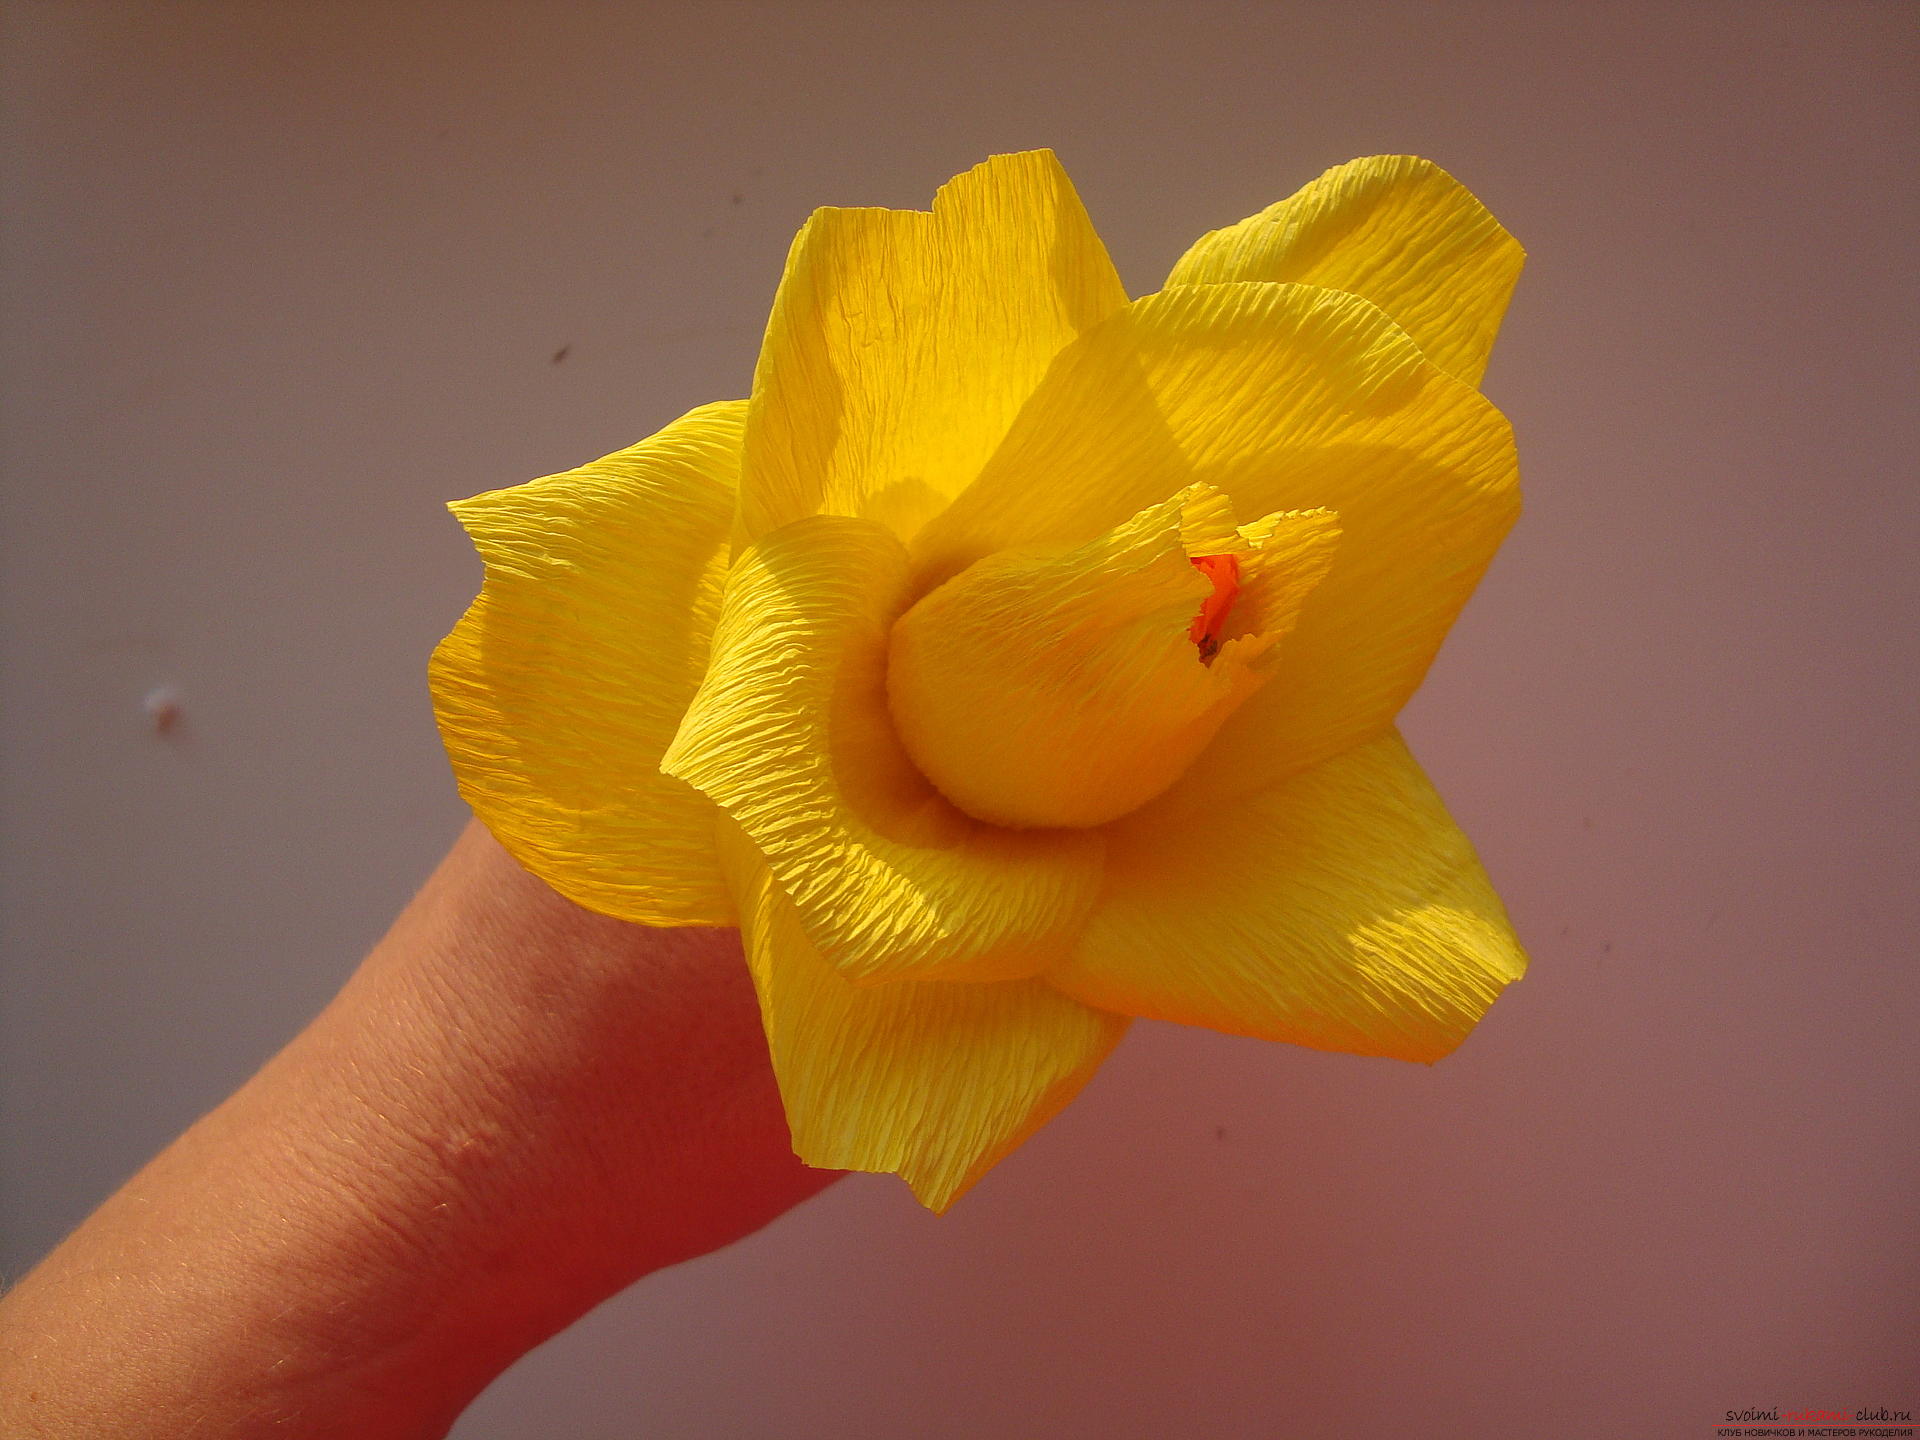 The last petal, which will be glued toflower, should be located on the outside of the bouquet and it must be decorated with an additional element - a leaf symbolizing autumn, that is, a yellow-orange maple leaf.
 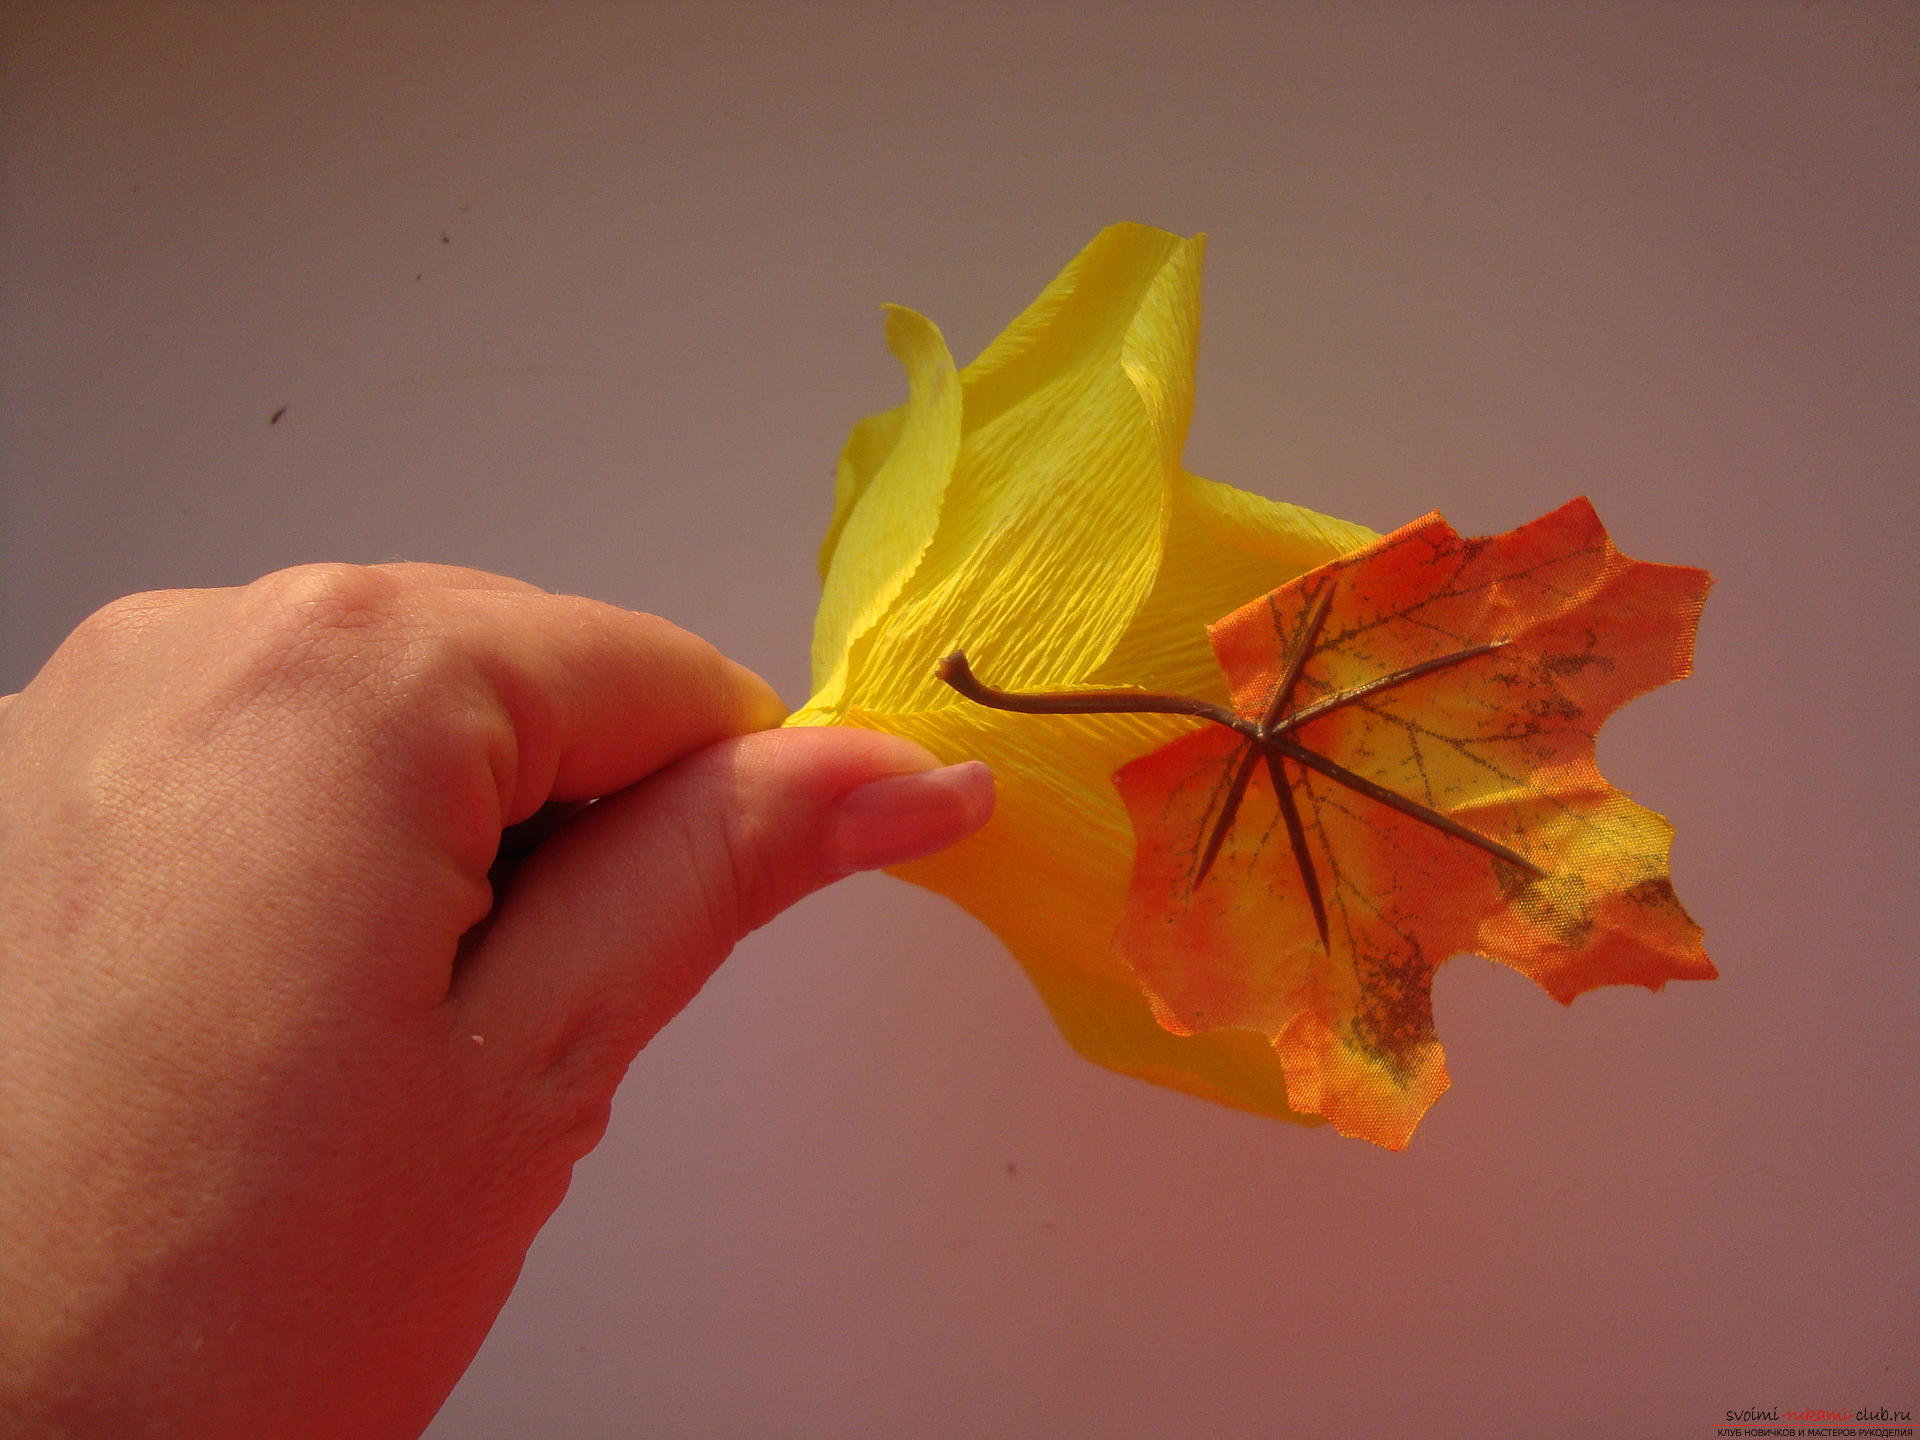 Take a round base of foam or anothersimilar material and "plant" flowers in it. First center the main rose, then place the rest of the inflorescence in a circle, filling the entire central space.
 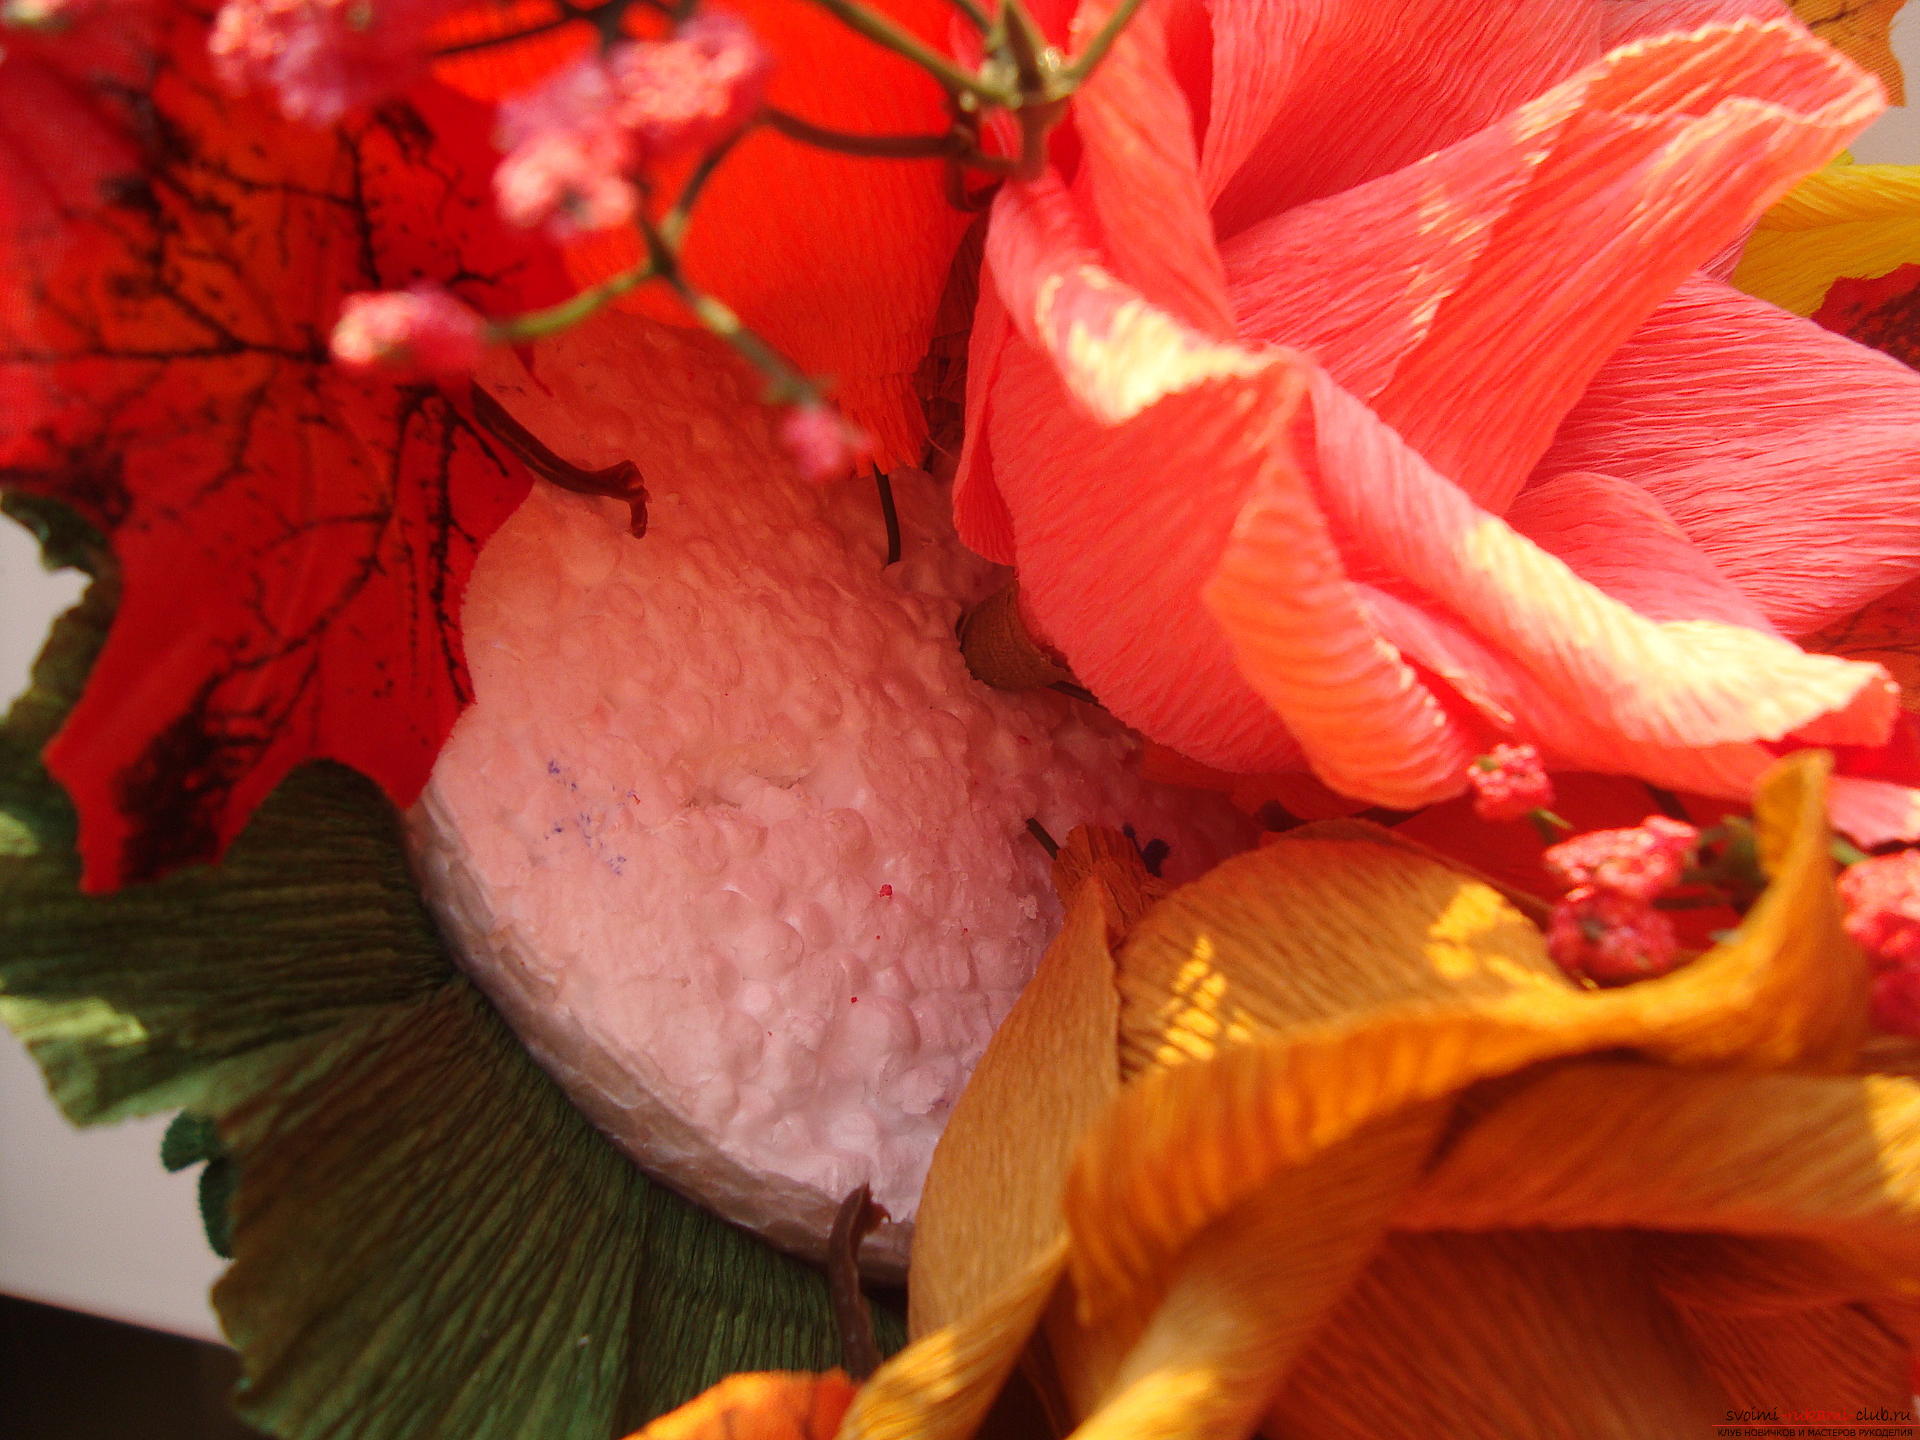 The space between roses can be embellished with artificial berries or leaves. Try not to go too far with the decor, it's a bouquet of roses, not leaves.
 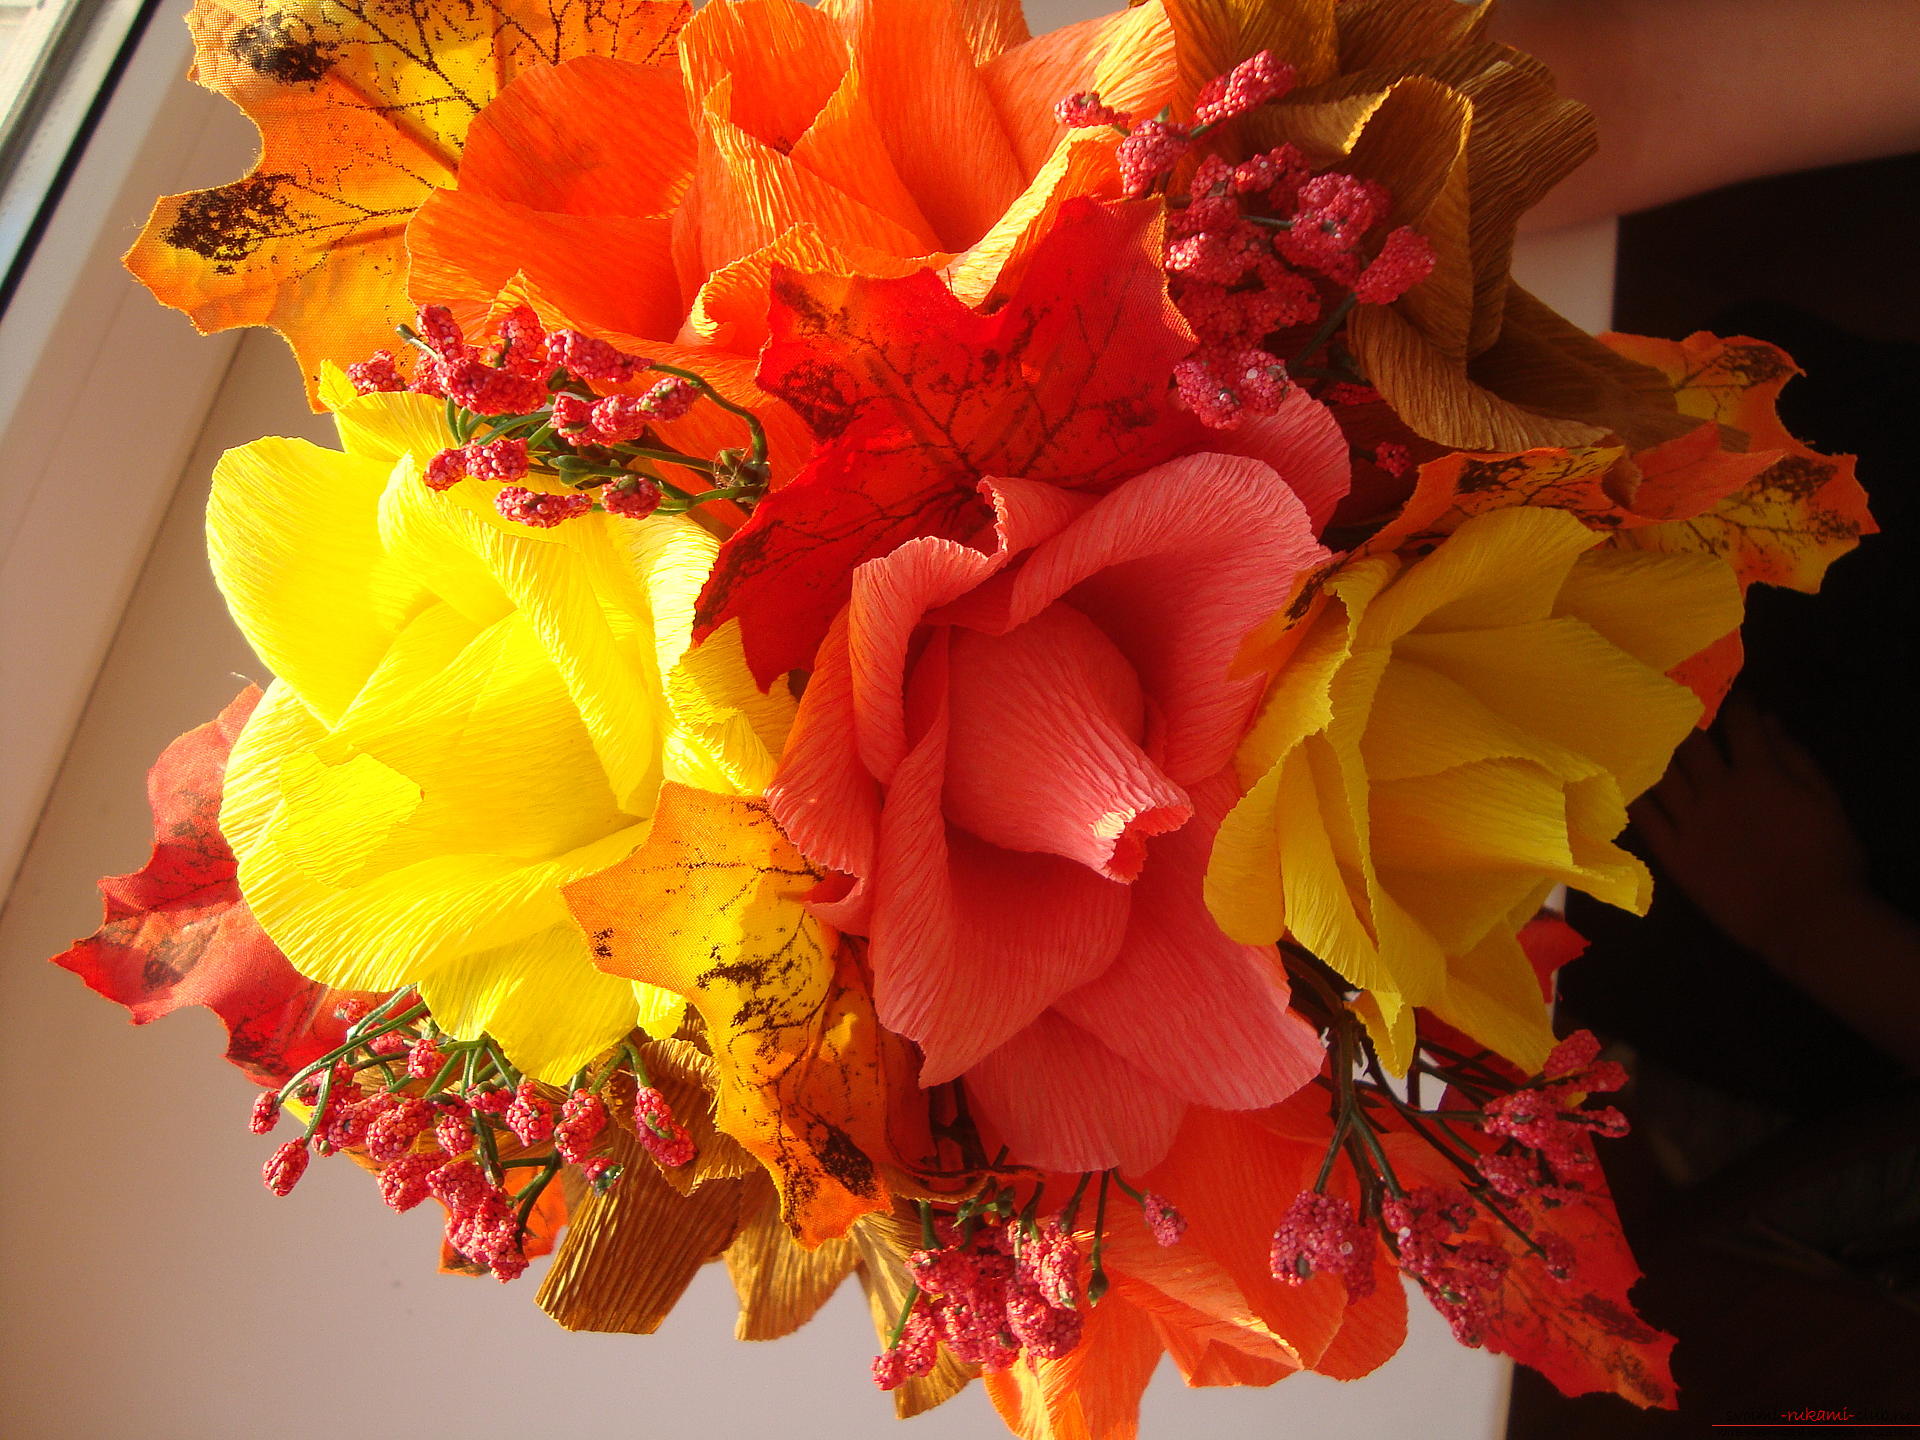 All the lower parts of the stems are placed in the hub, thenthere is a cylinder of cardboard. Similar details remain when using a roll of paper towels, toilet paper. Pack the lower lumen of the part into the green foil and wrap the entire bouquet in a rectangular corrugated paper sheet with a bent edge.
 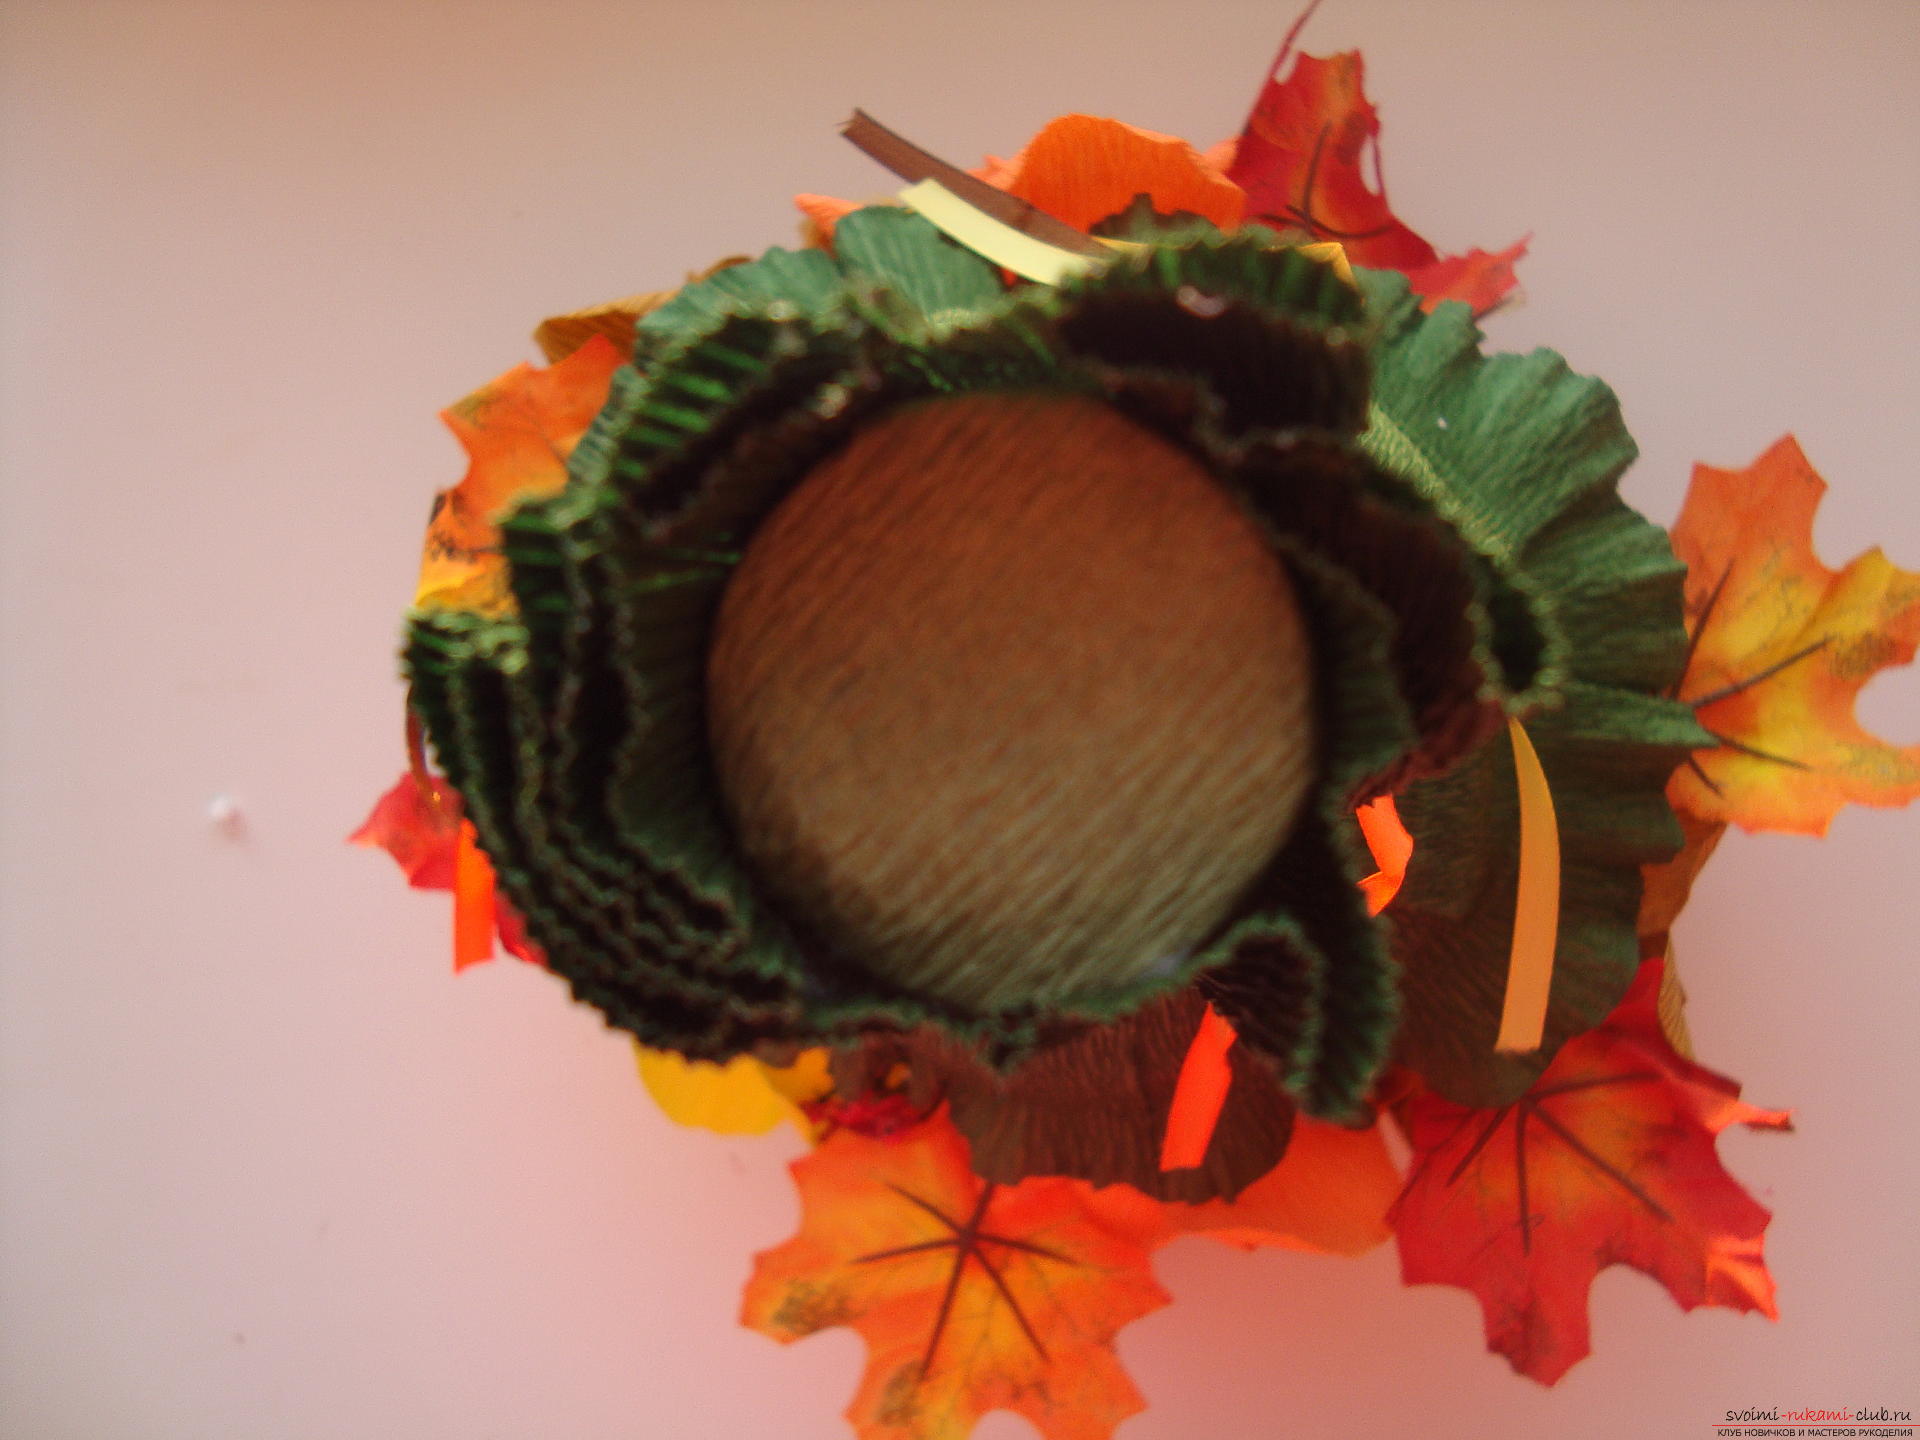 The last adornment is the ribbons thattwist the bottom of the bouquet. Take a few satin cuts of bright colors and tie them a sleeve with stems. For better fixation of the tape, you can grab it with glue to the paper, apply drops of molten plastic in 2 to 3 places, then the tapes do not slip off the base of the bouquet. A charming bouquet for the teacher is ready. It can be presented for a holiday and just to please your favorite teacher.
Comments
Related posts:
 Master class of making original New Year gifts with their own hands - crafts made of chocolates.
 Master class on creation of a unique bouquet from sweets for a holiday. Photo and detailed description of the work
 Quilling of lilac branches with own hands for a bouquet - a master class
 Quilling a bouquet in a flower pot with your hands - a step-by-step master class
 New Year tree with their own hands, a Christmas tree made of fabric, how to make a New Year tree with their own hands, a Christmas tree made of candy, master classes for making Christmas trees.