
Master class on the scrapbooking of a New Year's card with your own hands - step by step instruction
New Year's holidays are already close, which means,comes the period when we begin to prepare a variety of gifts for their loved ones and people we love. Popular handicraft techniques allow you to recreate a wide variety of gifts that can be presented as souvenirs for loved ones and close people. For some, this is a way to make a nice and successful gift. Others use it as a supplement to show the native person how important it is for him. The technique of working with scrapbooking includes a whole range of new and full-fledged methods by which we can decorate classic postcards.
Master class on the scrapbooking of a New Year's card with your own hands - step by step instruction
 It should be noted that earlier classic postcardswere a continuous application, which was supplemented only by the possibilities and imagination of a person. The technique of postcards when working with scrapbooking is not very different: there is still an element of fantasy and each of us, if desired, can express our new and modern features specifically in order to make a unique gift. Materials for working on a postcard
 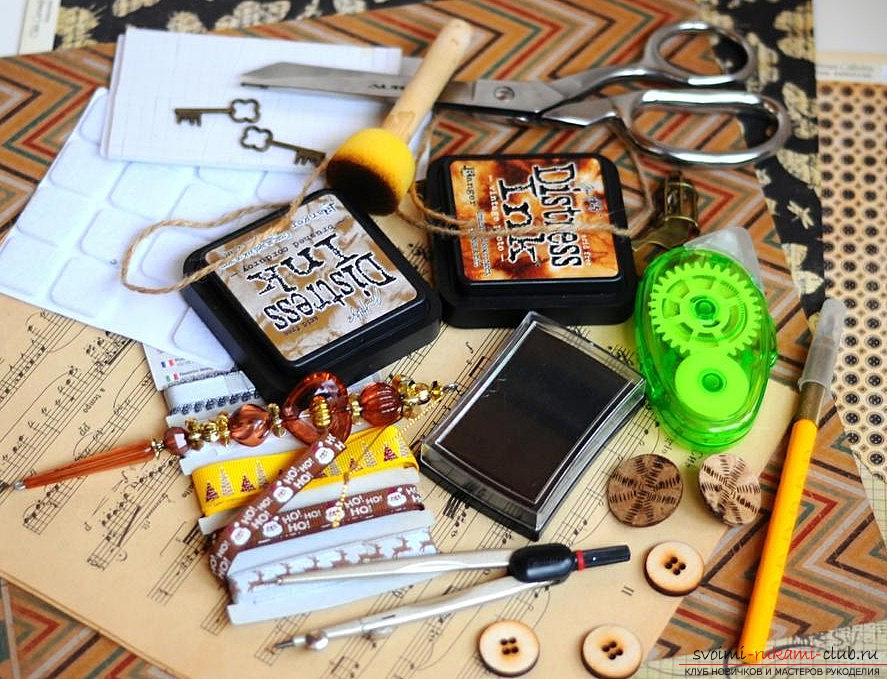 Ability to work with scrapbooking techniqueopens a new gateway to freedom in creativity, you can also use a wide variety of materials, goods for creativity, which you can buy in special stores. Most variations of the proposed decorations bear only the nature of the recommendation. You can replace them with your own solutions, but be sure - our ideas can entail a number of unique and characteristic discoveries in the field of creating unique and interesting gifts with your own hands. So for example, try to make a slightly vintage and unique postcard. Vintage is a technique for aging an object that has become popular for many of us literally a while ago. Its application can show a very interesting and unique experiment, which should be used by modern and new craftsmen:
- Take a thick paper to work with the main (35 by 30 centimeters)
- It will require color paper, also old books, old notes, or scrap paper
- You will also need a special mascara for aging paper, or a brown pastel
- For decor, we take ribbons, stickers, beads, and also buttons
- Lining on the basis of glue with an overlapping view - what you need for decor
- Also we will prepare scissors, glue and a pencil for processing and calculations
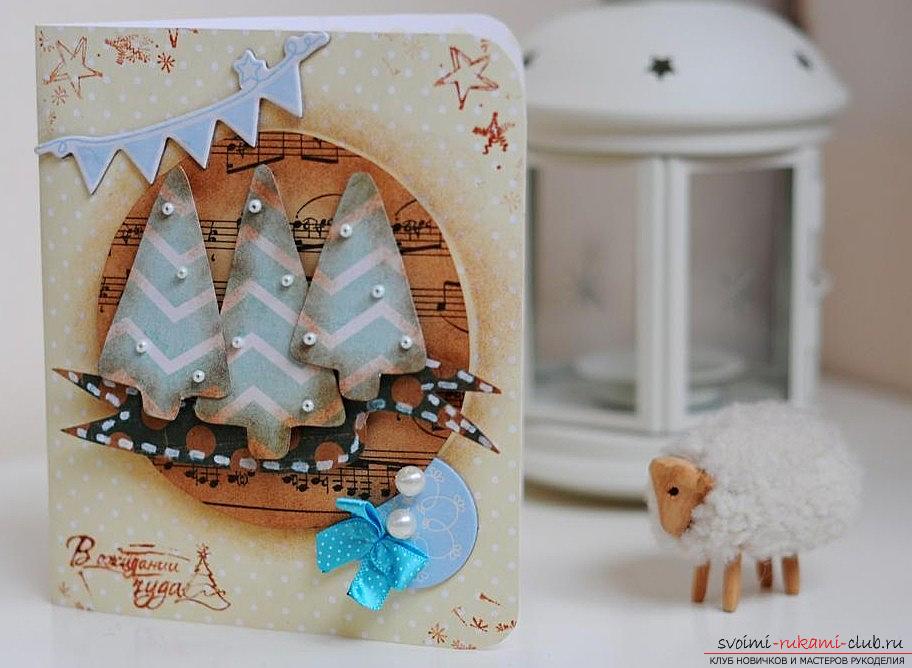
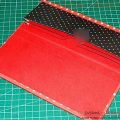
Getting Started  So, let's use the public scheme forpostcards, as well as a palette and stylistics from the author. Also, you can diversify the work yourself. We form with special paper a special version of the base. It must be cut and then bent into two parts. After that, we'll get 32 by 28 centimeters. The corners of the postcard can be formed in a rounded form. Next, we form the composition of our postcard. In our work, we will get a round-colored background option that will be in the center of the postcard. Then, we form three trees according to the scheme, as well as a ribbon for the style of our postcard. This scheme can be changed at will.
 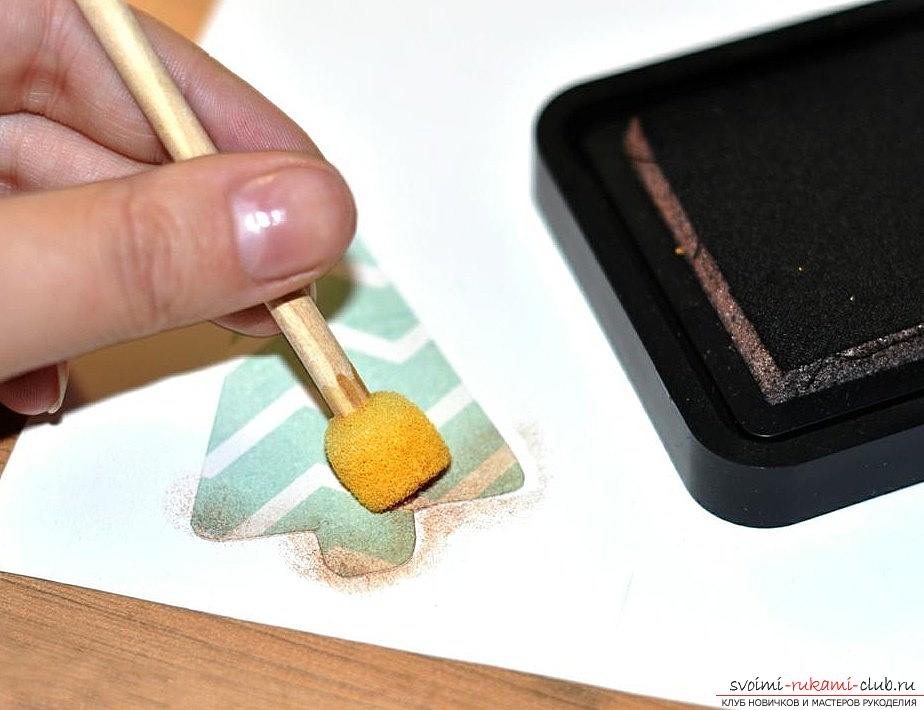 The paper for the background postcard is selected in theneutral color. Elements of design in the form of a Christmas tree or ribbons, we make contrast. To get a vintage card design, we will use old notes, records, booklets. The aging of the leaf artificially occurs with the help of tea. A container with tea is prepared for the sheet, then the leaf is placed in it. Then, the design element should be dried with the help of a press (a stack of books will fit). Stronger welding makes a darker background for future vintage paper. Toning and decoration
  Toning the edges of the application occurs whenhelp special pillows on the ink tank, which can give the desired effect of an obsolete thing. They are easy to love in the store for needlework, or in a specialized store for scrap. To apply our graphics, you need to take a foam sponge and drive the paint on the edges, as well as on the background parts of the paper parts. Alternatively, you can take the shavings from under the pencil and just grind on the desired image at the edges.
 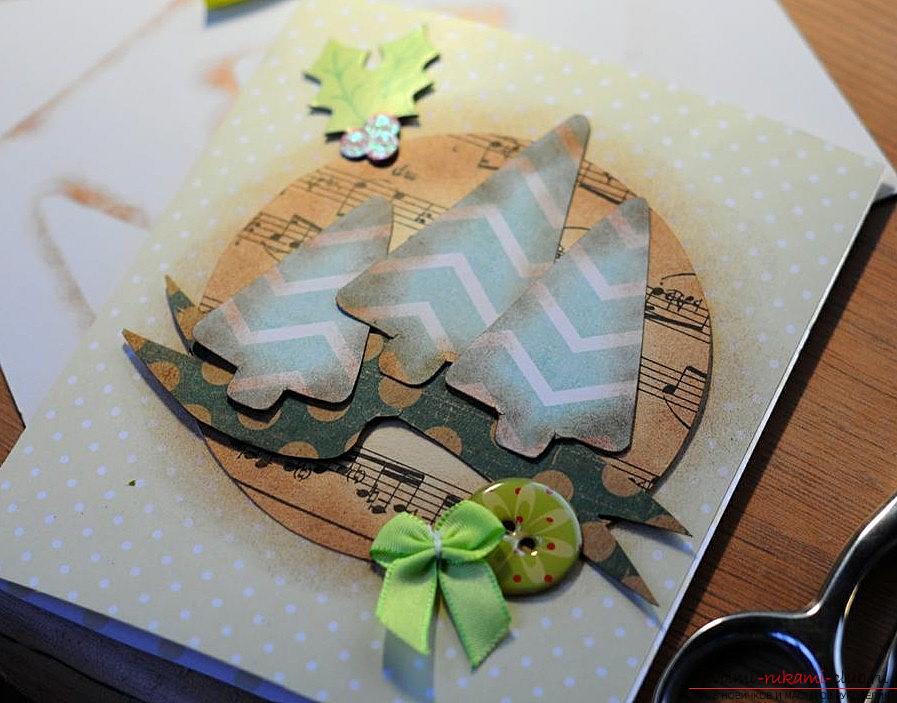 We form a light decor. It can consist of different cuttings for magazines, as well as stickers and ready-made cardboard blanks. Use also bows, various ribbons and buttons, beads, as well as product inscriptions. Such a process can be called very creative, and you will get two different postcards, even if you use the same templates for two works. Using stamps of alphabets, you can form a congratulation. Also, you can use your calligraphy methods to arrange your postcard yourself.
 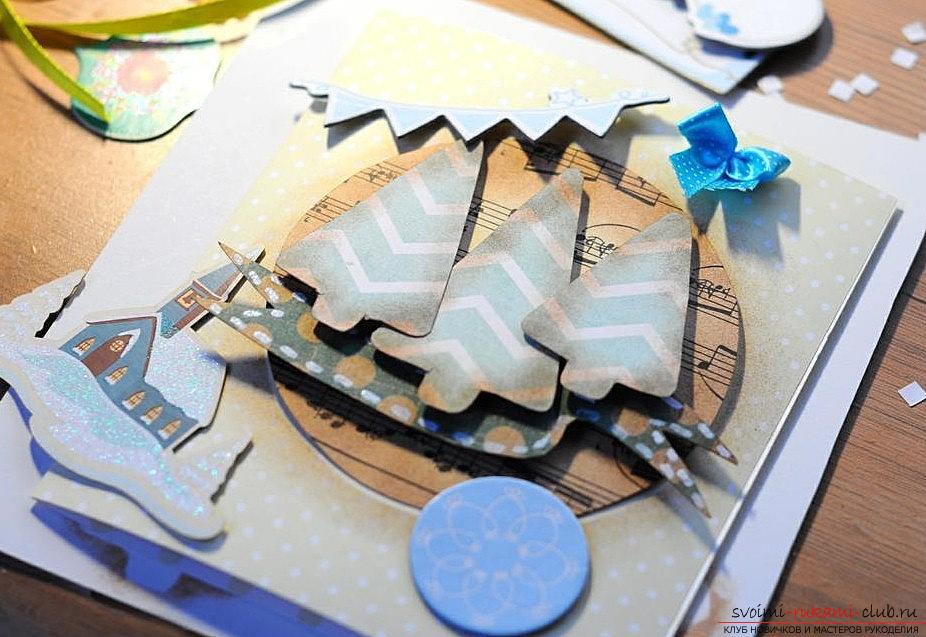 You should also make a volumetric card,using special adhesive patches. If you do not have your elements at hand, you can take stickers from felt, which are used for the legs of chairs, cabinets. Using the lining, we need to glue the Christmas tree. Then, we form the ribbon and other decorative objects of decoration. Further, the finished composition is placed with the help of large overlays at our work. Ready-made stamps will also help decorate your work
Comments
Related posts:
 The master class will show how to make valentines - simple cards with their own hands, such cards for children are light in performance, but very touching.
 Quilling is a master class. Pictures and postcards by own hands
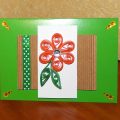 This master class will teach you how to make your own beautiful quilling cards.
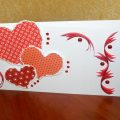 This master class will tell you how to make your own cards for Valentine's Day.
 The idea of a scrapbooking organizer with your own hands. Materials, step-by-step instruction.