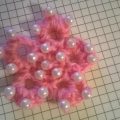
Master-class crochet step-by-step and with the photo will teach the creation of crocheted wipes
Napkins people have always decorated their interior. And today they are still in fashion. And in this master class we will tie a napkin crochet. To knit a napkin we will need:
- Yarn;
- Hook.
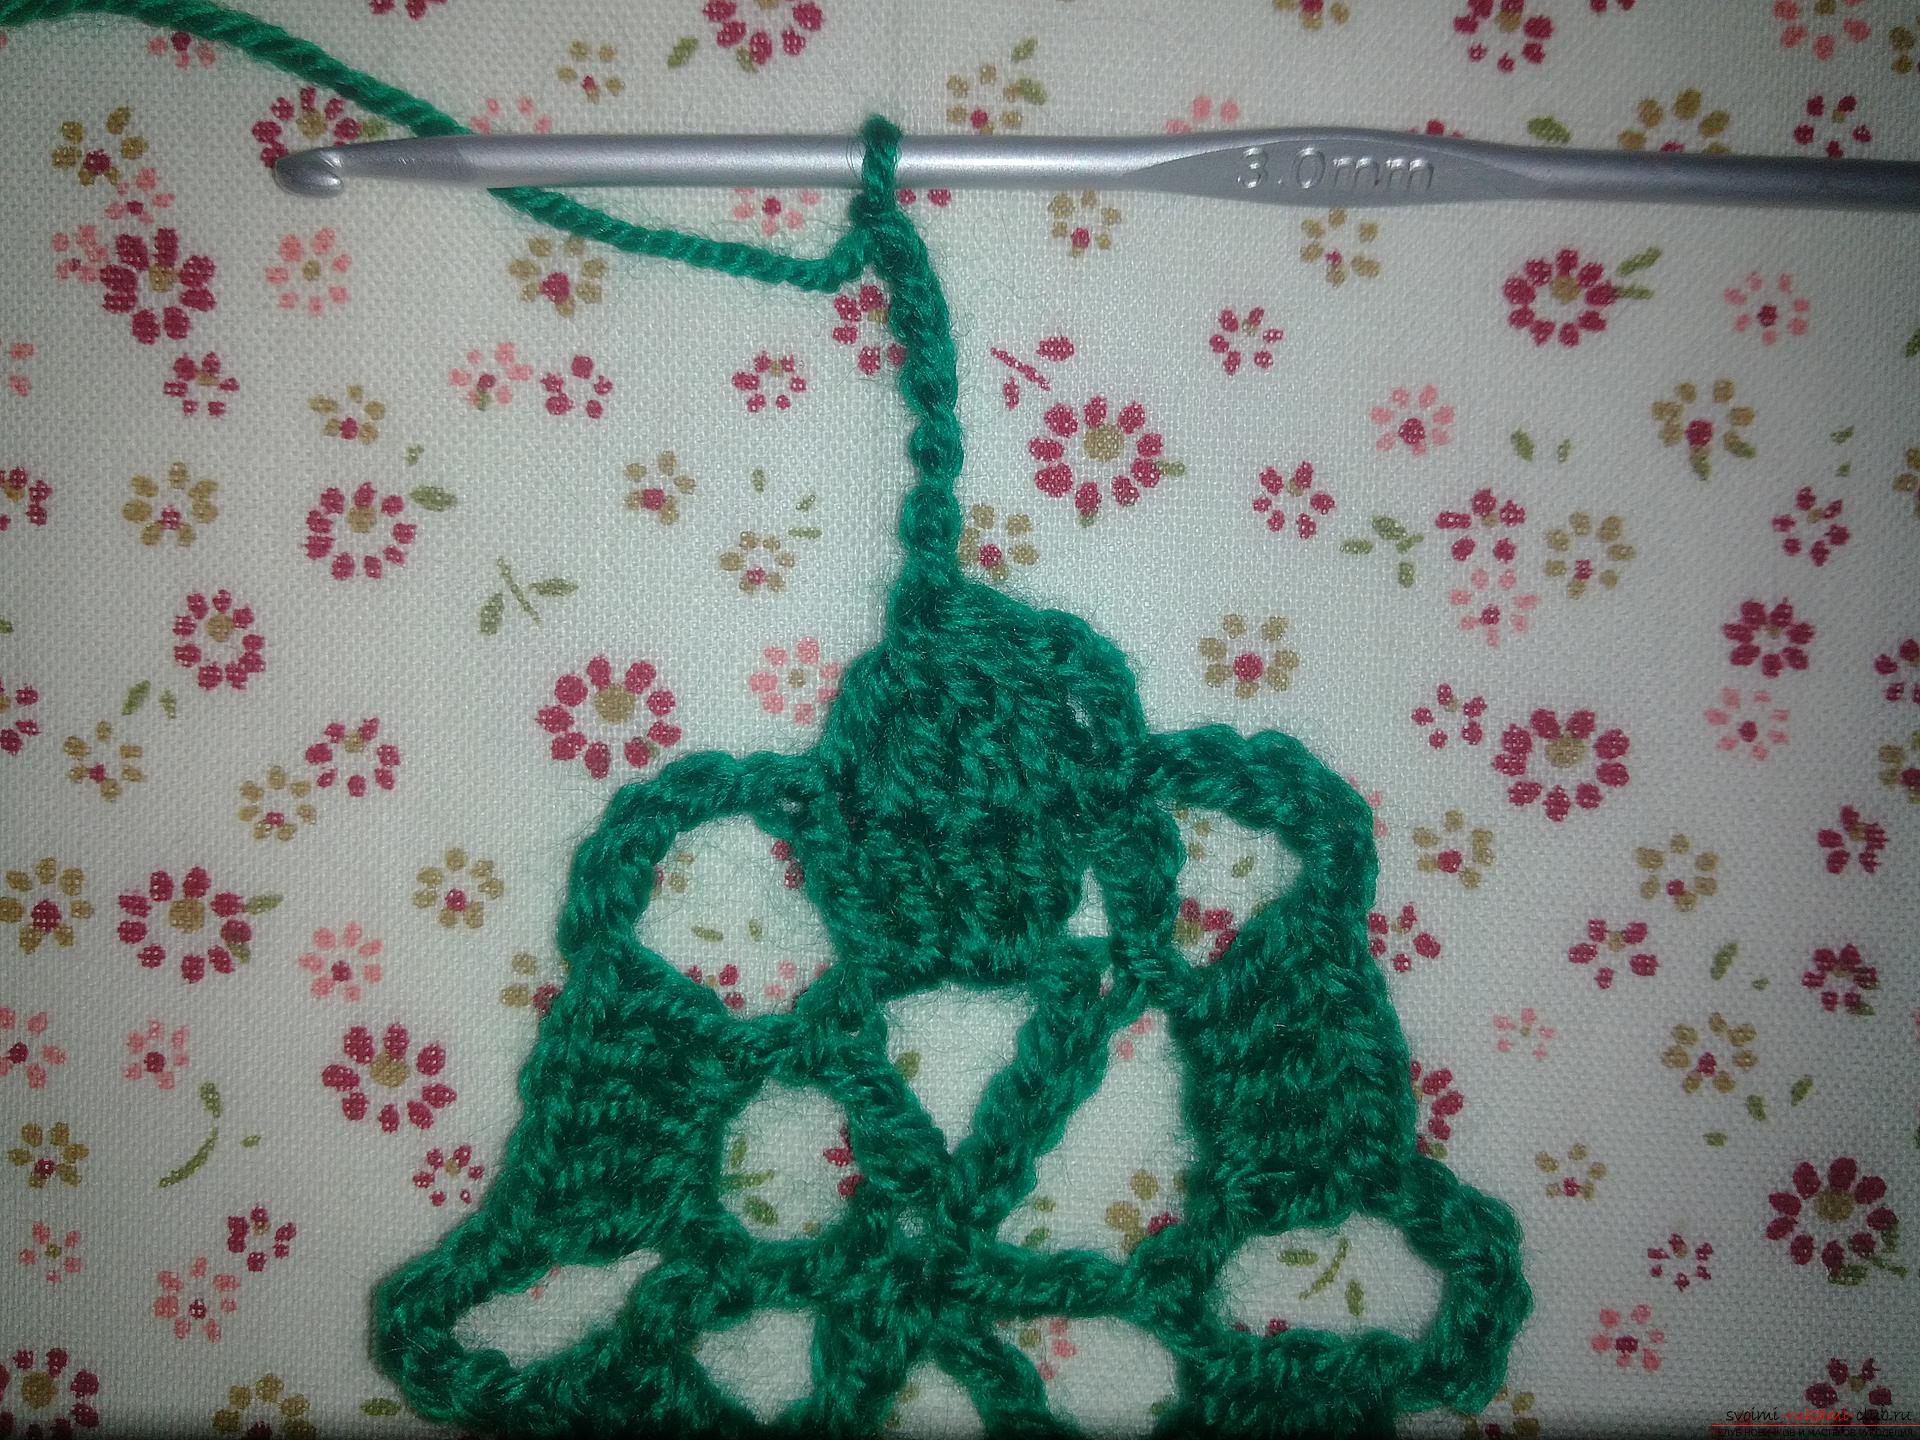
As the New Year is approaching, we will tie a napkinin the color of the Christmas tree - green. Let's make 3 air loops, which will be closed in a ring. We make 3 air and four more loops. We make a cape and in this ring we sew a column with a crochet. Again we make four air loops. And again in the ring we knit a column with a crochet. In total we need to link six such columns.  Now after joining the beginning and end of the row with knittingsecond row. We make 3 loops and knit in an arch four columns with a crochet. We now make five airplanes and here we will also fasten five columns with a crochet. That is, in each arch we will only knit five columns with a crochet, five air loops and five more columns with a crochet.
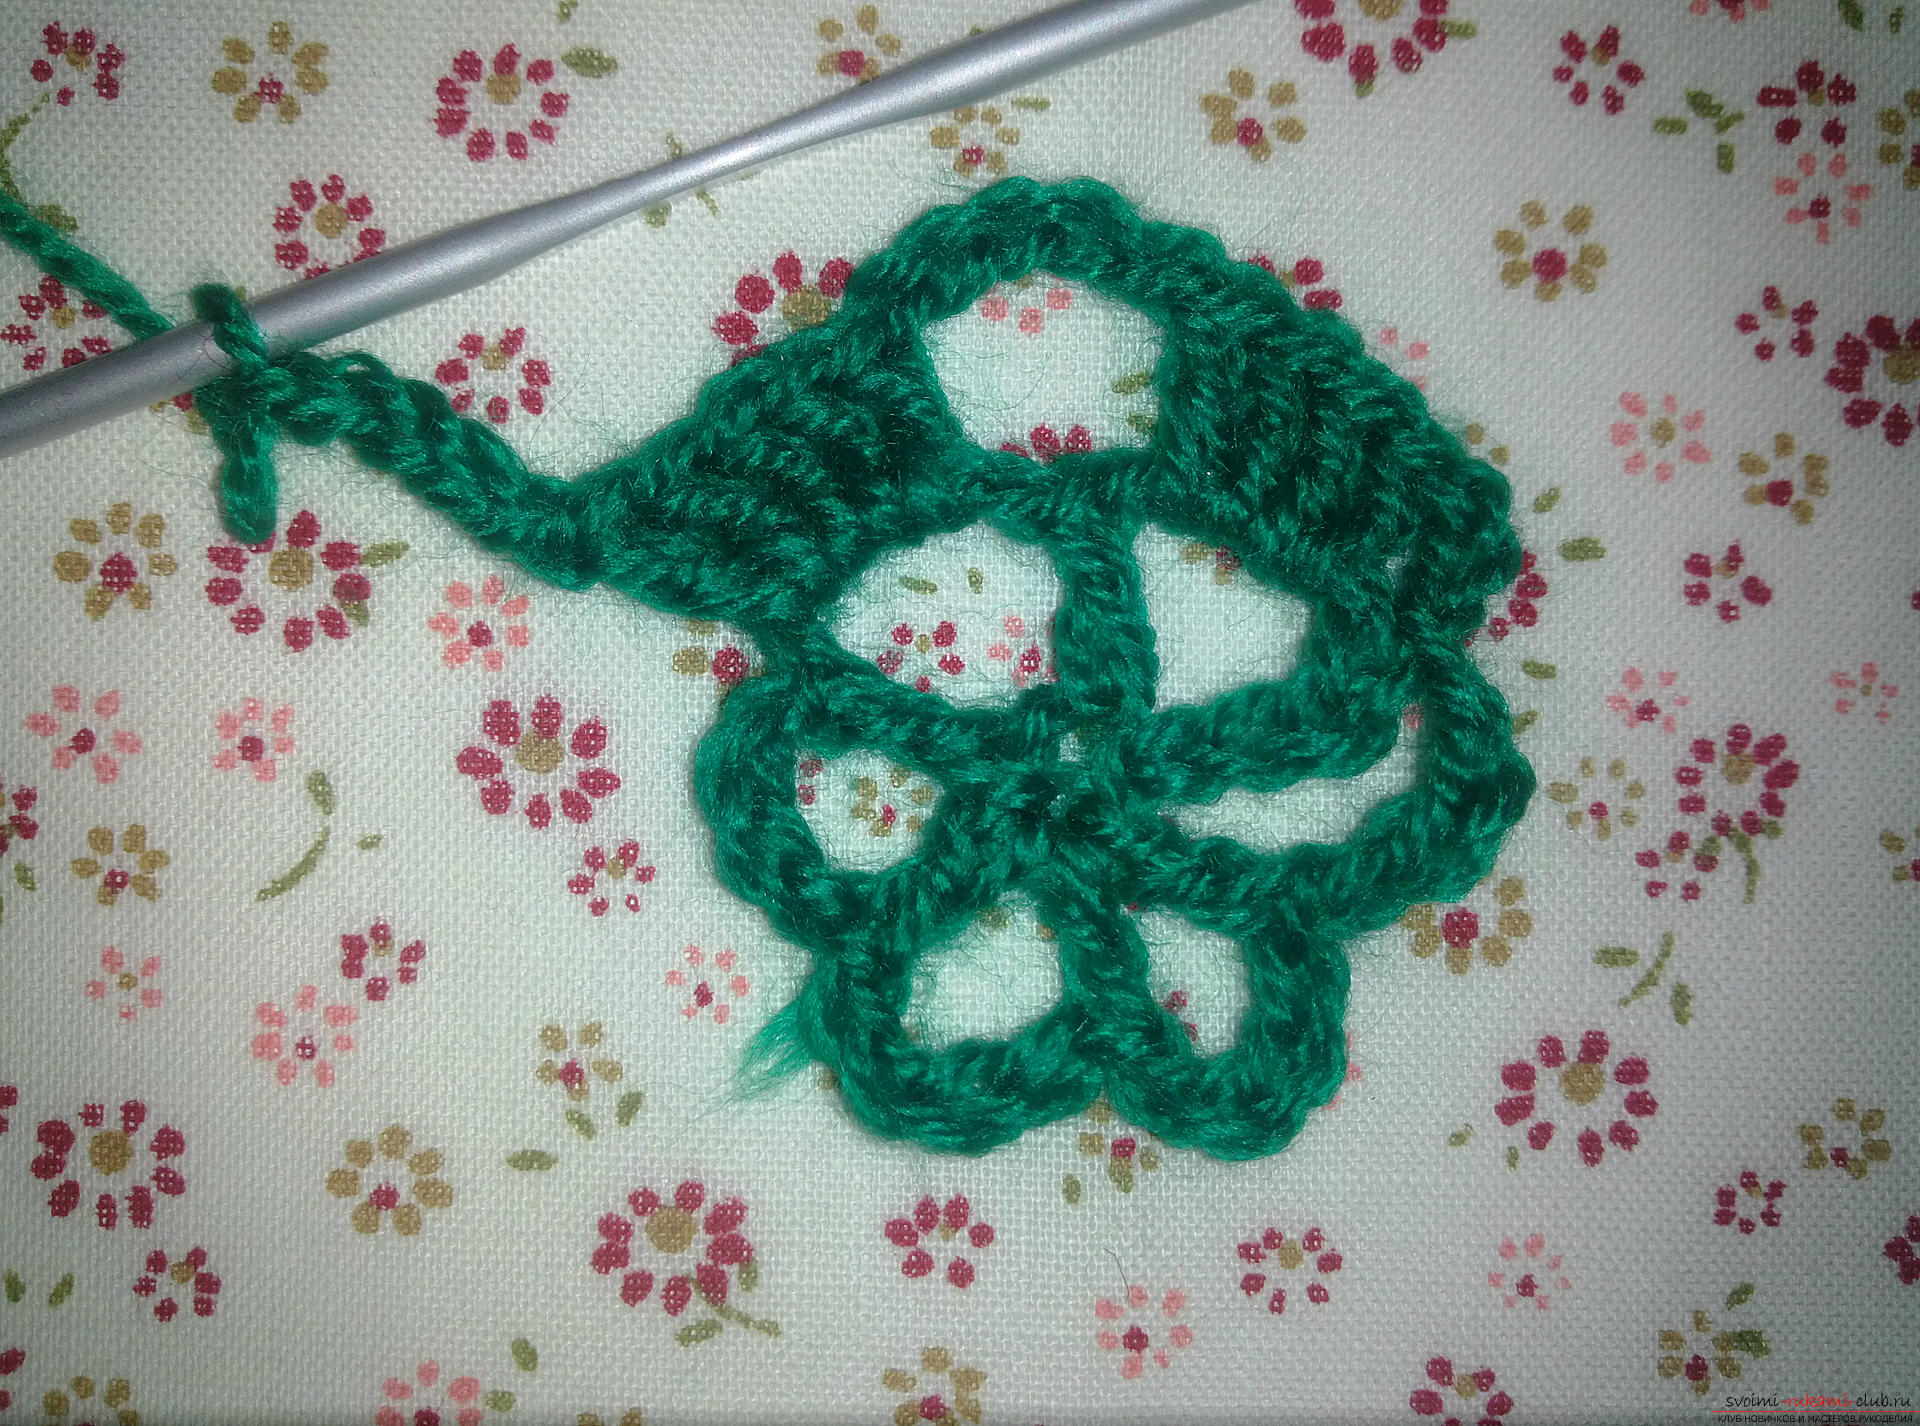
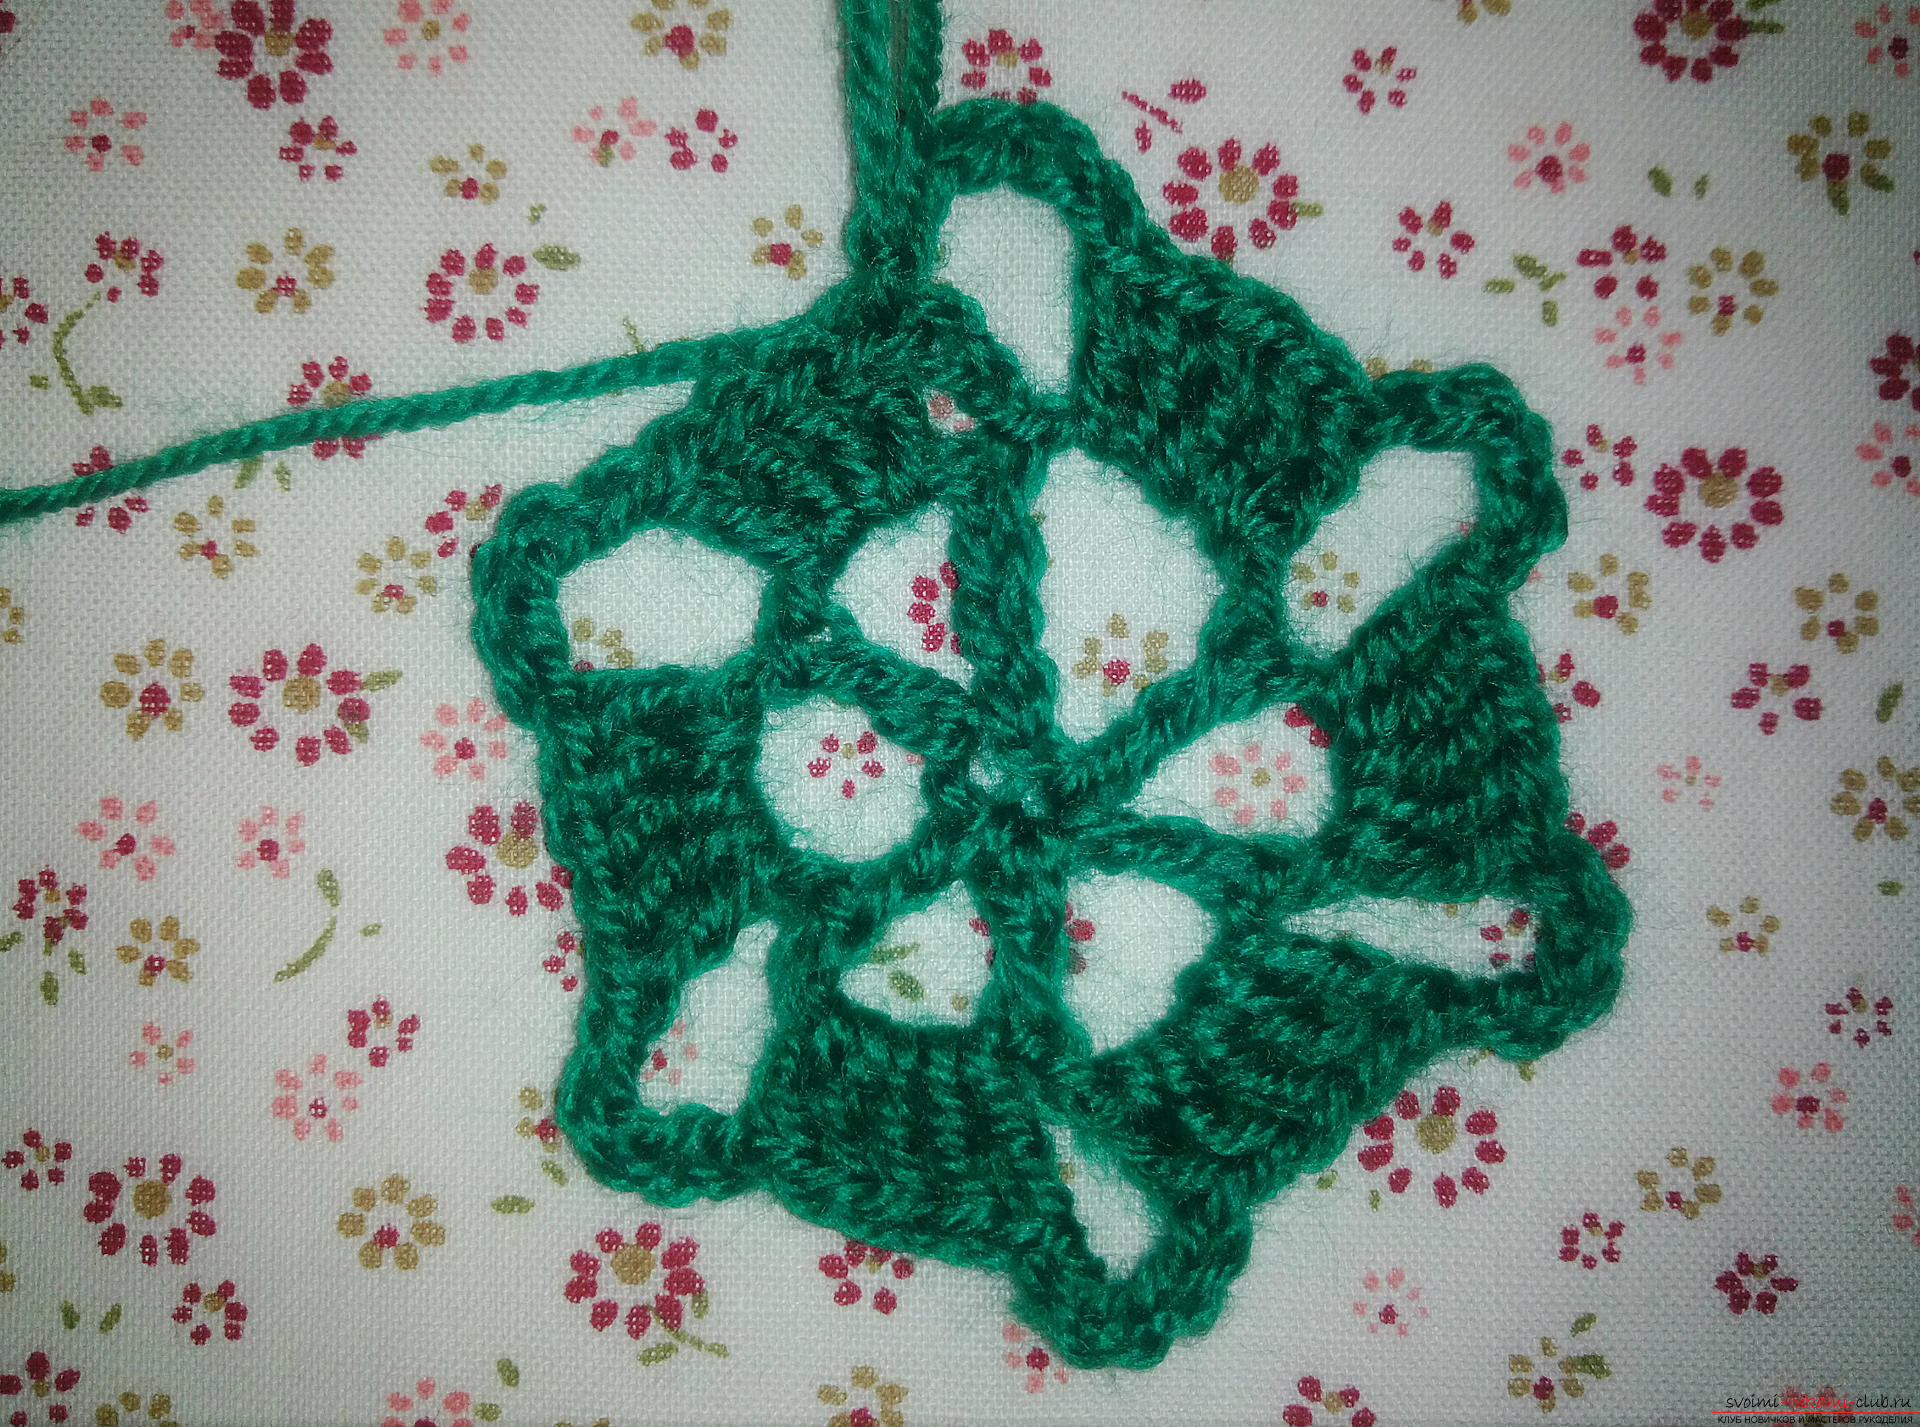 Now we will make 3 air loops and overcolumns with a crochet will knit unbound columns with a crochet. That is, we need to make one top for all five columns. We only send the first loop and the cape on the hook, leaving the rest. And then, when all five columns are tied up, we'll tie them all together. And make six air loops.
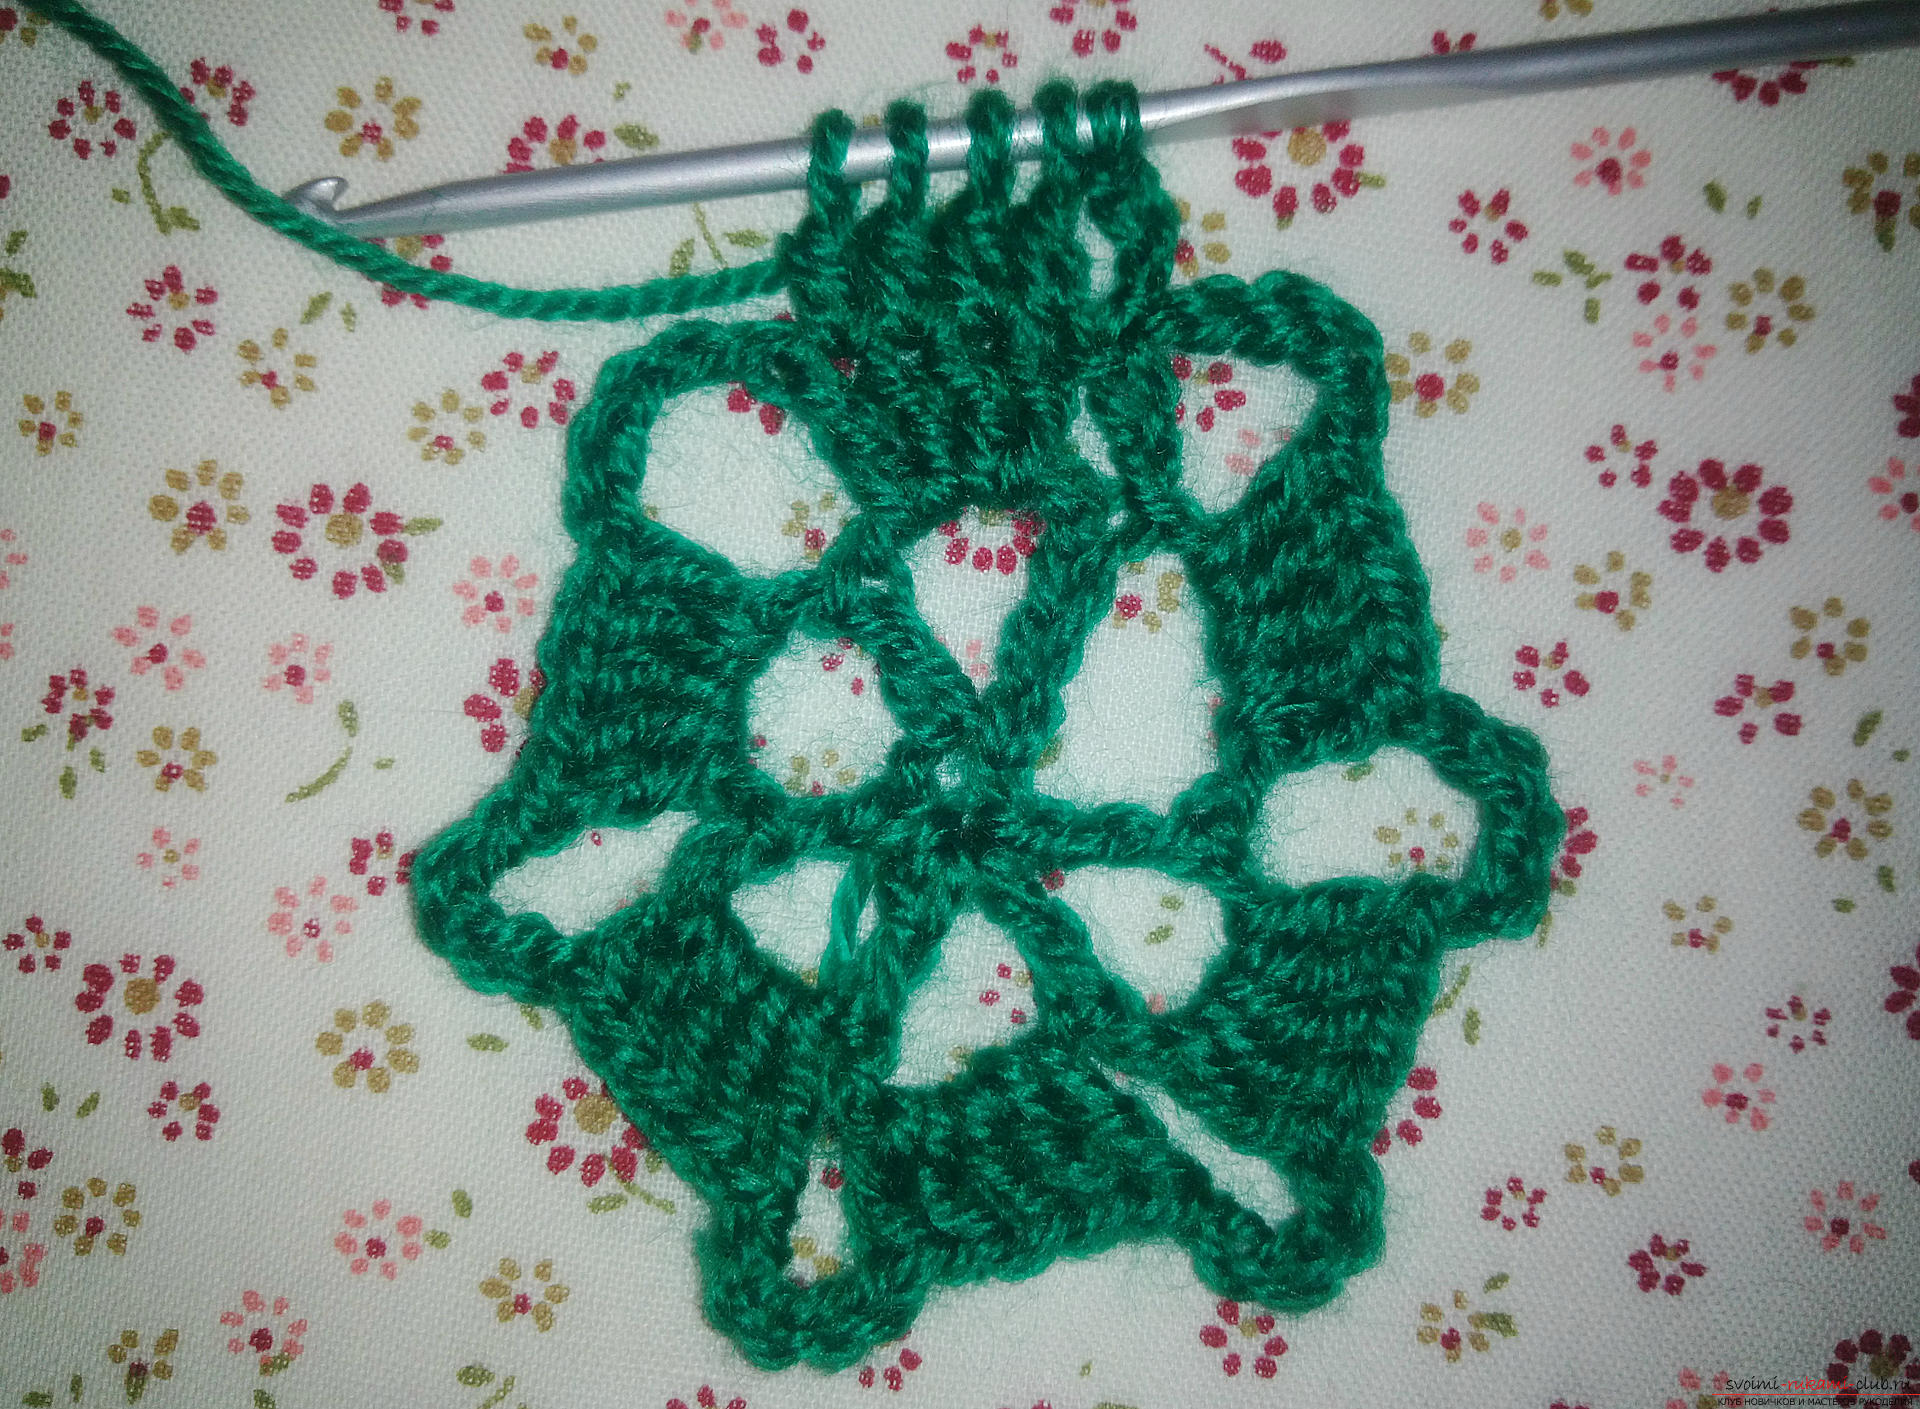
 In the center of the arch we connect a column without a crochet. And again we knit six air loops and five columns with a crochet with one top. At the end, we connect this way: we make two air ones and connect by a column with a crochet.
 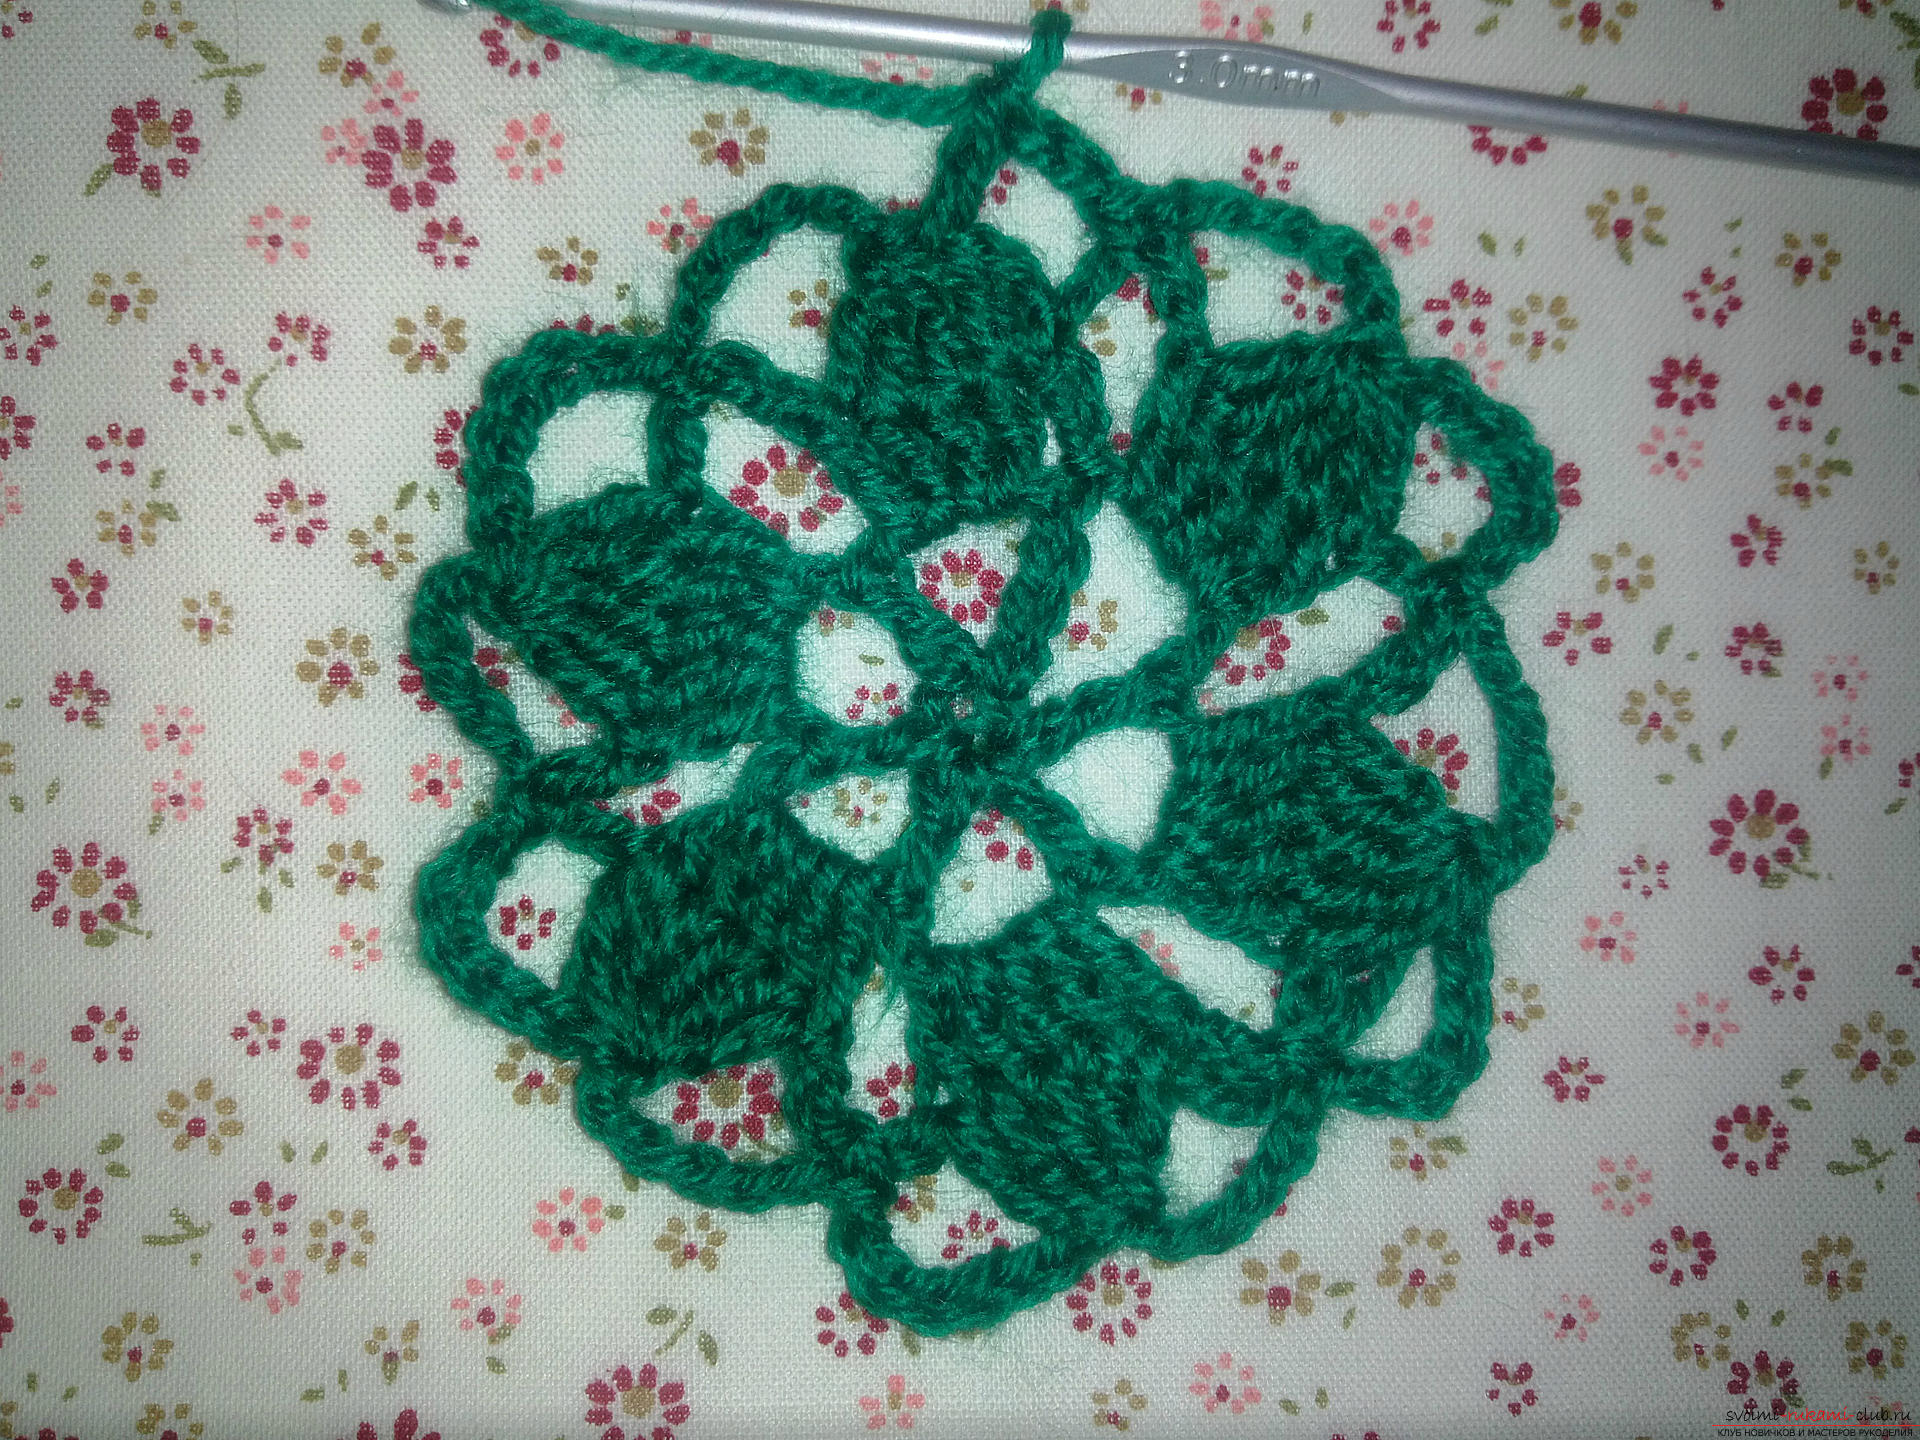 The next series is very simple. Here we knit arches of seven air loops and attach each to the arches of the previous row with a column without a crochet.
 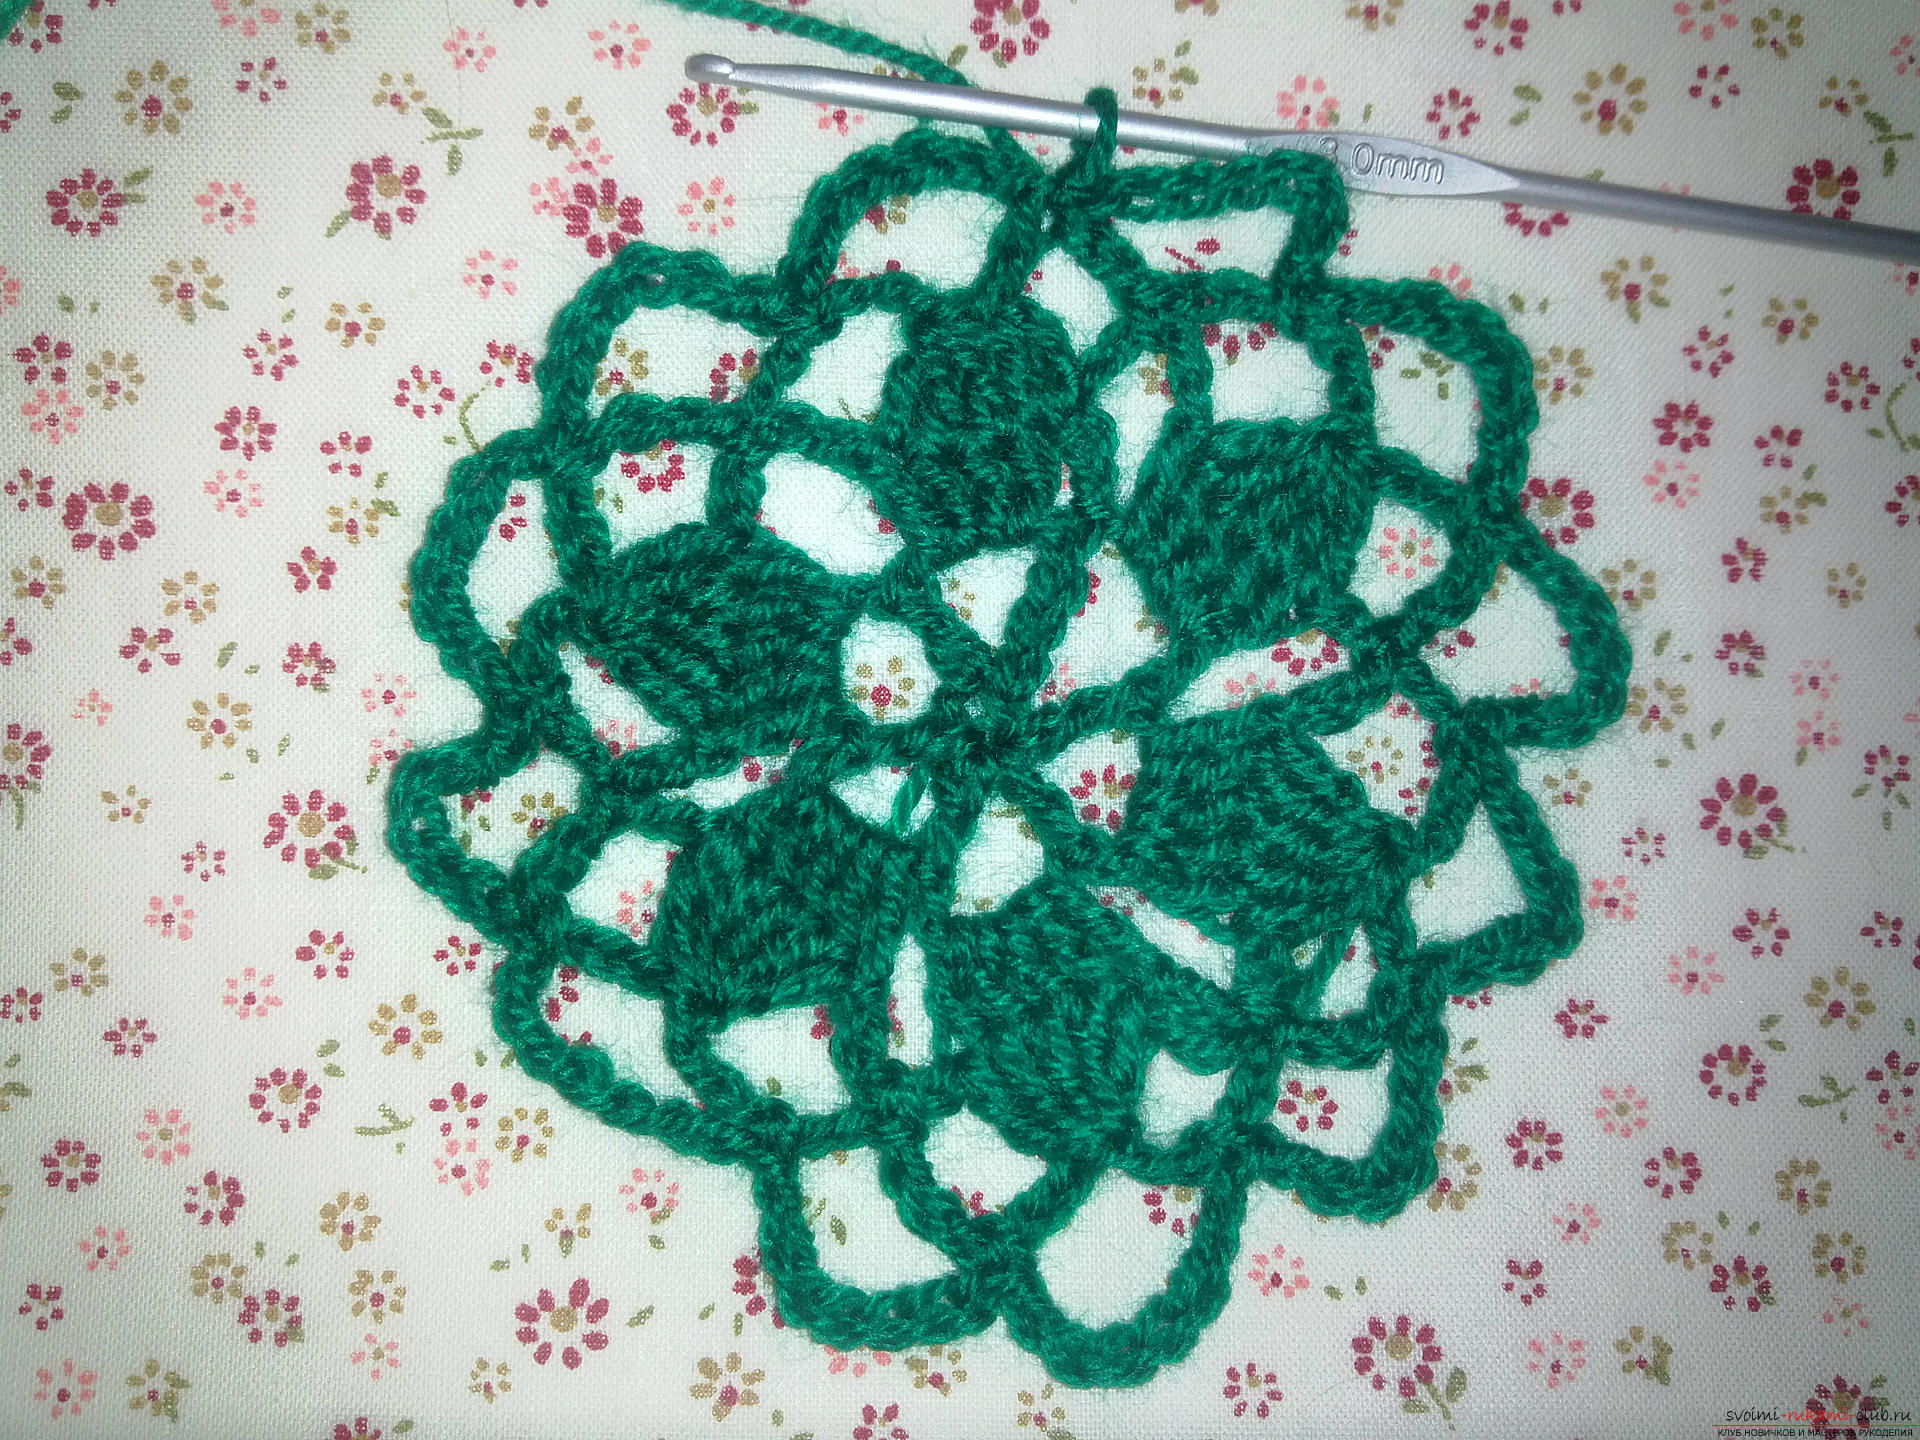 Now we make 3 air loops and we sew two more columns with a crochet at the same point. Then follow 3 air loops and a column without a crochet under the arch. Again, 3 air loops and 3 columns with a crochet over the column of the previous ridge.
  So we knit to the end. And the last row is knitted like this: we make 3 lifting loops. And over the columns with the crochet we knit again the unbound columns. We will have 3. Make a common vertex, tying them all together. We make a picot of three air loops. Now we knit five loops, and knit in a knit with a column without a crochet of the previous row, tying also a column without a crochet. Next do five air and repeat knitting to the end.
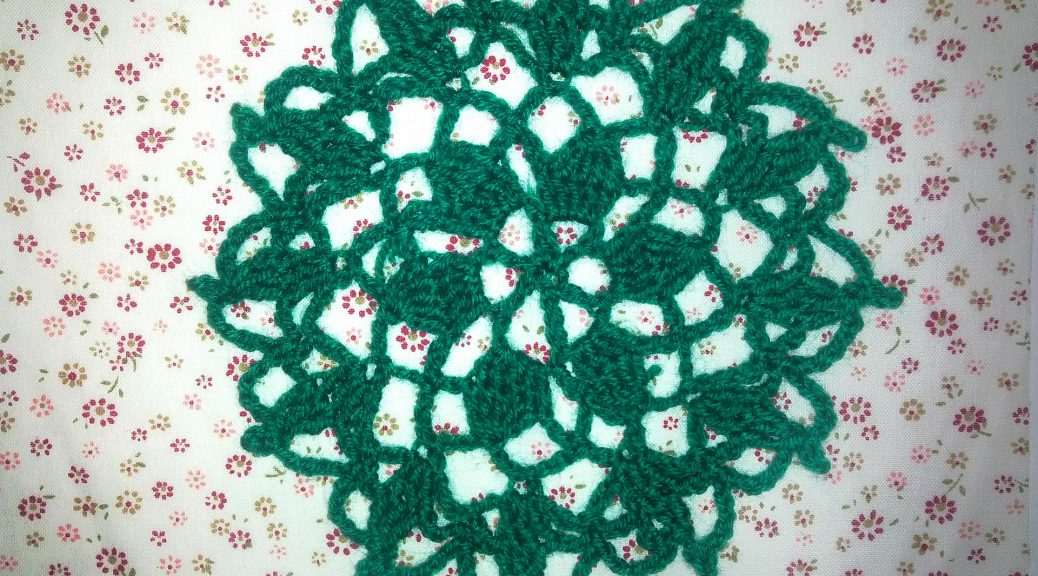
 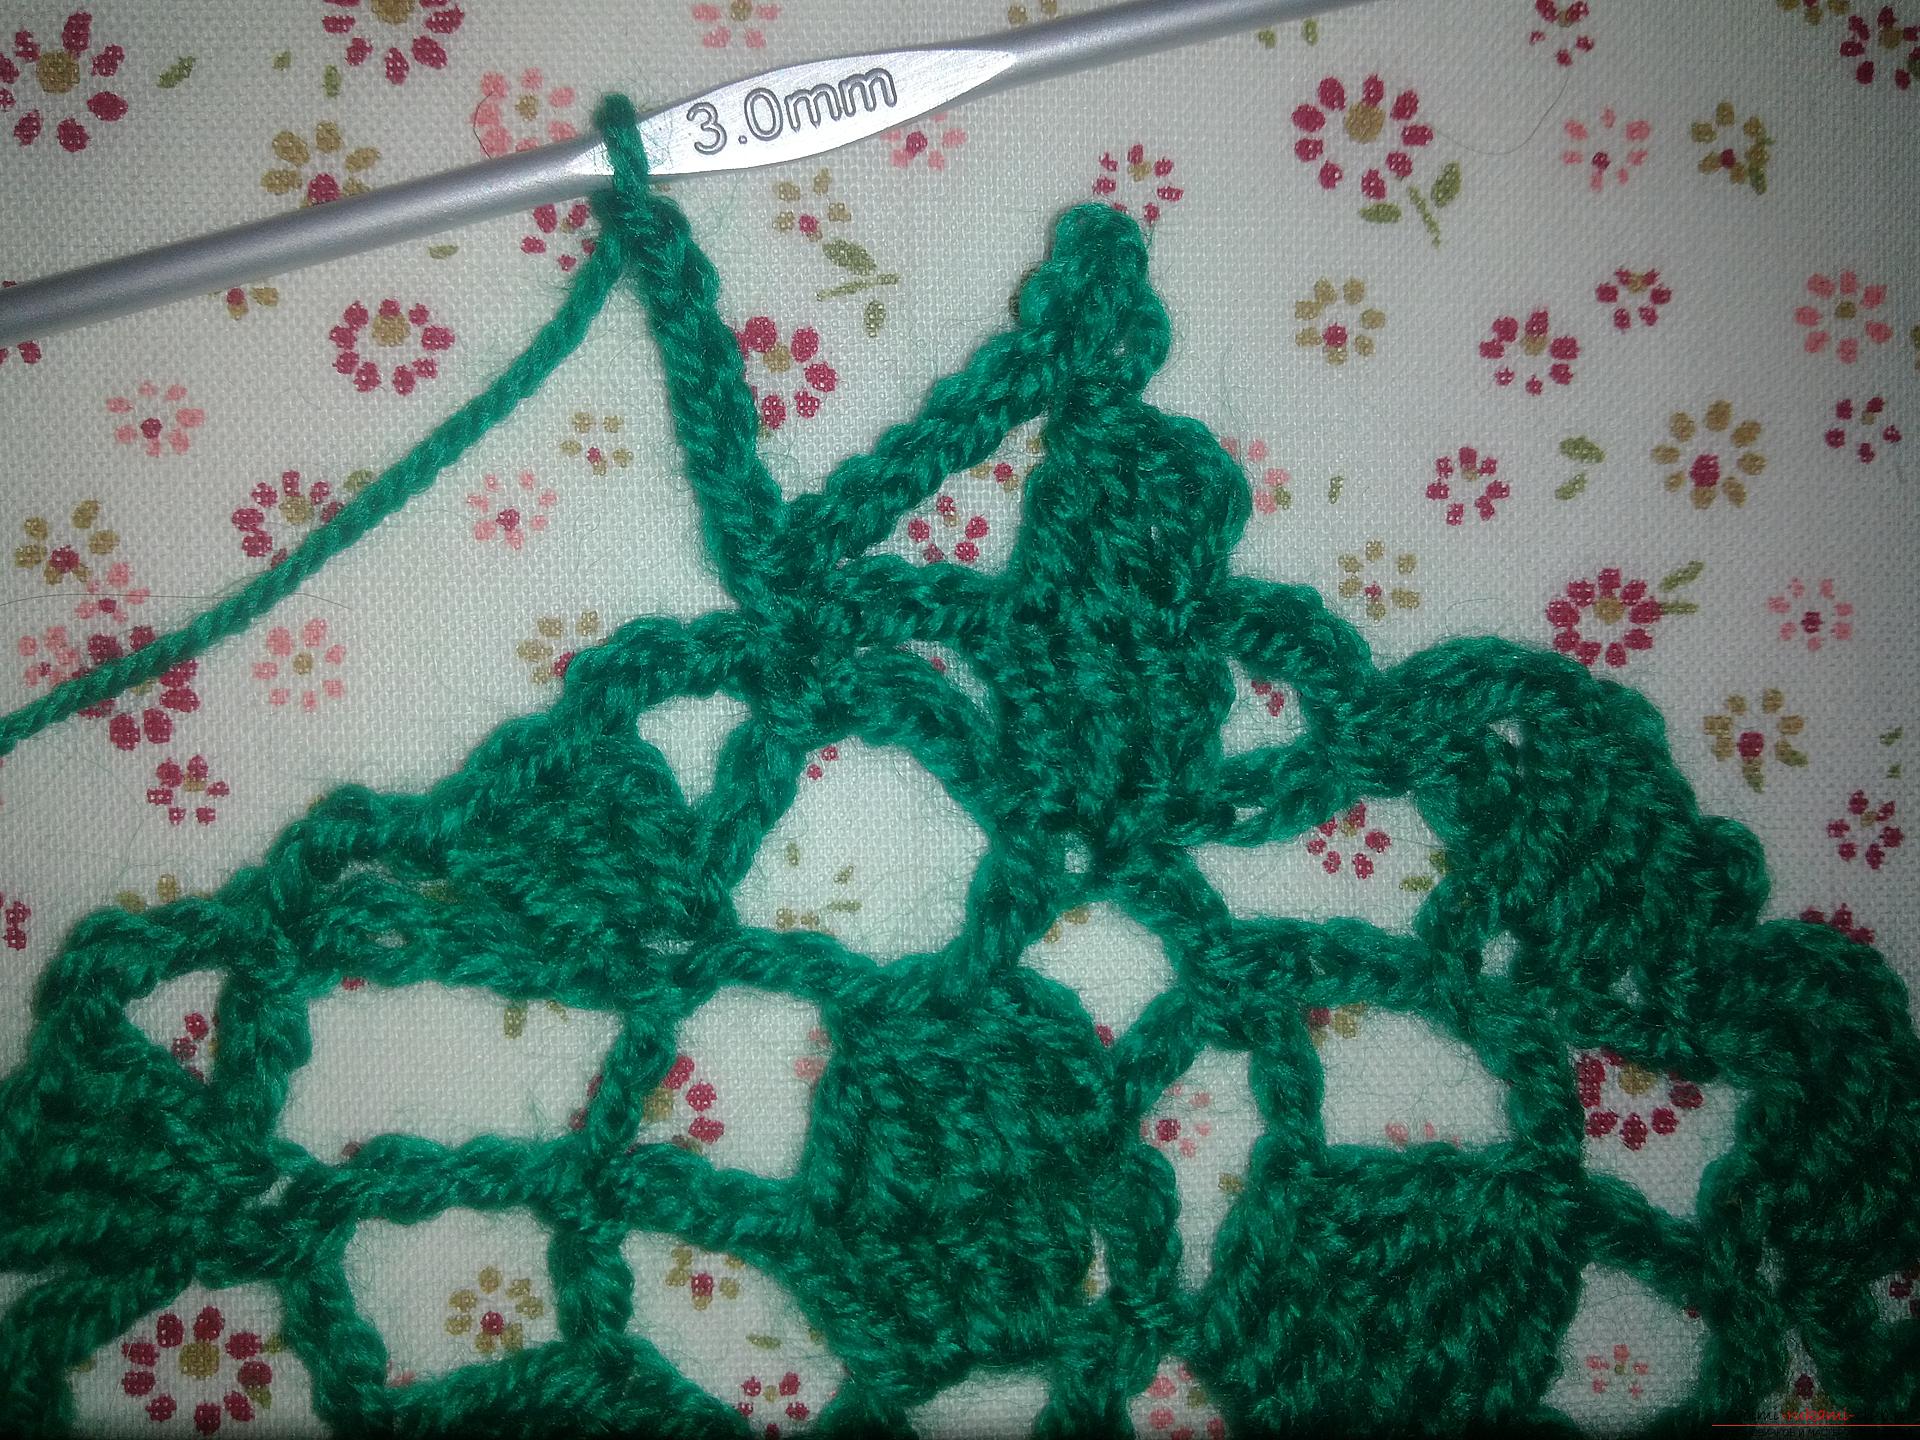 Our napkin is ready! You can take any colors and tie a set of such napkins. They can decorate the bedside table.
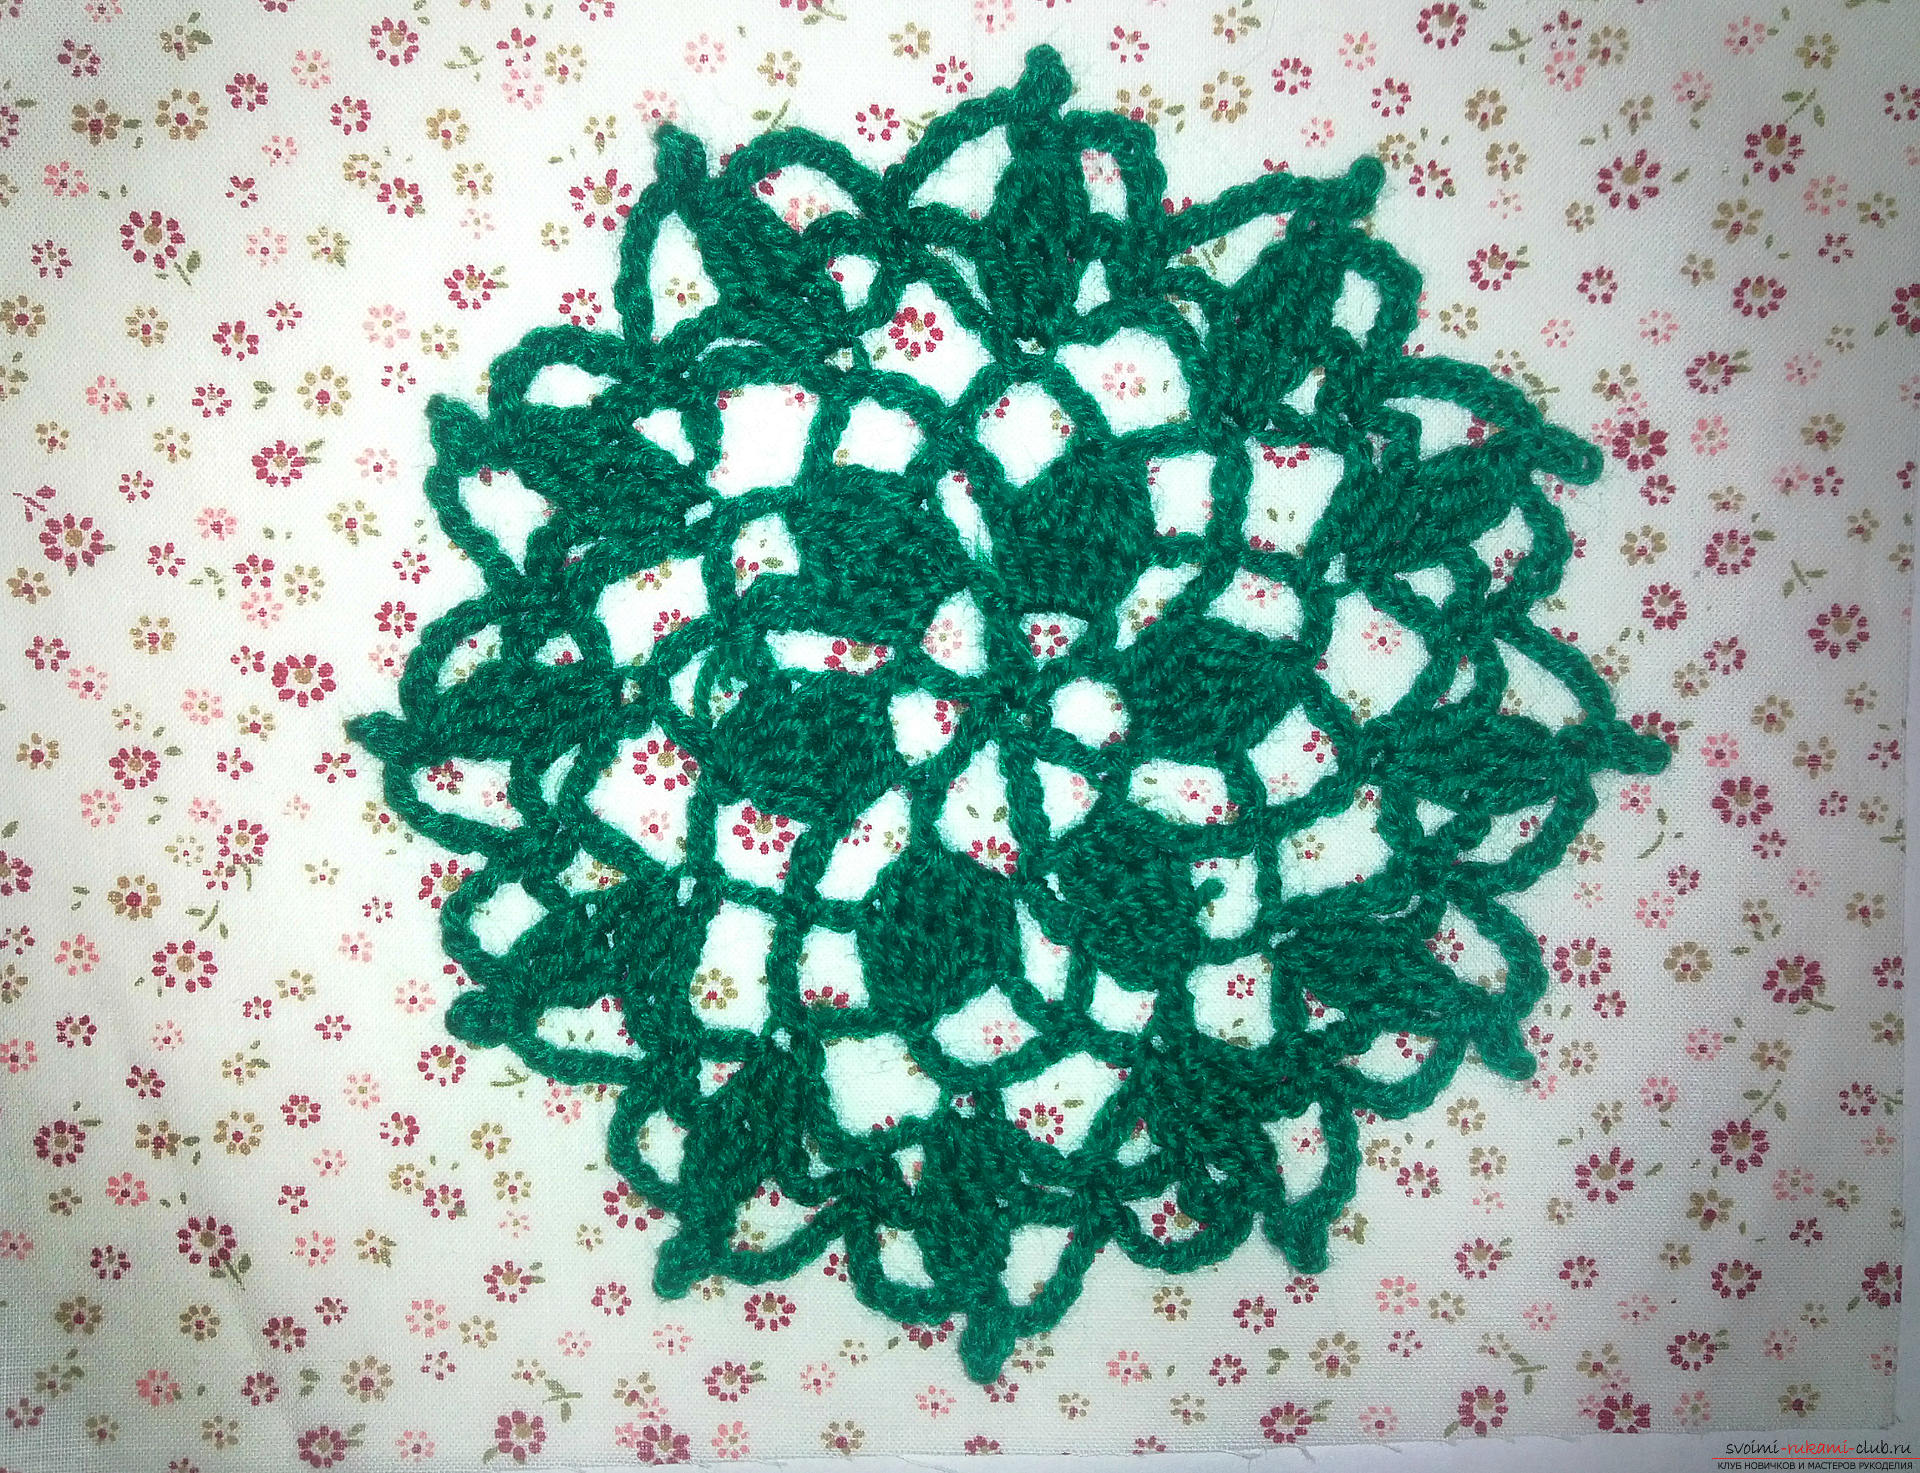
Comments
Related posts:
 Master-class knitting with a diagram and a photo will teach crochet an openwork flower
 This master class of crocheting with a photo and diagram will teach how to tie a beautiful cat.
 This master class of knitted toys will teach how to create a crocheted toy - a crow
 The master class will step by step teach you how to tie a New Year's craft with your own hands - a snowman.
 This master class crochet with a detailed description will teach you how to knit crochet flowers