
Master class on creating roses from Atlas in Kansas technique with step-by-step instructions and photo
Delicate roses are often created from variousmaterials - paper, beads, clay, etc. In this master class, the process of creating colors from satin in Kansas technique is illustrated. Such roses perfectly fit as a brooch and decorate the most exquisite dress, they look like living and complement the business or romantic image. 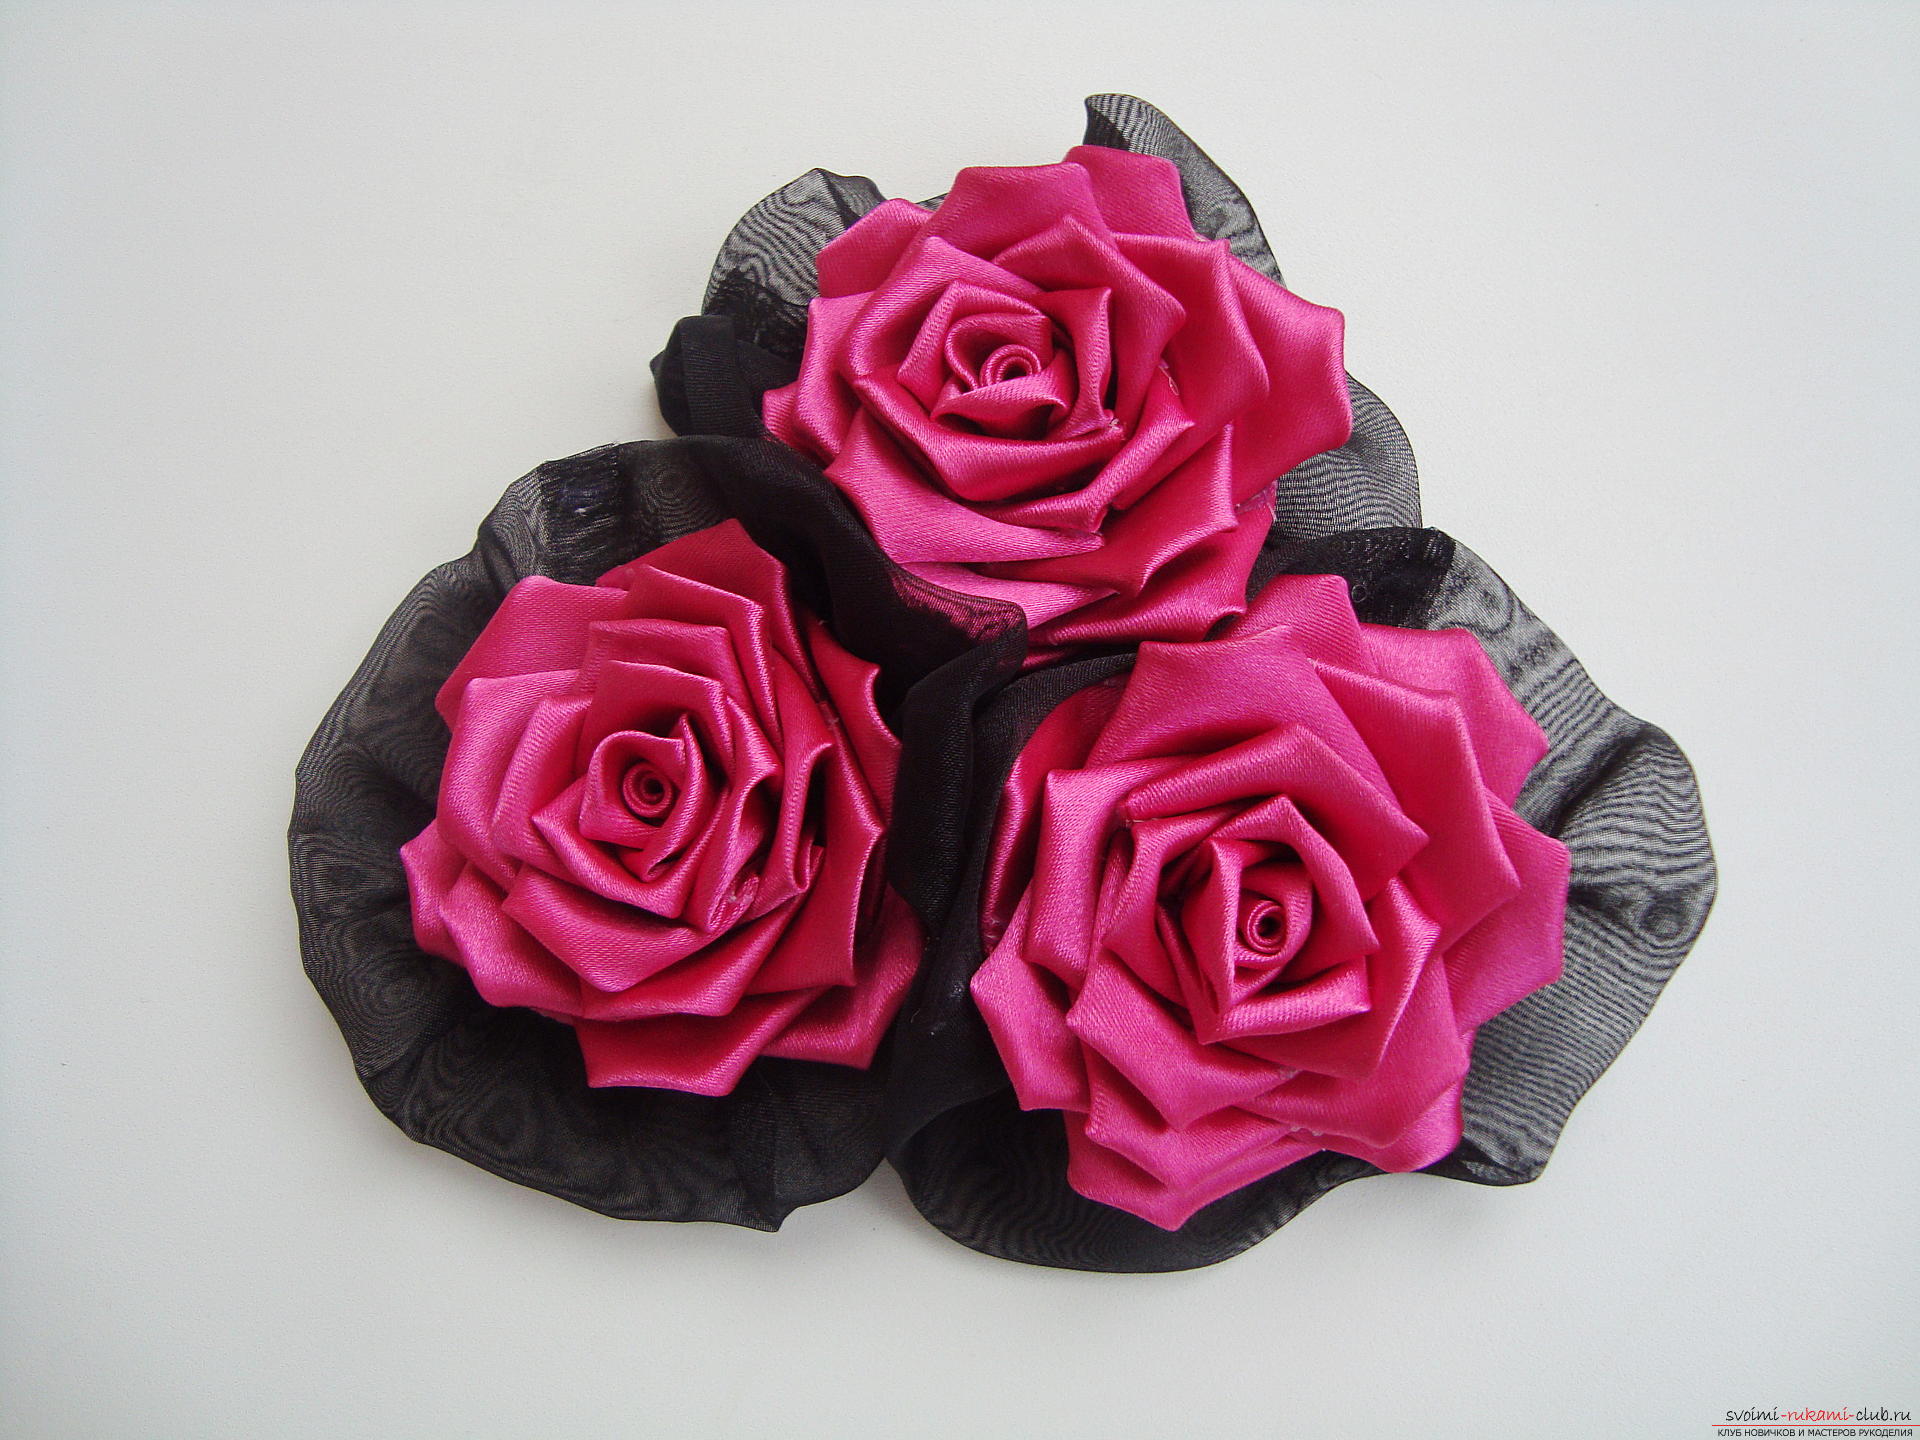 To create roses you will need:
10. Pin or special fastening for brooch.  Raspberry ribbon cut into squares. If you do this with scissors, then each created element is burned over the flame, so that the edges do not shag. It is easier to make incisions immediately with cauterization of the edge, it is easy to carry out this with a burner under a metal ruler. The number of squares is about 20 for each rose, that is, at least 60.
 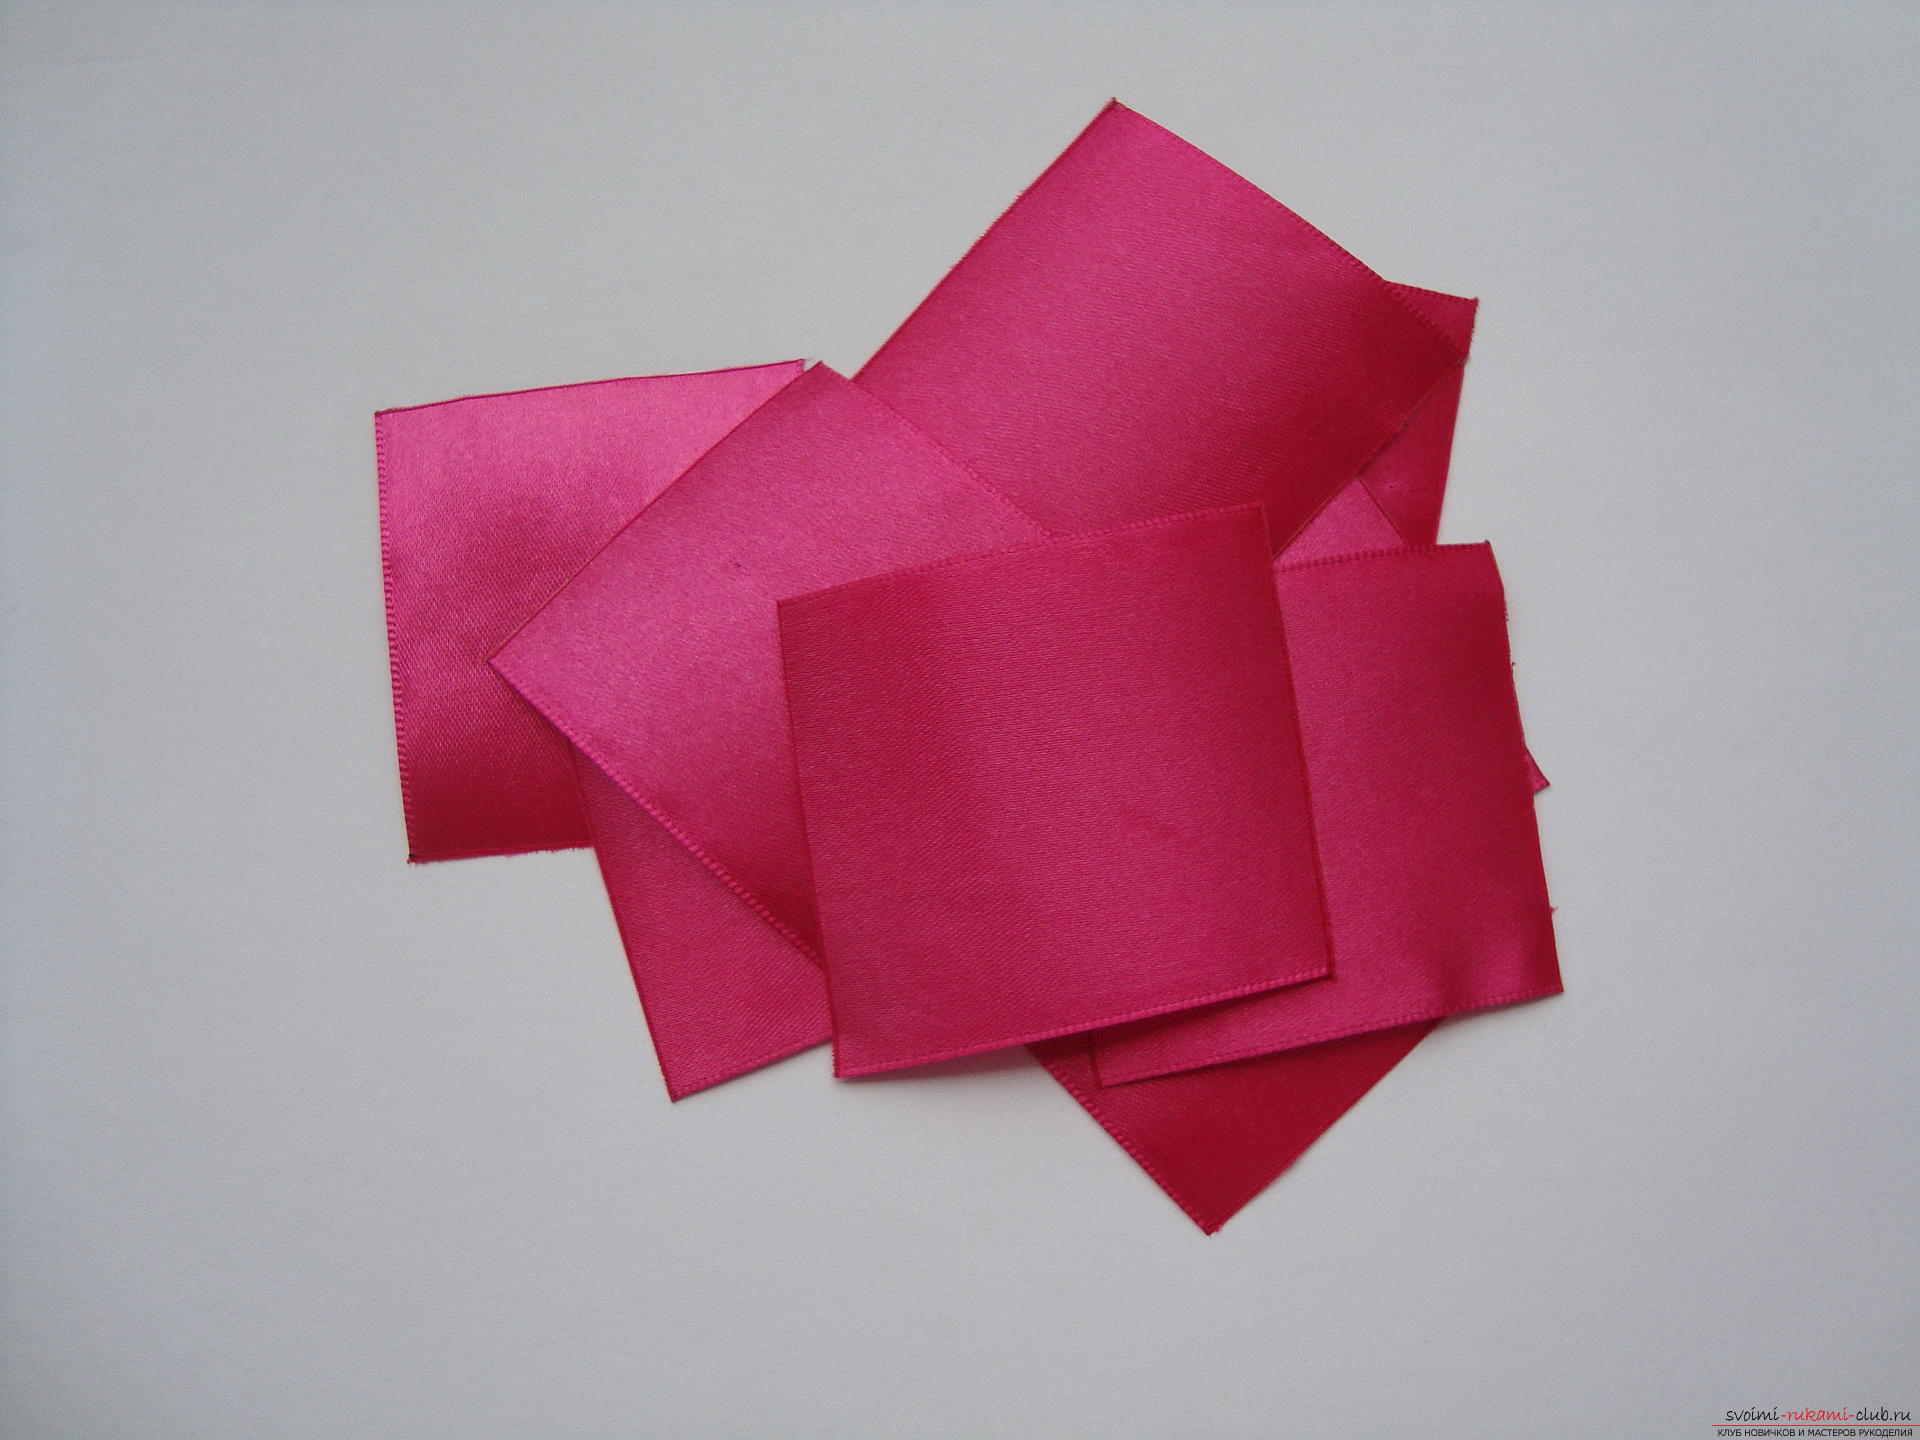 All the petals are created by a single algorithm by simple actions. First, the workpiece is bent from the upper corner in the direction opposite to the lower one.
 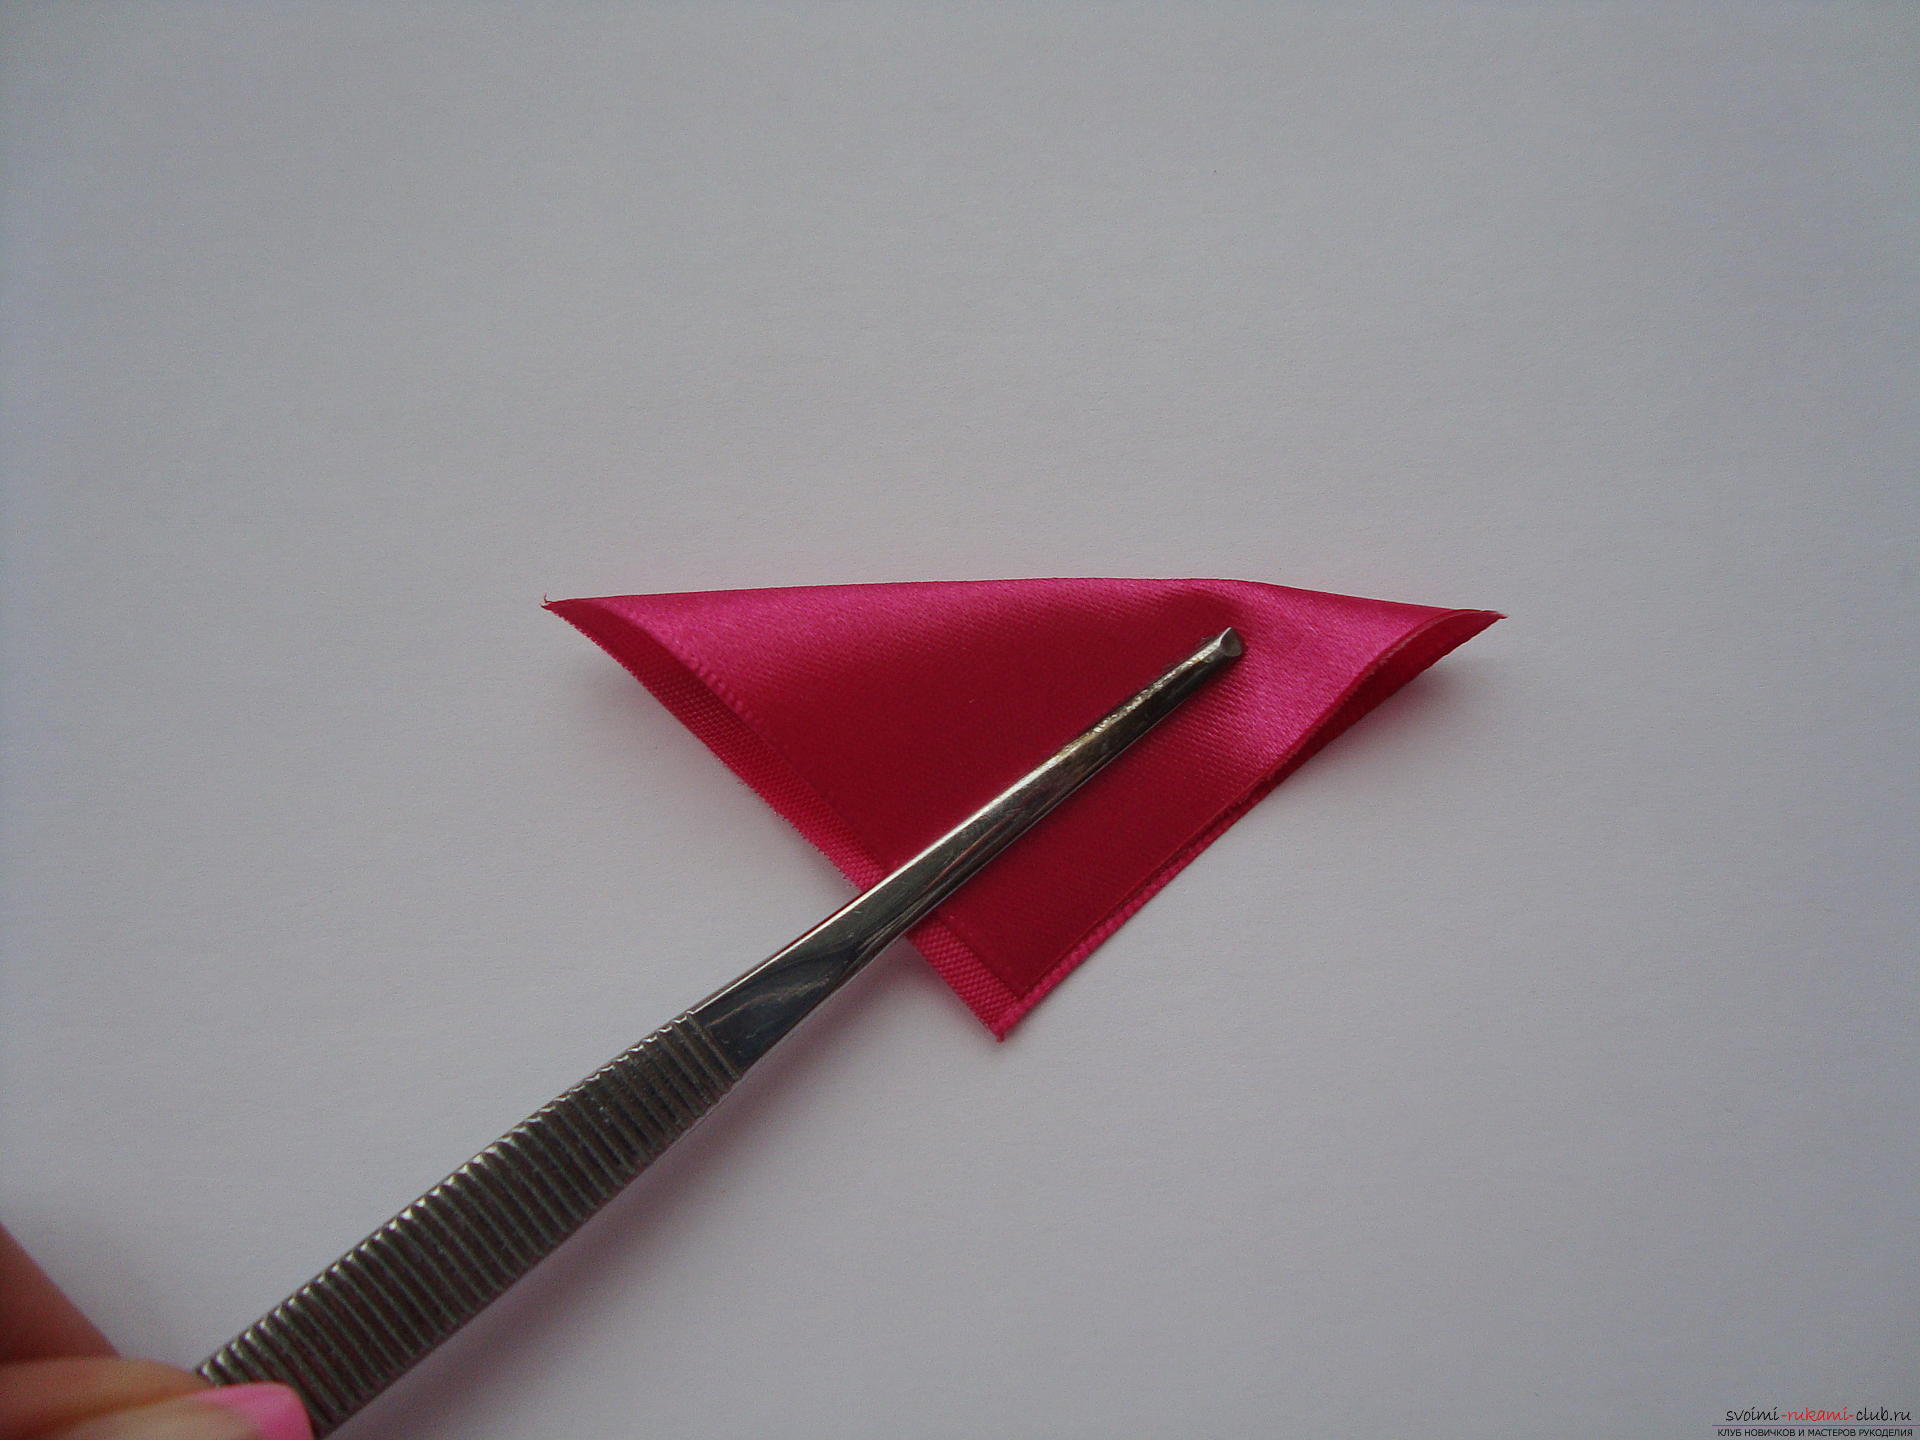 Sharp edges are brought to the bottom corner but so,so that on the top in the center did not get a piciform angle, but there was a short distance. It is this distance that determines the shape of the petal resembling a pink leaf. And the elements with sharp ends will look different, and when gluing the flower, they do not fit properly.
 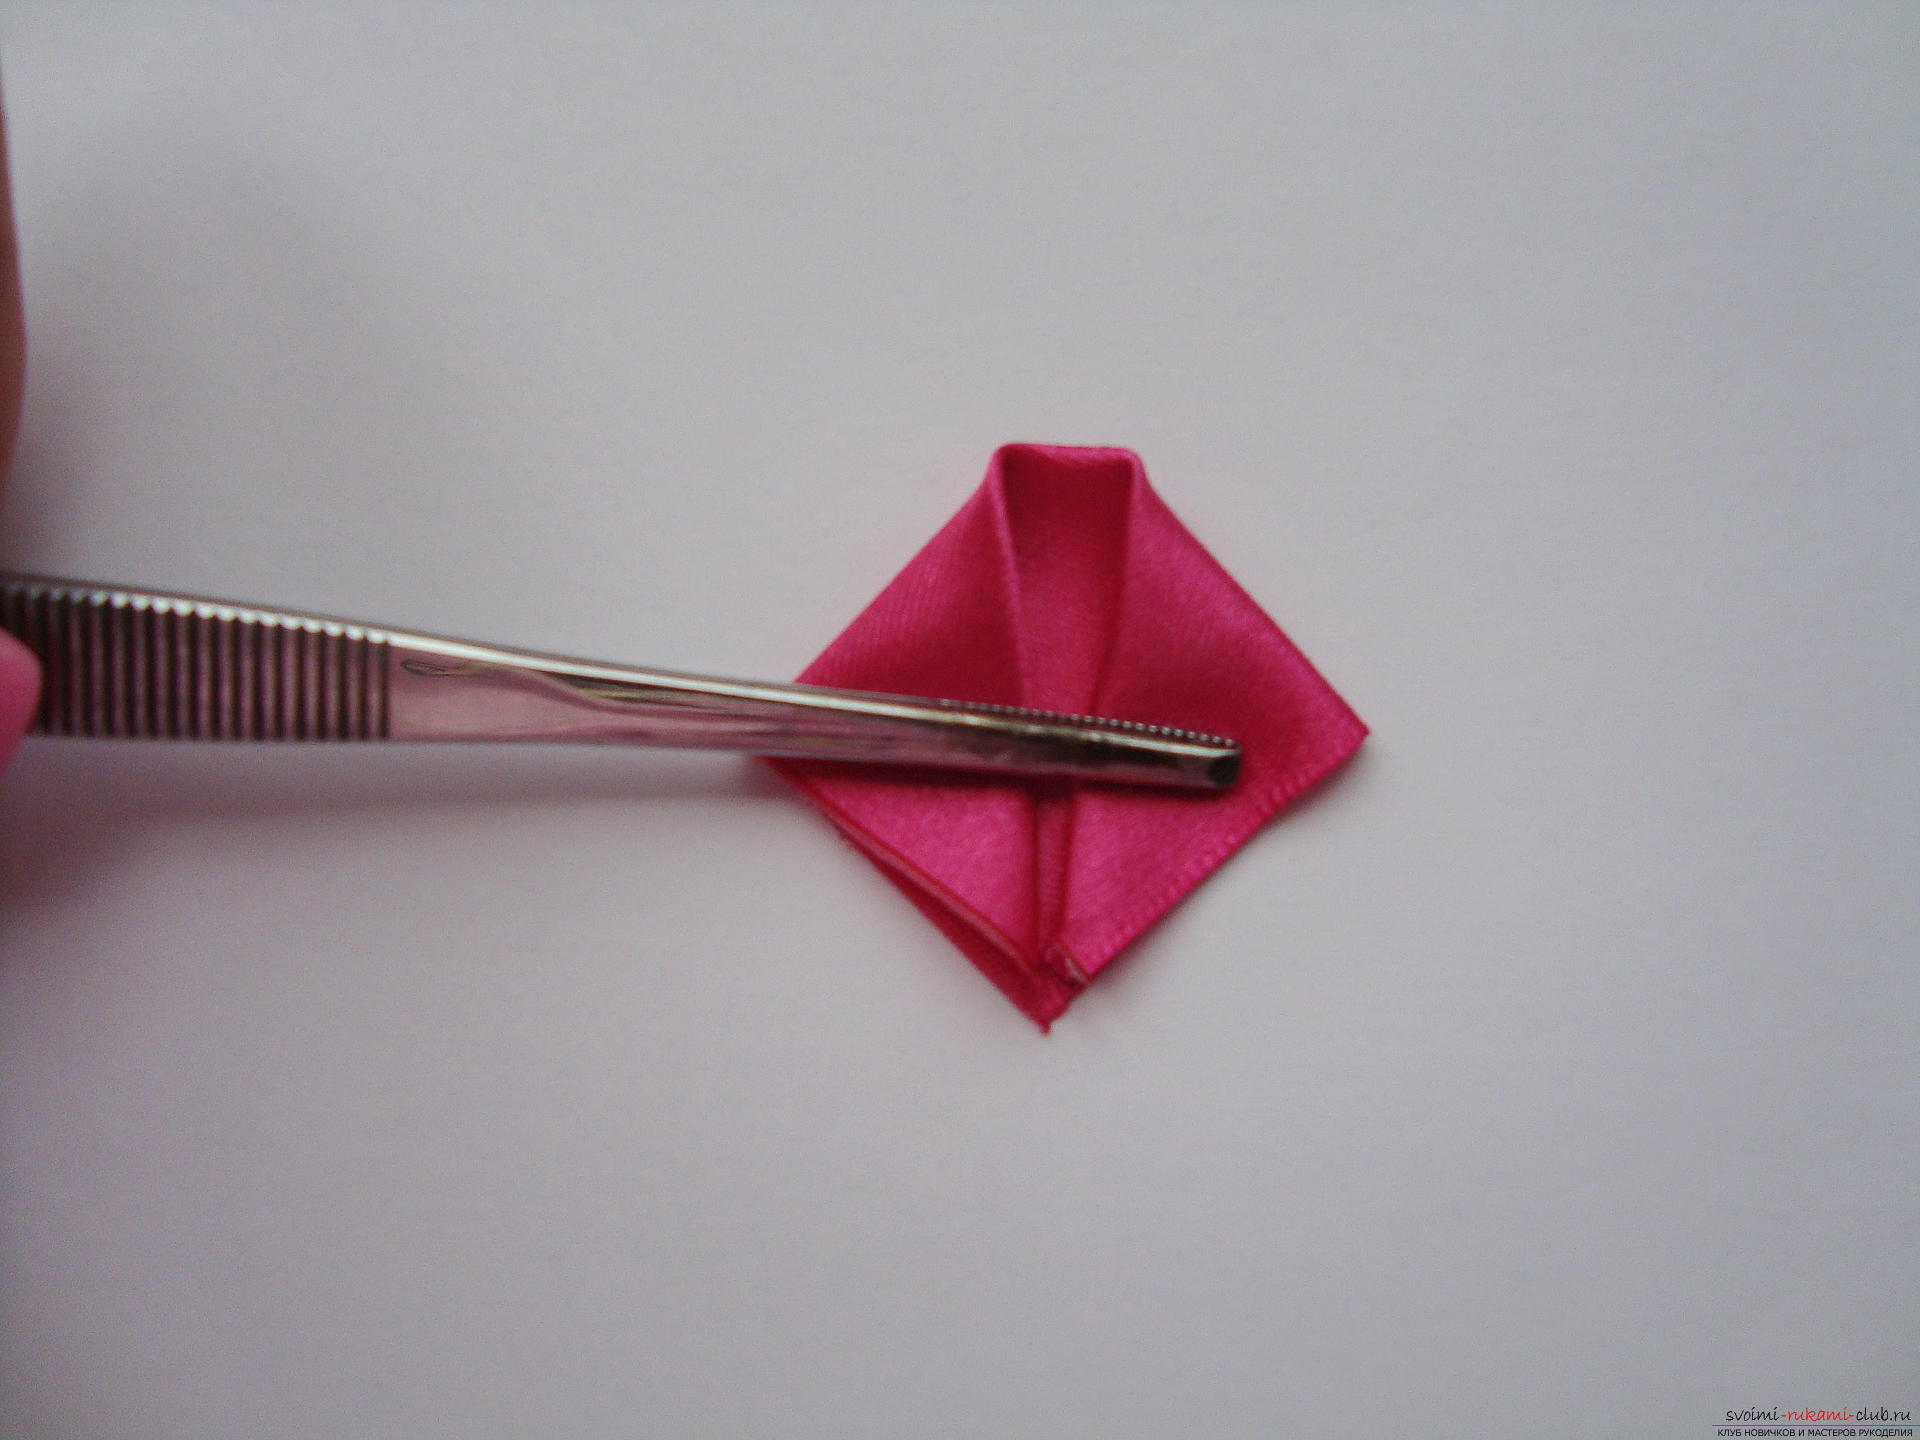 Clamp the folded workpiece with a ruler and cut off the lower 3 mm burner. As a result, there is a scattering of such identical elements:
 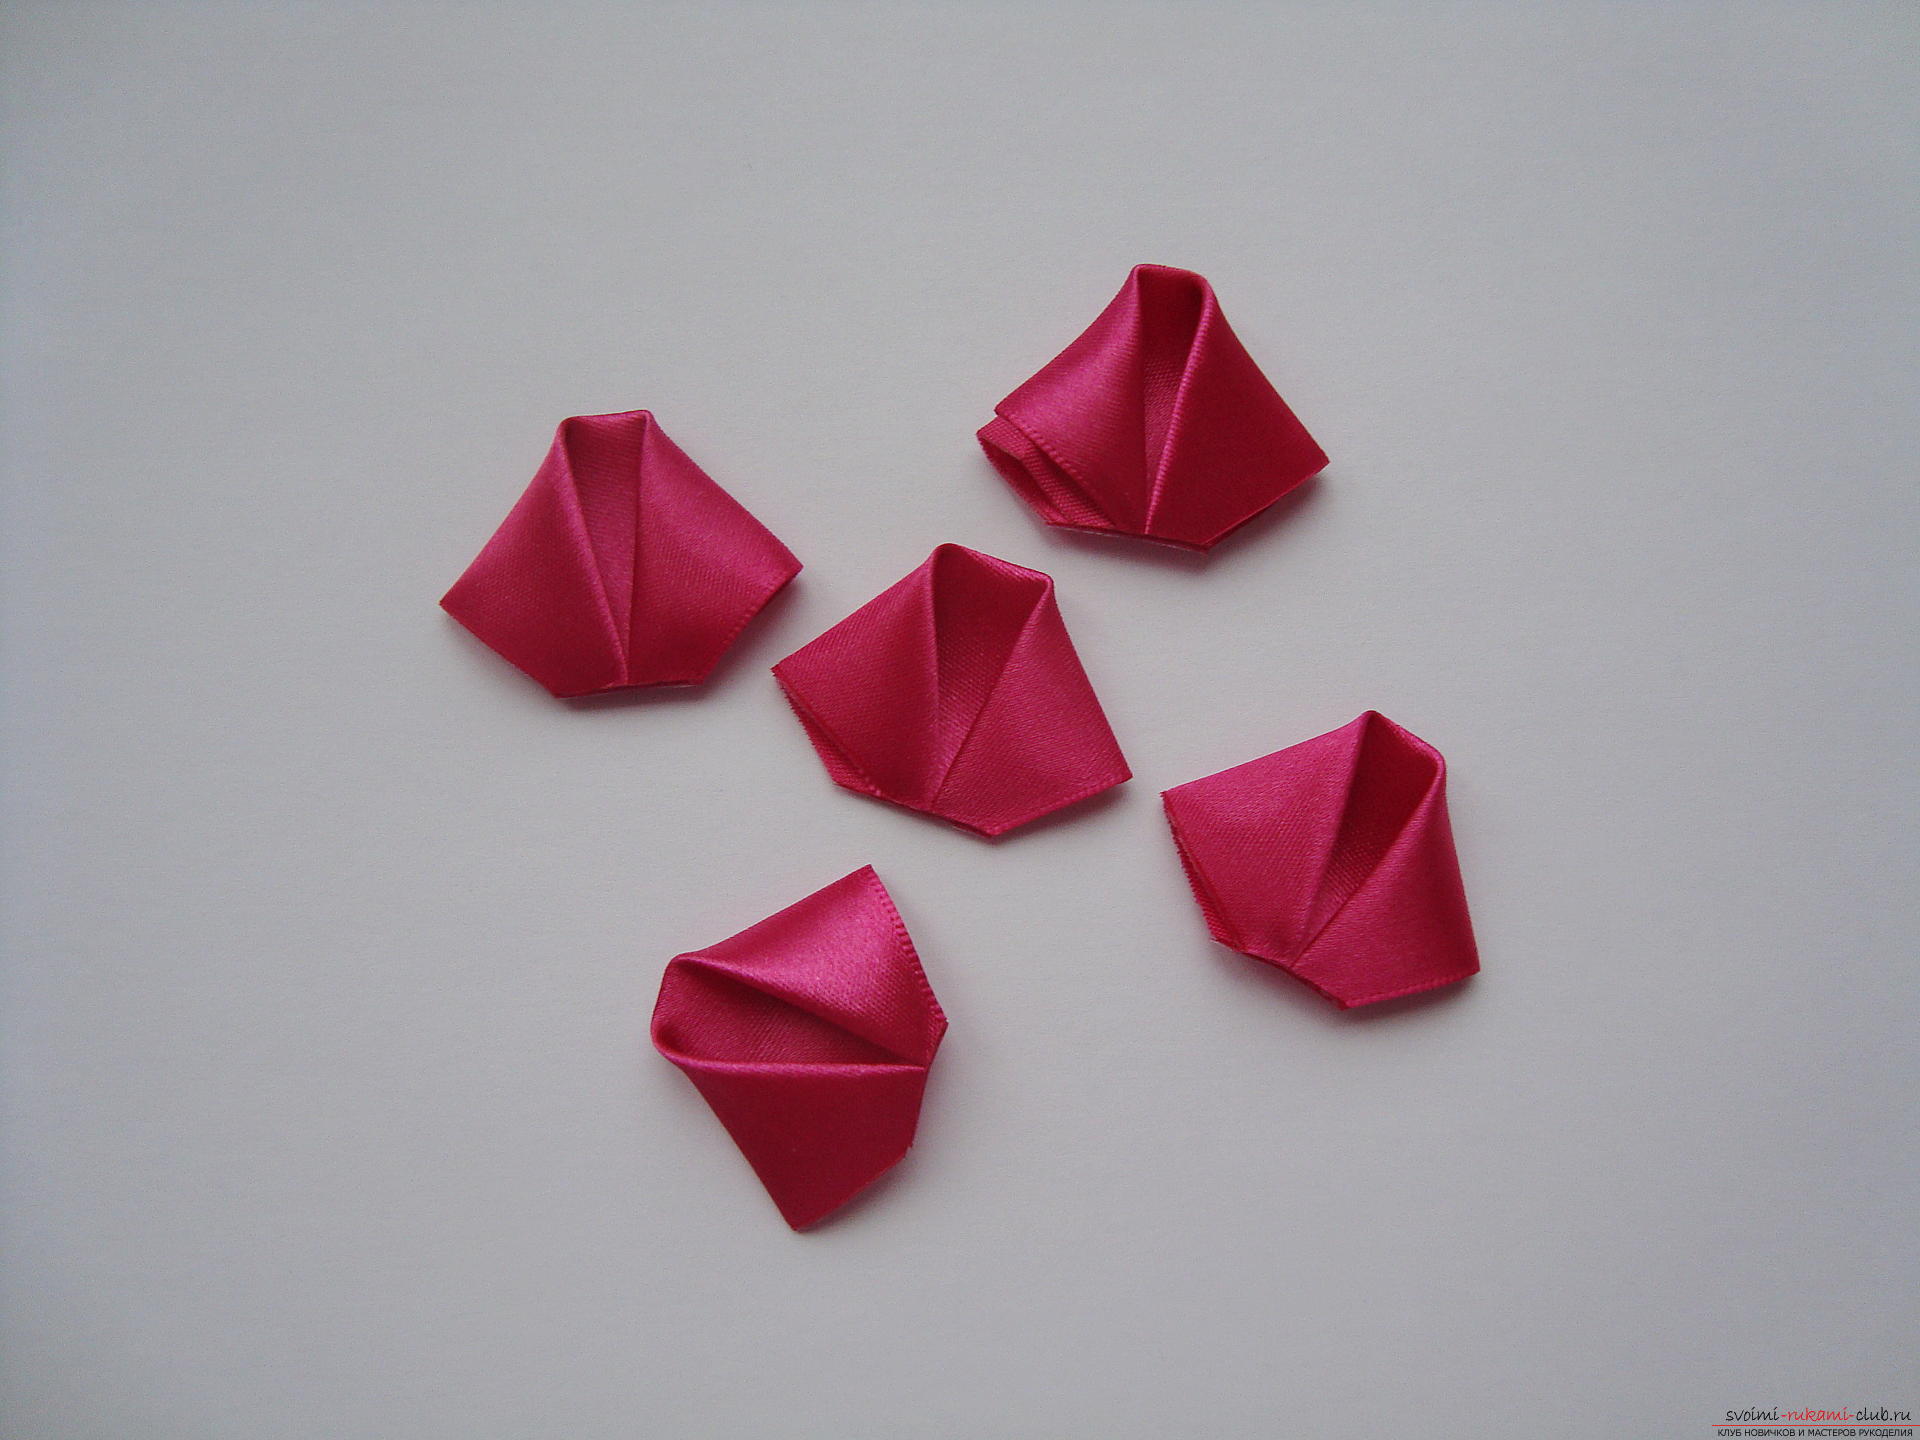 When the petals are created, proceed with the assembly of the flower. The first petal will mimic the bud, so roll it inside to the middle and at the bottom of the base, apply hot glue.
 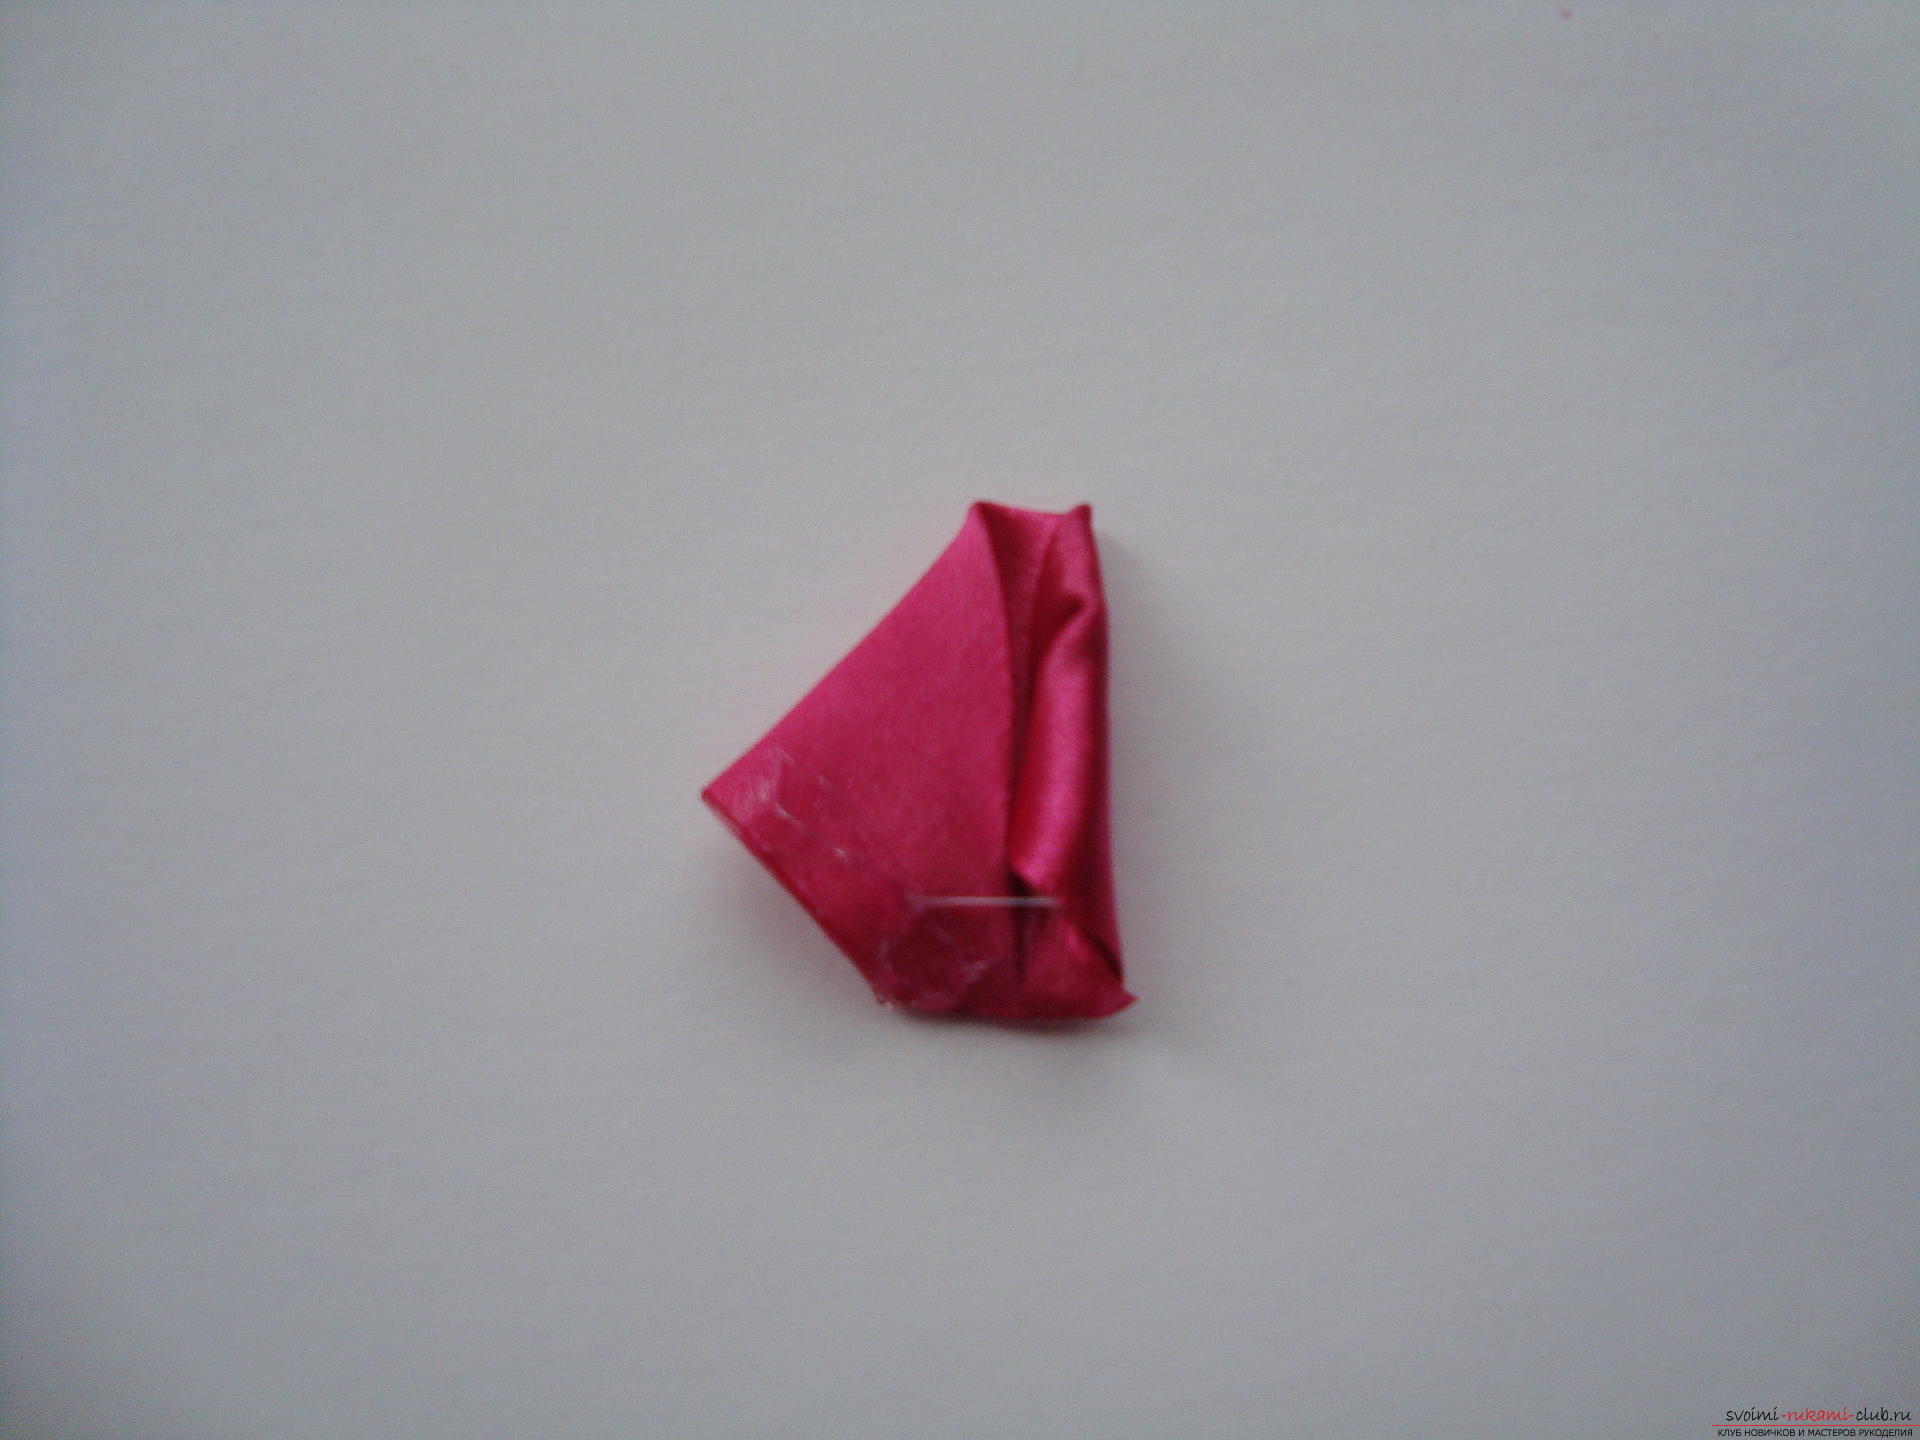 Next, fold the petal into the tube to the end and squeeze the work a little, so that the glue is attached to the edge of the element.
 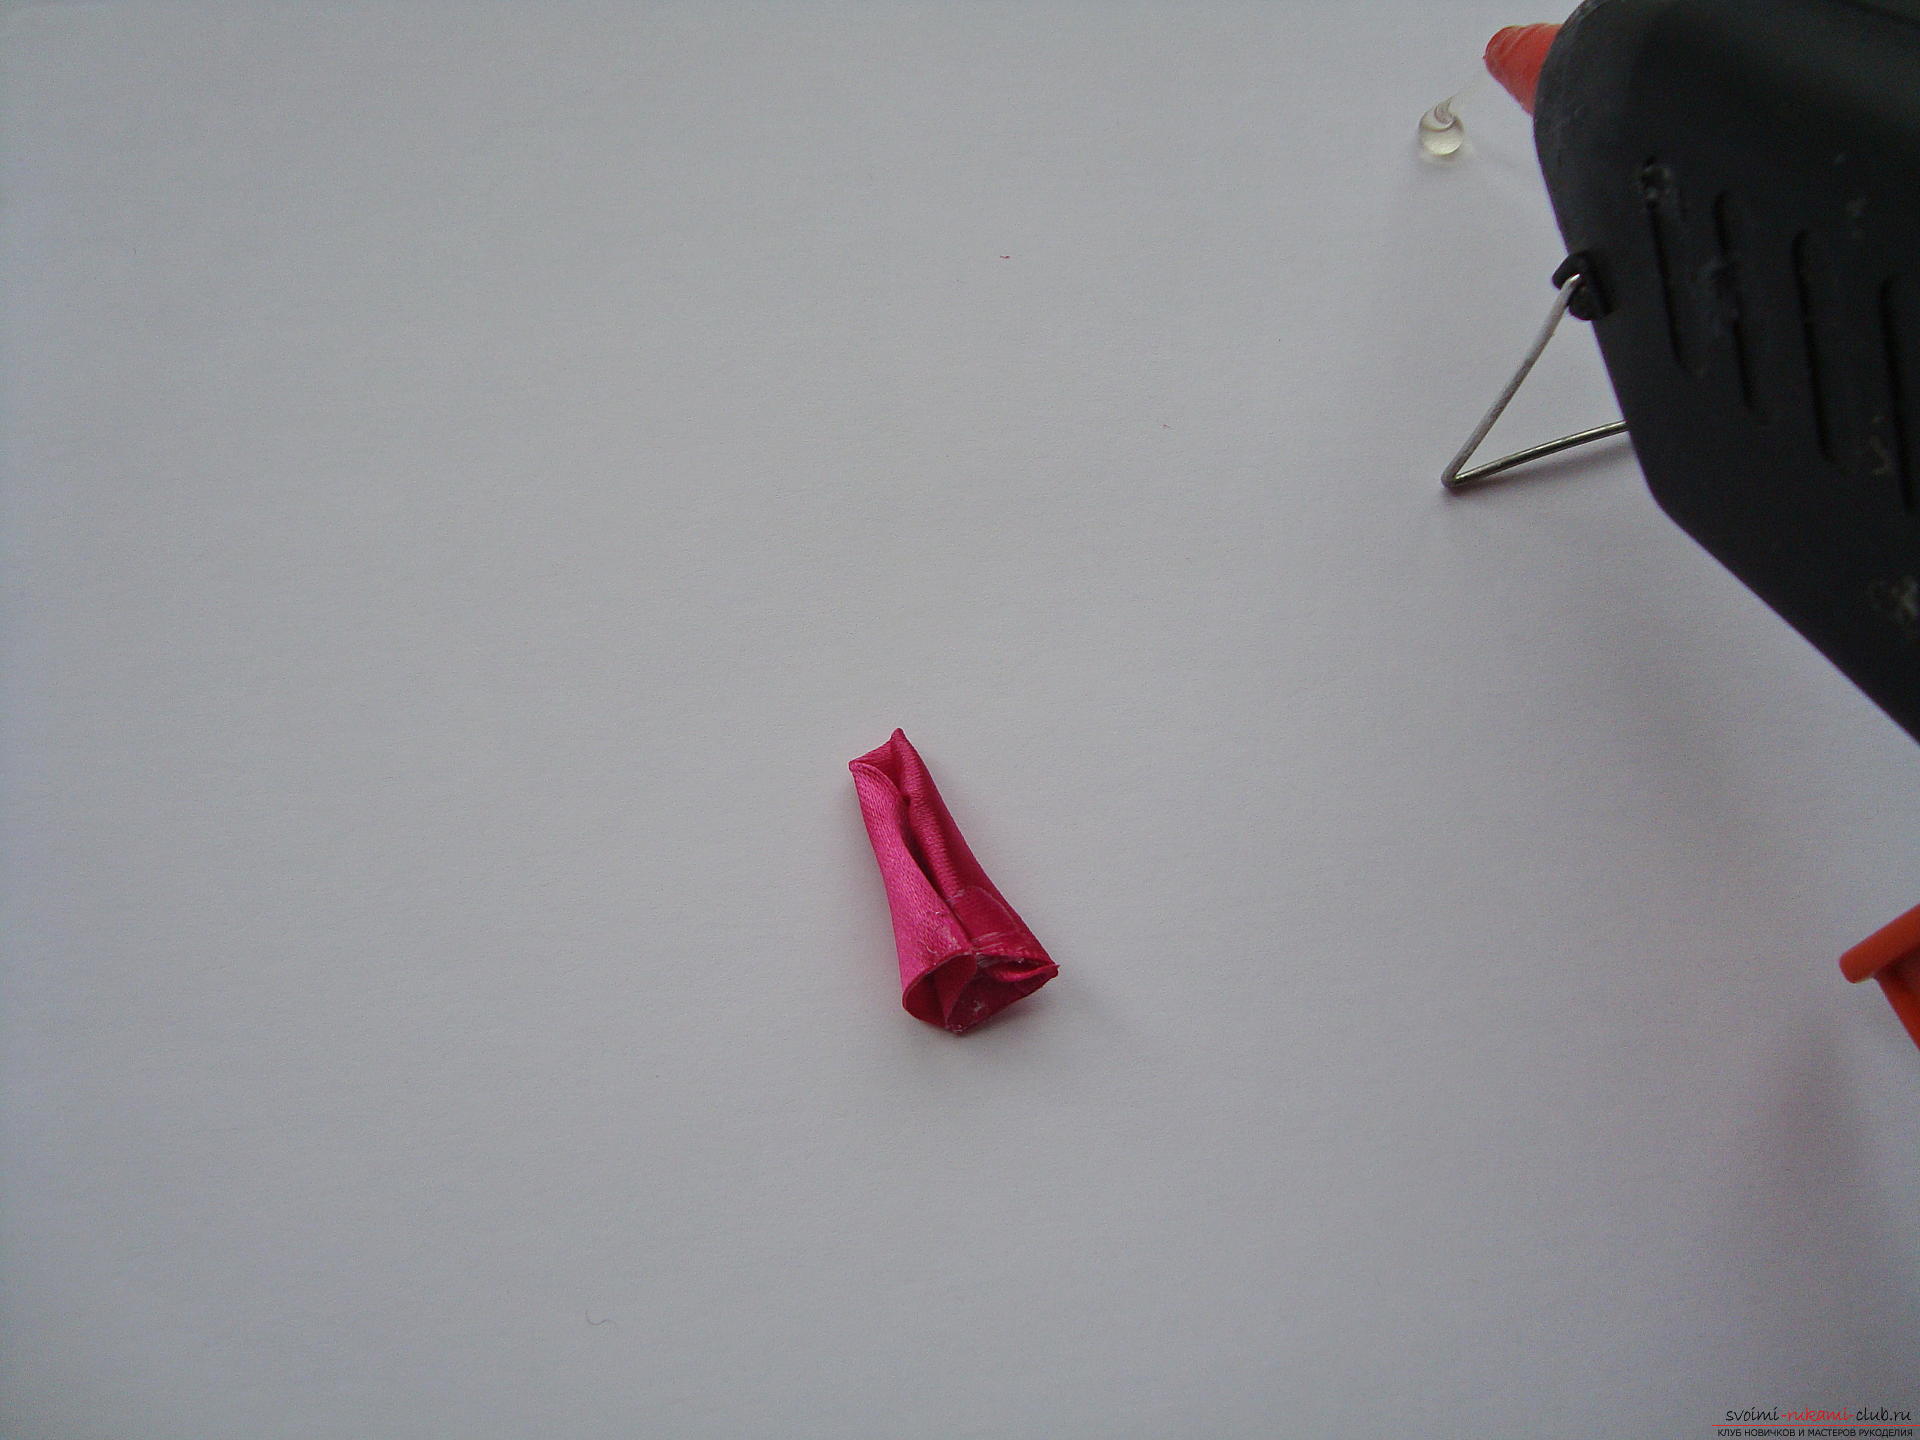 The next petal closes the bud, it is glued to the outside by a joint. Apply the adhesive mass only to the bottom of the part, and not over the entire surface of the satin petal.
 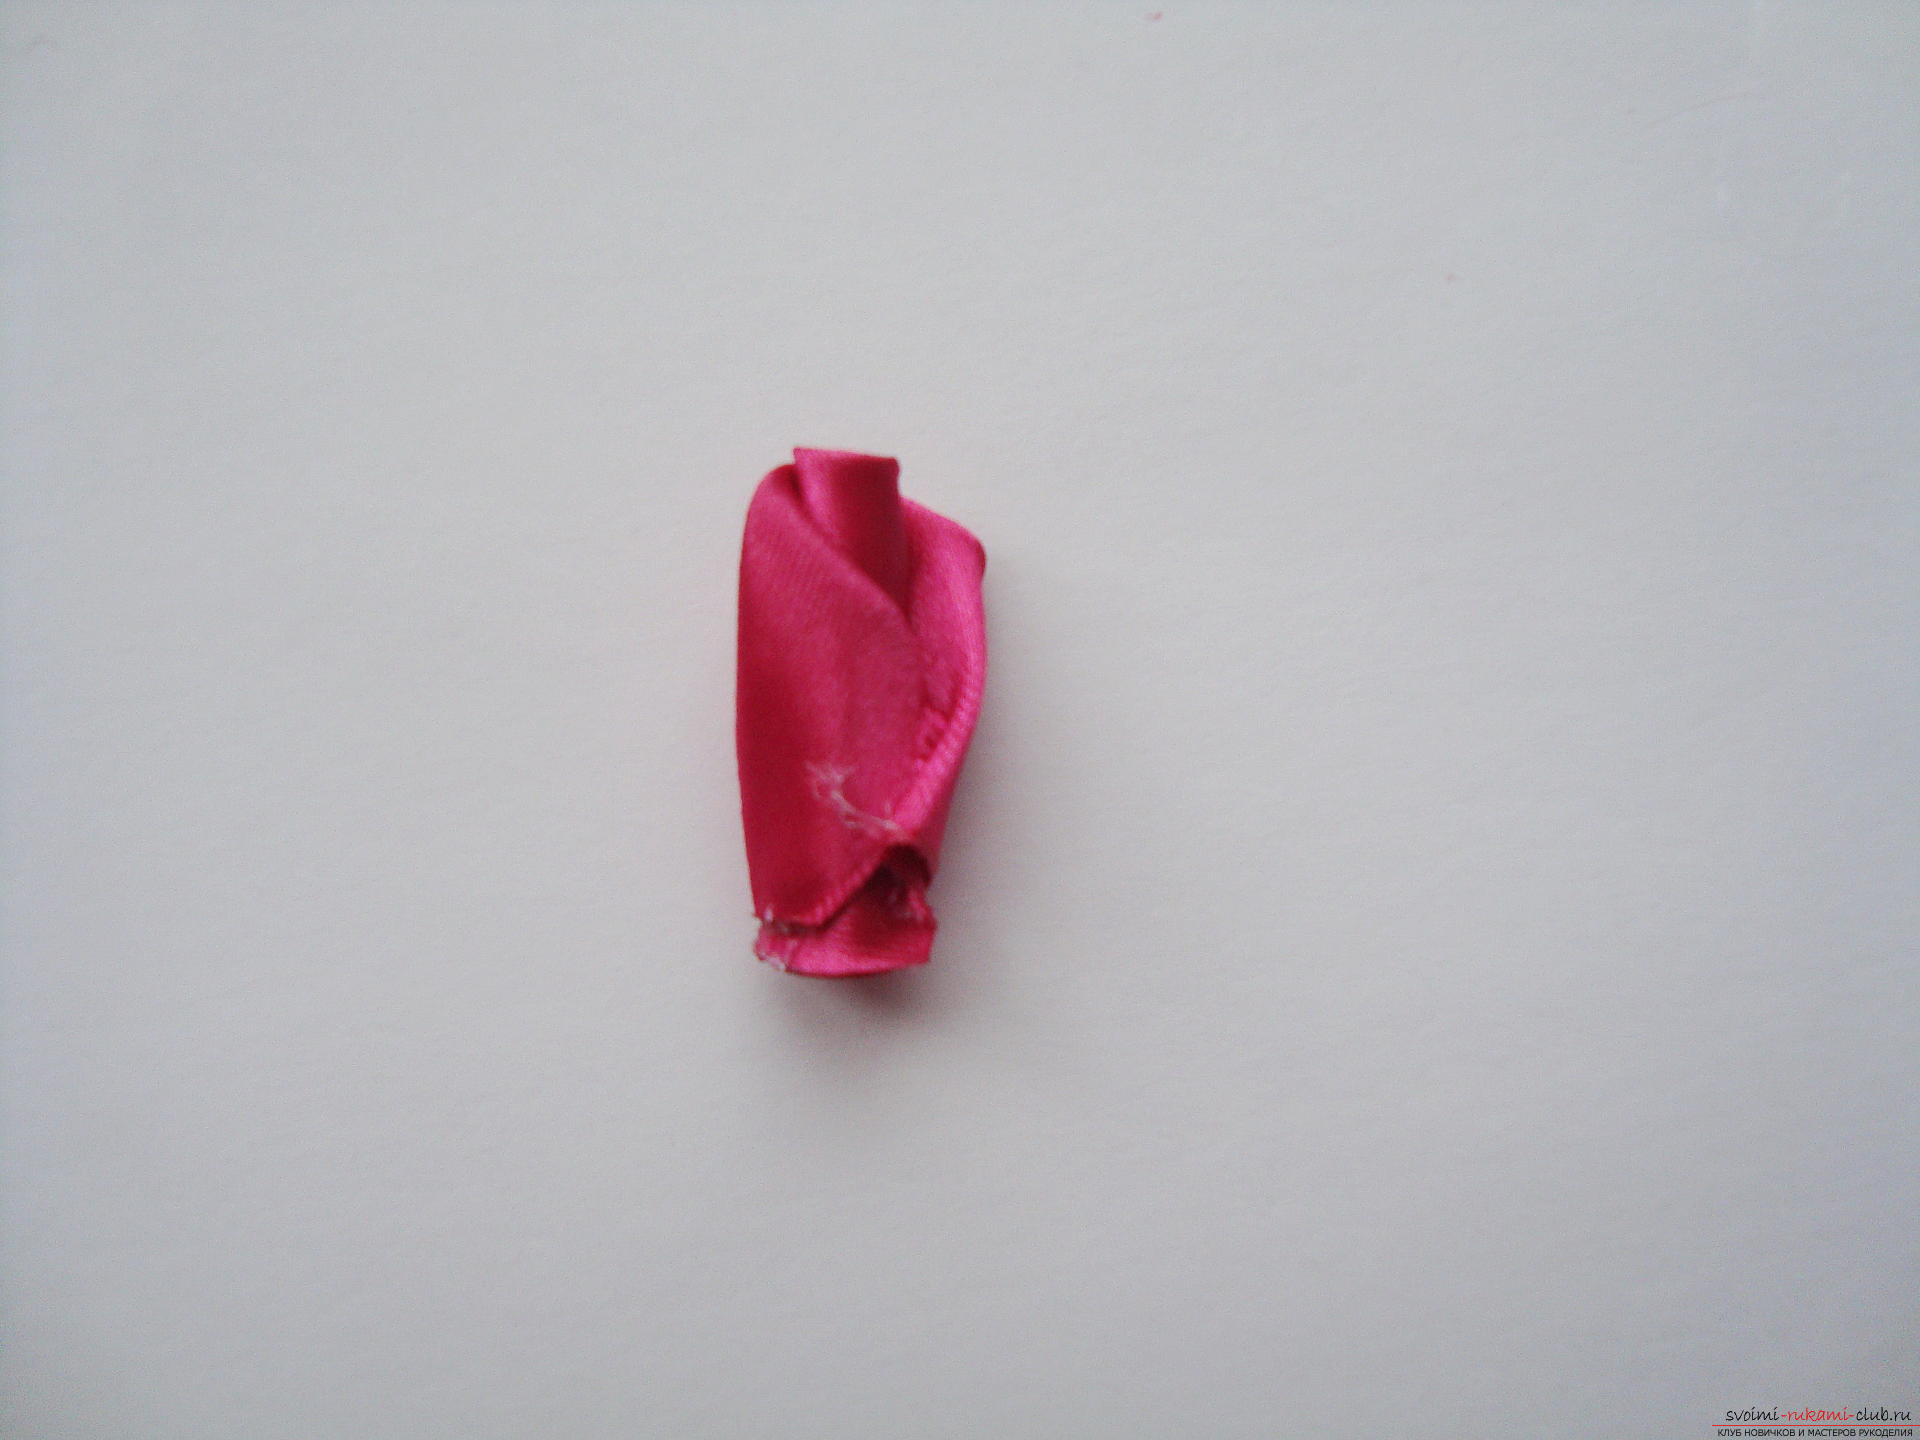 The third petal lies opposite the second (assuming that the first is a bud). Then the next pair of lobes are glued against each other.
  The folding point should always look outwards. Each petal is adhered to the level of the lower edge of the inflorescence.
 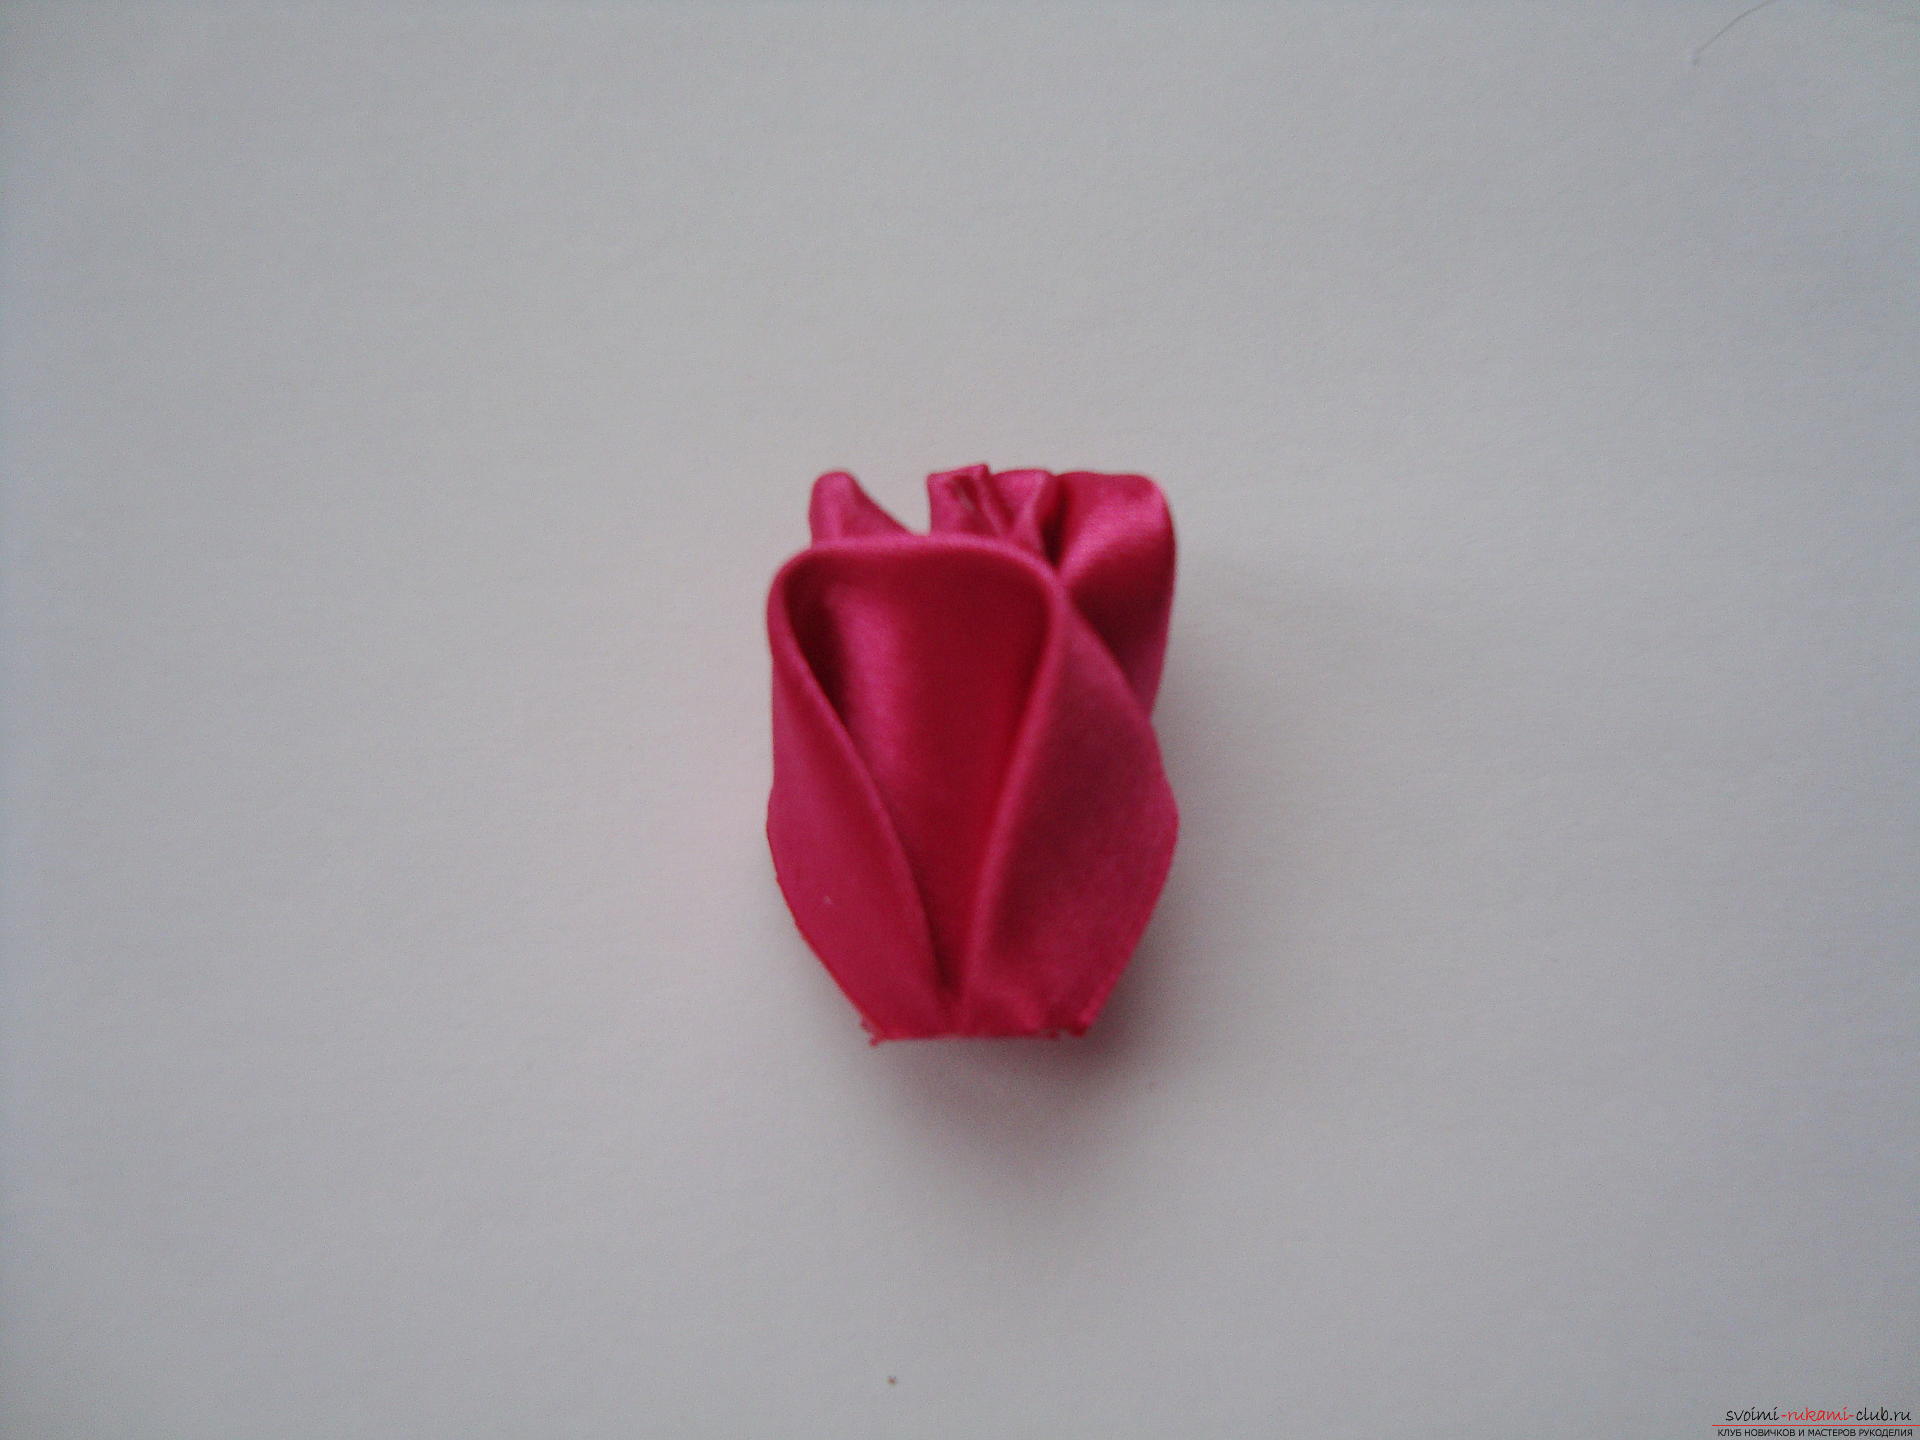 Of about 20 petals, form a beautiful rose. Her smooth satin petals will play in the sun, and look very impressive.
 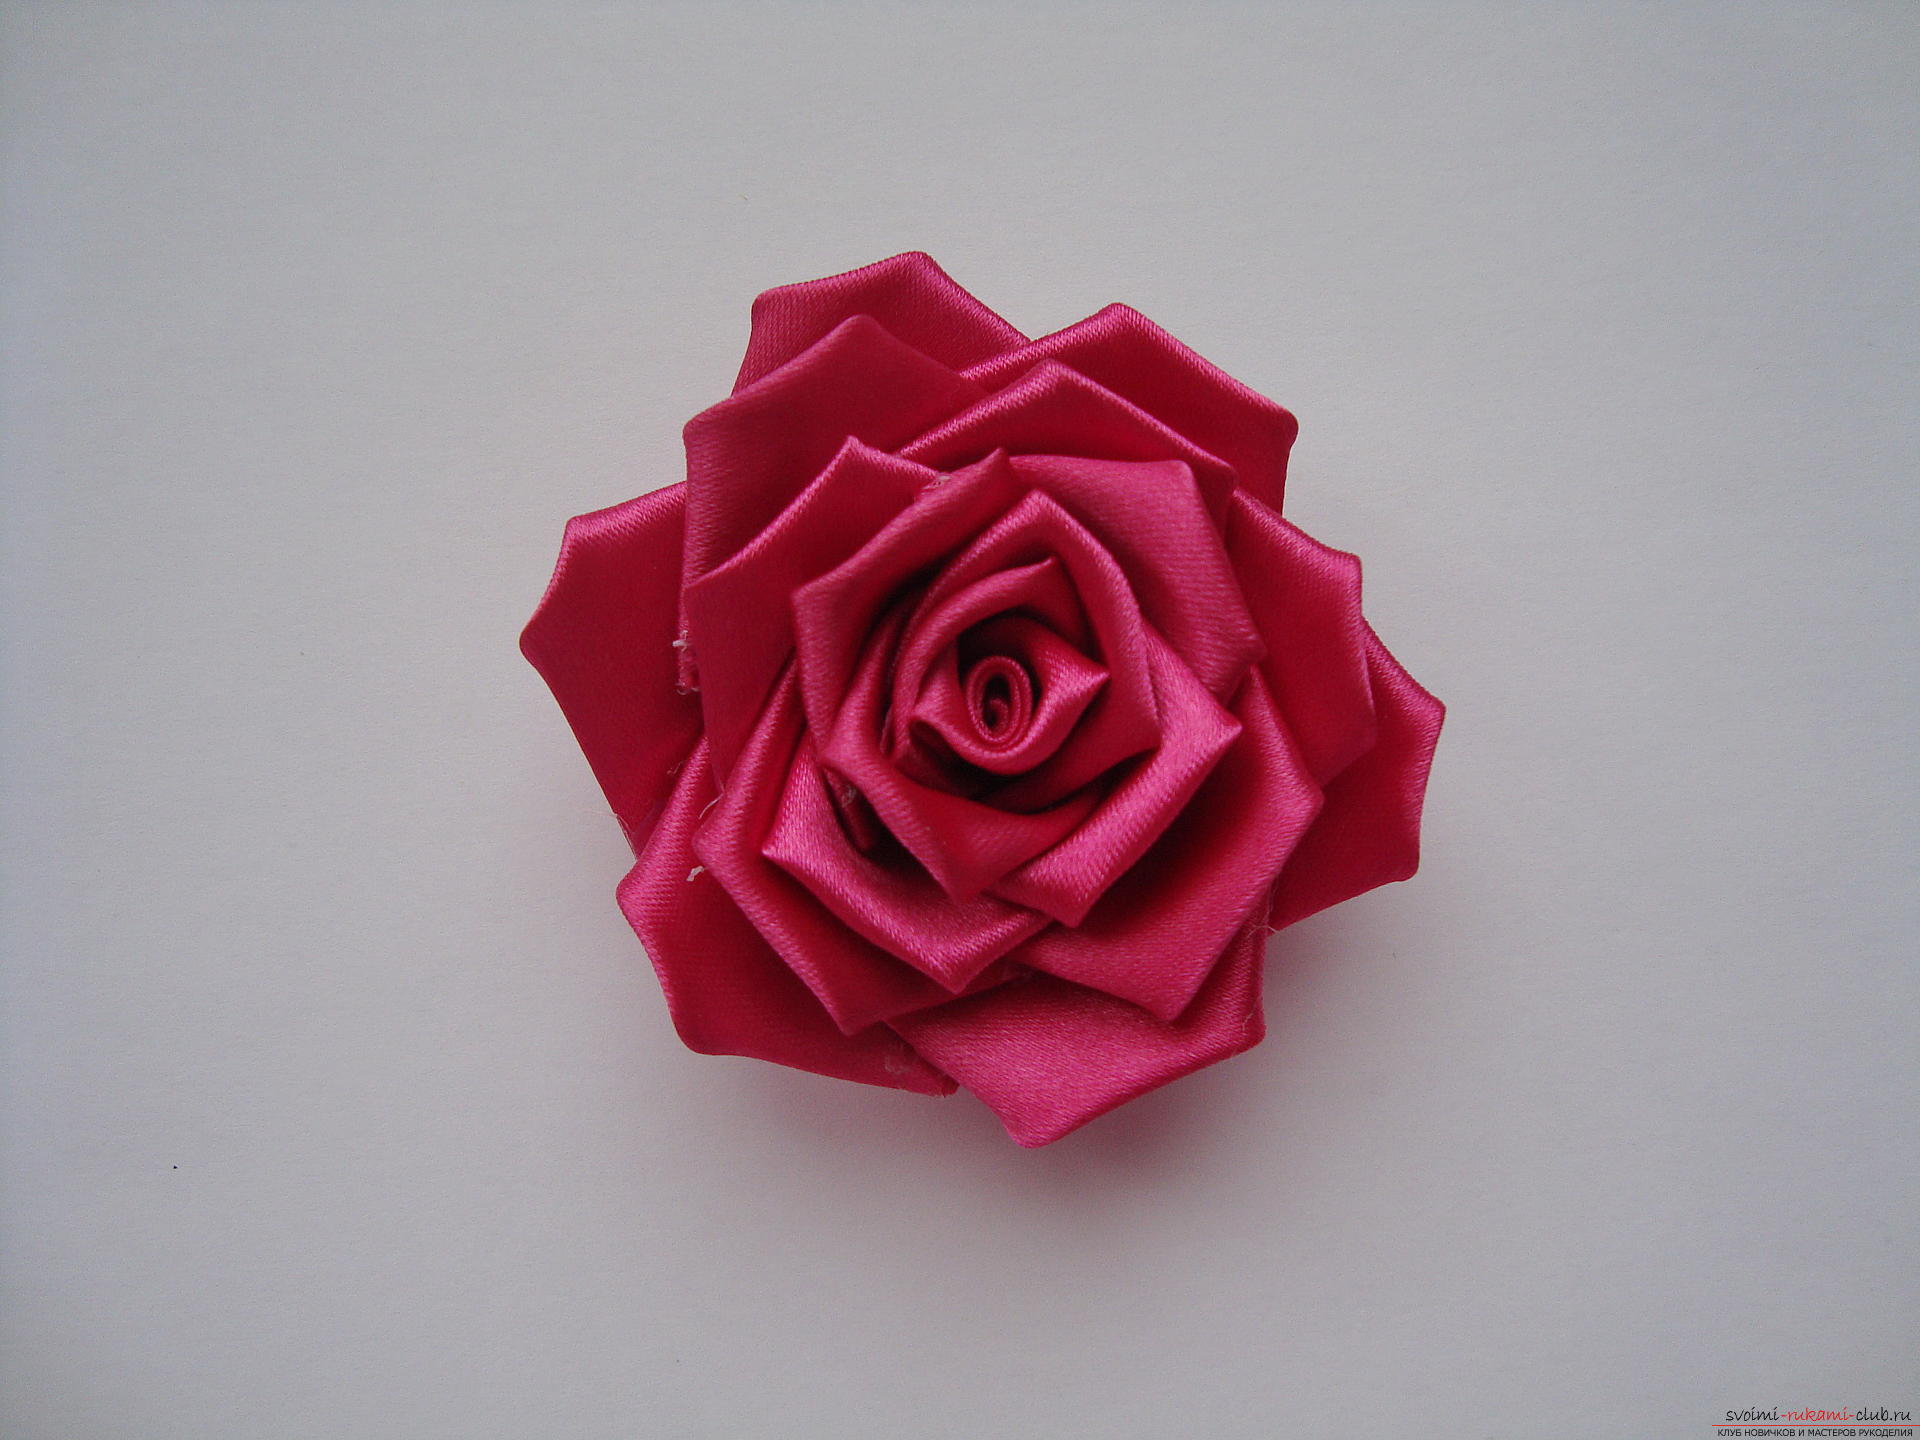 To give the volume and shade of the flower, a black chiffon skirt is used. To make it, fold the fabric in half, the width should be about 2 cm. Cut a flap 20 cm long.
 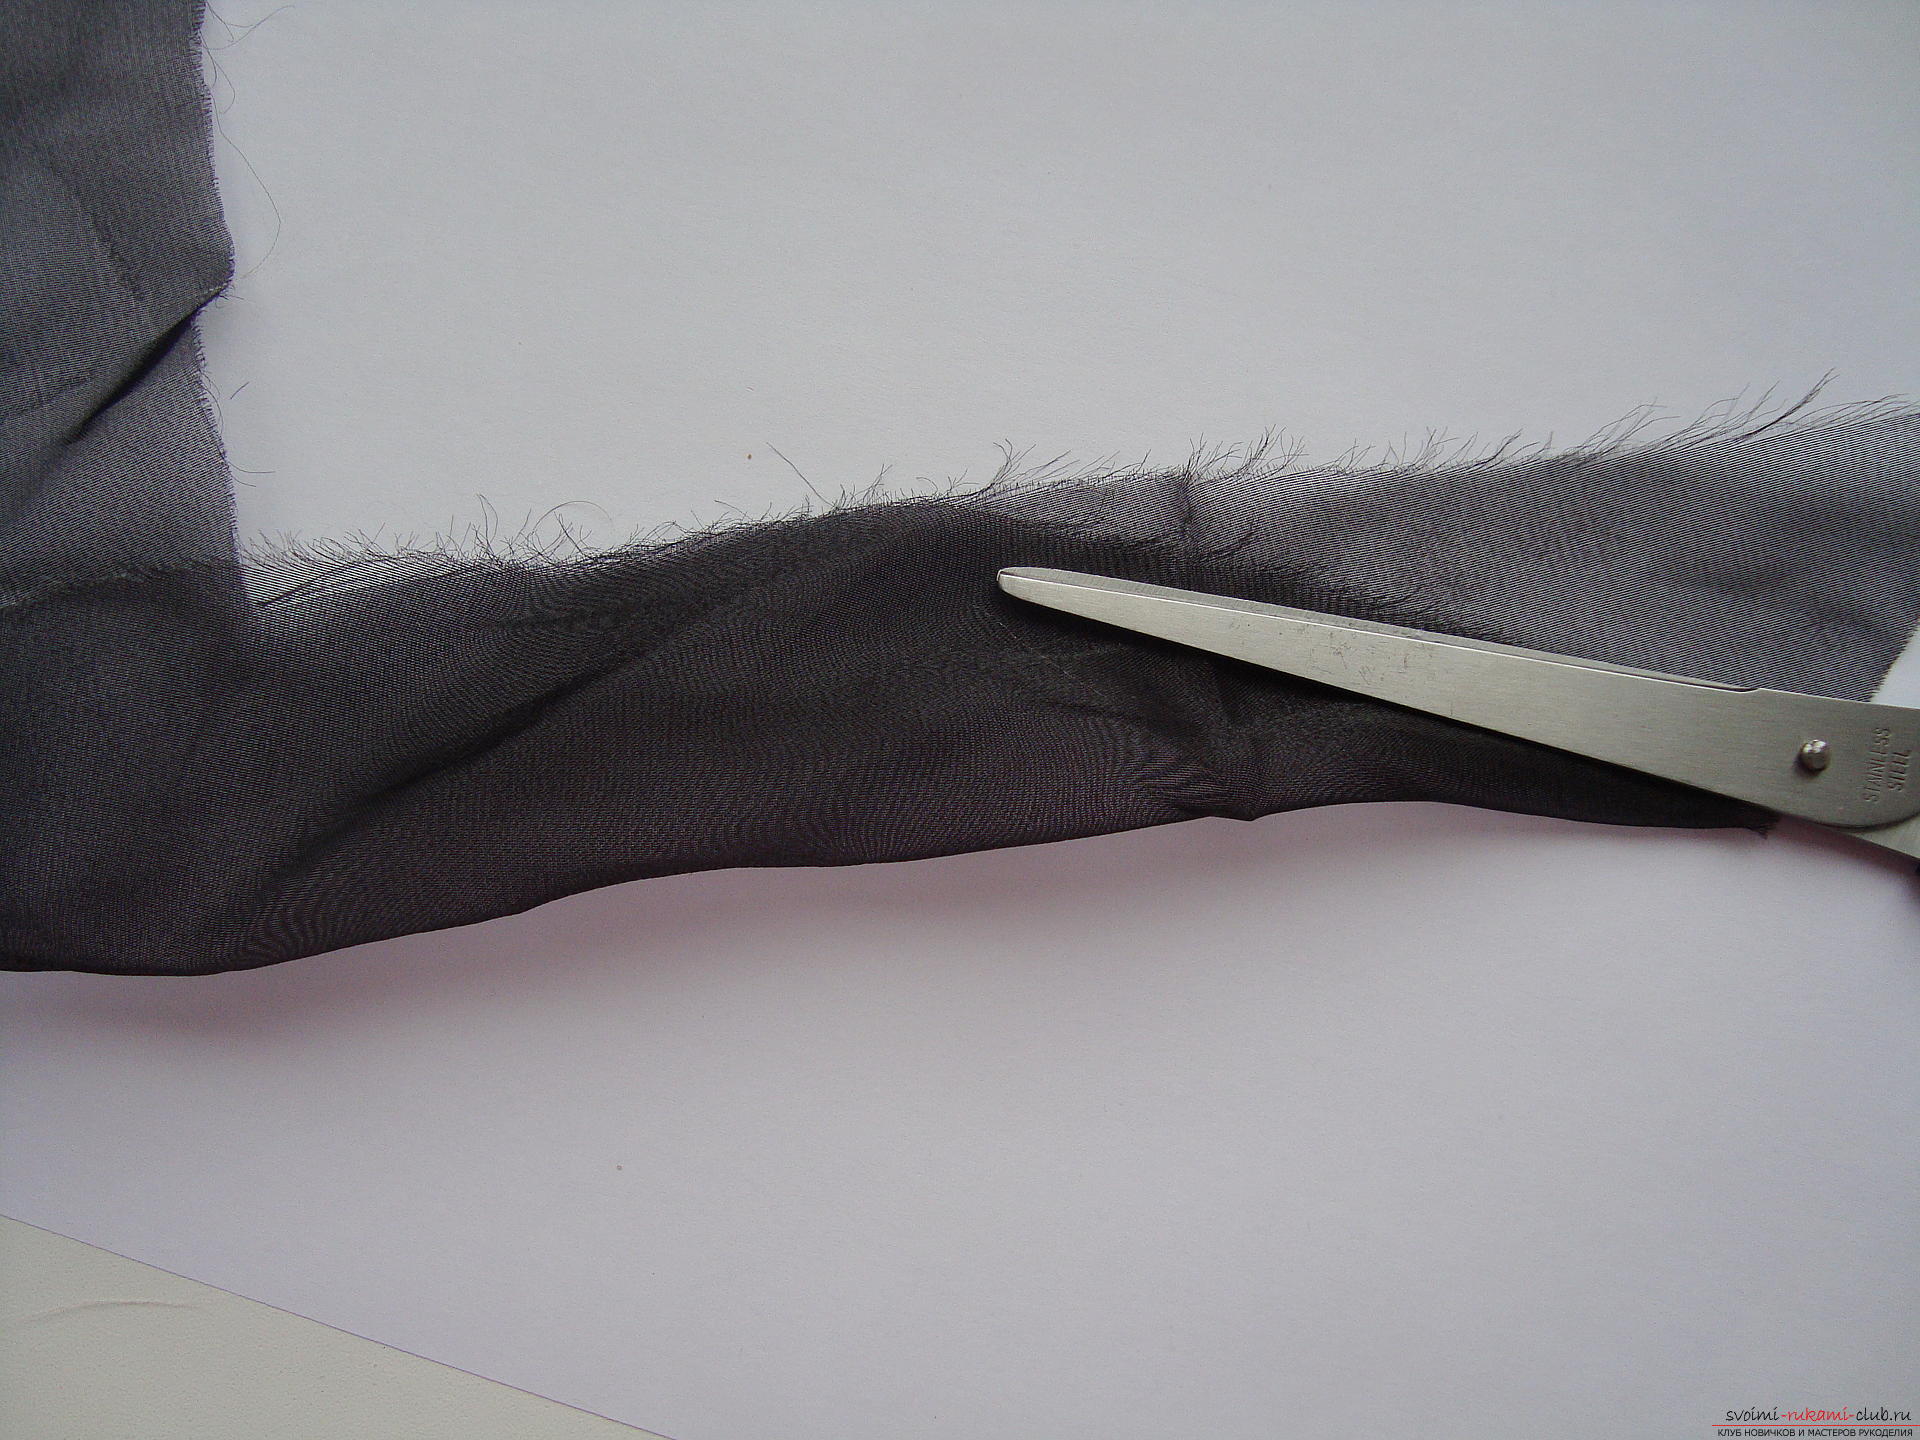 Sew sections with conventional stitches, tighten the fabric so that the diameter of the inner ring does not exceed 35 mm. The edges of the "skirt" are glued together with a drop of hot melt.
  Spread the bottom of the rose to attach to the black fabric.
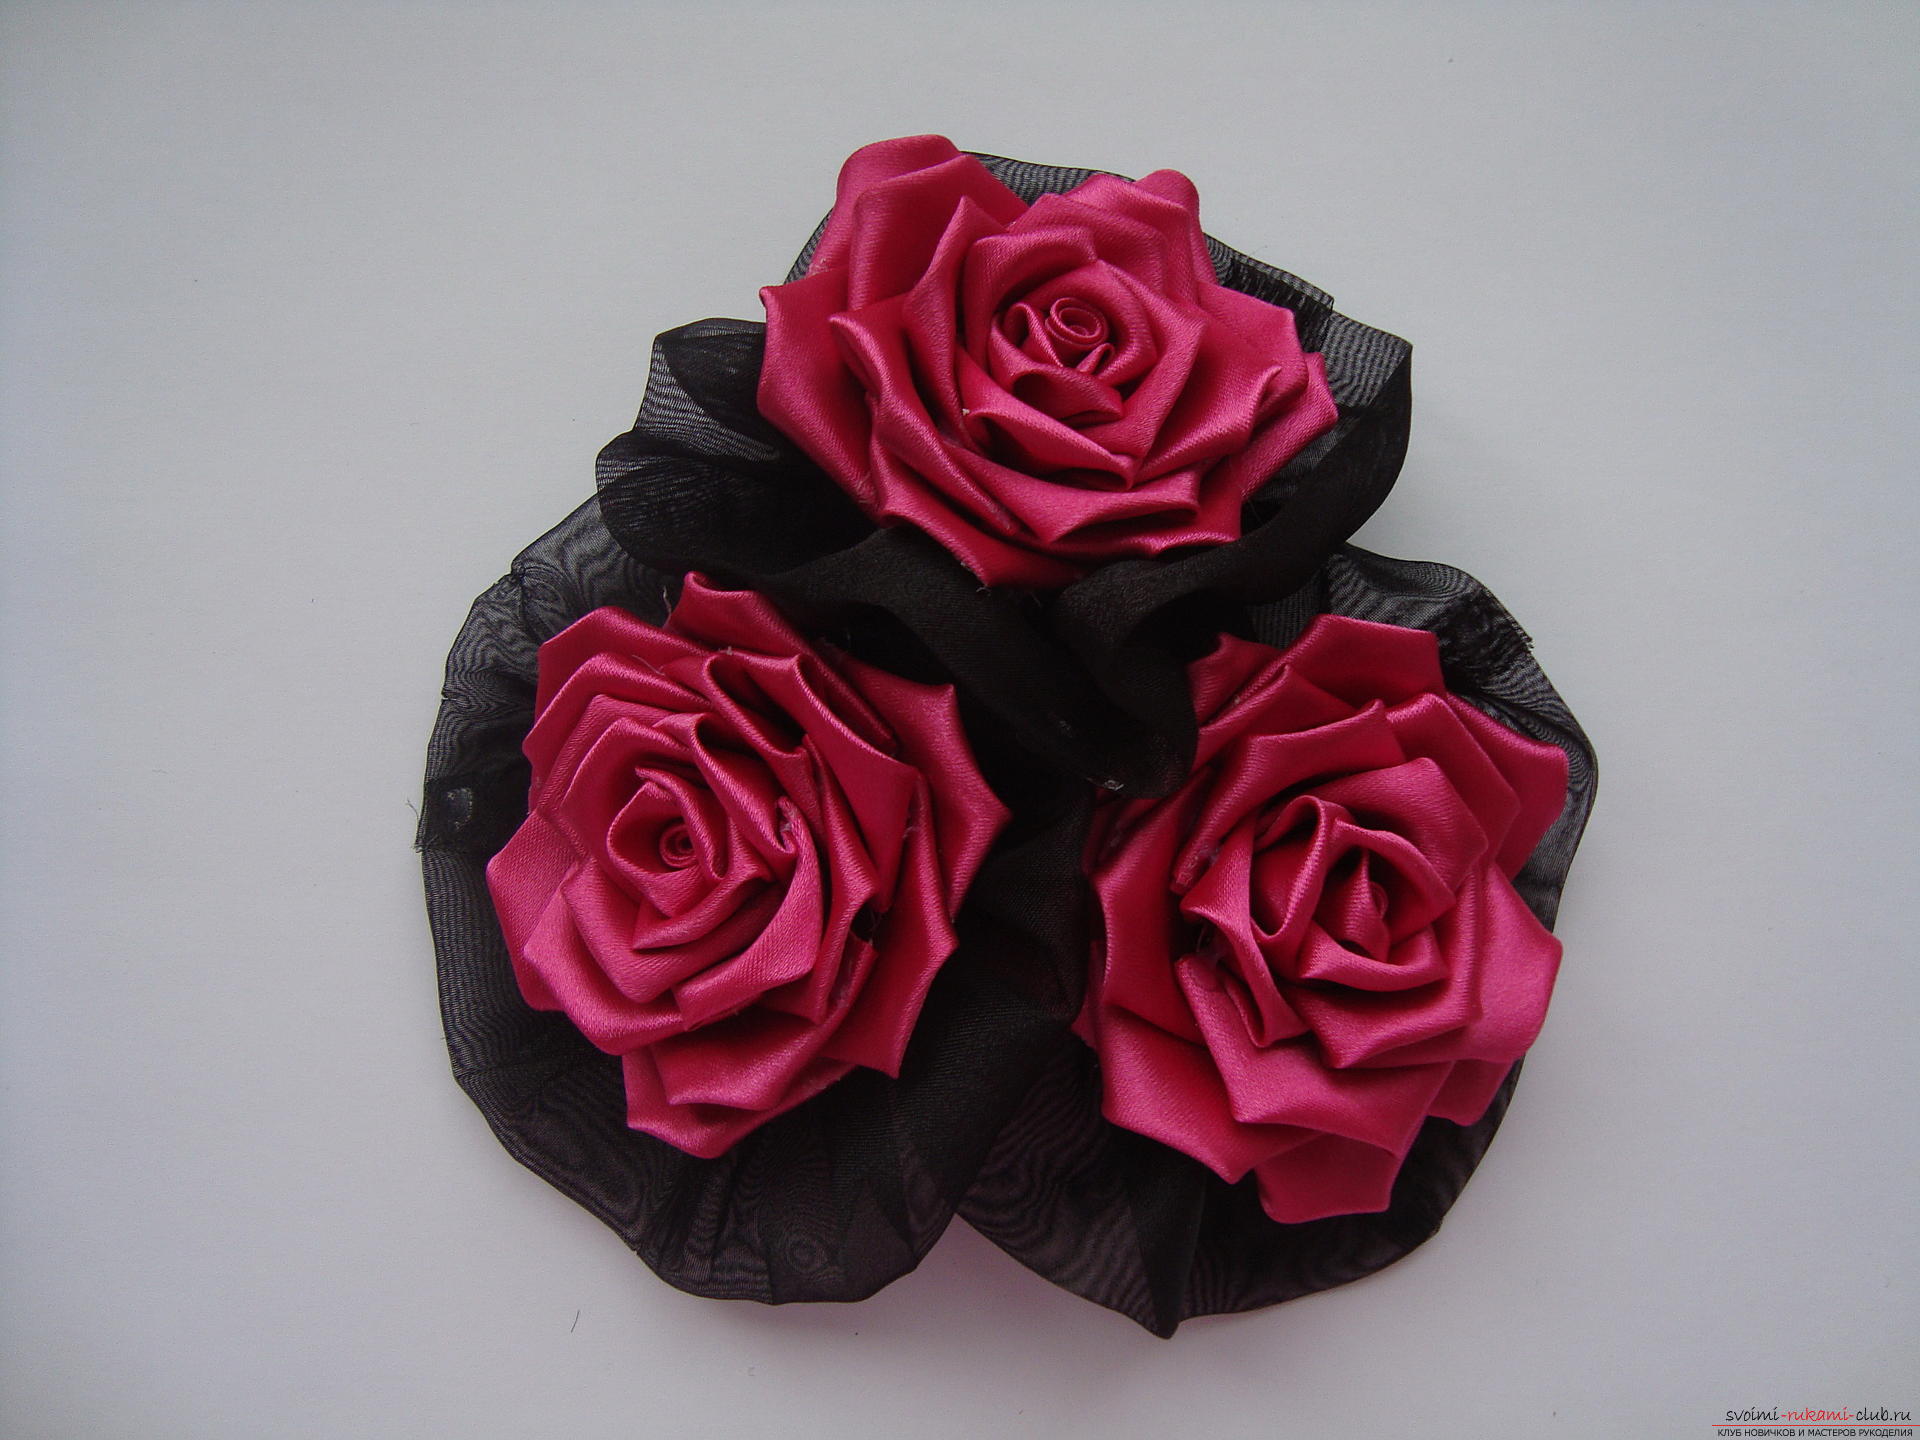
  It will turn out such a beautiful rose:
 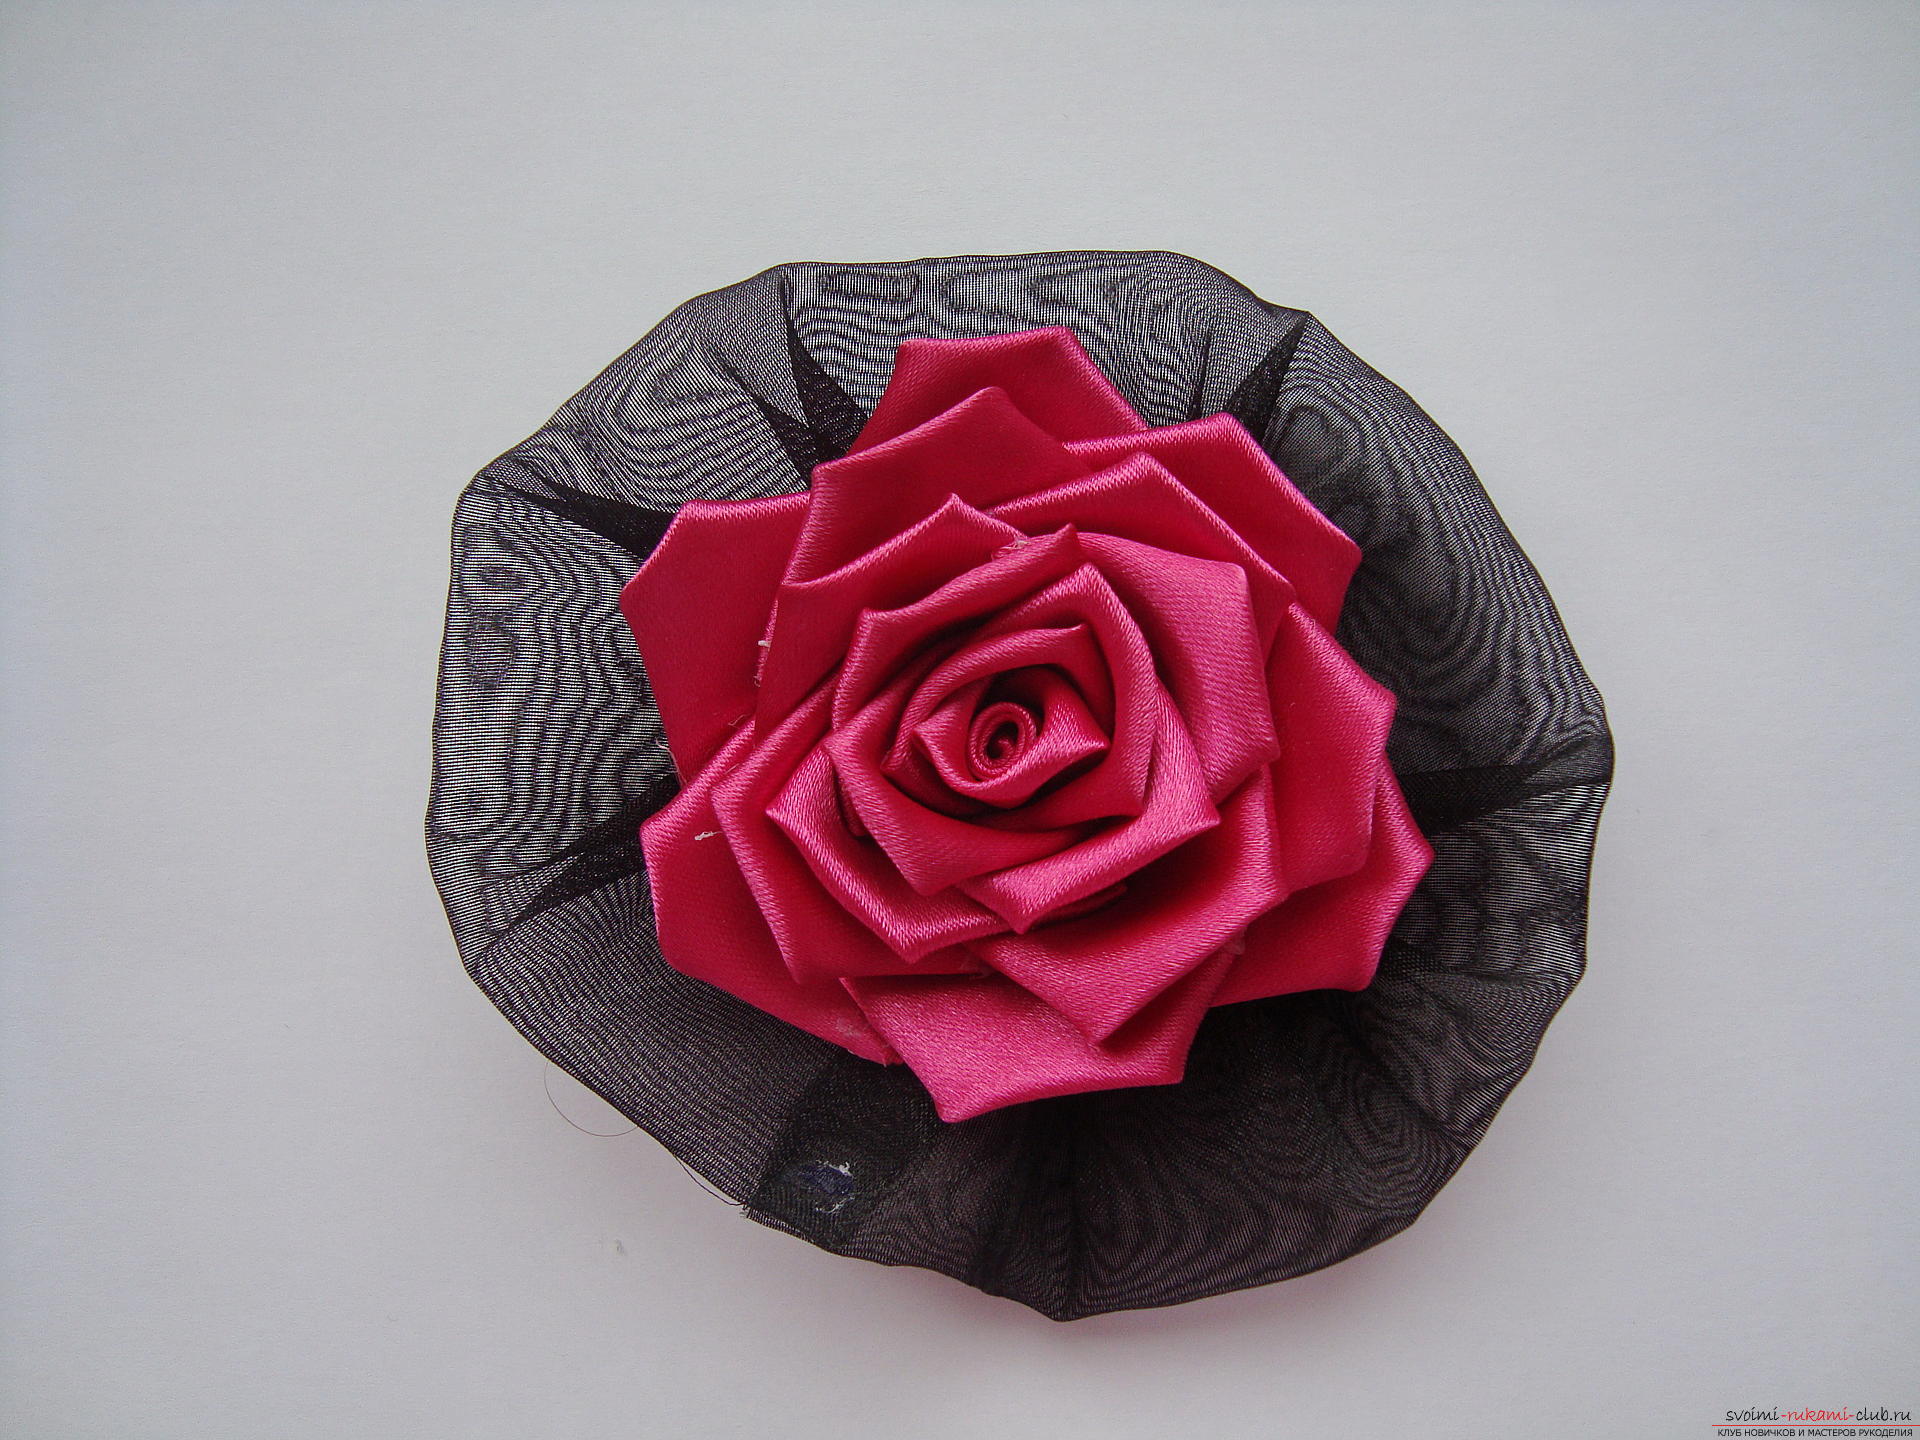 As a basis of a brooch the densecardboard as an equilateral triangle. This part needs to be covered with a black cloth, it is recommended to weld edges with an incinerator. A pin is attached to the center.
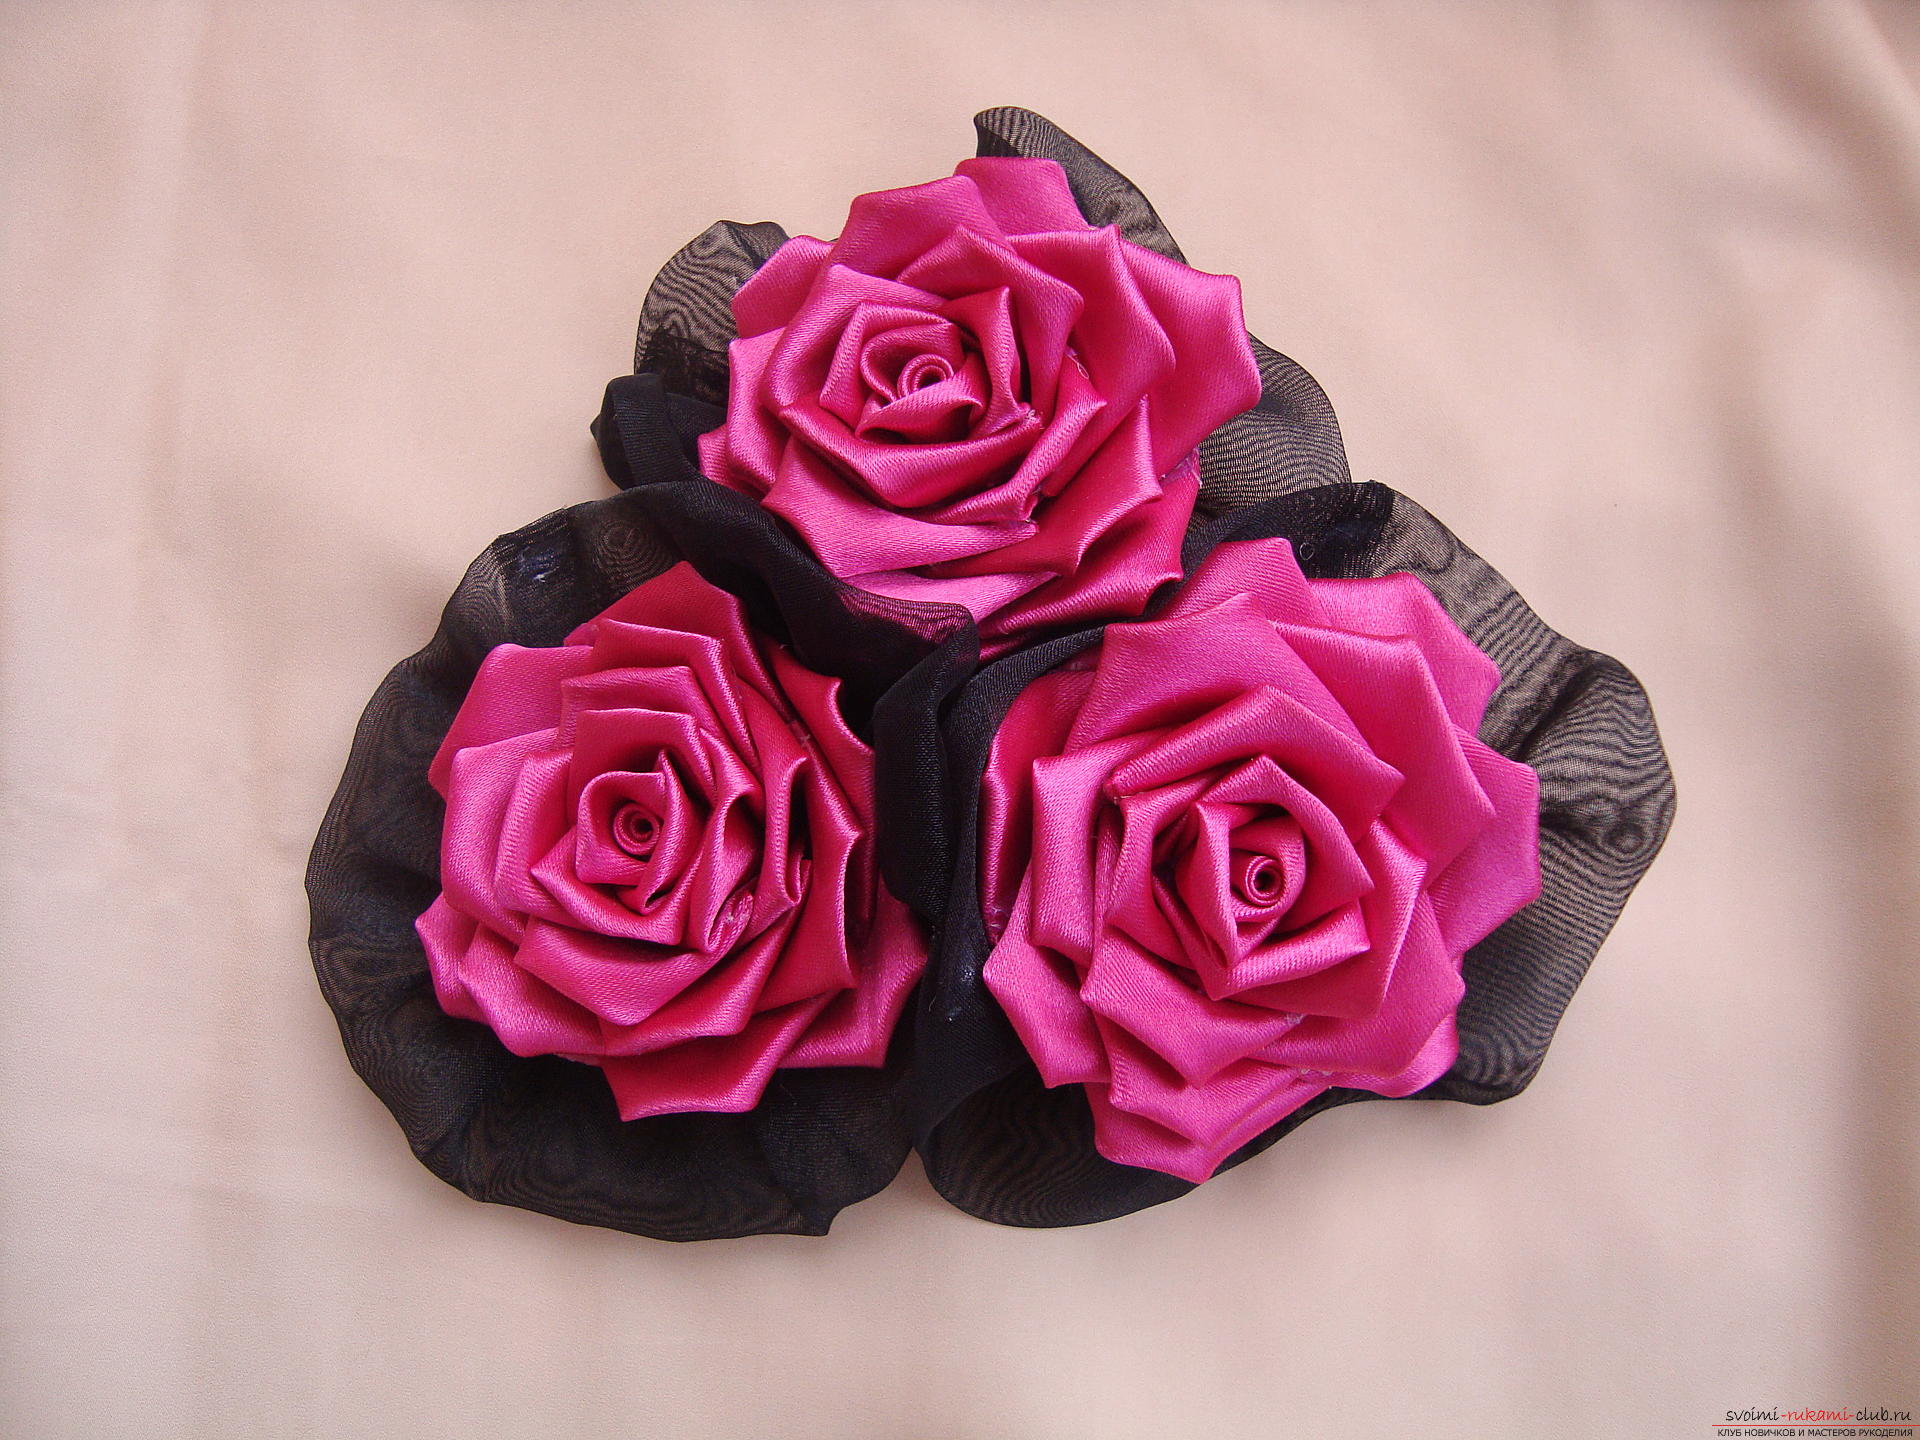
  Stick the roses in each corner of the base so that in the middle they closely fit together, there should not be any gaps anywhere.
 Allow the work to dry for 10 minutes, and in the first minute, press the roses to the base so that the adhesive takes all the layers well.
  Excellent brooch of three roses is ready! It can be worn on holidays, and combined with everyday dress.
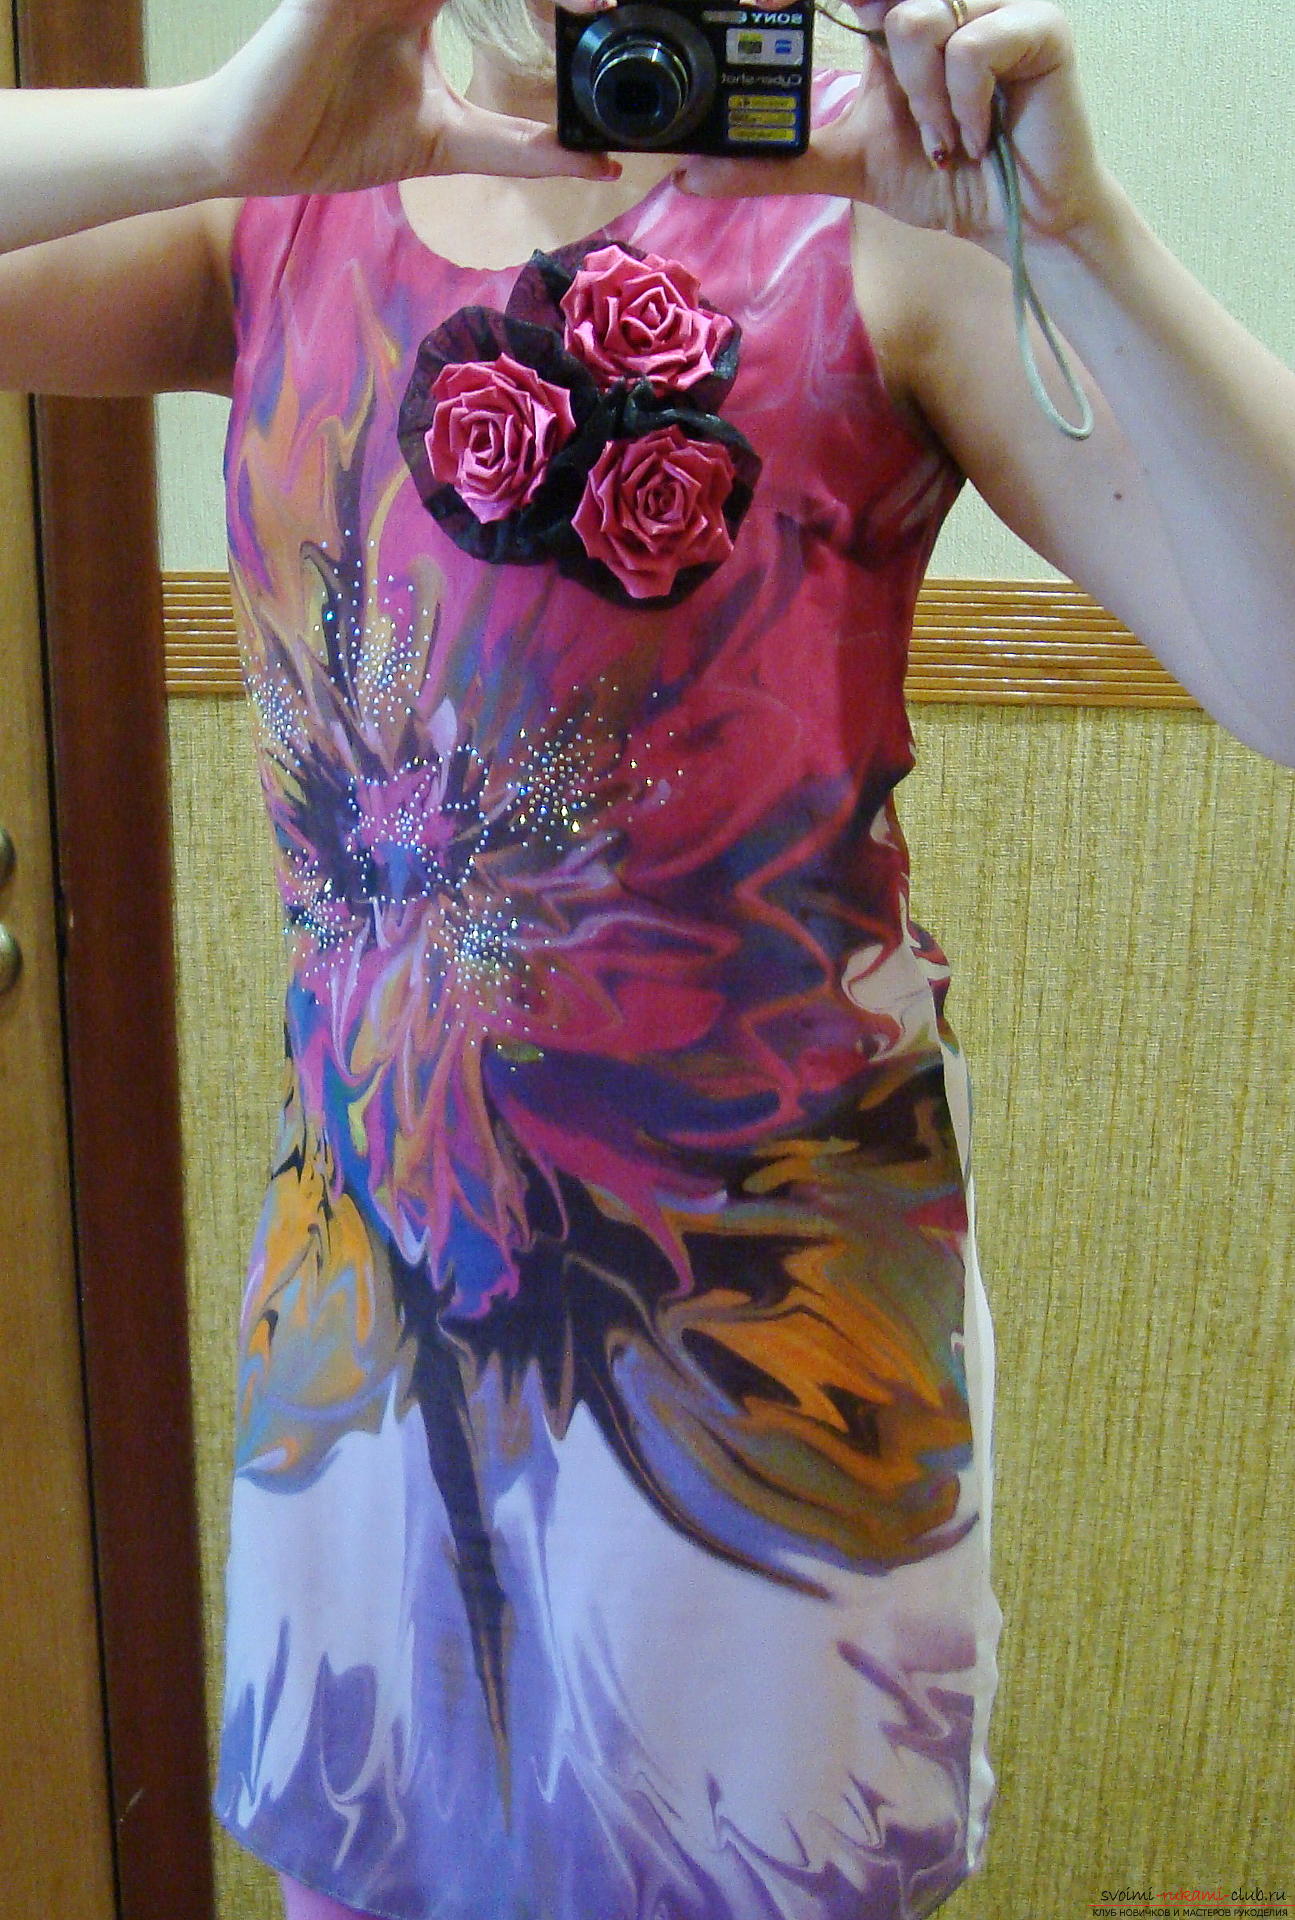
Comments
Related posts:
 Master-class on creating flowers from satin ribbons in Kansas technique
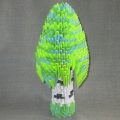 This detailed master-class modular origami with step-by-step photos contains a scheme for assembling birch from paper.
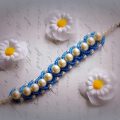 This master class with step-by-step photo and diagram will teach how to weave bracelets from beads.
 Master classes for the manufacture of beautiful crafts for the New Year 2016 with their own hands with photos and step by step instructions.
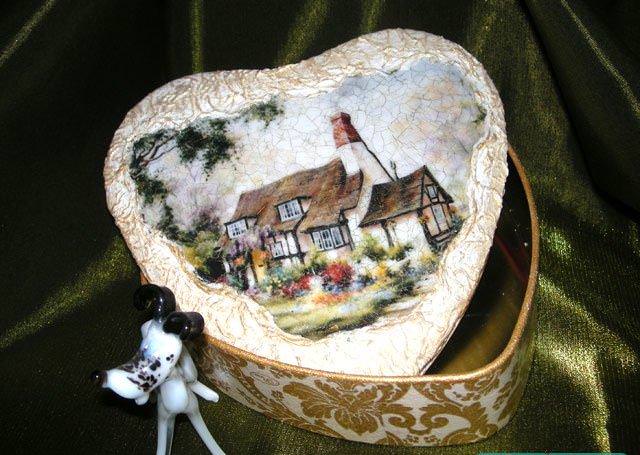 Craquelure in decoupage master class with turn-based photo