Master class on knitting with peacock tail patterns with diagrams and detailed description which you can download absolutely free of charge.
Learning to knit a beautiful "peacock" pattern with knitting needles"Peacock" pattern is usually attributed to varieties of openwork patterns. It will be able to link it even to a novice needlewoman, because it is quite simple to create. To its undoubted advantages include originality of appearance, simplicity and speed of its knitting. Use this pattern to create an airy lace blouse for girls and women, and create shawls, scarves and more with it. In this article, we offer you a detailed description of the main stages of creating such a beautiful pattern, as the "peacock tail". If we carefully look at the pattern of knitting such a pattern, we will be able to make sure that in its creation there is absolutely nothing difficult. For manufacturing it is necessary to use purl and face loops, as well as nakidy and rows with garter stitch. In order for your products created by the "peacock" patterner to have the necessary lightness and airiness, you need to mate freely, leaving little holes. We bring to your attention the diagram of the picture "Peacock's tail":  The diagram shows that the main drawing is tied toseventeen loops, the eighteenth loop - edge. In order to master this pattern, we advise you to perform a set of simultaneously 2-nd component for greater visibility: it is necessary to make a set of thirty-four loops for the main pattern and two edge loops. As a result - thirty-six loops.
 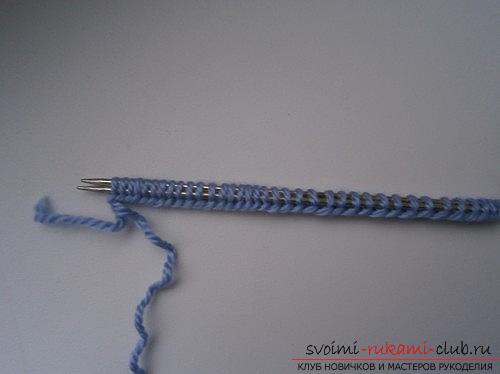 Then you need to create four rows with the help of facial loops on both sides, as a result of which you will get the so-called "garter stitch".
 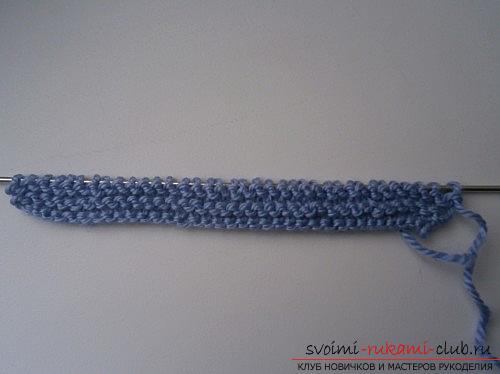 Instead of 4 rows you can bind 6 - everything is herewill depend on the thickness of the yarn itself and the specific nature of the fabric itself. Over time, you can try to tie the product in two of these ways and decide which one is closest to you.
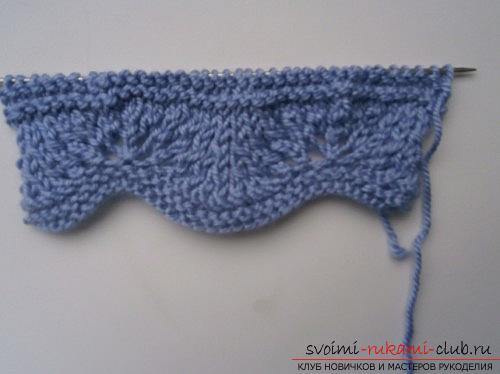
 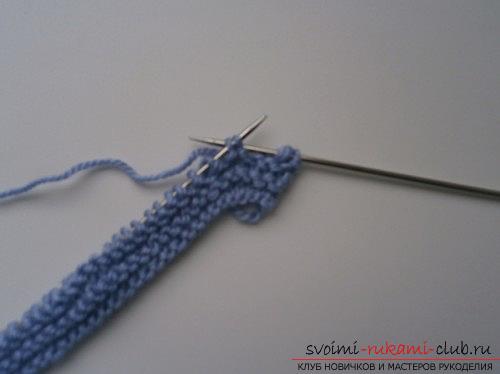 Having created the first four rows, we proceed toknitting the most "peacock" pattern. In this case, the first loop, edge, it is necessary to tie the standard face loop, then tie two loops together, once, twice, three times.
  Then hold the crochet under which the thread mustbe on top of the knitting needle, not on the bottom. This will ensure greater airiness to our pattern. In total, there should be six rounds, and between them one should be fastened on one face loop. In other words, the mating should be done in the following order: we make a cape, knit a front loop, again a crochet, after that - a face loop, we make a cape, we knit a front loop, we make a cape, we knit a face loop, we conclude with a crochet.
  Then again, you need to tie two loops together. If you create one fragment of the pattern, then you should tie three joint loops three times, and if there are more fragments, then you need to tie six joint loops six times.
  In the future we do this: create nakidy, through one face loop, as before, we sew six capes and five facial loops. Then it is necessary to turn the product over, and the whole row to be tied with classic purl loops. In this case, please note that the pattern will be made only from the front of the product. Having created the purl-viscous series, it is again necessary to turn over and again to repeat, as the above mentioned pattern, i.e. three times on two joint loops, then - six nakidov through five facial loops, again six times in 2 joint loops, etc.
 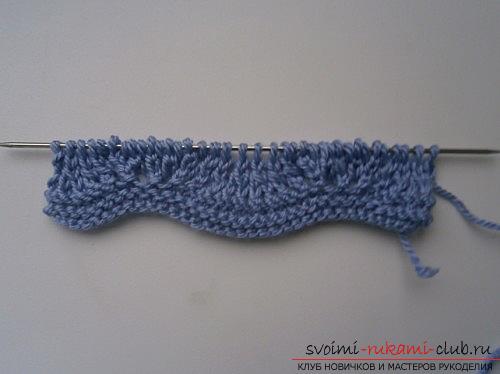 Then it is necessary to turn the product back andcreate a row with purl loops. After that, in the front part, repeat the pattern 3 times, and then tie the row with the purl. That's all. This fragment is completed. Next you need to create four rows with the help of garter stitch in the same way as it happened at the beginning of the mating process, and then - six rows of the main pattern. Another little tip: to not get lost and not get confused when knitting, you need to count the eyelets, nakidy, as well as the 2nd loop. All at you will turn out. Dare!
Comments
Related posts:
 We knit with knitting needles original patterns for women according to the scheme with description and photo for free
 Knitted needles dolls: a master class with a detailed description
 We knit jurabs with knitting needles: photo master-class with diagrams and description
 Master class on knitting monkey amigurumi crochet with their own hands with step-by-step description and photo.
 Tie knitting needles beautiful pattern in a children's jacket with diagrams and detailed description.