Master class on knitting napkins-stand under hot on knitting needles
Hand-made attributes on the kitchen table are strongcome into fashion in recent years. From this master class you will learn how to tie a stand with a knitting needles to a hot mug that will decorate the table, add coziness and make pastime over a cup of coffee a drop more pleasant. Such a knitted article can be used in your kitchen or presented as a nice gift for a friend, colleague, etc. This napkin can relate even a beginner craftsman of school age. 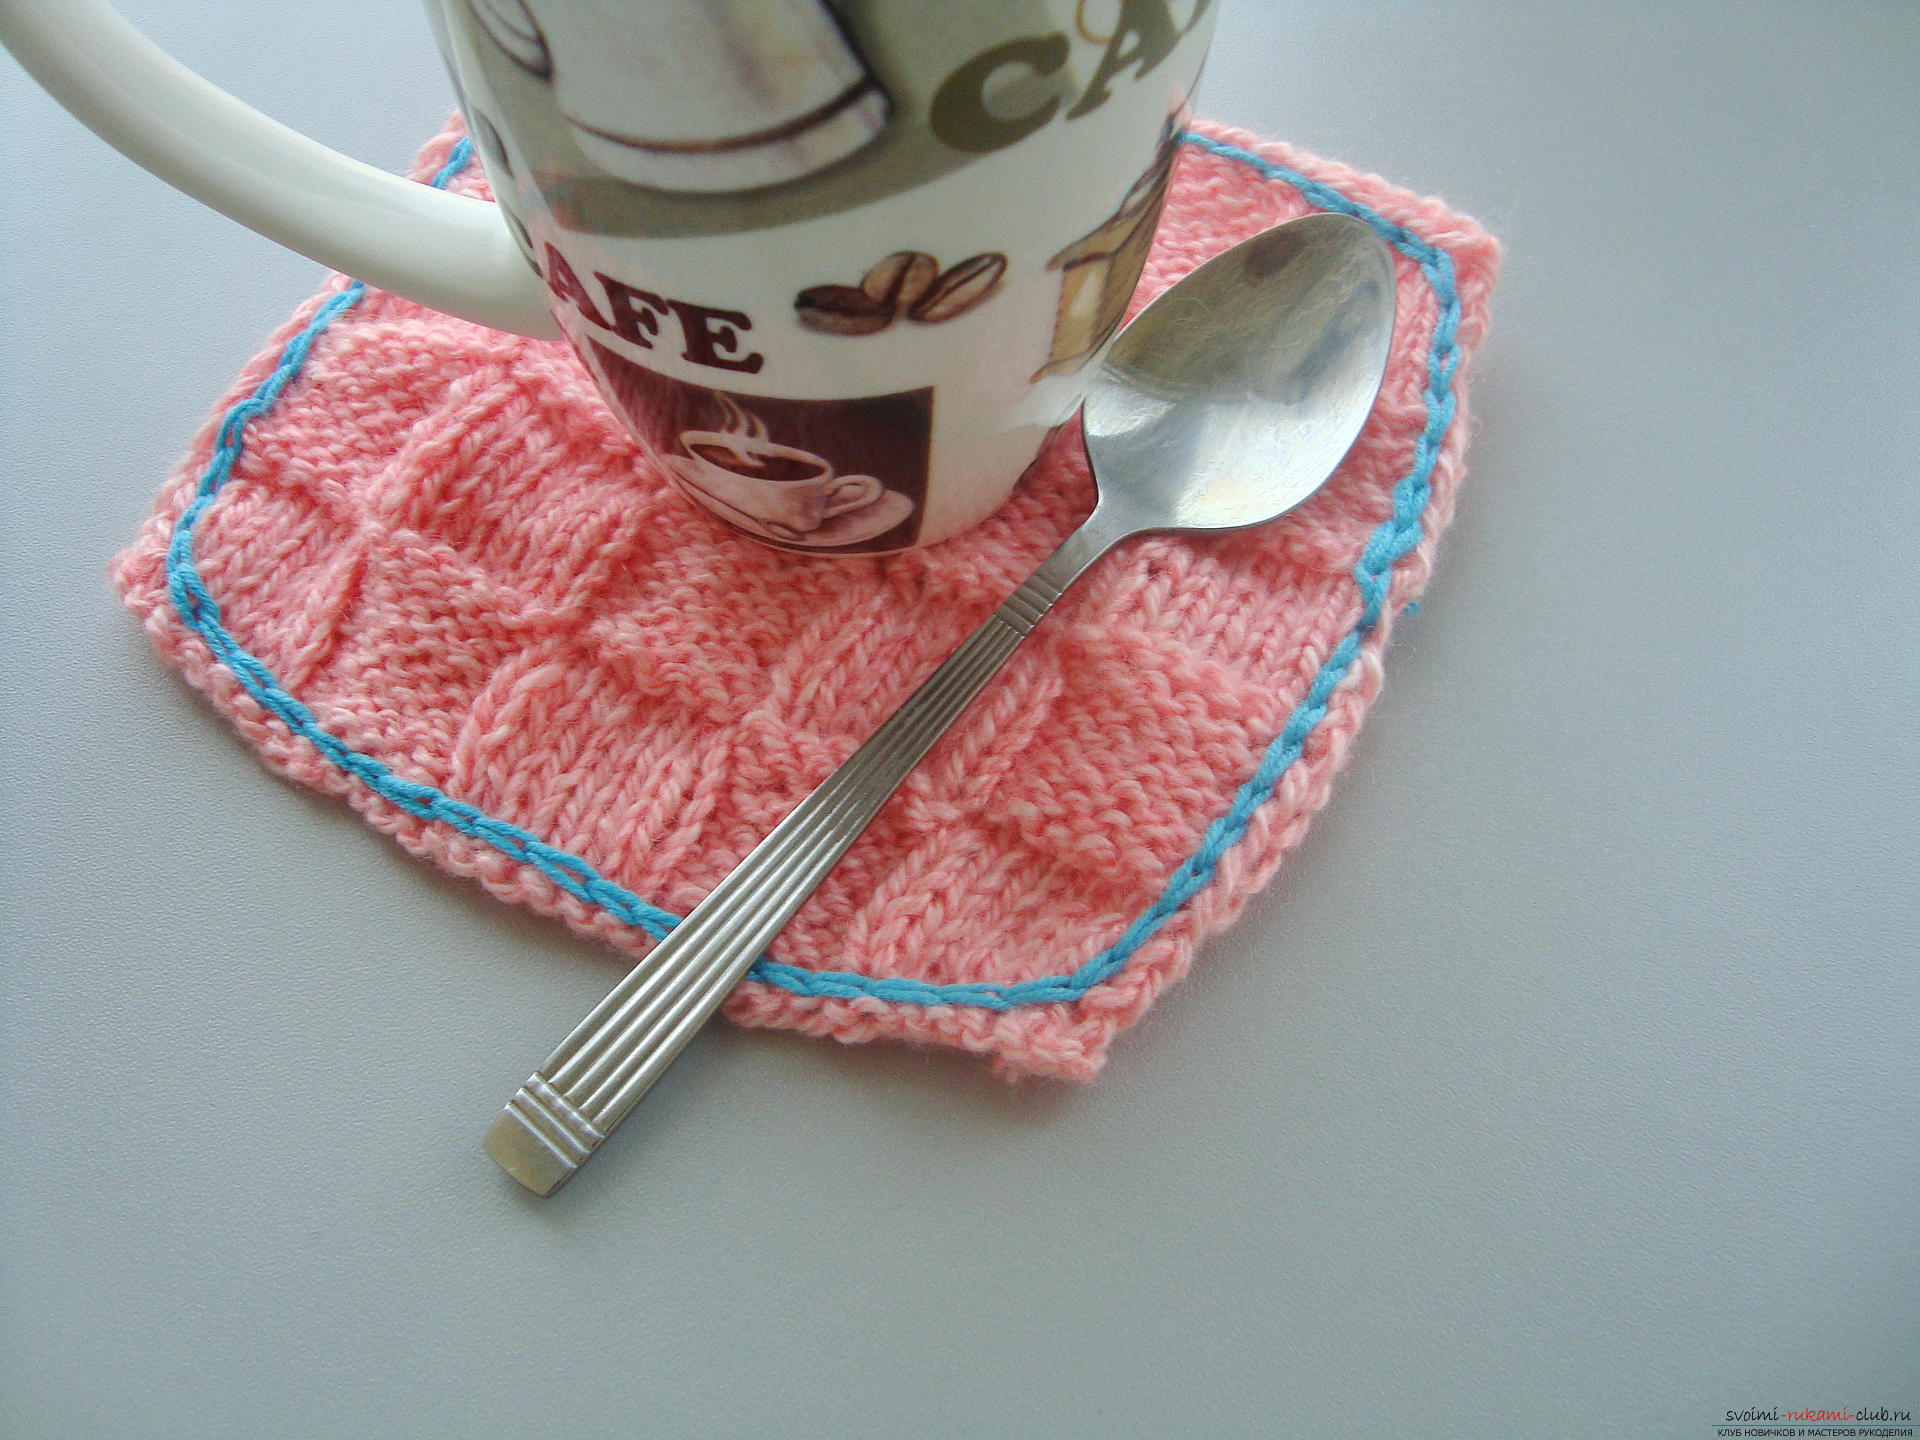 To create a swipe, prepare:
 At the first stage, you need to recruit the necessarynumber of loops. Calculating the number of knitting elements in advance is rather difficult, but for a medium napkin measuring 15 by 15 cm, not enough thin yarn will require about 30 loops. For a set of loops, stretch the thread between the thumb and forefinger, the ends of the yarn are clamped to the palm of the other three fingers. Both needles should be held together in the right hand (if you are right handed), and the stretch from the thread is fixed with the left hand. To set the loop, you need to pull the thread from the thumb, hook the yarn at the stretch and turn the thread, pull the loop along the back path through the thumb.
  Do the same manipulations thirty twotimes to create the necessary number of loops for the fabric and two elements will use as the first and last loops. Each time, try to tighten the thread with the same force, so that the loose or pulled up loops do not turn out.
 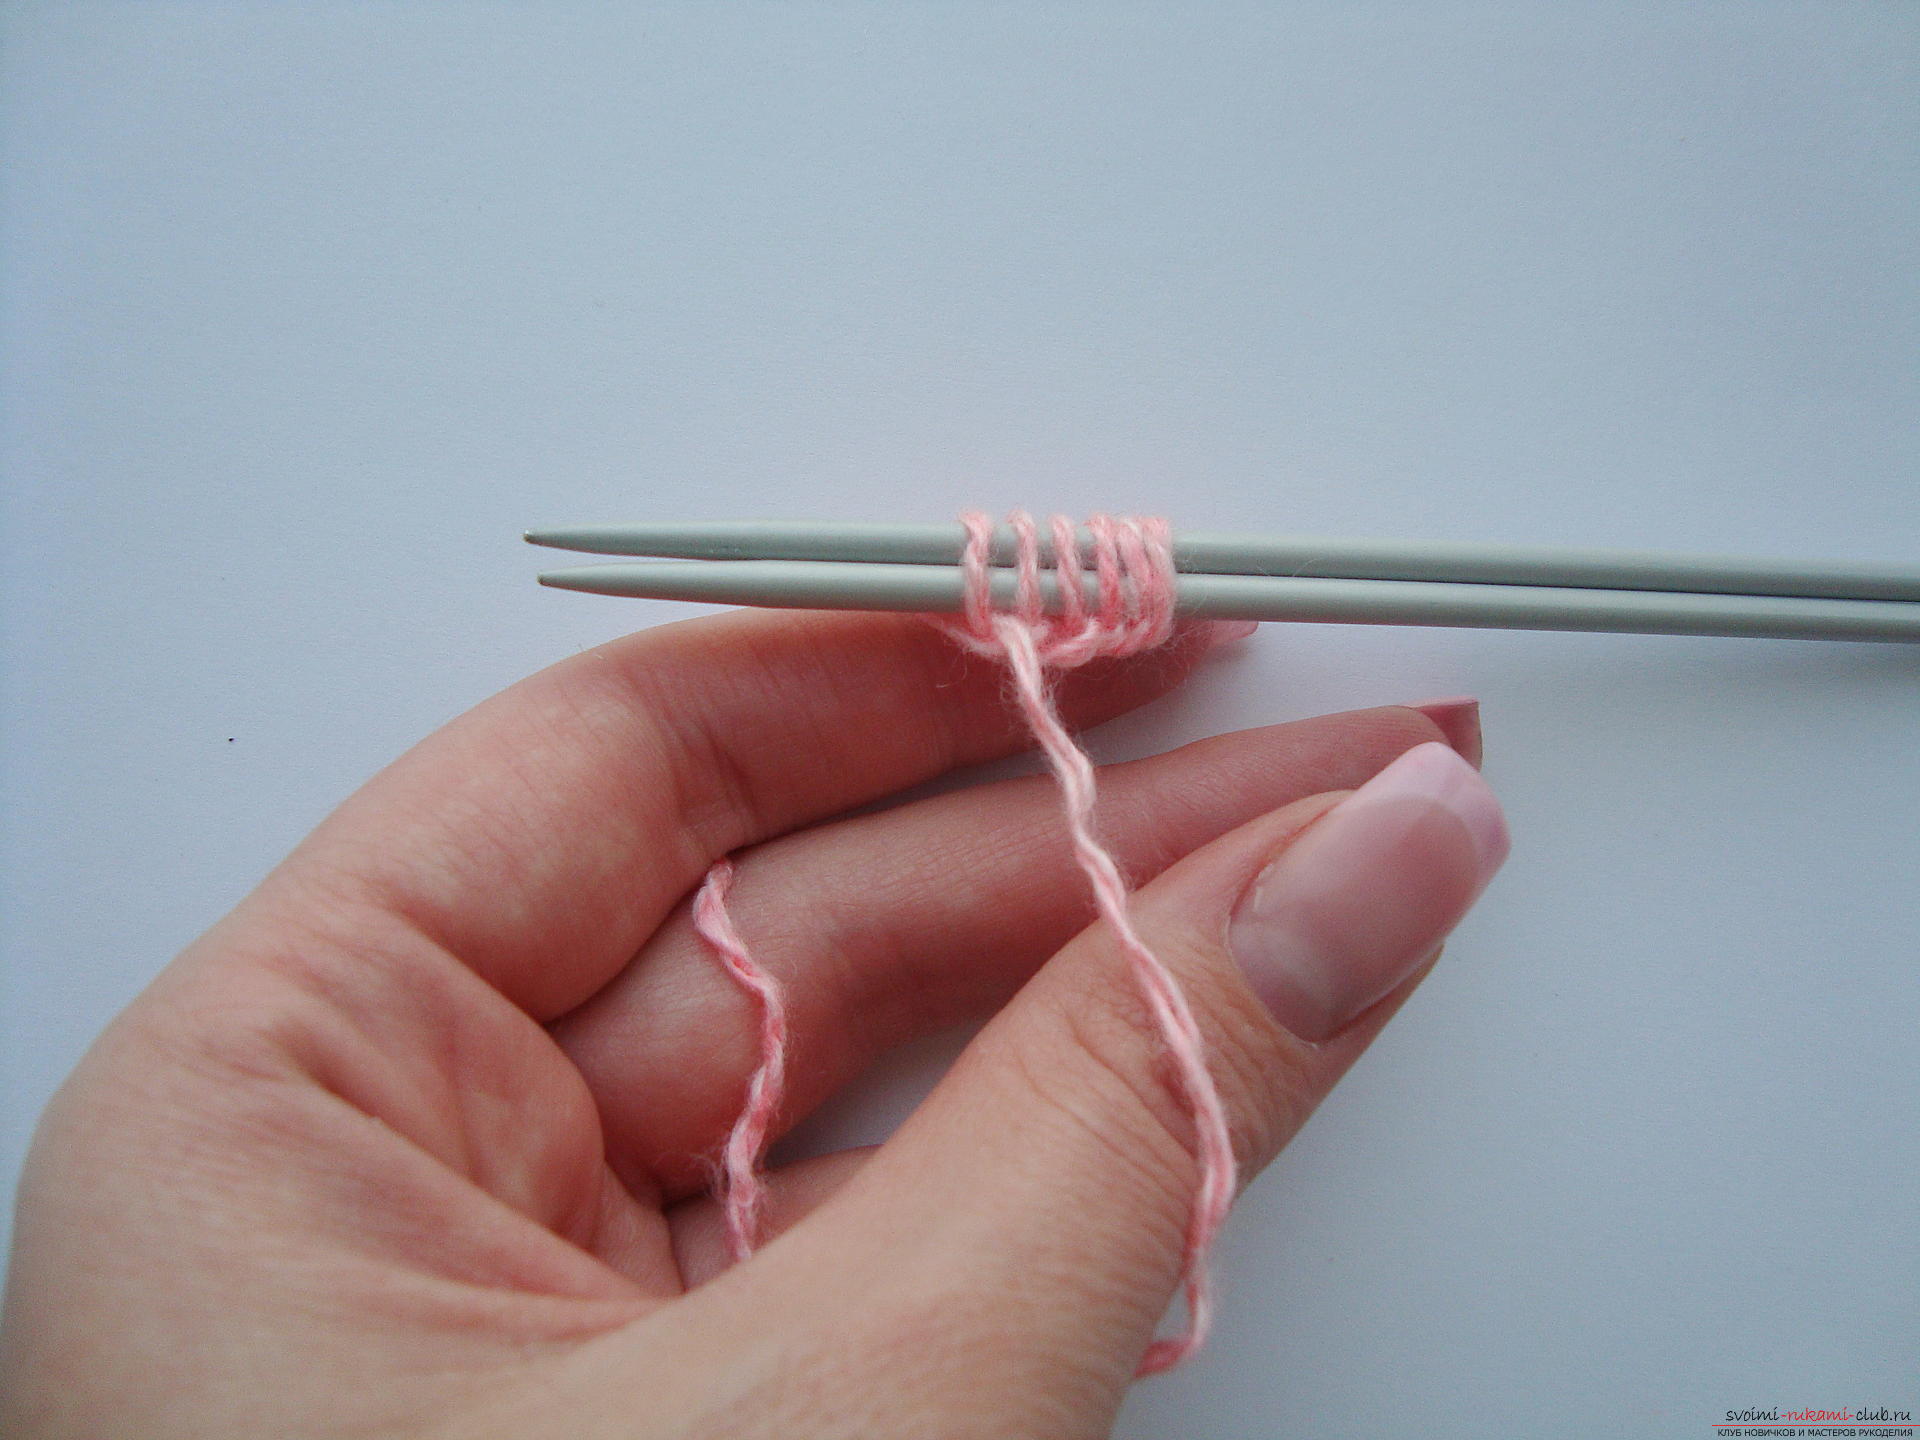 The base of the napkin will be knit from squaresfacial and purl smoothness, it is natural these elements are tied together, rather than separately and then sewn together. Thirty loops are divided into five segments with 6 loops each. Take out one needle carefully so that the loops from the second knitting tool do not sleep. The first loop is always just to be removed on the right knitting needle, without tying it. The next six elements are knitted with facial loops. To do this, tap the loop from the left to the right with the needle, then the needle is held under the face of the loop, then you need to grab the free thread at work and in the opposite direction pull out a new loop, and the old loop just drops off the left knitting needle. The next six loops are tied according to the principle of the back loops. To do this, use the right needle to poke under the front part of the loop (the opposite direction), that is, from right to left, then hook the thread before work and pull out the newly formed loop. Another five loops tie in purse type, observing one principle - the composite thread for knitting is before work. The next segment of the six loops is tied with the front face and the thread is at work. Repeat the alternation of knitting on the remaining loops and get five equal parts, tied with either the front or the back loops. The last loop in each row is created on the basis of purl and it will help create a beautiful edge for the product. Turn the work over and begin to tie the second row of the product. Here, the first need is to tie the purl loops. After all, on the reverse side (the front of the work) they will form the last segment from the facial surface. The second five loops are knitted according to the principle of the facial loops, then again the cut of the purlins and so alternate the segments of the six loops until the end of the work. When you turn over the work and begin to knit an odd number, then tie the loops observing the pattern. That is, first the surface of the face is created, then part of the back hinges and the pattern alternates.
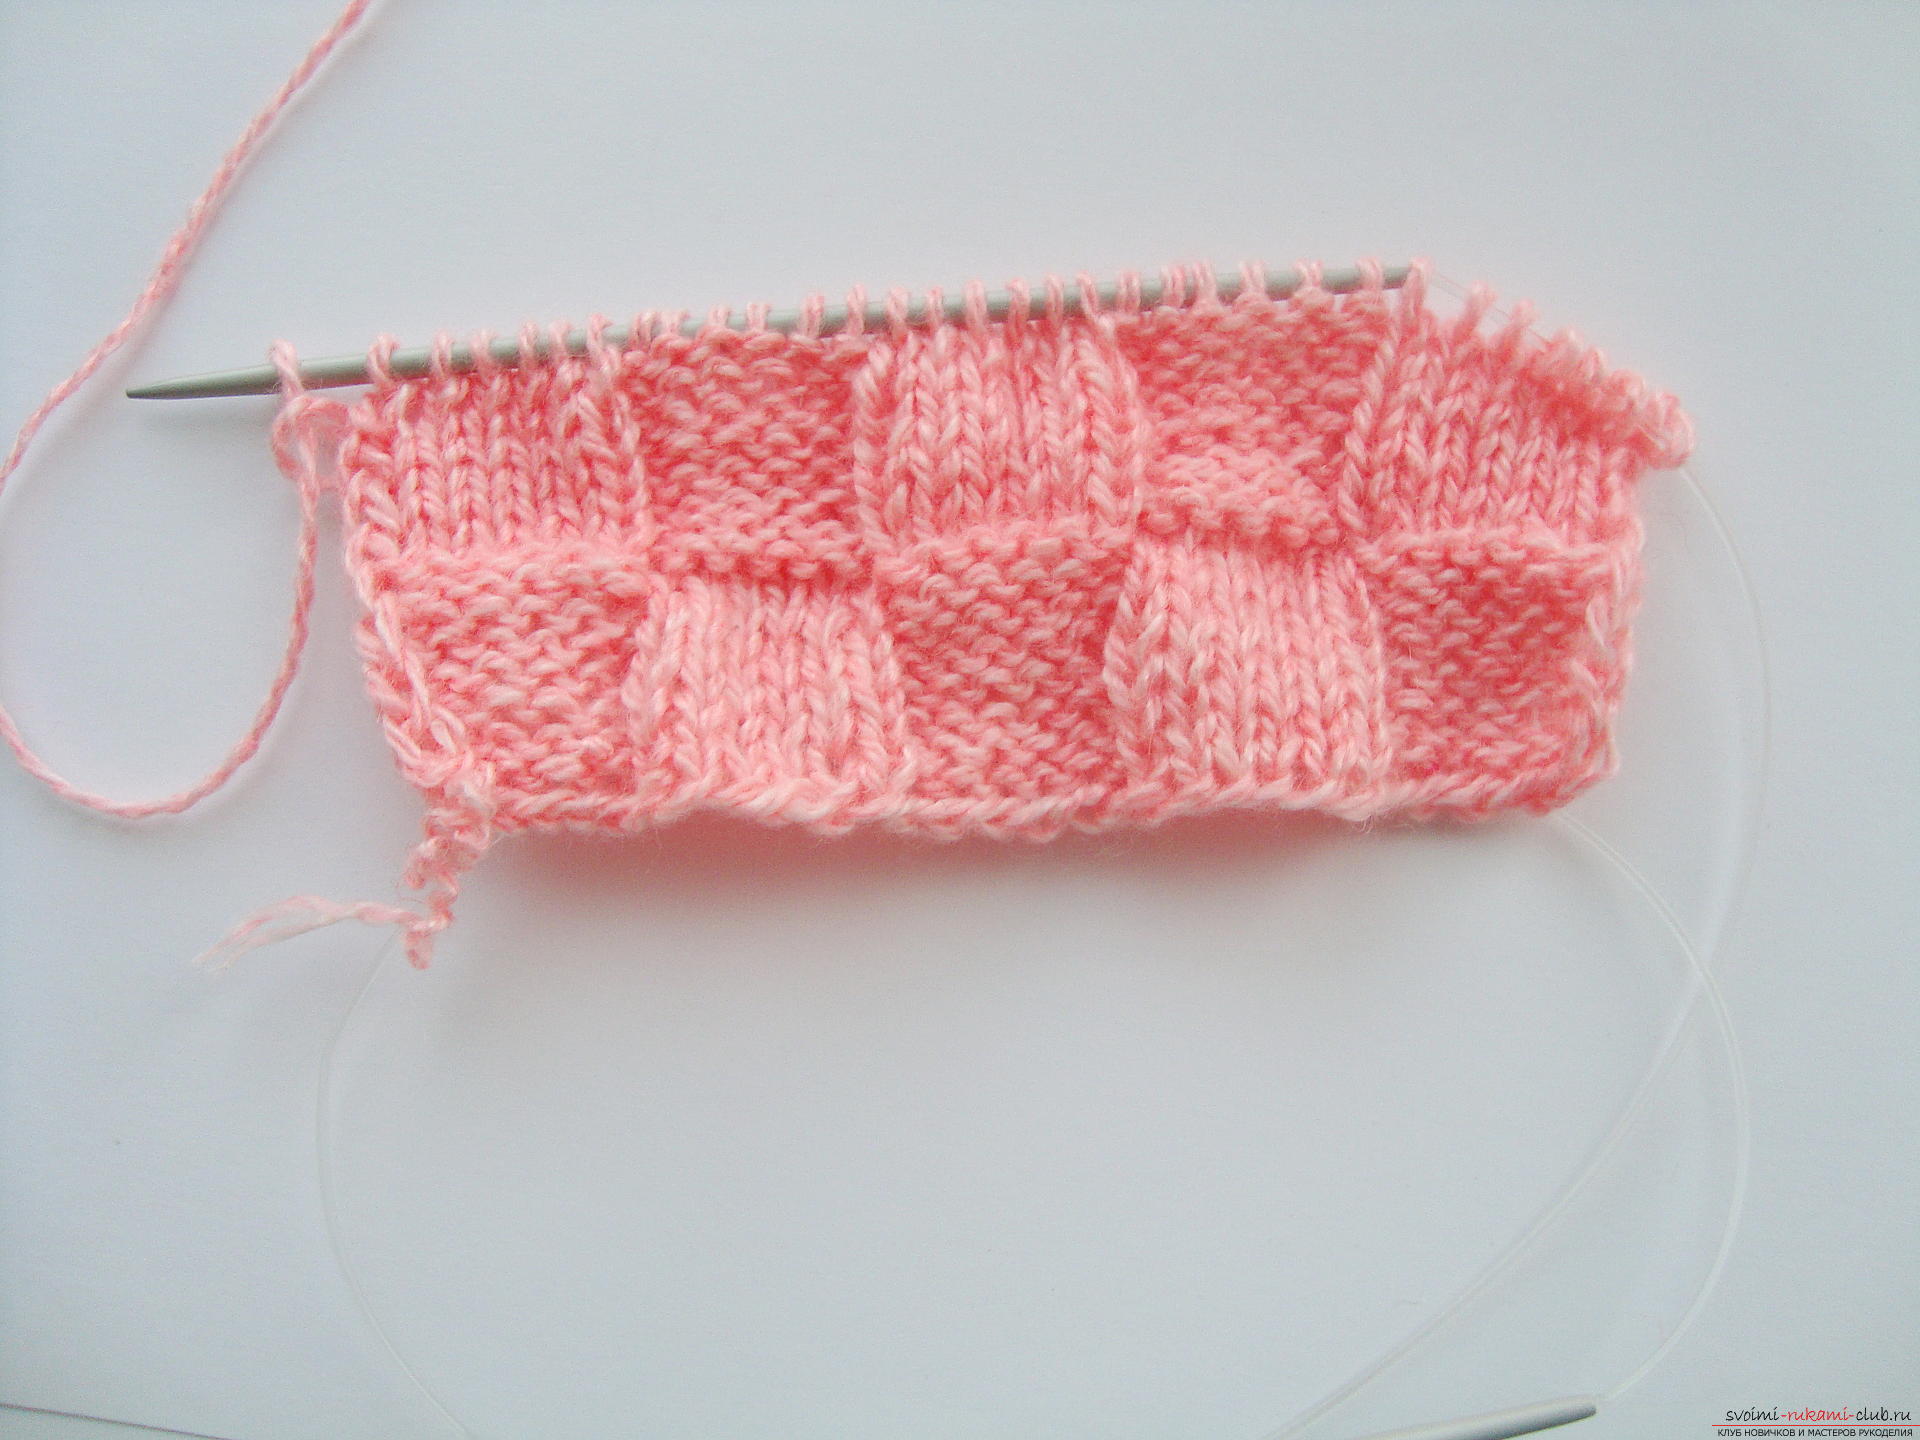
 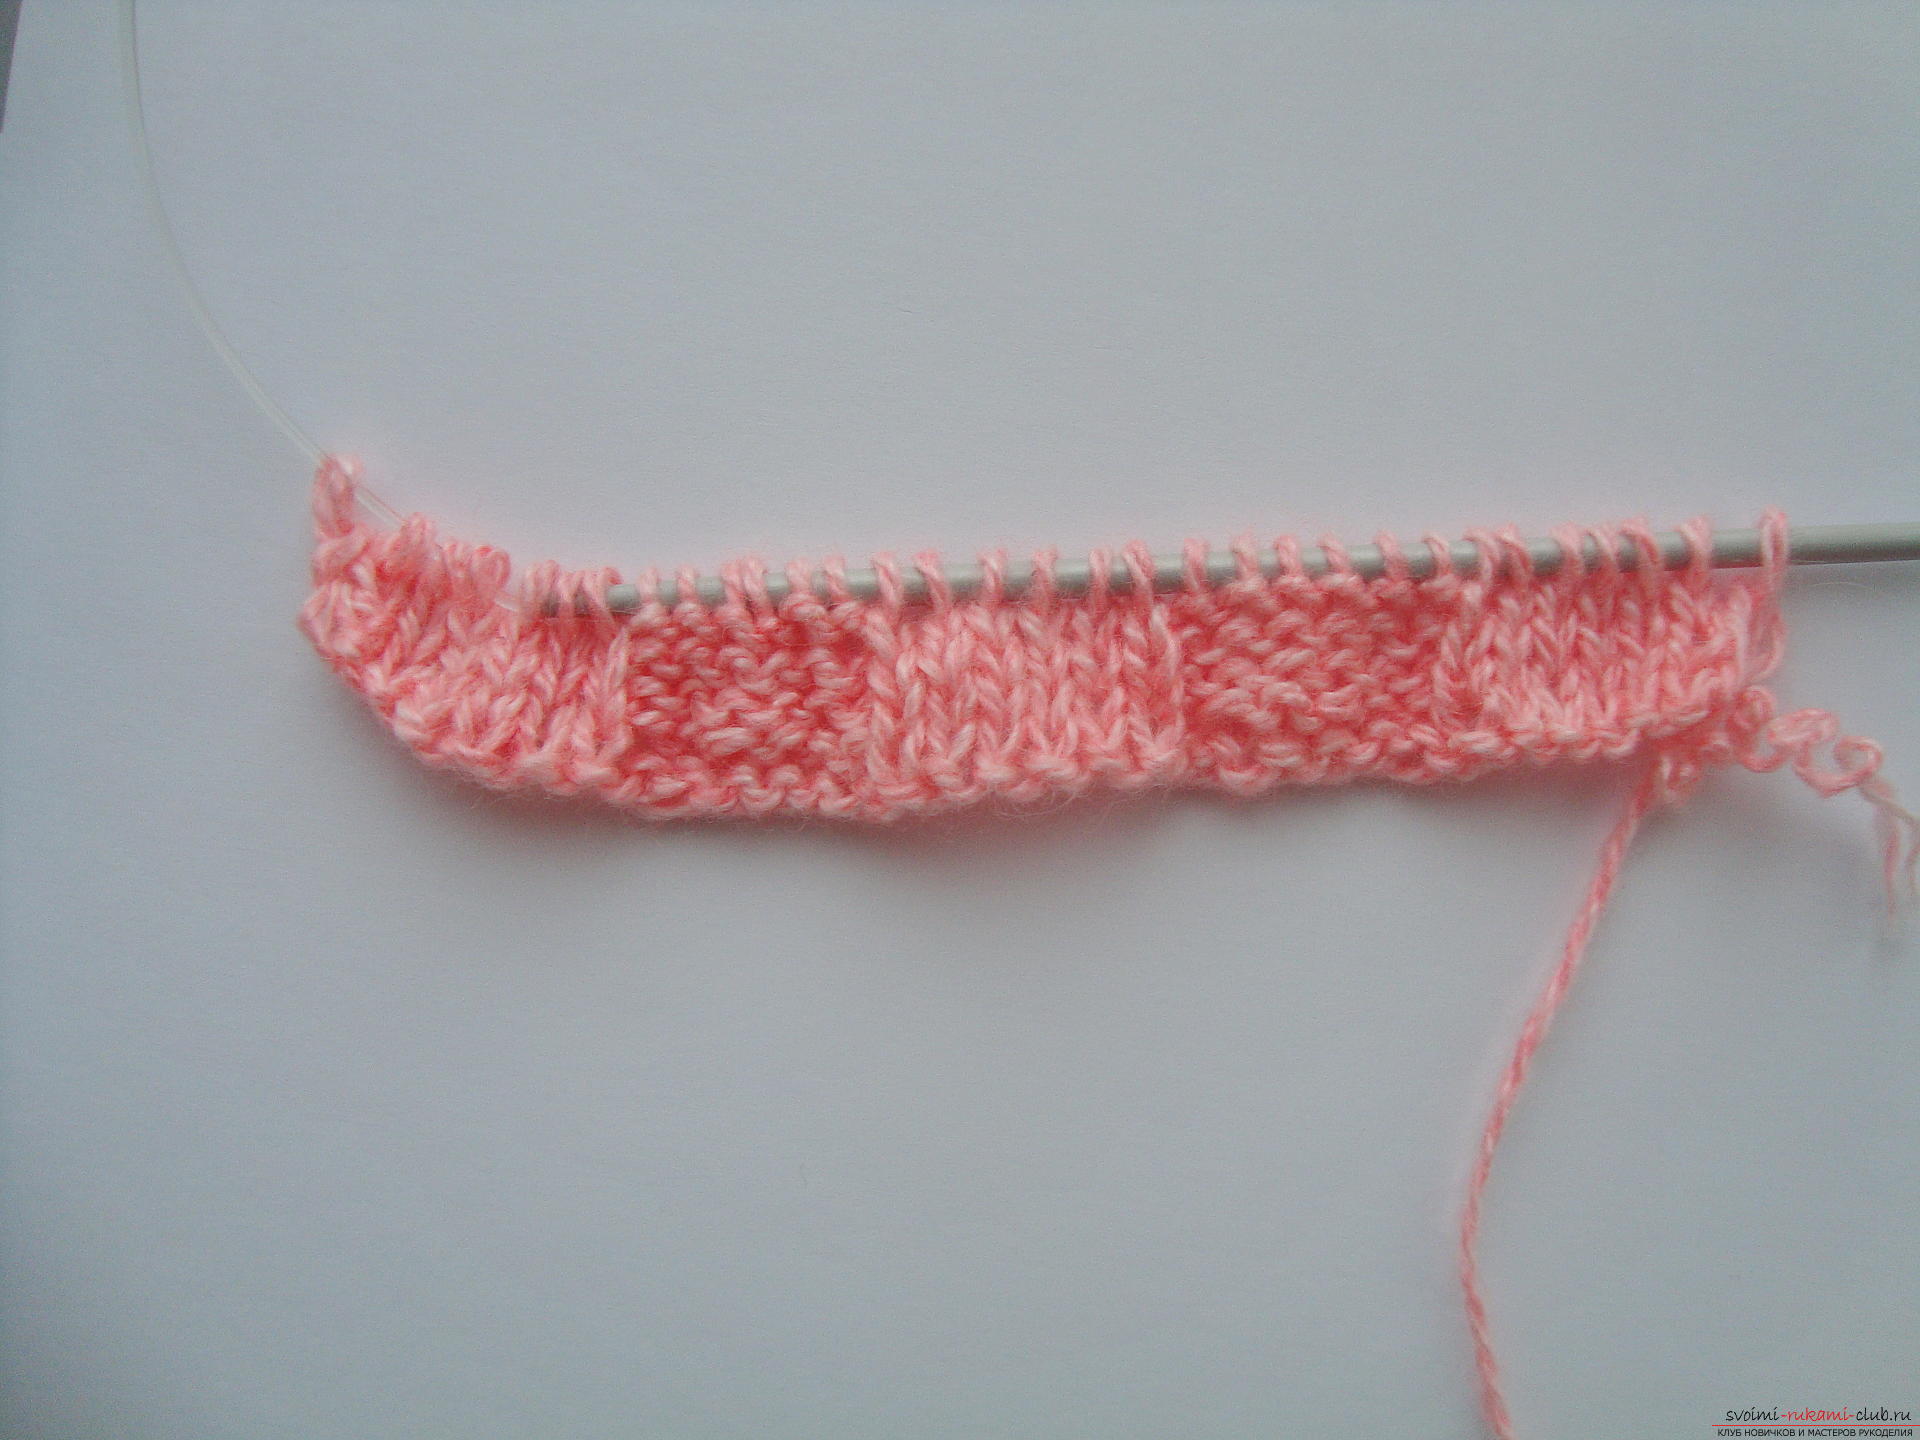 It is necessary to tie 8 rows and then the shape of the patternwill take the form of squares. Next, you need to swap the loops on the squares. That is, starting from the ninth row (the drawing on the front side of the work necessarily changes), it is necessary to tie the second to the seventh loops with the wrong principle, then the next knitting segment is created from the front loops and the string of the back and front loops alternates. So you lay the foundation for the squares of the next stage of the drawing, which looks like a chessboard.
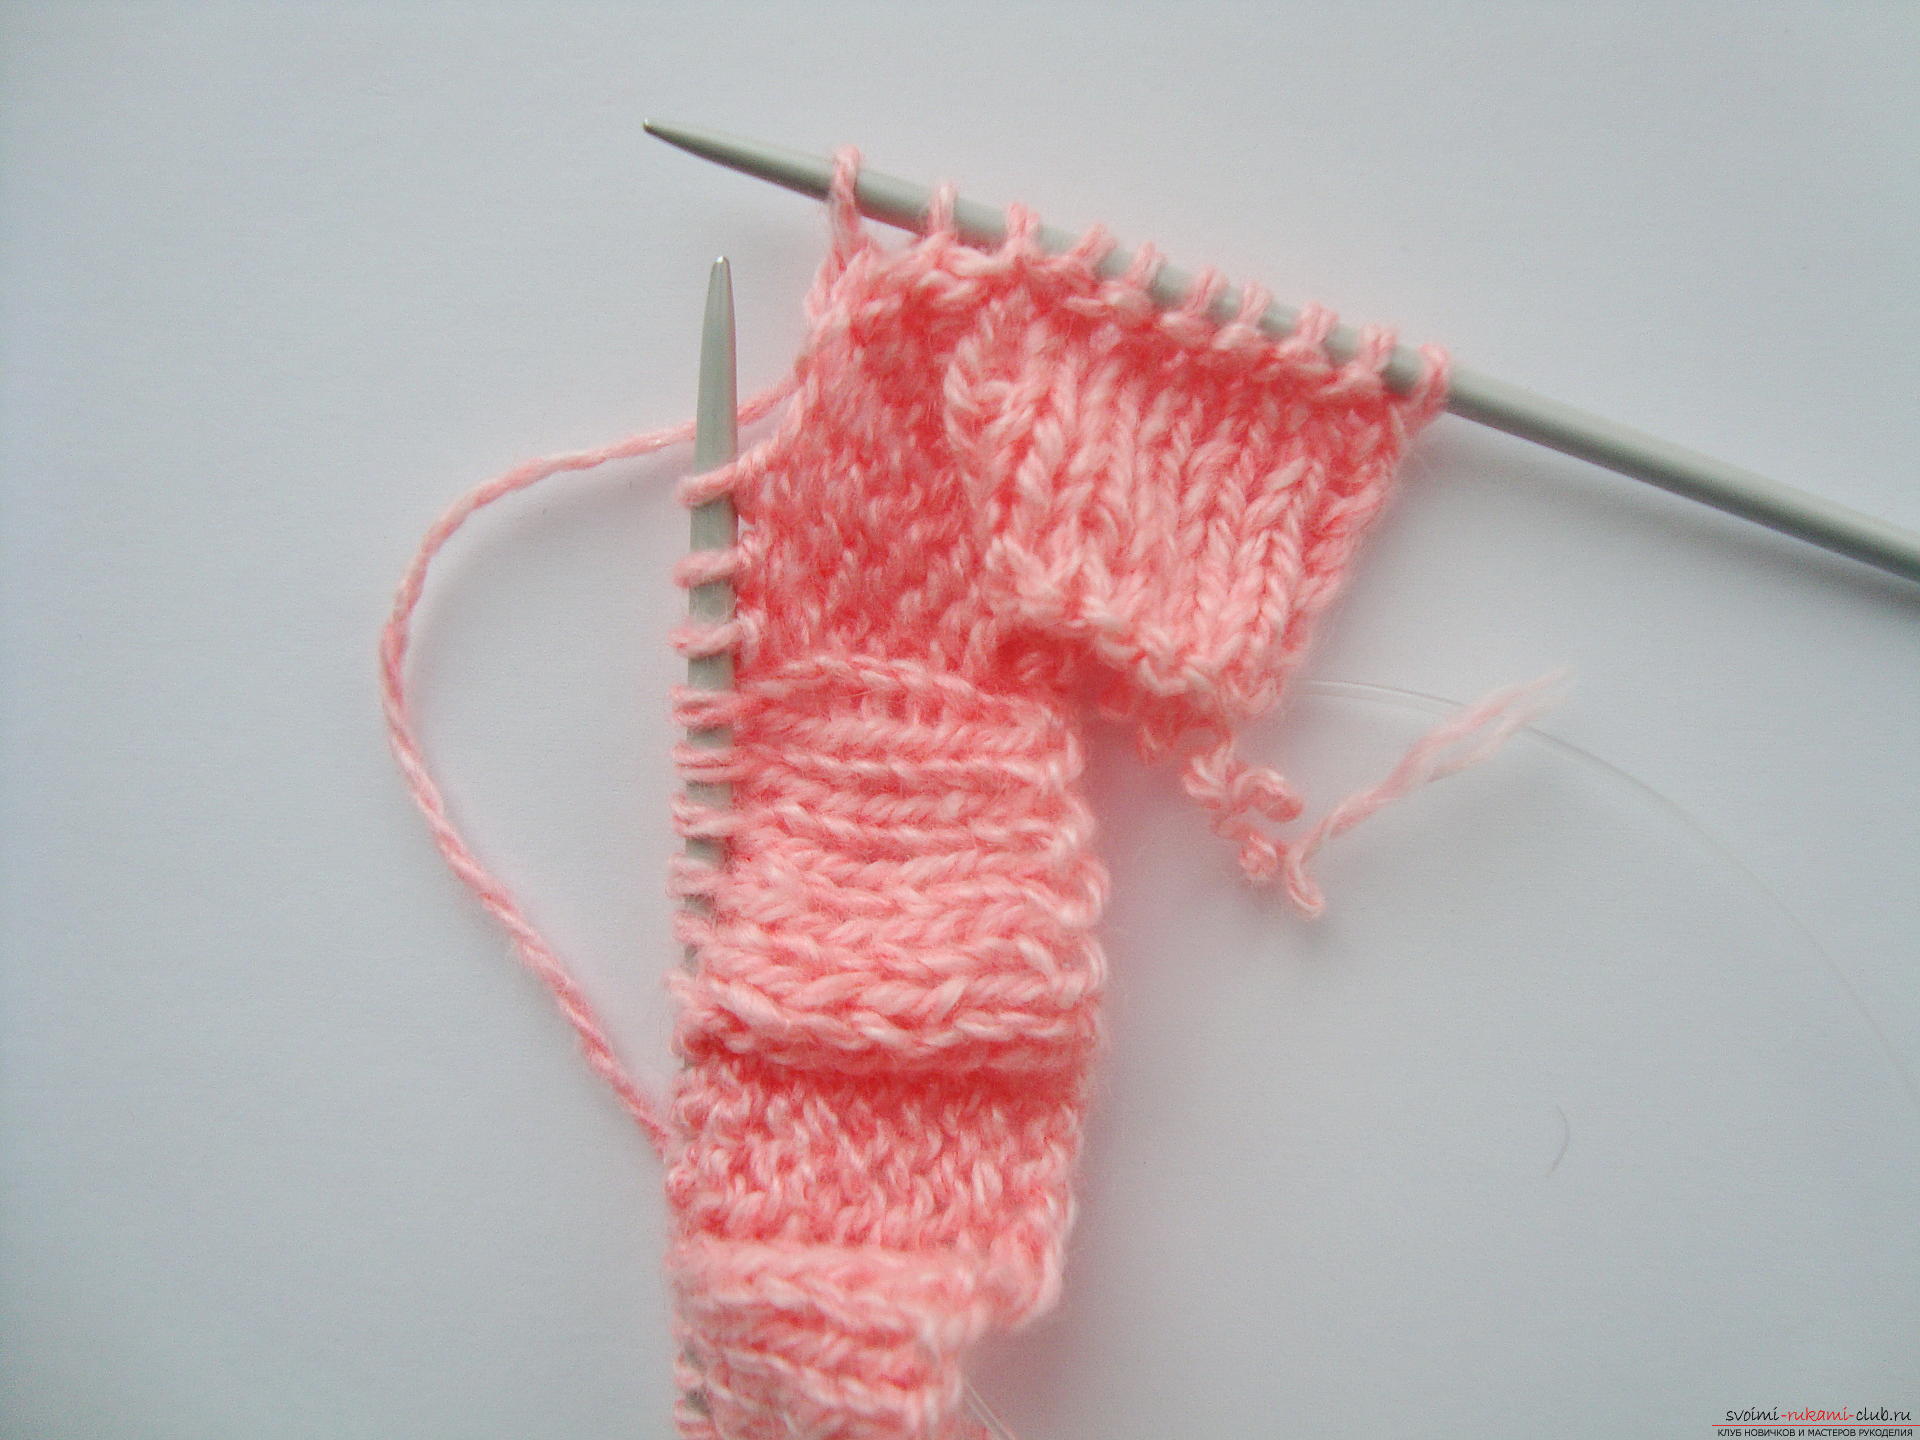
 Continue knitting on an already understandable principle: create squares of purl and facial loops so that they are even and equal in size. Up you will have to knit until you get five squares in height. That is, there are eight rows in each square, so all you have to do is tie 40 rows.
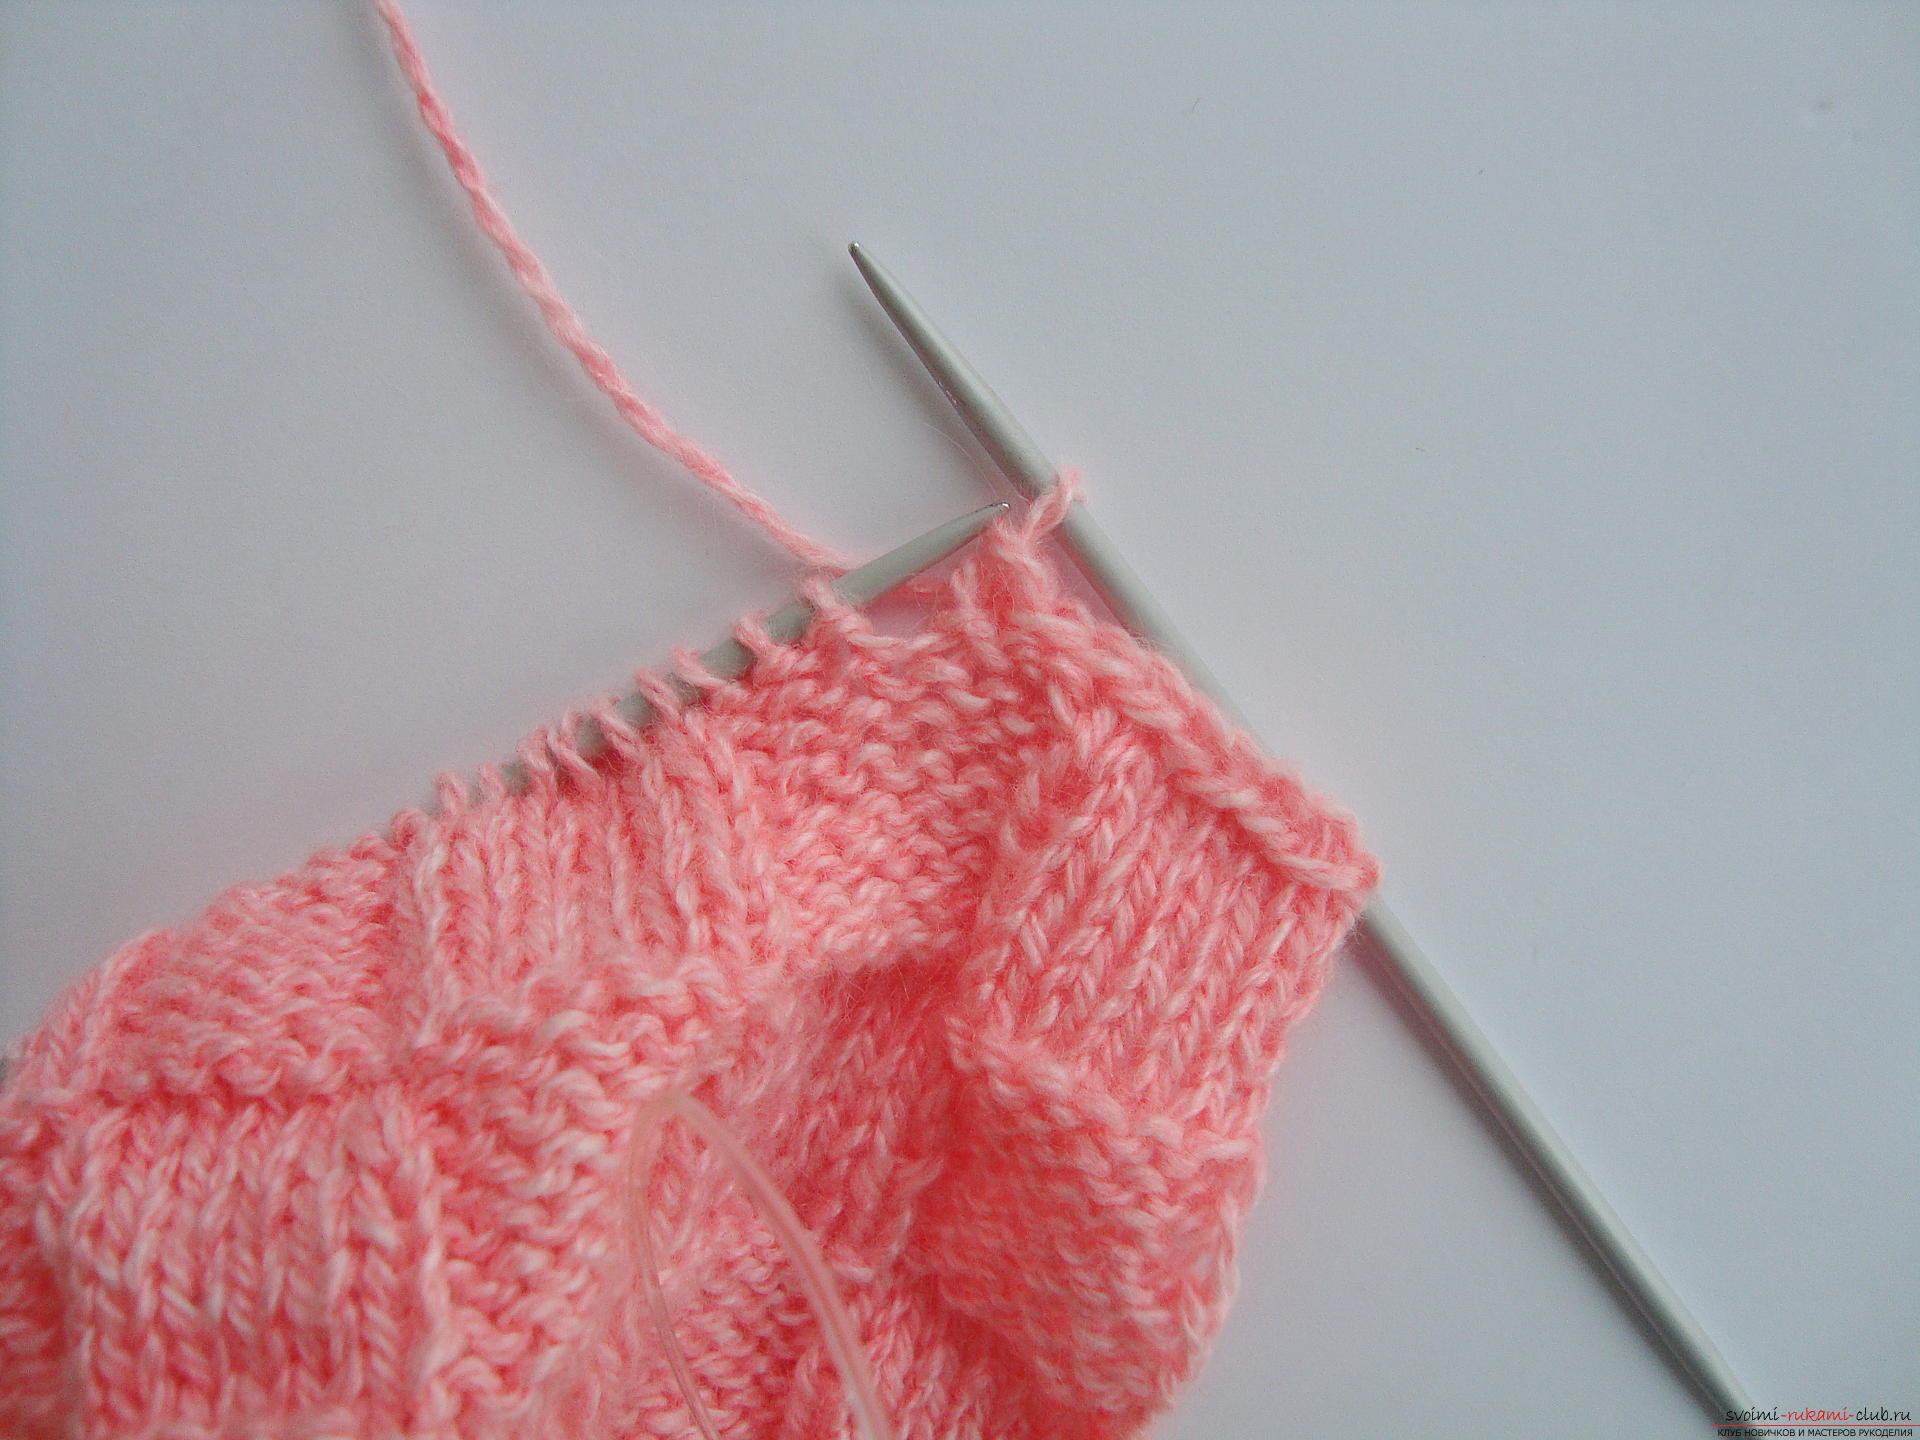
  When the last squares are tied up tothe required size, it is necessary to start closing the loops. Cut the loops according to a simple principle: the first two loops are tied together, thus forming one eyelet, then it is again thrown onto the left working knitting needle and the two loops are again tied together. Thus, the upper edge of the article is formed.
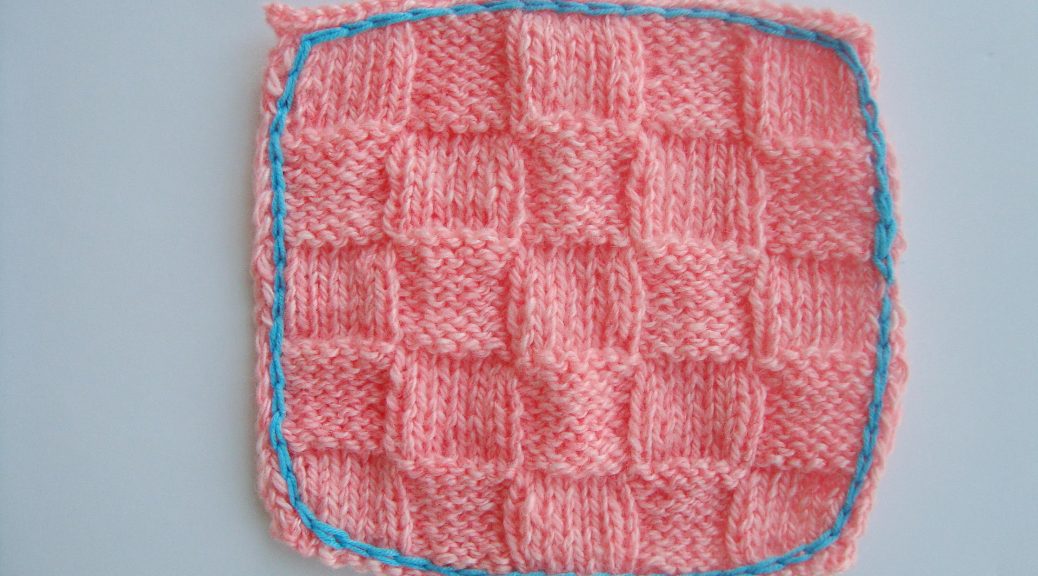
 A napkin under a mug or a small saucer will look like this, but there is clearly not enough a drop of brightness and originality.
 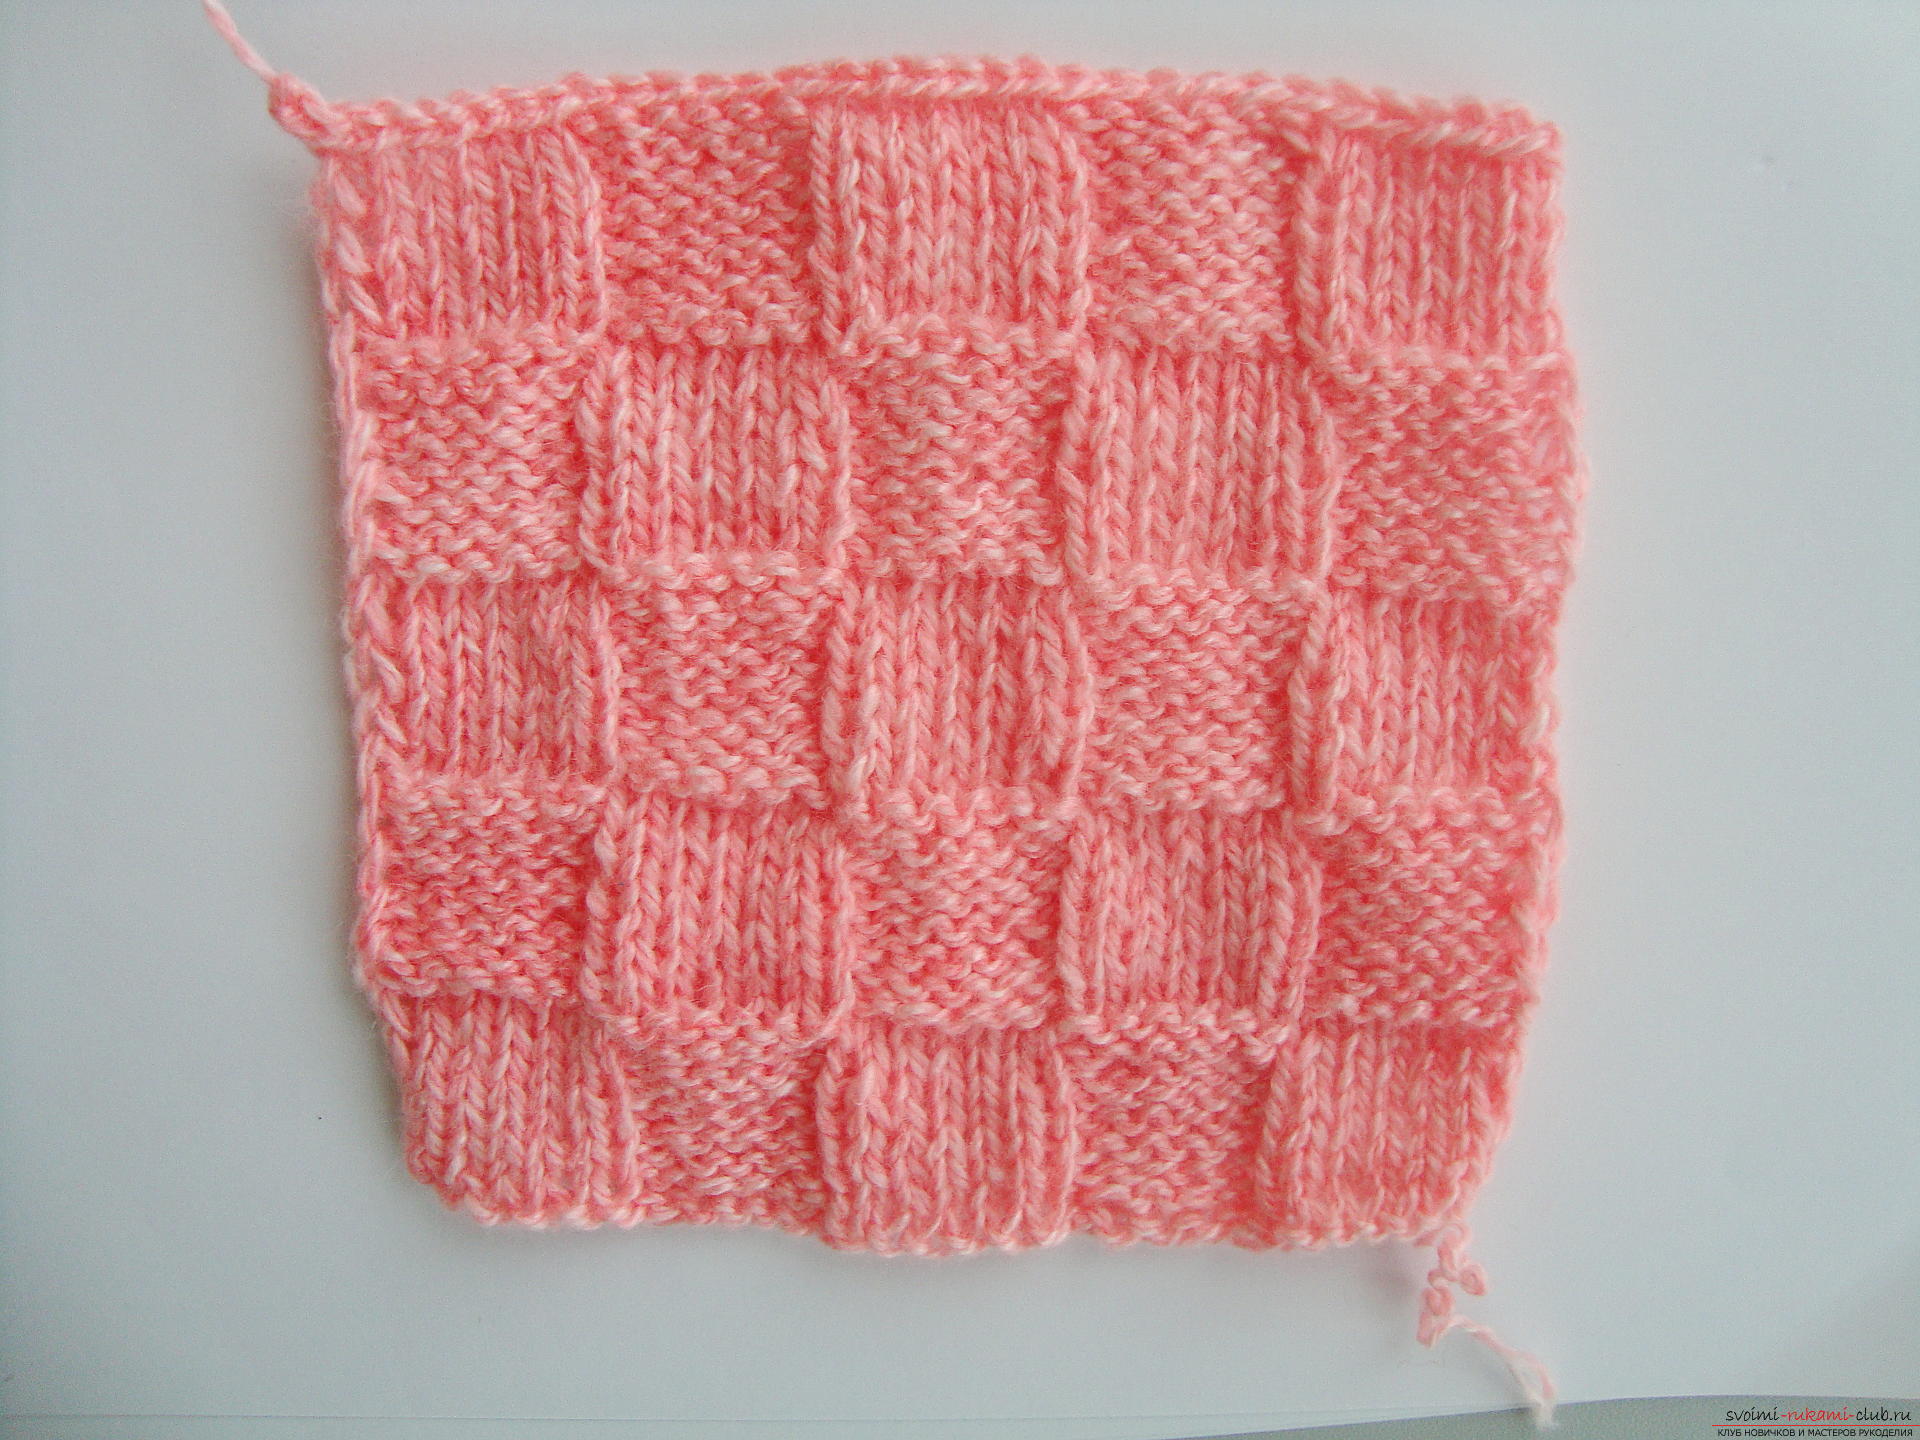 Therefore, work must be tied with a different color,for example, a bright turquoise thread. Take the hook and blue yarn, knitting tool deepen into the gap between the first and second rows (you can start the strapping from either side). Hook a loop of a new yarn on the wrong side of the work and pull it to the front. Without removing the eyelet from the hook, deepen it into the adjacent row 4-5 mm above the previous dive site and pull out a new loop, which is immediately tied through the first loop.
 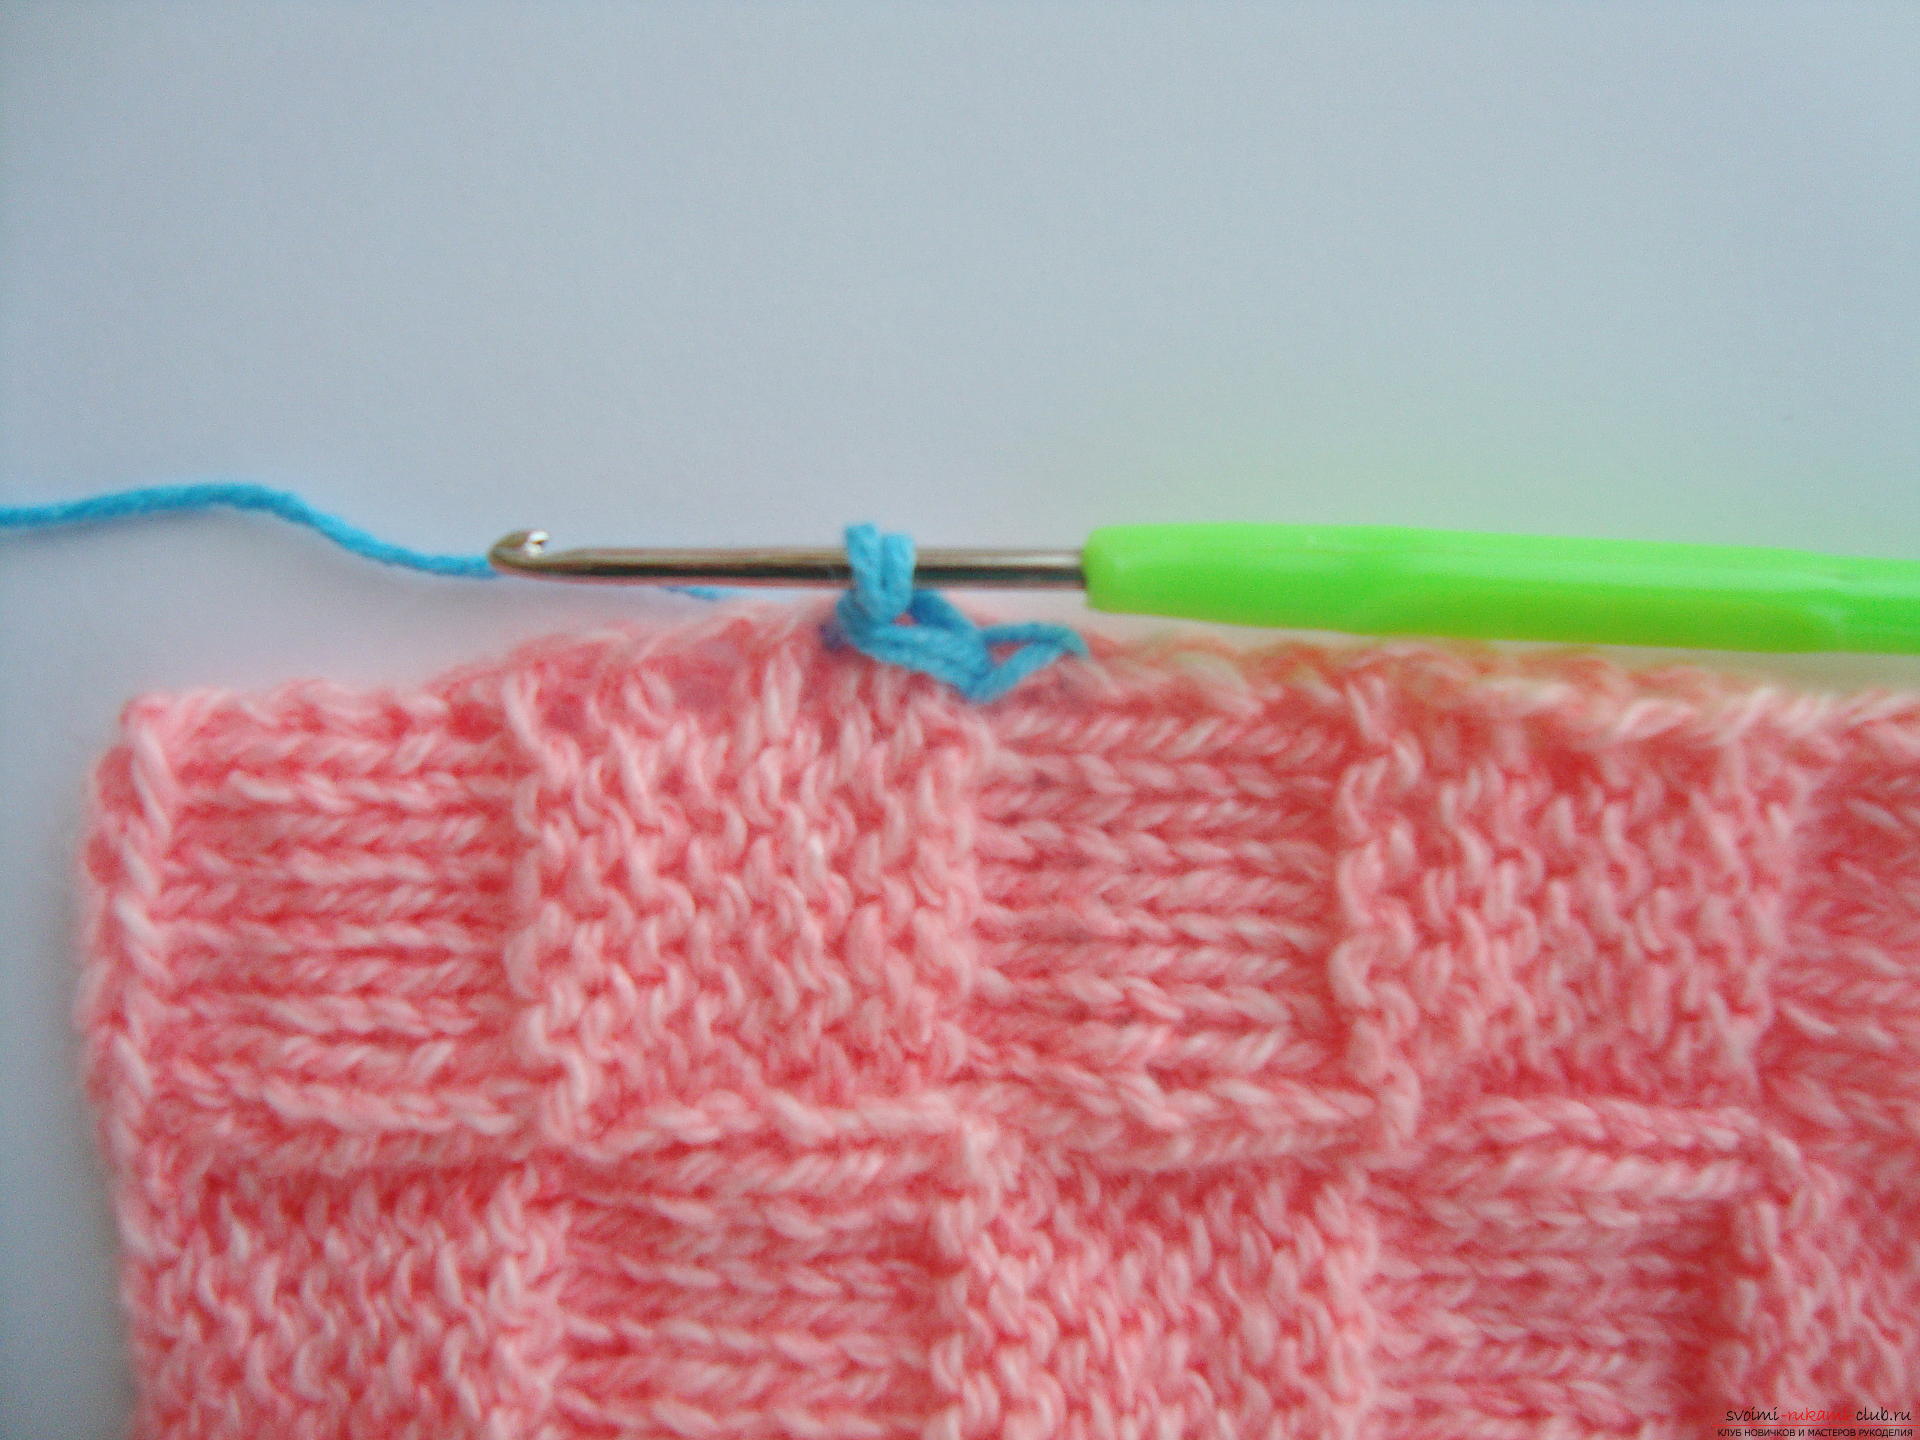 Repeat this principle around the entire perimeter of the product to make a smooth beautiful stitch with a turquoise color.
 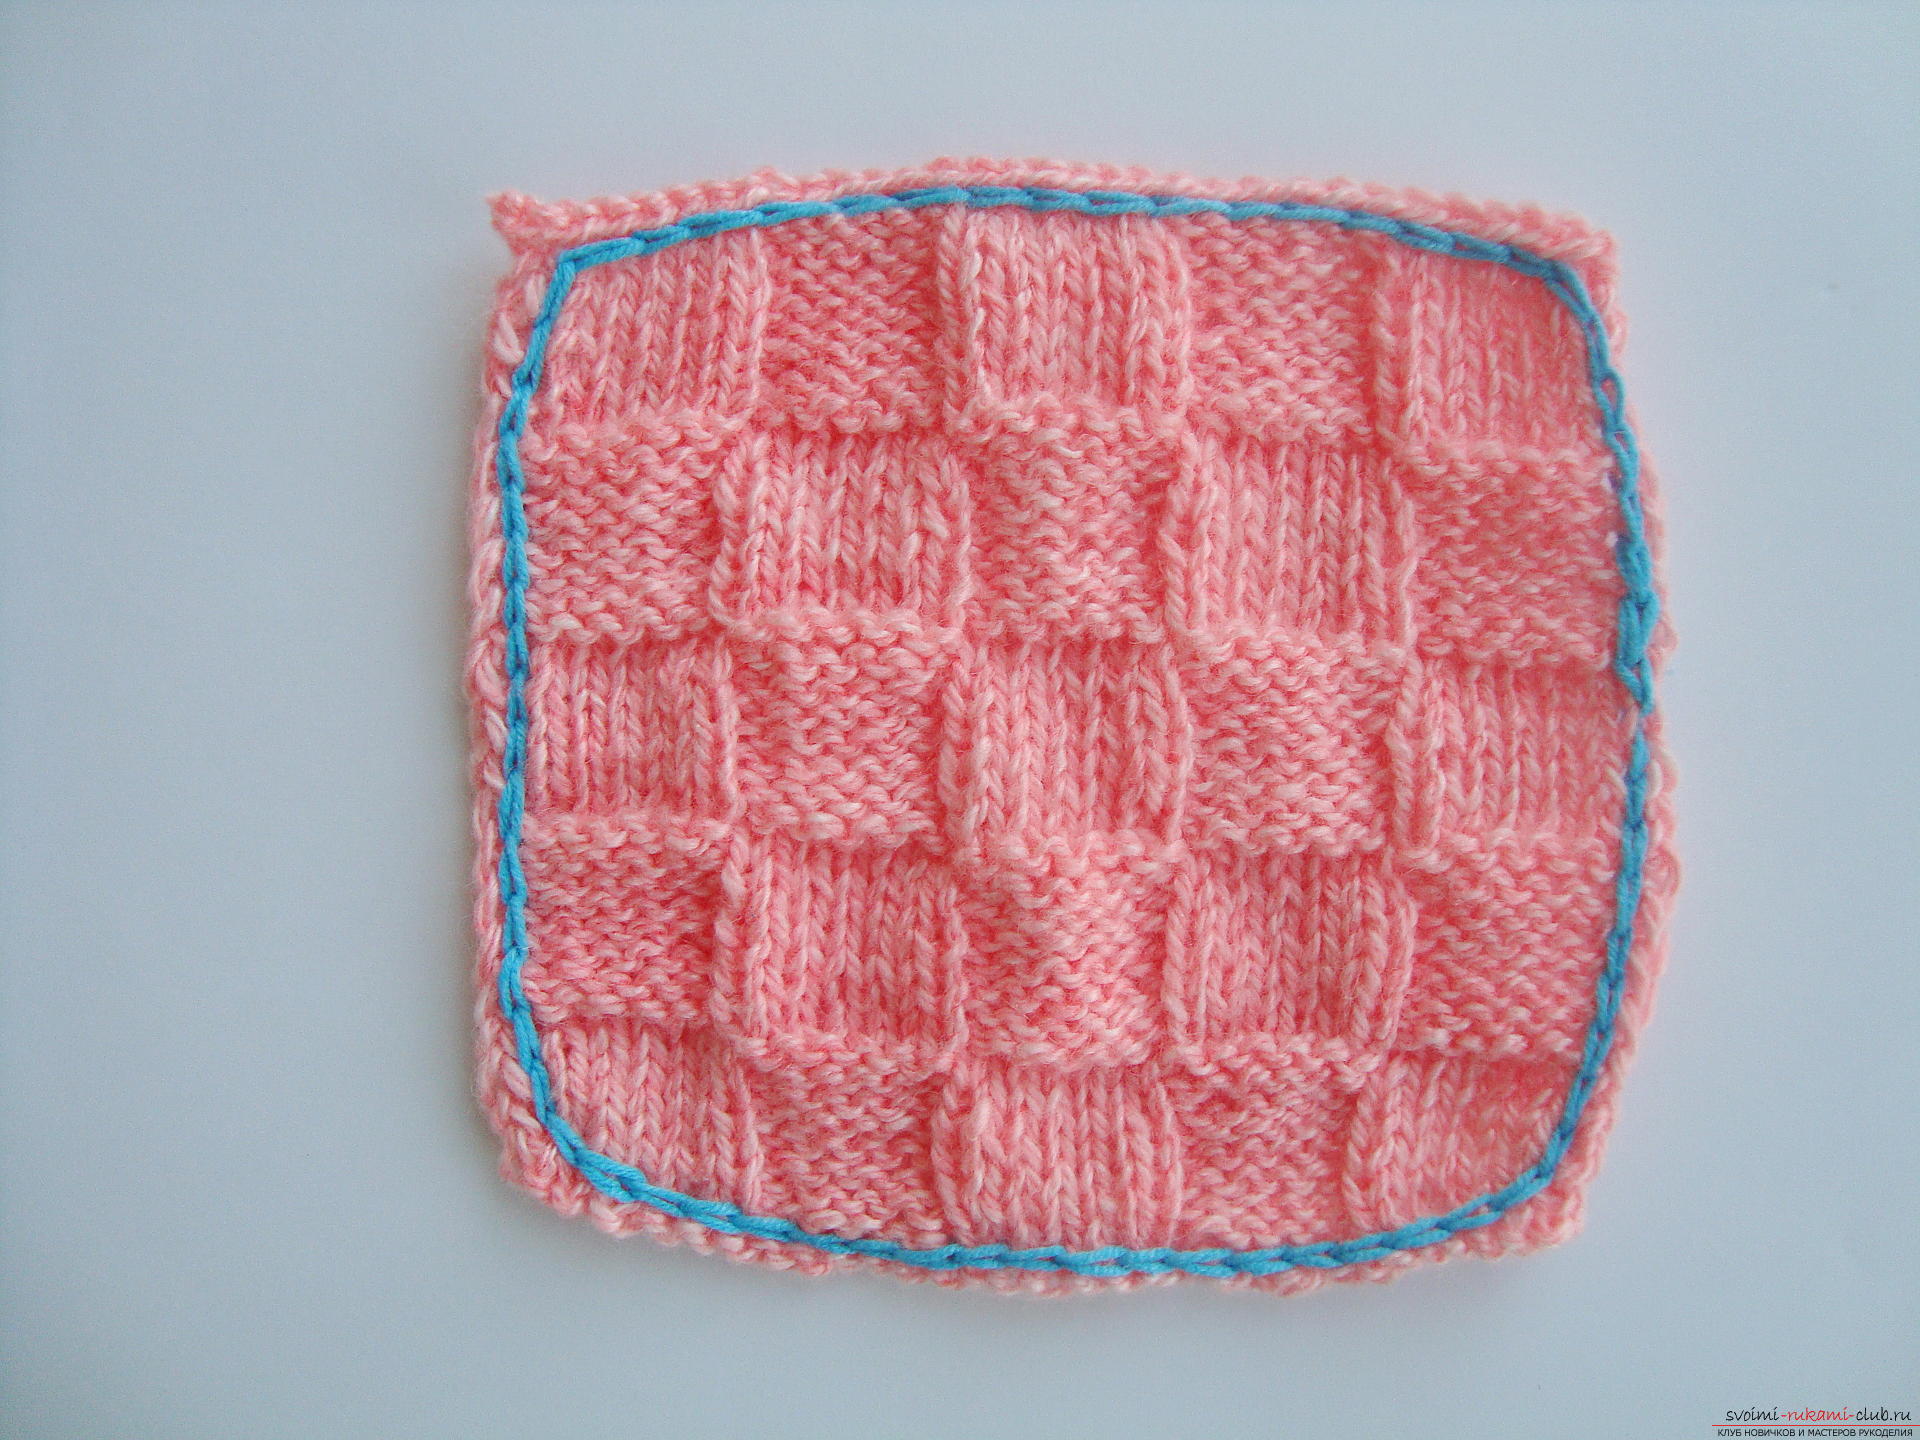 The napkin under the mug is ready. She will give comfort, make warmth in the evening or morning tea drinking, add originality.
Comments
Related posts:
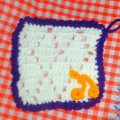 A lesson on knitting the cradle under the hot crochet "Elegance". Detailed description of the procedure for working with photos
 Recommendations, tips and master class with photo on knitting crochet crochet.
 Master-class on knitting of universal children's sweaters on knits
 Master-class on knitting knitting blankets for dolls for beginners
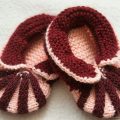 The first in the life of the baby air booties on knitting needles, a yarn of two colors. Master class on knitting children's pinets without seams