The master class will teach you how to decorate the clutch with your own hands using the technique of decoupage
For a long time my mother had an old leather handbag- as they say, the memory of the past youth. Knowing that I am fond of decoupage, she asked me how to decorate her somehow. Now these ladies' handbags are called clutches. Before me was the task of preserving the spirit of the last century, but, nevertheless, a little refreshed, with the words of my mother - "embellish." For work I prepared:
- alcoholic napkin;
- colors - white and colored;
- Brushes;
- PVA glue;
- Crackles lacquer;
- bitumen varnish;
- sponge foam rubber;
- file;
- spray;
- napkins for decoupage;
- acrylic lacquer.
Progress 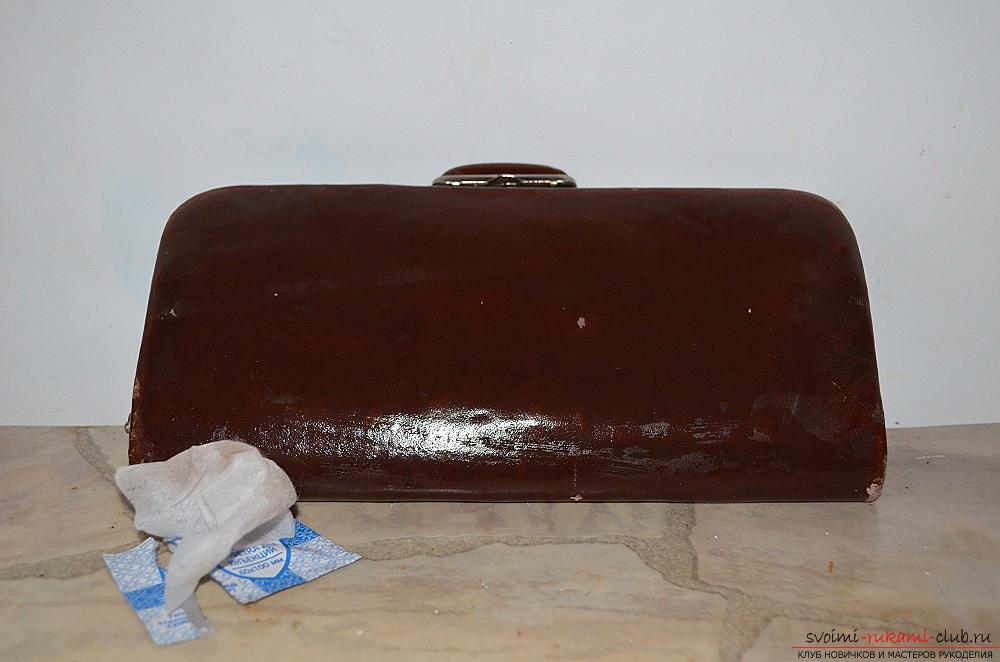 I prepared a clutch for decoupage: I wiped the surface with an alcoholic napkin.
 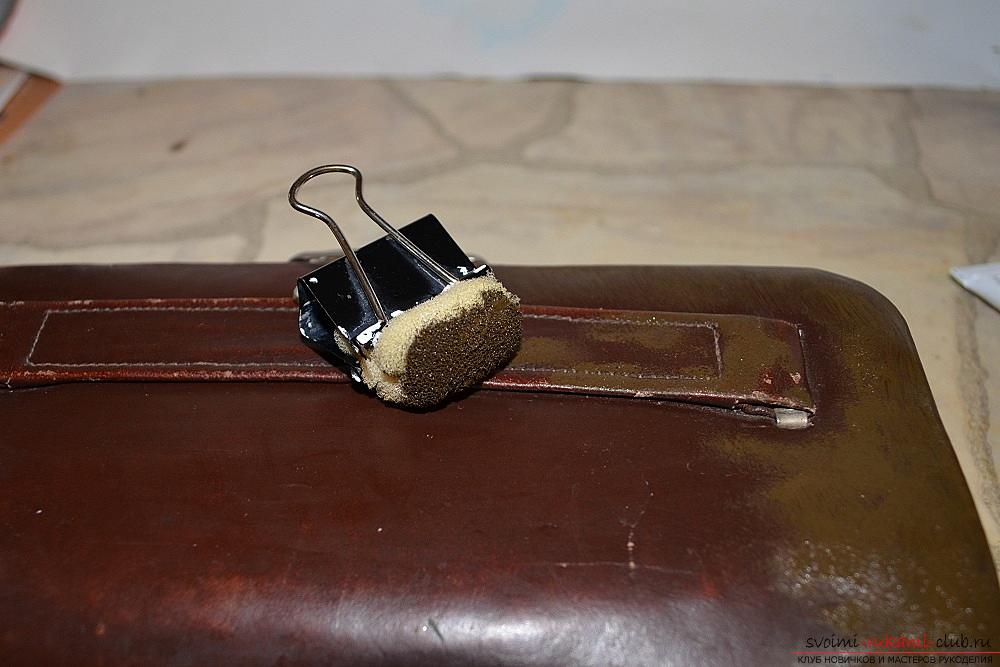 I chose a dark color for the primer. Although the purse was already dark and quite suitable for applying a varnish lacquer, however, I primed it so that the lacquer did not absorb into the skin. It depends on this, what cracks will turn out.
  Primed the surface of the clutch. Gave to dry the front side, and the same thing did on the back of the clutch.
 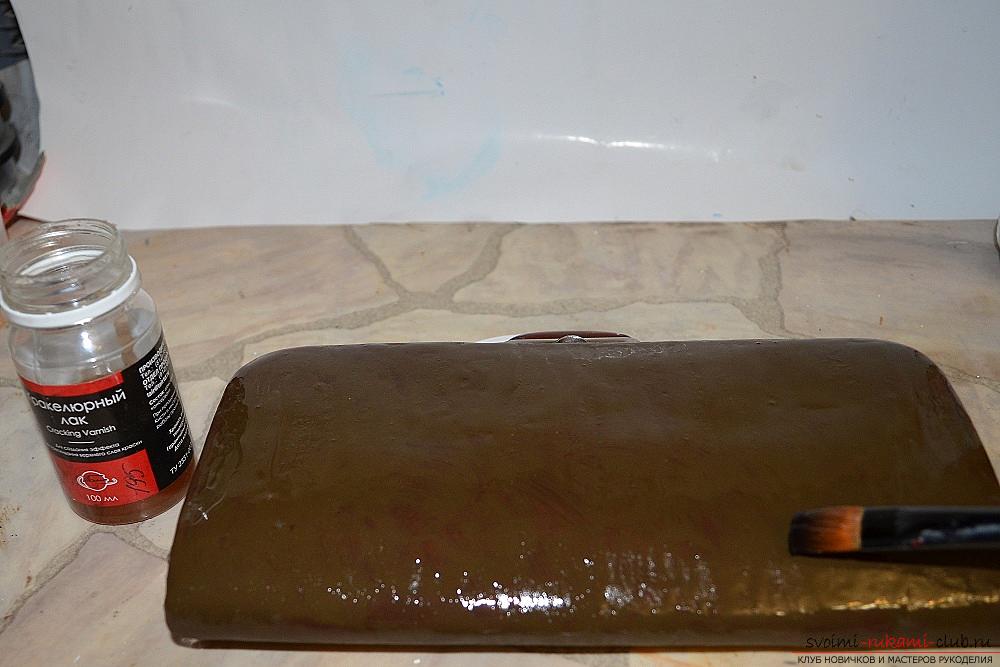 Having dried the primer well, she smeared with a varnish varnish and left to dry for 15-20 minutes, so that the varnish dried up to a certain state, which is called "on tap."
  She applied a foam paint to the foam sponge, touching the surface only once. Even if poorly painted, when repeated touching, all the coating is smeared.
 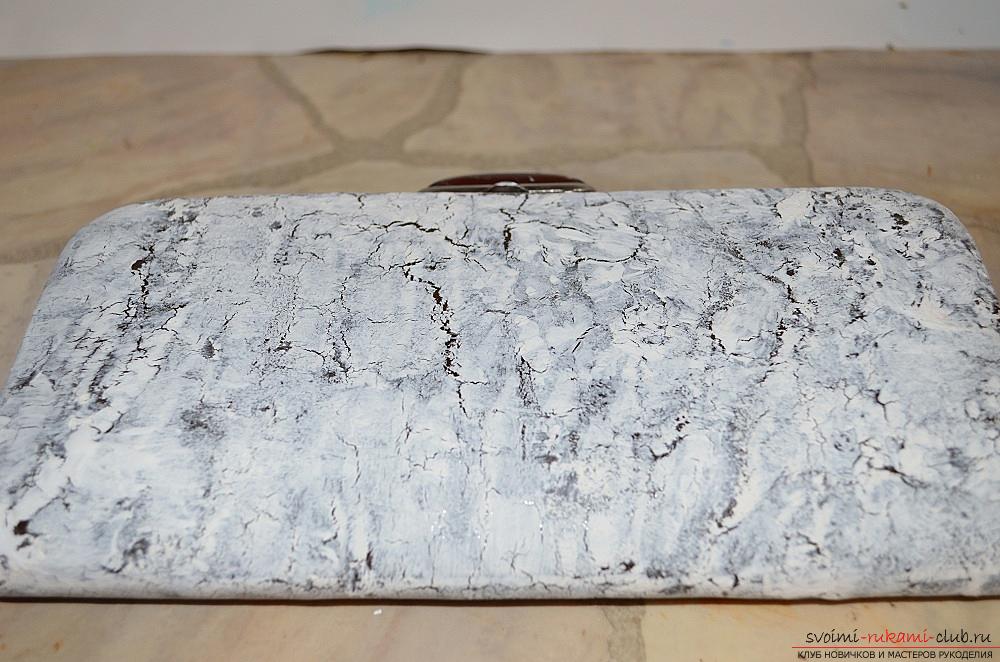 I do everything first on one side. As soon as completely dyed, I wait, when there will be cracks and I leave everything to the full desiccation.
 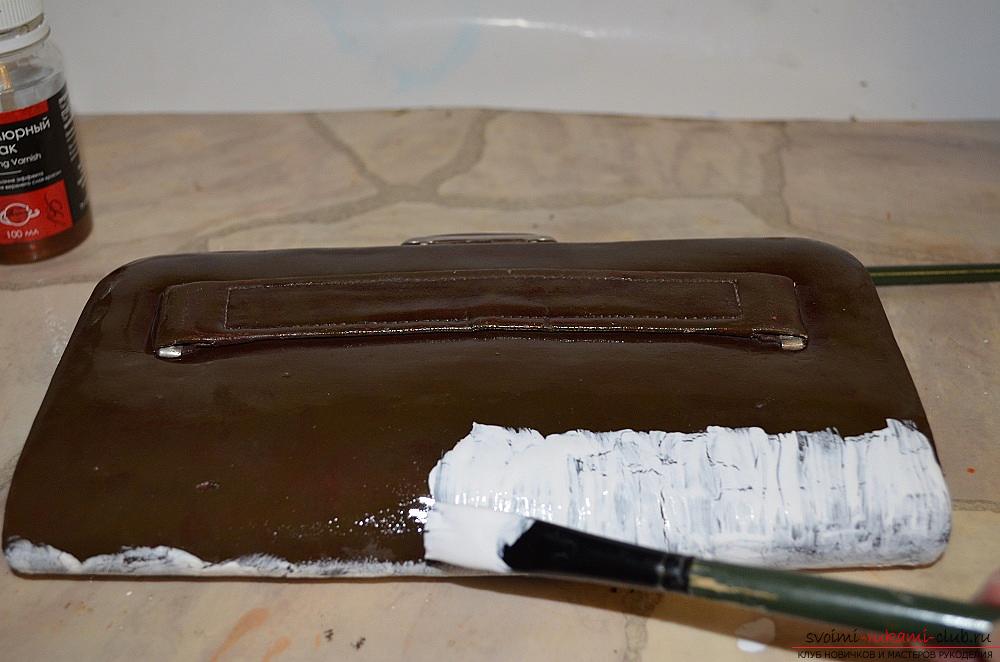 Similarly, I perform the reverse side of the clutch. Only now I apply the paint with a brush, but also with one touch.
  The cracks turned out to be slightly different. So you choose what to use.
 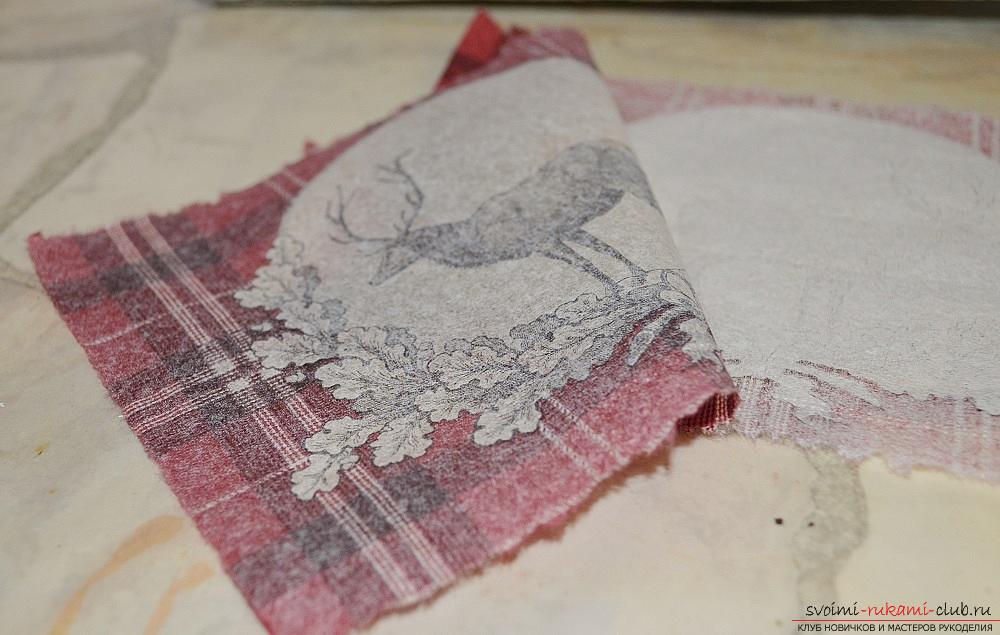 While the paint dries, she prepares a napkin: she has separated the top layer with a pattern.
  Put the napkin face down on the file and moistened it with water so that it covered the napkin entirely, straightened the folds.
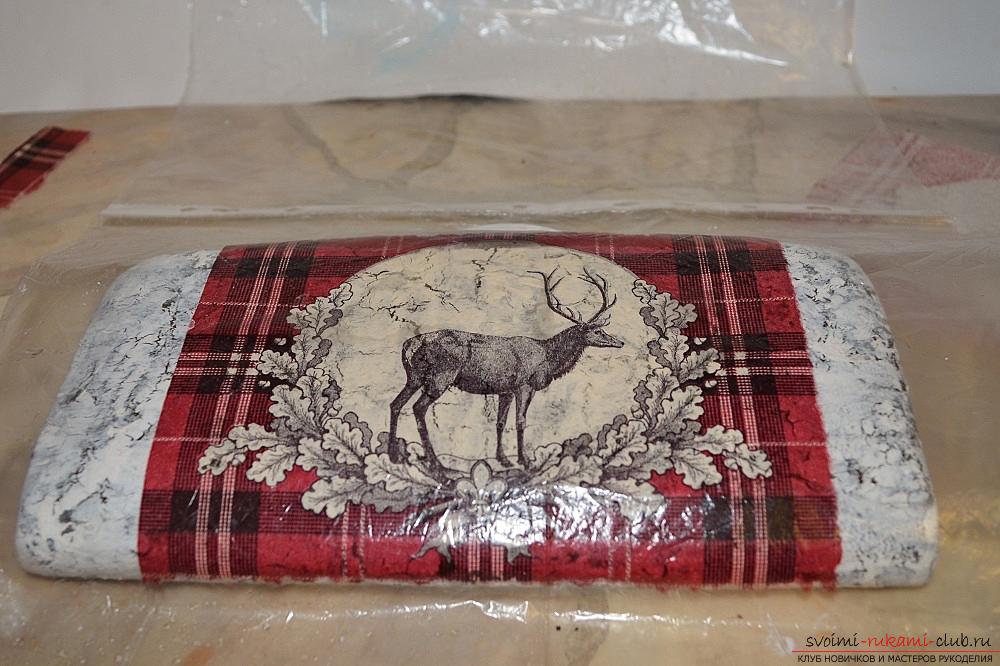
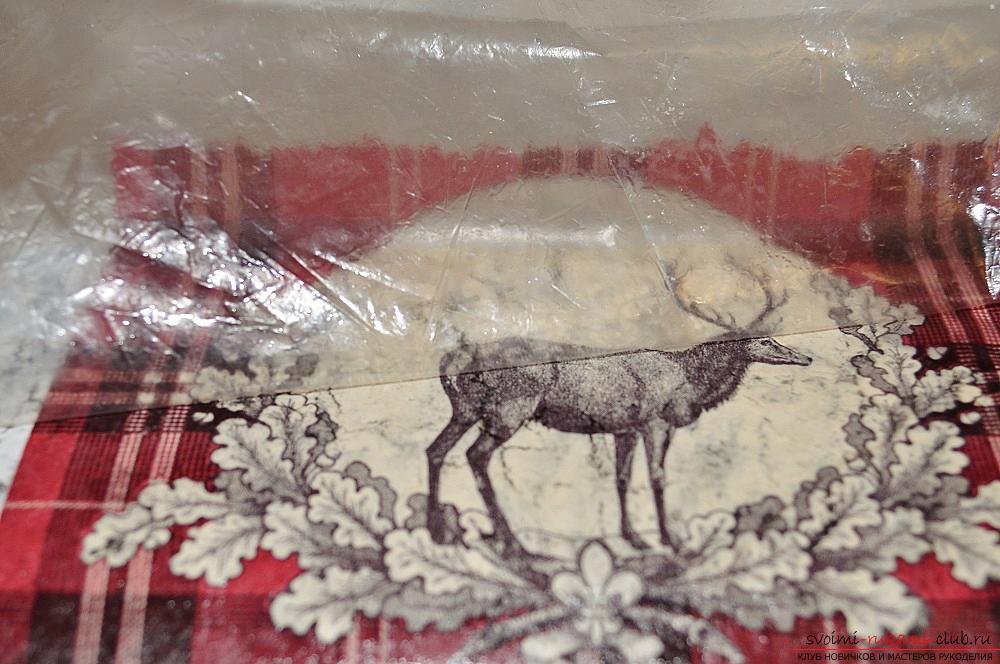 I transfer the file with the fragment to the clutch, smooth it and remove the file.
 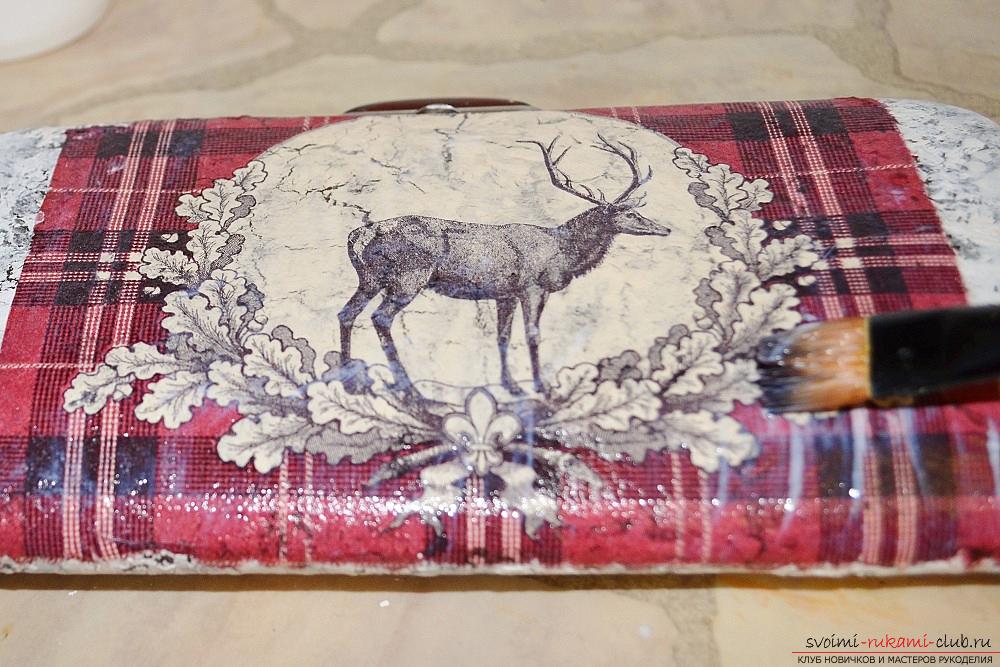 I glue the napkin with PVA glue. Sushu.
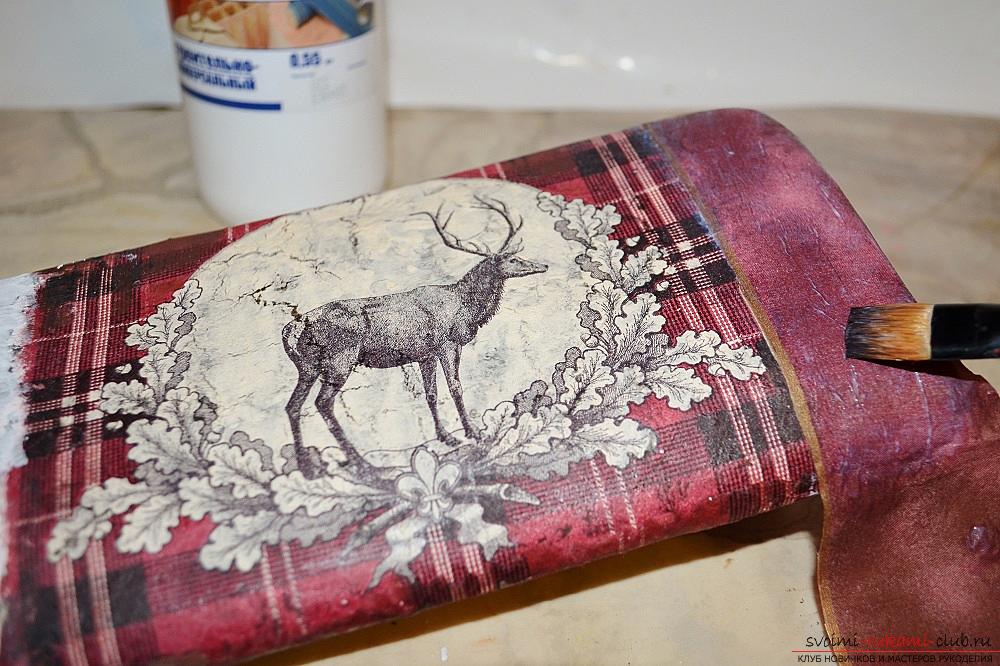
 I select a napkin for the edge of the clutch andpaste, a little going on the glued fragment from one edge, and then from the other edge. As soon as the front side is dry, similarly I finish the reverse side of the clutch.
 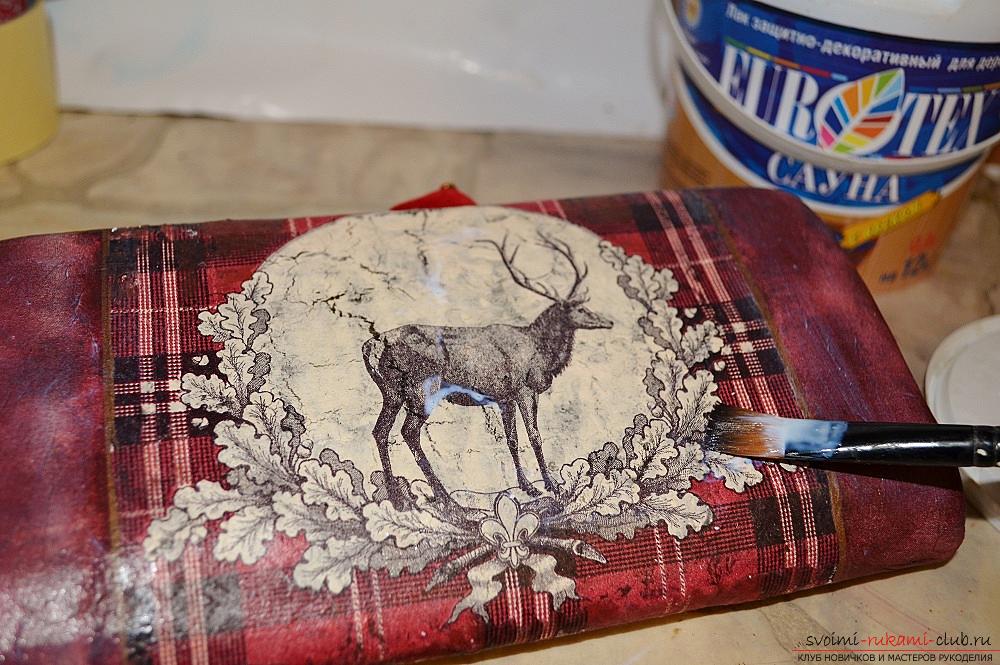 All the clutch dry well, as the skin dries long. I cover with varnish some times.
 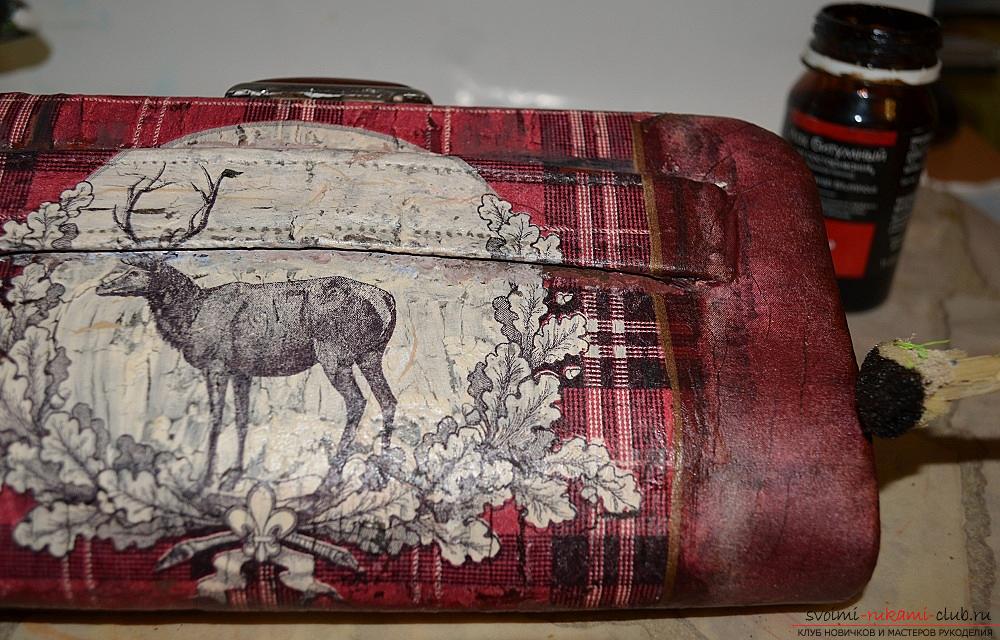 I pass the sponge on the edge of the clutch with bituminous lacquer, giving the purse a finished look.
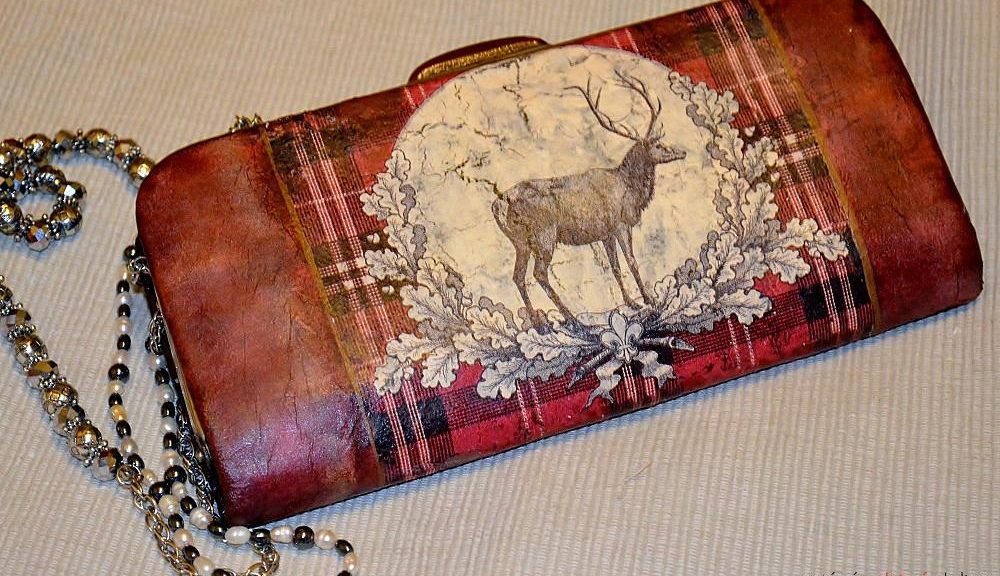
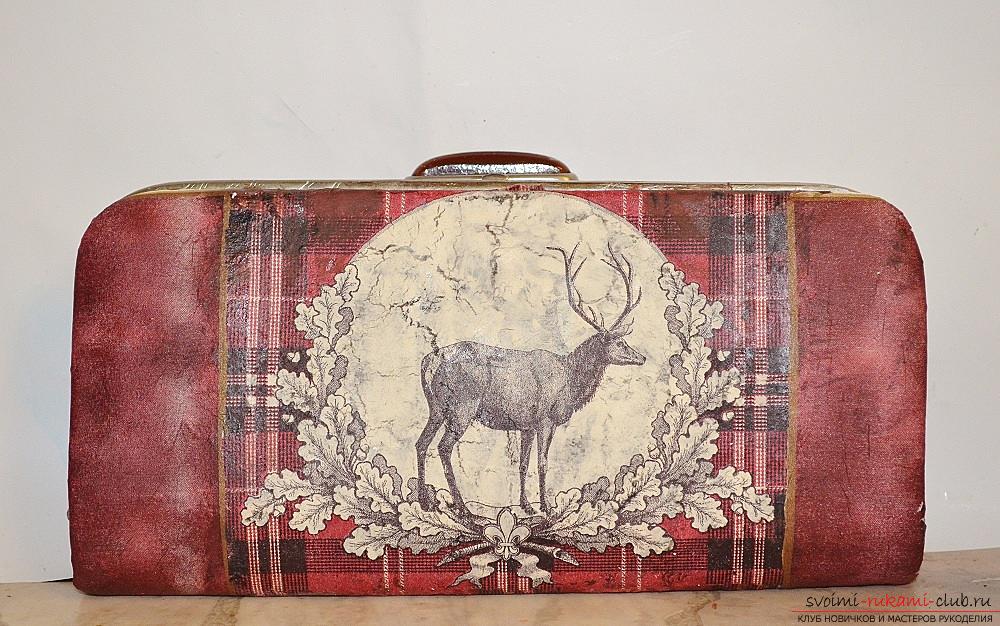
  It turned out a clutch bag in a vintage style.
Comments
Related posts:
 A detailed master class will teach how to sew pants for a child with their own hands quickly and simply, without patterning.
 The lesson of creating a poodle with the help of quilling techniques for beginners - a master class
 This master class will teach you decorating pots using decoupage techniques and decoPatch.
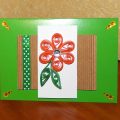 This master class will teach you how to make your own beautiful quilling cards.
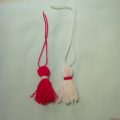 This master class will teach you how to make a ritual doll-amulet with your own hands.