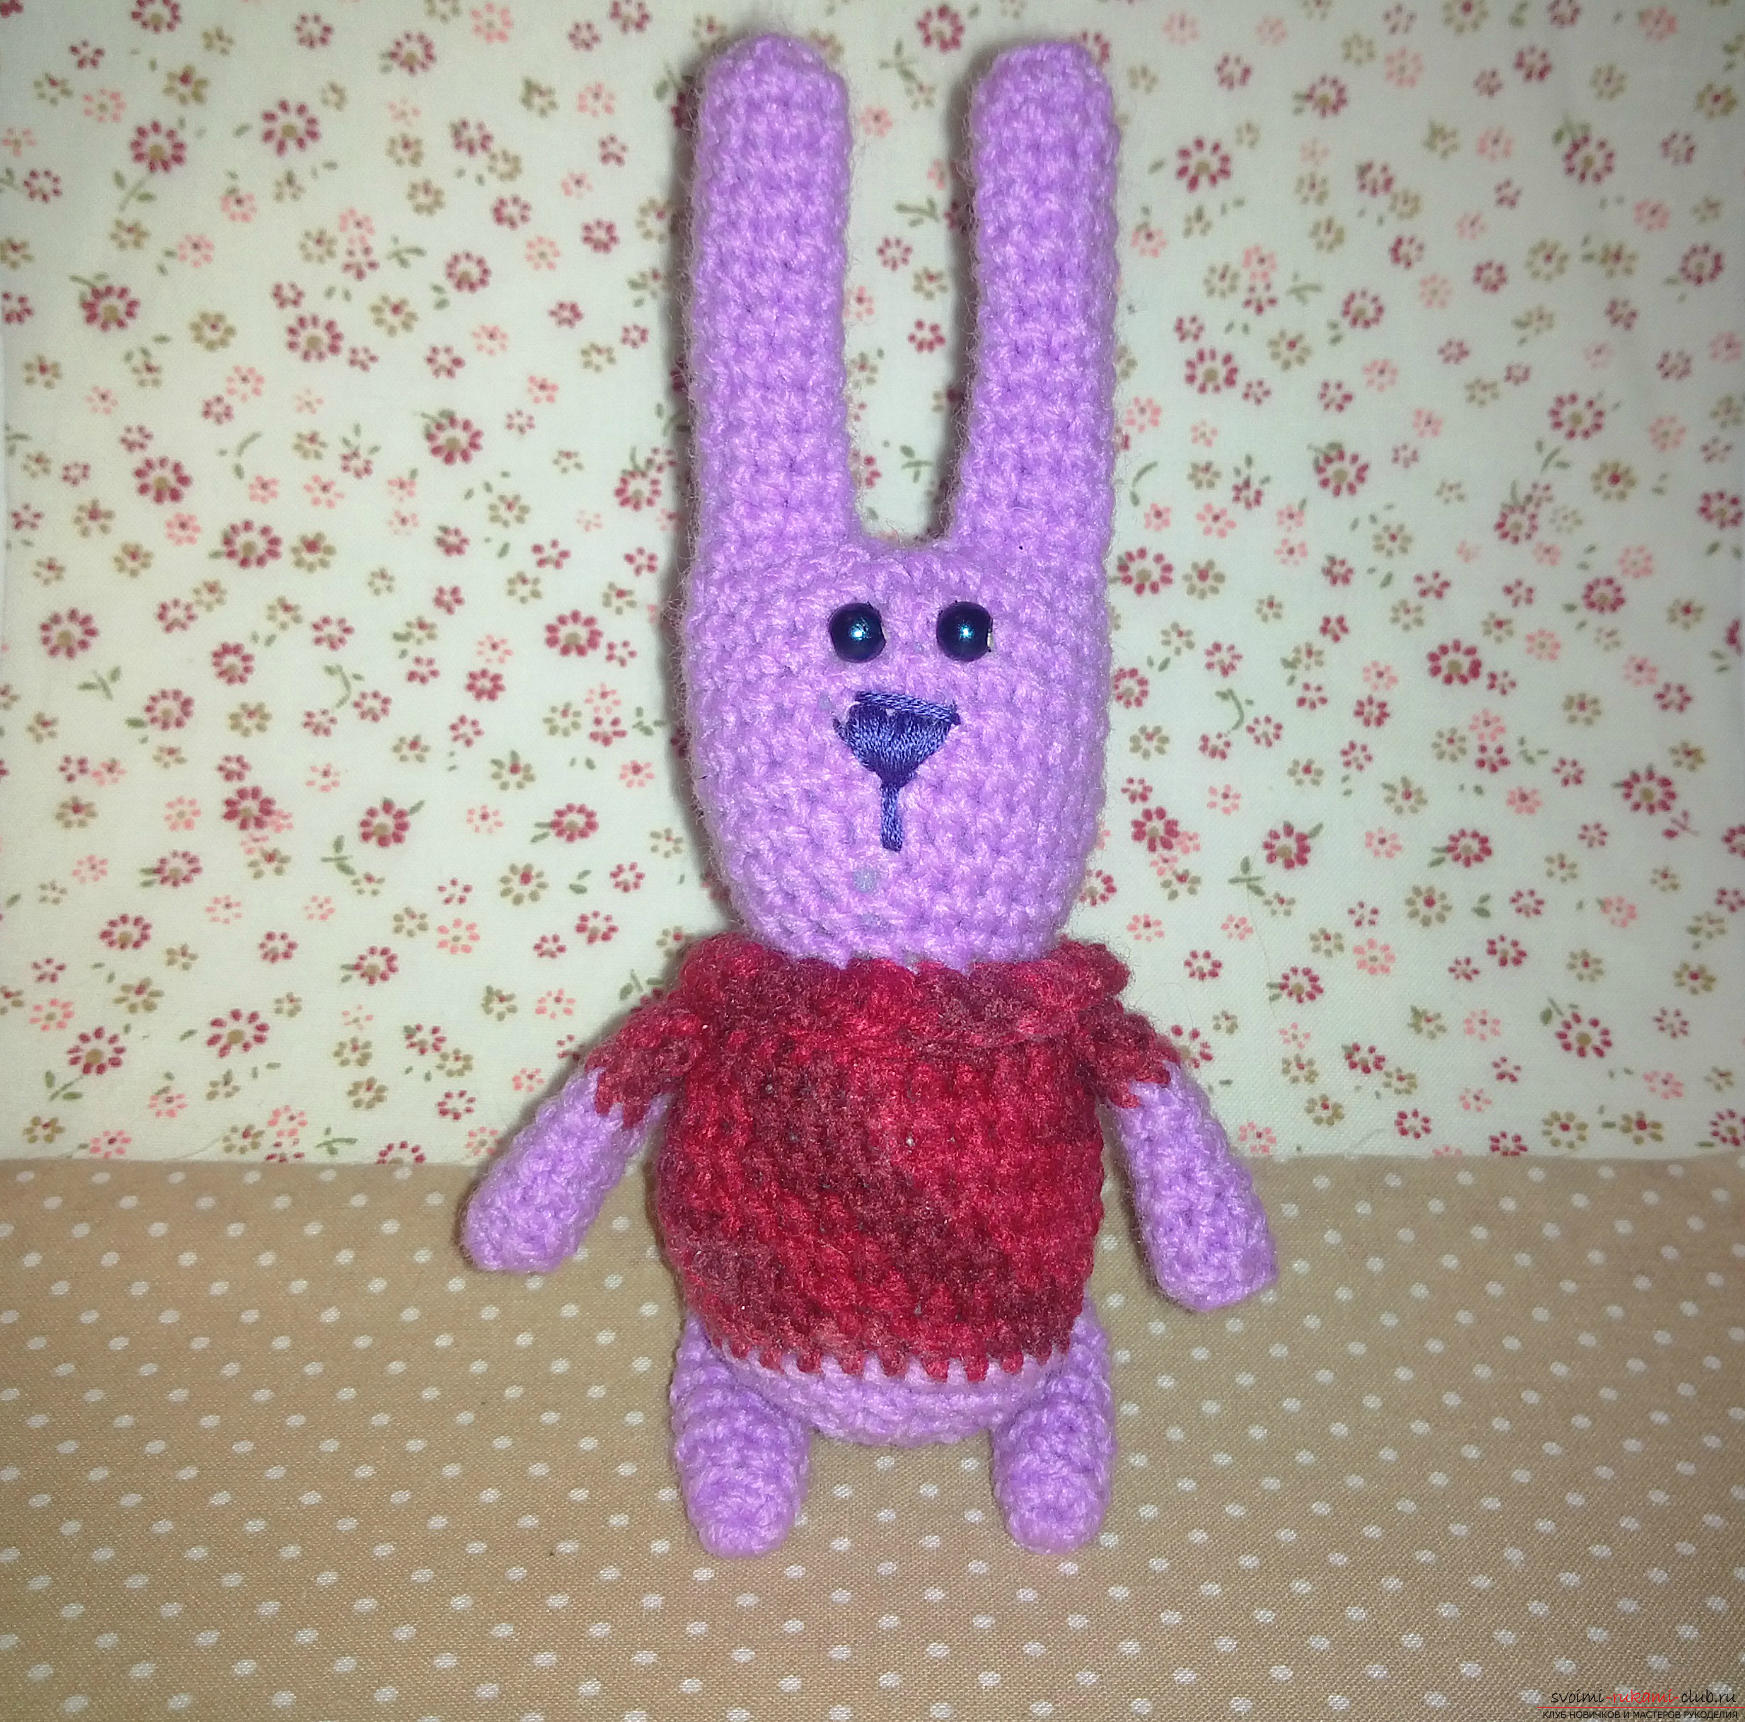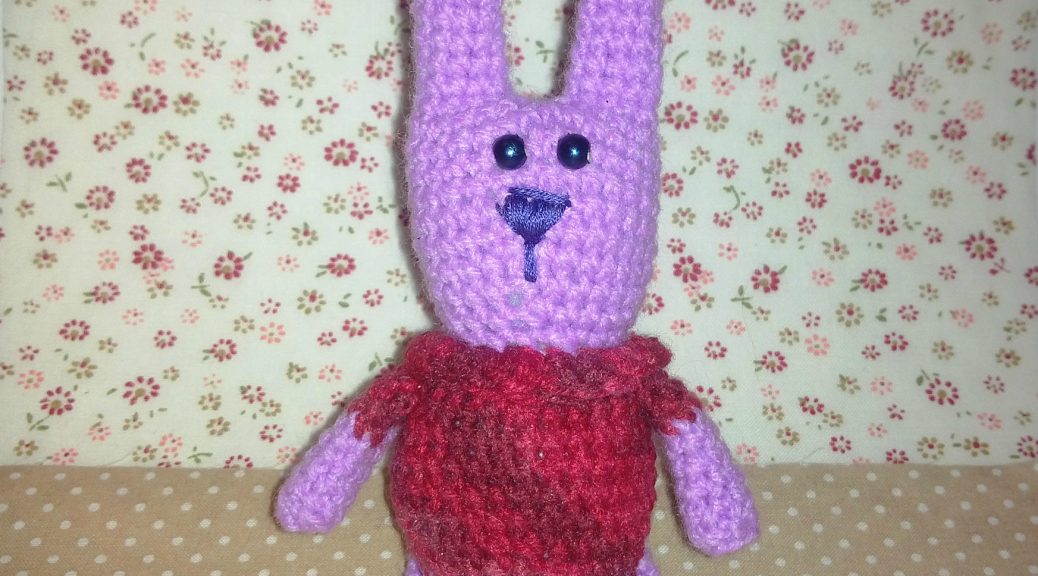
The master class will teach how to crochet a bunny that looks like a knitted hare Tanya Orobets
Many needlewomen knit toys. Someone with knitting needles, someone crocheting. In this master class we will knit crochet bunny. Probably, many saw on the open spaces of the Internet funny and lovely spokes seals and bunnies, which are connected on motives of works of Tani Orobets. We will try to tie one of these rabbits with a crochet. Of course, the hare will turn out different, but still it will resemble something that those same spokes will borrow. But it will be already original and perhaps even authoritative, if you approach knitting with fantasy. Materials and tools:
- Hook;
- Yarn lilac and melange red;
- Synthepon;
- Yarn;
- Needle;
- Beads.
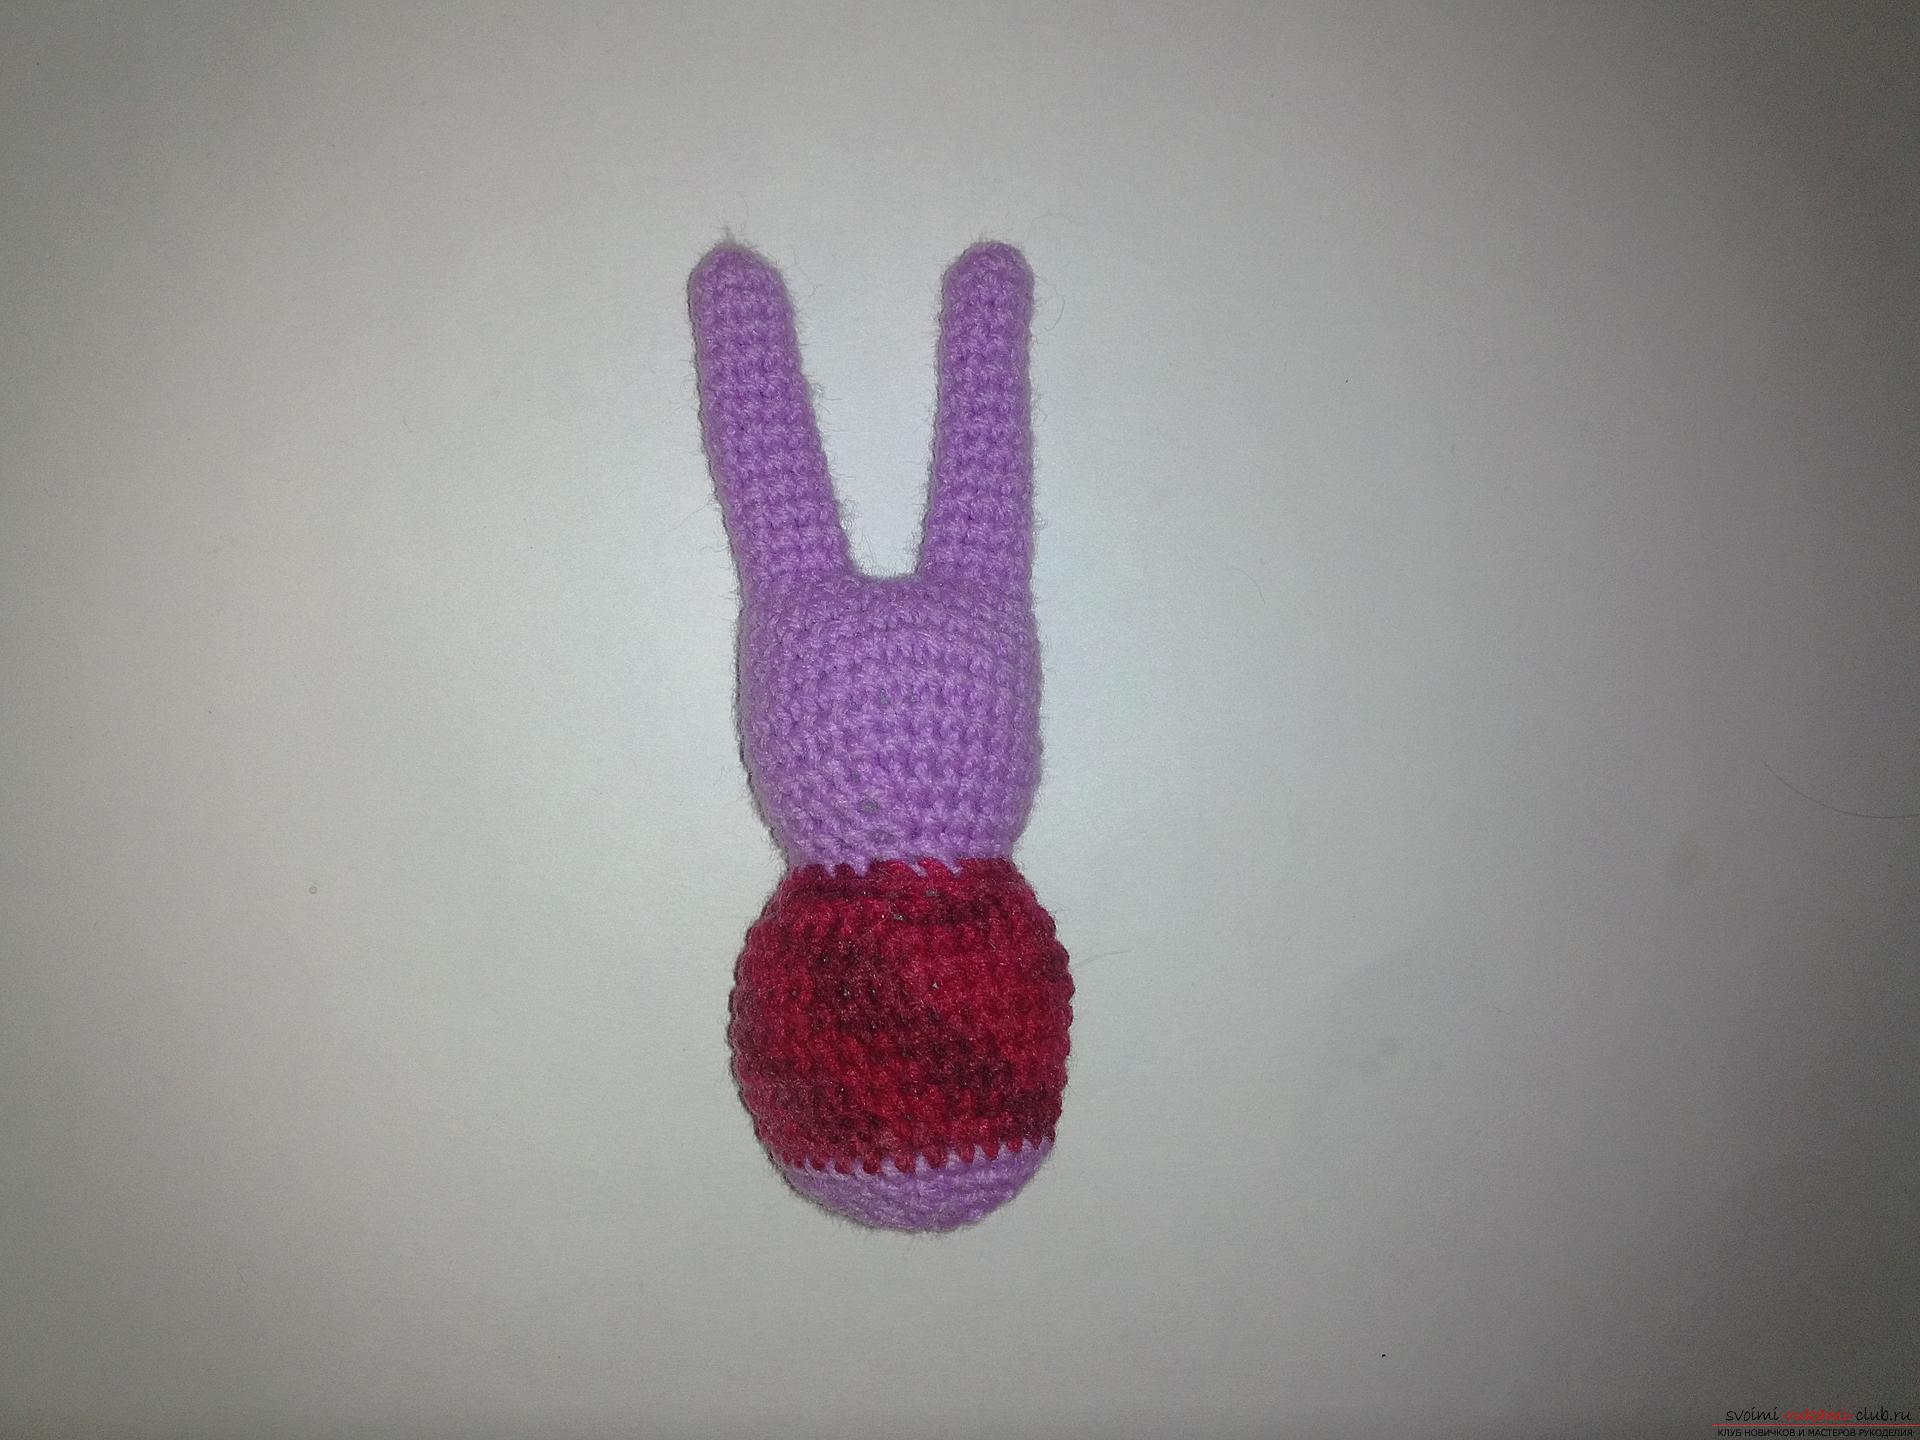
Stages of work: For knitting bunny you can take any colors you like. The main thing is that these colors are more or less combined with each other. Then the toy will turn out harmonious and will not be lost, for example, against a background of a too bright sweater. And our hare will be dressed in a sweater or blouse. Knit bunny, we'll start with the ears. We make two loops or a ring of amigurumi. To whom as it is pleasant to begin knitting more. And we untangle ten columns without a crochet. We make only thirteen rows. Knitting goes in a circle. At the end of the series, you do not need to connect its beginning and end. We knit the second hare's ear. 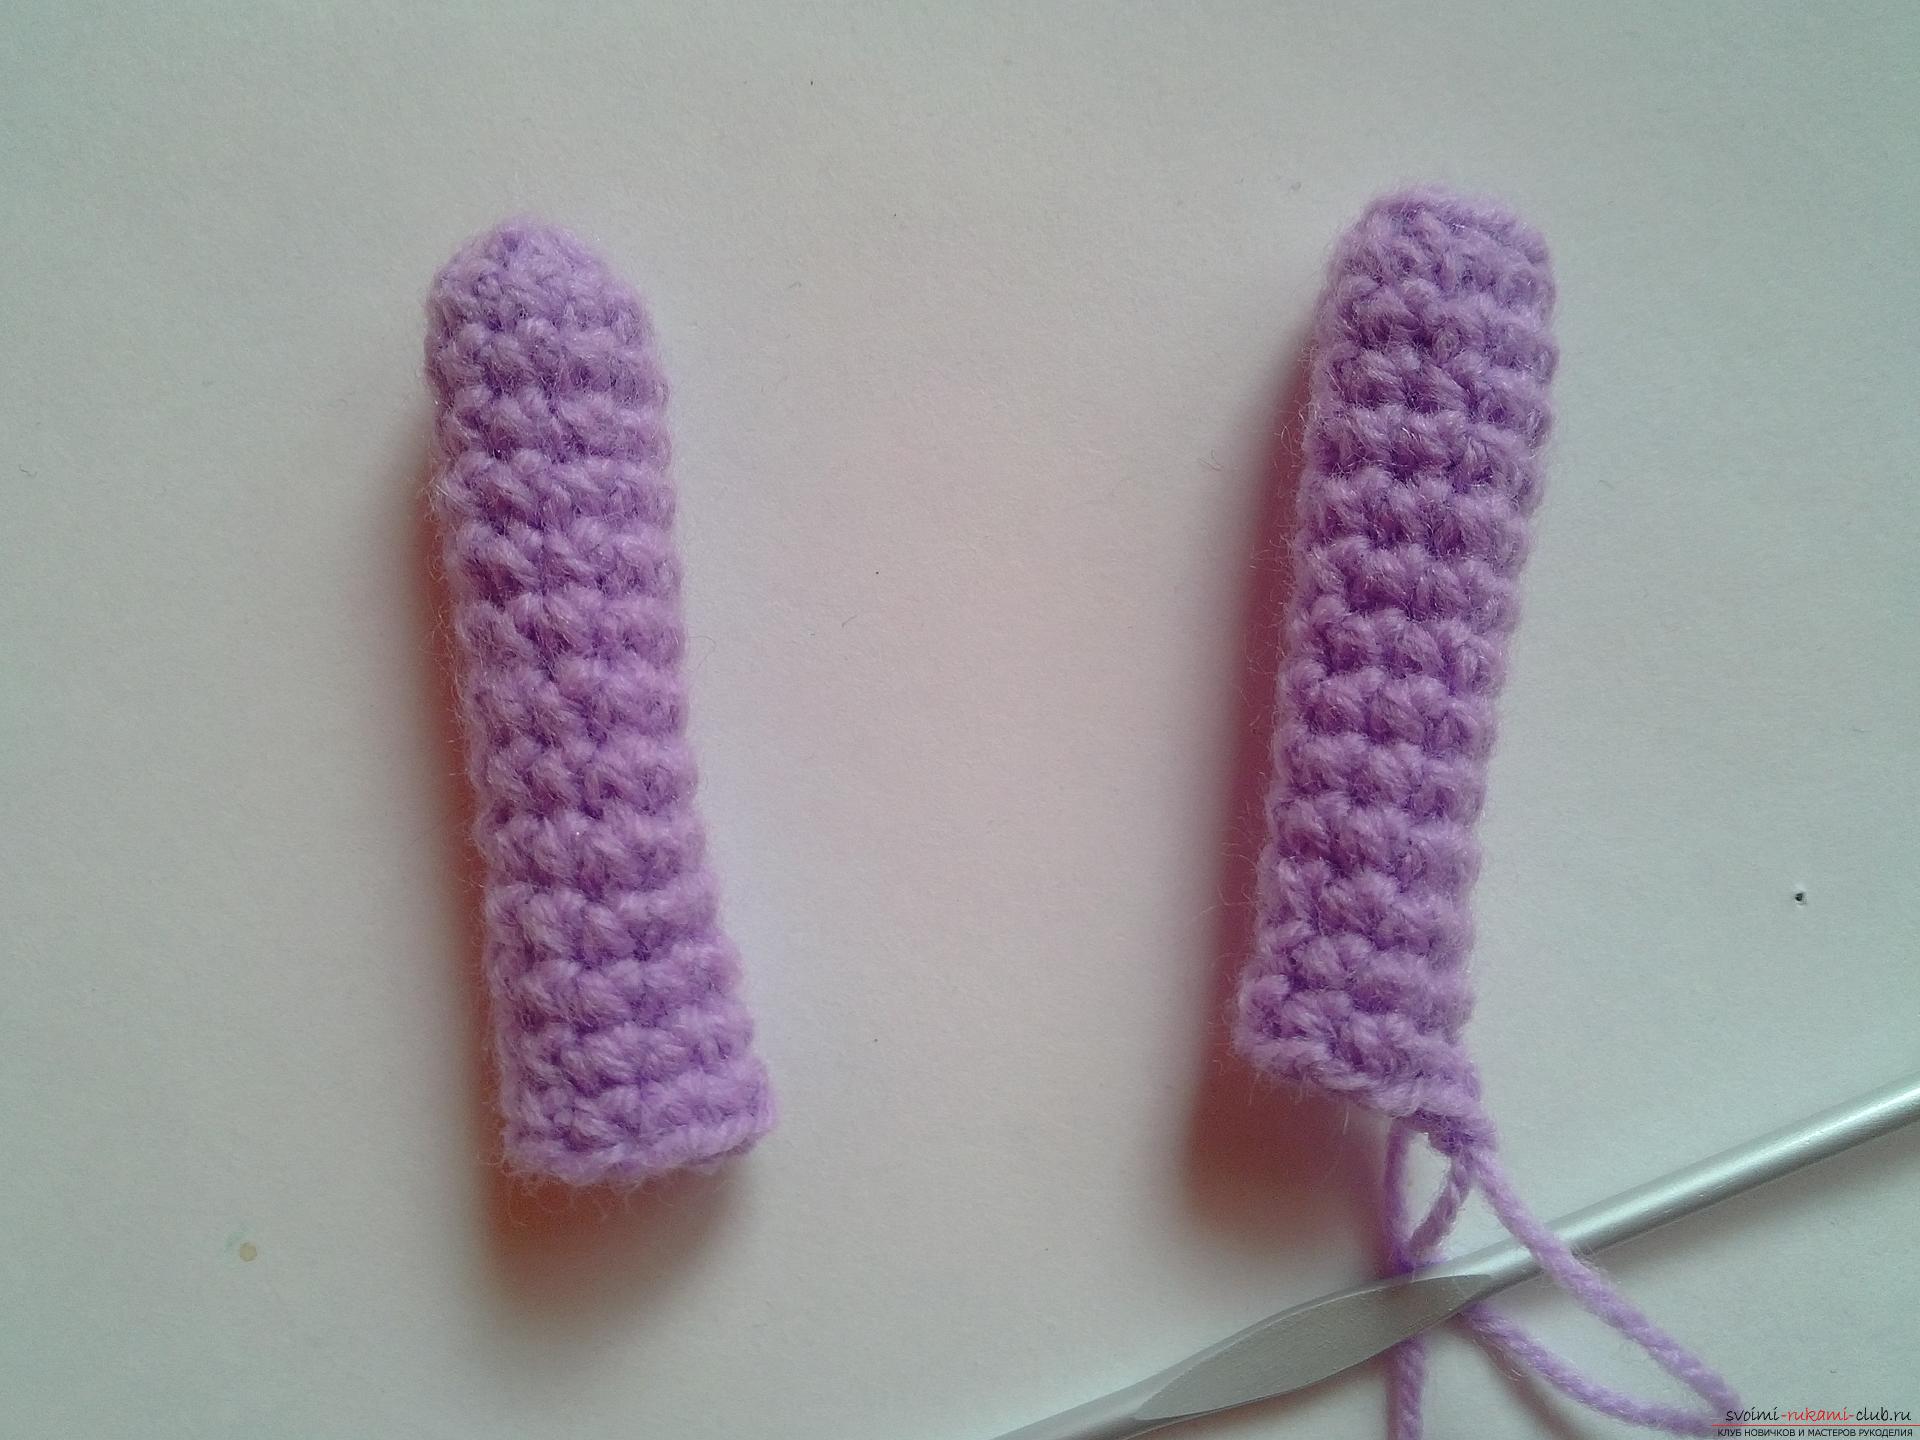 We make the eyelet airy and attach both ears to each other half-shell without a crochet.
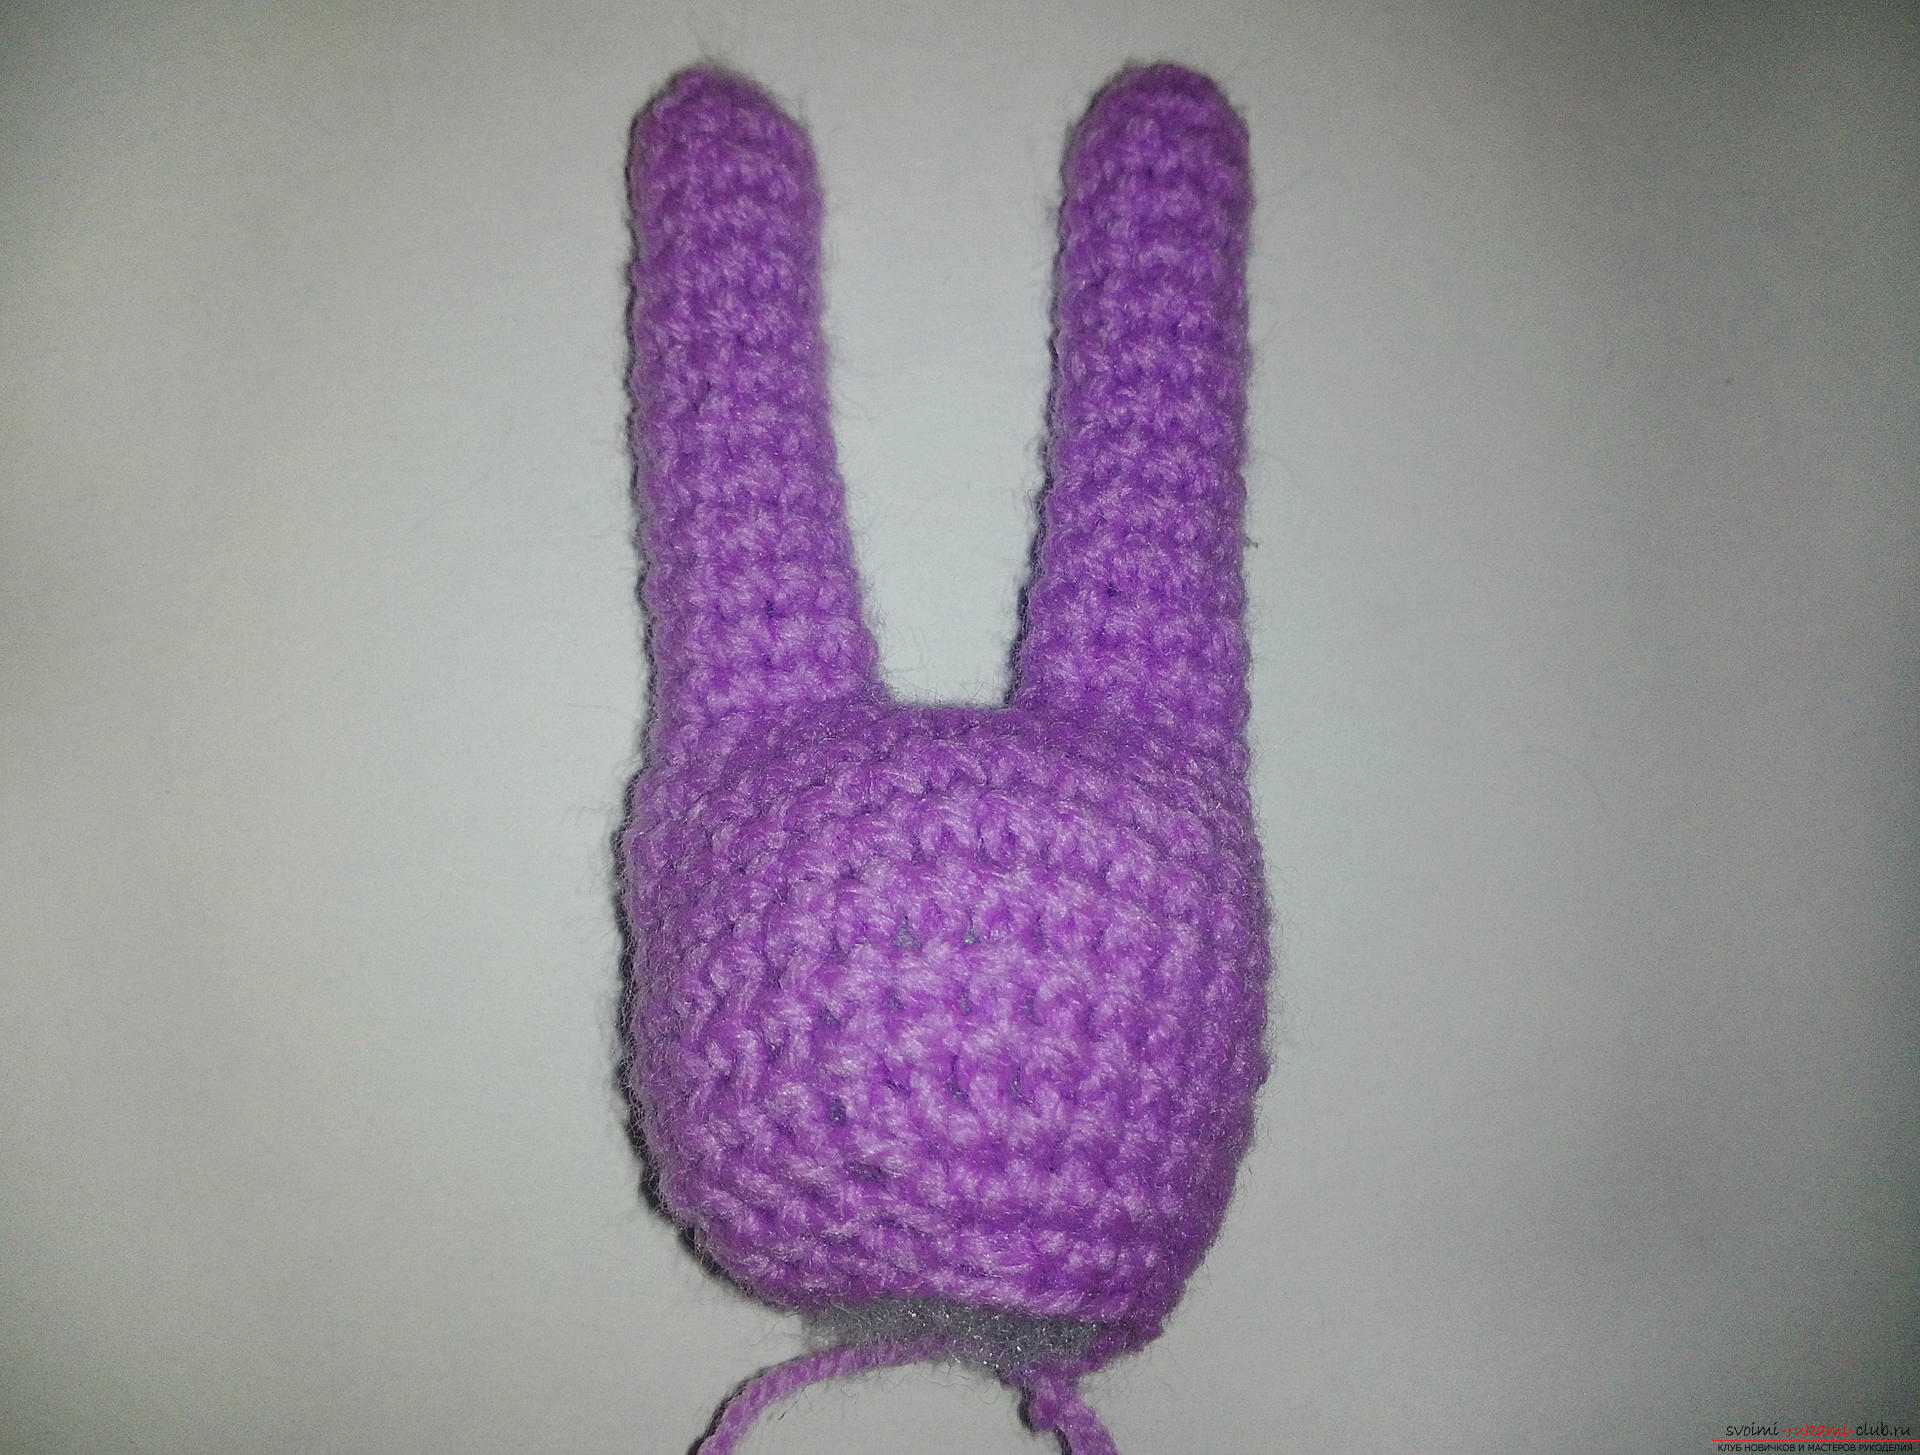
 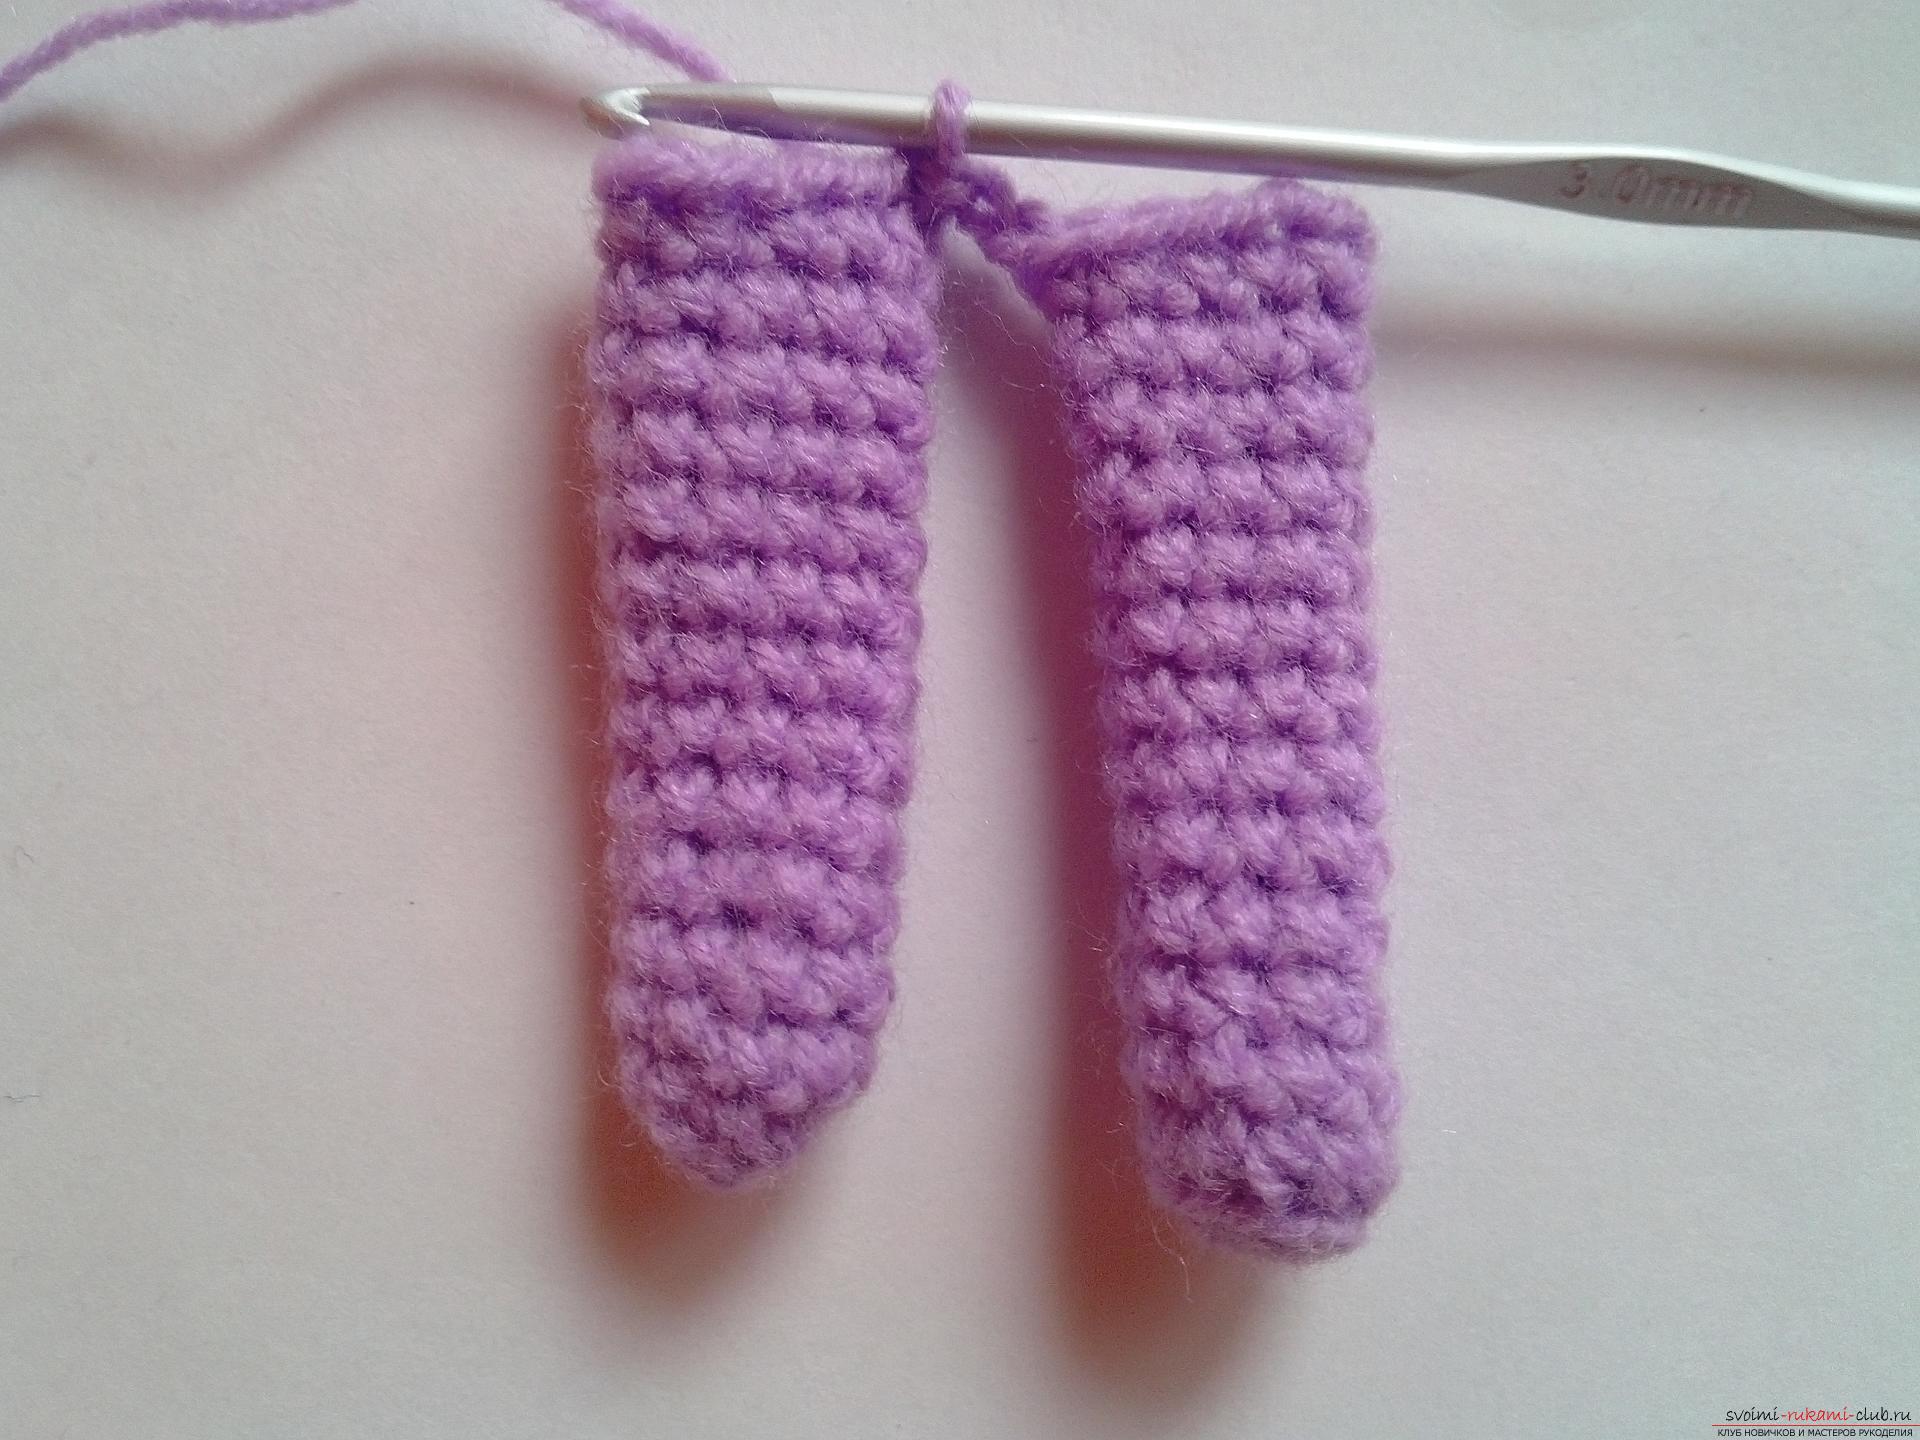 Now we will continue to knit, but it will be alreadyhead. In both ears, we need to make two increases. And then we tie up six more rows. We then do four deletions. And two more rows we will fasten with four deductions.
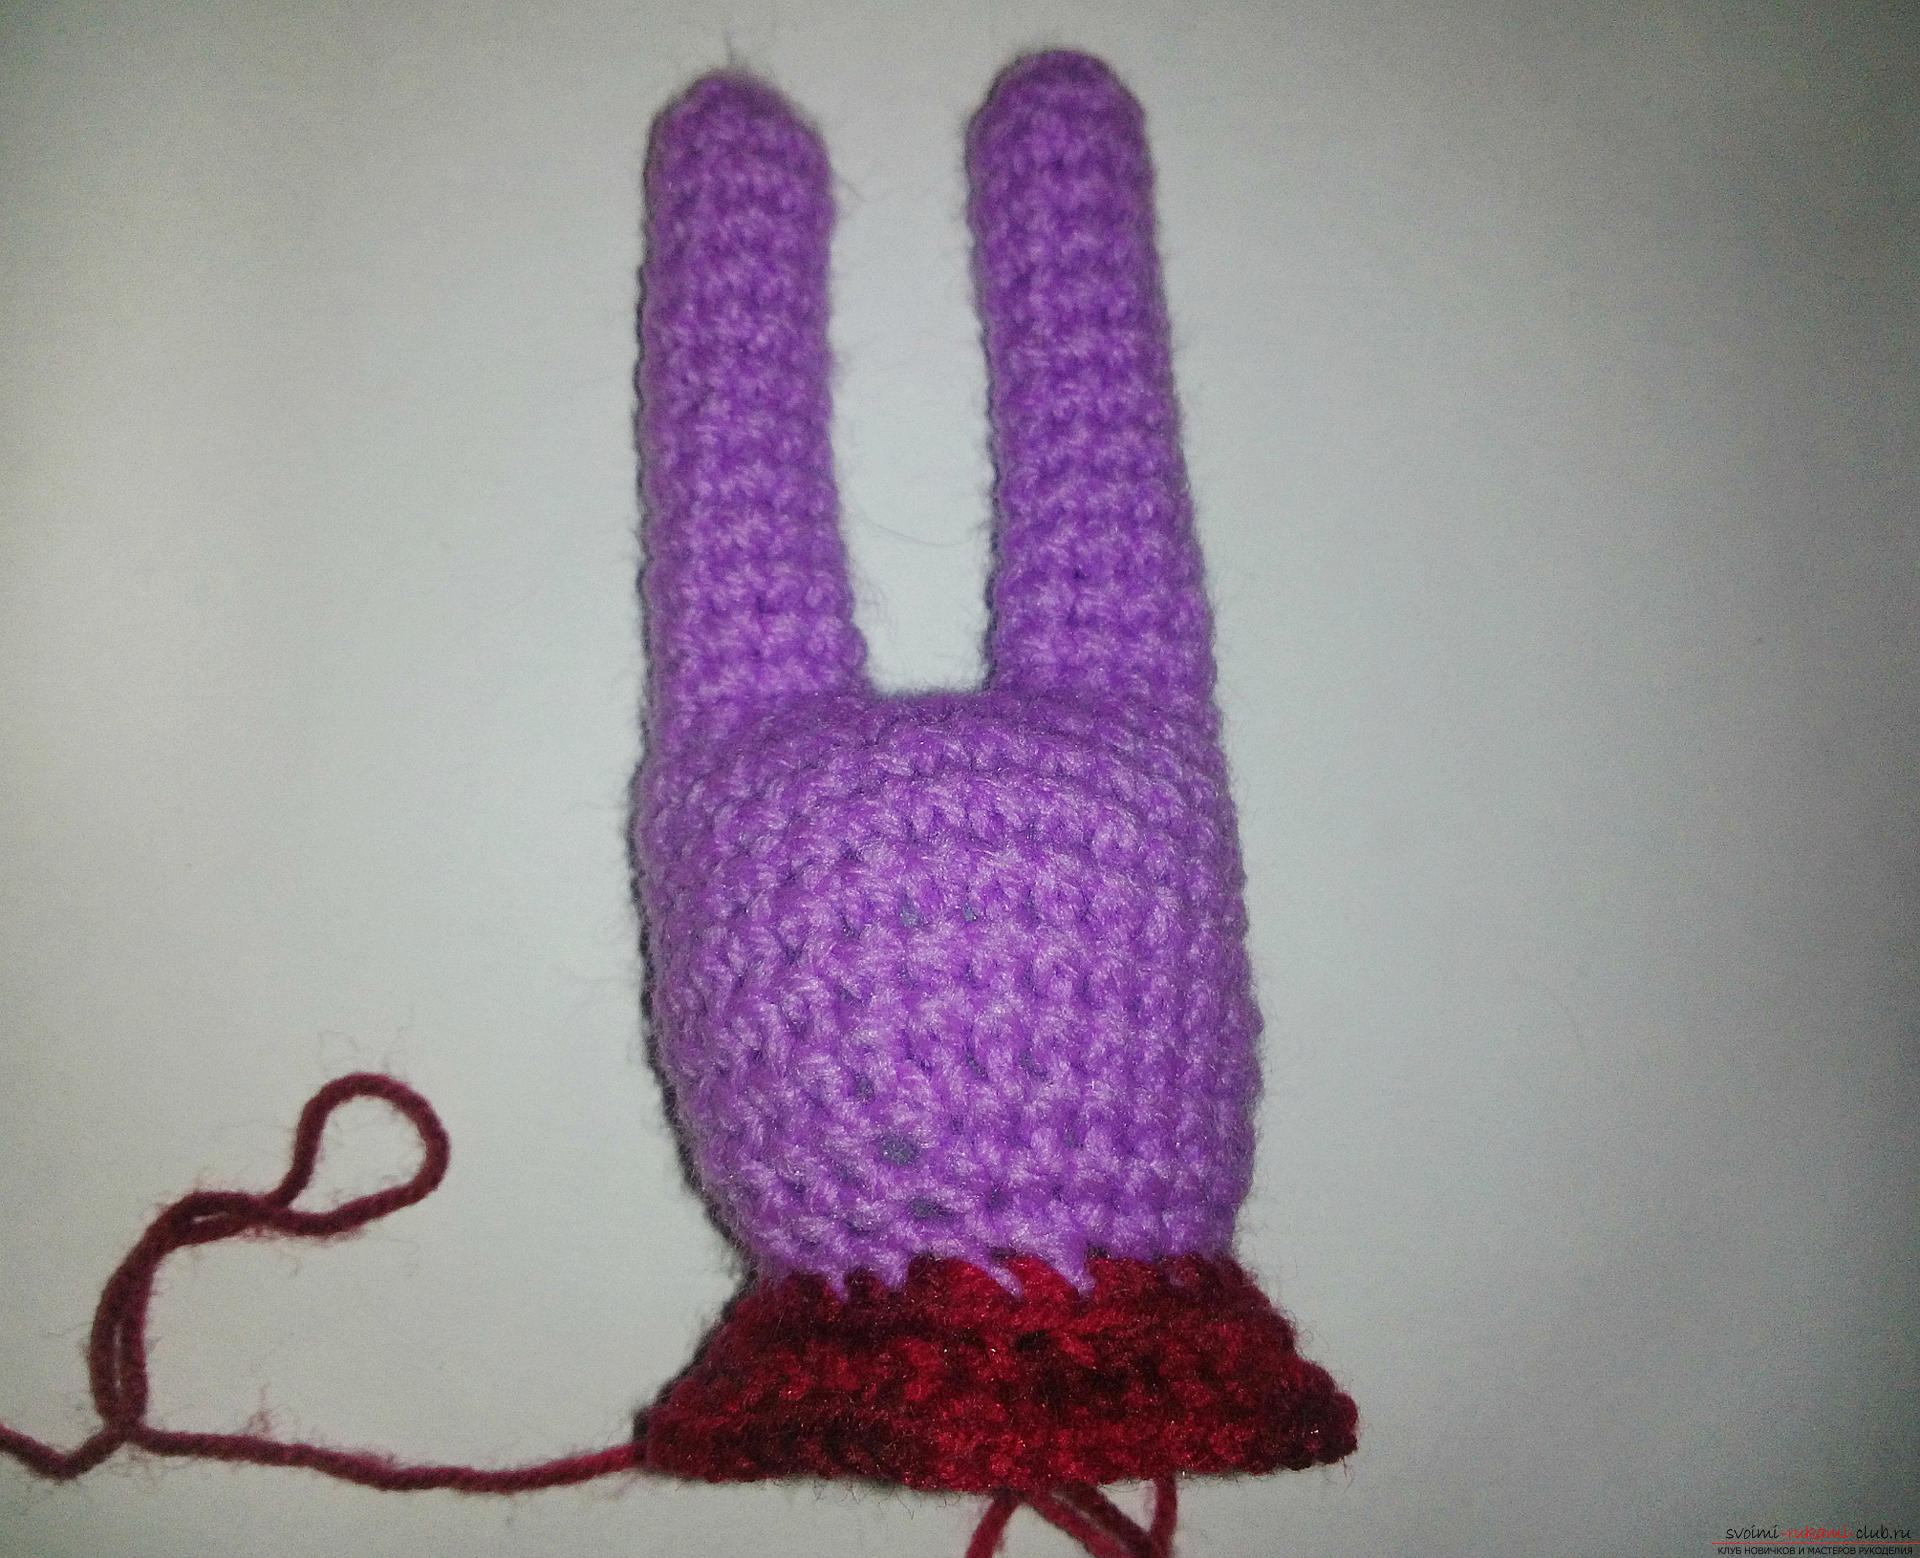
  Now we cut the thread and take the other. We take a thread of red color. It is better to take a melange. The blouse of such threads will look much more interesting on the toy. And we attach this thread to knitting. We make six additions in a row. And in the next ryadochke we will also make six additions, but only for the back wall of the loop. This is necessary in order that then we could tie the rabbit collar. And make four more additions. And then we'll knit a hare in a circle.
  In total we will tie four rows. Let's make six more decrements. And we will fasten one row of columns without a crochet. Now it will be necessary to change the red melange thread to lilac. And we'll fasten another rug. Then we will make six deductions. And then we'll reduce it until the hole in the rabbit is closed.
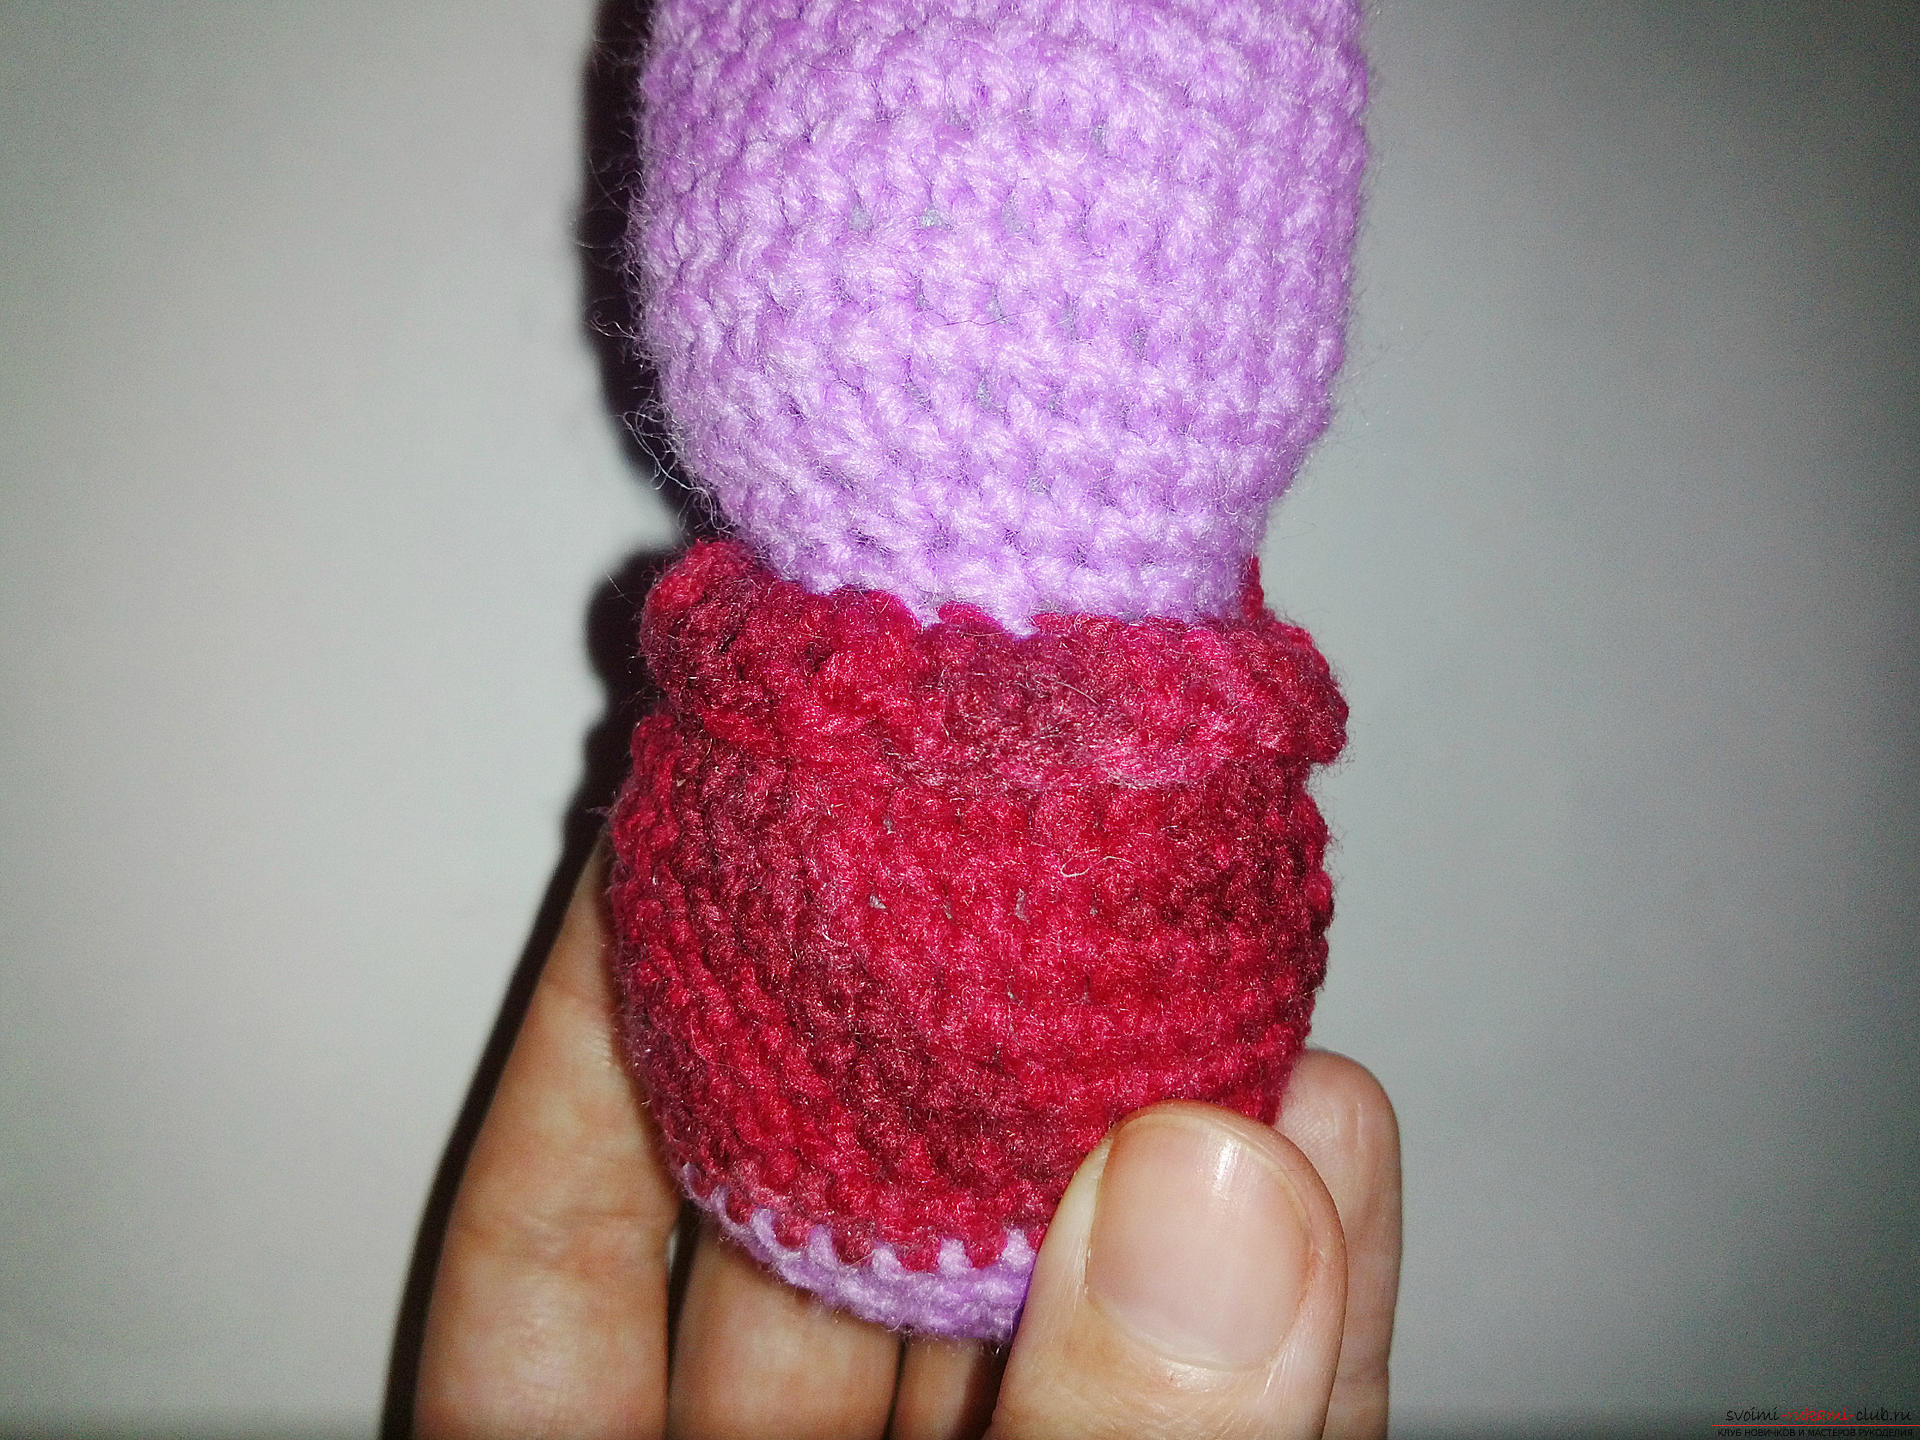
  Now back to the sweatshirt of the hare. We need to tie the collar. To do this, we take the red thread and join from the back of the toy into the top wall of the loop of the second red row. That is, where we knit the back of the loop. Now we just knit in a circle for the top parts of the loops. We fix three air loops. And in each next loop we unfasten one column with a crochet.
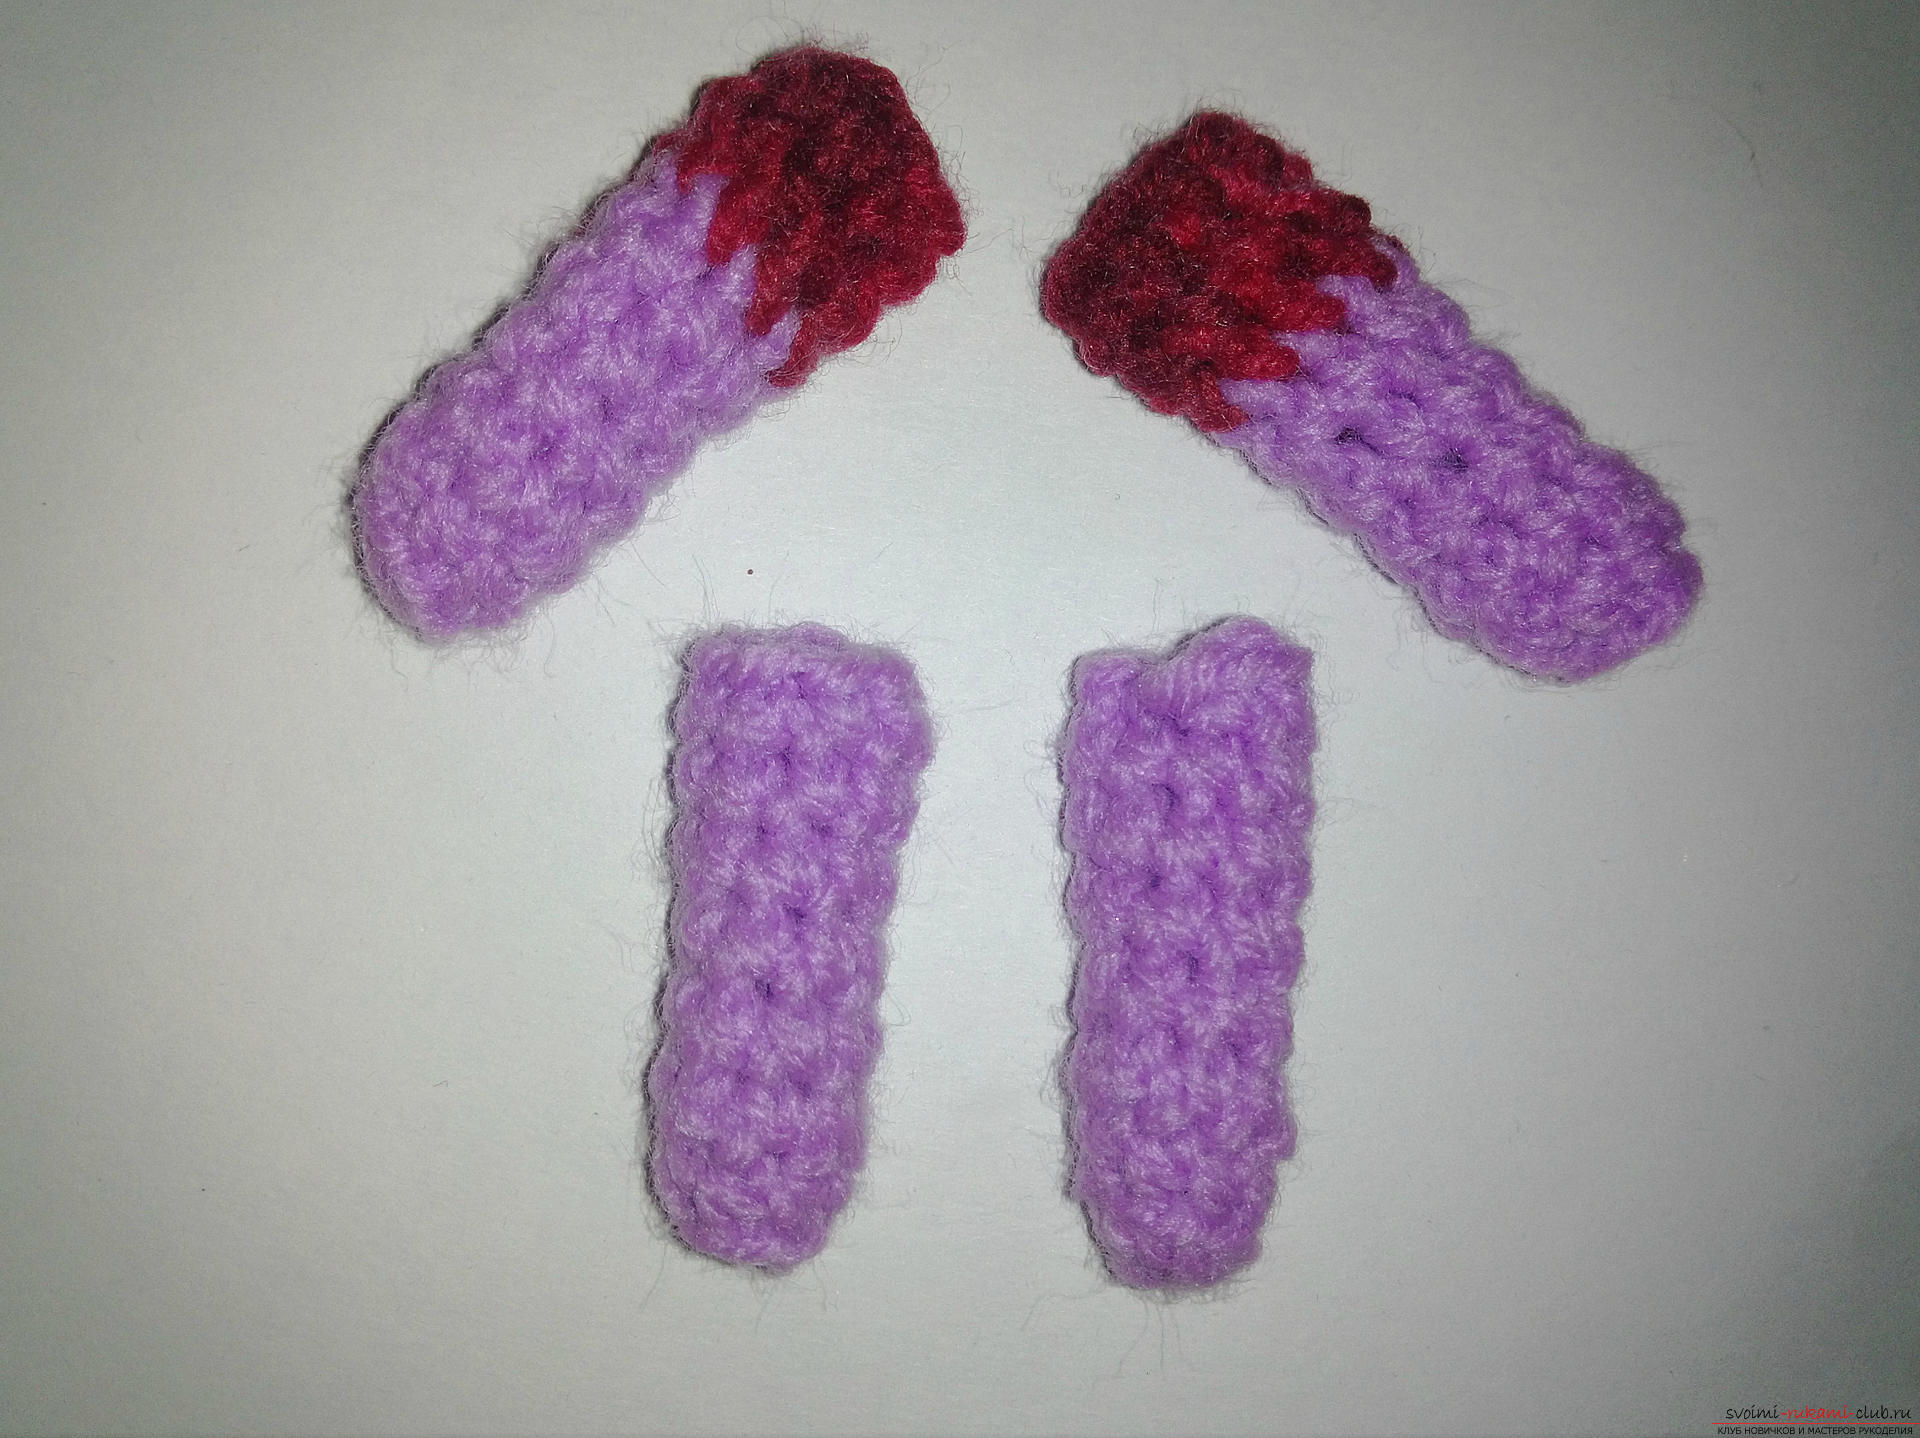
  It remains for us to tie the toy to the feet. Let's make eight columns without a crochet to start in a magic ring. And in a circle we will link five more rows of such columns. Let's change the lilac thread to red melange. And we'll tie three rows. These will be handles - the front paws of the future rabbit. And the back knit the same, but just do not change the thread. They will be completely lilac.
  Now we take the strings of a dark-colored mulina. It is better to take purple. It goes well with the lilac. And carefully embroider a rabbit spout. The nose of the hare must be embroidered in the form of a triangle. And then the final stage is the eyes. Here you can take ready-made eyes, which are sold in handicraft shops, and you can take and ordinary beads. In this master class, beads are used. We sew them to our rabbit. And now he is ready. That's such a funny hare is obtained at the end of the work!