
The master class will teach how to make a Christmas decoration - a Christmas tree - in the technique of decoupage
It's time to prepare for the New Year. A real craftswoman must adorn the Christmas tree and the apartment with objects and toys made by her own hands. I offer you a step-by-step master-class decoupage: decoration for the New Year. Polyfoam is quite a convenient material for this type of work. It is well cut and glued. The basis for the Christmas tree was already ready, bought in the store Fix-price. But it is easy to cut it yourself. I also needed:
- glue PVA building-universal - I use it to work with a napkin;
- glue PVA for carpentry TYNAN - I use it for gluing a Christmas tree and Santa Claus to the ground;
- a napkin with a New Year motif;
- flat synthetic brushes;
- paints gold and white;
- foam sponge and clamp;
- masters;
- 3-D gel is transparent;
- scissors;
- acrylate based acrylate base for saunas EUROTEX;
- CD;
- a toy Santa Claus (optional).
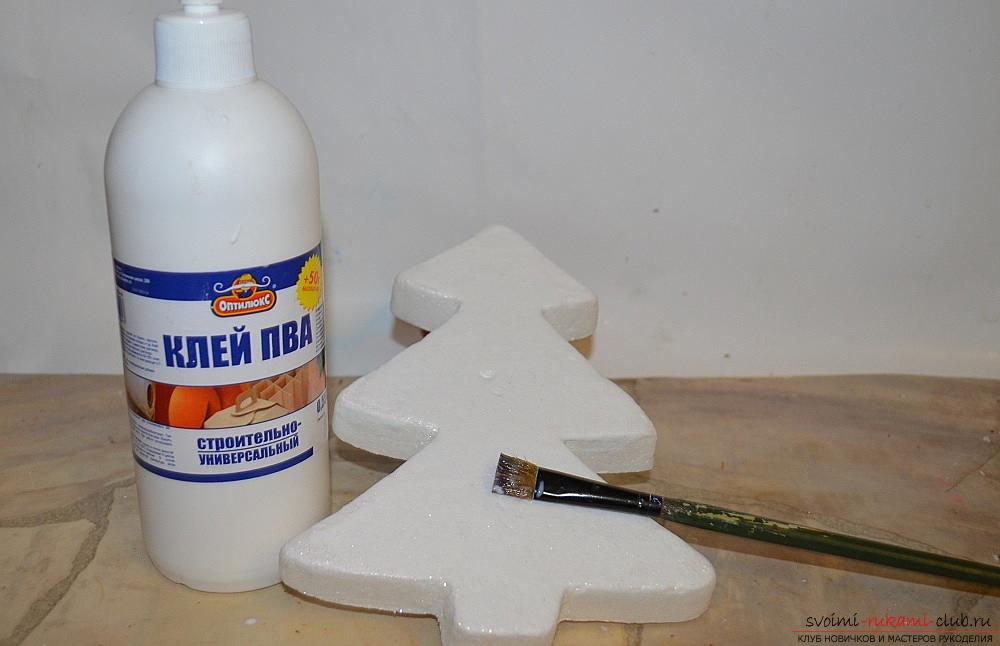 At the initial stage, I glue the foam PVA glue with a glue to primer the porous surface.
  I try the napkin on the base, and cut it out with the allowance on the sides.
 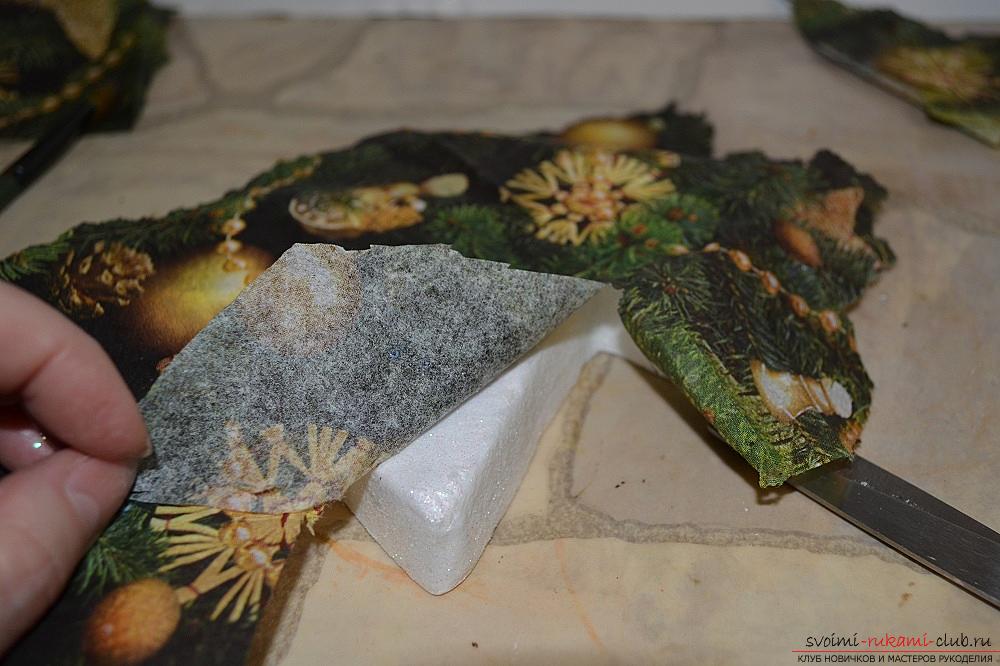 I make lateral incisions.
 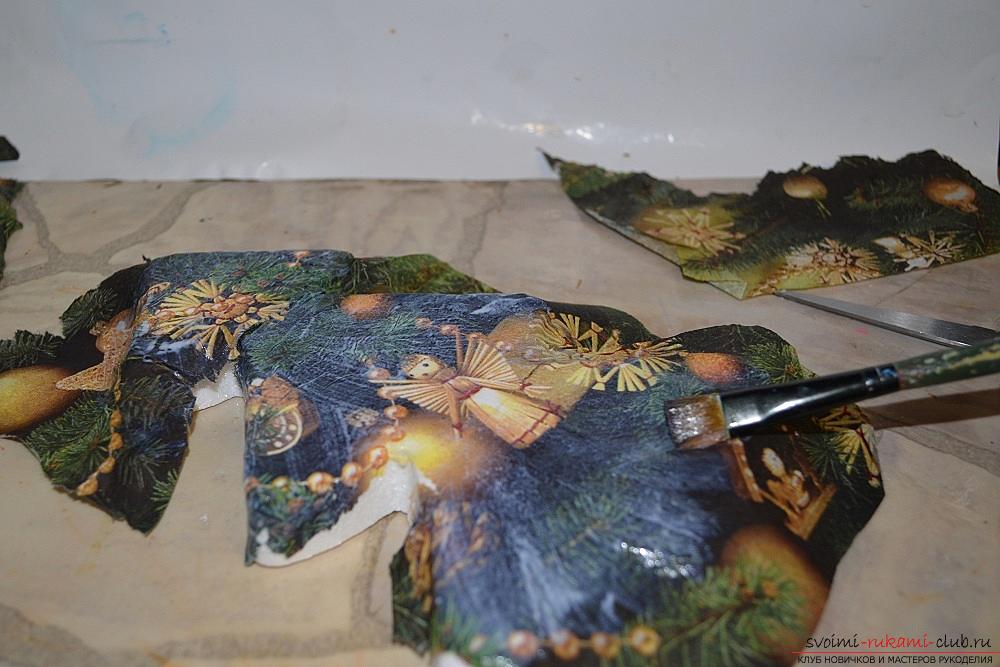 I glue the napkin, starting from the top branches, I smear from the center to the edge of the base of the tree.
 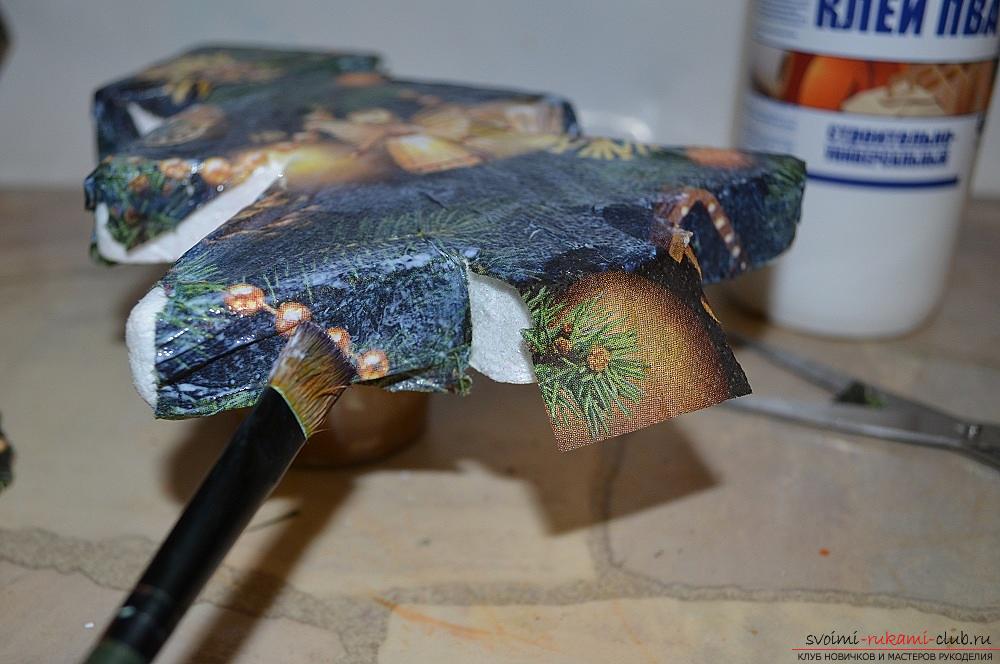 Then I glue the sides, bending specially left overshoes.
  One side is ready. Sushu.
  For the second side, the pattern is already easier to make, it should also be slightly larger.
  In the same way as in the first case, I glue the napkin from top to bottom, from the center to the edge. Sushu.
 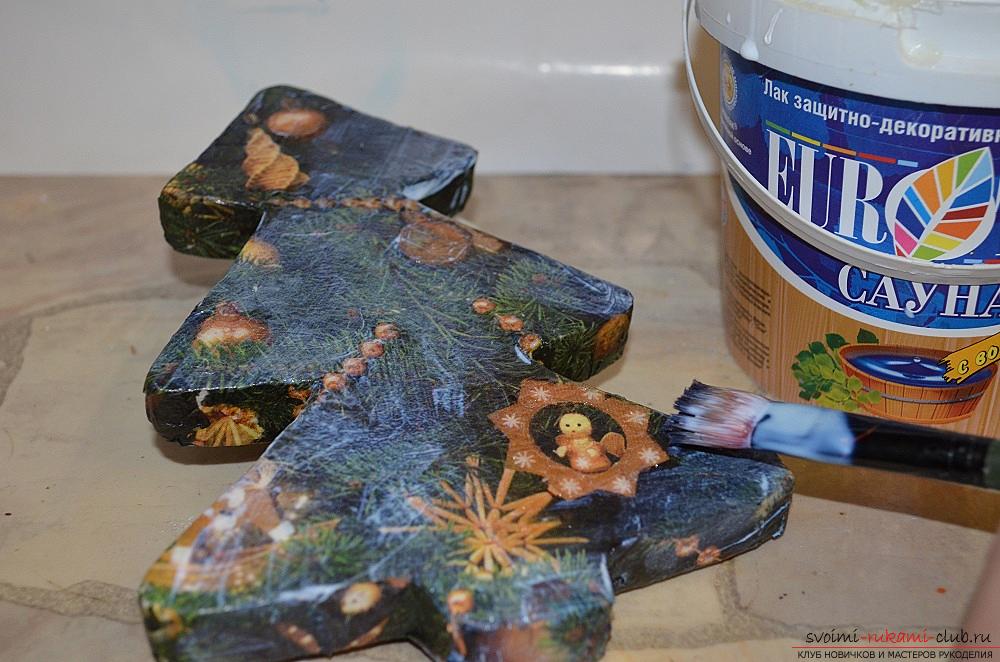 On the sides, where the gaps formed, I paste small pieces (according to the principle of deco patch technique, when the whole surface is completely covered with a napkin). I cover the work on both sides with varnish.
 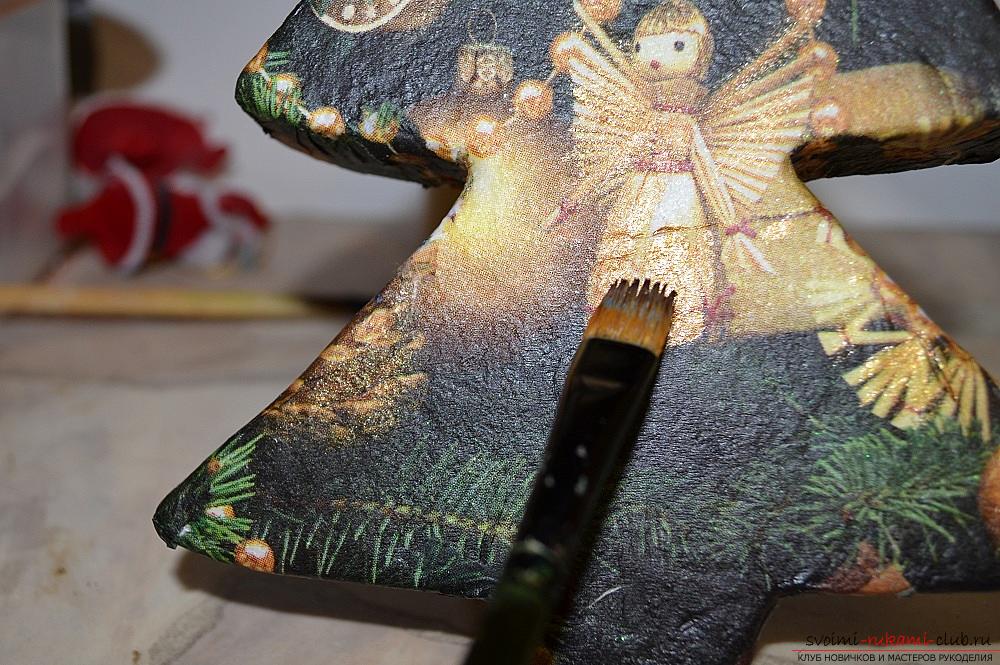 I paint the toys on the Christmas tree with golden paint.
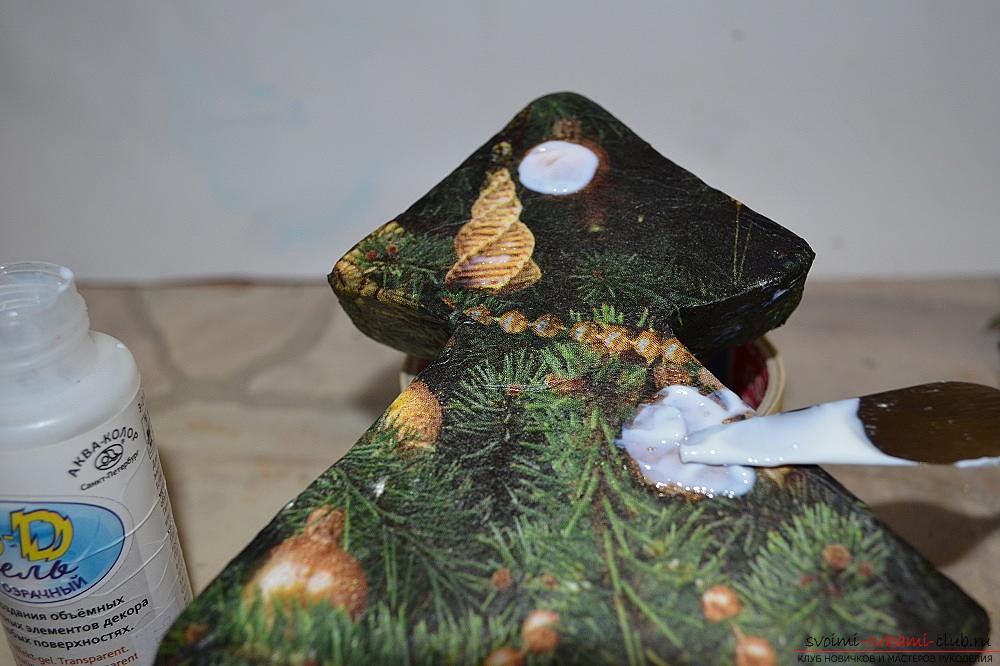
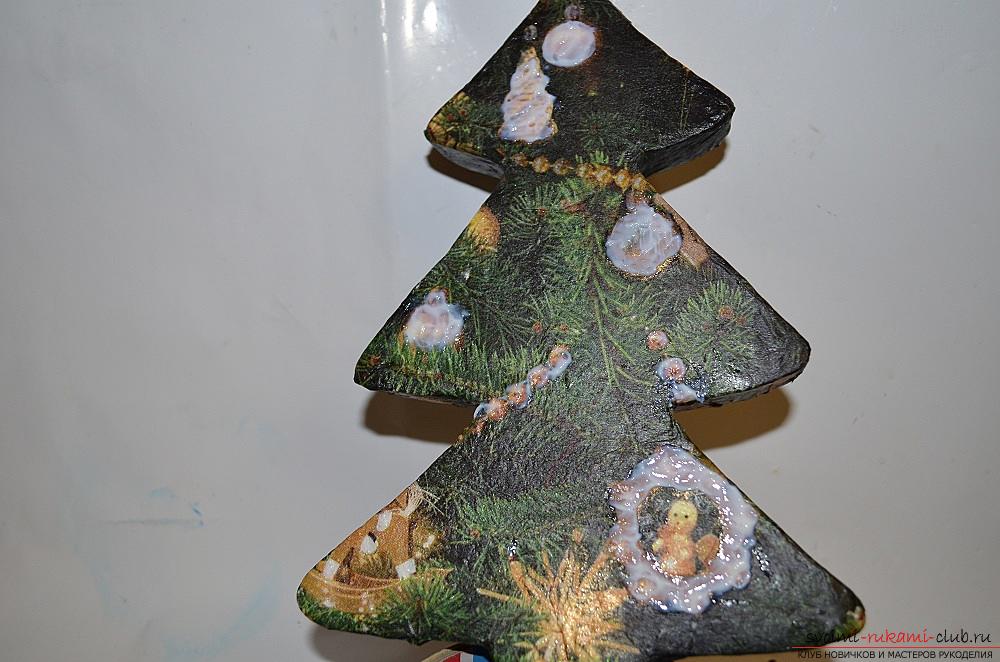 As soon as the paint has dried, I attach the volume to the toys using a 3-D gel. I apply it to the toy maker and leave it to dry.
  While the gel dries, prepare the base for the tree. Compact disc (previously cleaned and degreased) primed with white paint. Sushu.
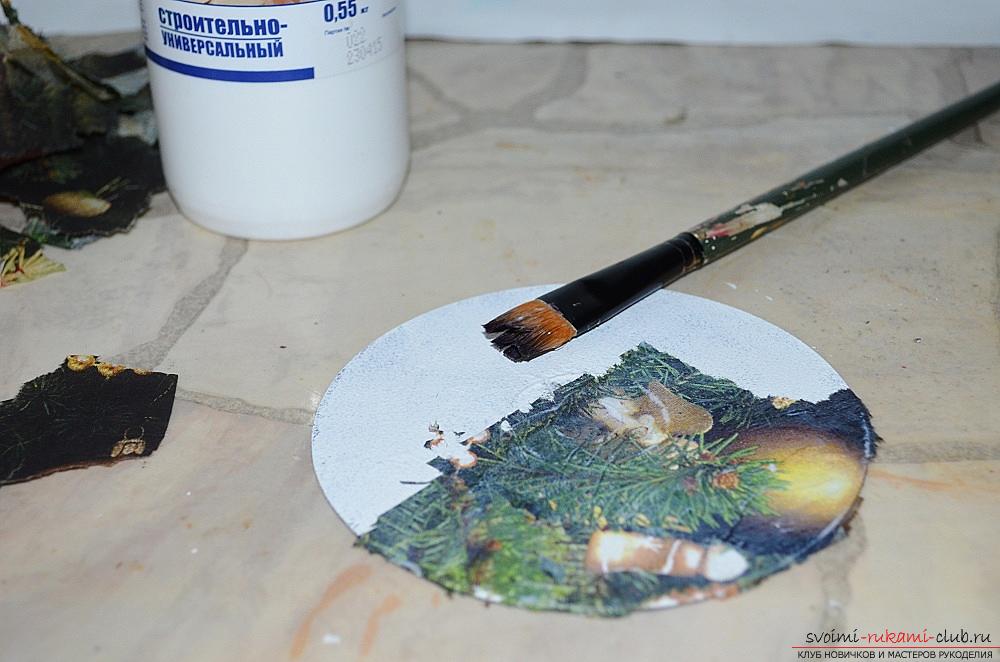
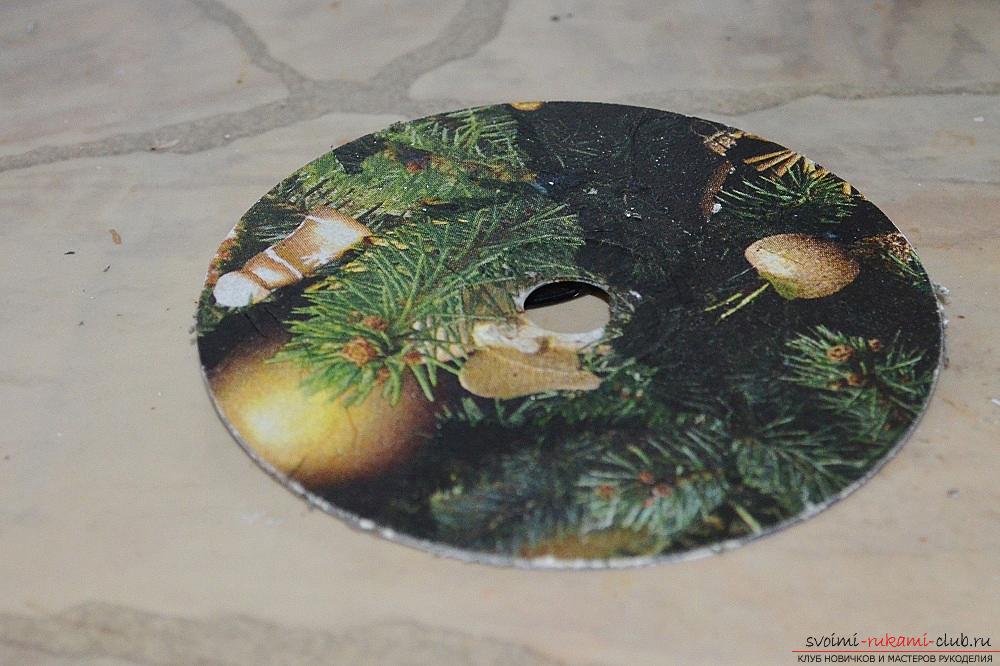 Then I paste the remaining pieces of the napkin onto the PVA glue as in the deco patch technique. I make one general background from the scraps, filling the entire disk space. I'm drying it.
 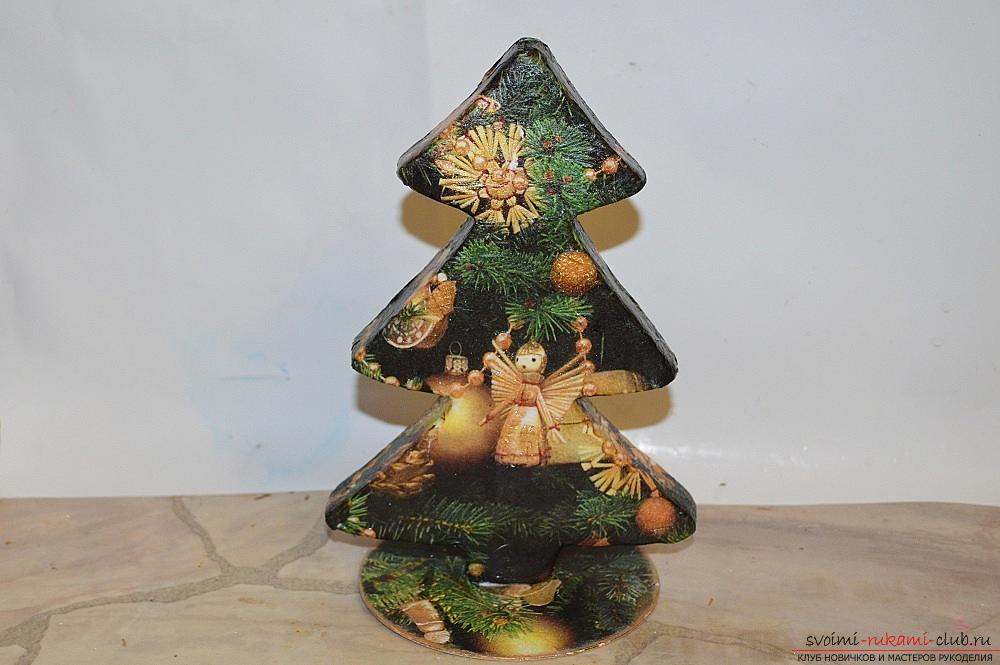 On the back of the hole, the disk was sealed with a circle of cardboard. I'm collecting the design. I put the herringbone on the disk, having previously missed the place of assembly with TYNAN glue.
  Since the New Year tree should have Santa Claus, I stuck a small toy on the ground. This Christmas tree can stand on the shelf and on the table, recalling that the New Year is coming soon.
Comments
Related posts:
 The master class will teach you how to make your own hands a Christmas decoration - a suspension.
 Decoration and decoupage of toys on the Christmas tree with their own hands - a master class of New Year's Decoupage
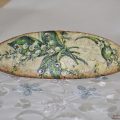 This master class will teach how to decorate a hairpin in the technique of decoupage using a one-step craquelure.
 This master class will teach you how to make your own hands decoupage of a cutting board in the technique of a two-step craquelure.
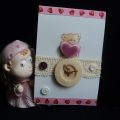 This master class will teach you how to make postcards with Valentine's Day in the technique of decoupage by yourself.