
The master class will teach you how to make your own hands a developing toy from improvised materials
Of course, we want our kids to bethe most intelligent and talented. Developing toys are aimed at forming various abilities of children. They are now filled with store shelves. But they are not cheap. And if you do it yourself? If you are a resourceful landlady, then for sure you have different colors and textures of scraps, buttons, etc. All this can be used to create educational toys. In this master class we sew a toy "Dump truck". Of course, this toy is primarily for the boy, but, perhaps, will interest the girls. 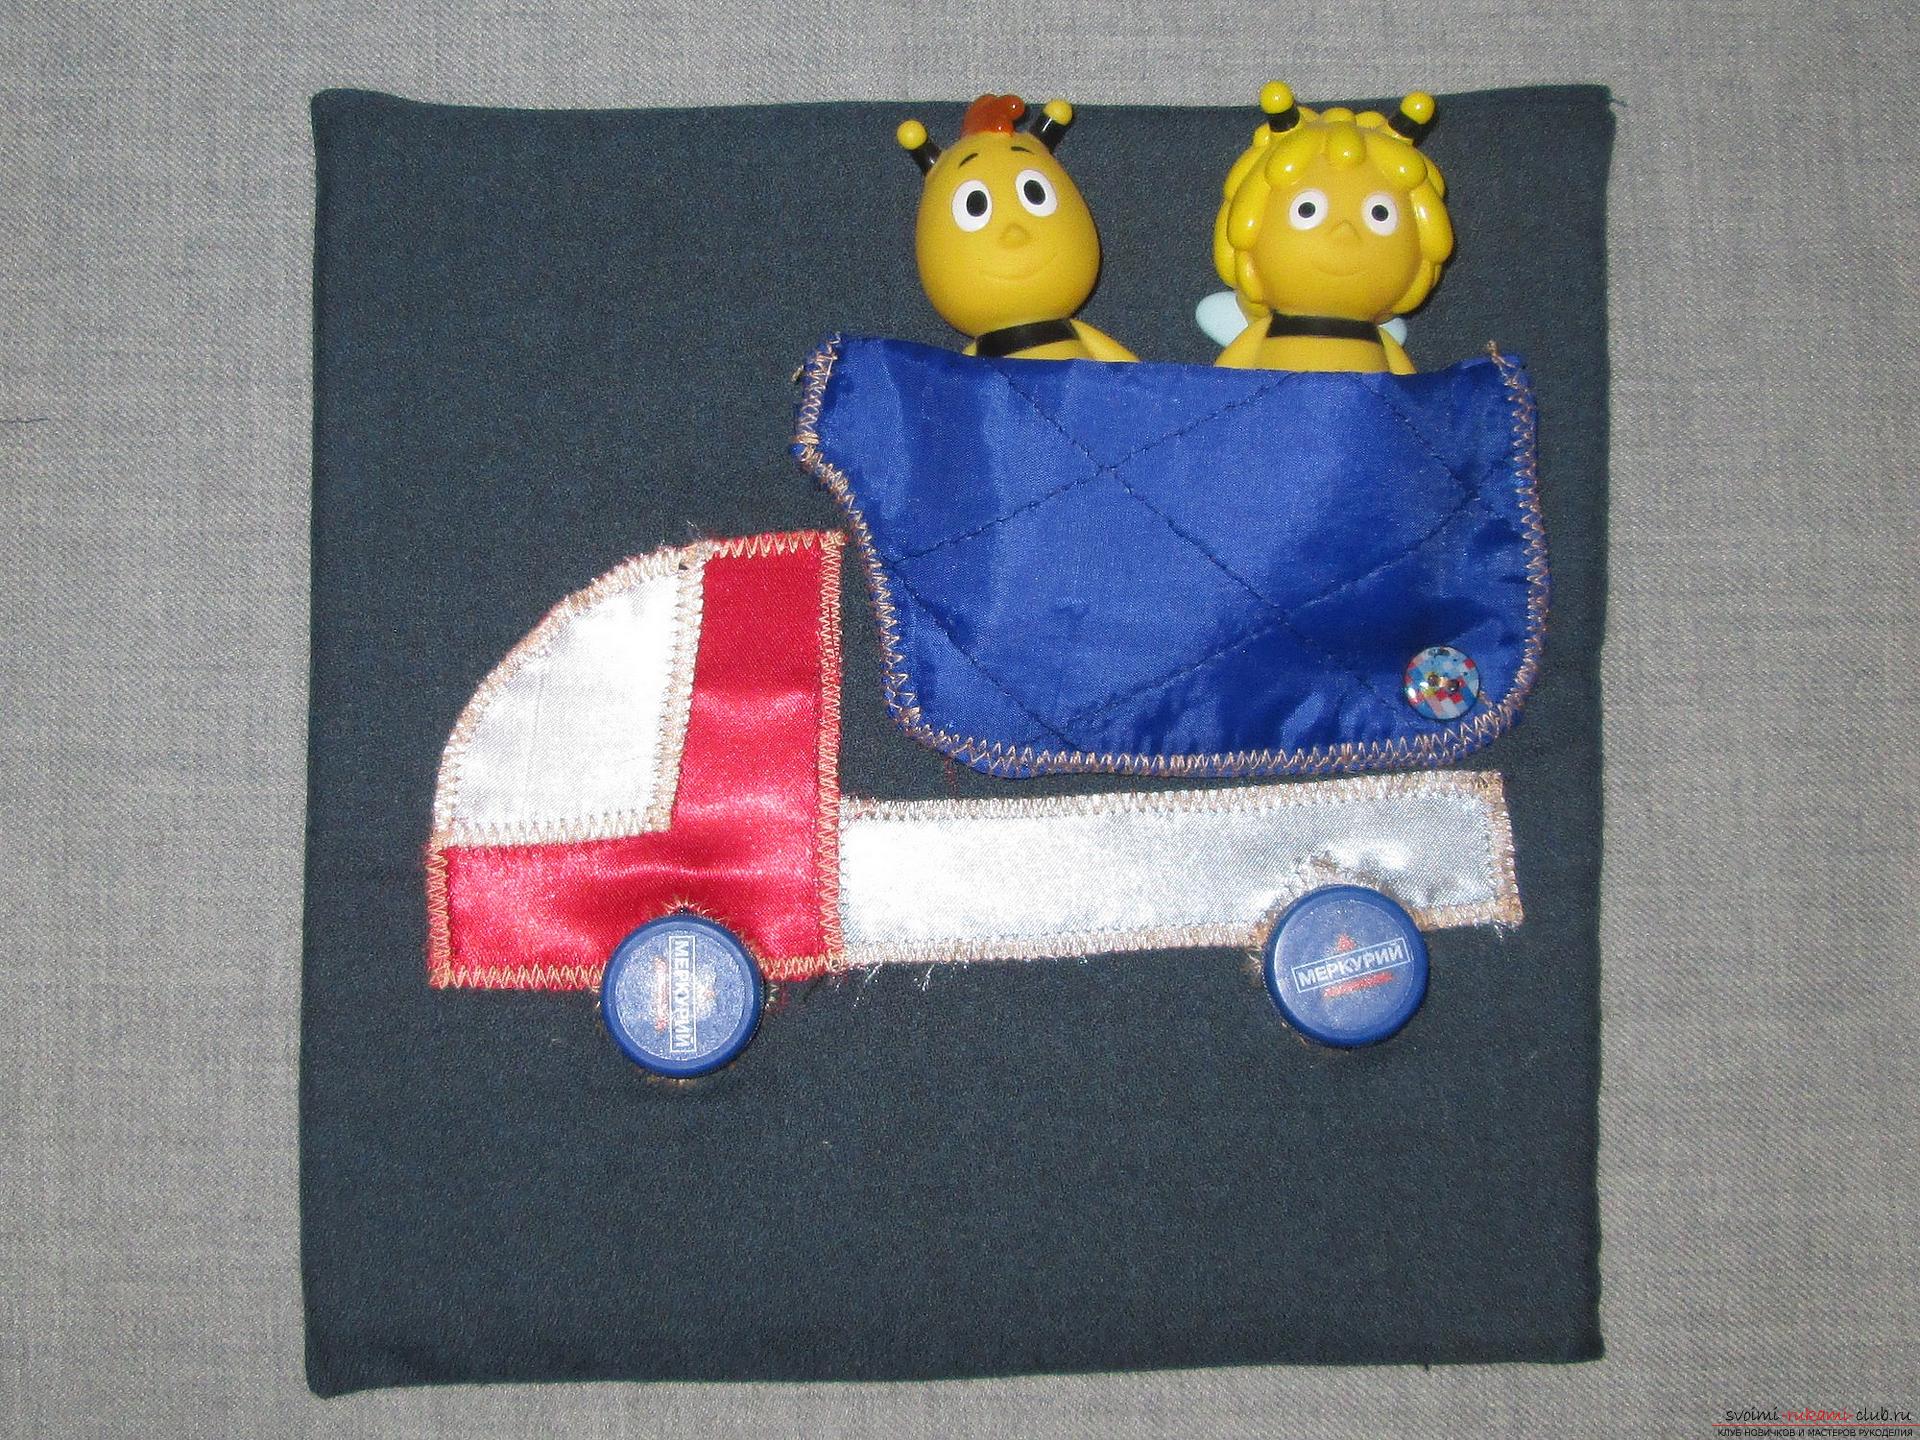 So, we need materials:
- shreds of fabrics of different colors,
- button,
- two necks with unscrewing lids from plastic bottles,
- sewing thread,
- soft plastic,
- transparent all-purpose adhesive.
Instruments:
- scissors,
- stationery knife,
- a piece of chalk,
- sewing needle.
Equipment:
- sewing machine,
- iron.
Description: Draw an arbitrary pattern of the truck application. Cut out details from the fabric, preferably contrasting colors. We sew and sew them to the square shred of cloth - the background. We are planning chalk for future wheels. 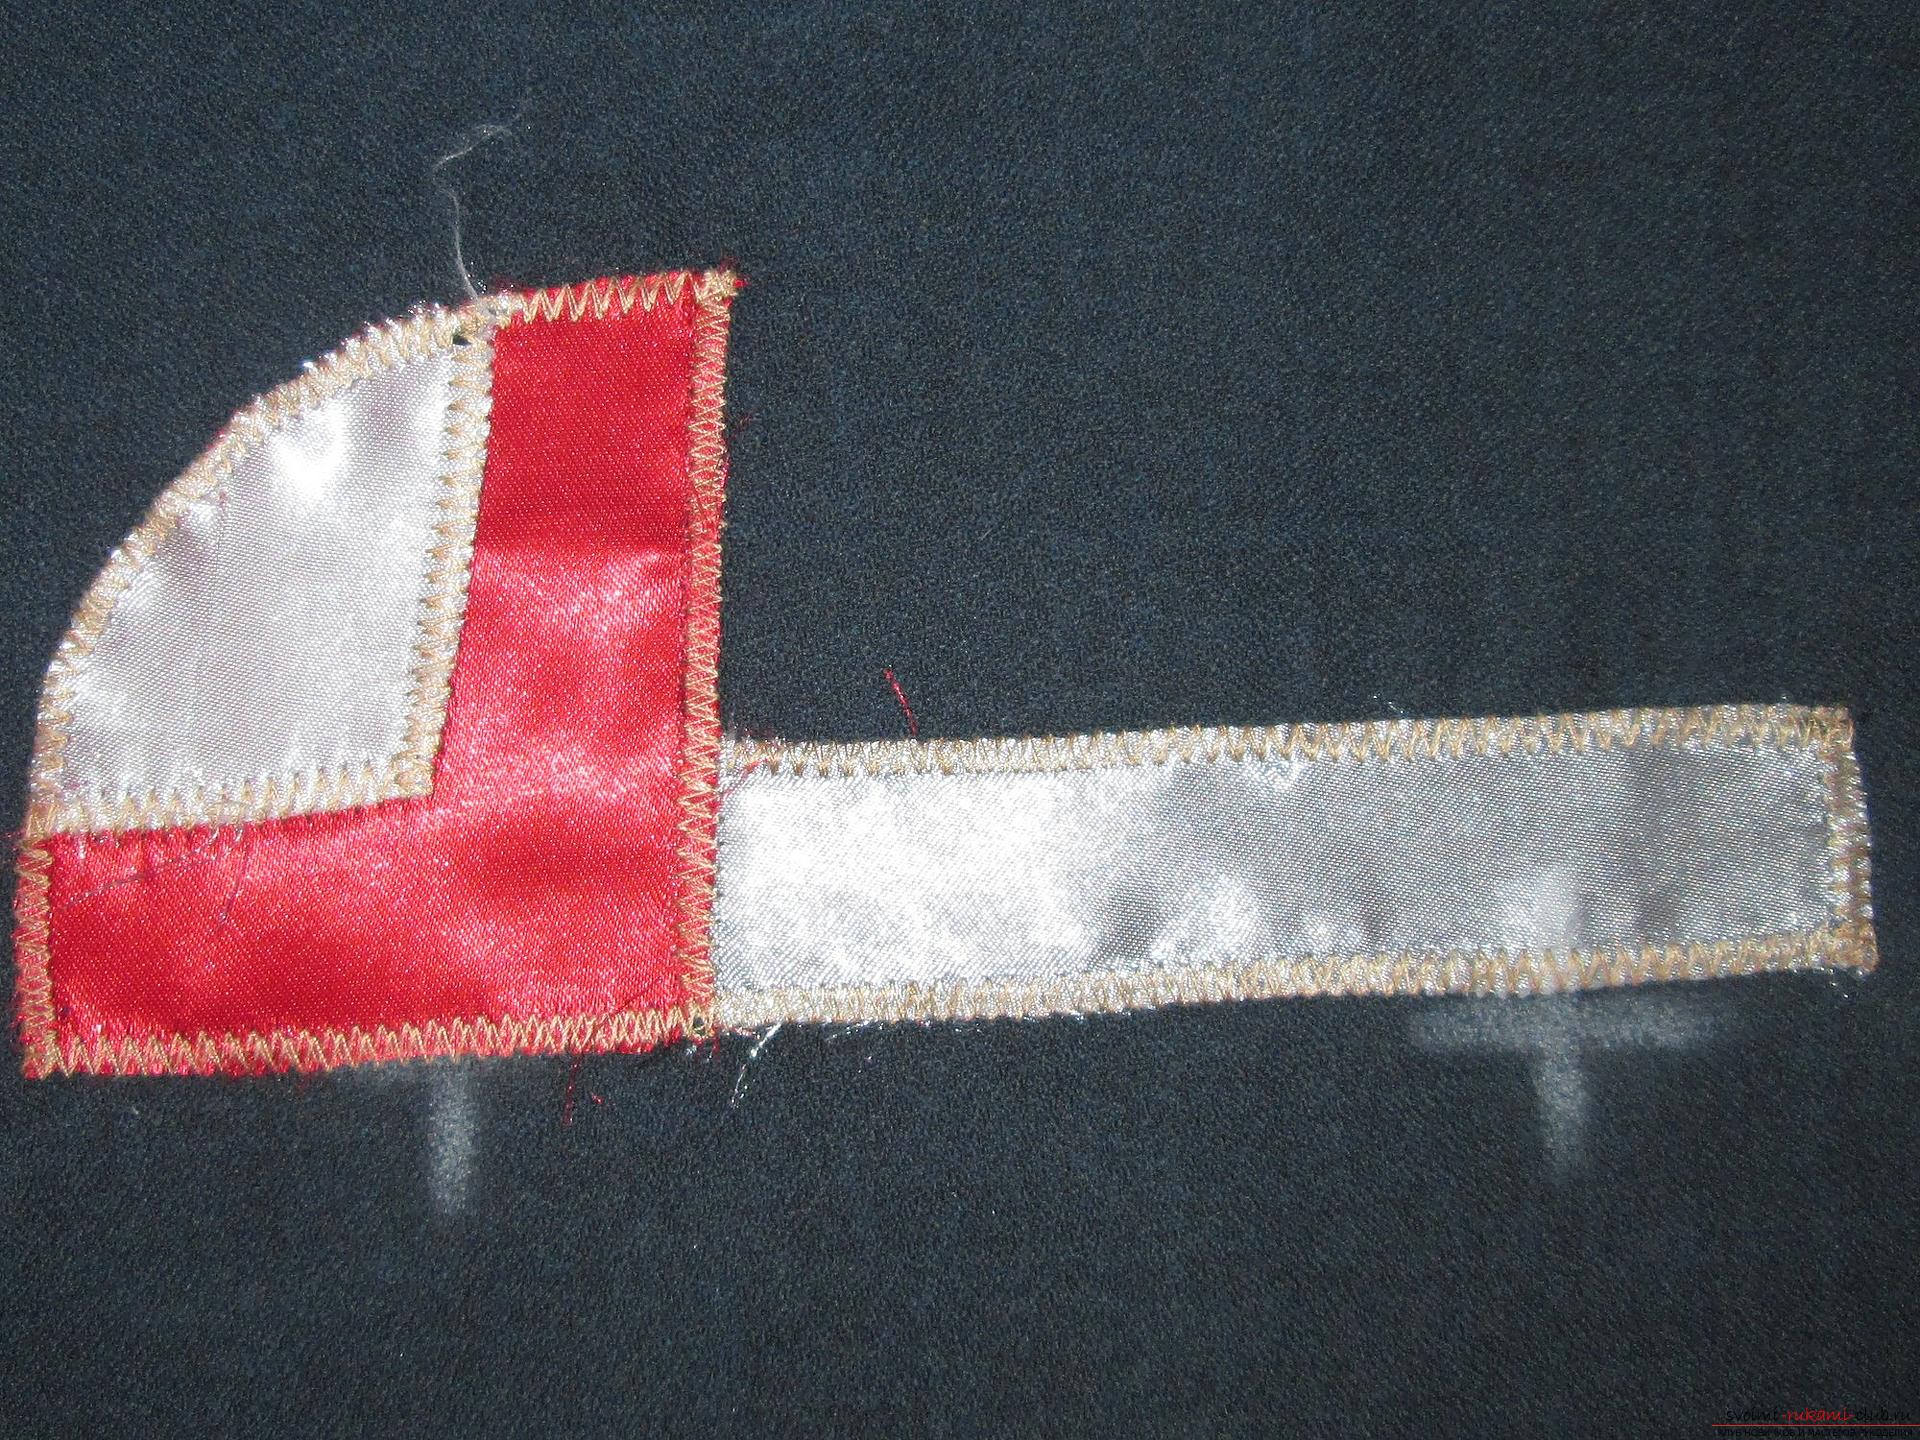 There are four parts for the body - two are symmetrical to the other two. Sew the parts in pairs so that the front side of the fabric is outside.
 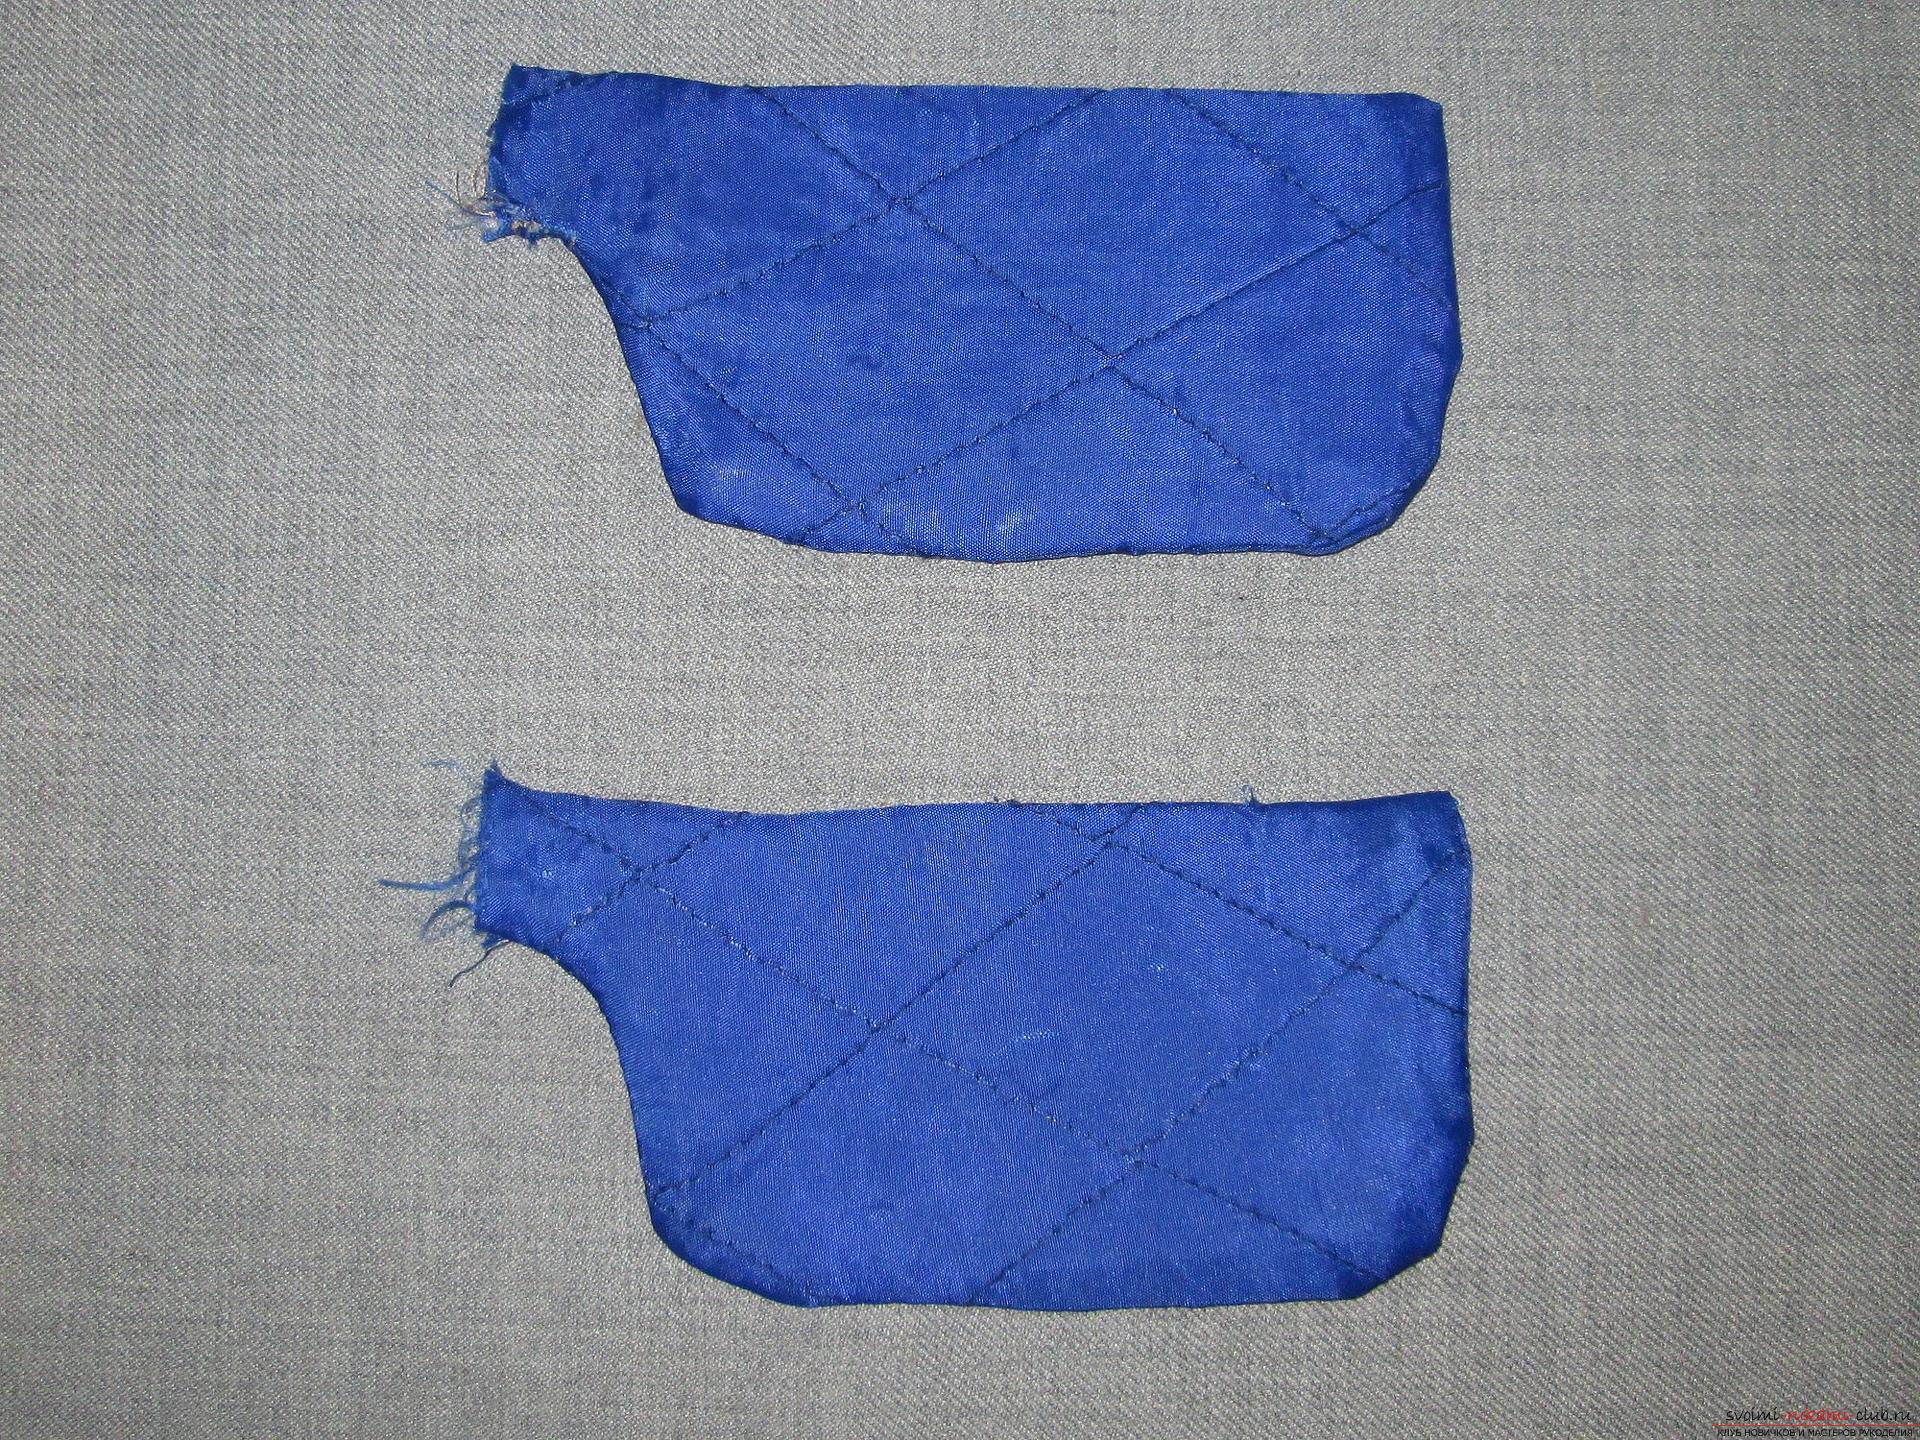 Sew the resulting two parts together, leaving the top uncrosslinked. It turns out a pocket.
 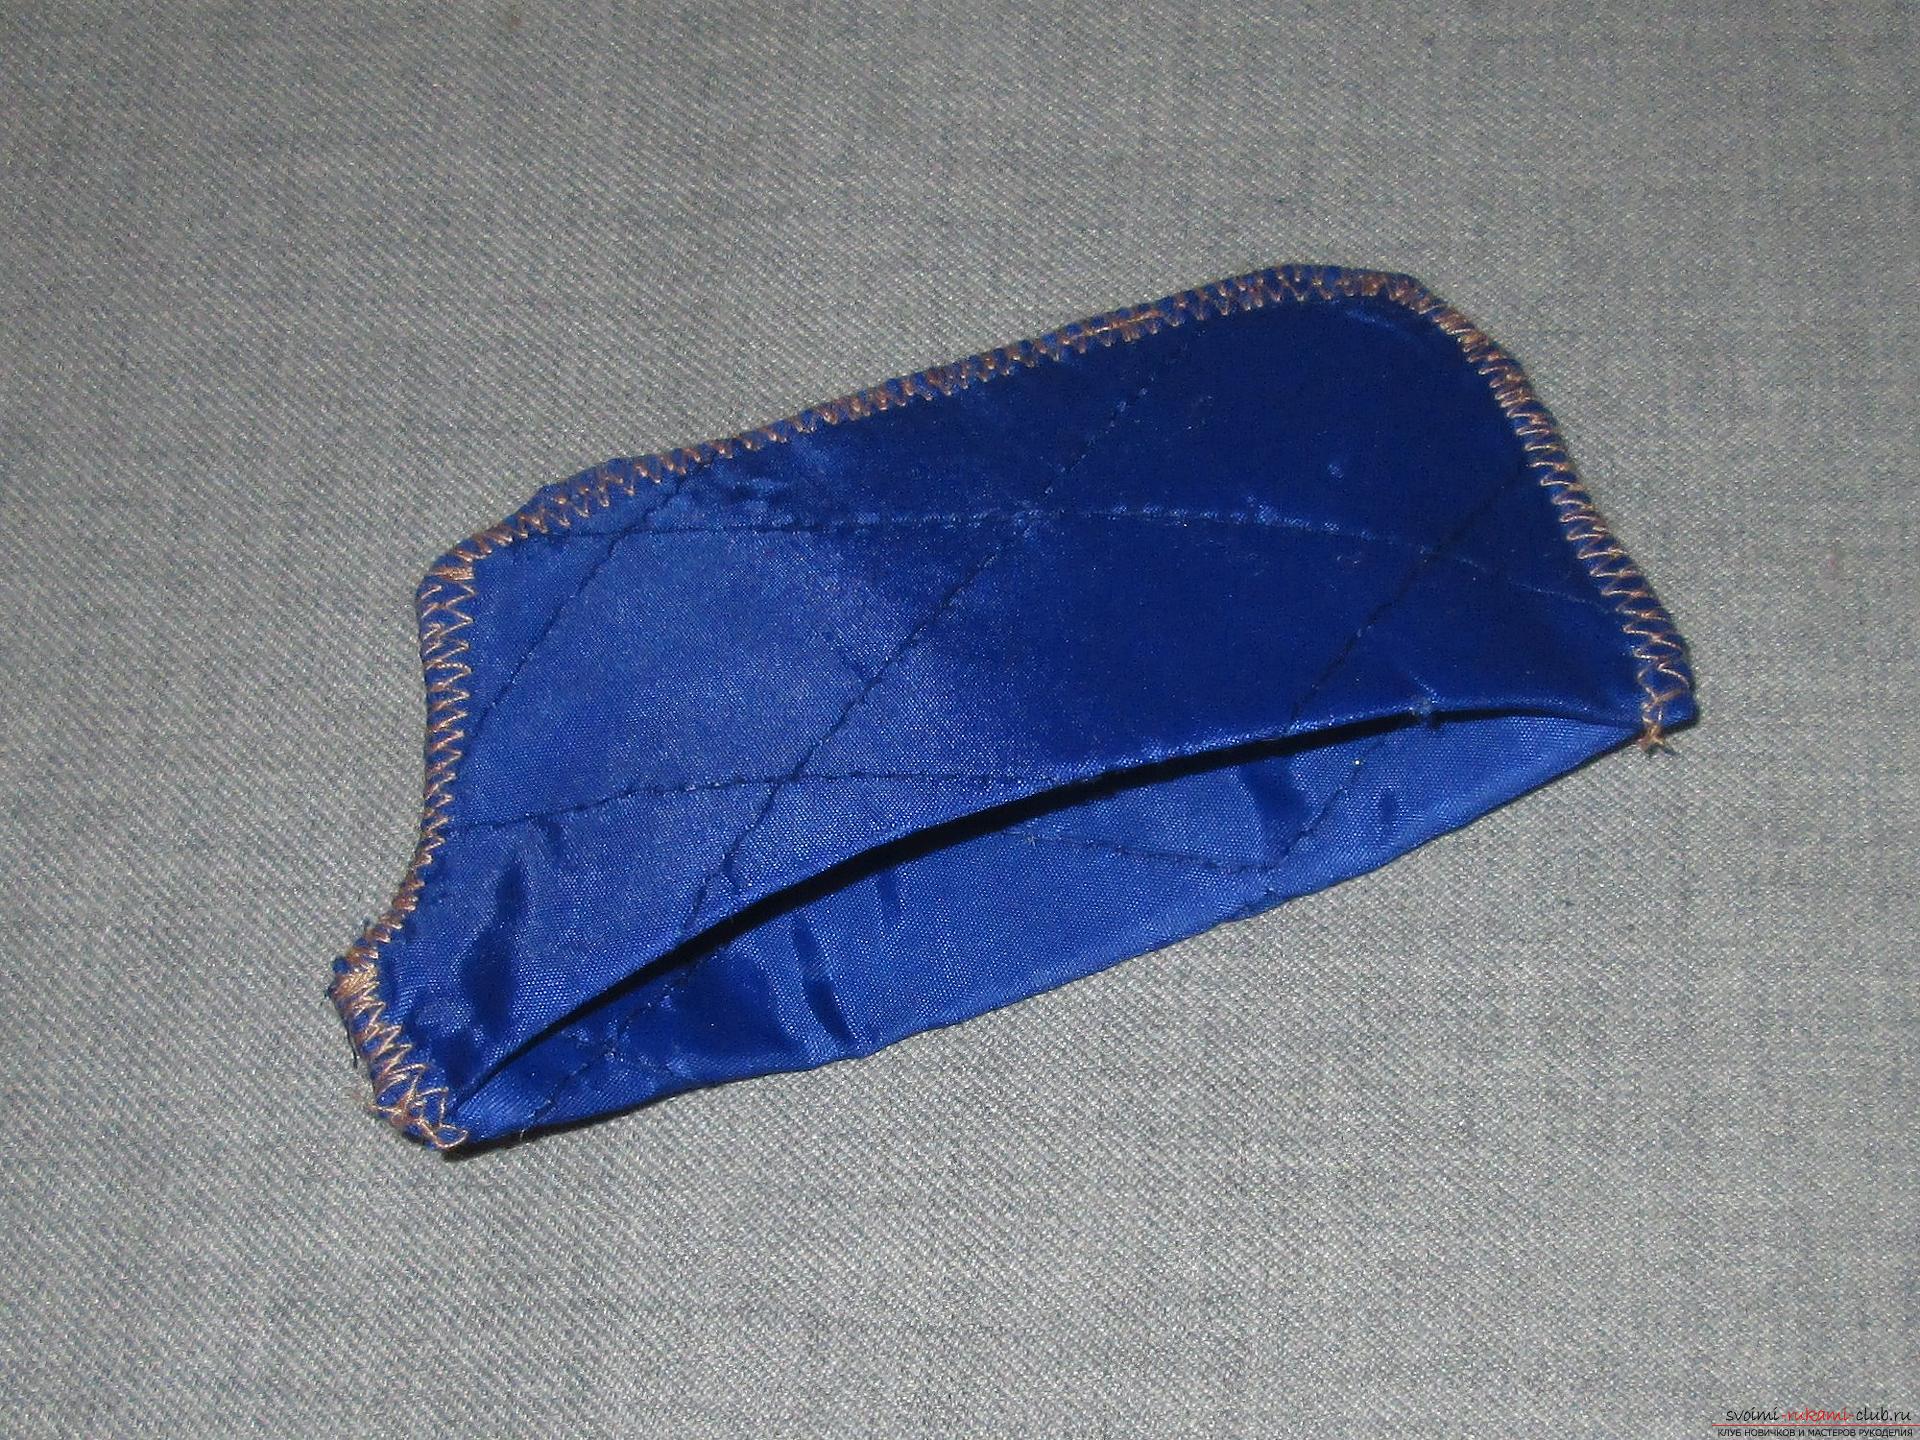 In the places intended for the wheels, we cut the crosses.
 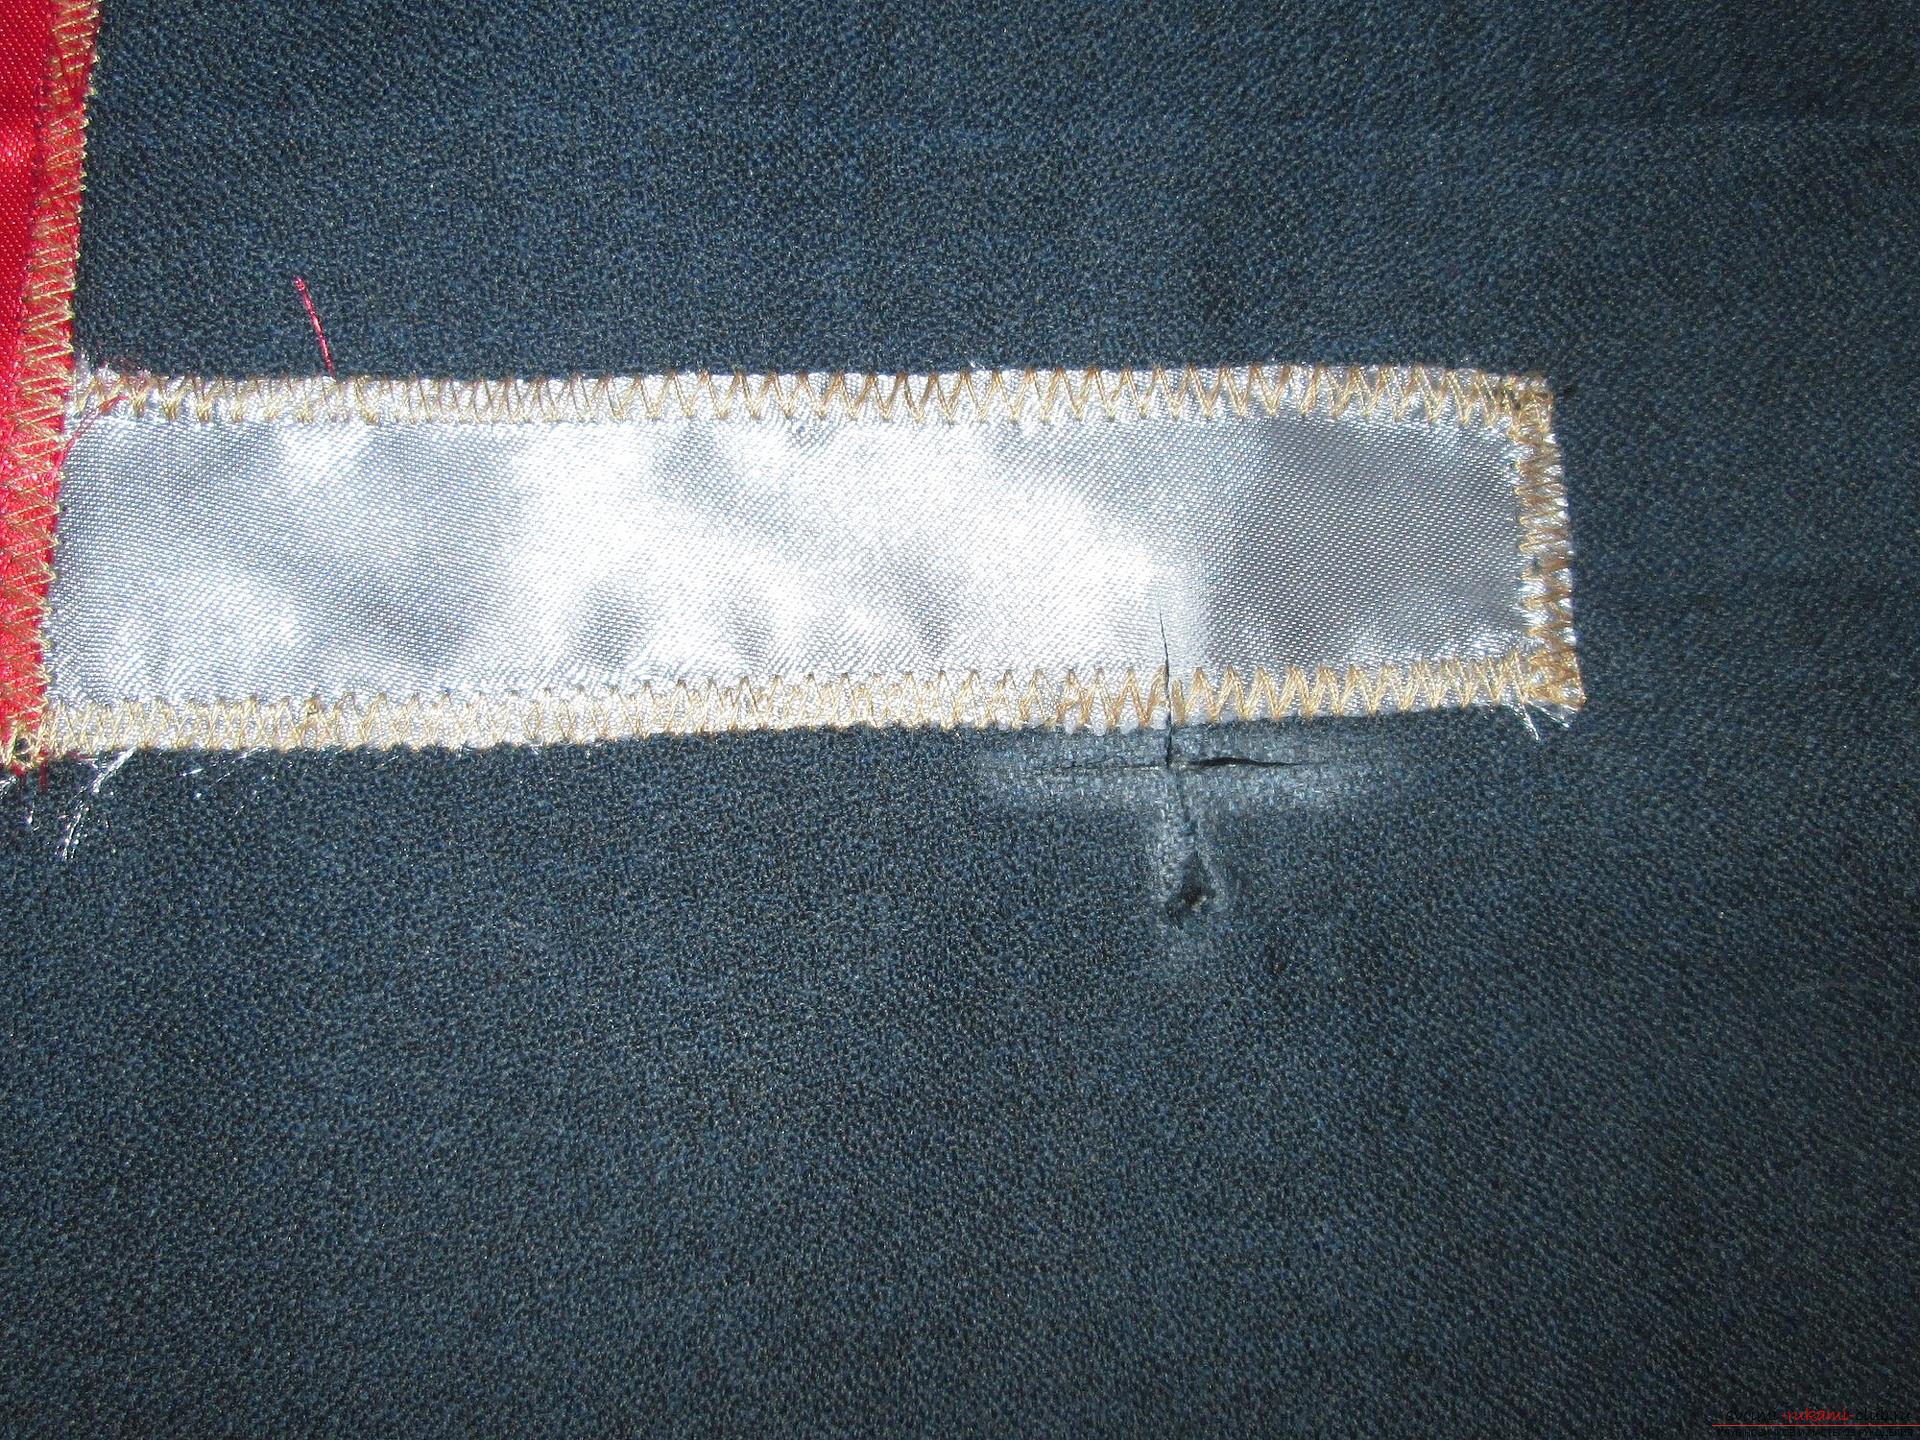 We fold the corners inside out, sweep it.
 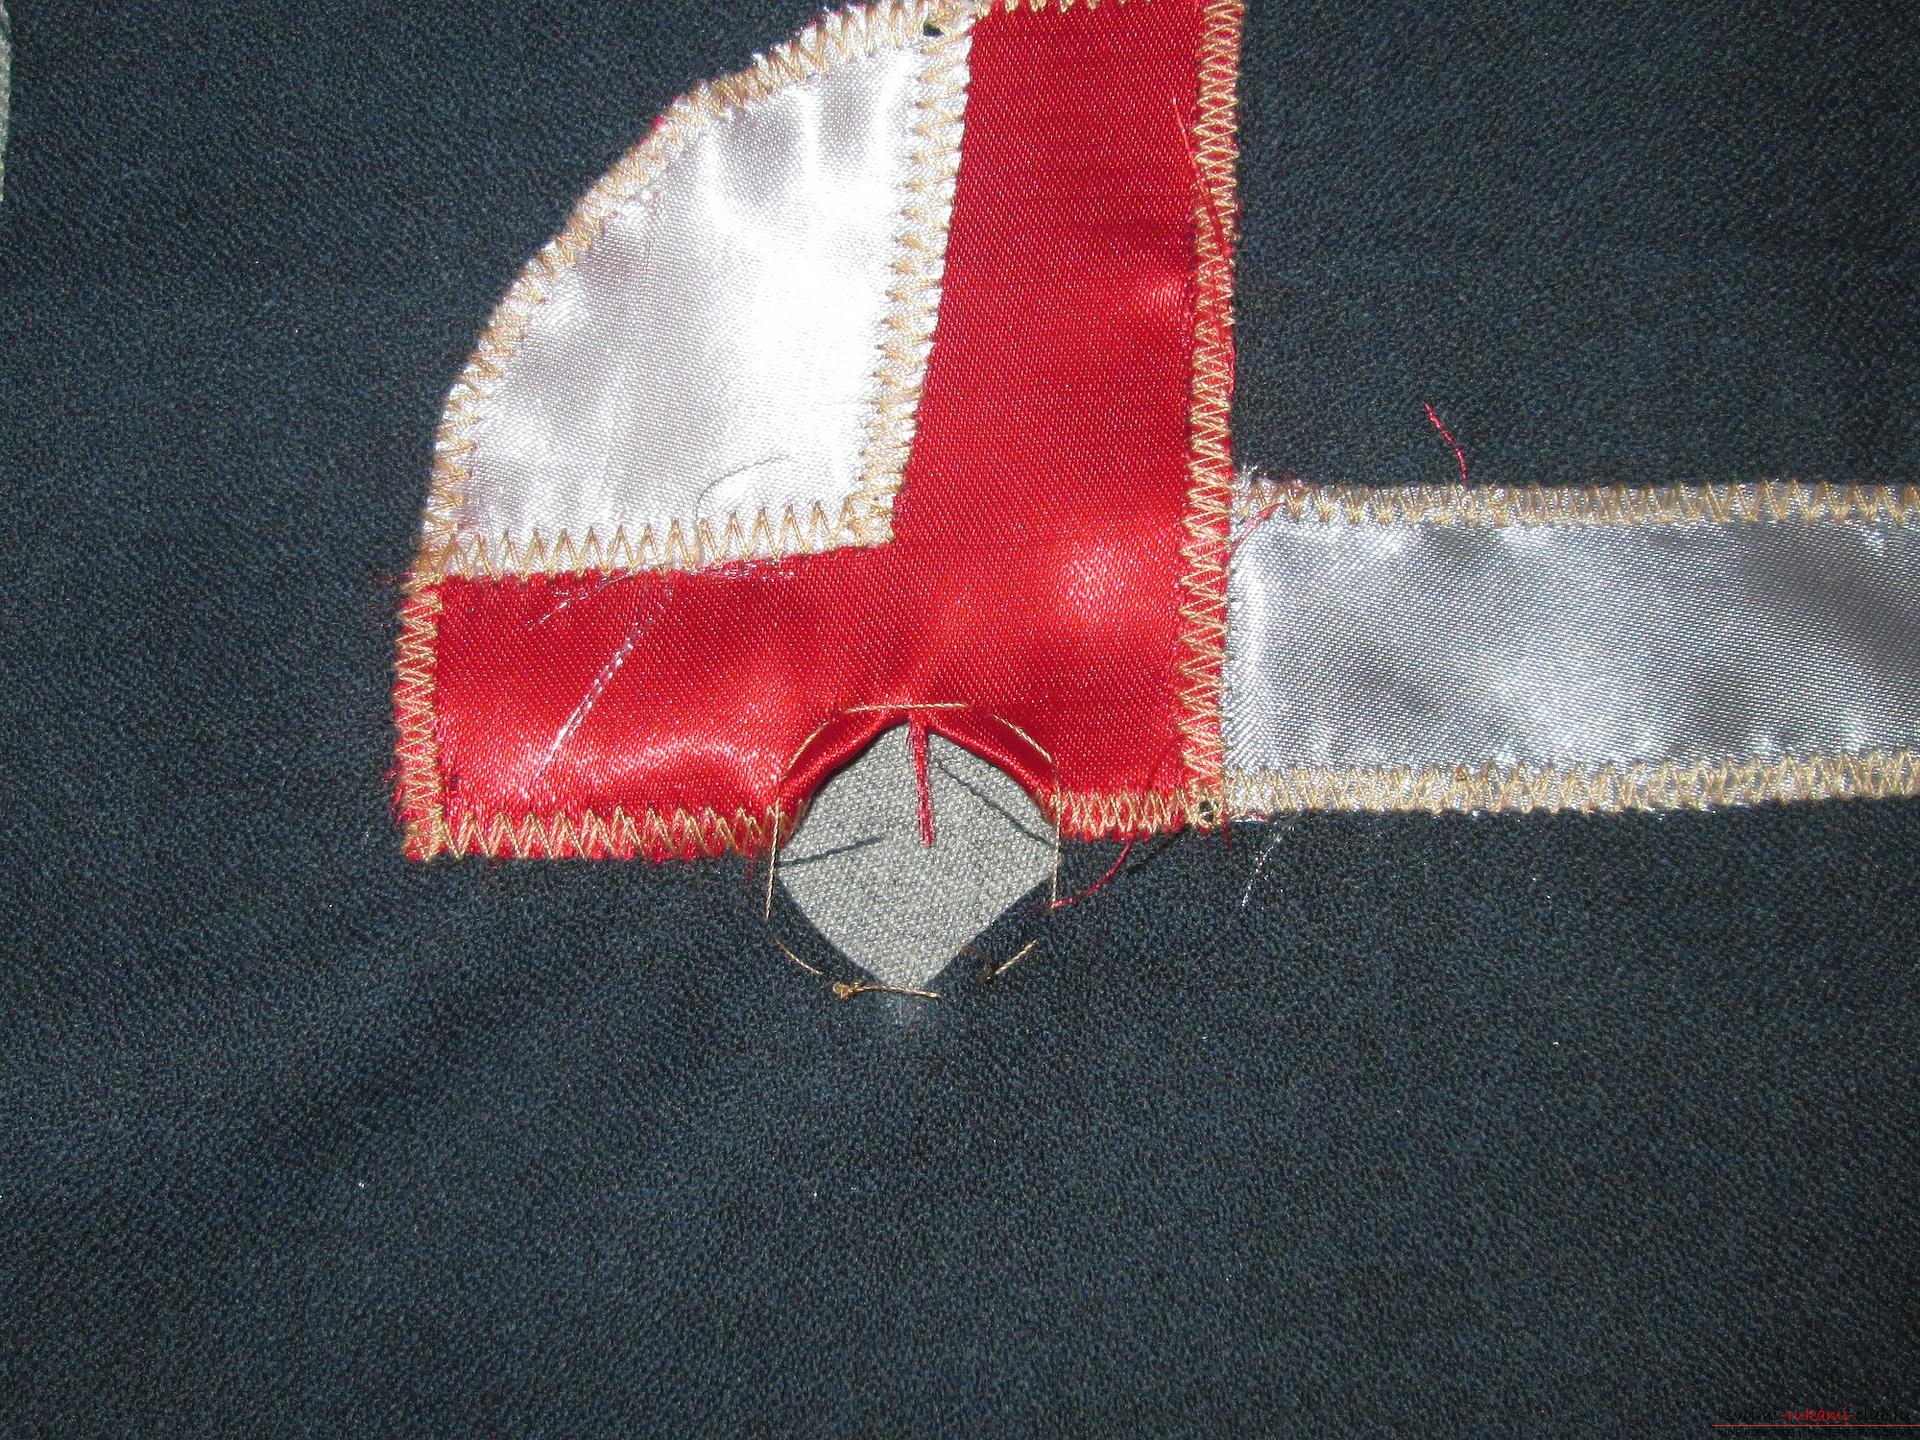 Stitching.
 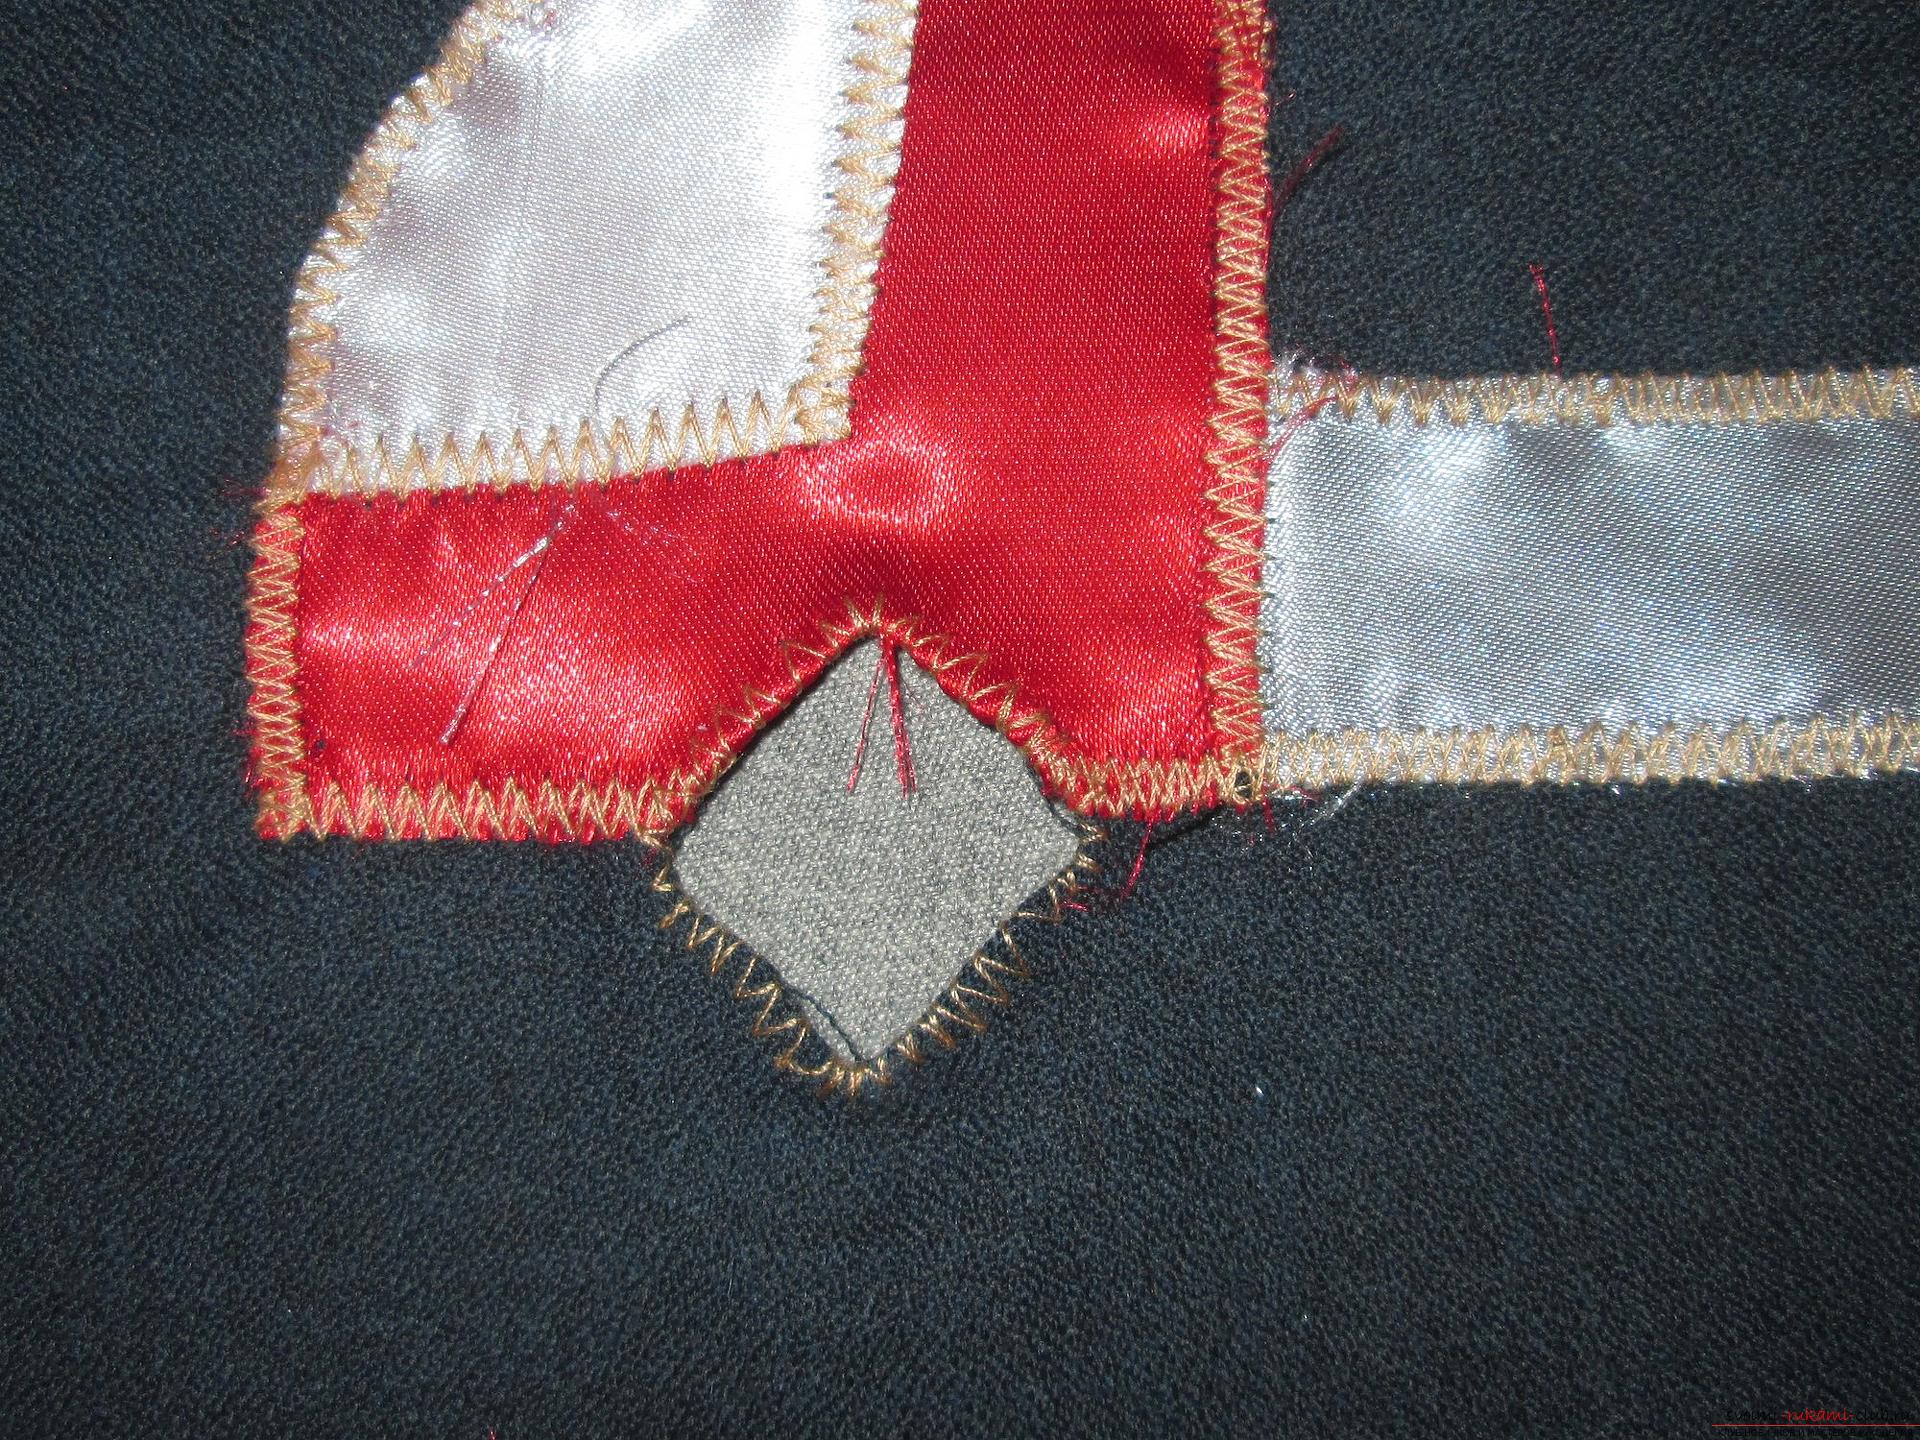 From the bottles cut off the neck, the very top with a thread + 1 cm Insert the neck threaded out. We paste them on transparent universal glue.
  To fix the body we sweep the loop on it. And on the background sew button. Due to this, the body can overturn.
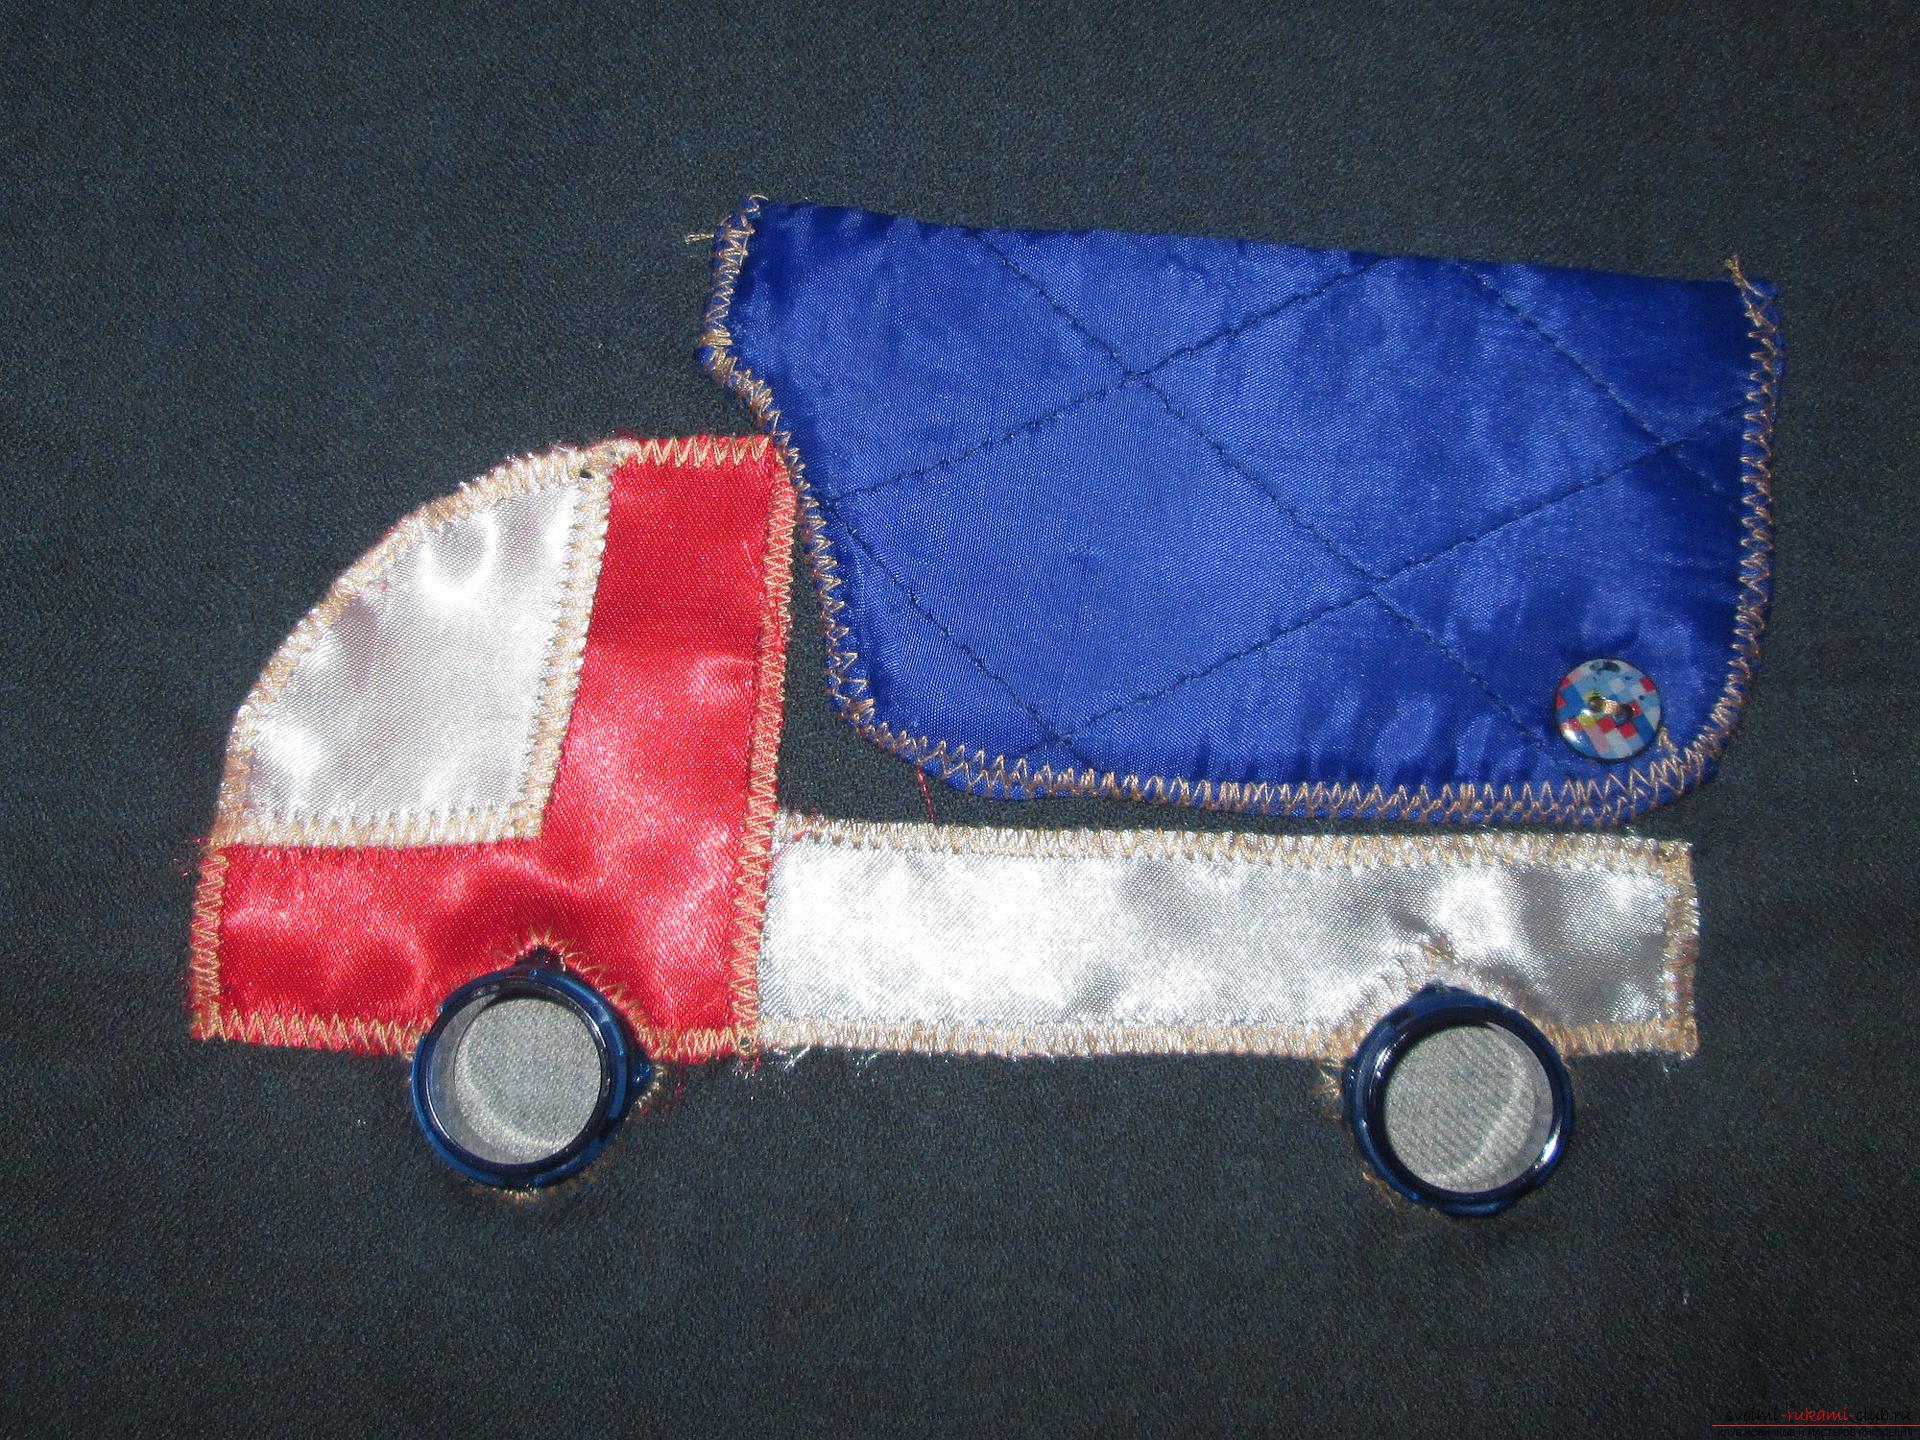
 To the background, we sew exactly the same piece of fabric, so that the seam is inside, leaving one side unattached.
 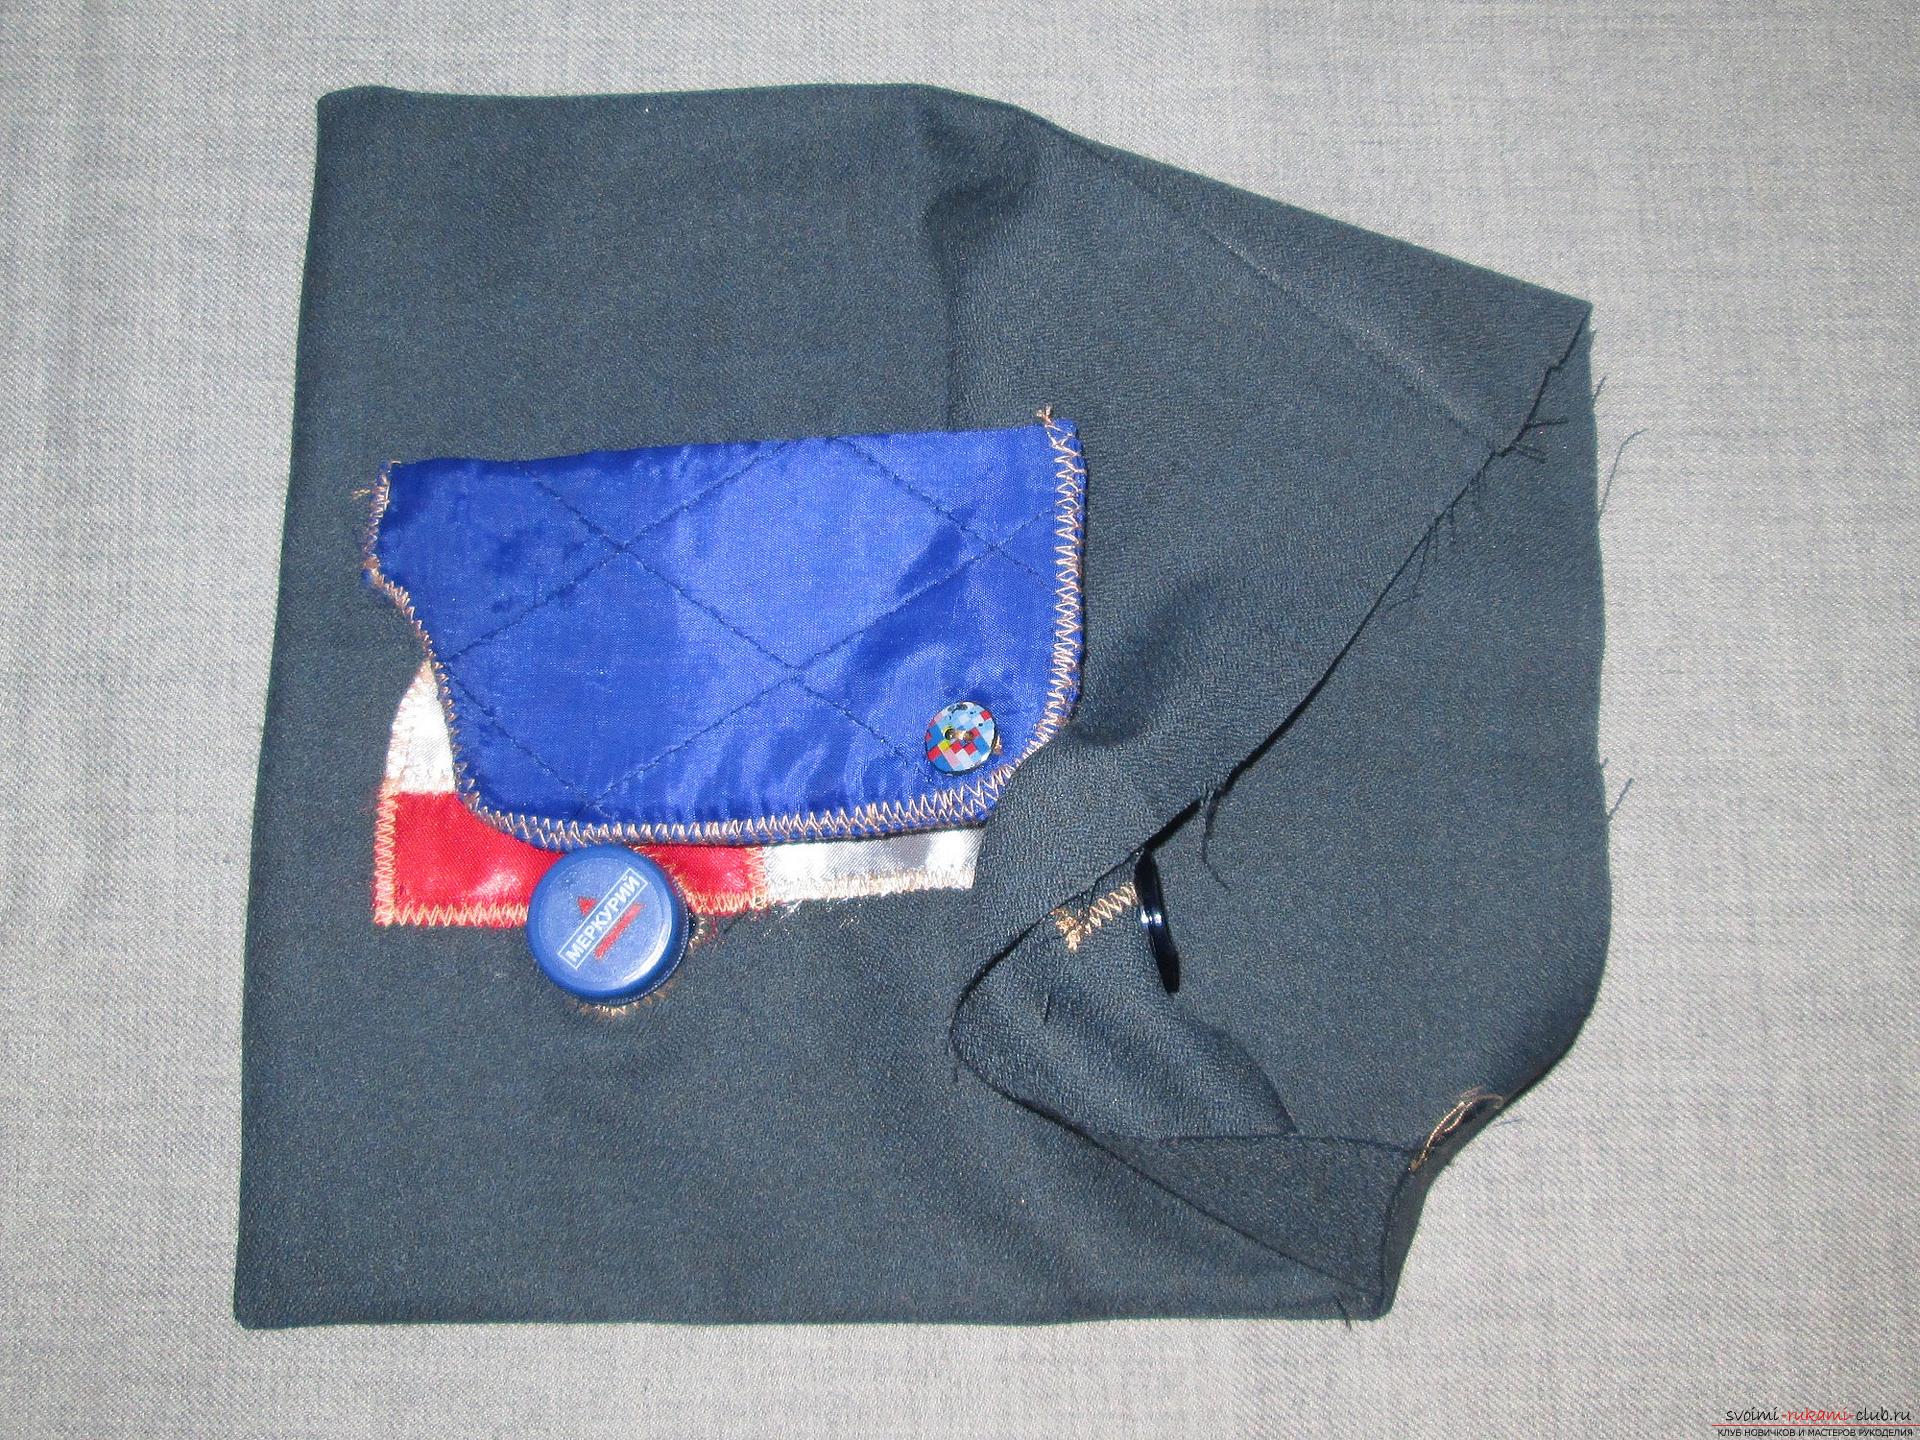 We insert inside the material cut off on the size. At us it is porous material for warming. The remaining unshielded side is sewn by hand.
 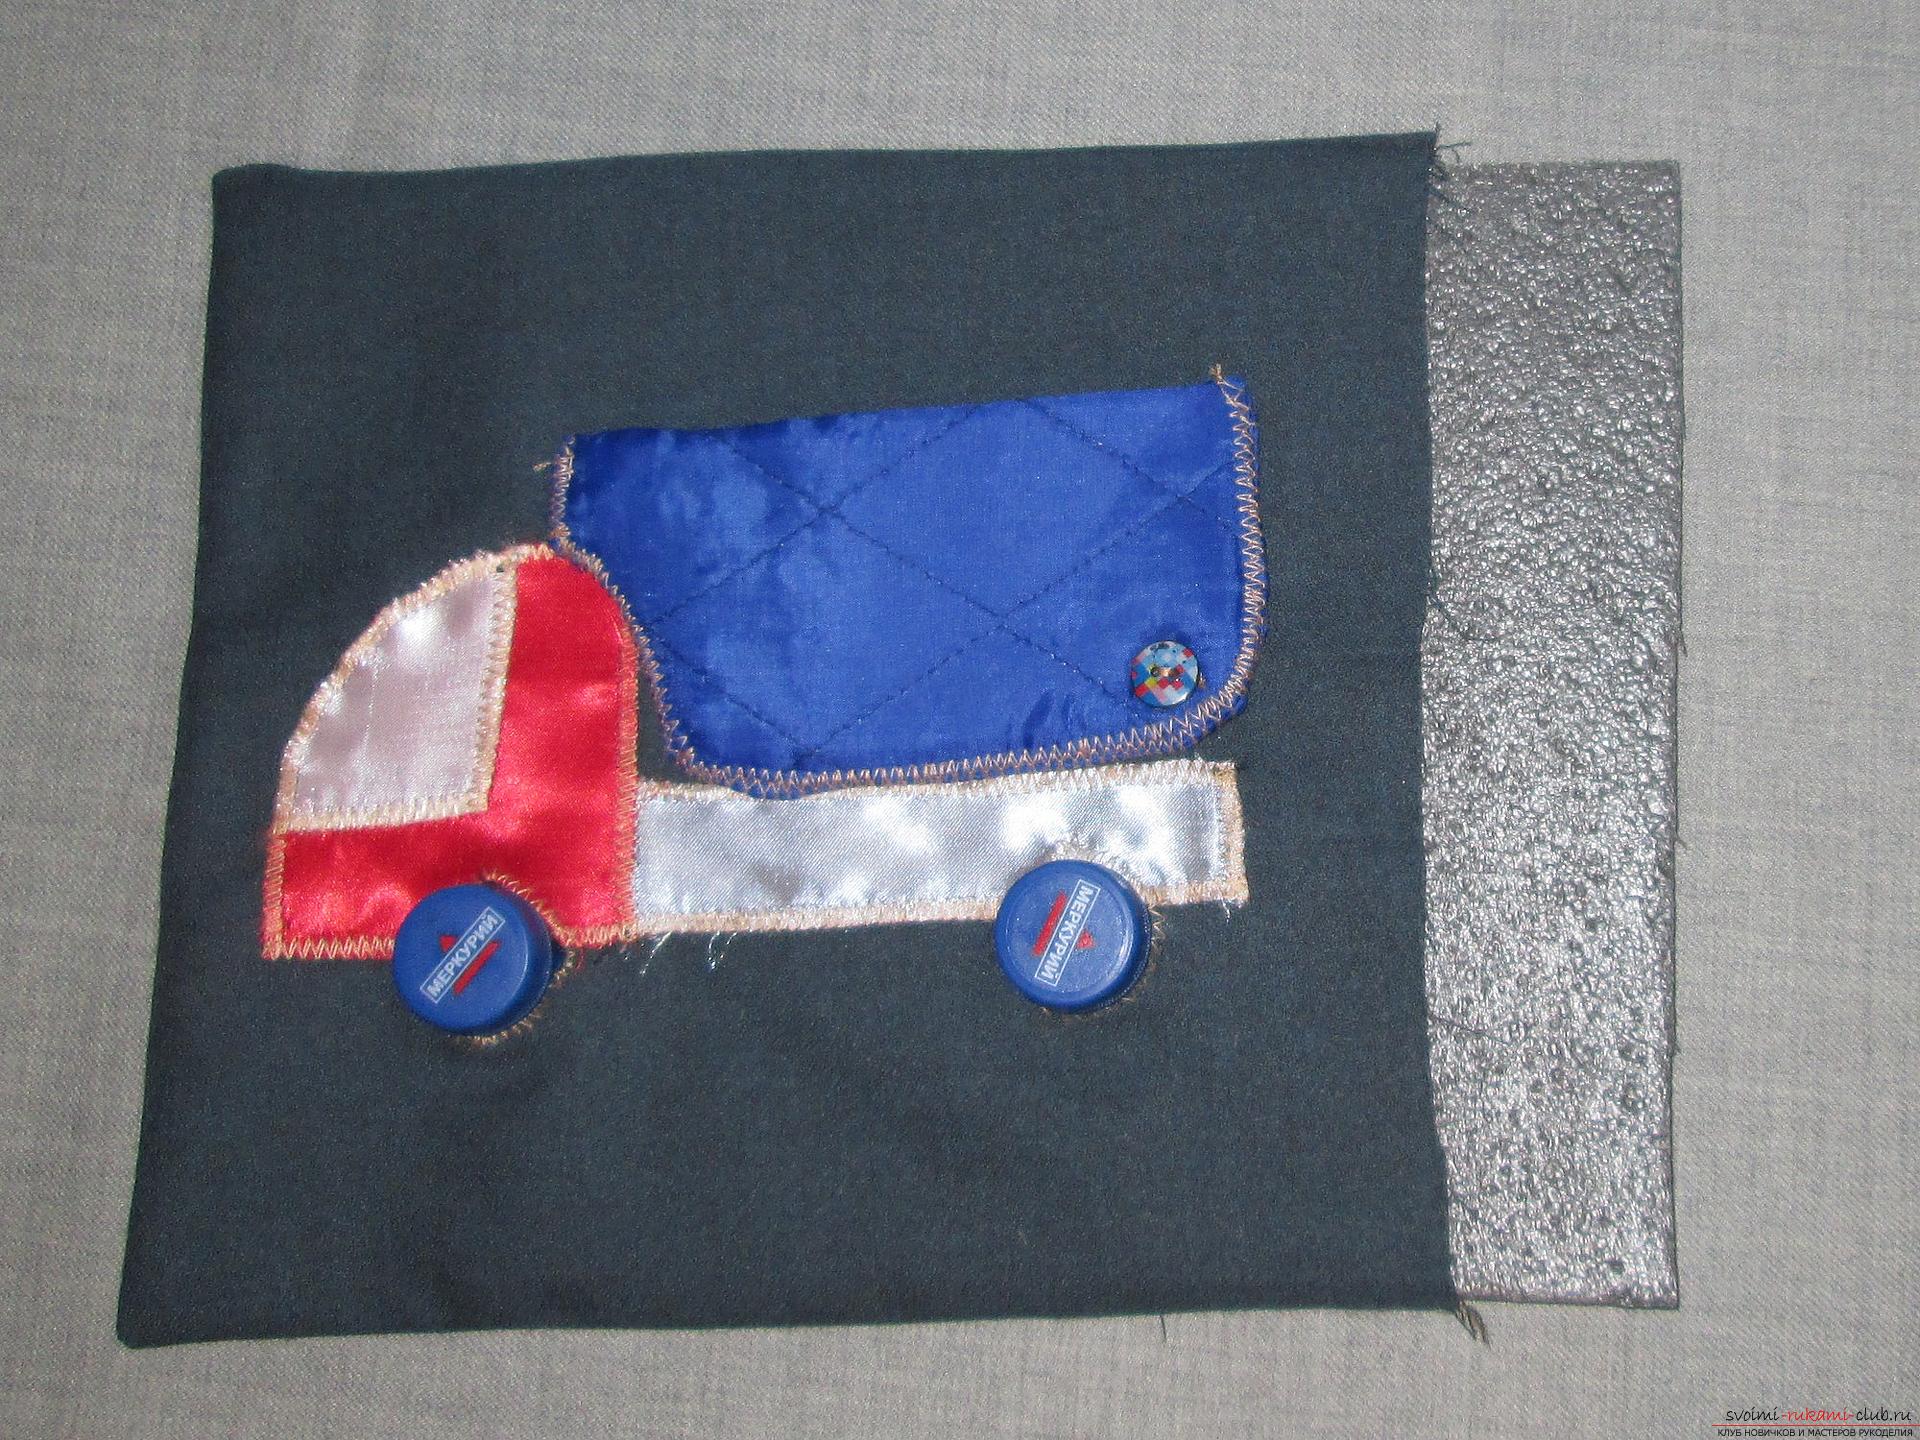 The wheel-wheels should be stocked. While this master-class was being written, the wheel-covers have already changed for the described machine.
  The toy is ready!
 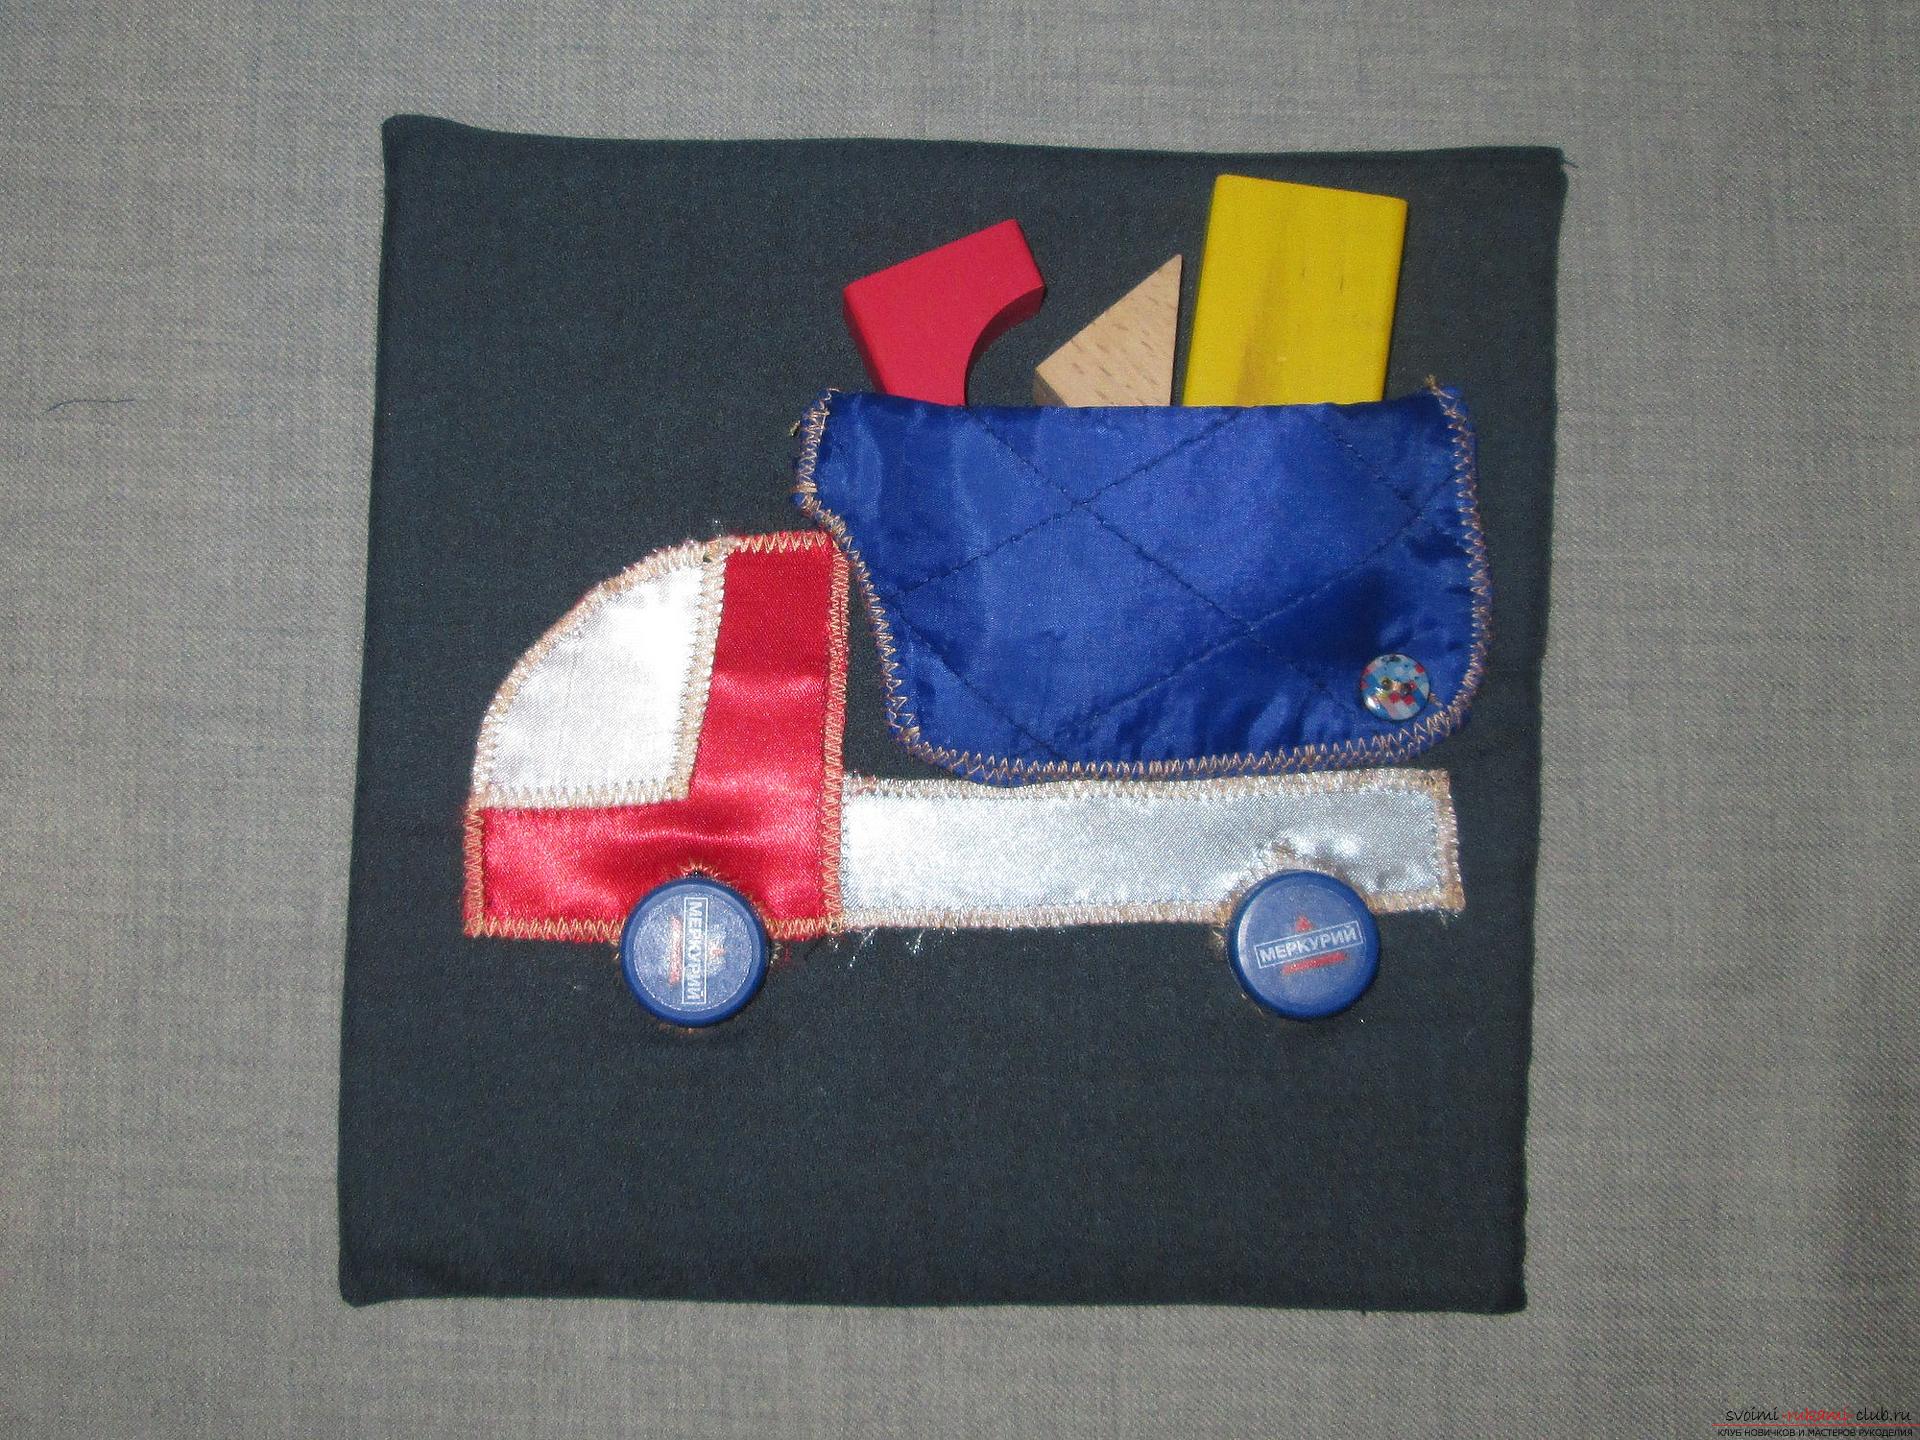 How can I play with the machine: to type in a body a toy, bricks, sweets. Recruit them on the account: one, two, three ... If you prepare several pairs of wheels, i.e. lids of different colors, then you can study the colors: screw and twist the yellow wheels, or green, etc. Author: Marakova Katerina
Comments
Related posts:
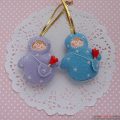
 This master class Valentine will teach you how to make your own heart with bullfinches made of felt.
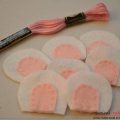
 This master class with a pattern will teach you how to make your own felt toys.
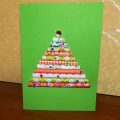 This master class will teach you how to make your own hands a New Year greeting card.
 How to make a magic toy out of felt with your own hands? Master-class of products
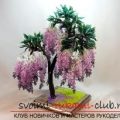 How to make a flower for the house with your own hands from improvised materials