
Master class with a photo of the hand-made Christmas tree will teach how to make her own hands
For the New Year and Christmas, we always decorate ourat home, we create in various techniques gifts, ornaments and other surprises. Each of them is interesting in its own way, and even only because any products made by one's own hands always radiate a special warmth and love. And by the New Year it will be logical to invite you to sew beautiful Christmas trees for decoration, right? Among other things, they can be donated to a close person for the New Year. Such a gift will be a complete exclusivity. 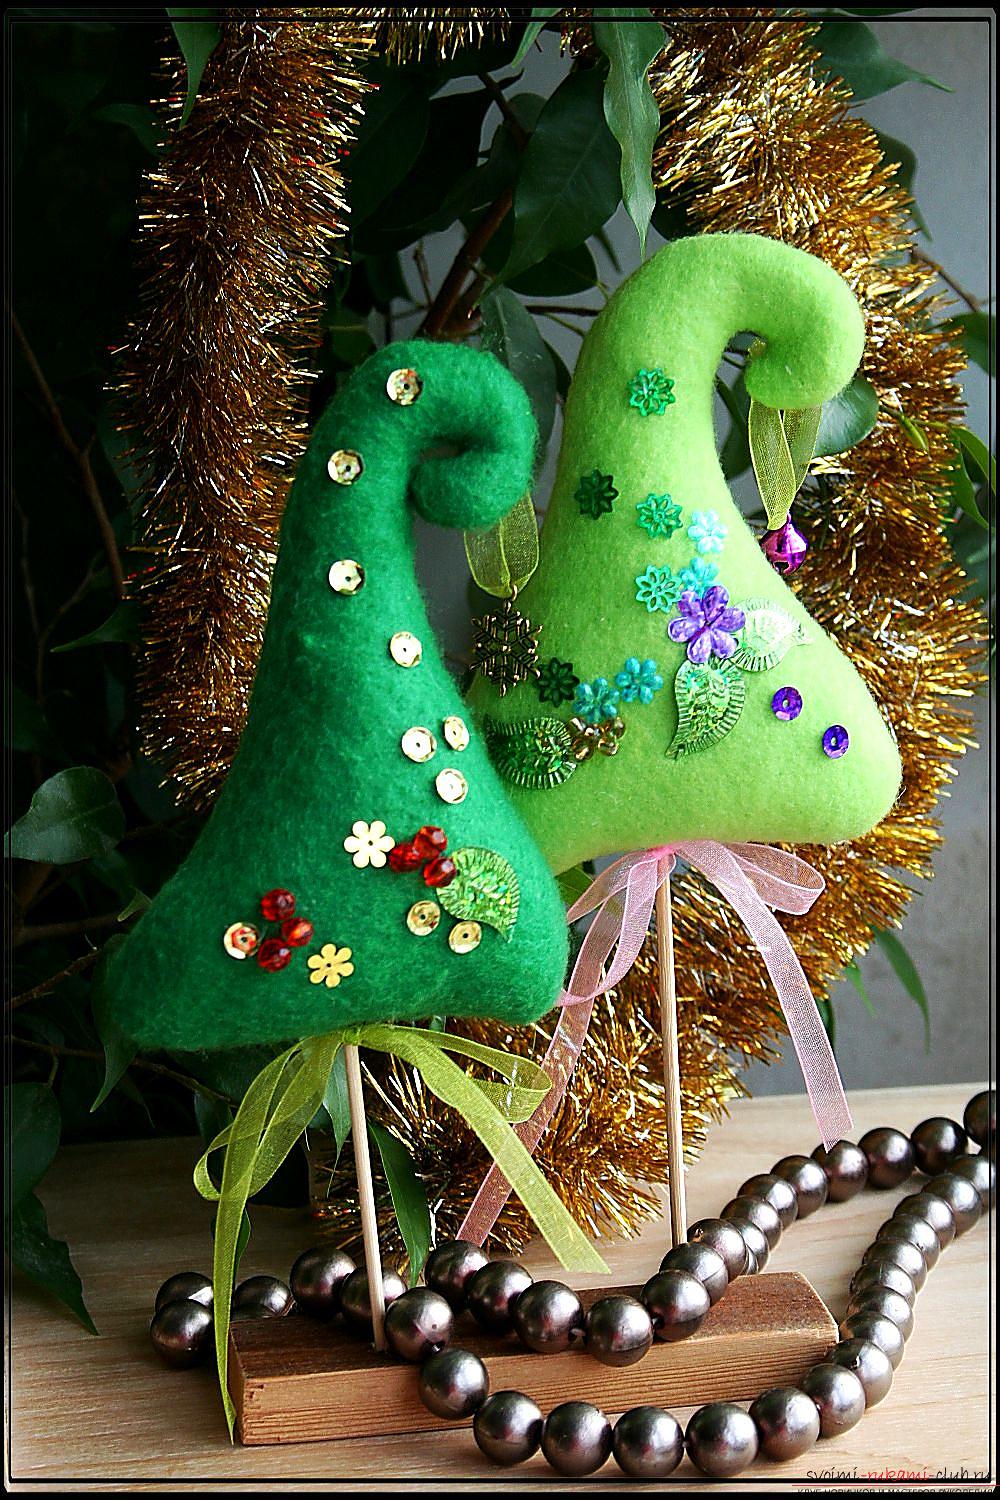 In order to sew a couple of such excellent magic Christmas trees, we will need:
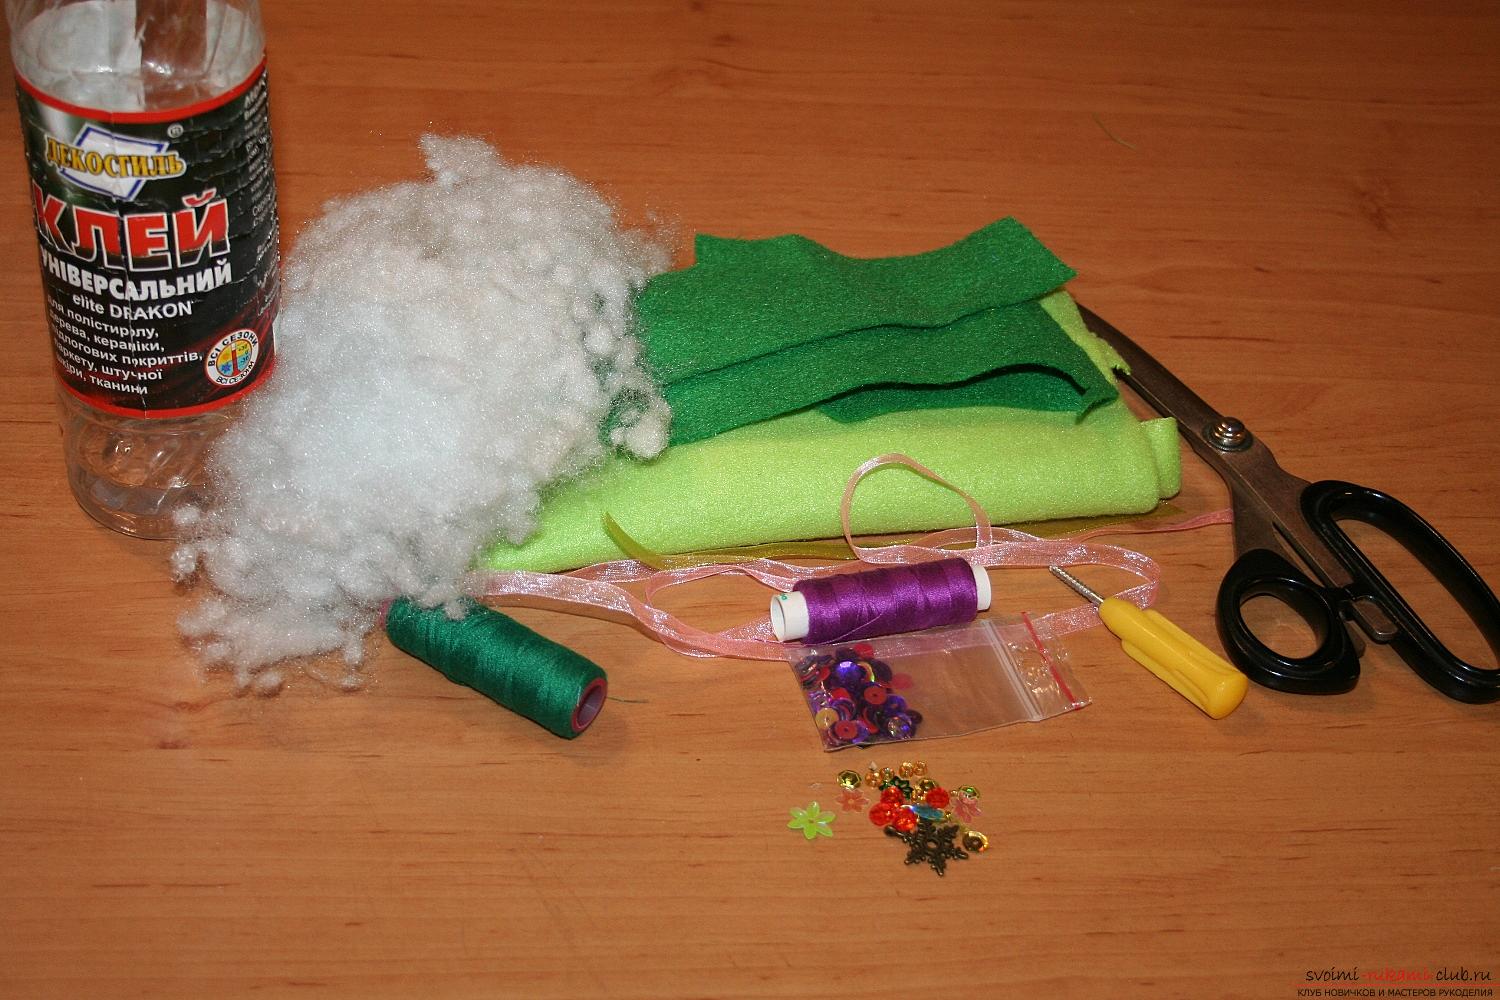
- piece of dark green felt;
- piece of light green felt;
- holofayber or synthepon;
- transparent glue for fabric (the moment "crystal", Dragon);
- thread in the tone of the fabric;
- narrow bands of organza;
- a set of different colors of sequins and beads for decoration;
- stand for decor;
- two wooden sticks;
- awl;
- decorative snowflake and bell;
- scissors.
 So, when all of the above materialsprepared, go to the very process of making decorative Christmas trees of textiles. To do this, on a piece of paper, draw out the contours of the Christmas tree. Specify the number of details in pencil on each image.
 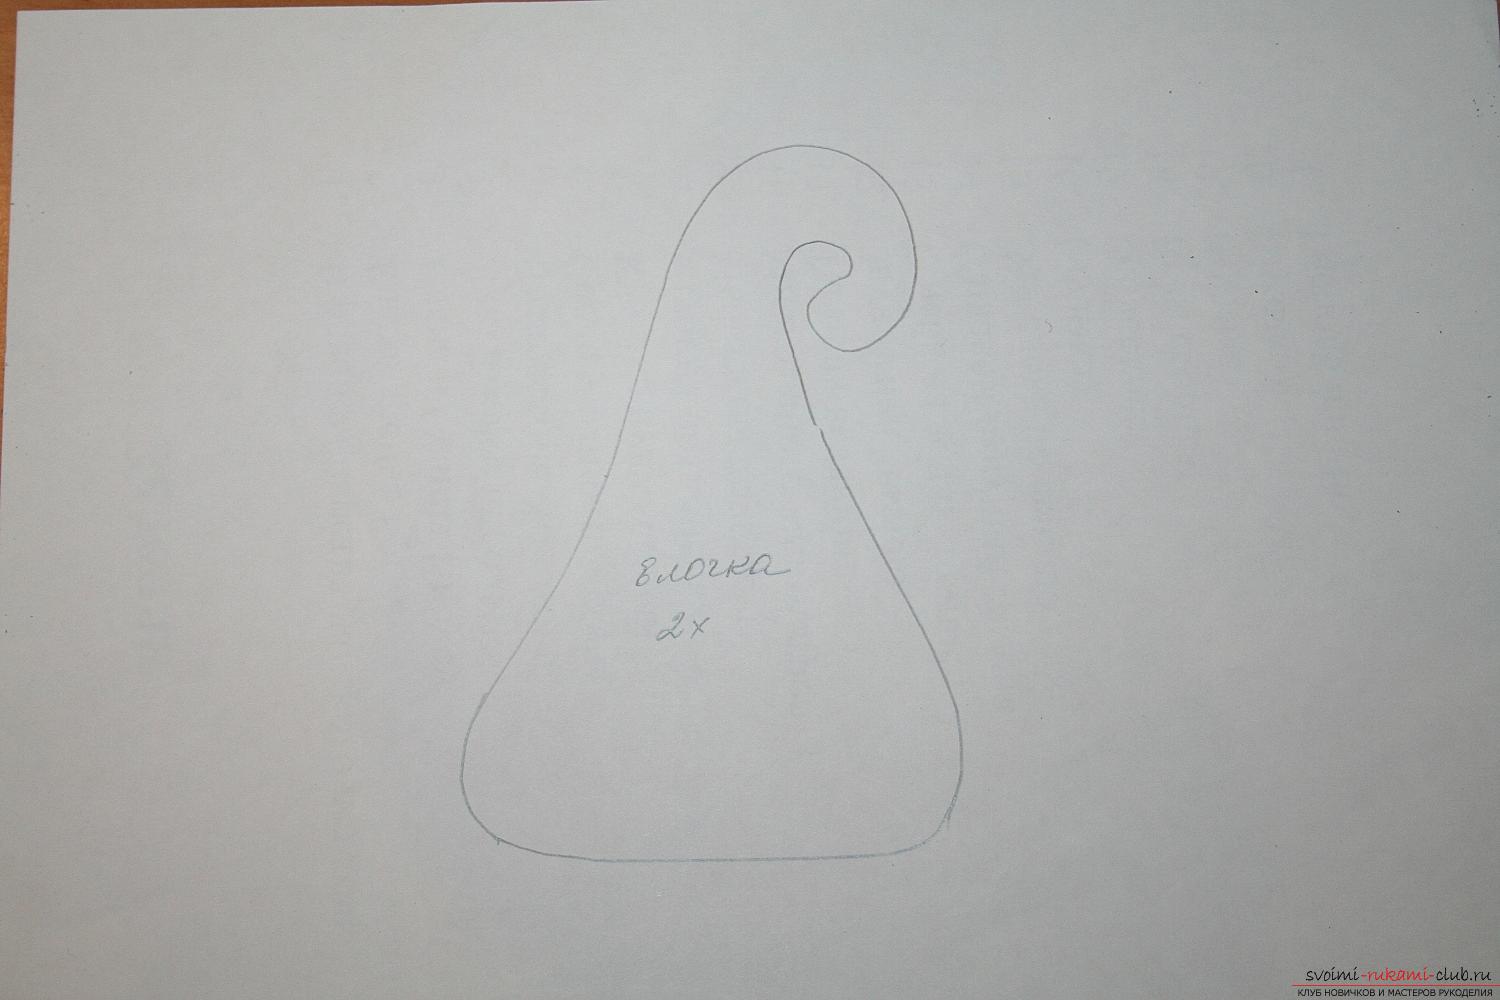 Then prepare small pieces of green and light green felt. Fold it twice. In our case, the front and the underside are not, so we add it as we like.
 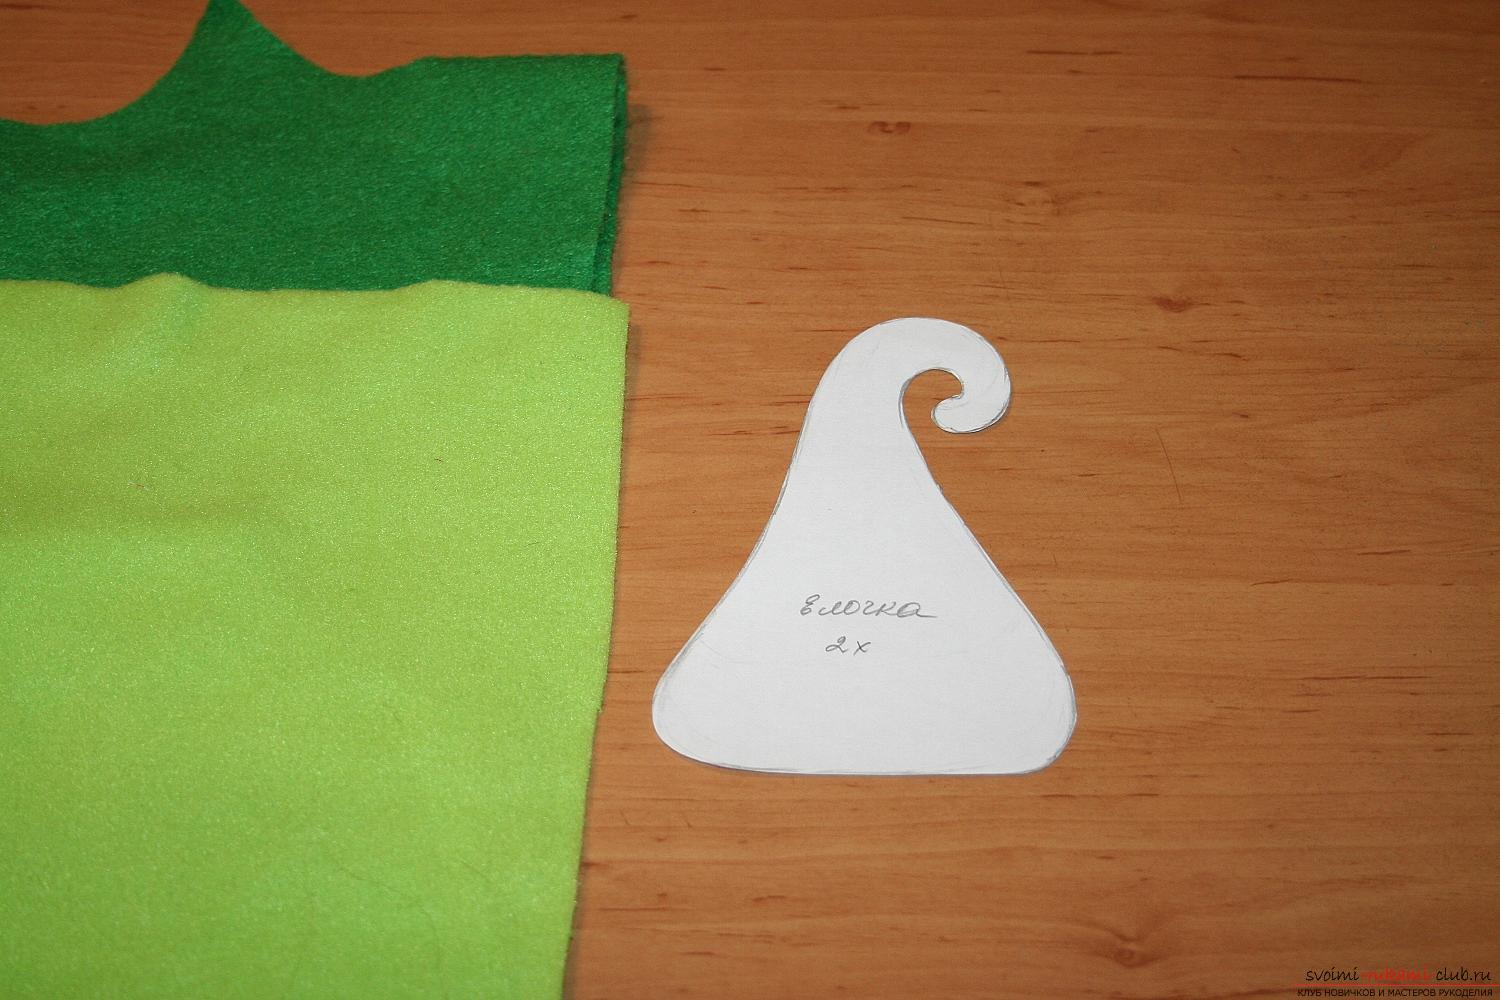 Now pin the paper pattern of the Christmas tree on the fabric.
 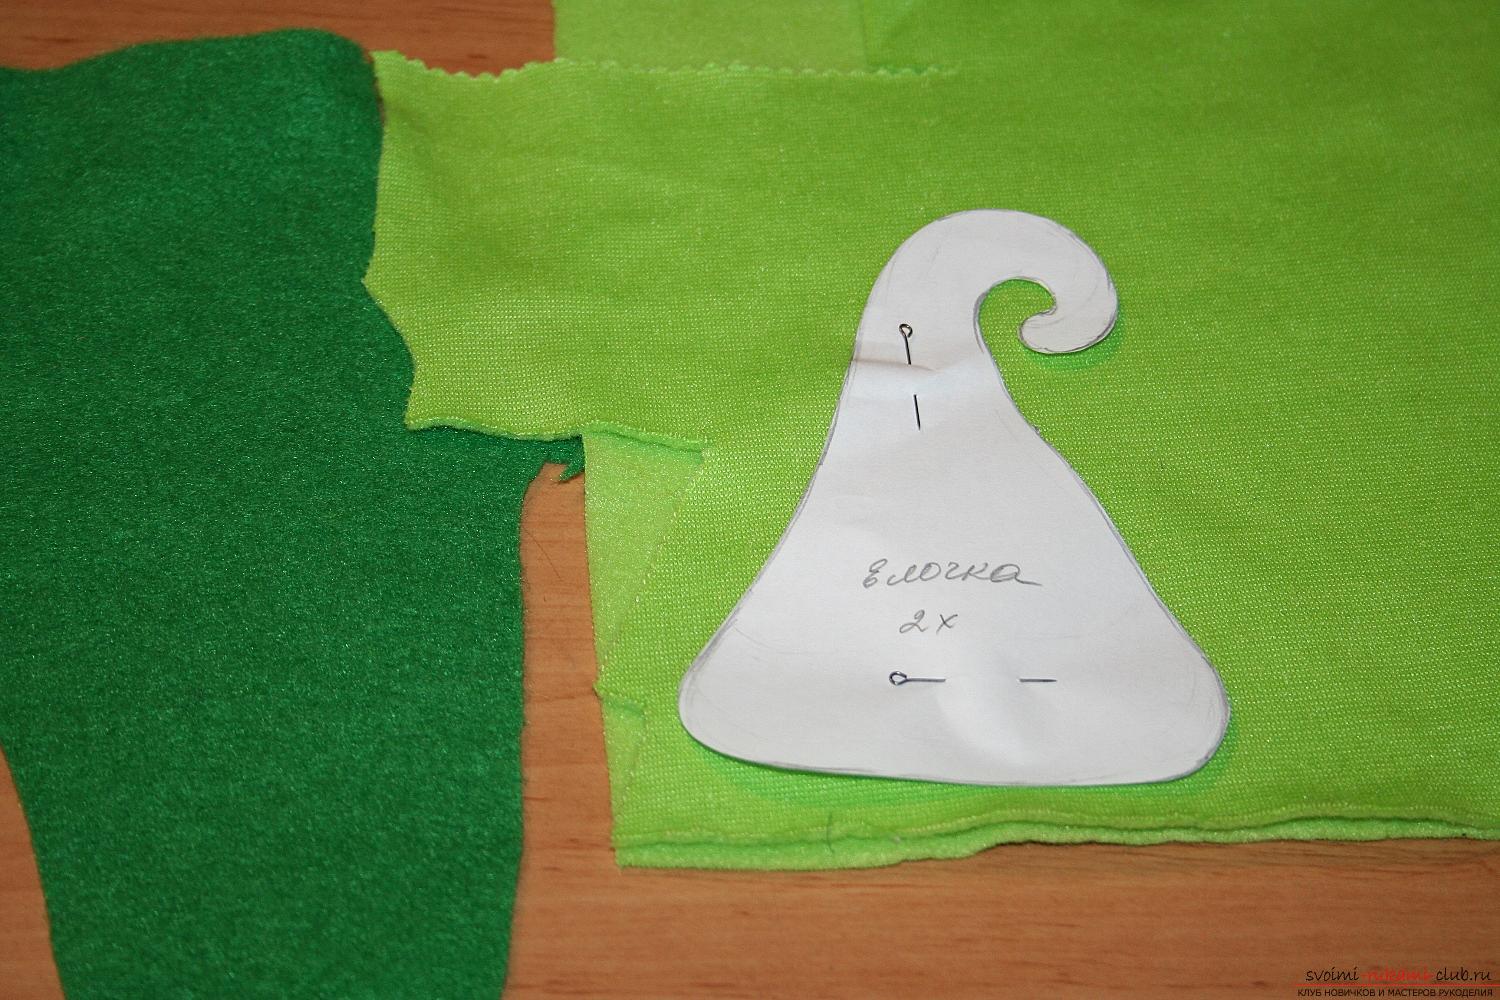 With a chalk or a simple pencil, we transfer the contours of the pattern to felt.
 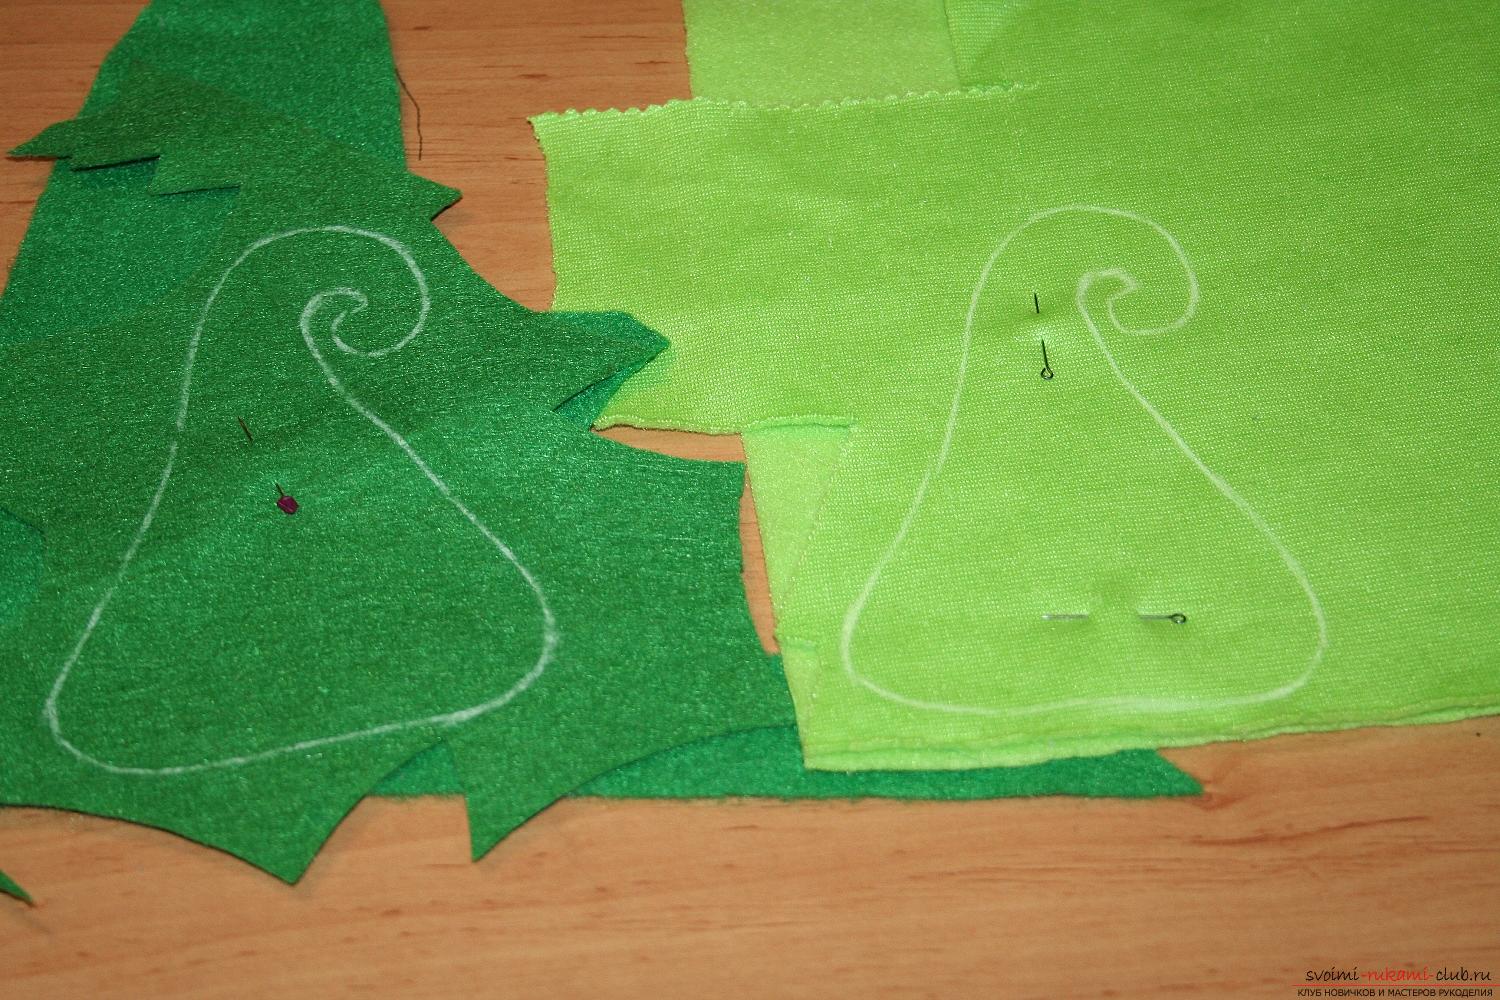 On the planned lines we grind the details of the fir-treesmachine stitching. At the bottom, we leave an open, not stubby, area for turning the product out. Cut out the Christmas trees with small allowances and the width of the allowances with the tips of the scissors, making the notches close to the seam. Carefully do not damage the integrity of the line. Otherwise, you have to reshape the product again.
 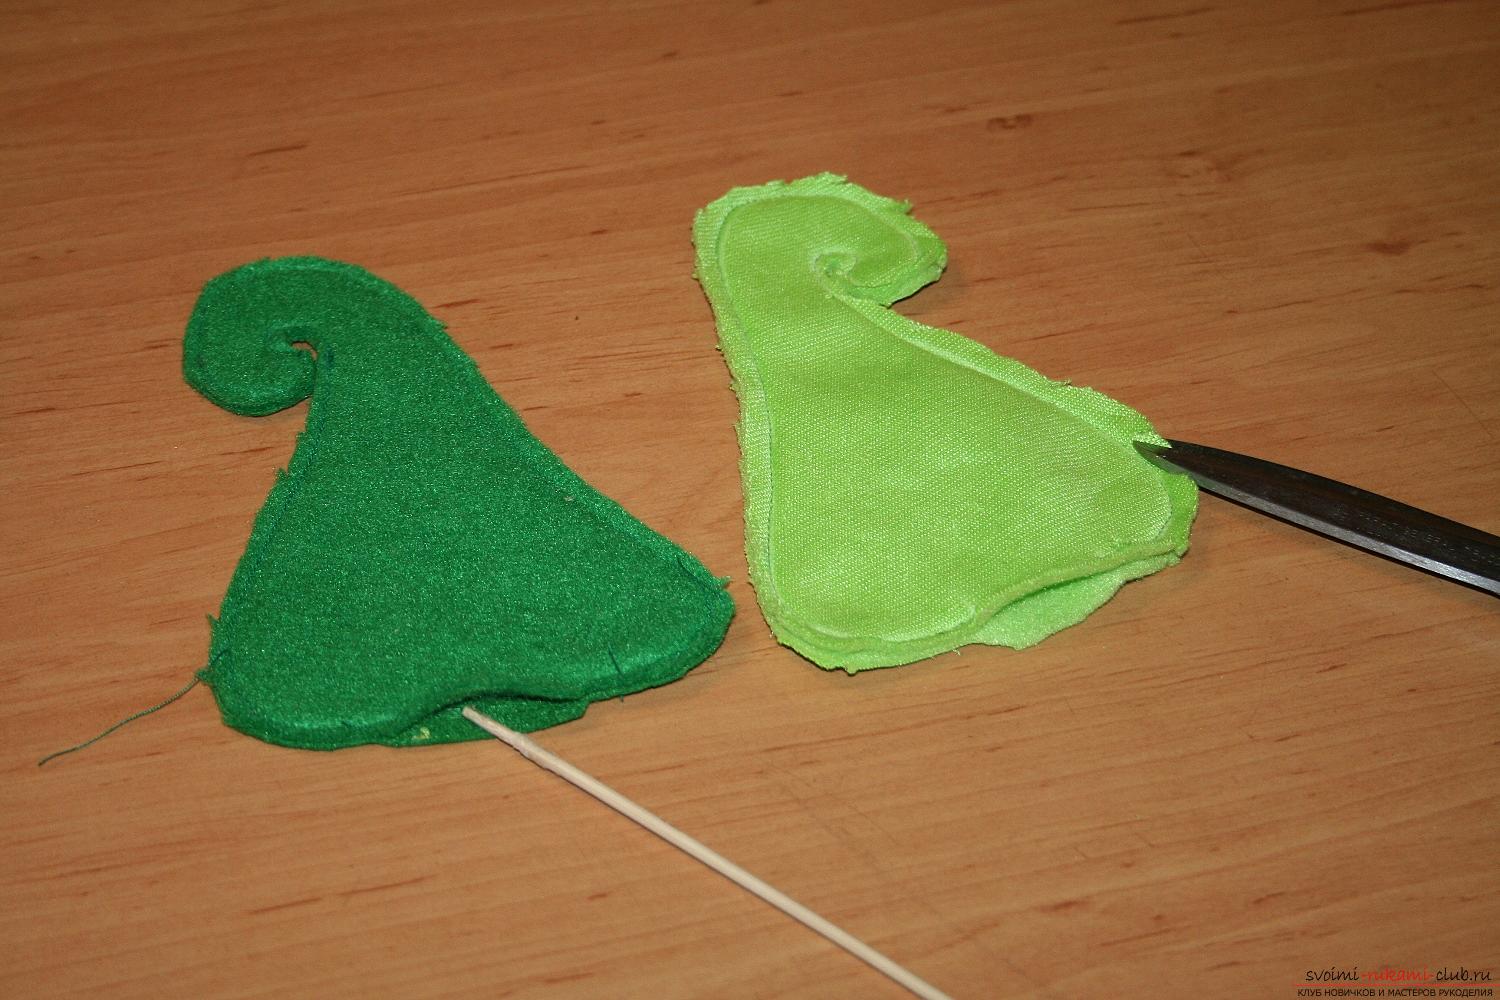 Now through the left holes we turn the Christmas trees on the front side. Stitches in narrowed places straighten with a needle.
 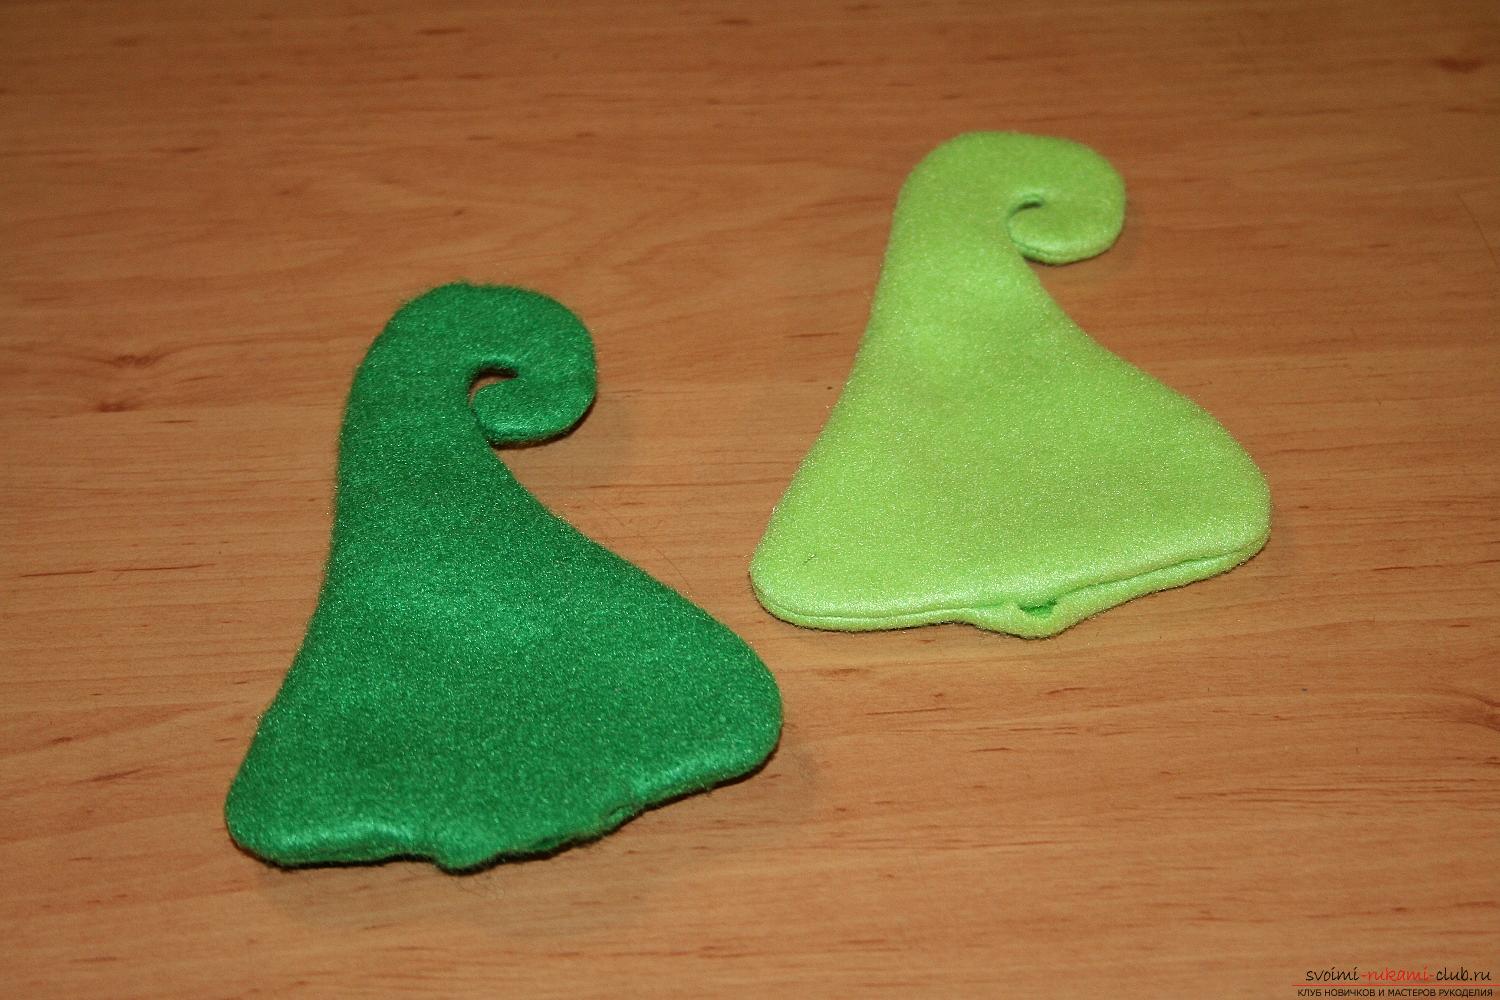 Through the open areas we fill the Christmas trees with holofayber. If you do not have a holofiber, you can use silicone, sintepon as a filling. I never recommend using cotton.
 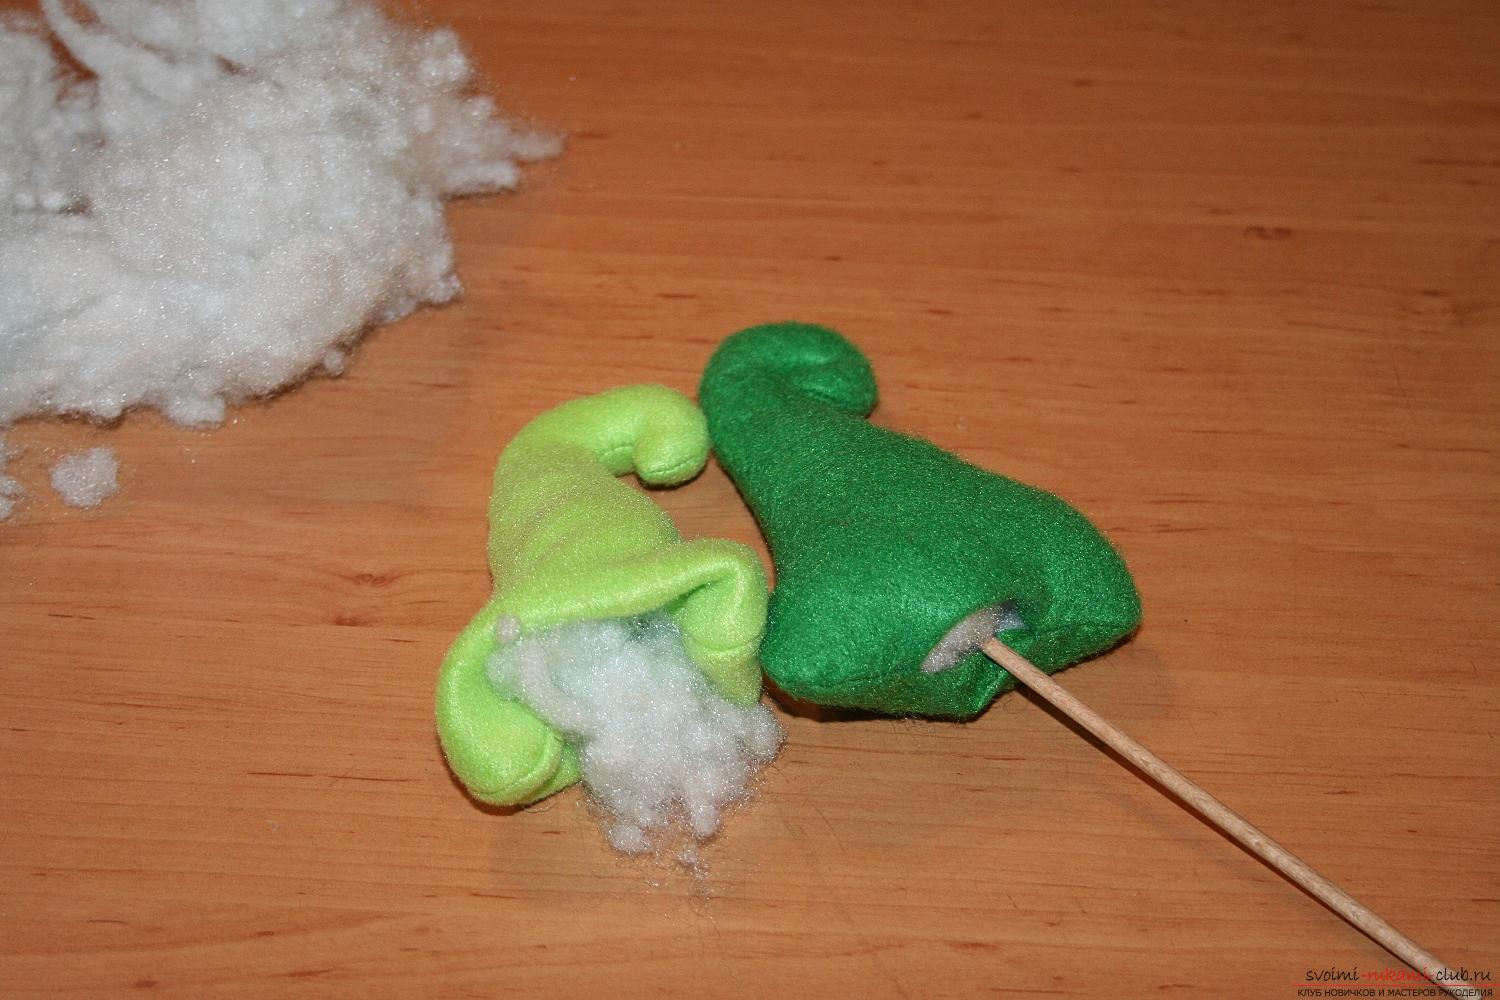 By hand, unseen stitches sew open filled areas filled with filler.
  Then we take a set of different sequins and arrange them on the front side of the Christmas trees, in whatever you want the composition.
 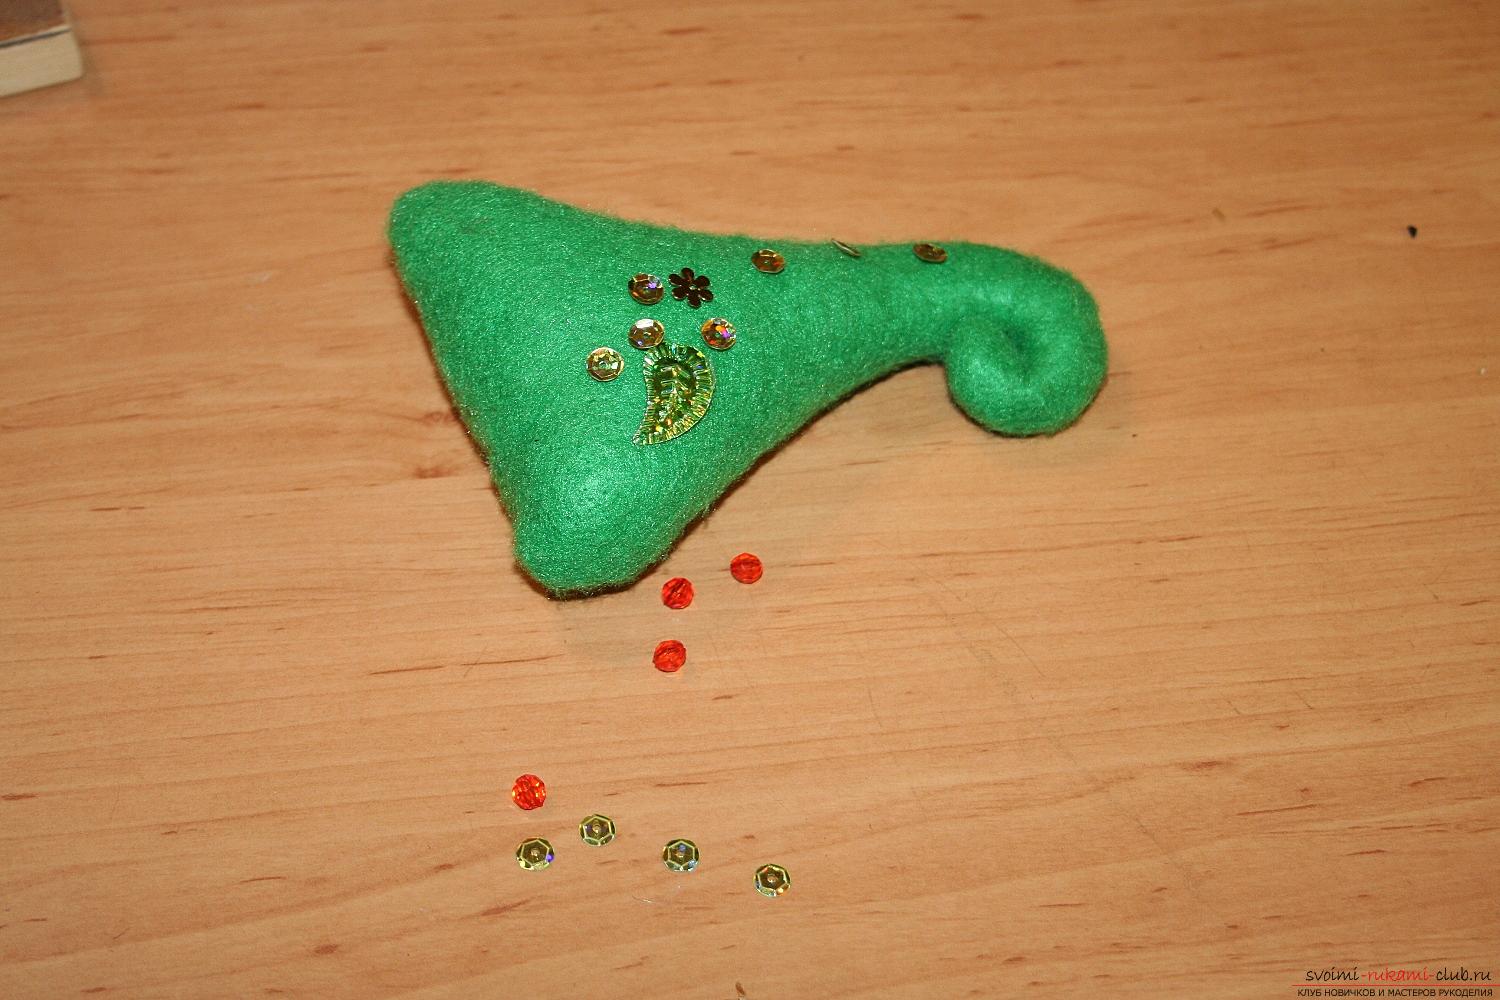 The chosen composition is fixed with the help of tail pins on the Christmas tree.
 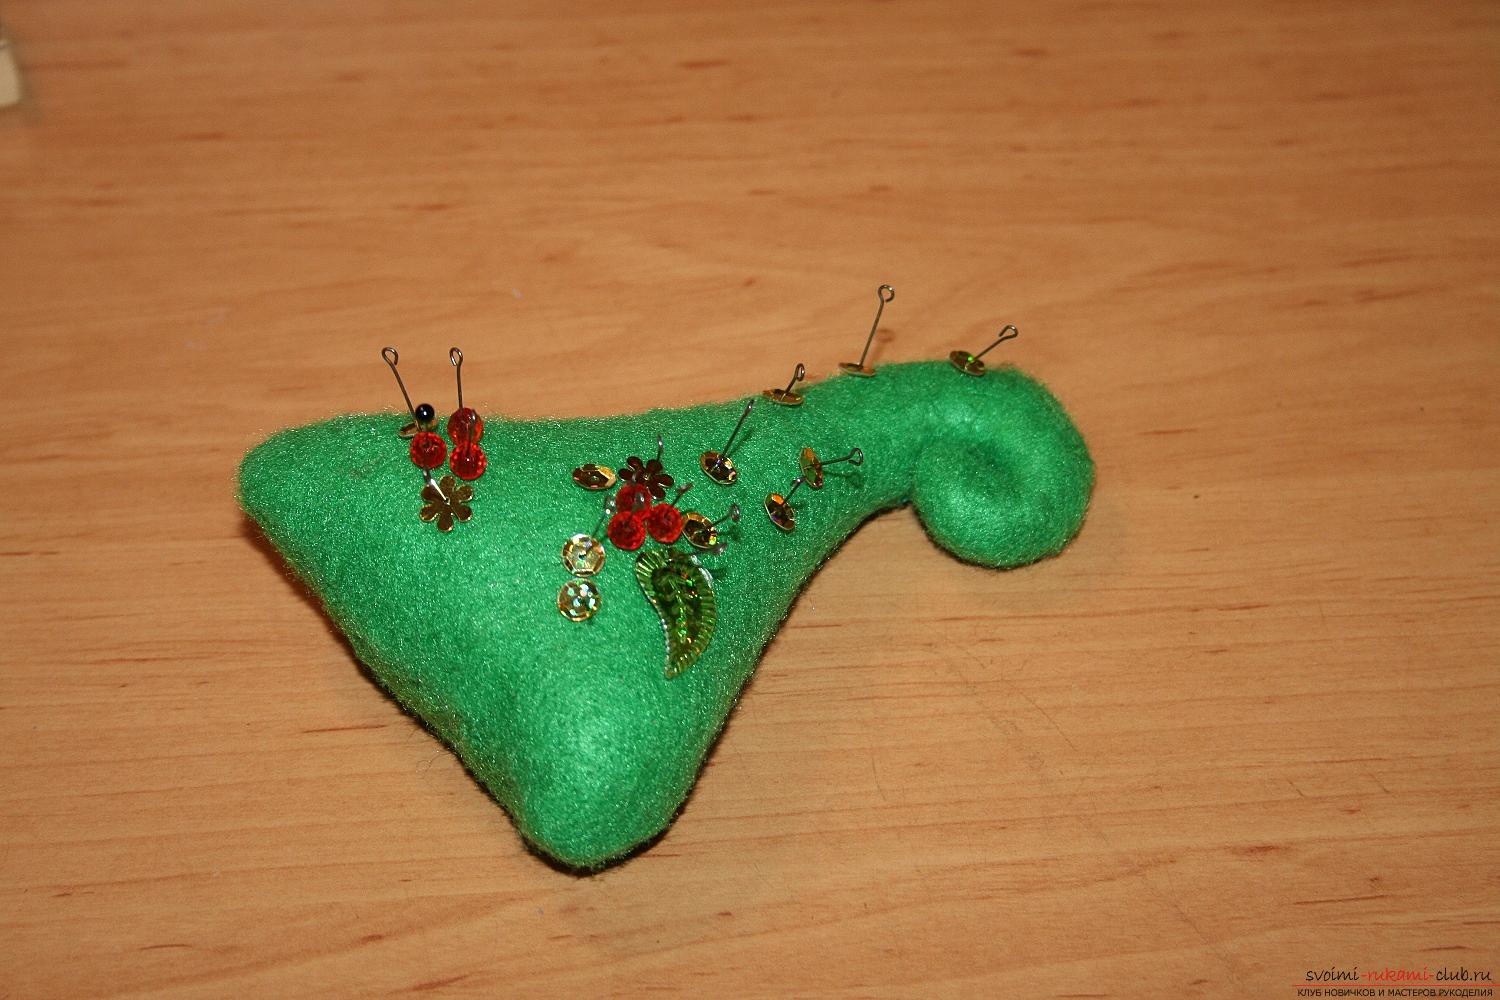 Sequins can be stitched with transparent glue (Crystal or Dragon moment). Beads are best sewn with hand stitches, thread in the tone of the beads, so they will be more securely attached.
  On a tape from organza we will hang a decorative snowflake. We connect the ends of the ribbon.
  We hang a snowflake on the top of the Christmas tree on the ribbon. So that it does not fall, it can be fixed on the reverse side with several hand stitches.
  The second fur-tree is decorated with another composition made of buns and beads. Pin the picture. Also we sew beads with threads, and paste the glues with glue.
  The bell is tied to the tape. This Christmas tree decorated with a ringing metal bell. Sew it on the top of the second Christmas tree.
 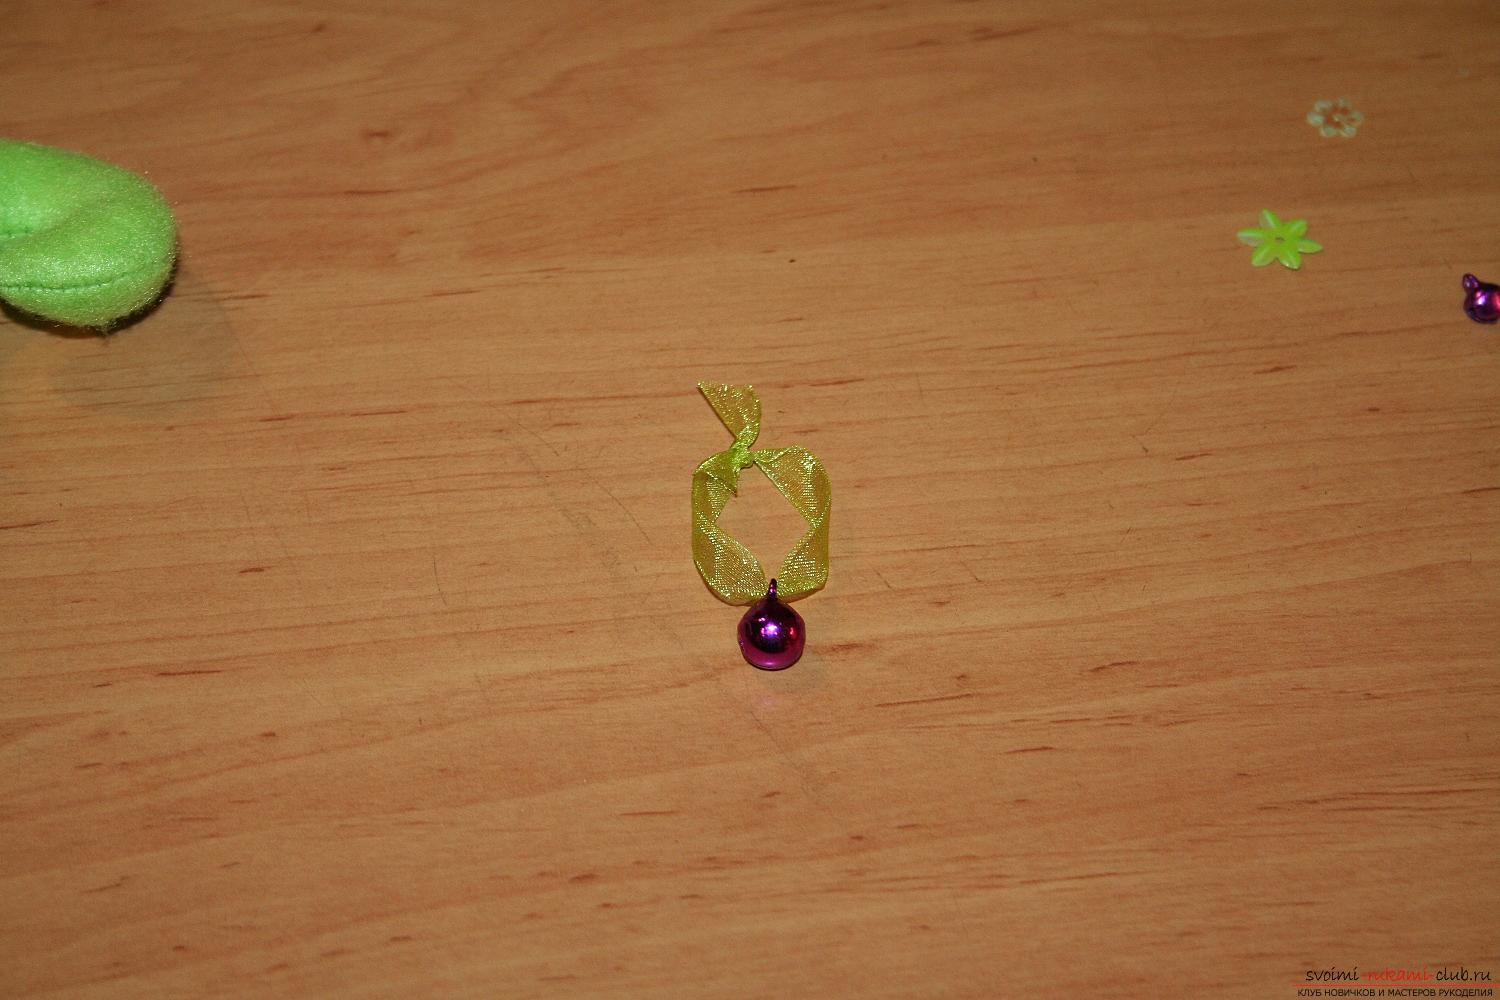 Wooden sticks for fastening the Christmas treesdifferent lengths - one longer than the other. The ends of the sticks on both sides should be sharp. We put them in the bottom of the Christmas trees. Gently pierce the felt with chopsticks. Place the input rods with a few drops of transparent glue to keep them.
  On the stand with an awl we make two holes.
 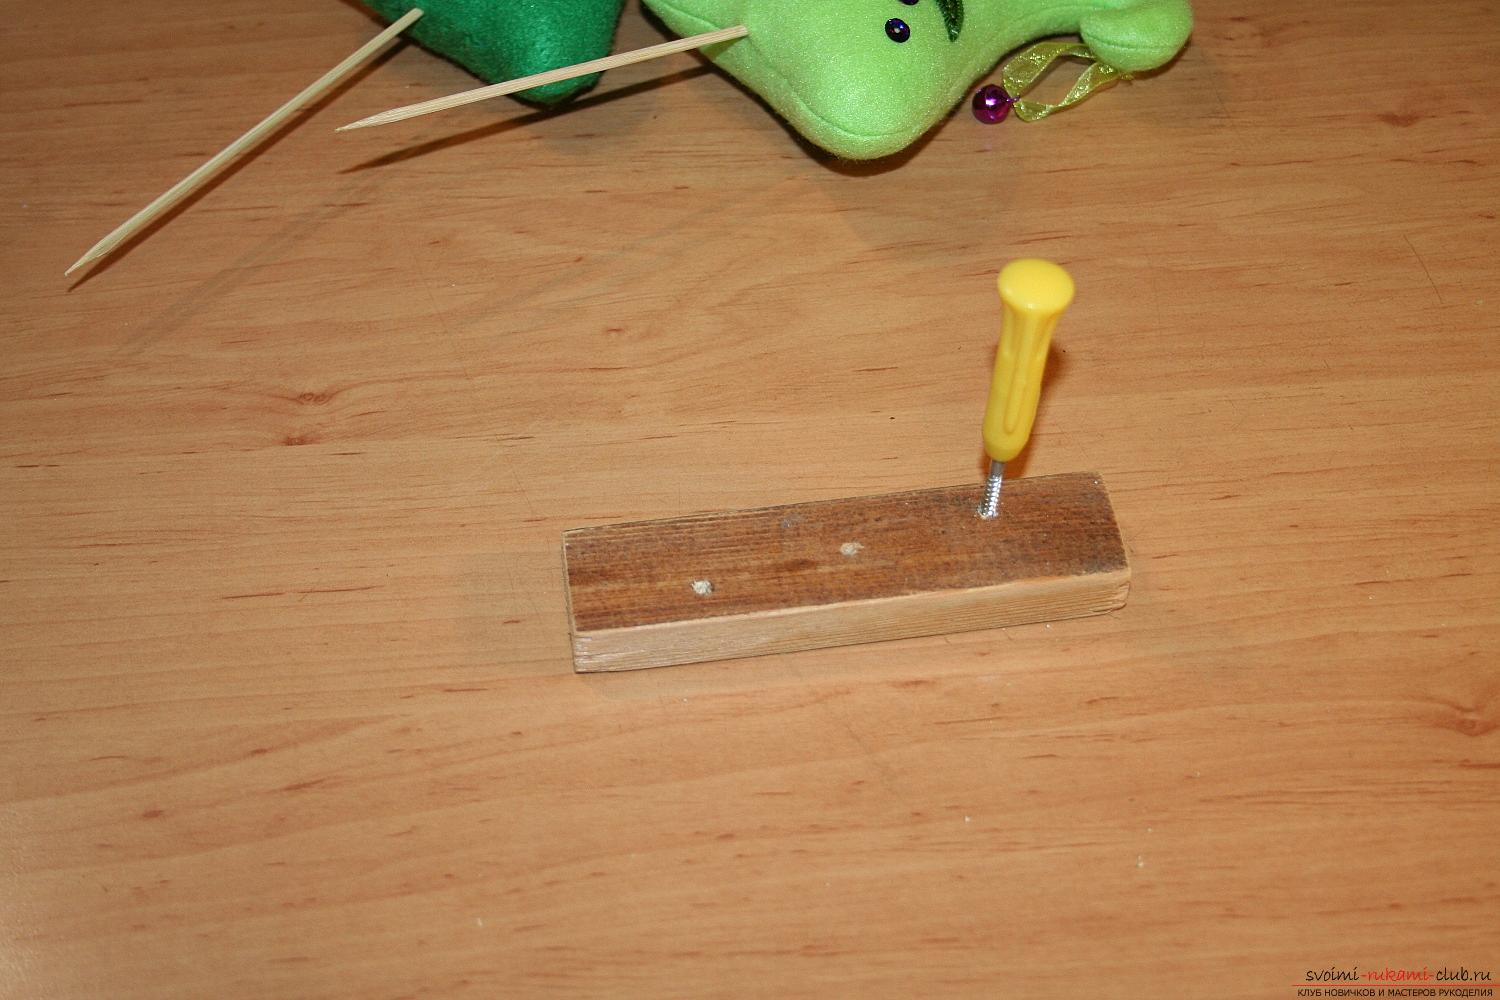 At the base of the fir-tree we tie for the beauty of the organza bows.
 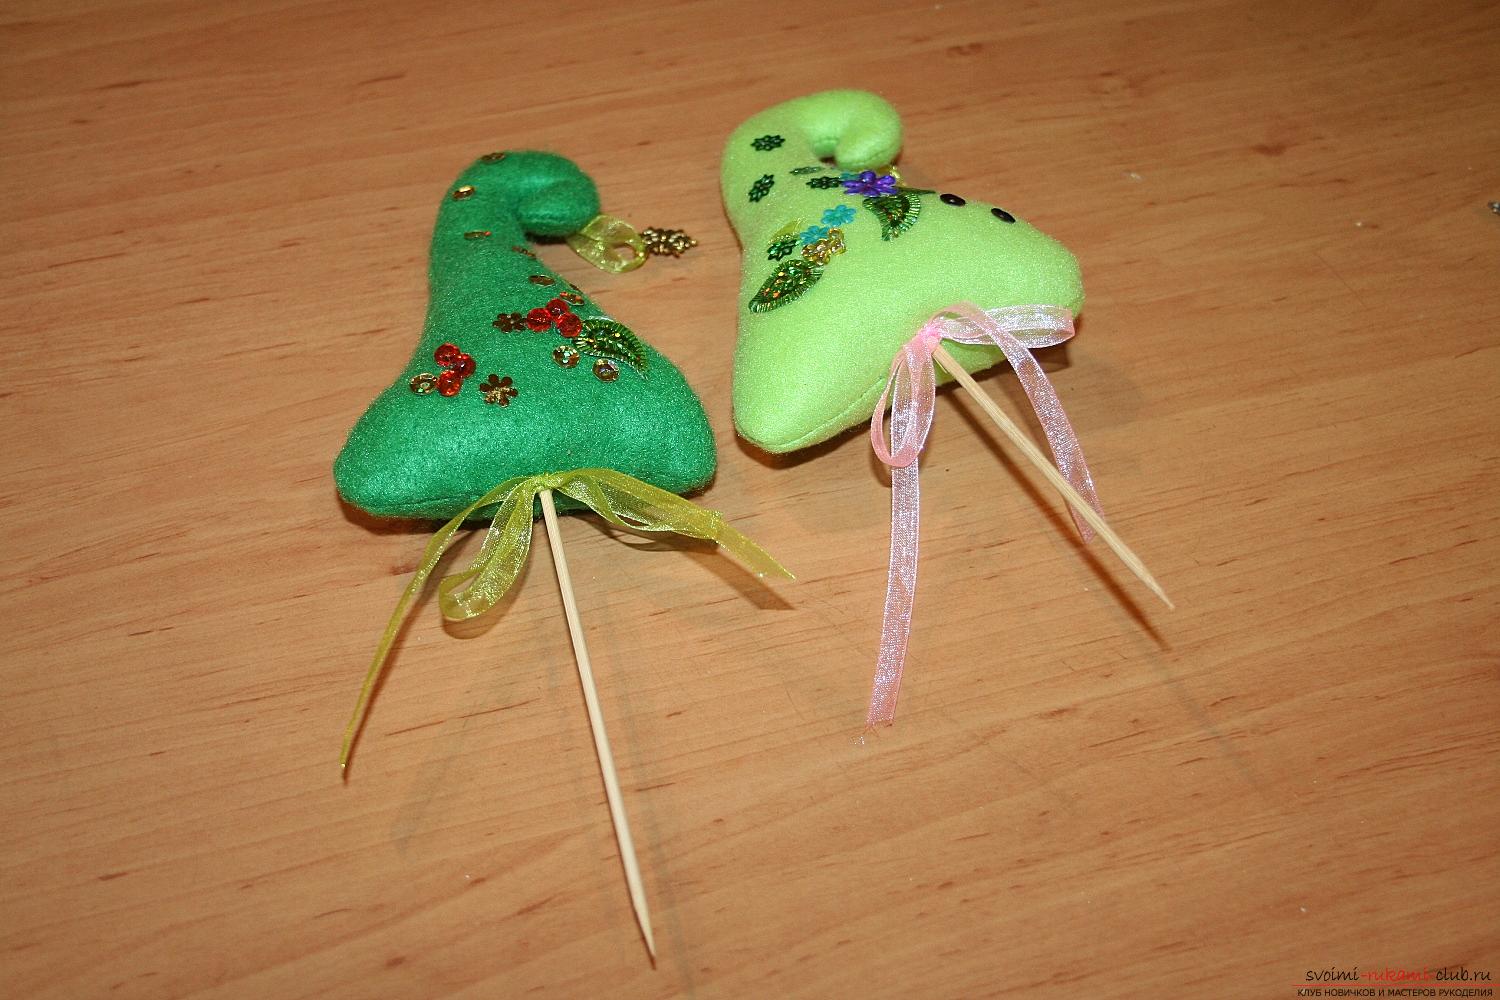 In the prepared holes on the stand, we drip one drop of glue. We put in them Christmas trees. The decor is ready.
 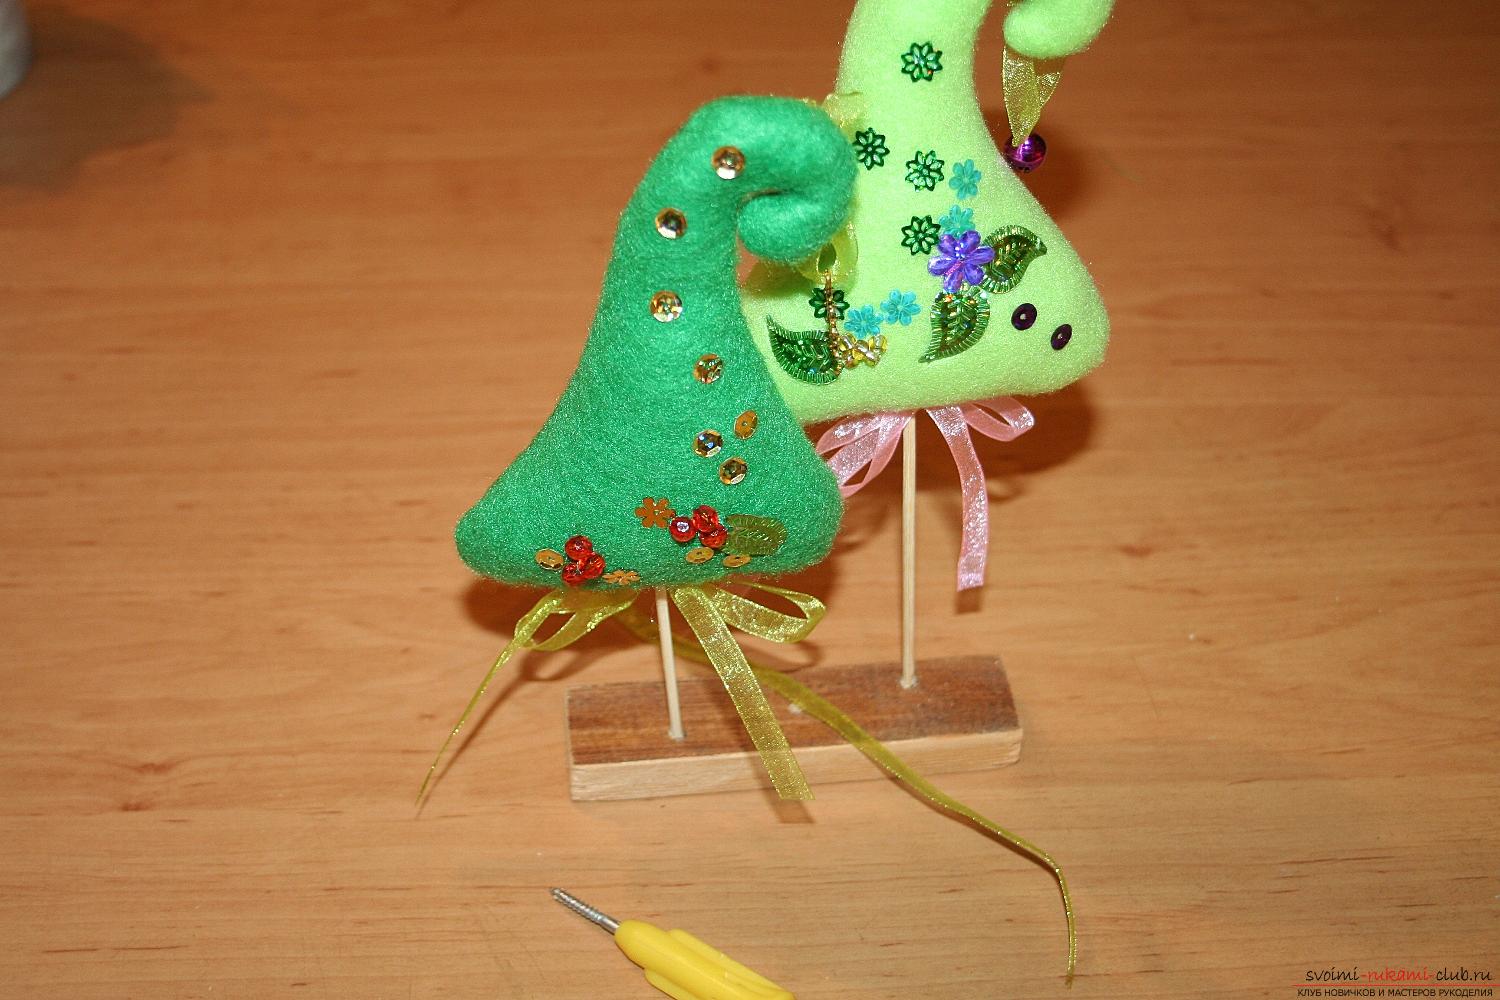 And the Christmas trees themselves look great, do not they? And if they are also beautifully packaged, then such a wonderful gift will conquer any person, regardless of age! Good luck and easy work!
Comments
Related posts:
 Master class with a description and photo will teach how to make decoupage of a bottle of champagne with your own hands
 Master-class with a photo will teach you how to make your own hands earrings-snowflakes - decoration of beads
 The master class is devoted to a New Year's hand-made article - the Snow Maiden - which can be knitted with crocheted hand
 This master class New Year crafts with their own hands with a photo and description will teach how to tie a Christmas tree crochet
 This master class with photos will teach you how to make a house of paper with your own hands.