
Master-class with a photo and a description of the process will teach how to tie openwork mitts crochet
Today, a very popular accessory ismittens. It's almost mittens, but without fingers. Mitki are comfortable. They bring to the image a bit of originality and unusual. Mitenki make the hands more feminine and visually extend the fingers. This master class will tell you how you can tie this fashion accessory with your own hands. 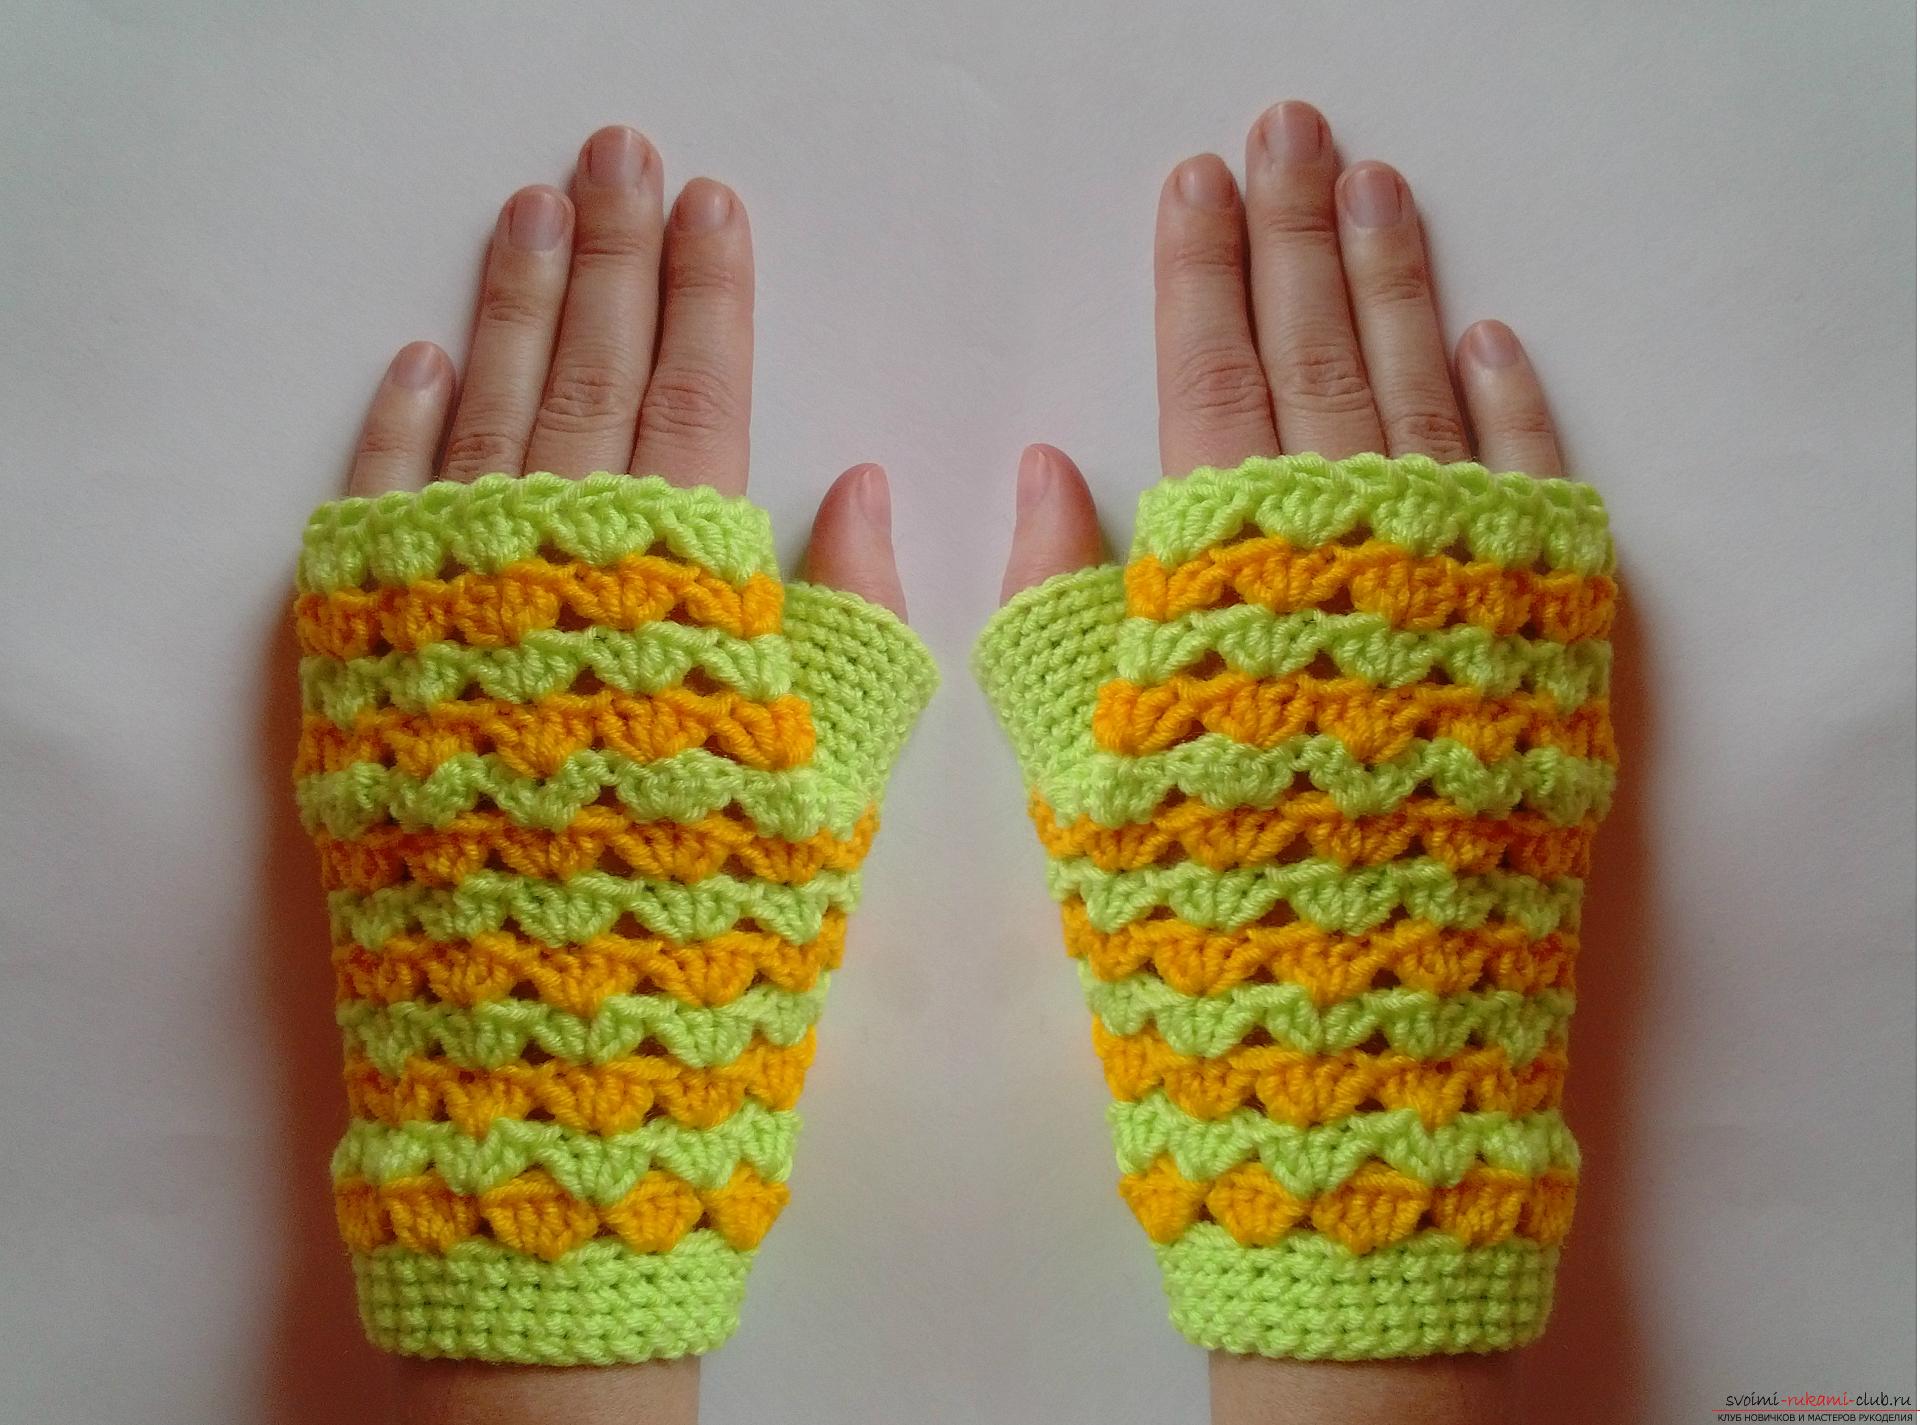 For mittens we need:
- yarn;
- hook.
All we need for knitting is a hook,yarn and quite a bit of time. Knit mittens is not difficult. But the resulting product will distinguish its owner among all others. After tying mittens, we can be sure that no one is surely such. We will knit two-color mitts. Colors can be taken any you like, or you can tie monotonous mitts, picking up a beautiful color. First we need to make only thirty air loops, which we will put together in a ring. We connect as always with a connecting loop. 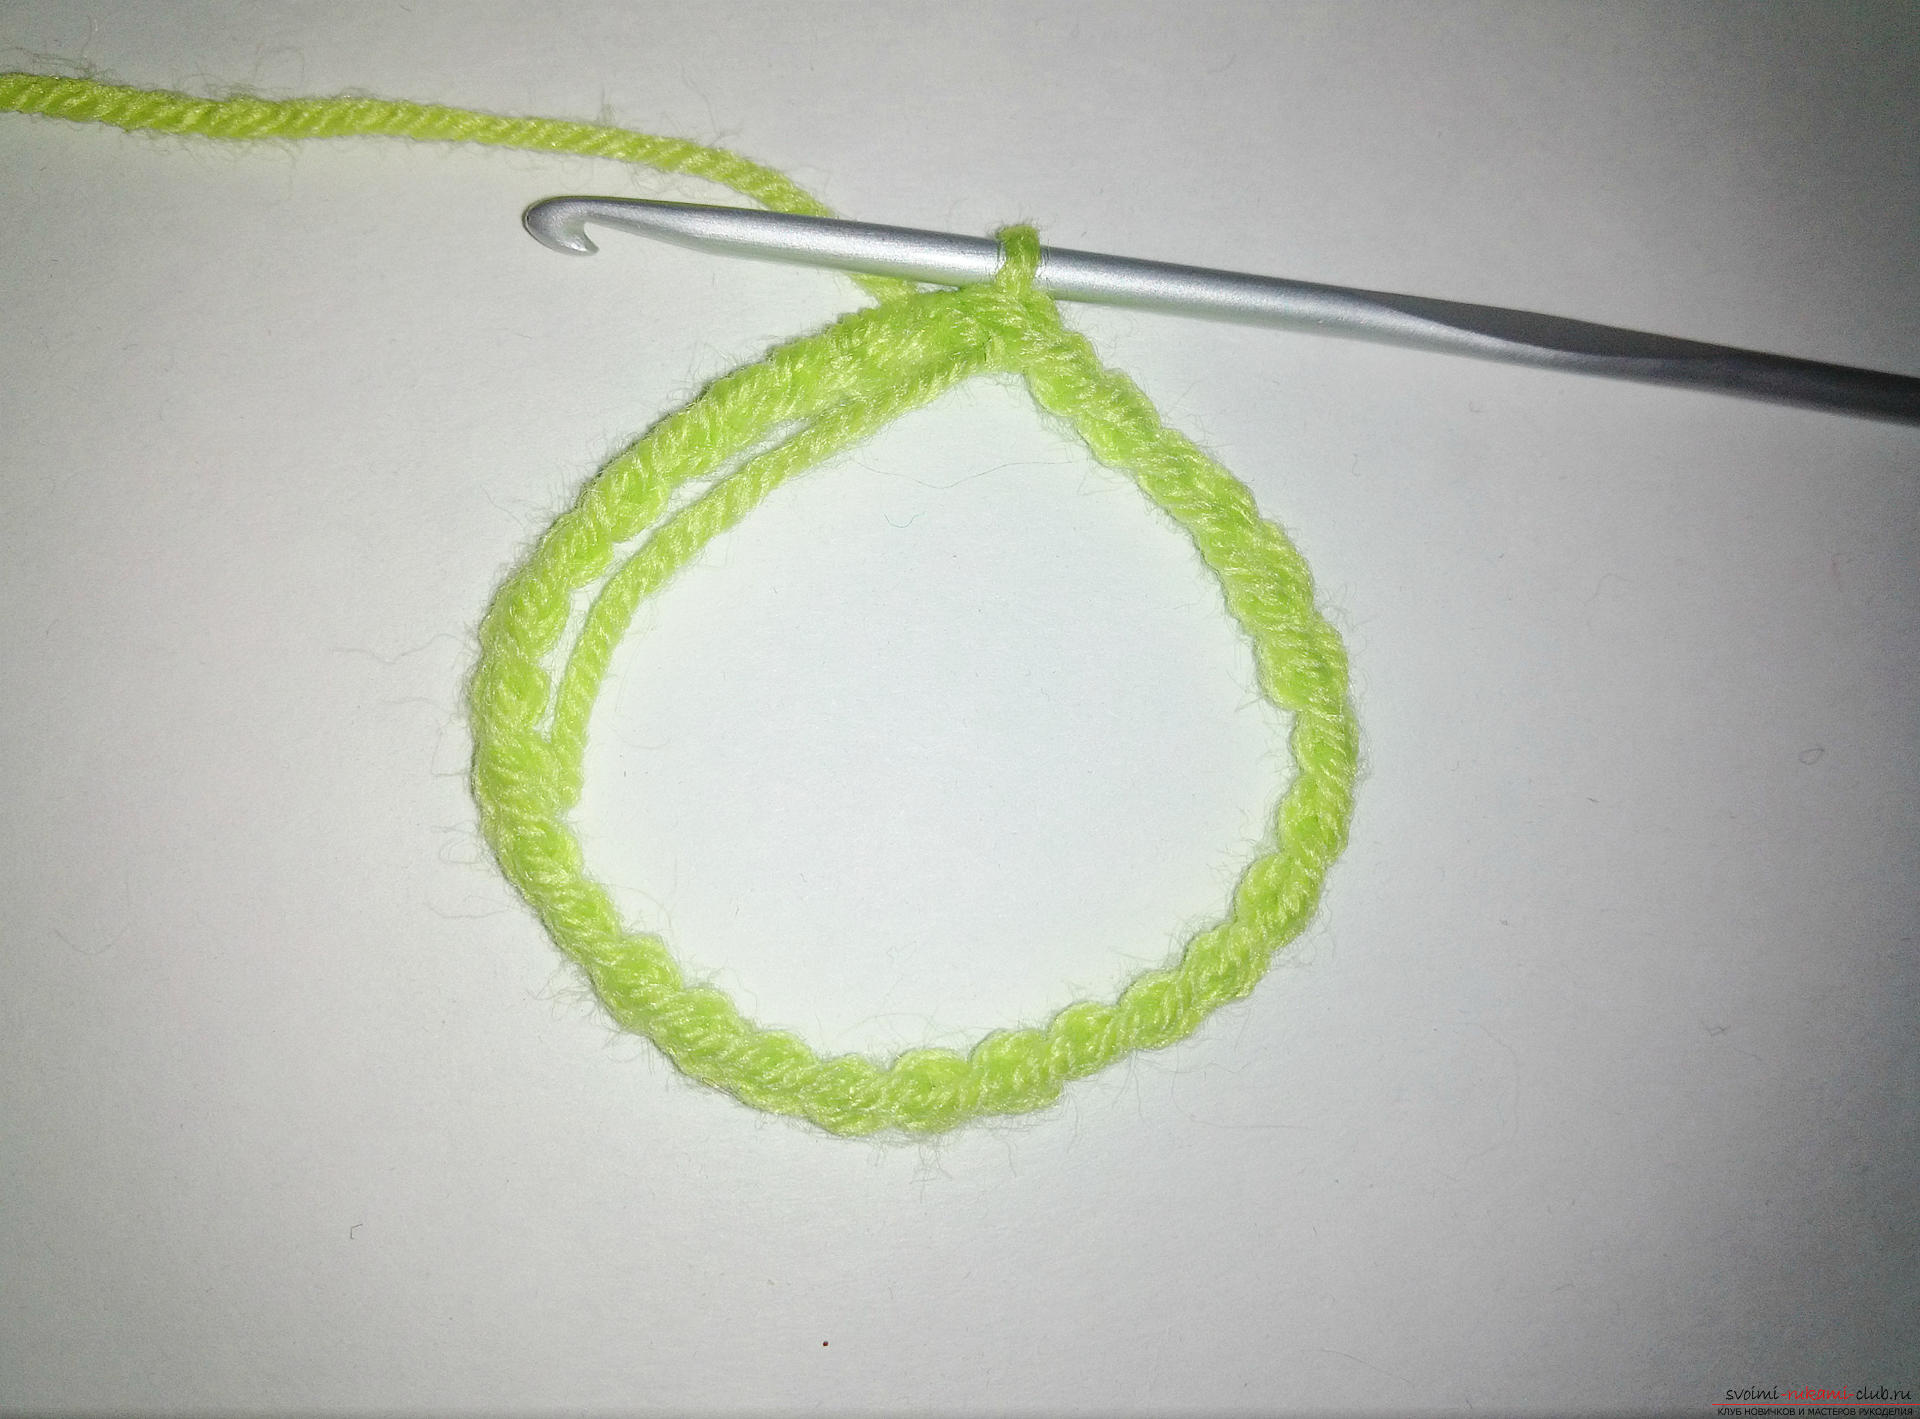 Now we will knit five rows. Rows are circular, the connections of the first and last loops of the series are not worth doing.
 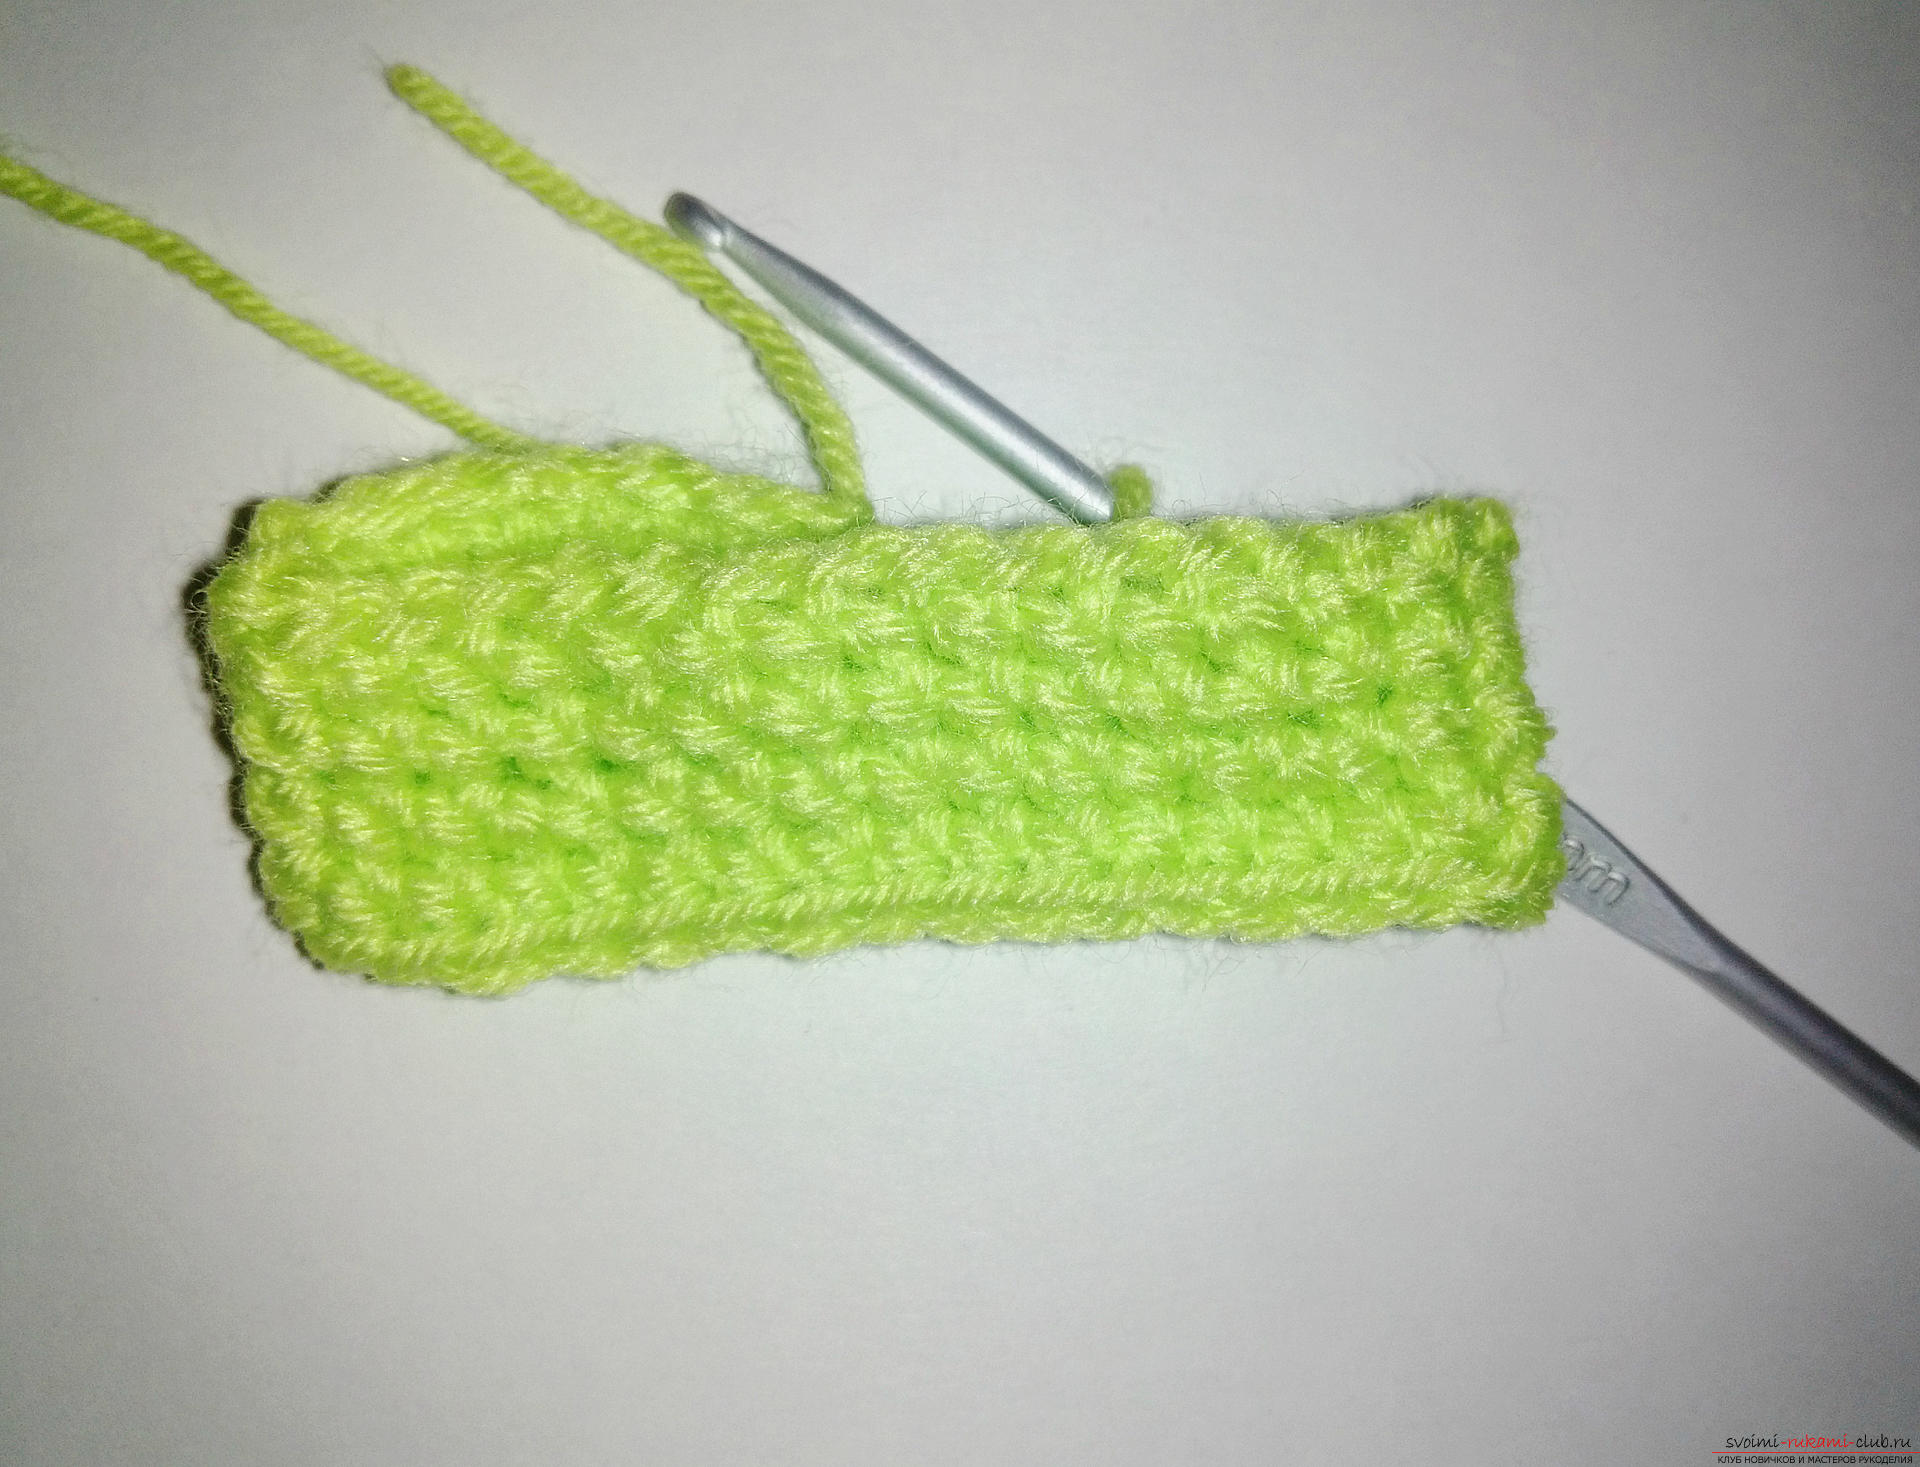 After our ryadochki connected, we'll takeyarn of the second color. Here she is yellow. And we begin to untie the pattern for the mitten. It is very simple and it will not be difficult to bind it even to those who are just starting to learn crochet. We make loops replacing one column with a crochet. These are ordinary air loops in the number of three pieces. And we knit three columns with a crochet. Columns we knit in the same place from where the chain of air loops came out. After that, we skip two loops at the bottom of our knitting. And in the third loop we will already tie four columns with a crochet. And so we will knit to the end of the first ryadochka with patterns.
  Now we will knit the second row of patterns of mitts. Again, go back to the green color. And repeat the knitting patterns. In the new second row we will knit a pattern between the patterns of the previous ryadochka.
 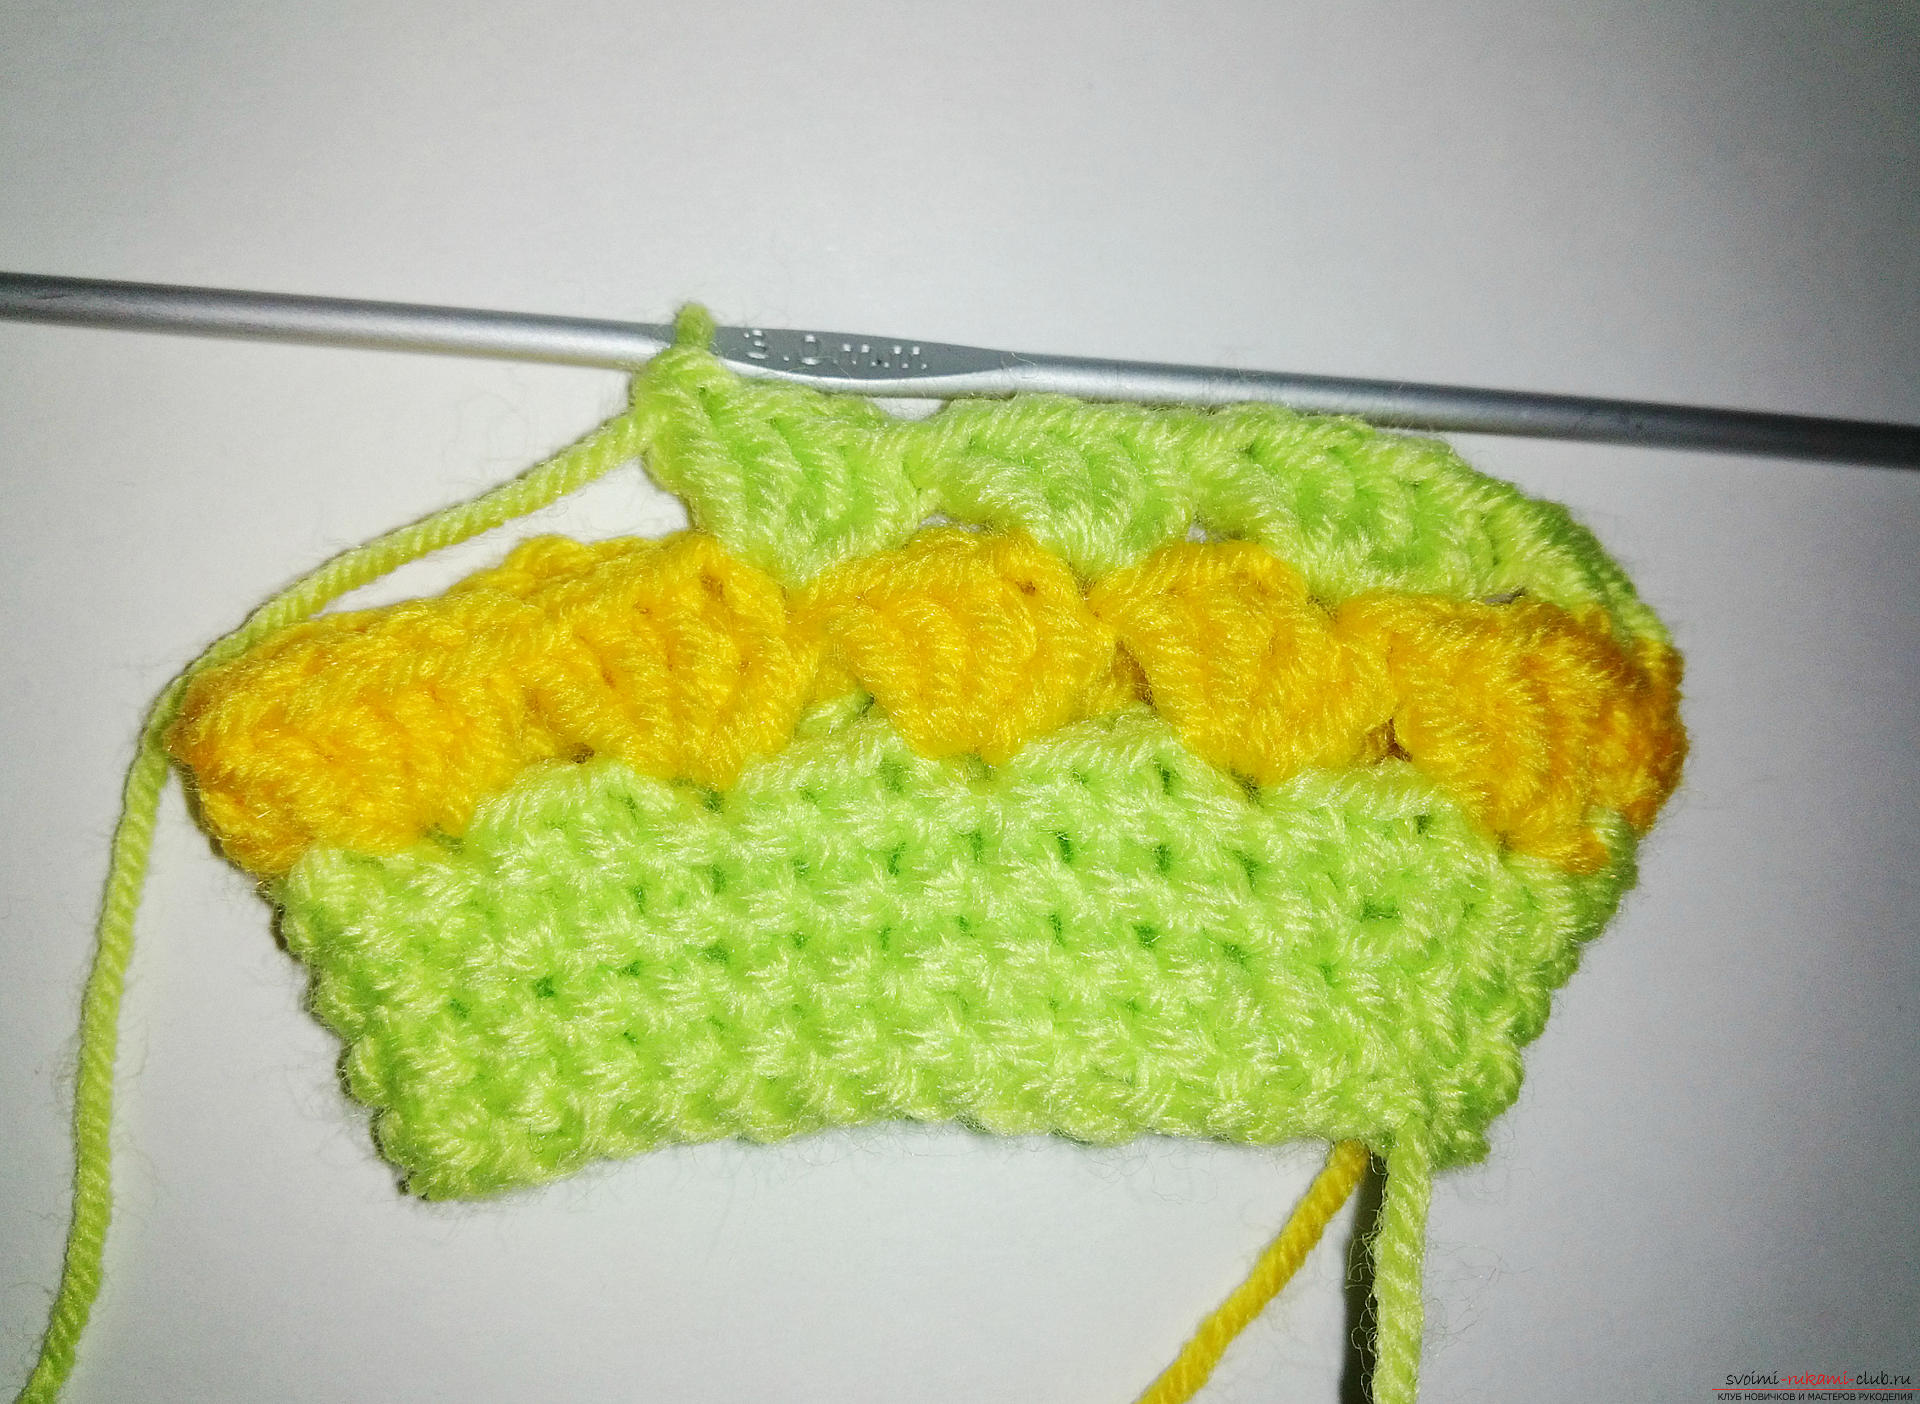 And in all the remaining rows each pattern will beknit in the middle of the pattern of the previous row. That is, we count out two columns with a crochet and we knit a pattern. Further at us in the basis two more columns from a pattern in the bottom number follow.
 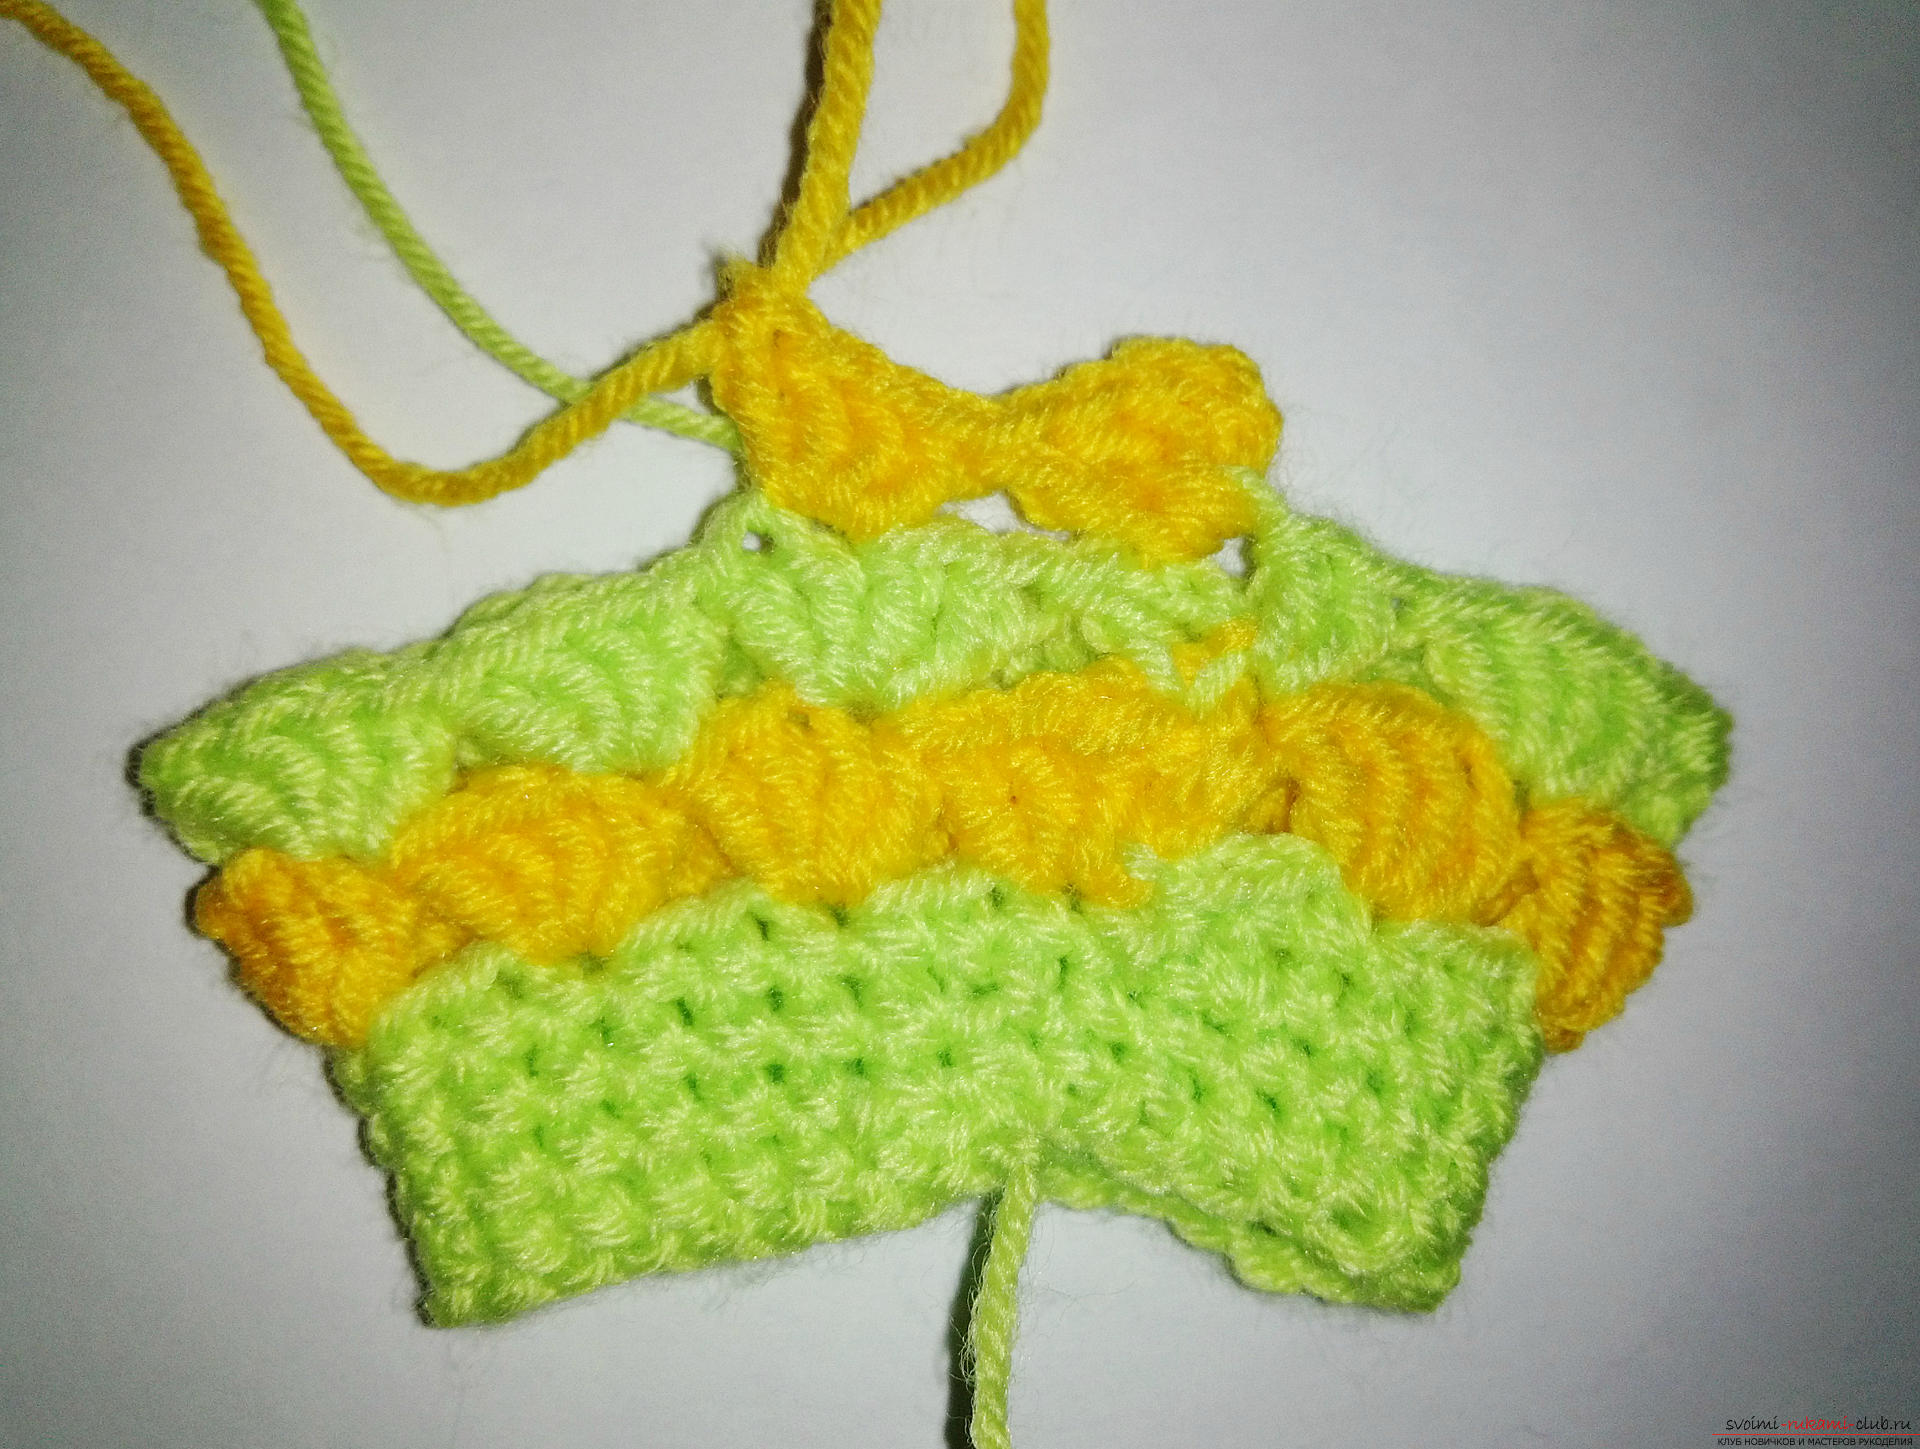 And so on.
 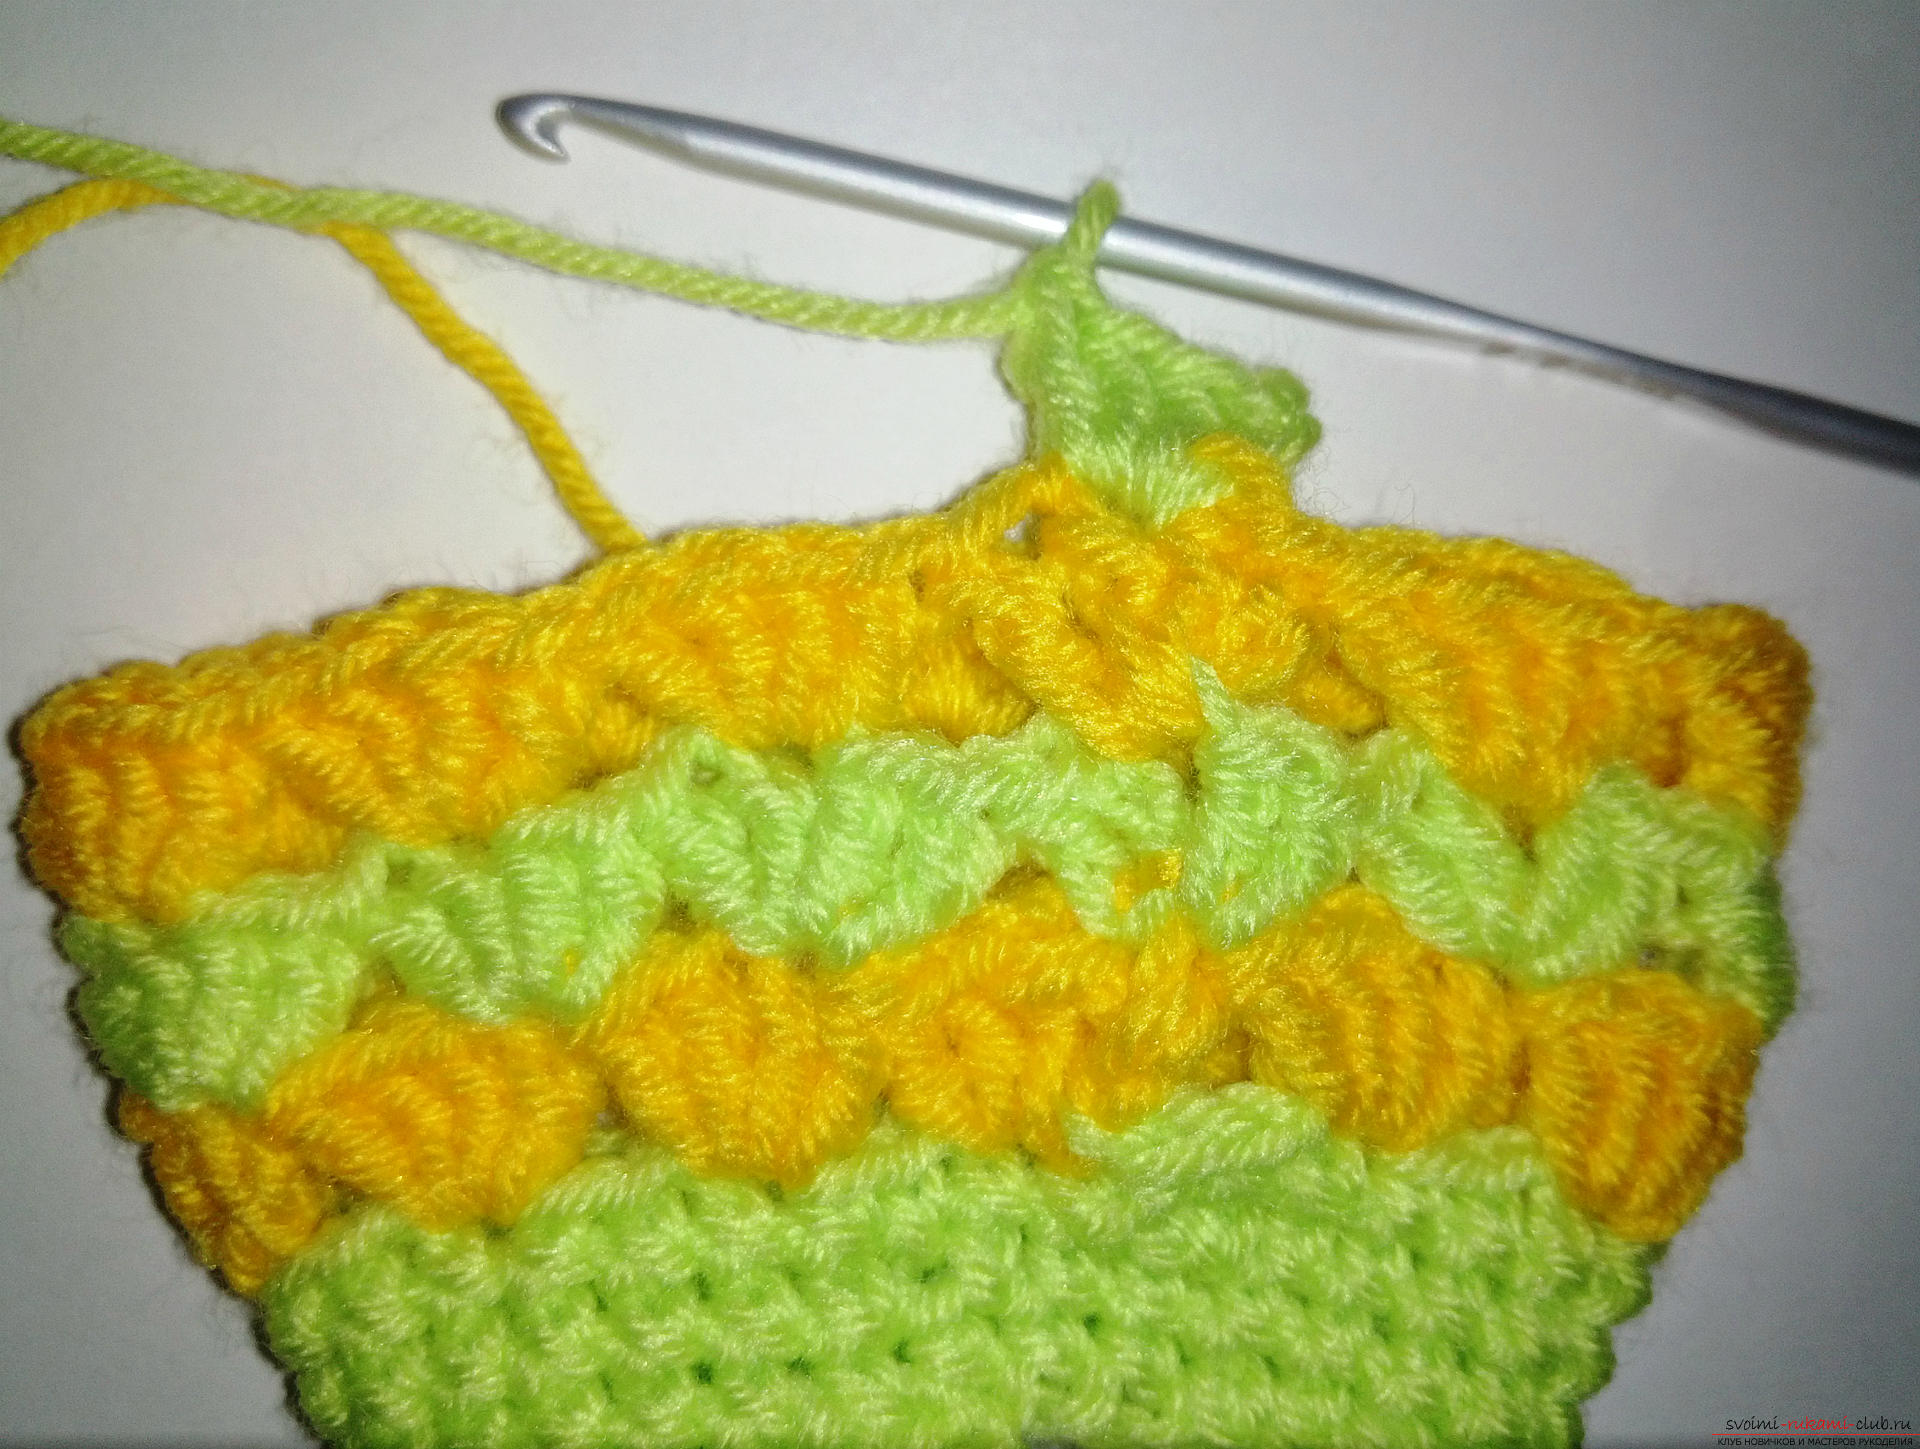 In total we will tie six rows to the beginning of the finger.
 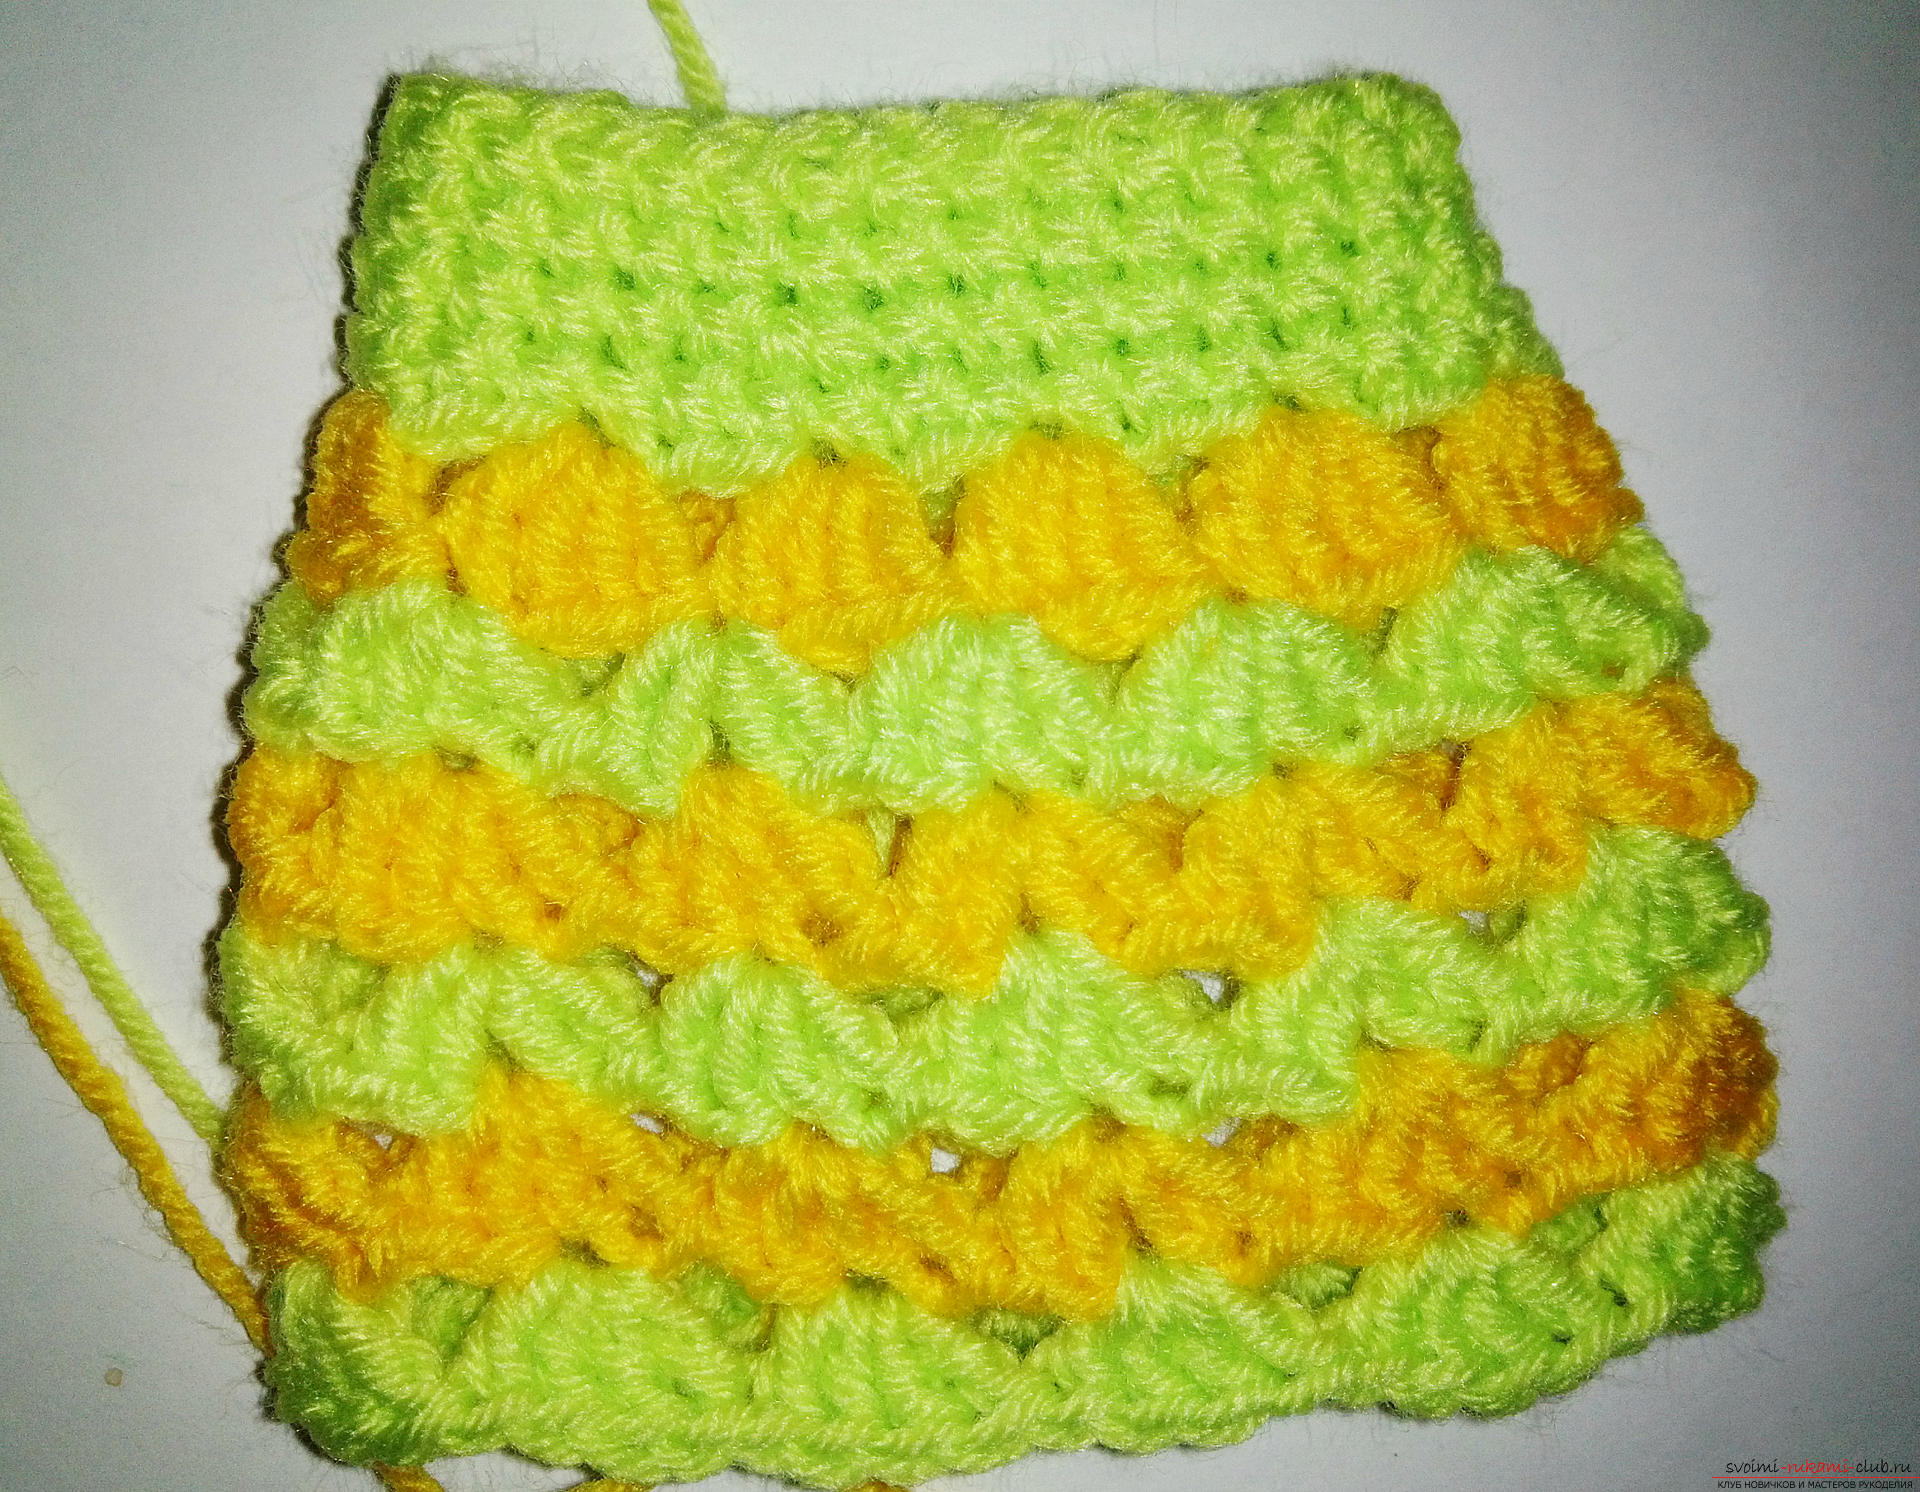 The next row we'll sew before the start of the thumb. We will make two connecting loops and we will tie another row to the end with our fans. But here we will not join the beginning of the series. We will expand our knitting and again we will fasten the connecting bars to the center of the fan. And we will simply knit in the opposite direction all the same elements.
 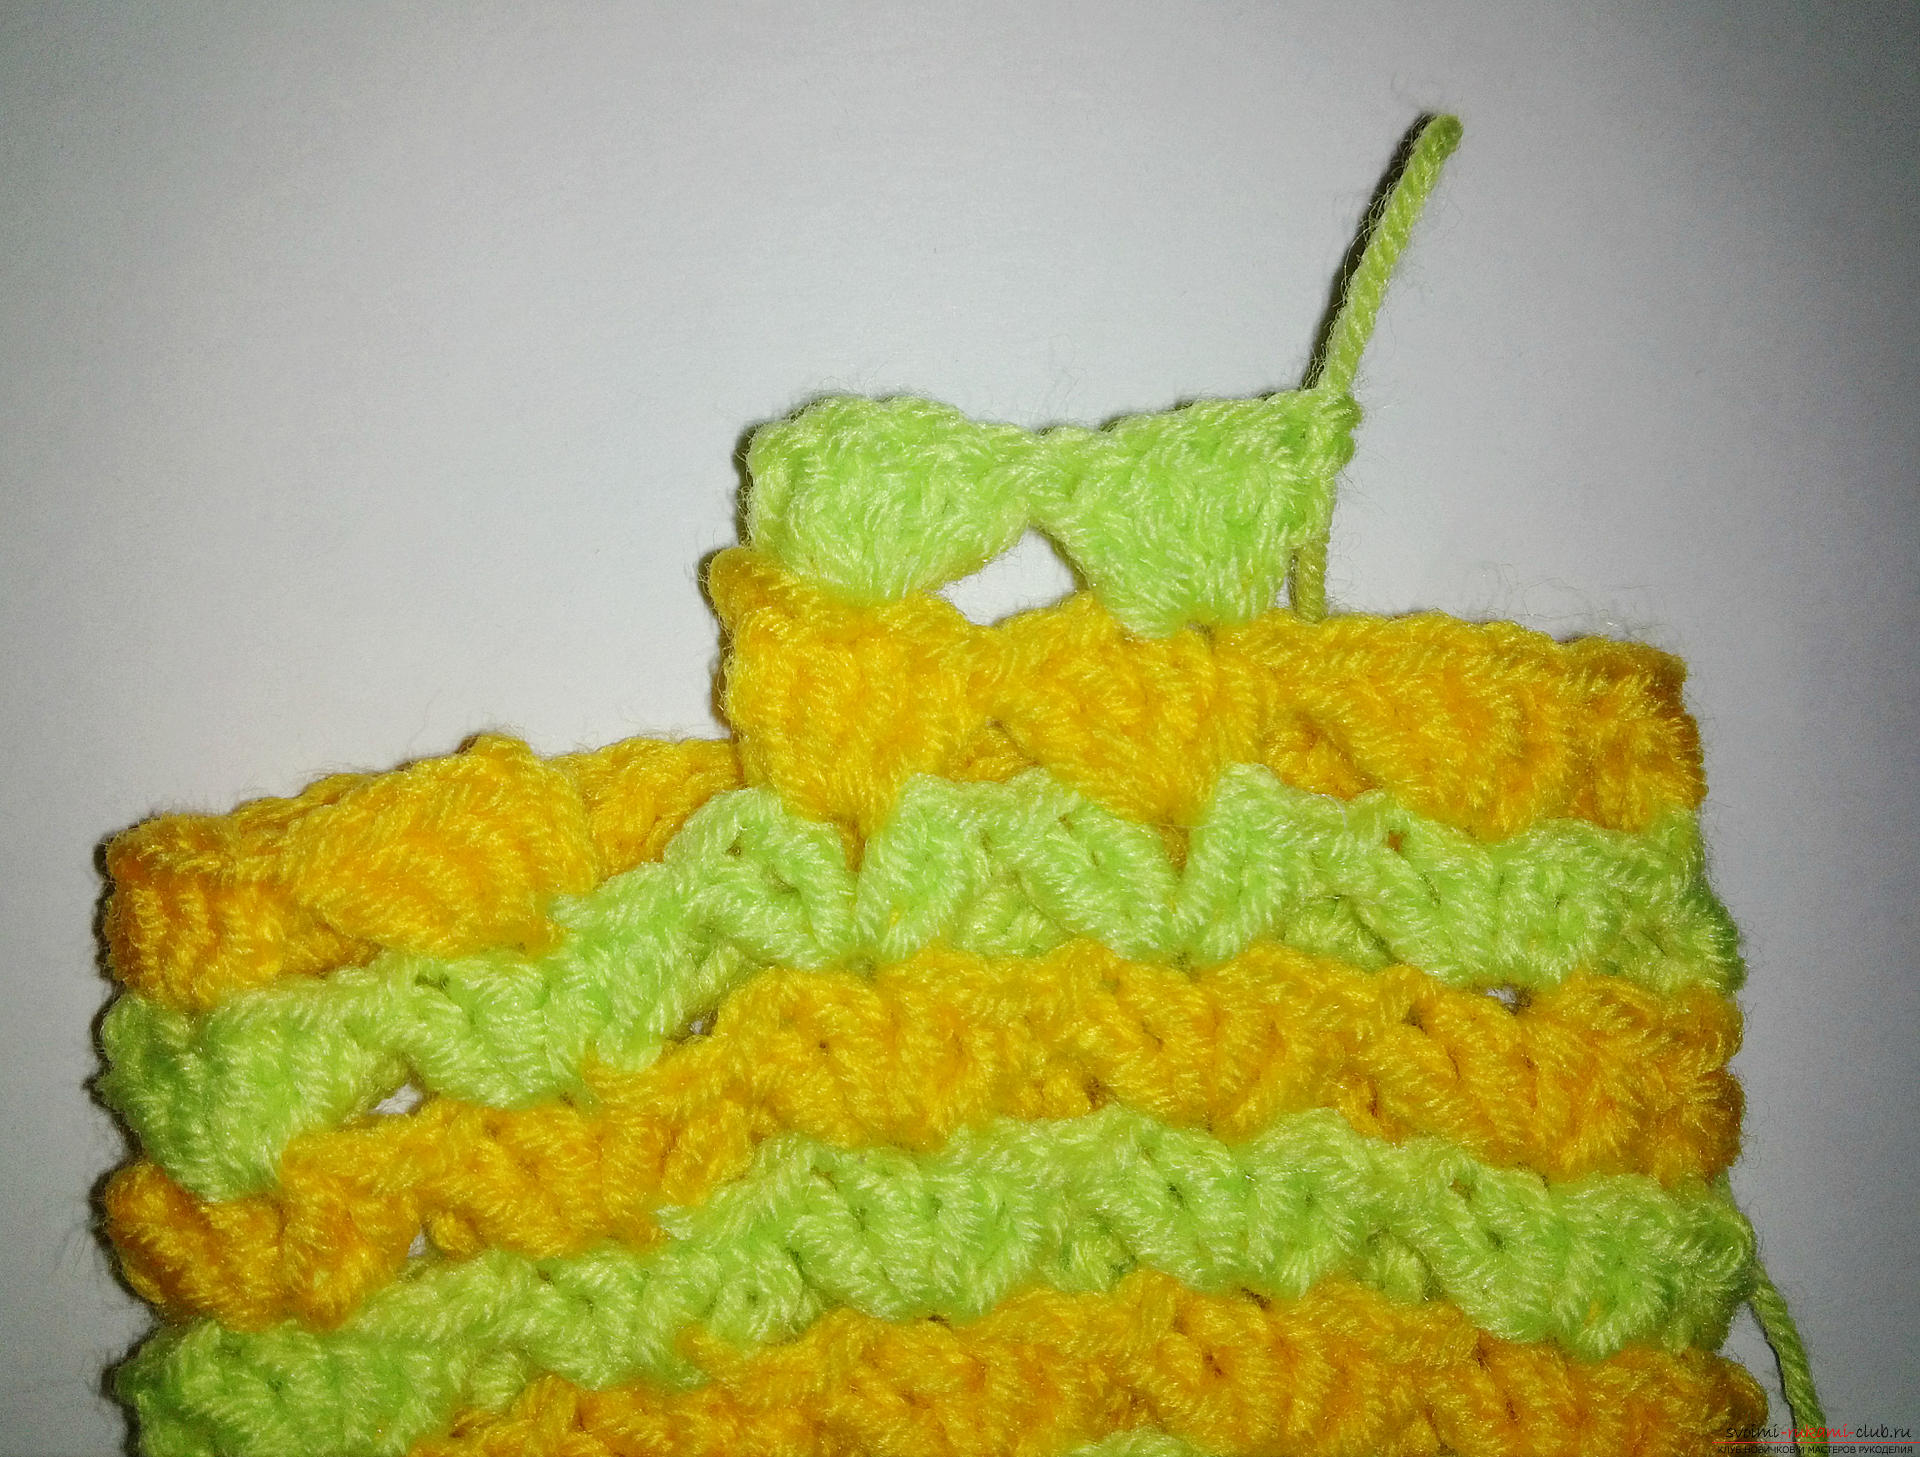 And we knit a few more, but now we already connect the beginning and its end. So we get a hole, which is necessary for the finger. And start the next row with a different color.
 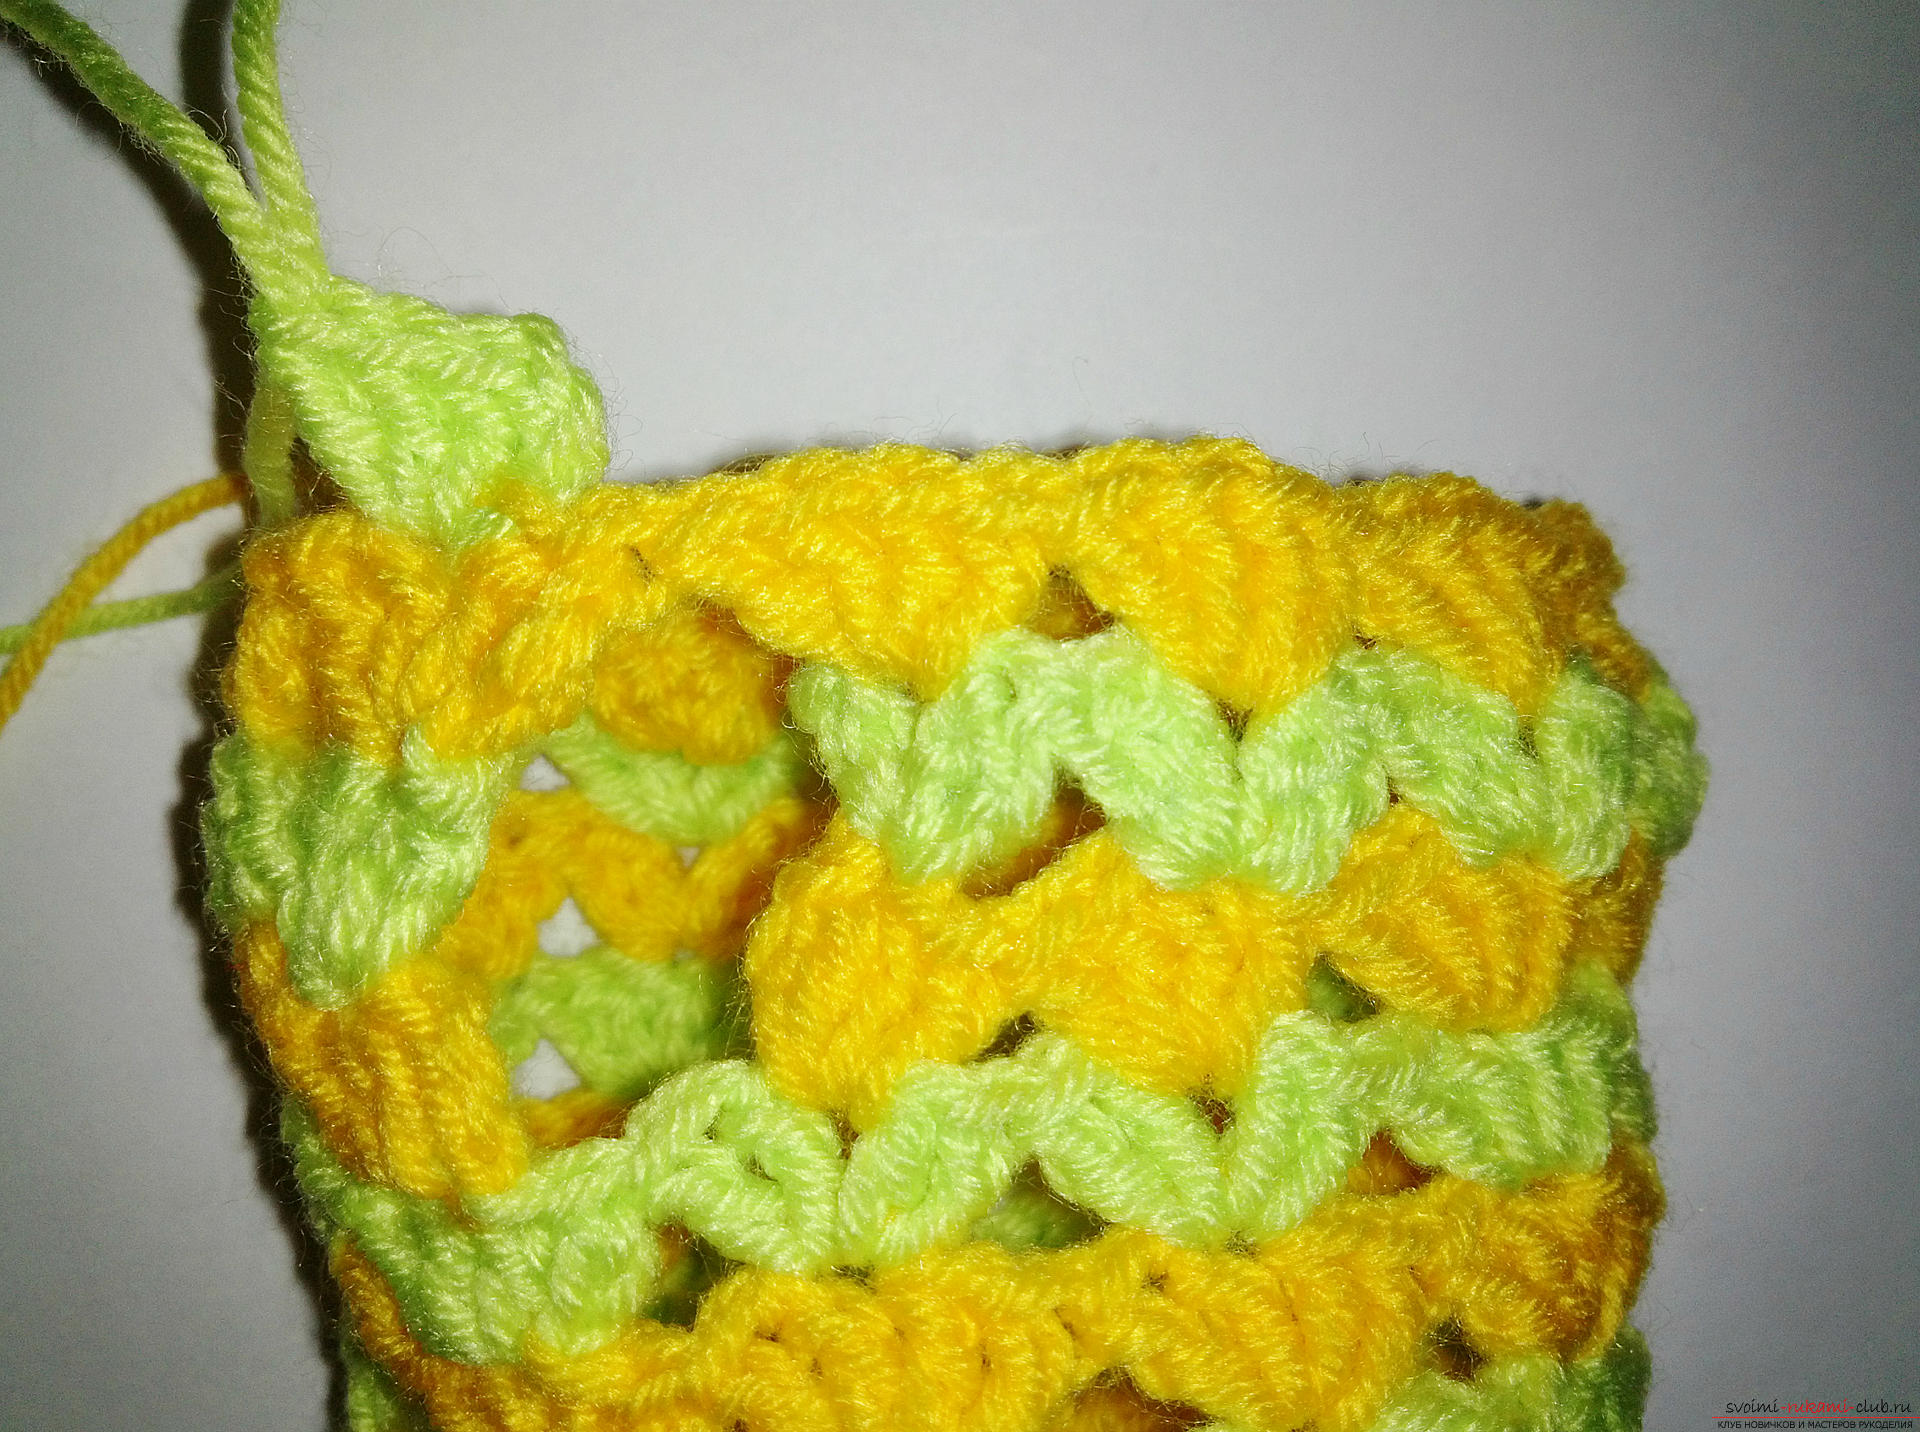 We continue to knit the mitten to the size we need. You can make it bigger, maybe smaller. Here you need to try on and proceed from your desires. In this case, we knit three more ryadochka after the finger. And you can make a binding for the mitten. This is the so-called stepping step. We make one air loop and insert the hook not into the front loop, but, conversely, into the rear loop. And we are tying the usual column without a crochet. Again airy and a column in a back loop. And so on.
  That's what a mitten looks like.
 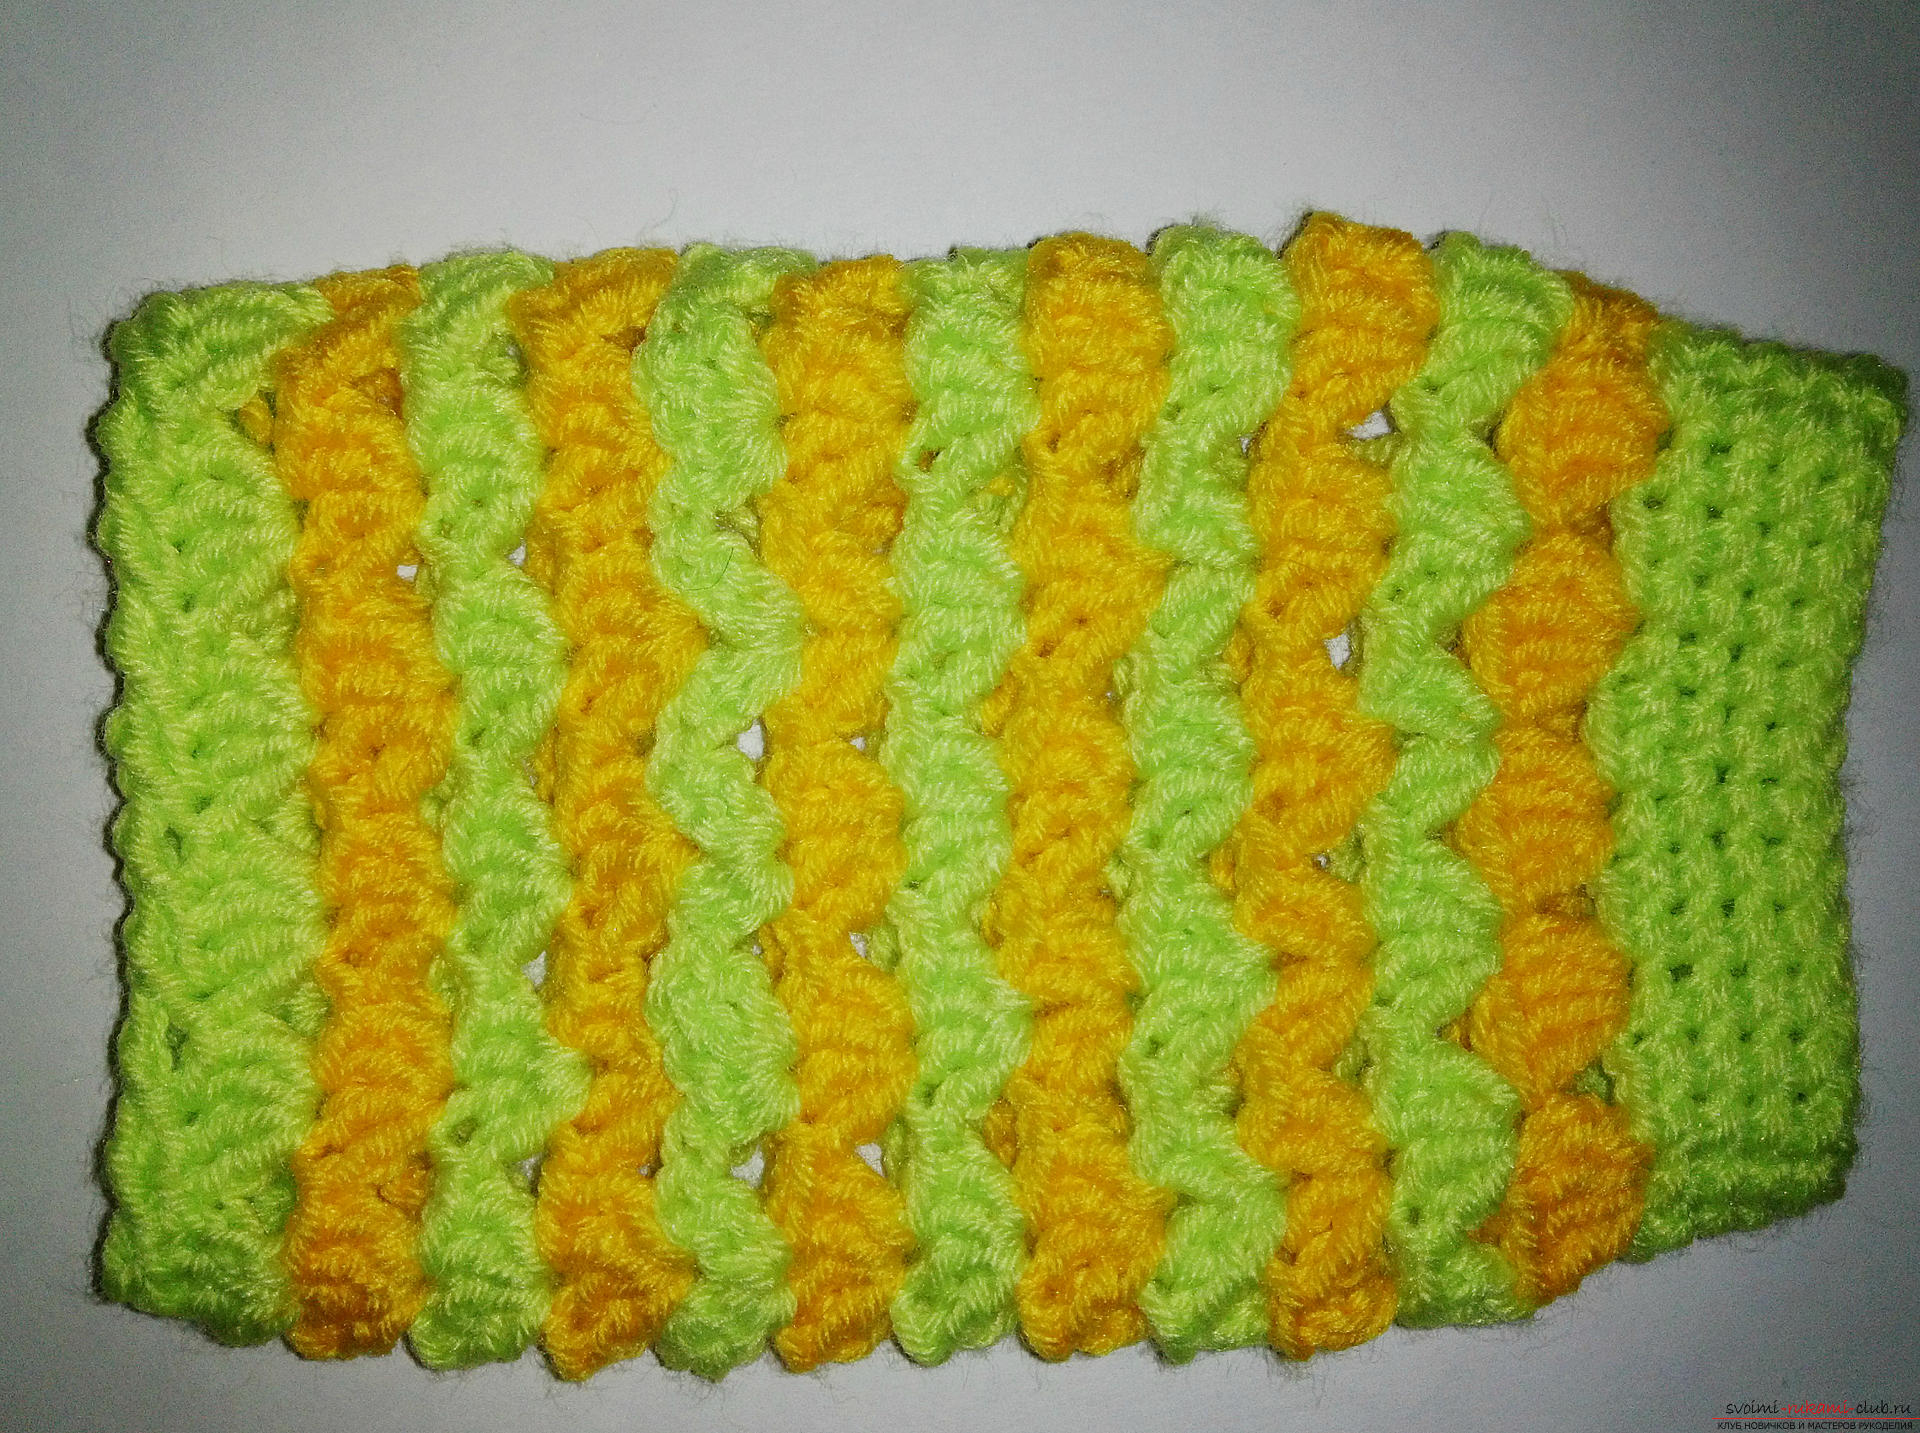 It remains to bind the finger. We attach the thread to the hole under the finger and we will knit it without a pattern, that is, ordinary columns without nakidov.
 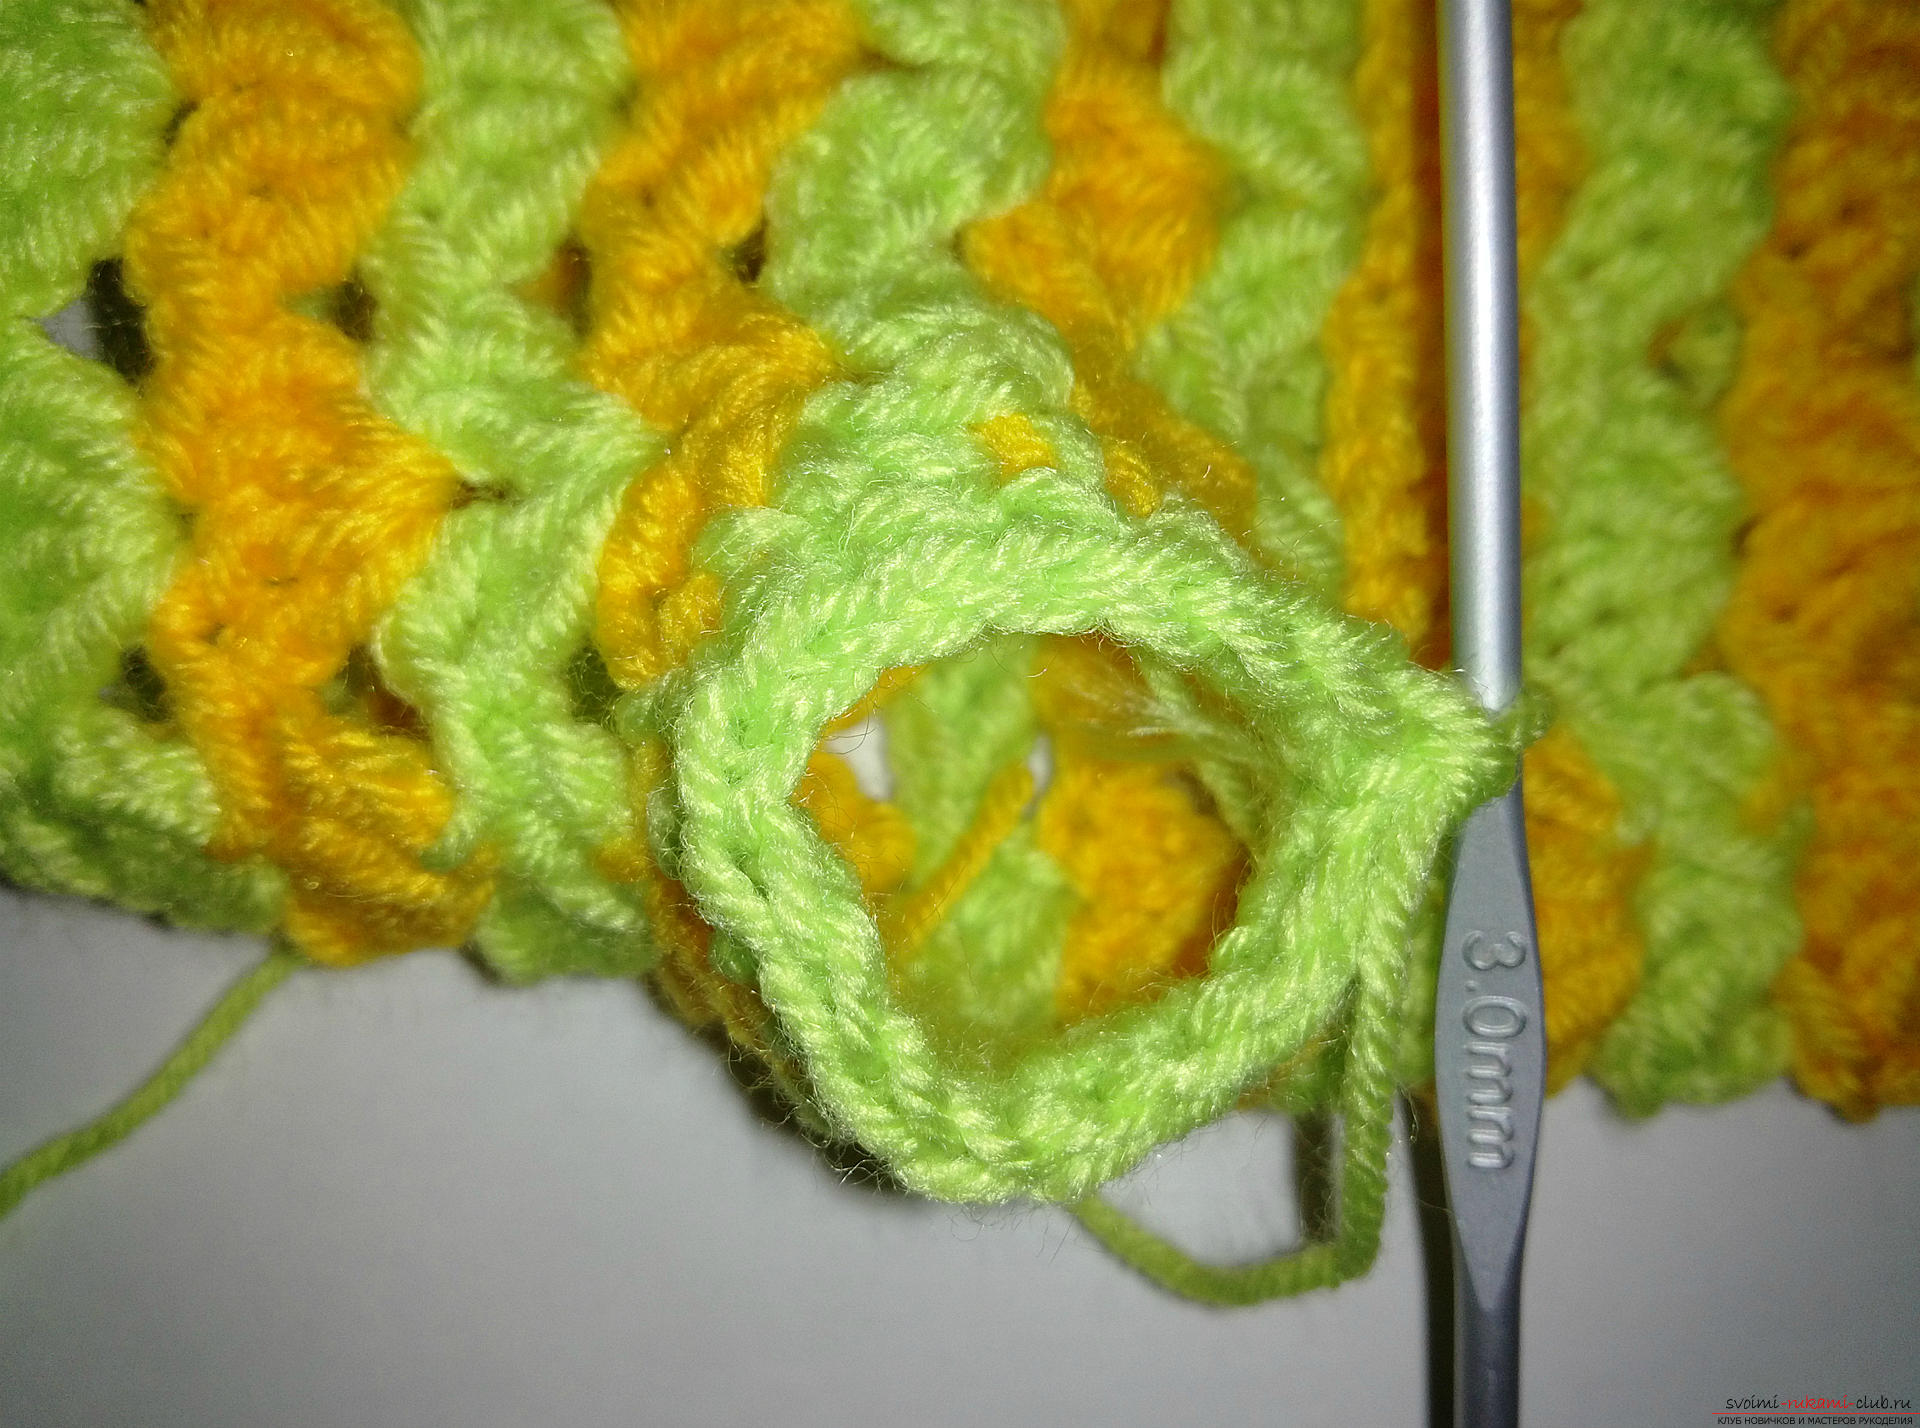 We knit too by eye, trying on. The length of knitting depends on the desire and only. Someone likes that the length of the finger was larger, to someone less. That's what a mitten looks like.
  We knit the second likewise and wear mitts with pleasure!
Comments
Related posts:
 This master class will teach you how to tie a cap for newborns - a cap-bear crochet.
 This master class with a diagram, photo and description will tell you how to crochet the Kitty hat for girls.
 A master class with a detailed description and photo will show how to crochet a toy-symbol of the year - a monkey on a Christmas tree
 Step-by-step master class will teach how to crochet a knitted crown for a girl
 The master class will teach how to crochet a New Year's craft - a knitted garland on the Christmas tree