
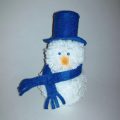
Master-class with step-by-step photos will teach how to make a home-made snowman from felt
New Year holidays are approaching and, of course,the main attribute of the New Year's interior is a festively decorated Christmas tree. I really want to dress up the forest beauty with original and bright toys. With the help of this master class, you can learn how to make an original decoration for a Christmas tree, namely - a snowman hanger from felt. The following materials and tools will be needed for the job:
- clerical file;
- cardboard;
- Felt white, red and orange;
- sackcloth;
- threads of different colors (white, red, black, brown);
- decorative twine;
- red satin ribbon;
- Sequins;
- hololiber;
- Universal adhesive Titan (Titan Wild);
- a simple pencil, a pencil of red color;
- scissors.
 First, we prepare a stencil of a snowman made of cardboard.
 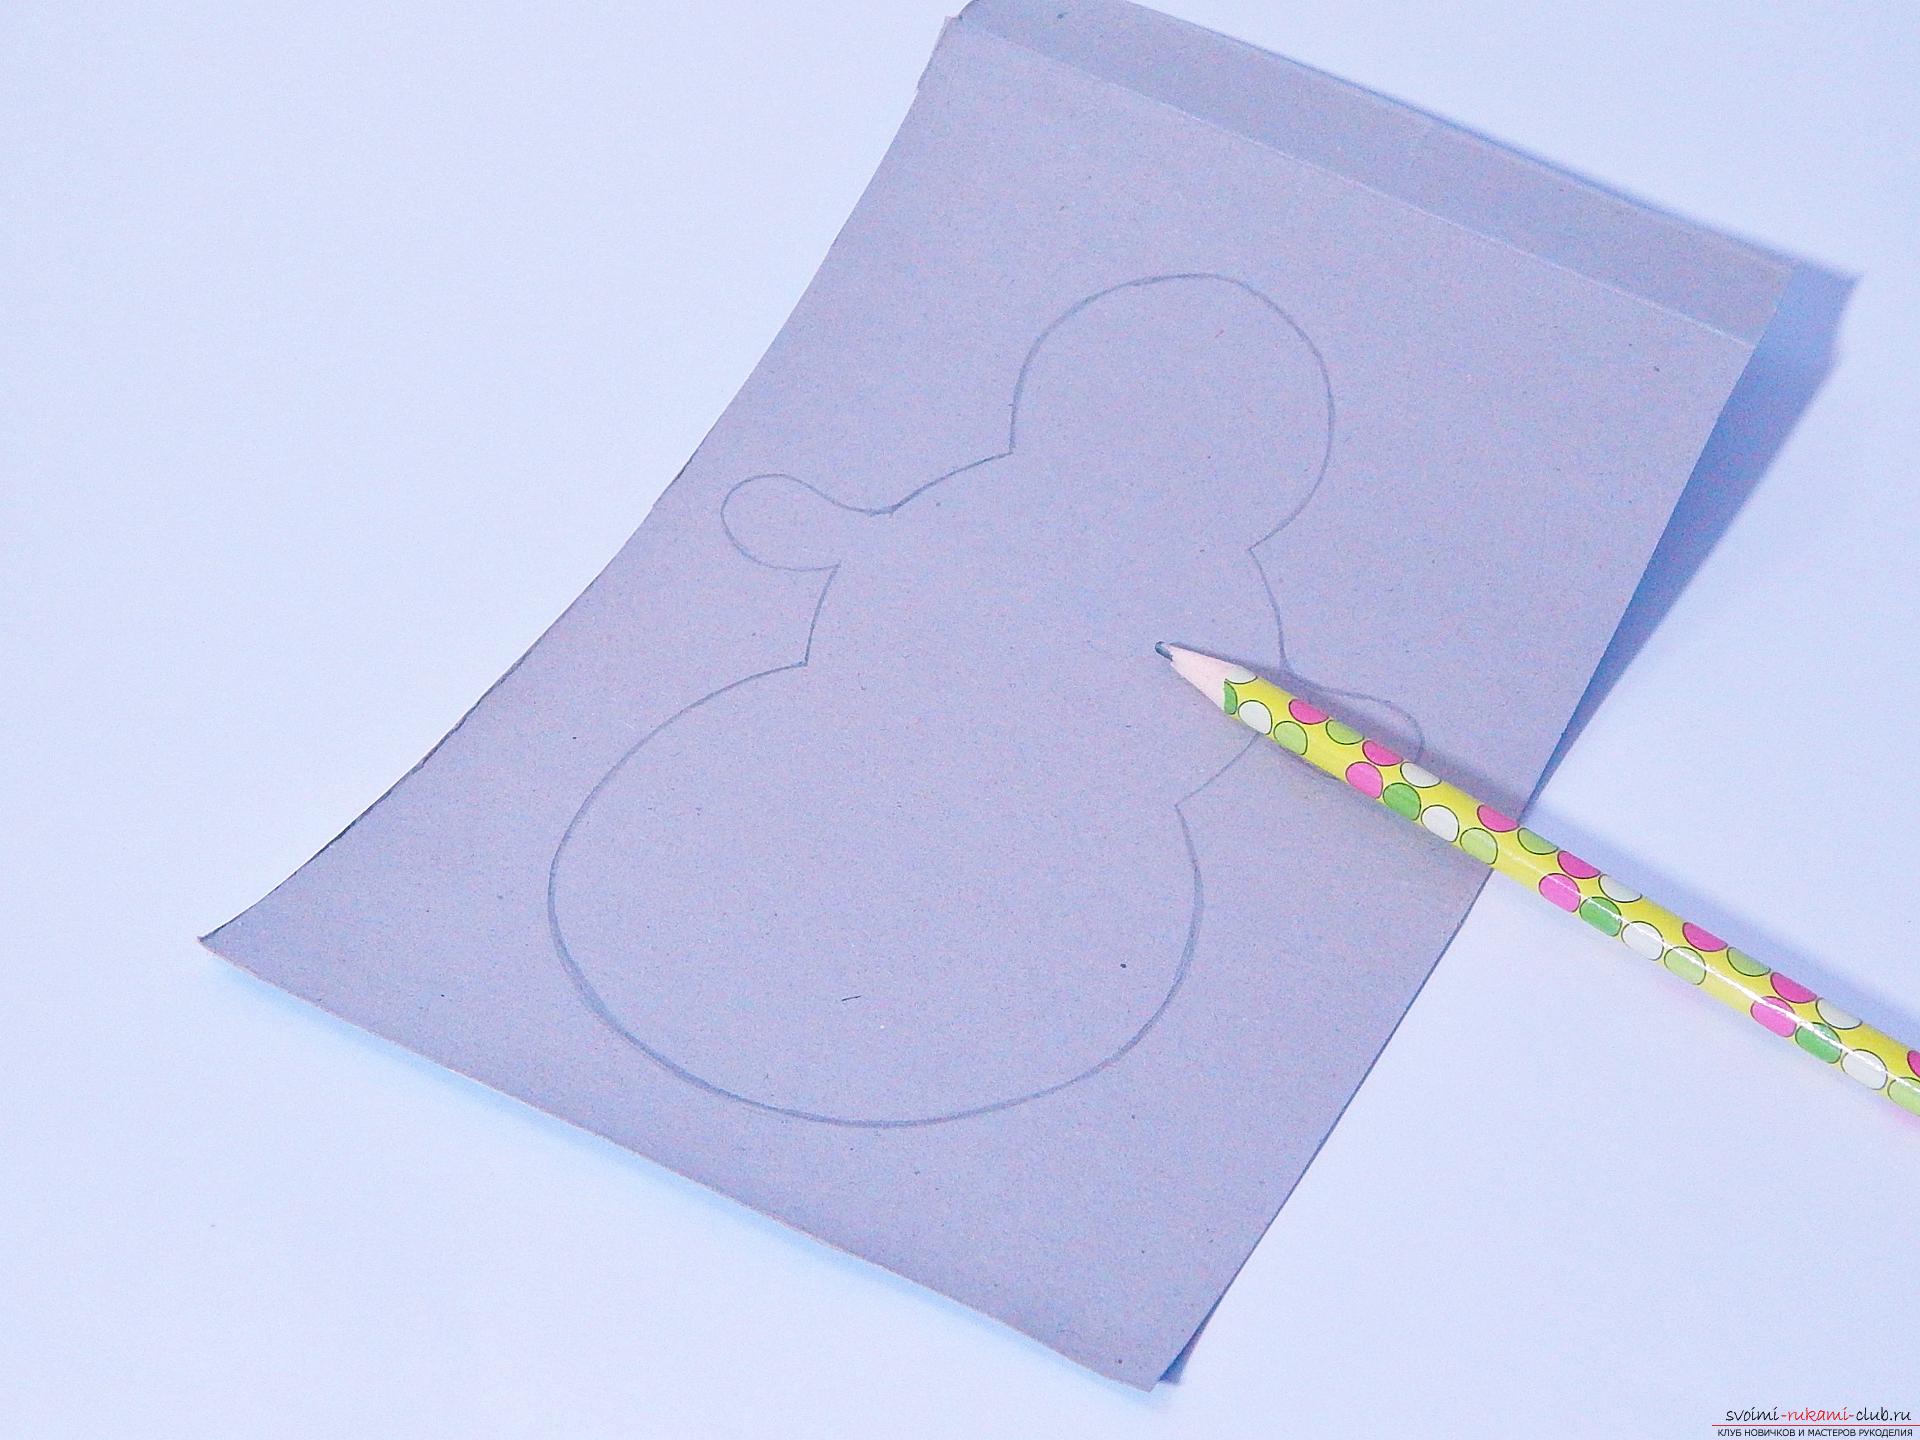 Cut out the cardboard stencil and transfer the pattern to white felt.
  Felt blanks of a snowman, you need two pieces
 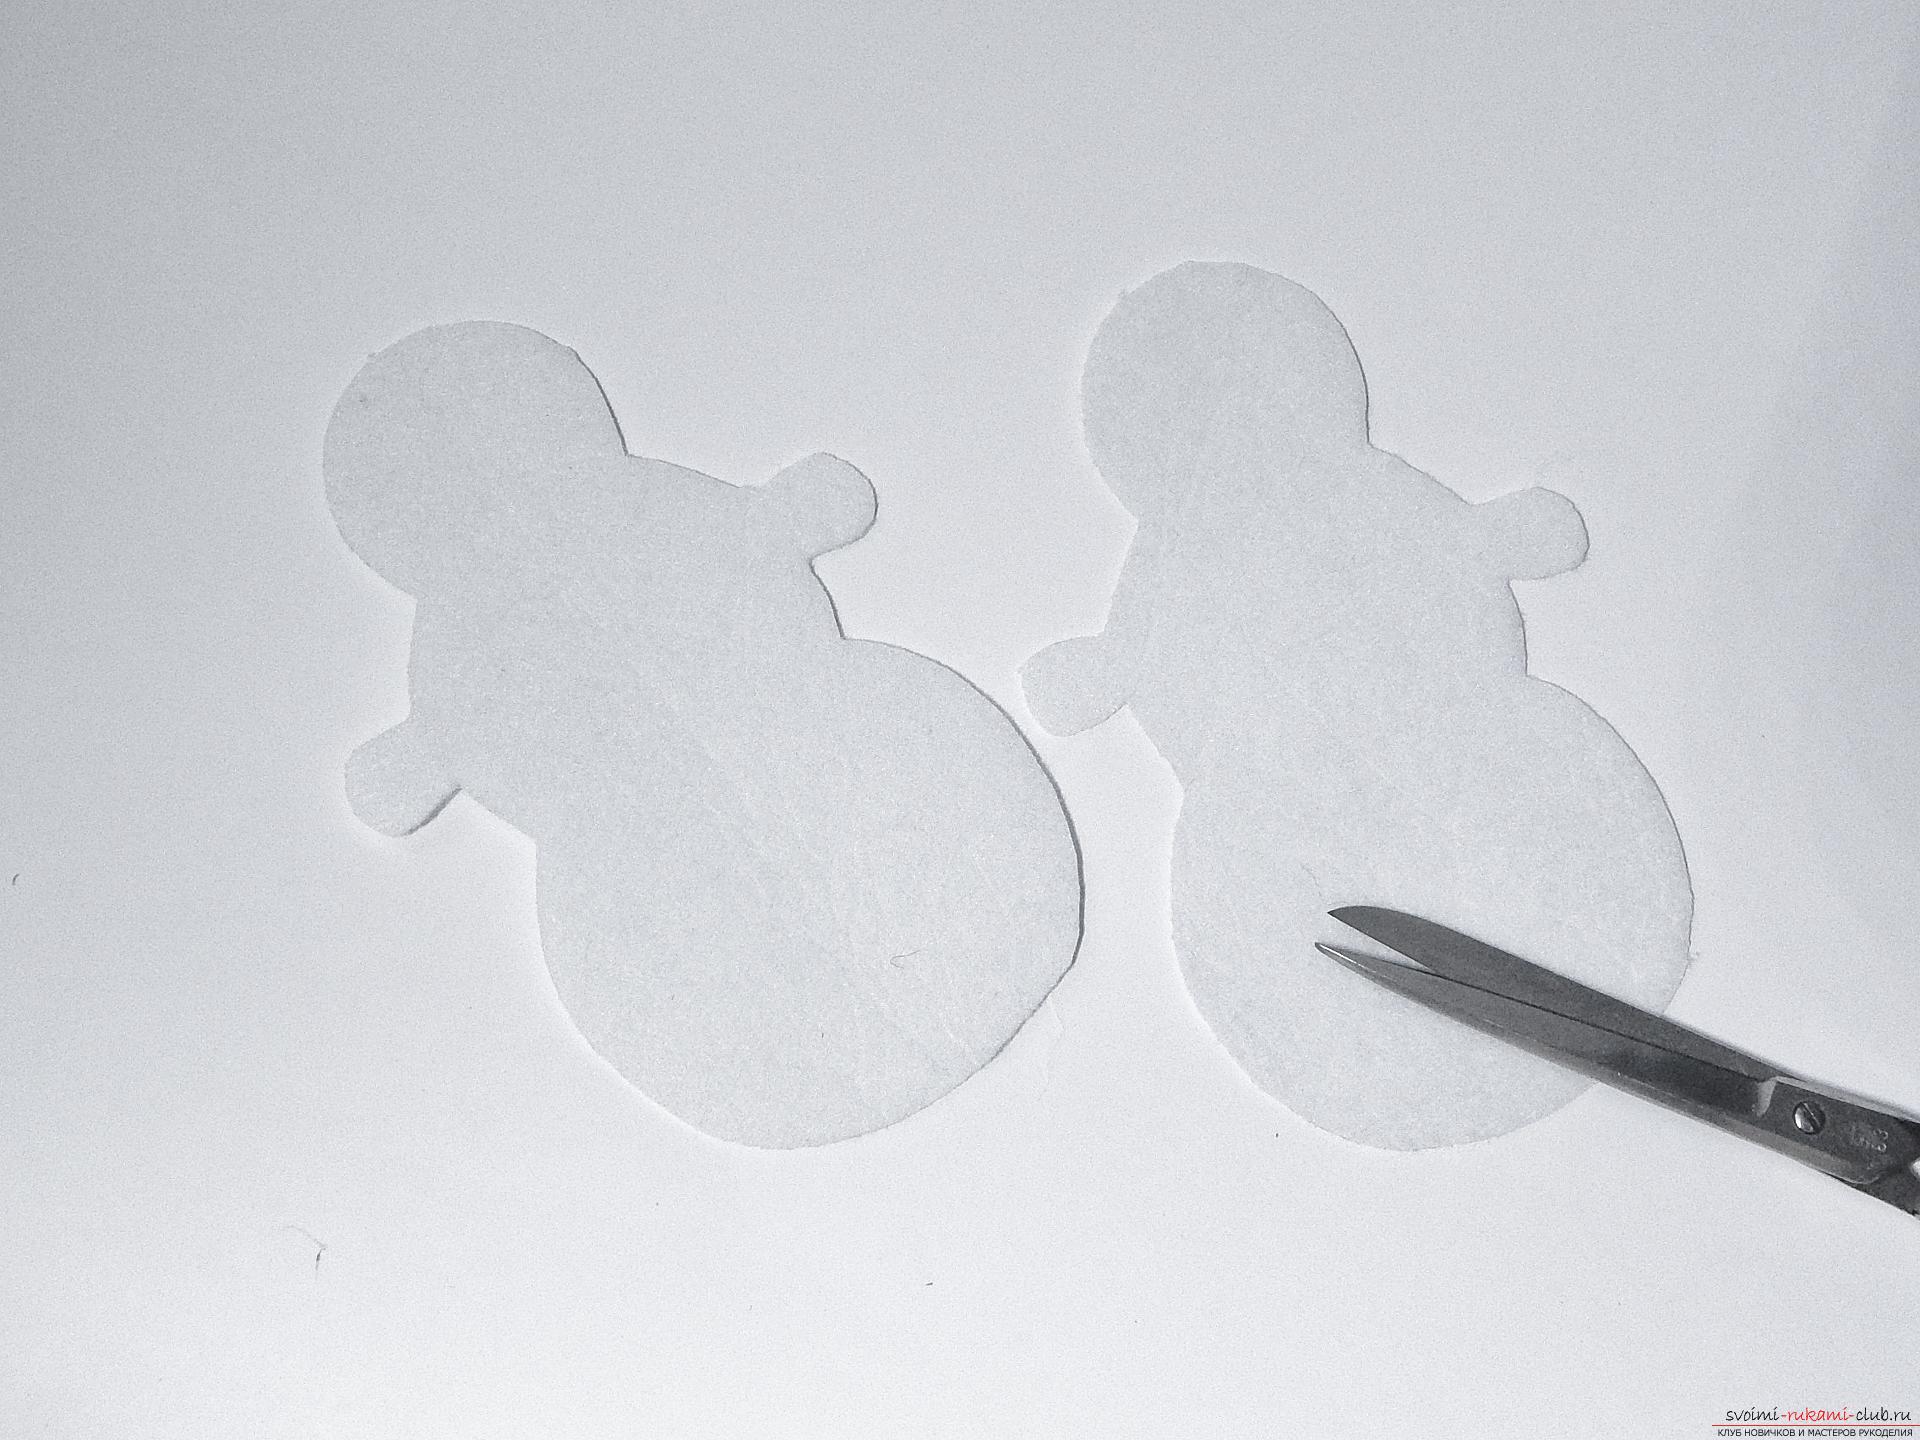 One half of the felt is laid aside, and on the other with black thread we sew eyes.
 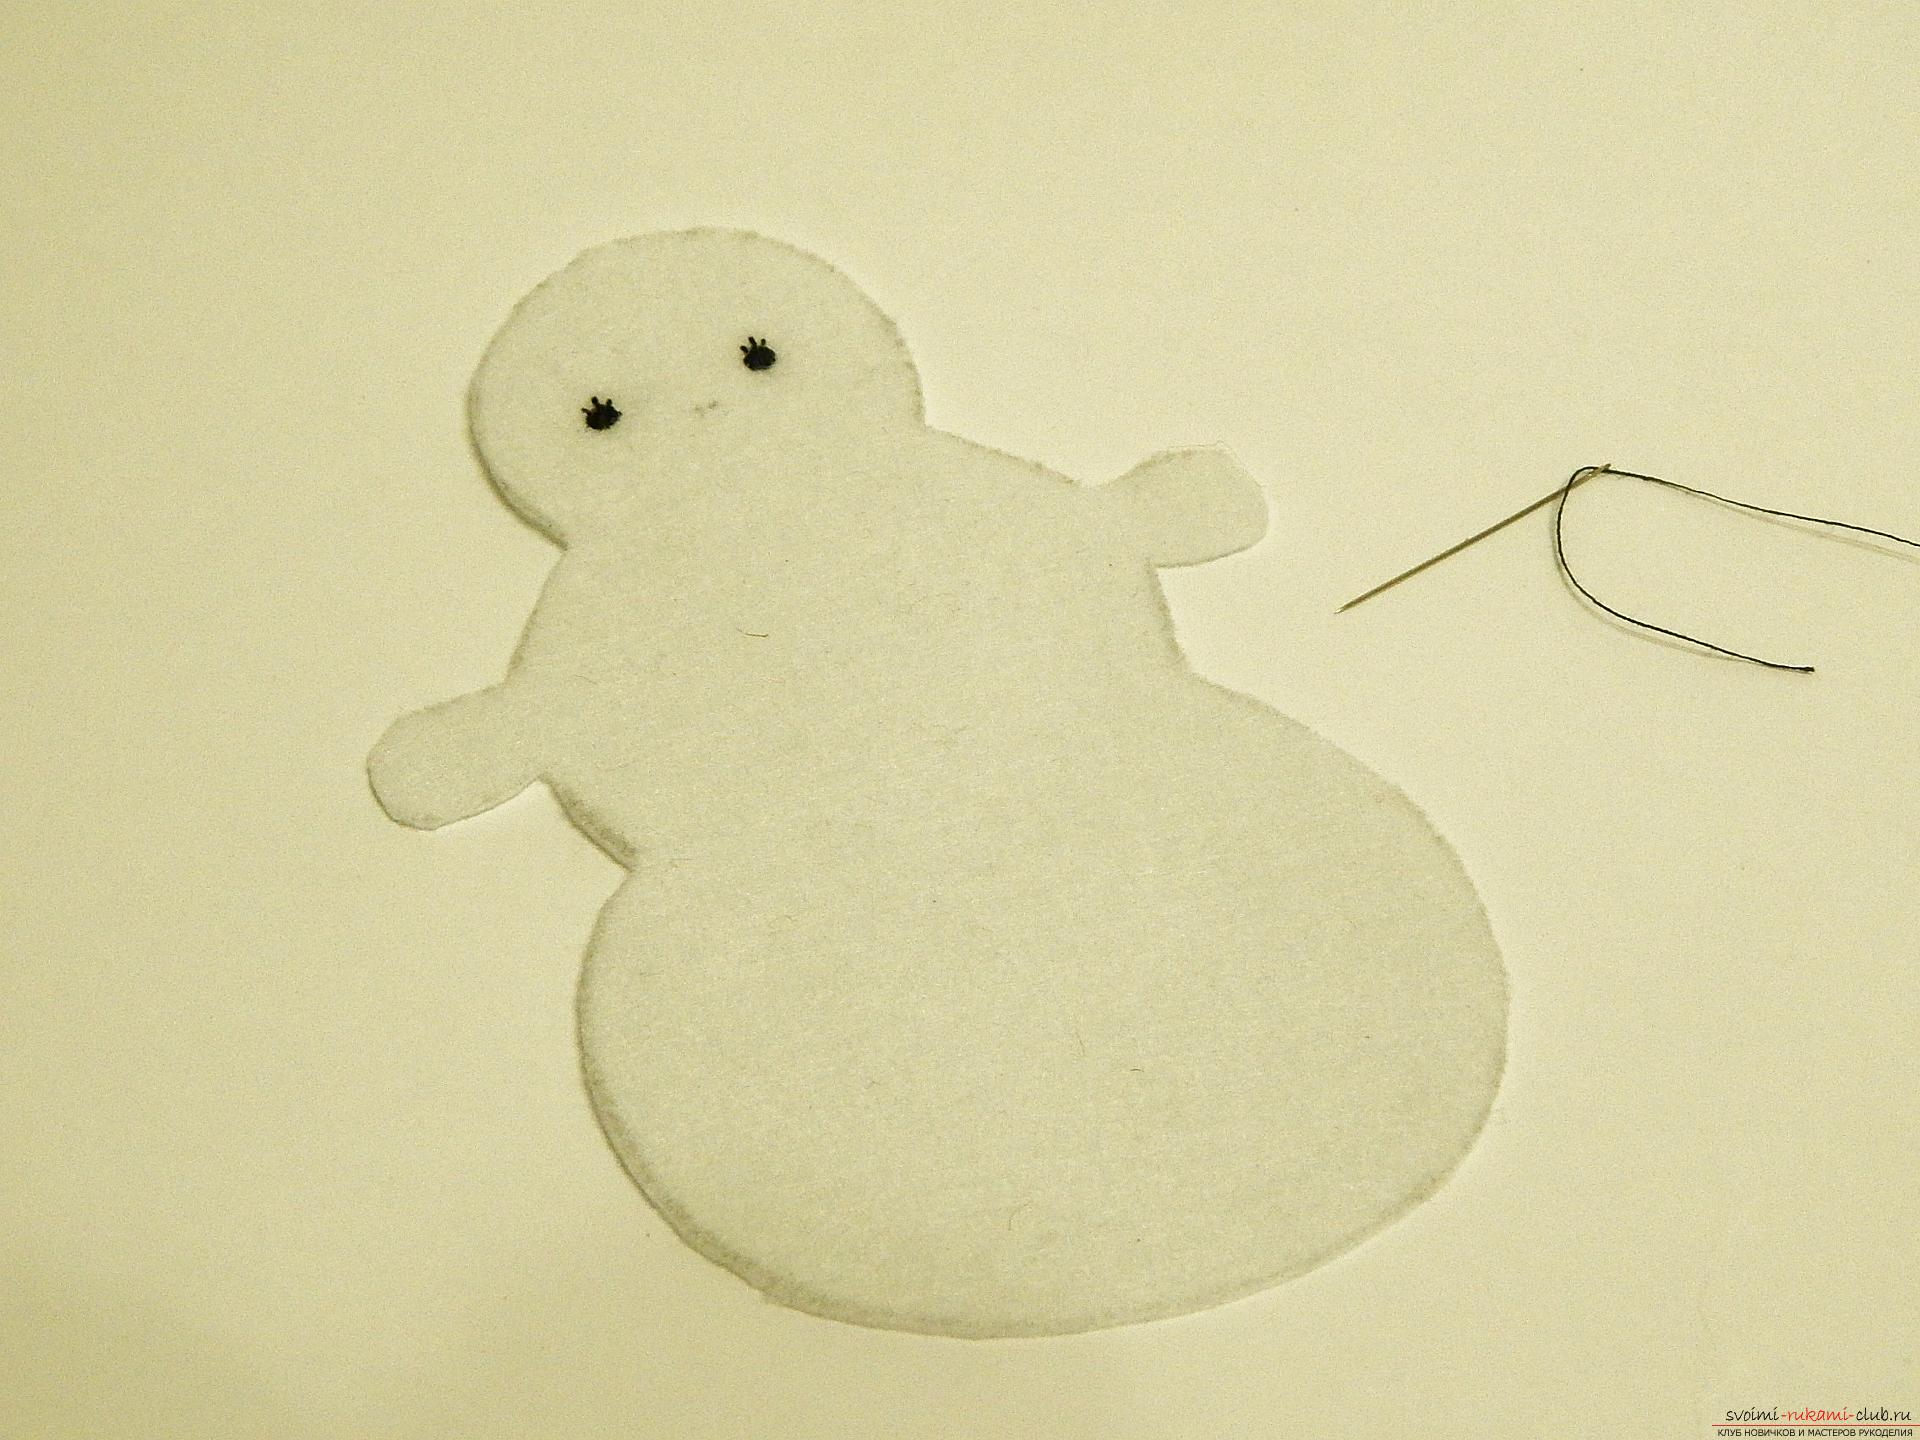 Our snowman needs to make a nose-carrot, for this we cut out a small triangle from orange felt.
 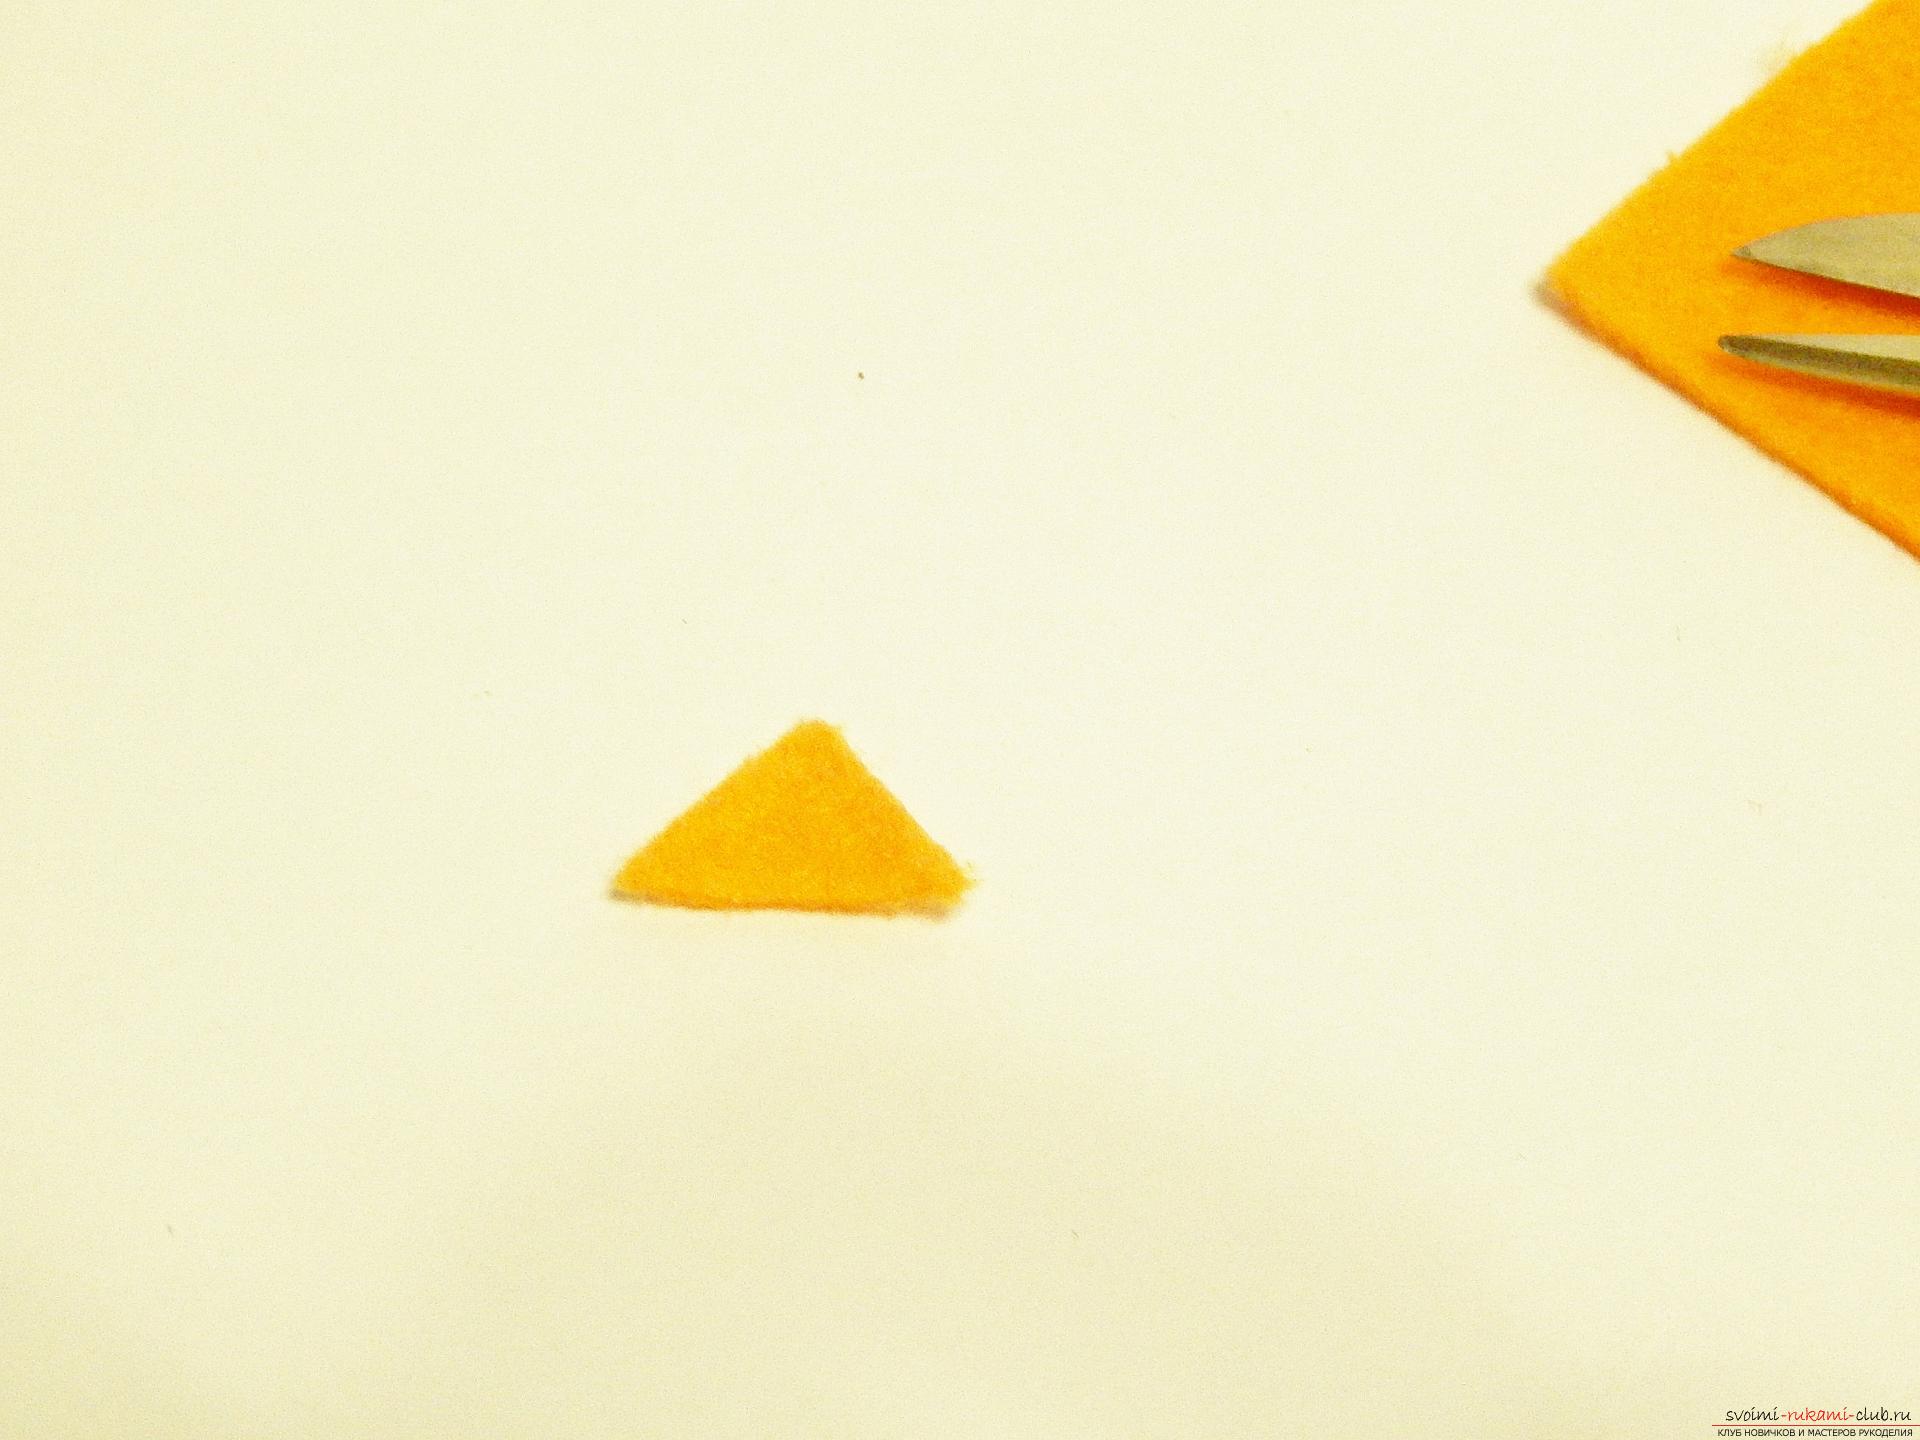 On one side of the felt triangle, apply glue.
 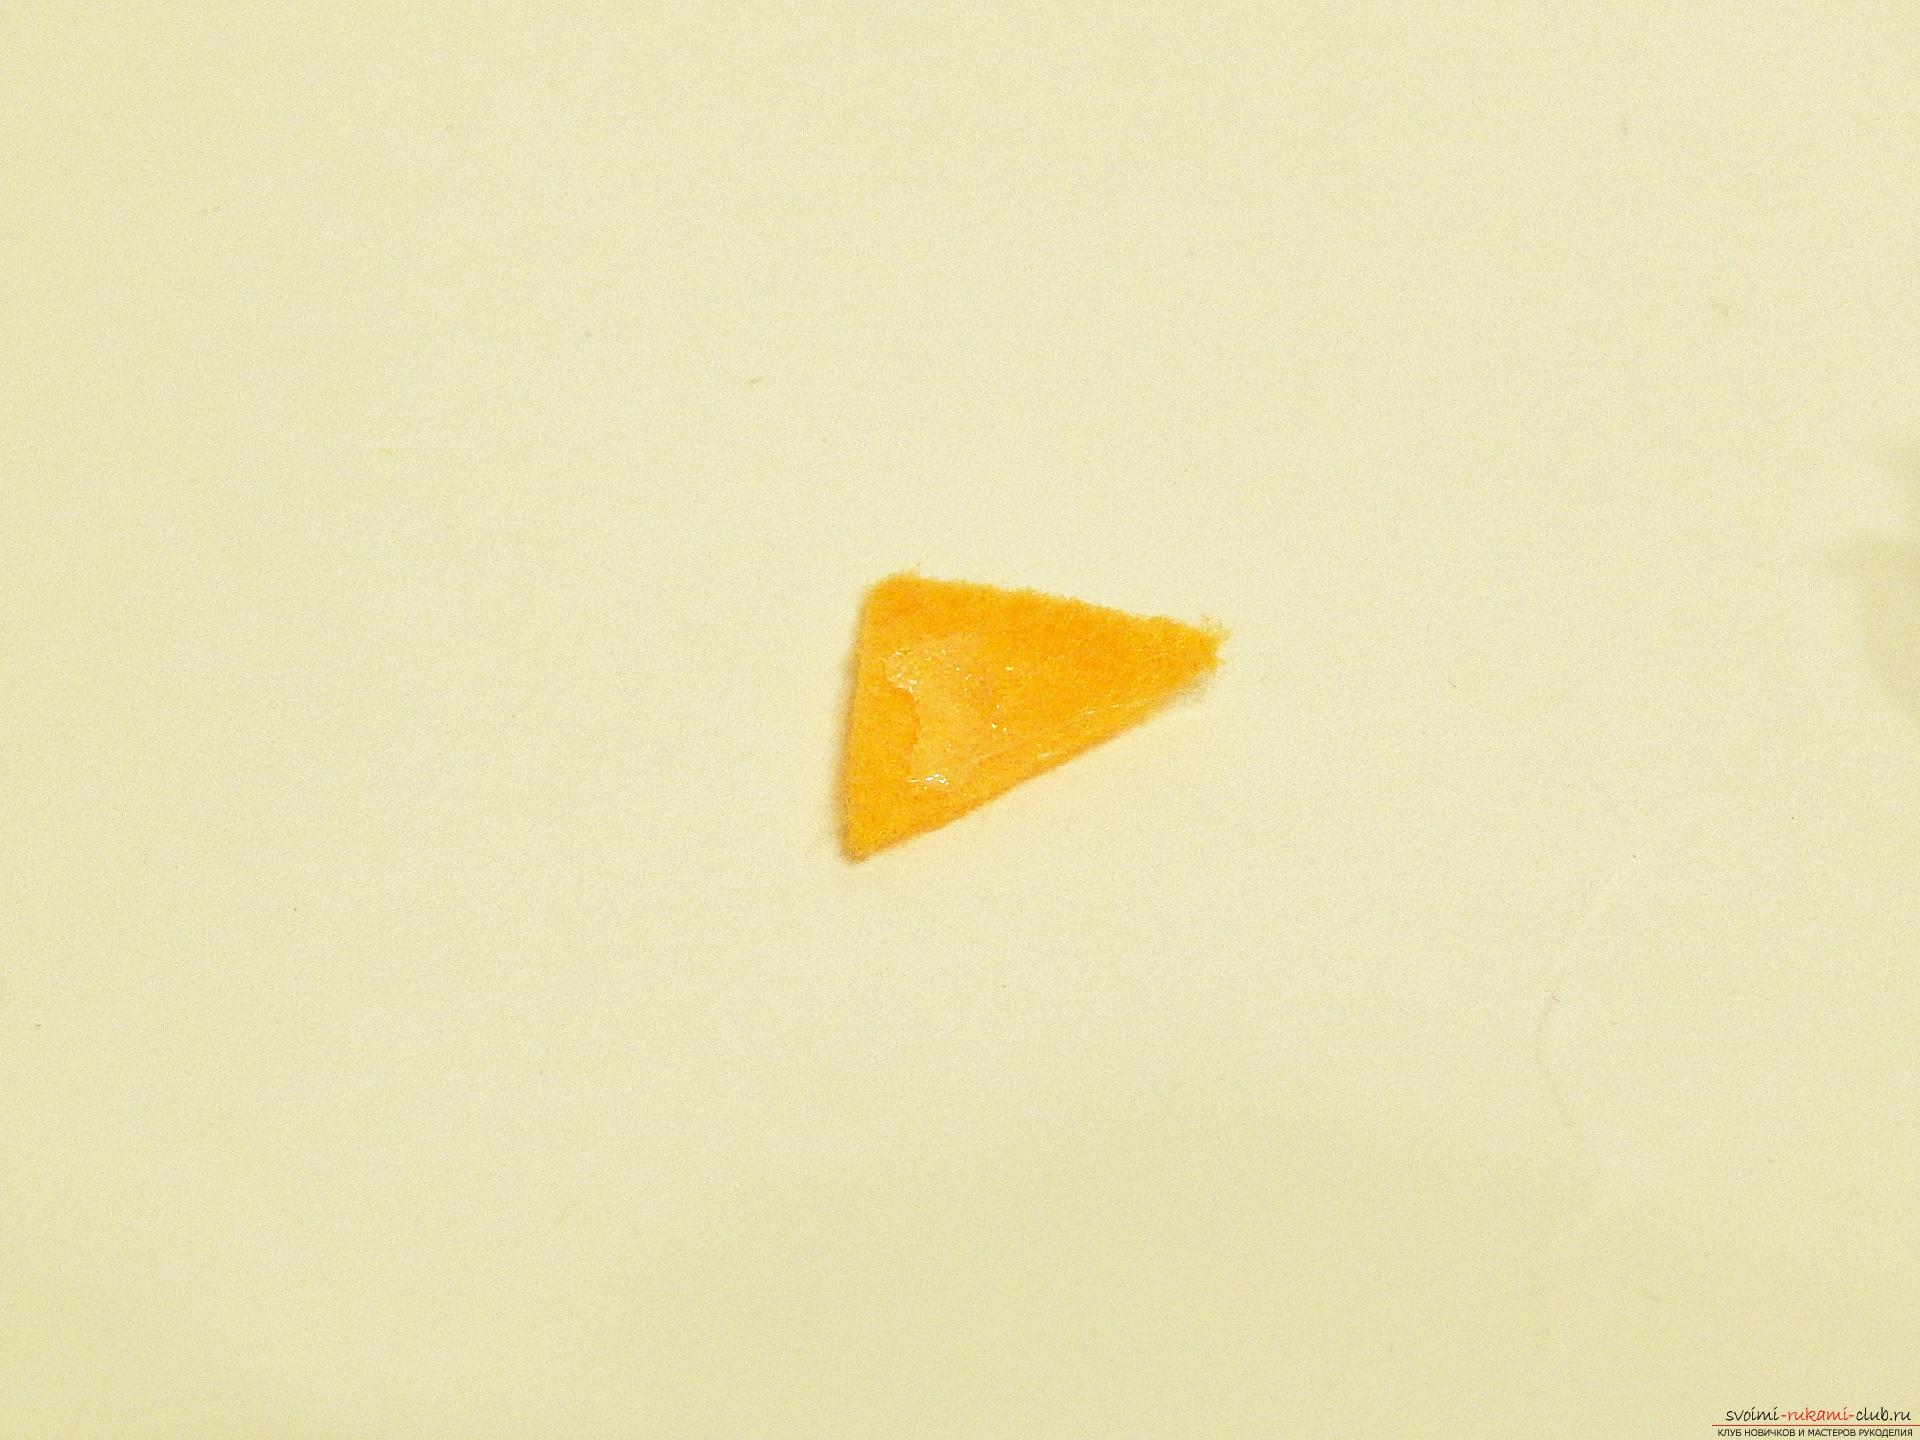 And wrap the side corners to the center.
 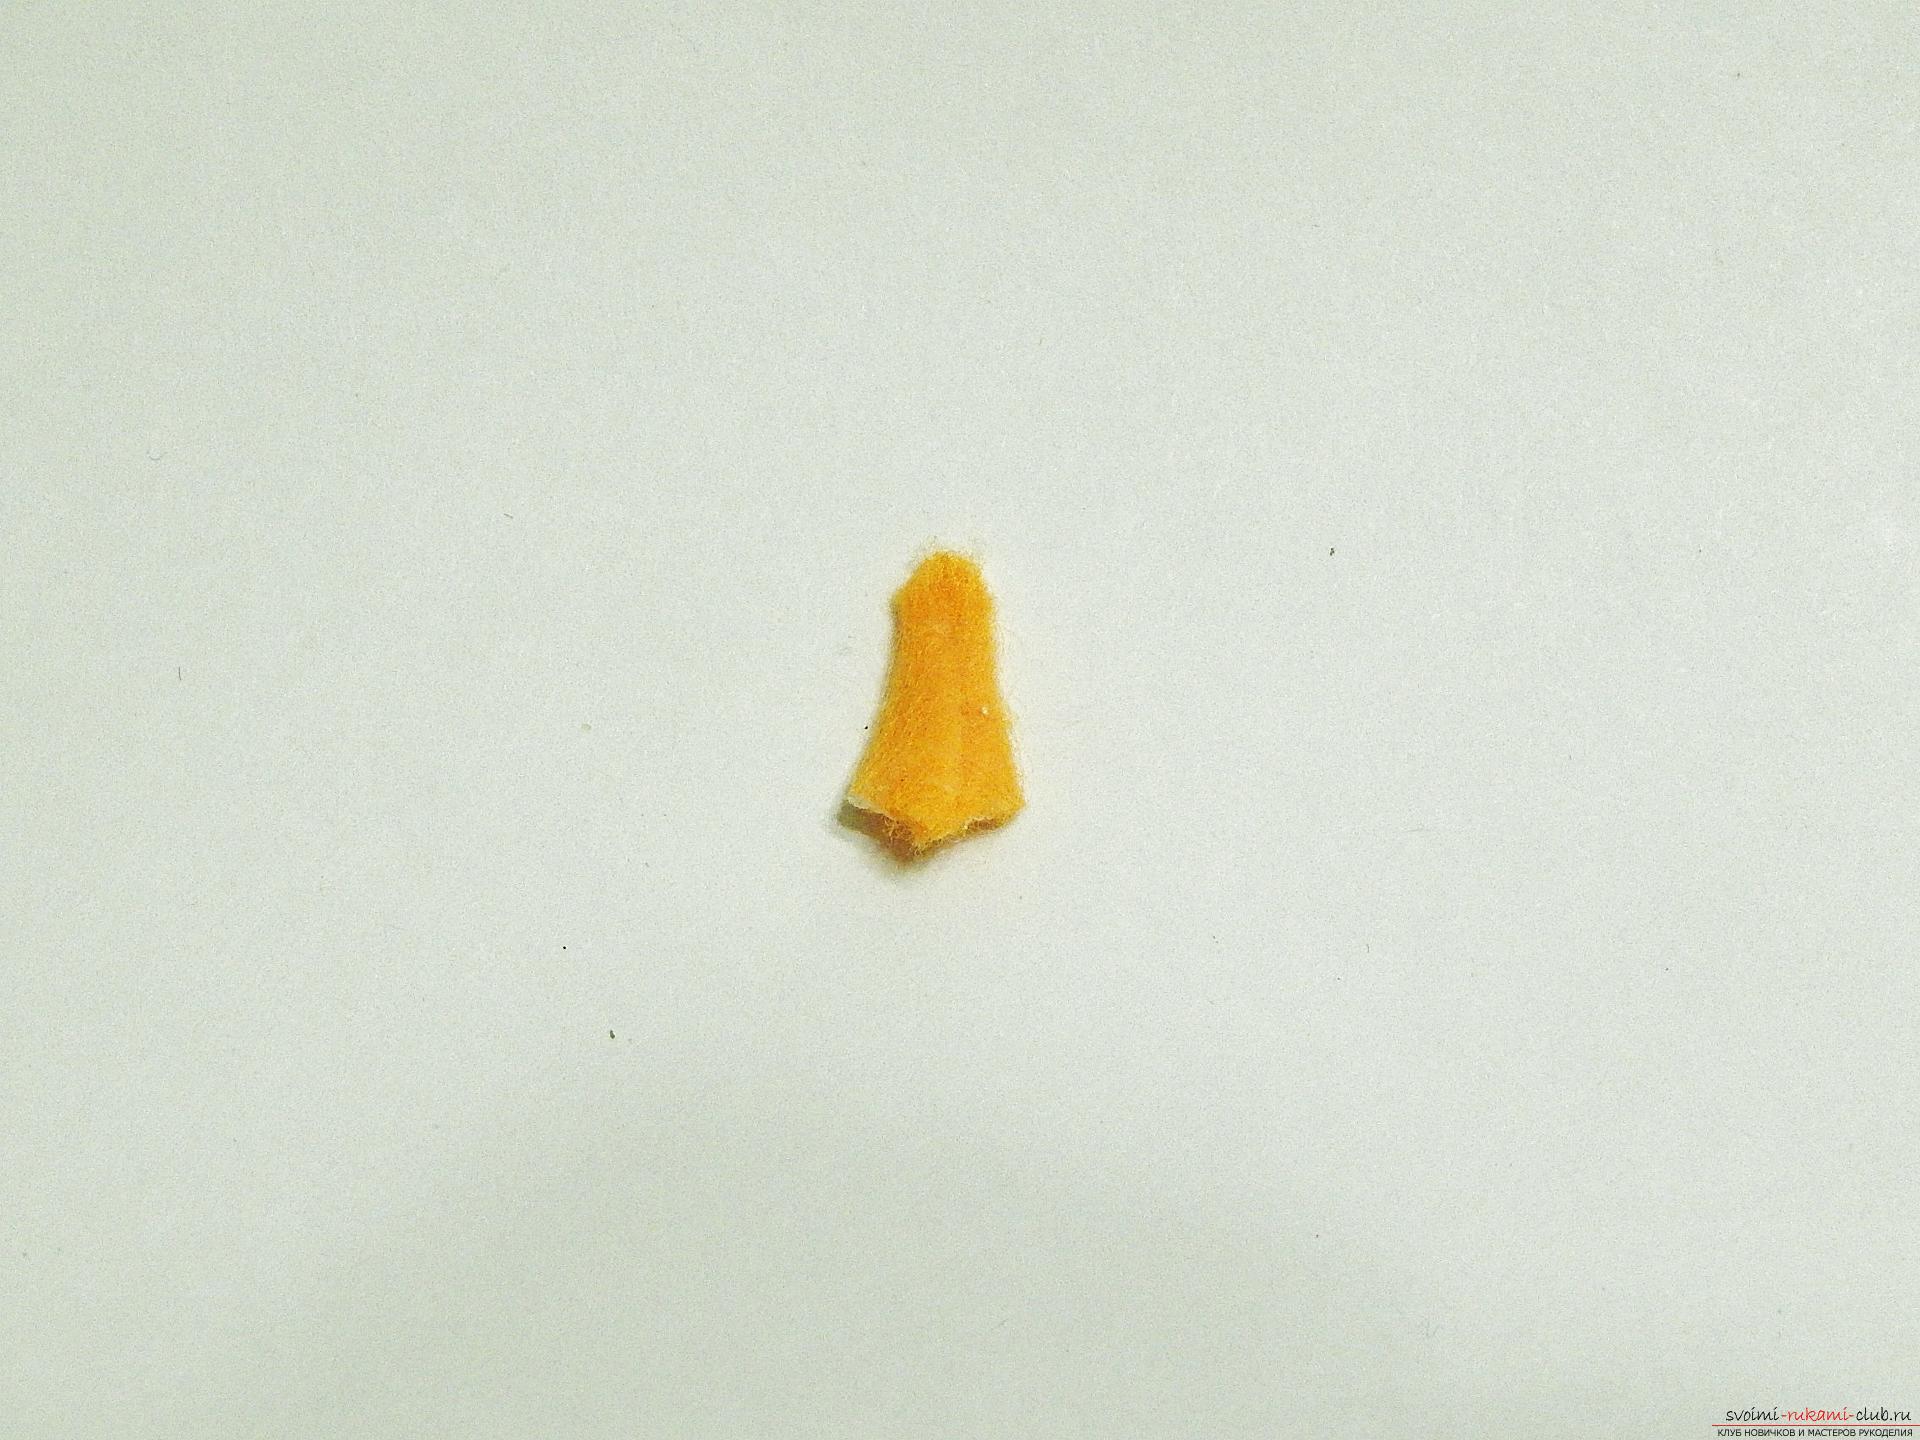 Should get a small cone, which will serve as a spout for the snowman, apply the glue on the lower part of the felt cone.
 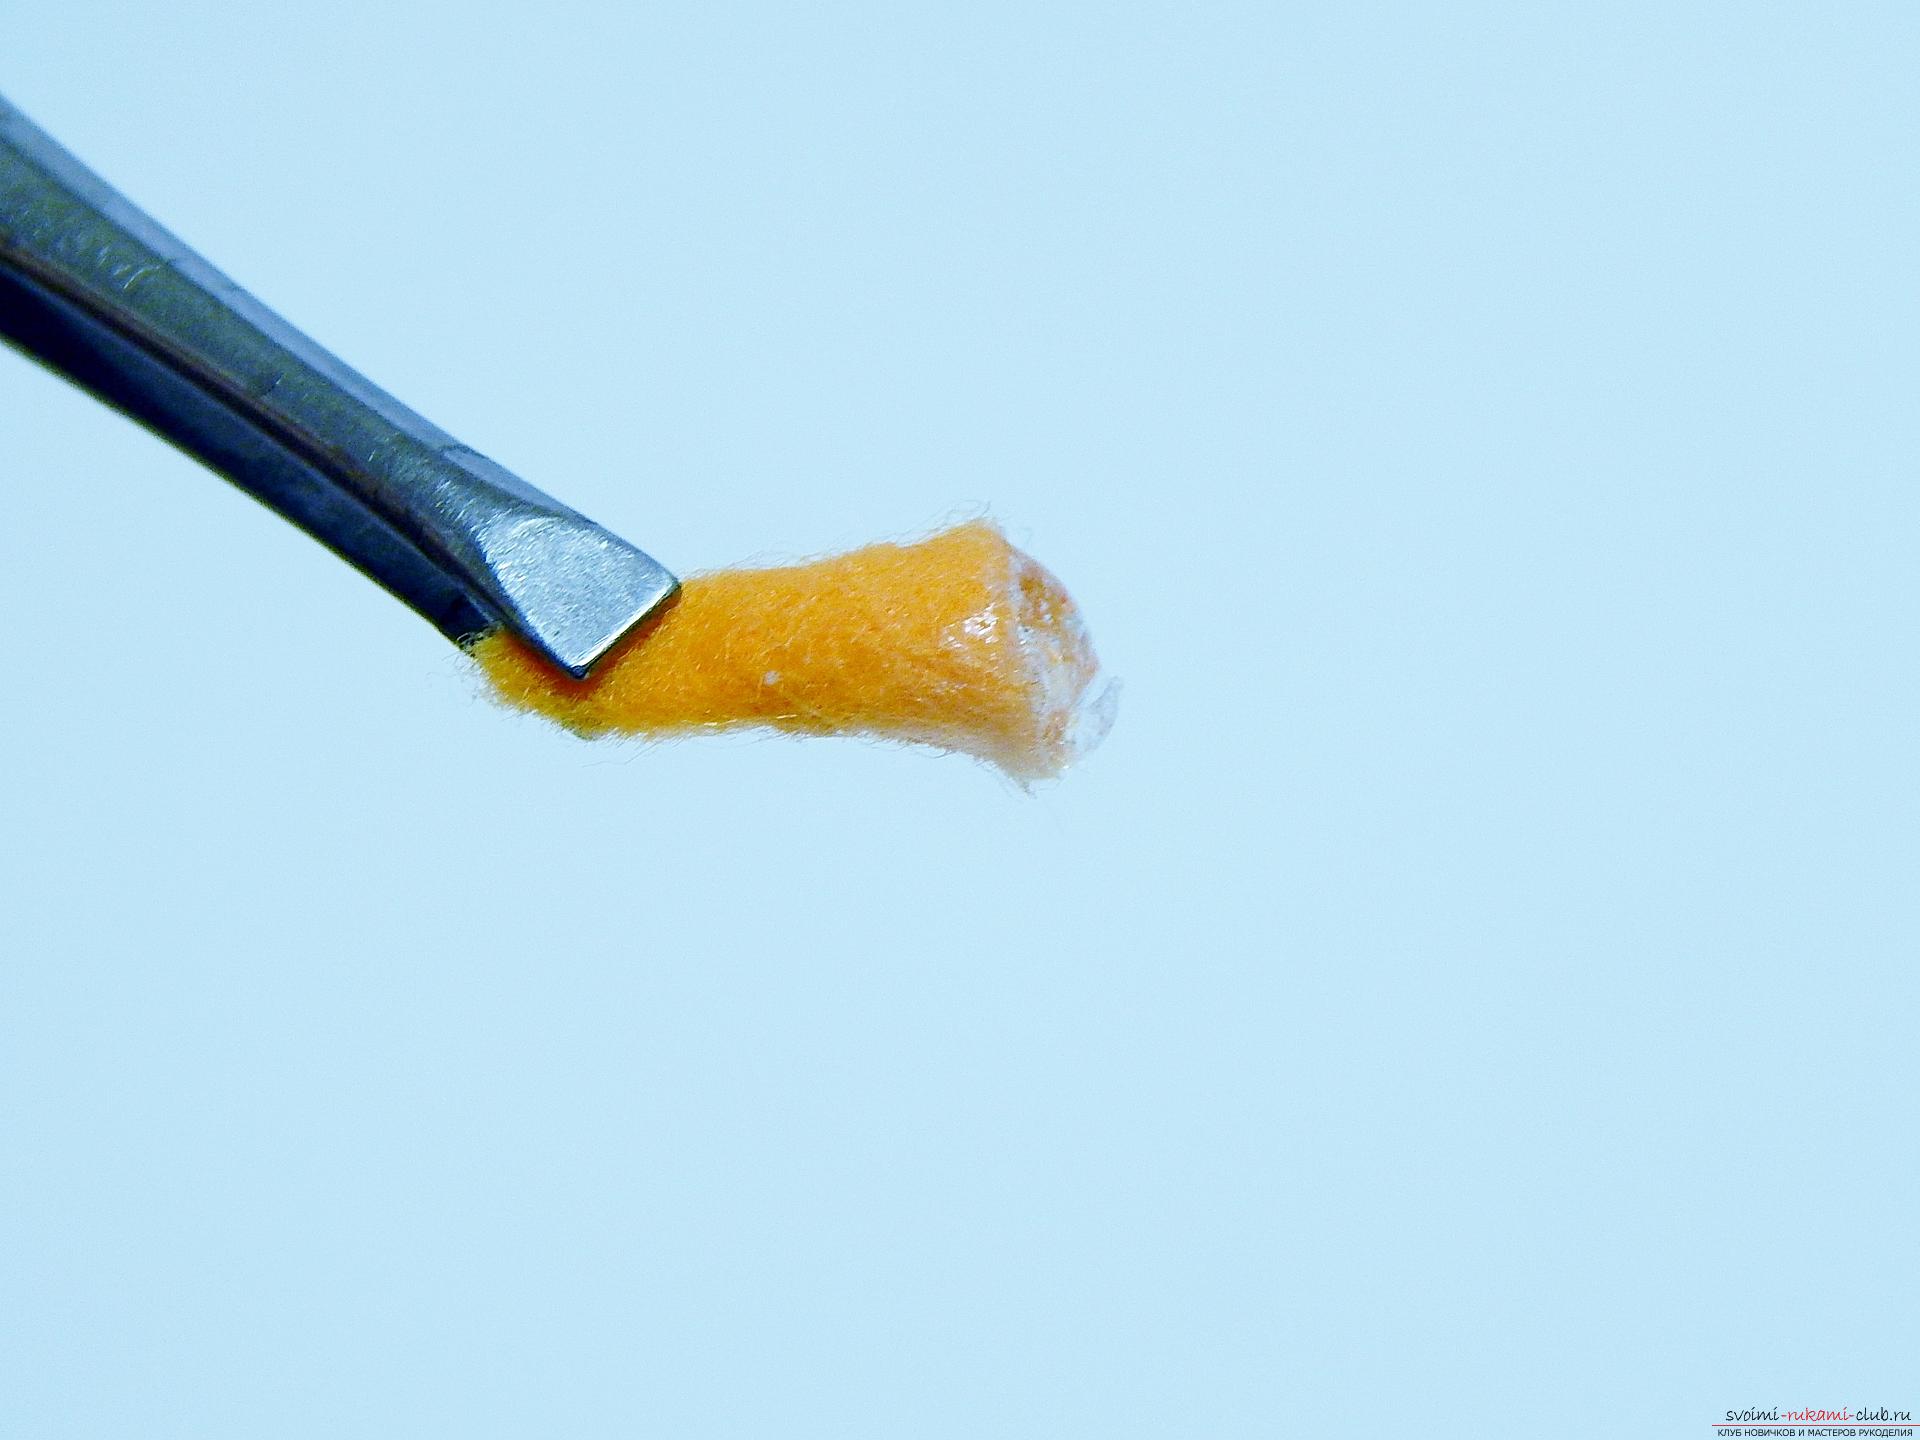 And attach the nose to the snowman's face.
 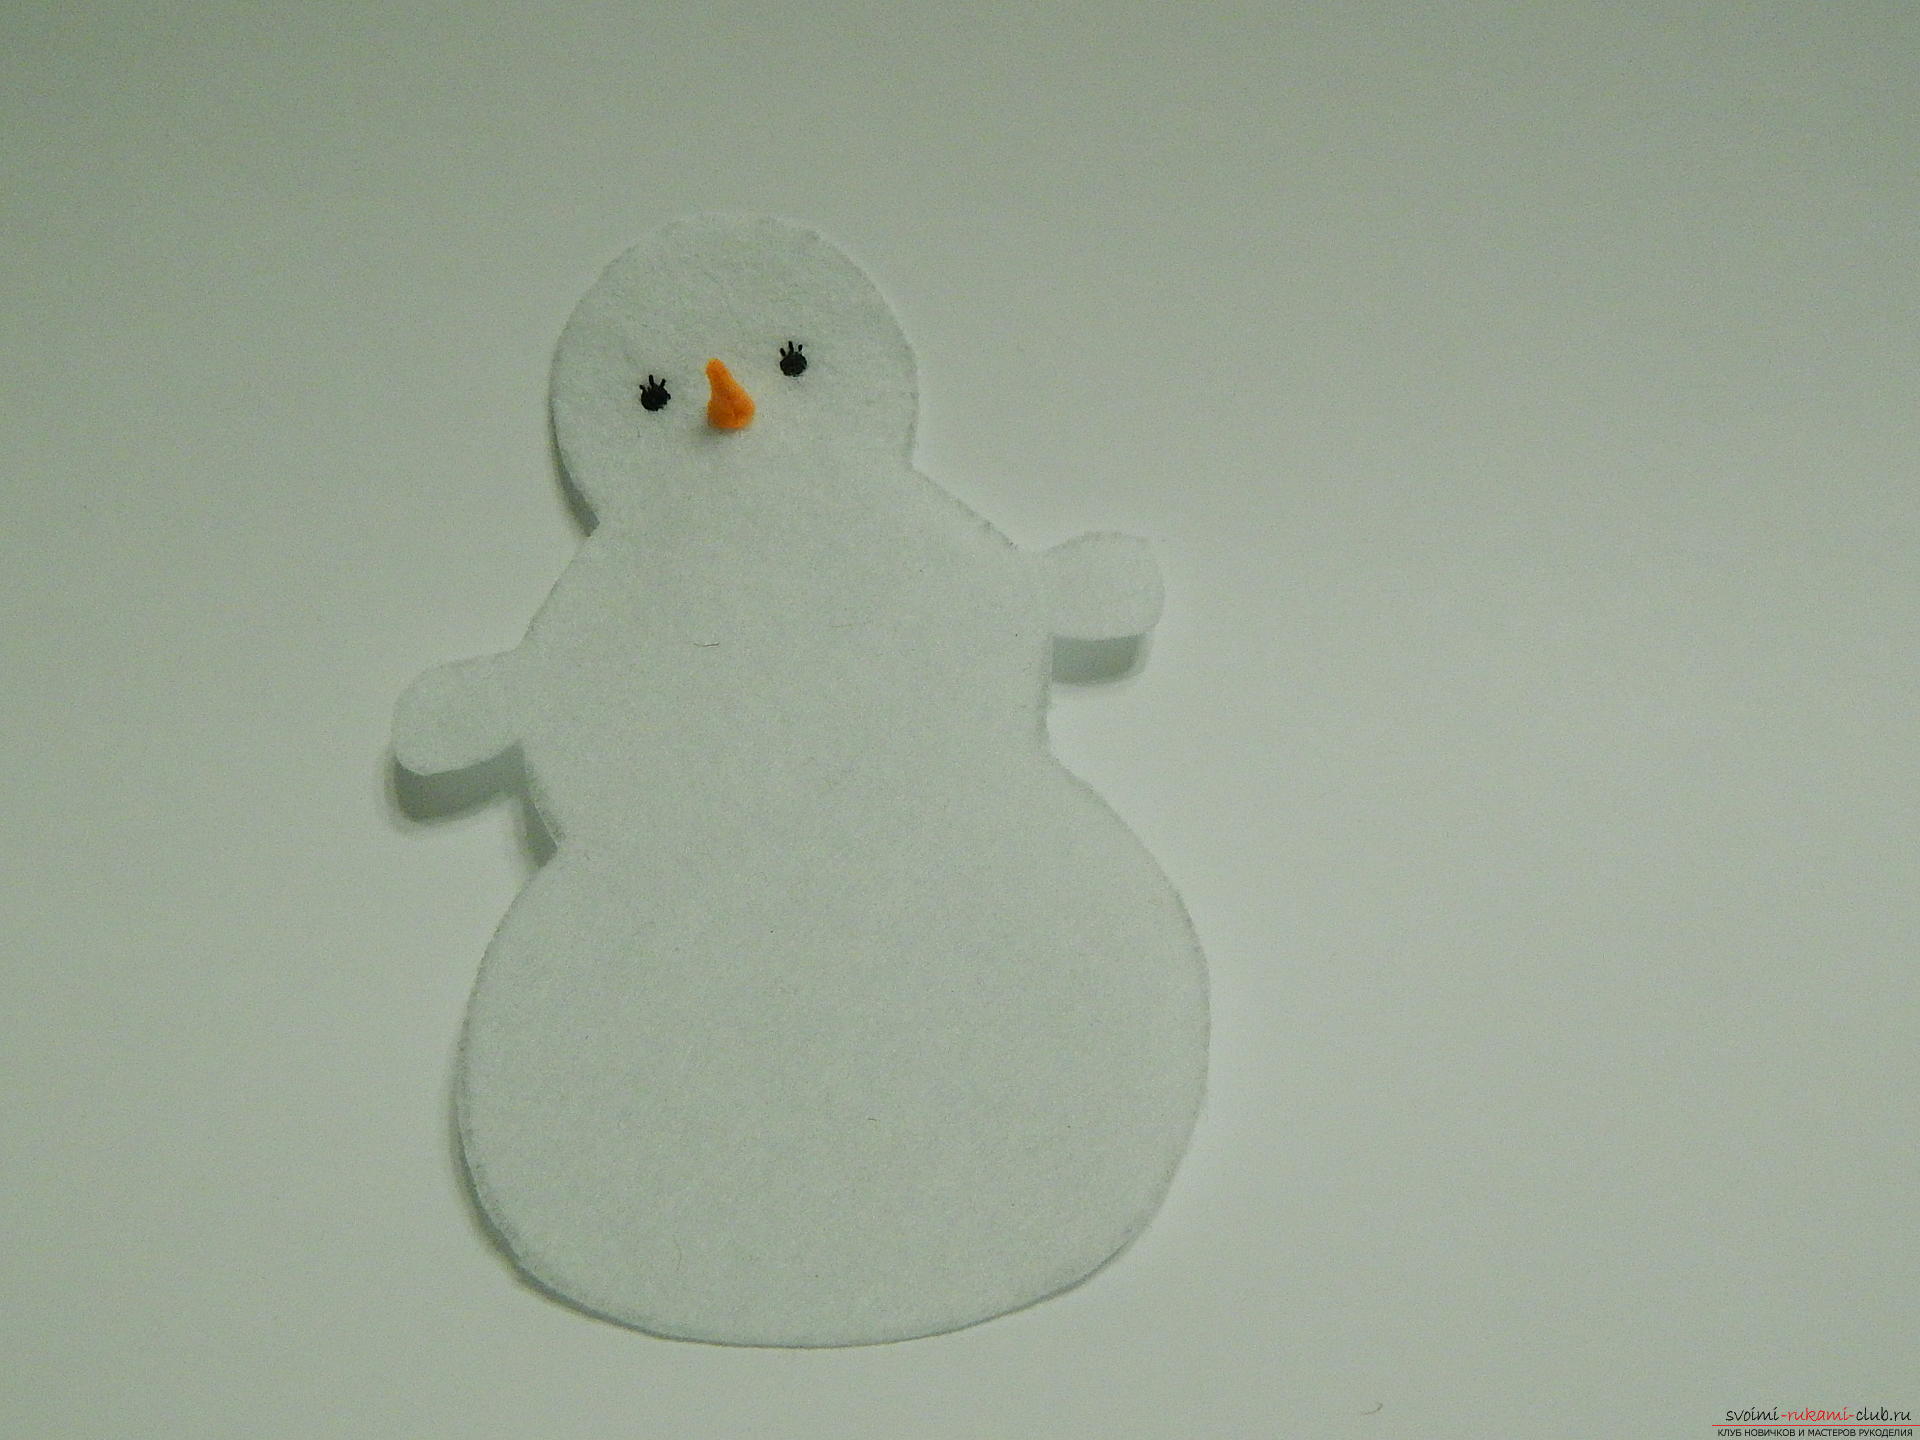 Now we embroider our mouth with red thread.
 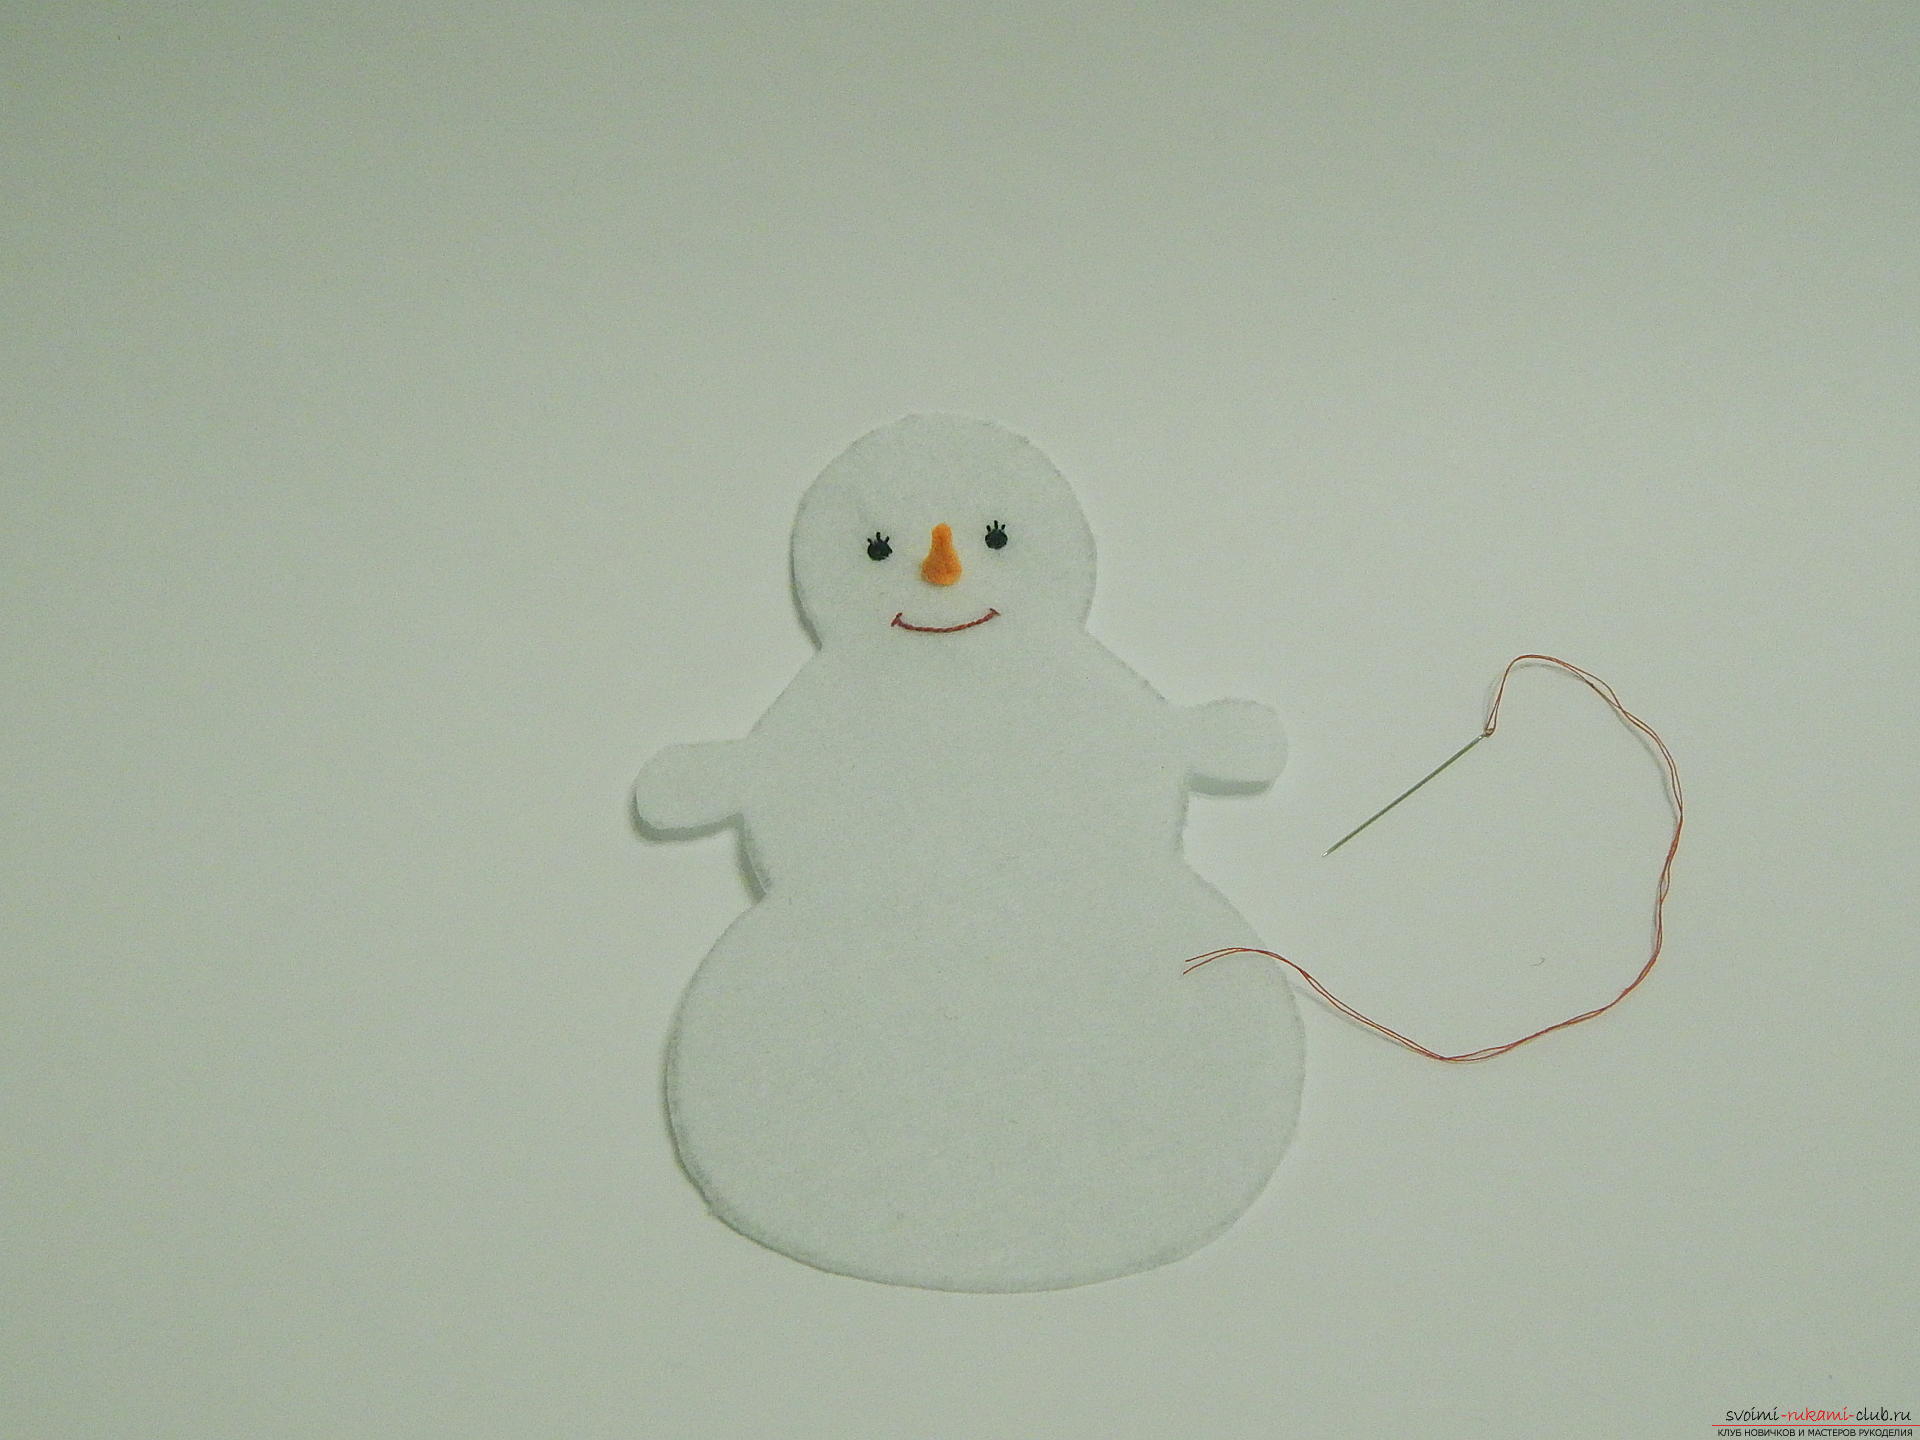 And, of course, do not forget to add a blush to the snowman, it's easy to do with a red pencil.
 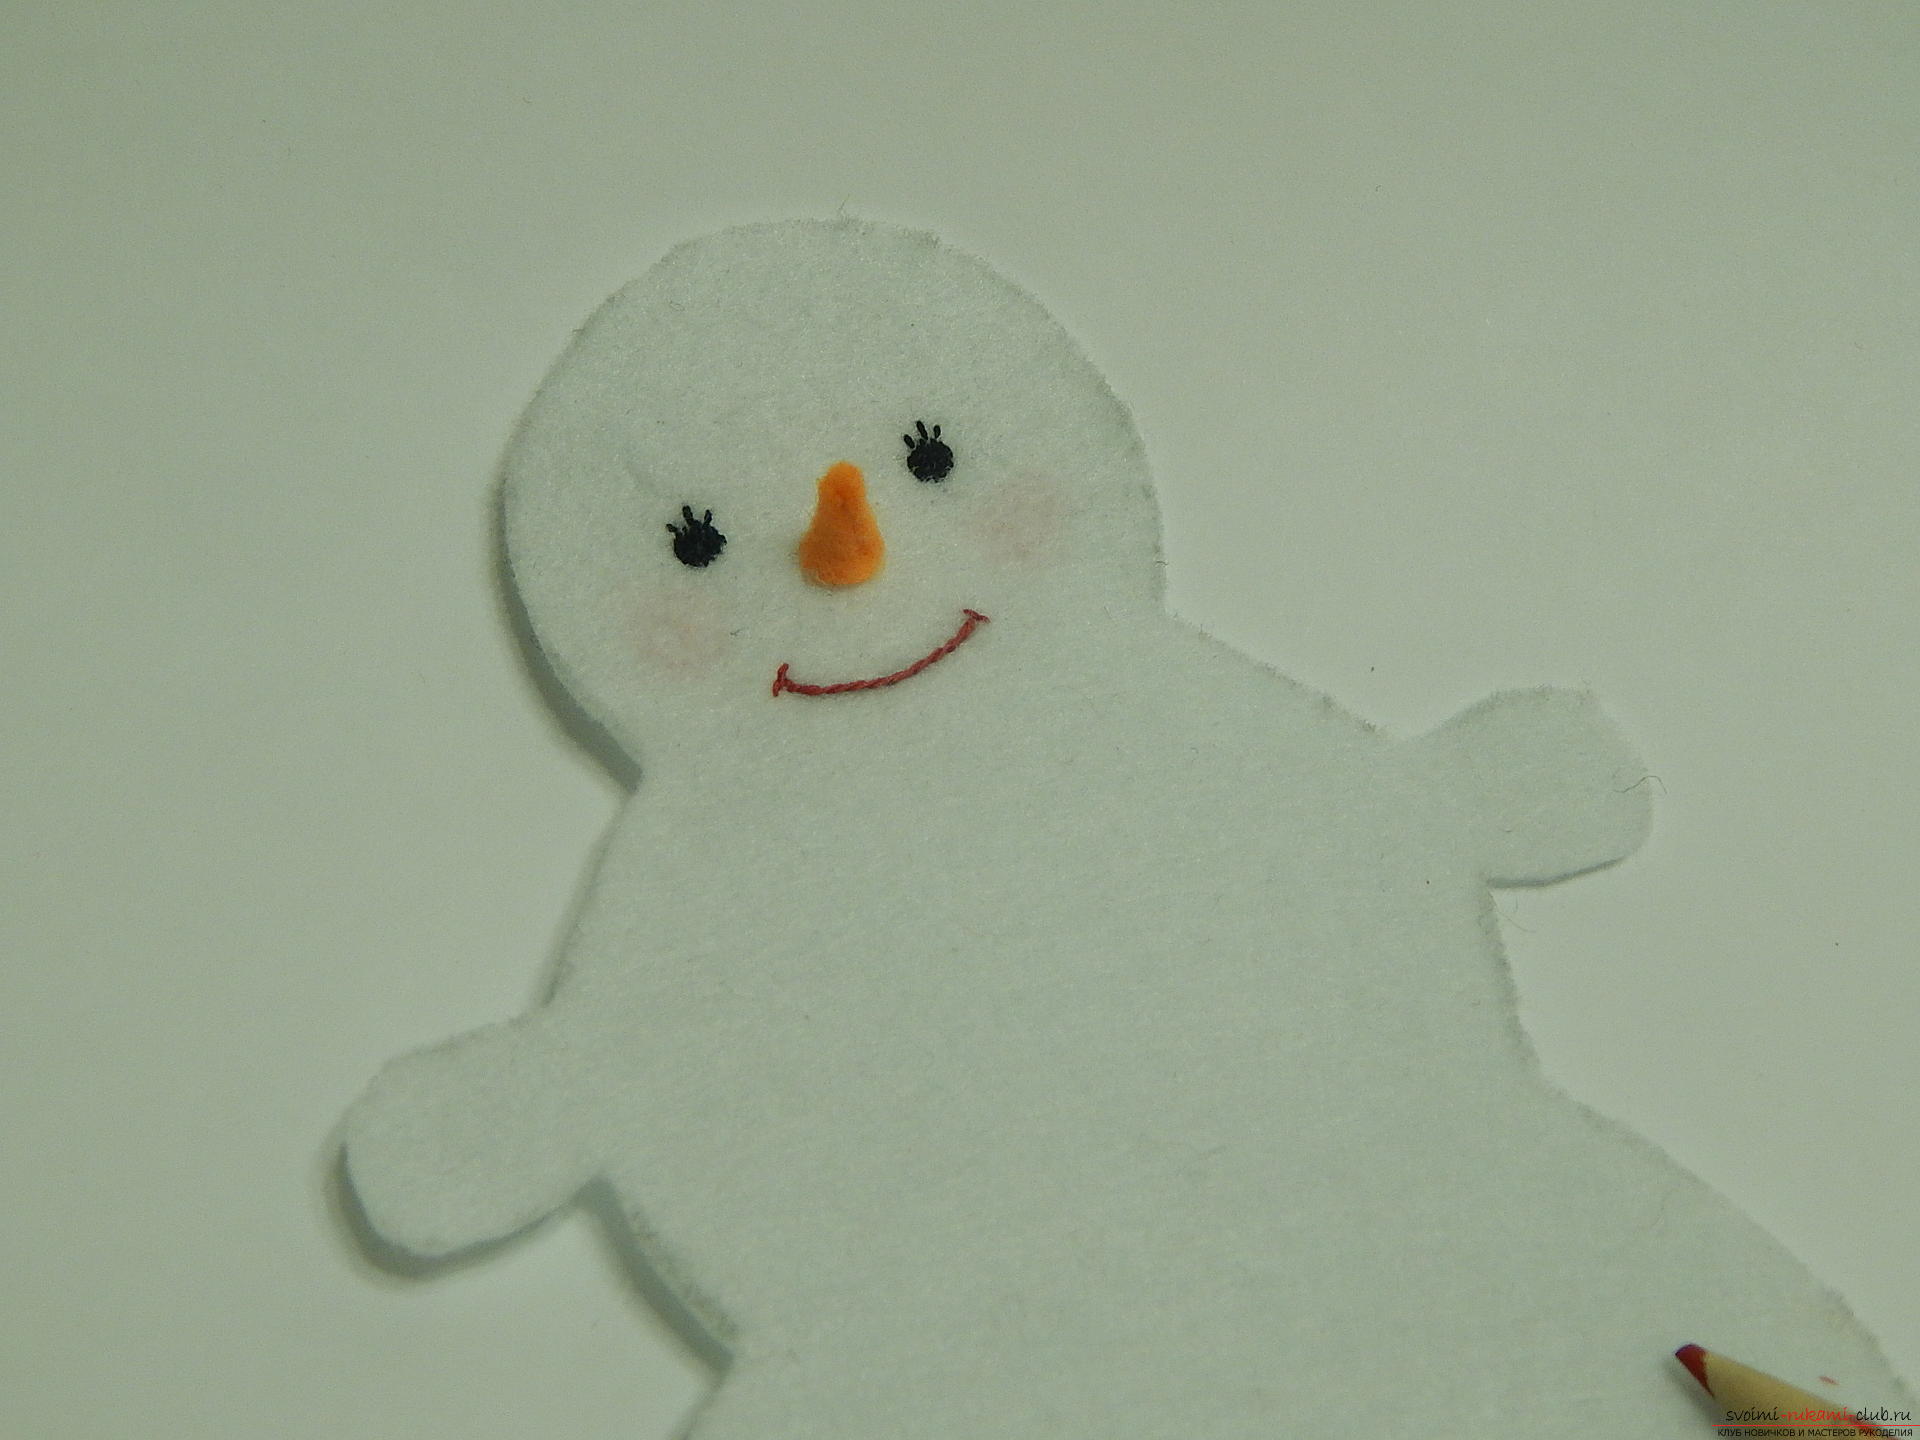 Let's start making caps. From the red felt we cut out two blanks for the cap.
 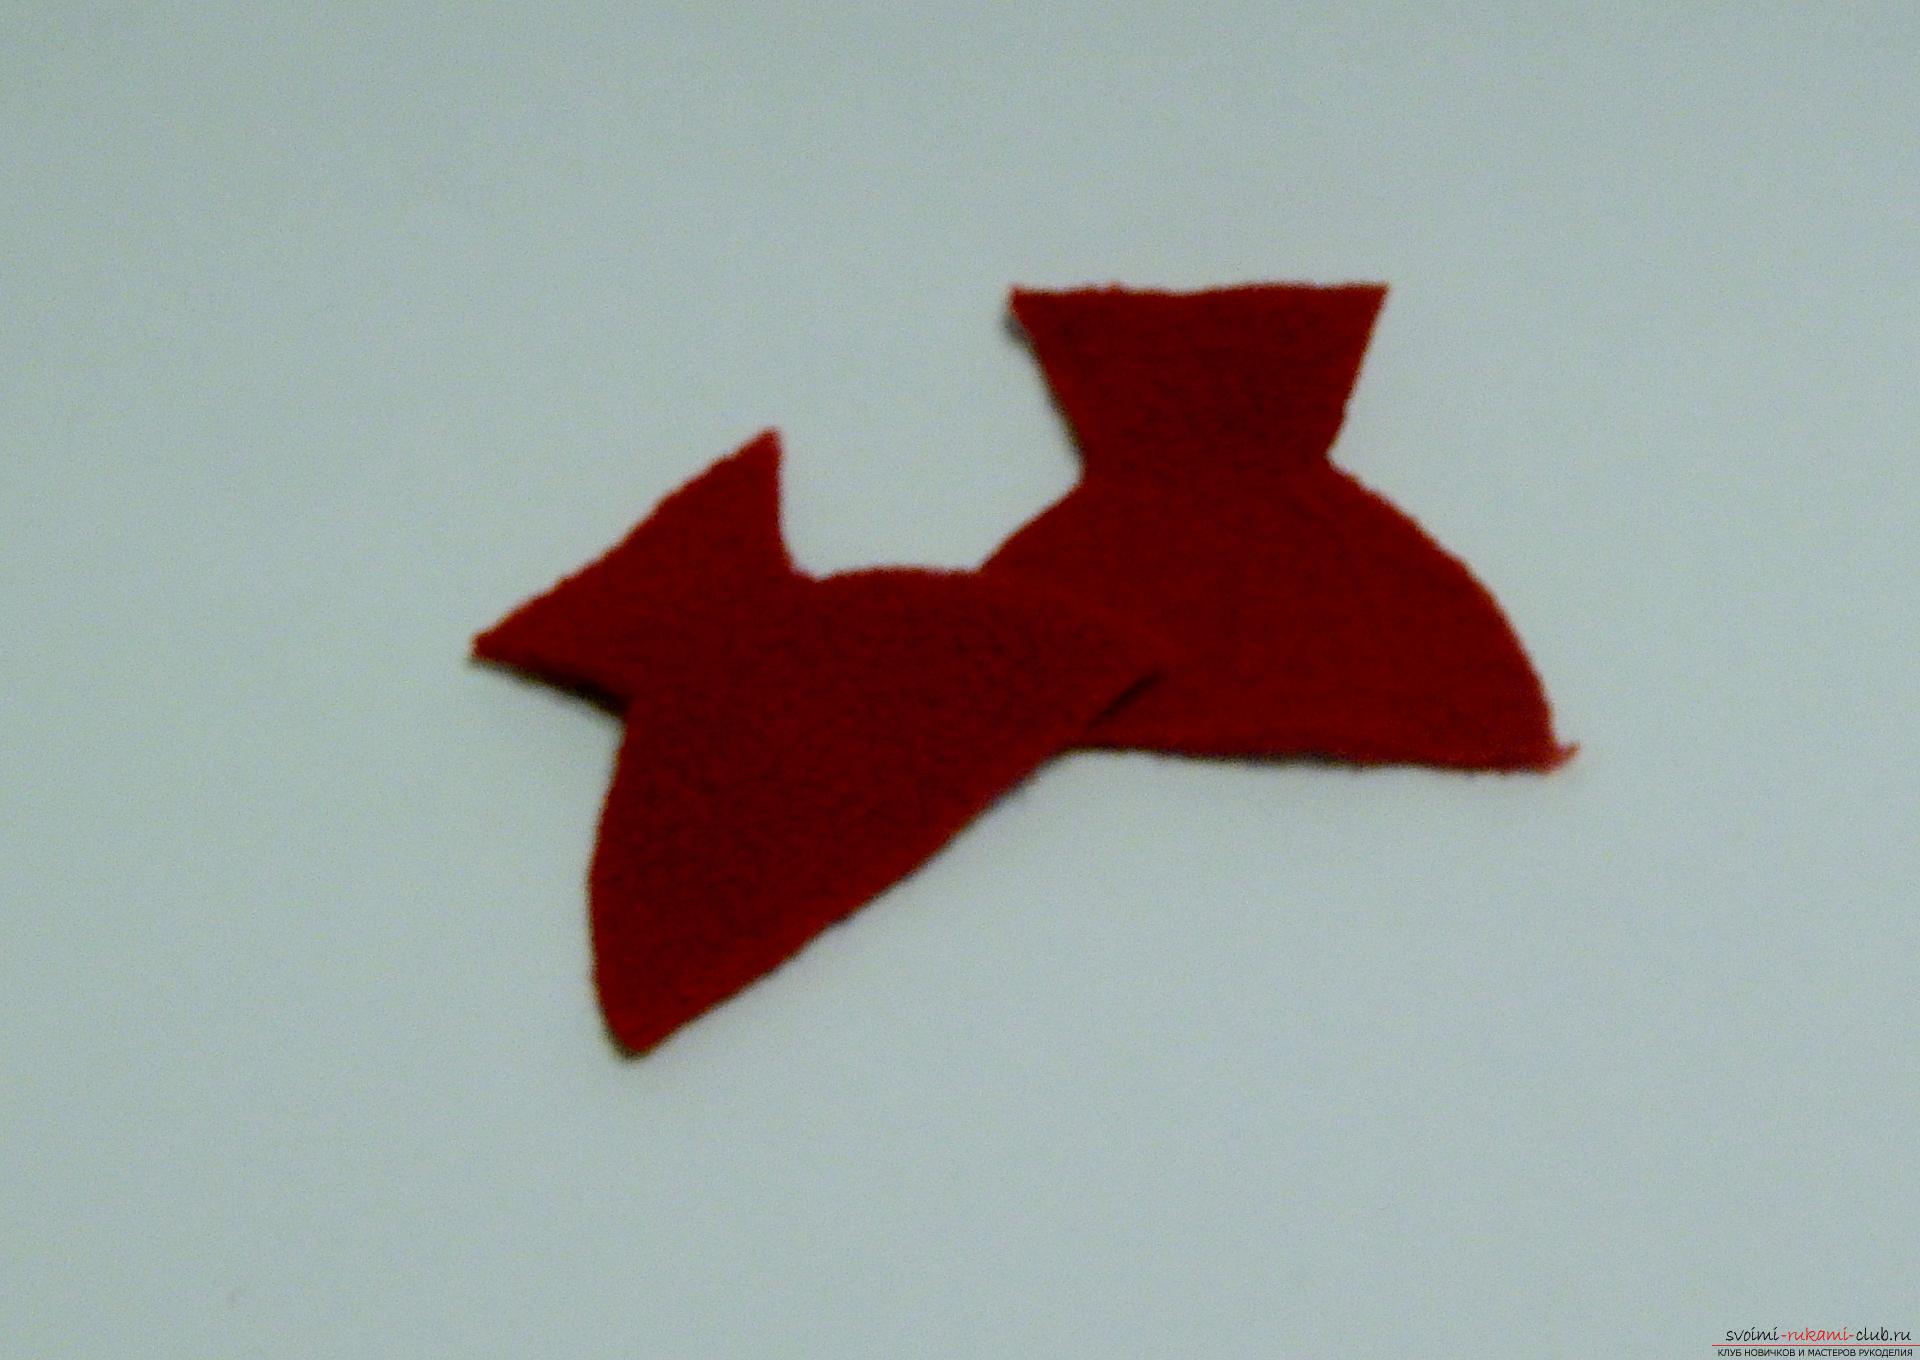 Fold them together and sew on semicircular sides with a suture seam.
  The upper, not sewn part of the cap, cut into small strips, so we get a brush on the top of the cap.
 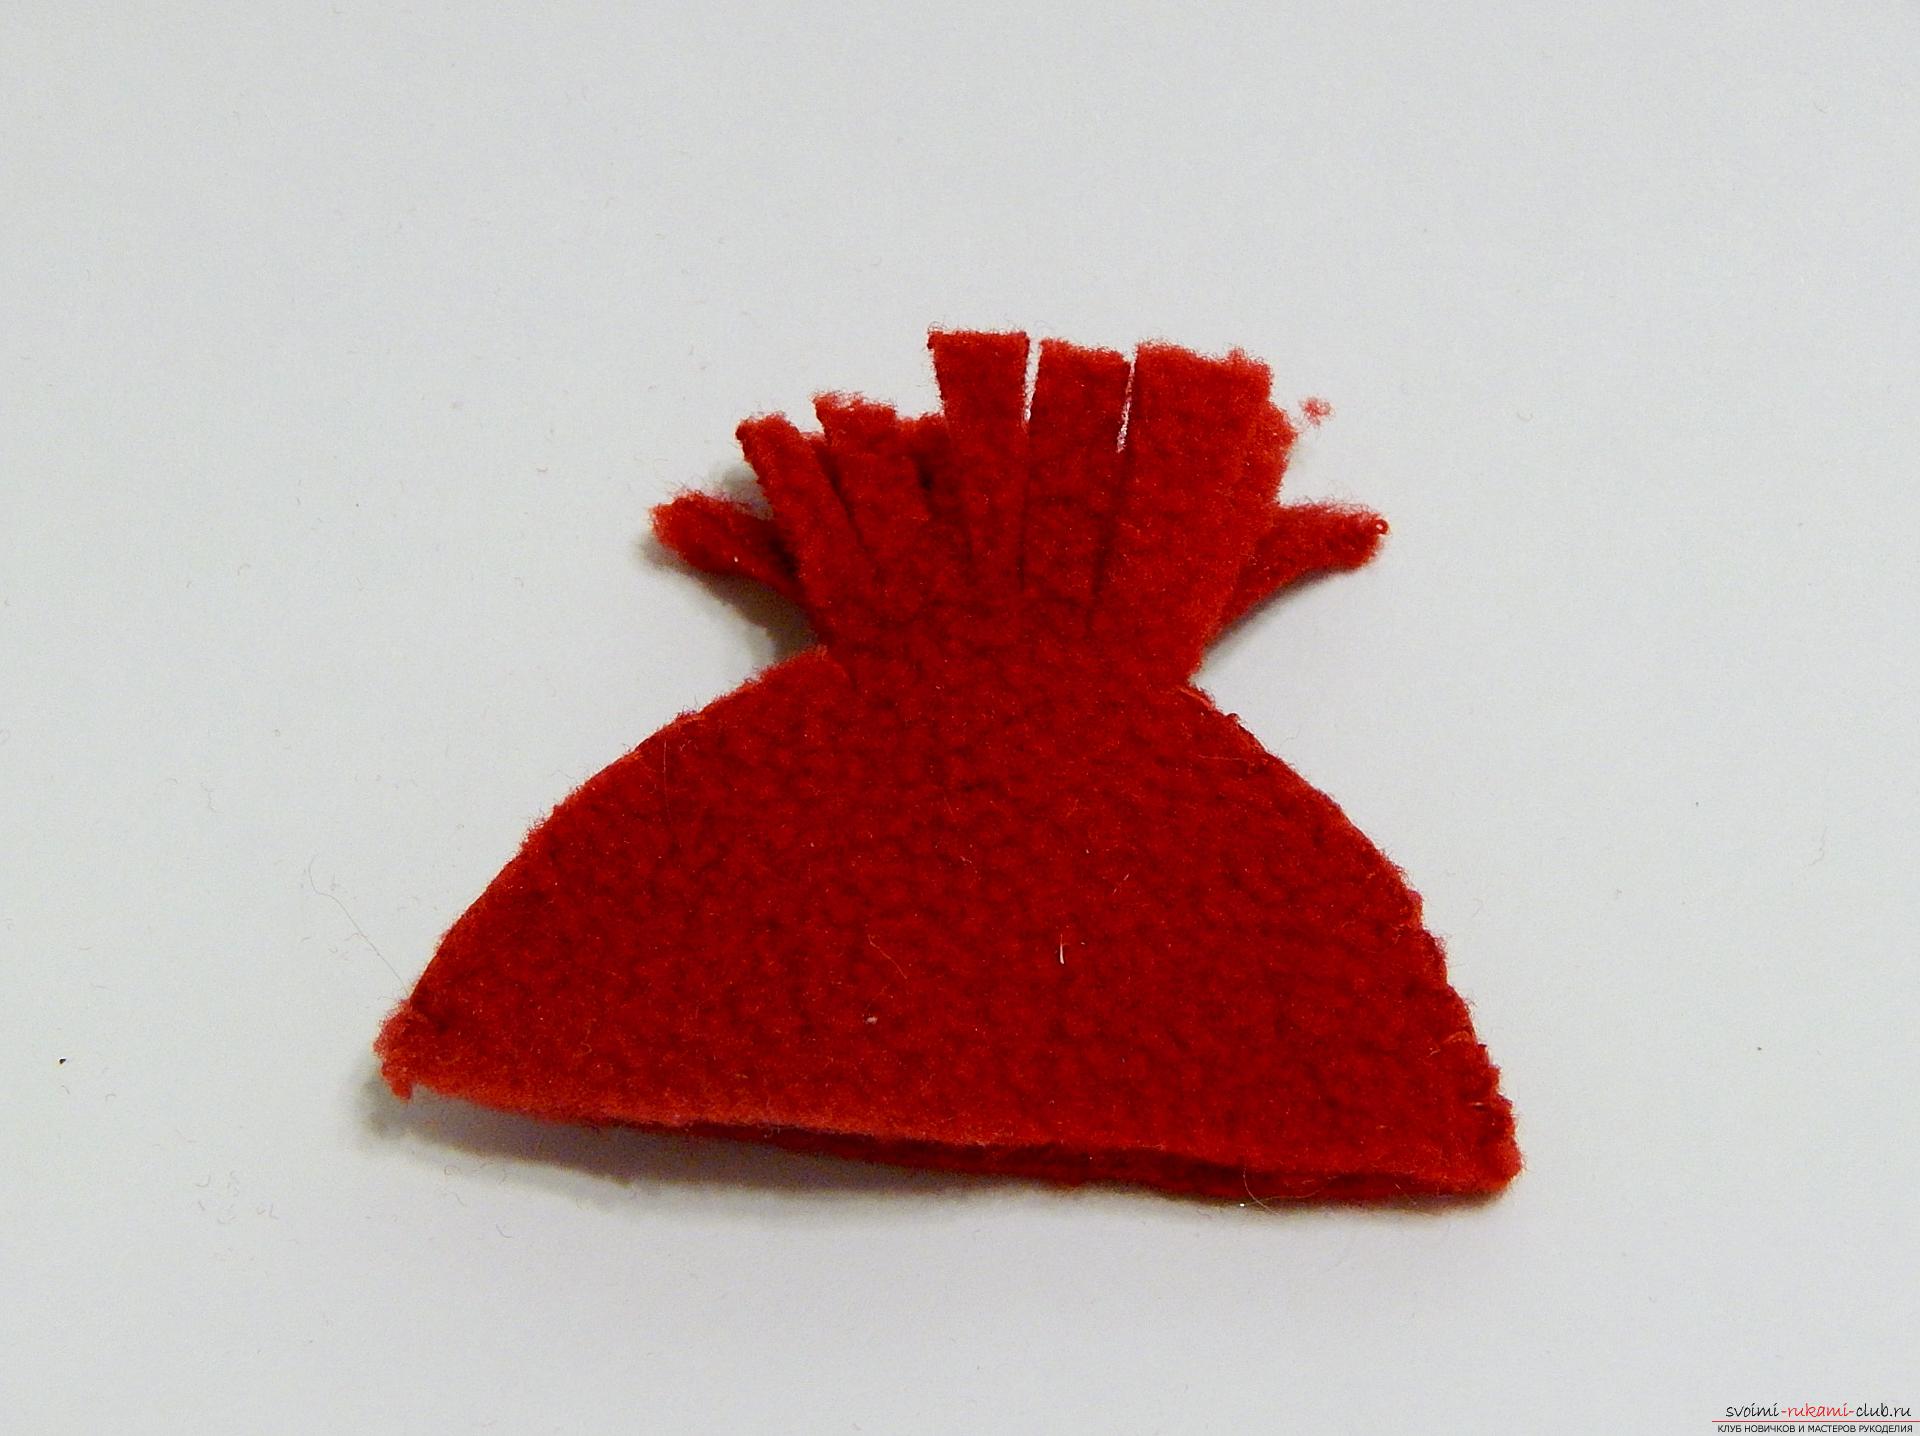 From the length of the red satin ribbon we make a loop, tying its ends between each other in a knot.
 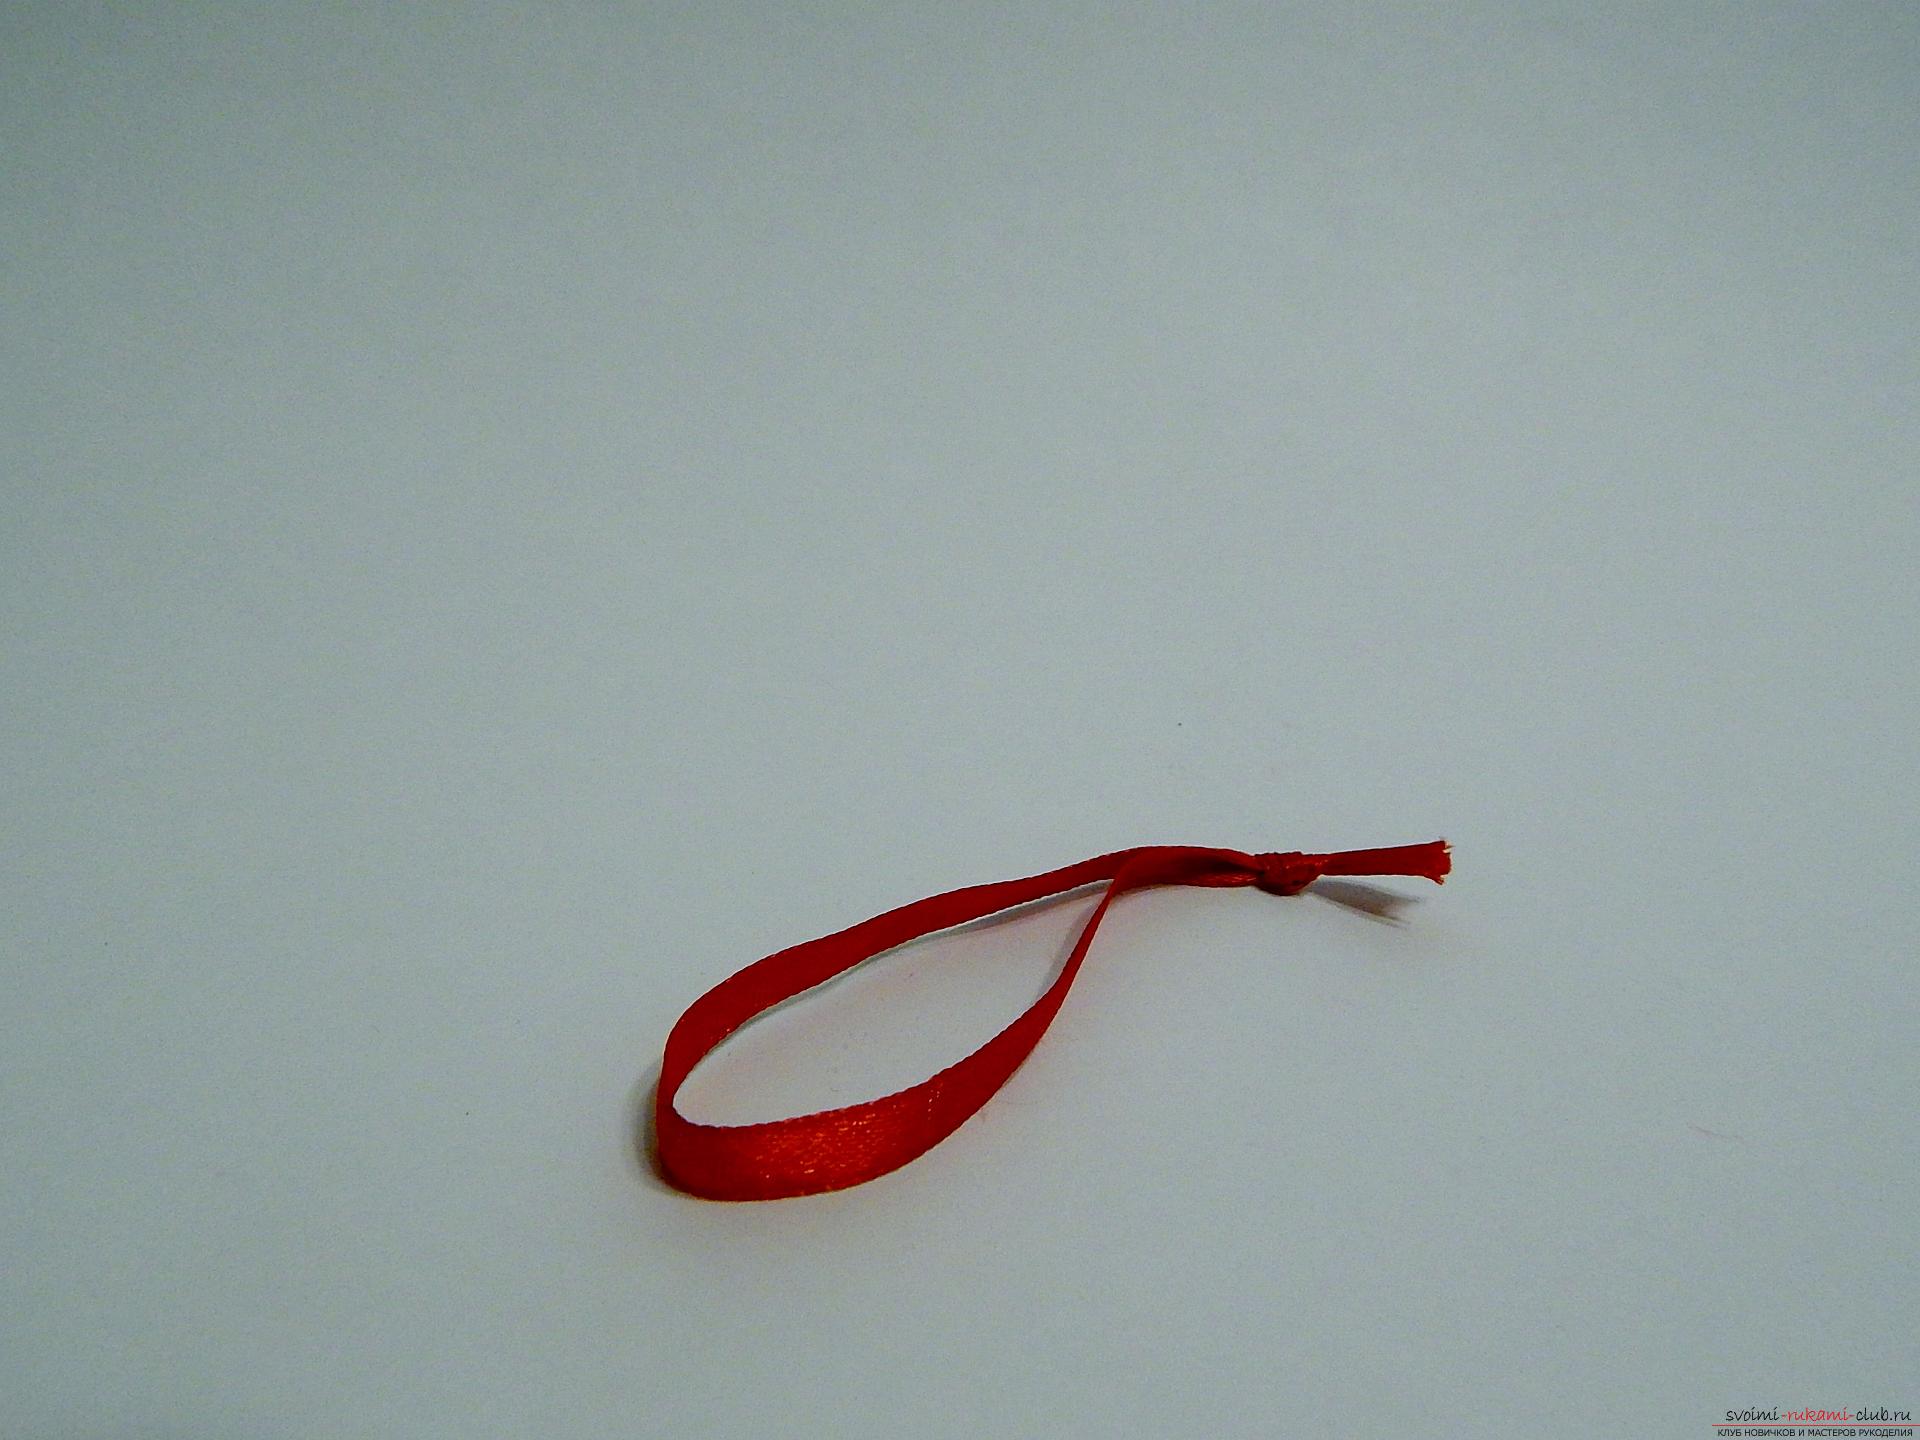 In the free hole at the top of the cap we place the knot of the eyelet.
 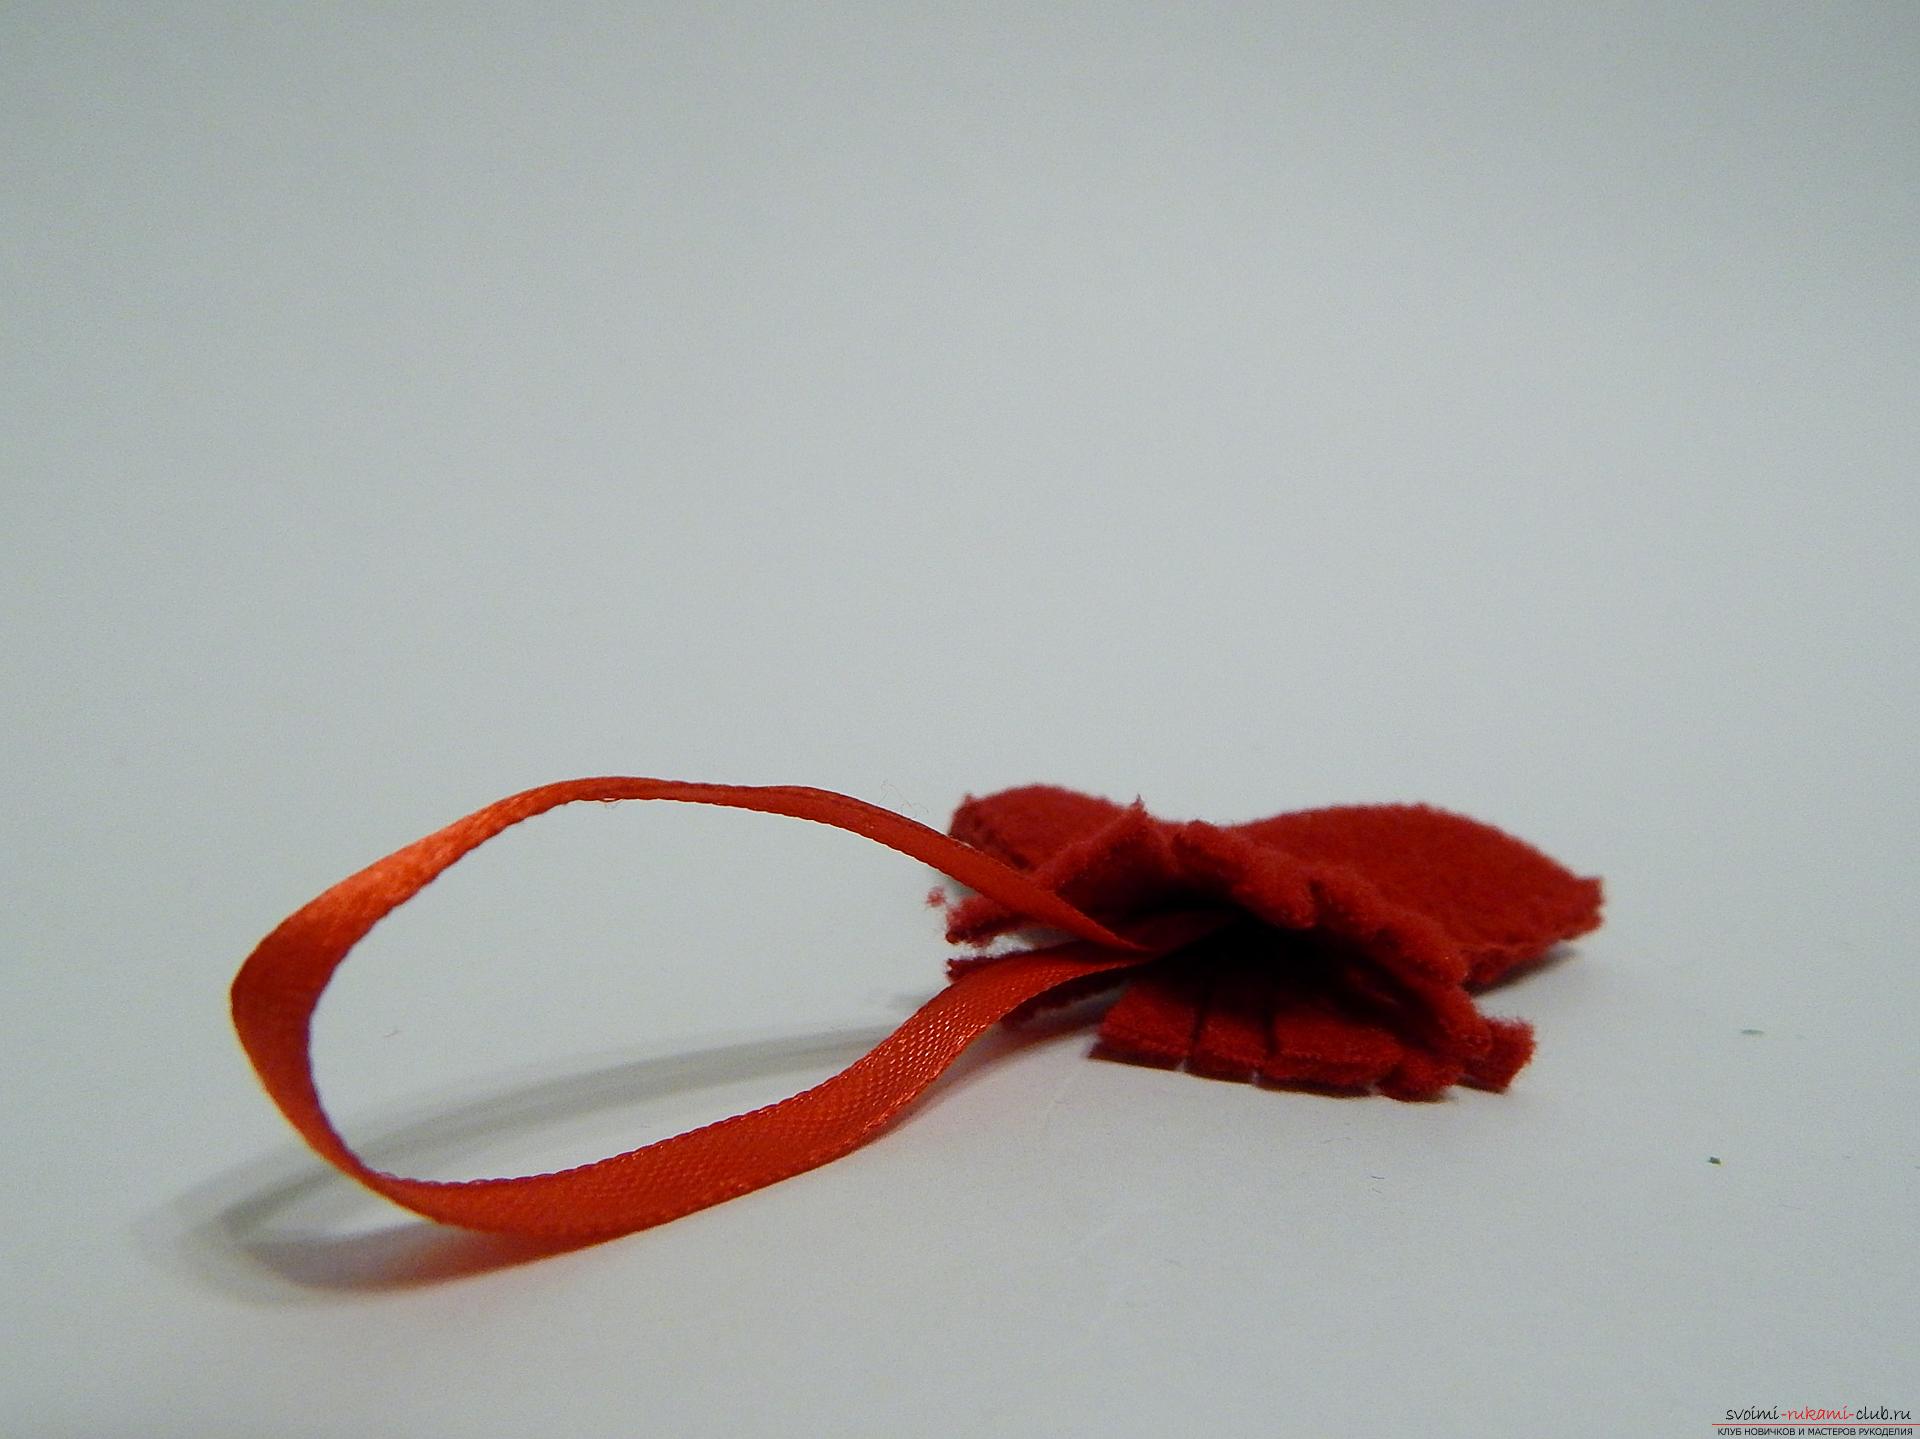 And tighten the thread with the brush of the cap together with the satin stitch. The snowman's hat is ready.
 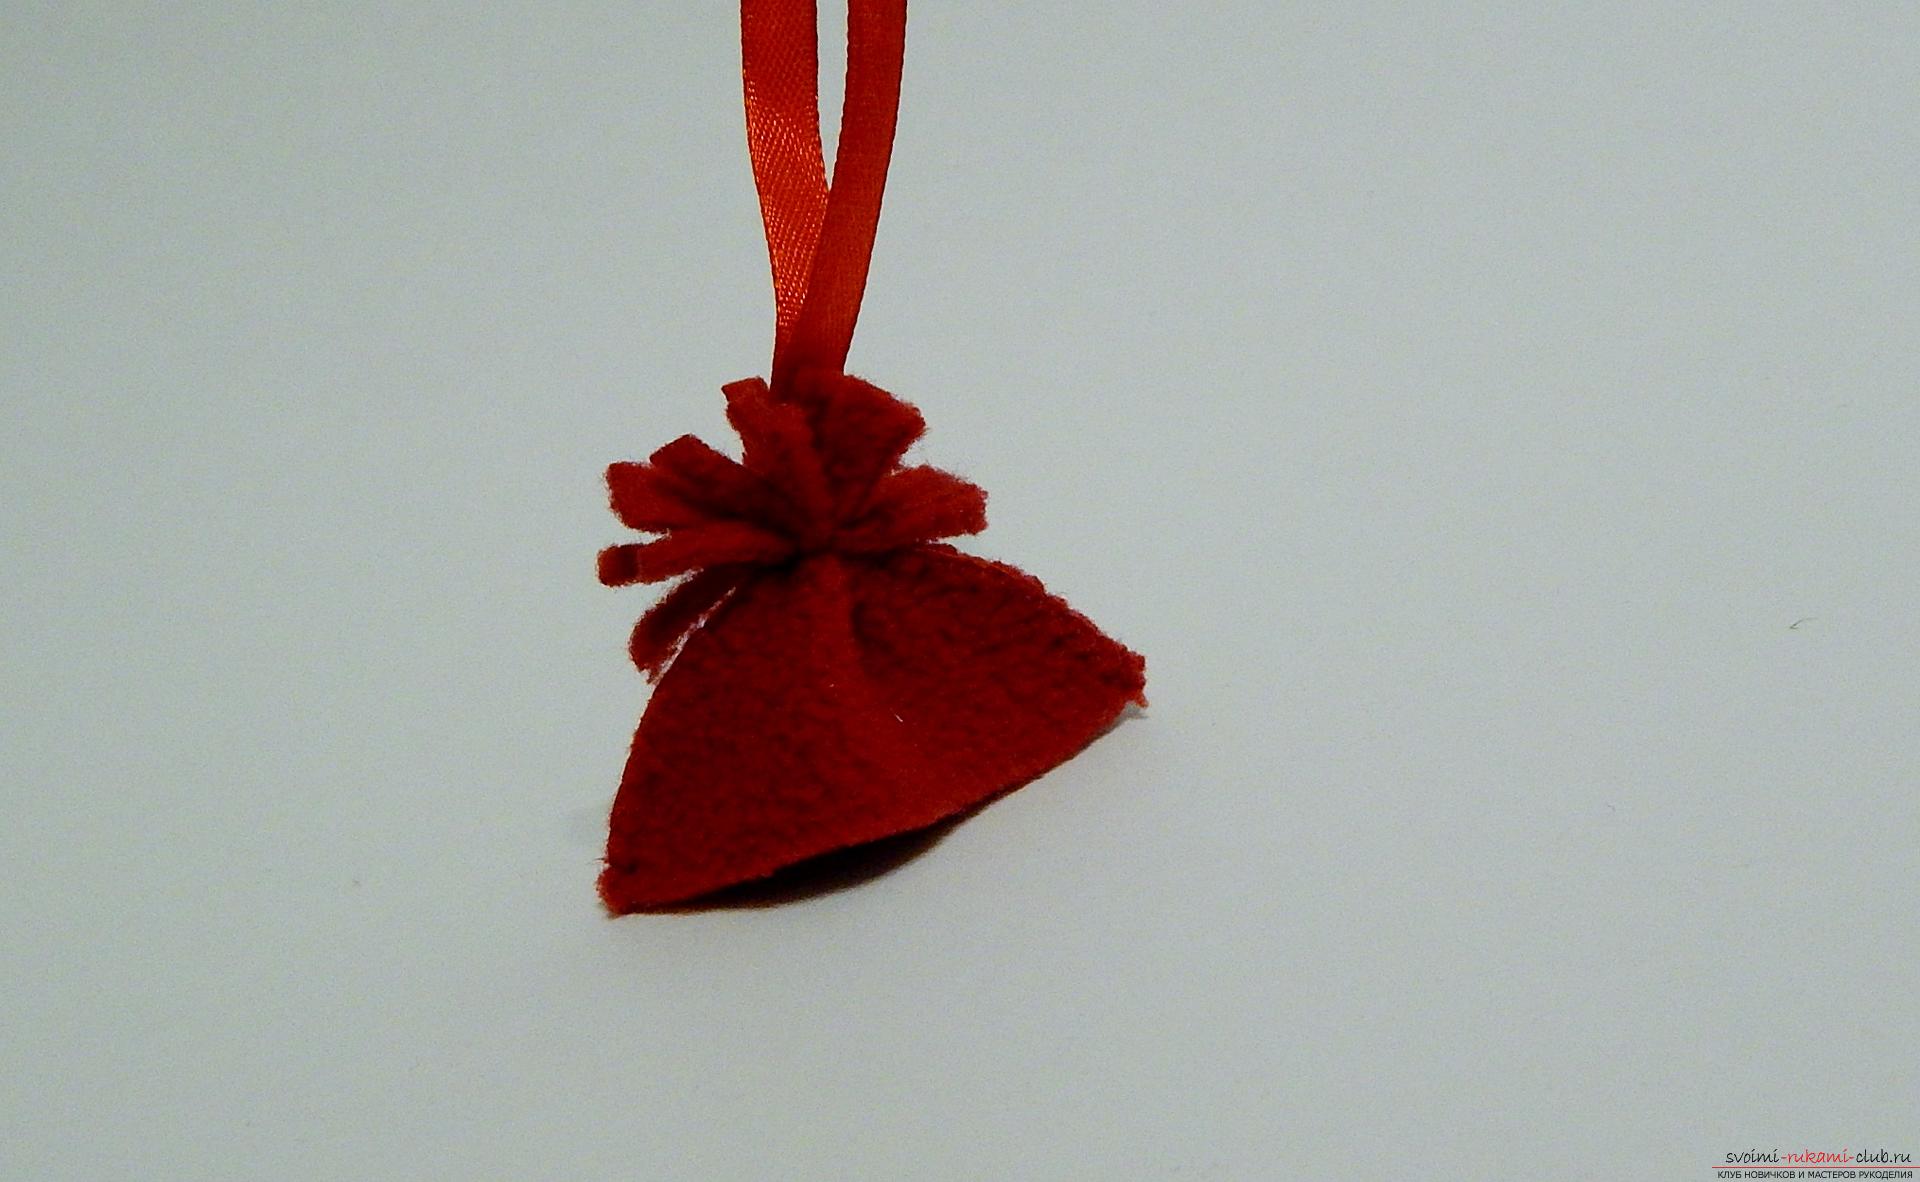 We sew two snowman felt parts together with a suture seam, but not completely, we need a hole through which it will be possible to fill the snowman with a packing.
 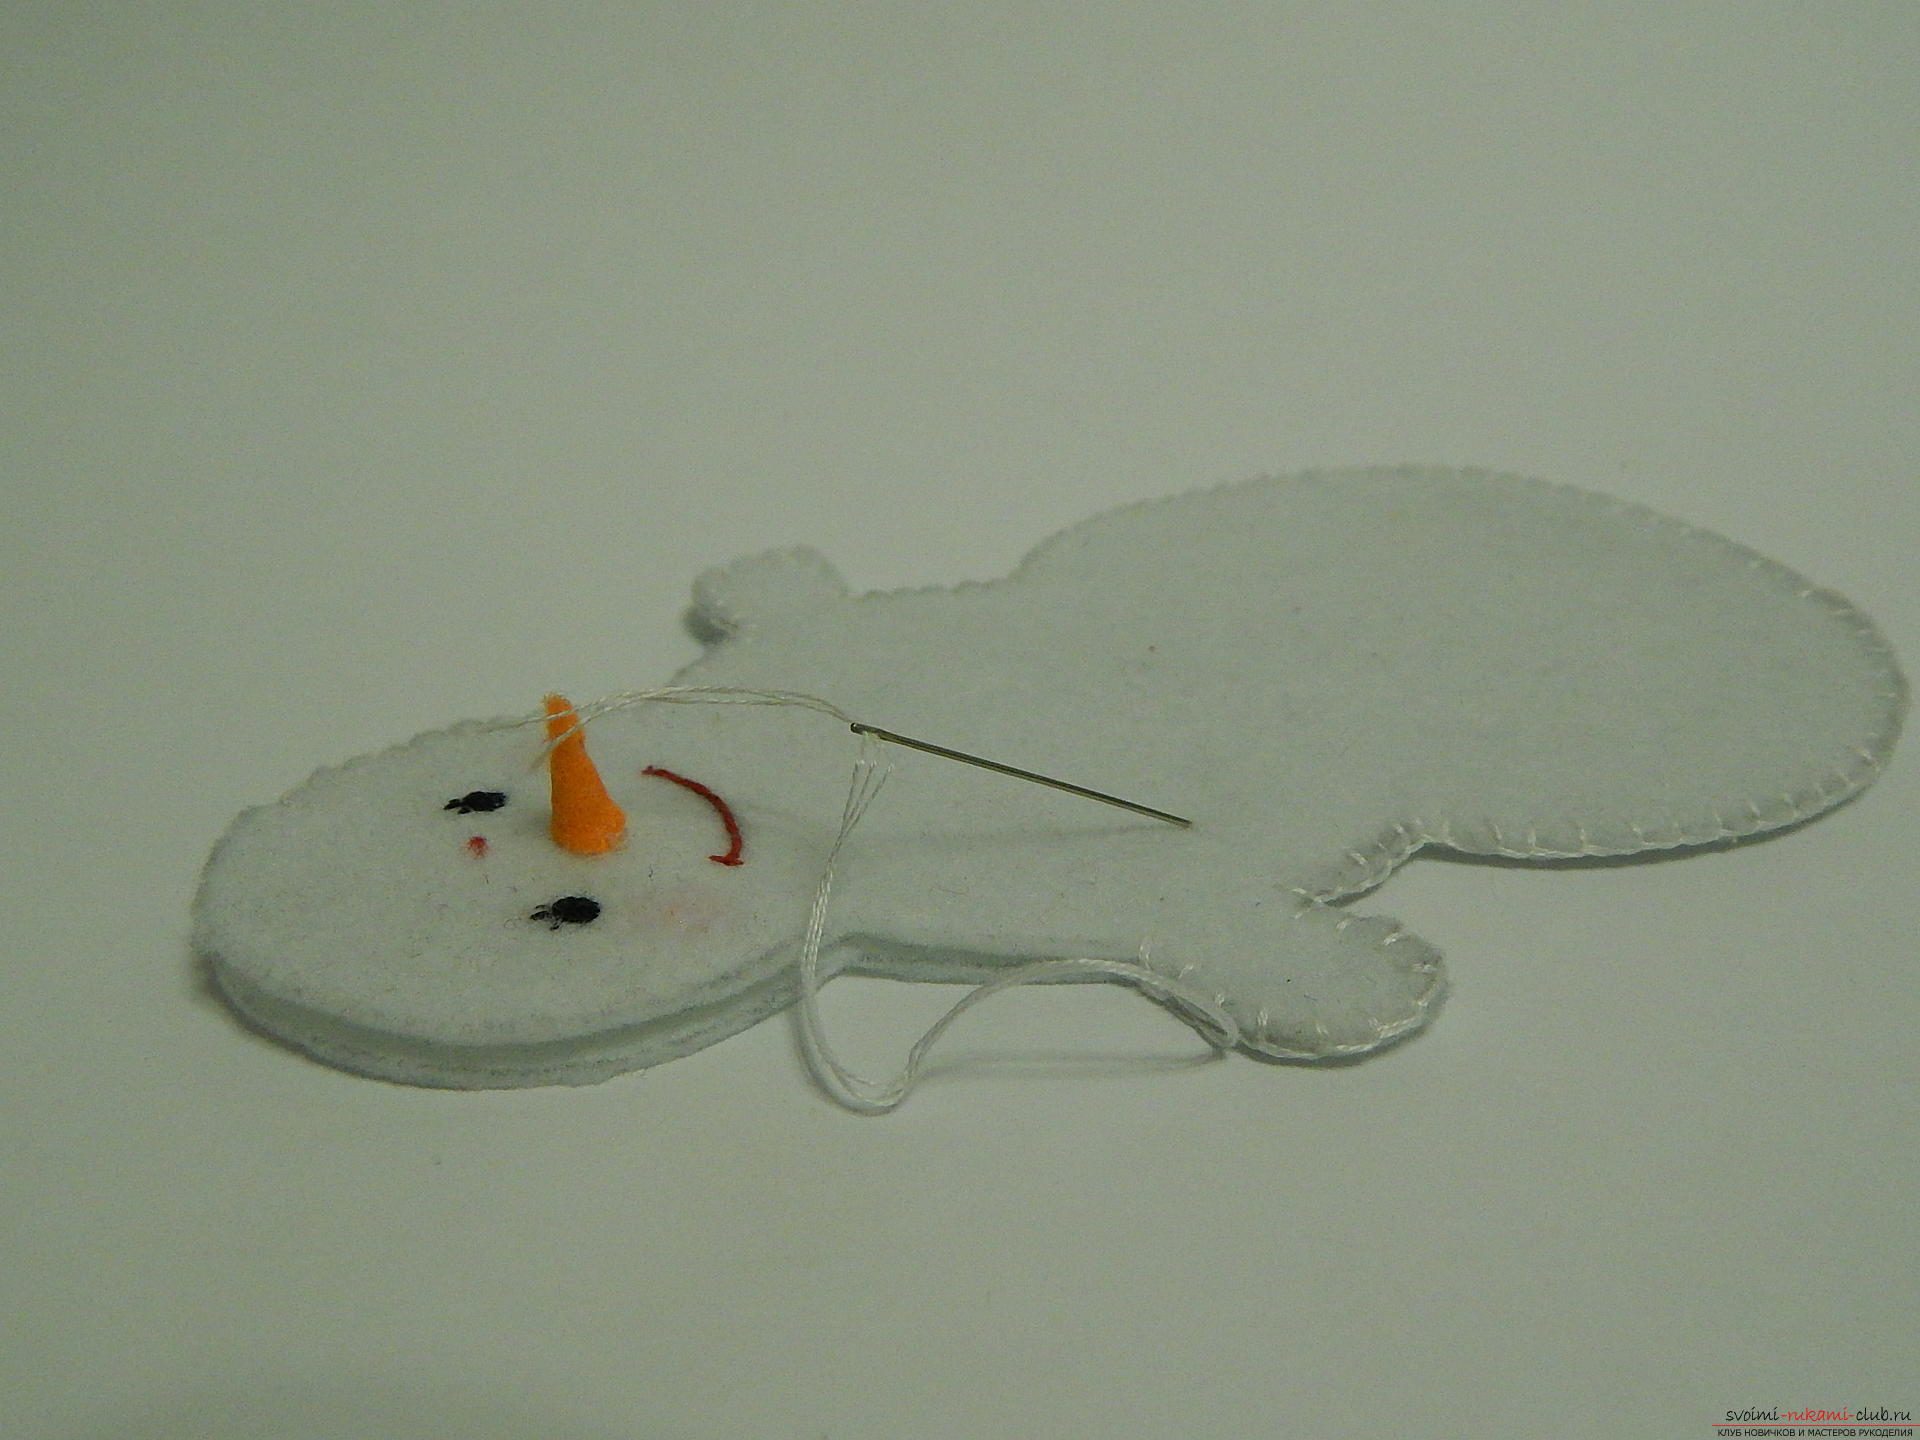 Fill the torso of the snowman with a holofiber.
 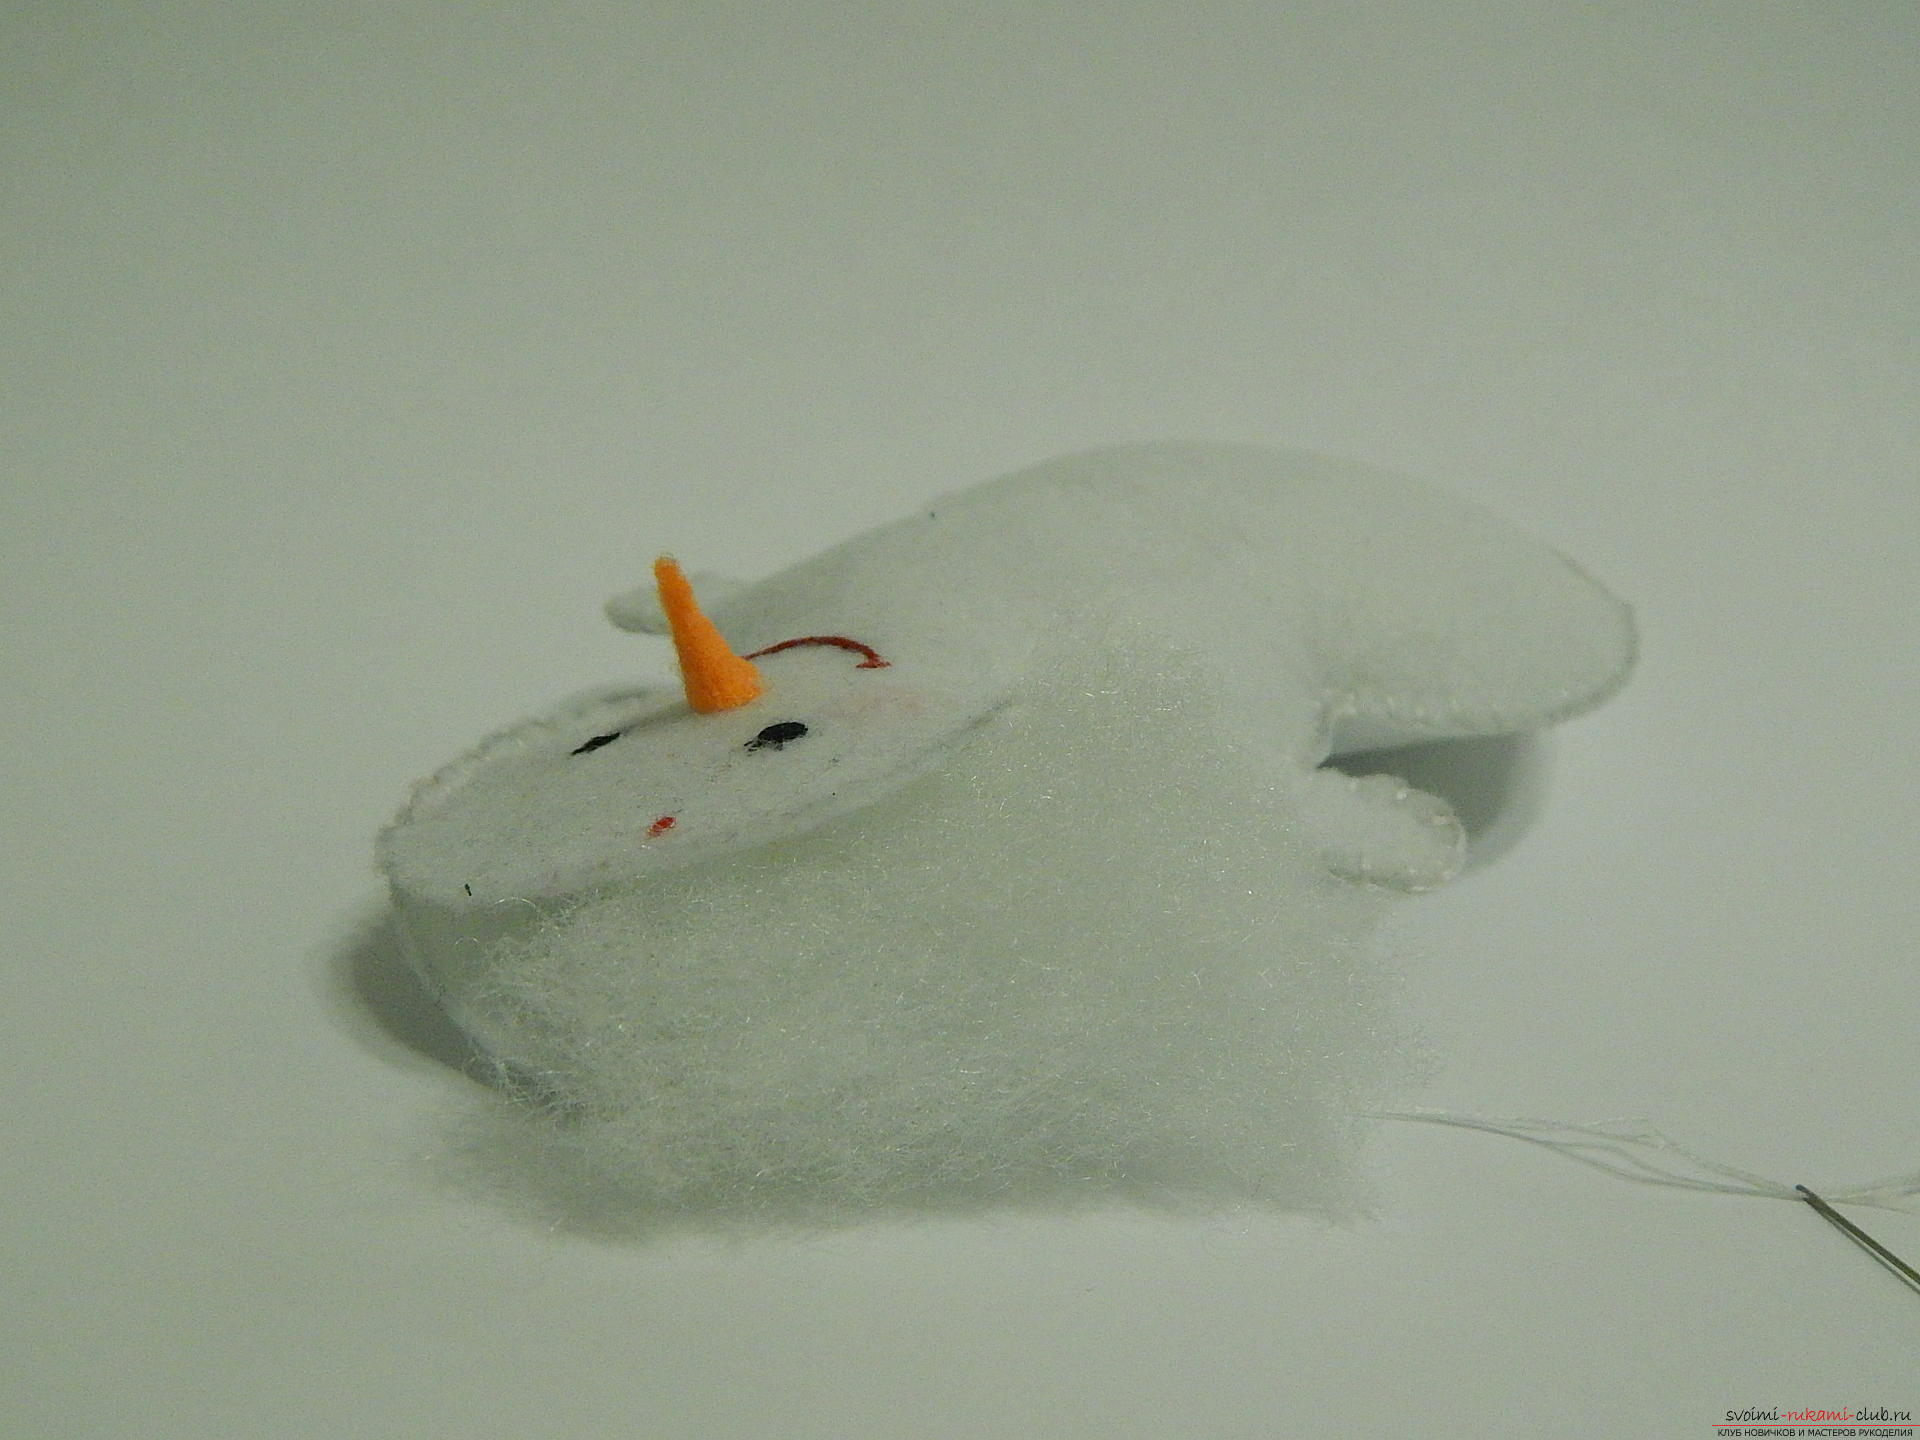 Now you can finally sew two halves of a snowman.
  On the top of the snowman's head, apply a little glue.
 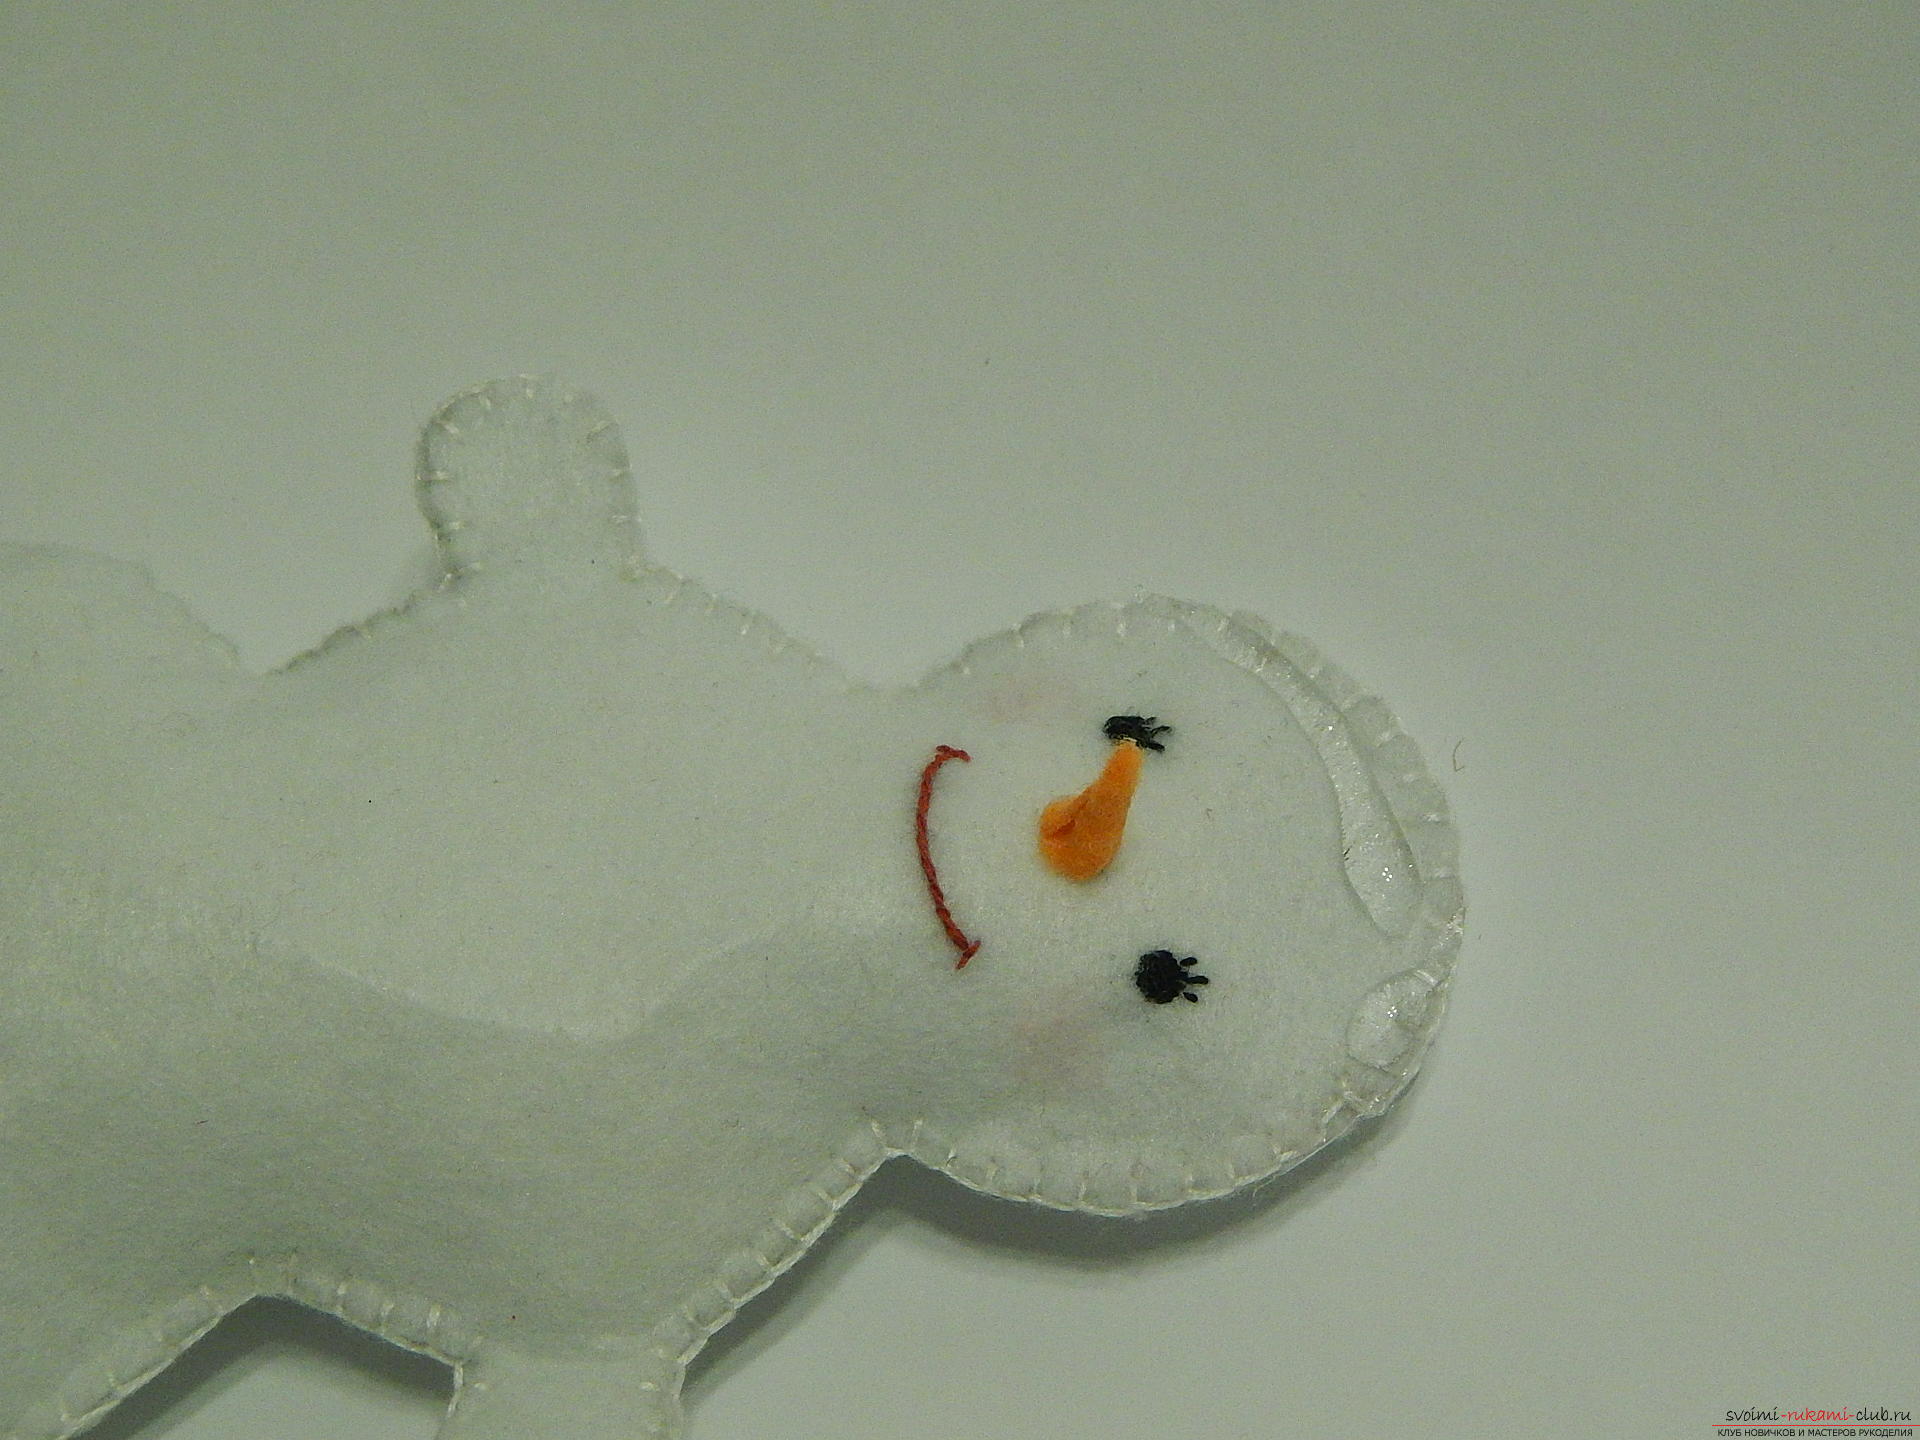 And securely attach a cap to his head.
  The main attributes in the hands of a snowman area broom and a bag with gifts. We will start to make them, start from the broom. On the office file, we apply universal glue, but do not just pour it, but draw a broom.
 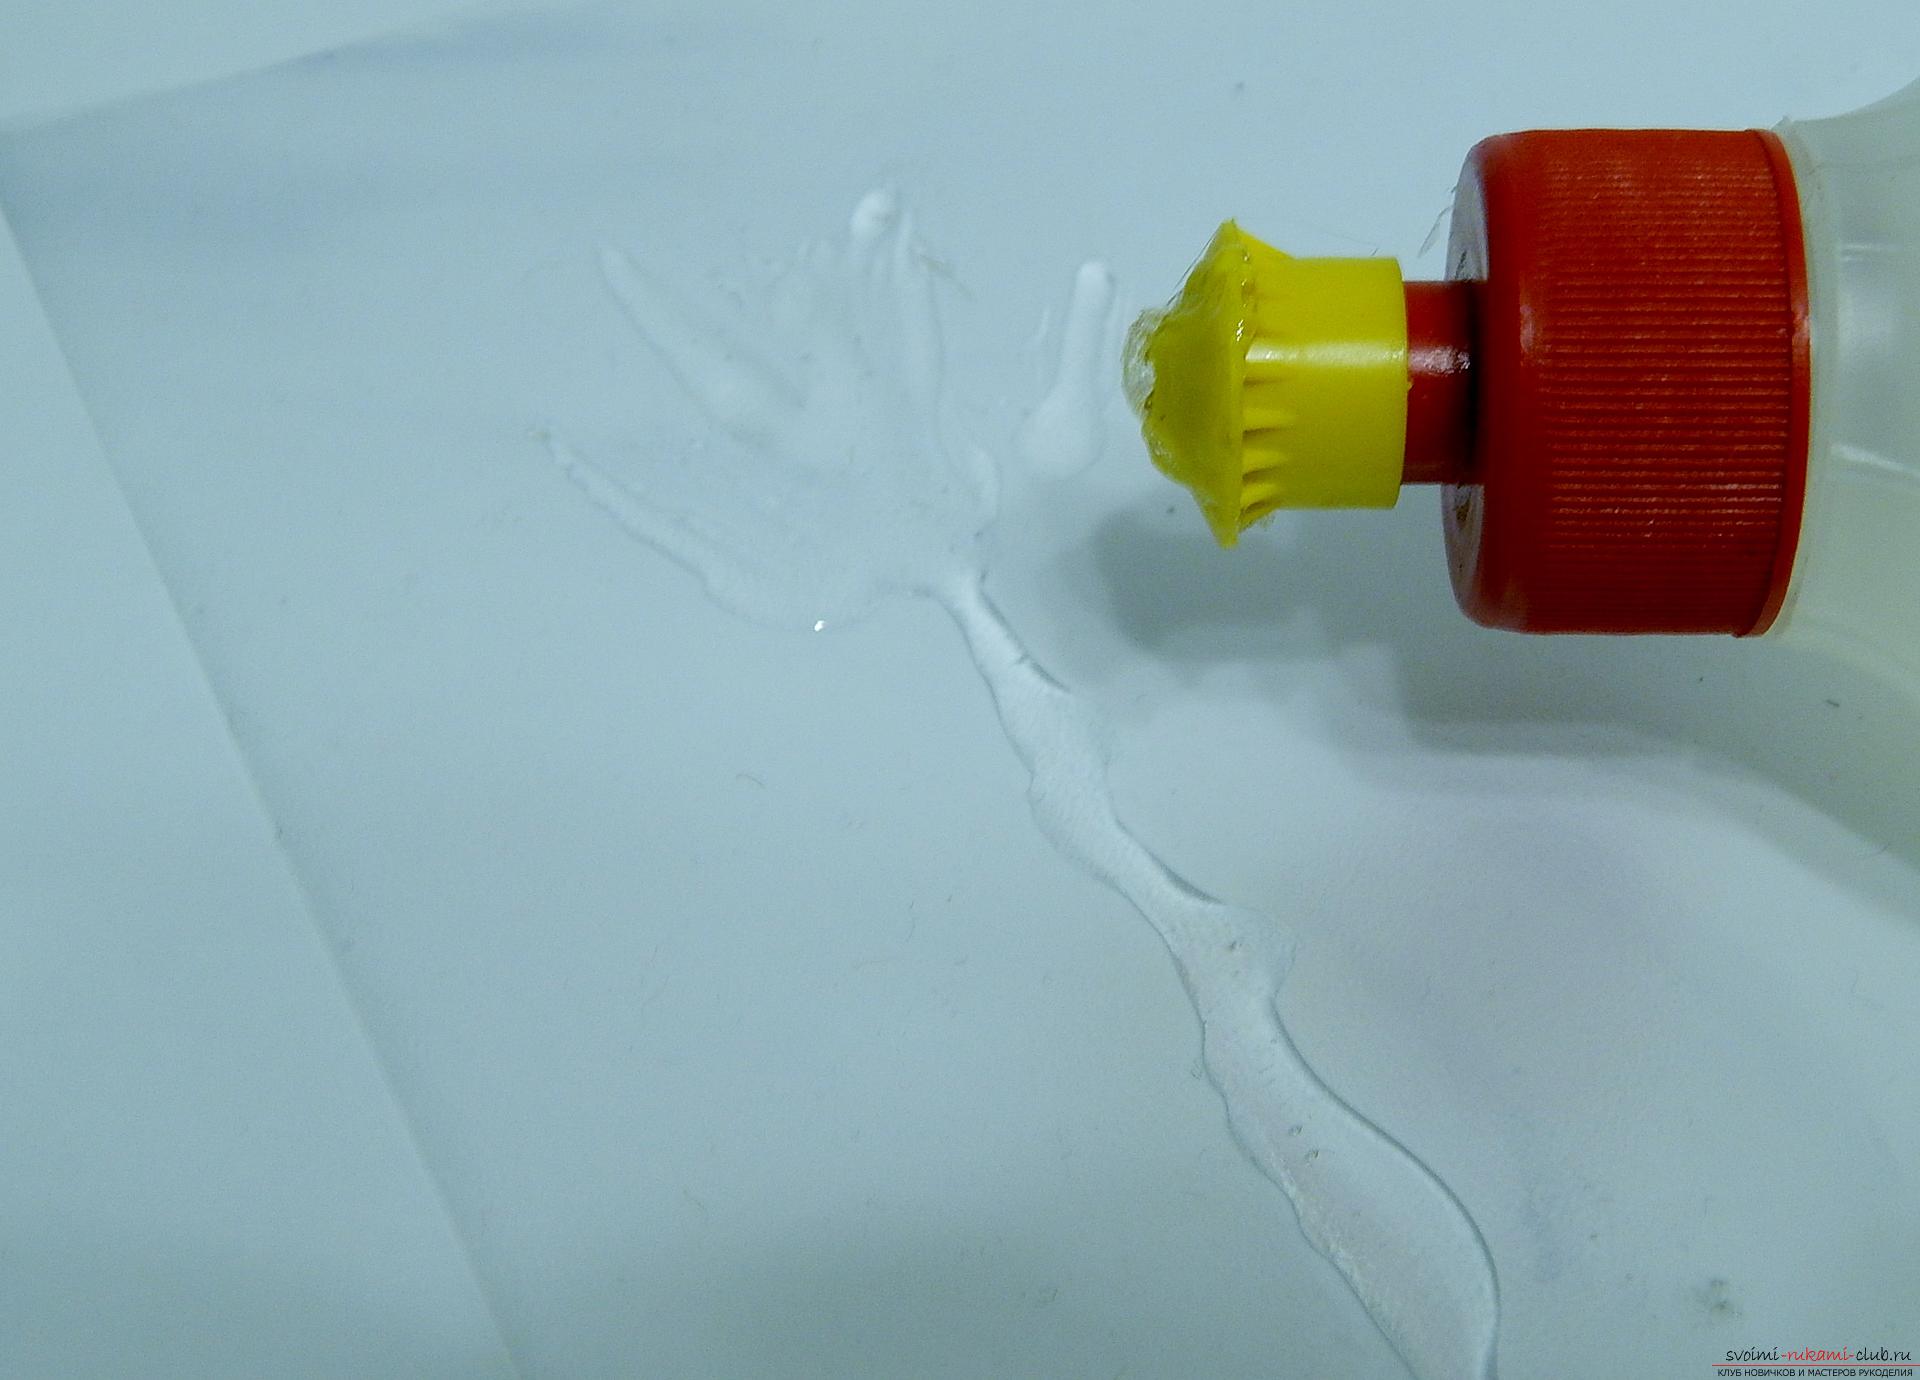 Now on the glue we lay out pieces of decorative twine and put the file down until the glue dries completely.
 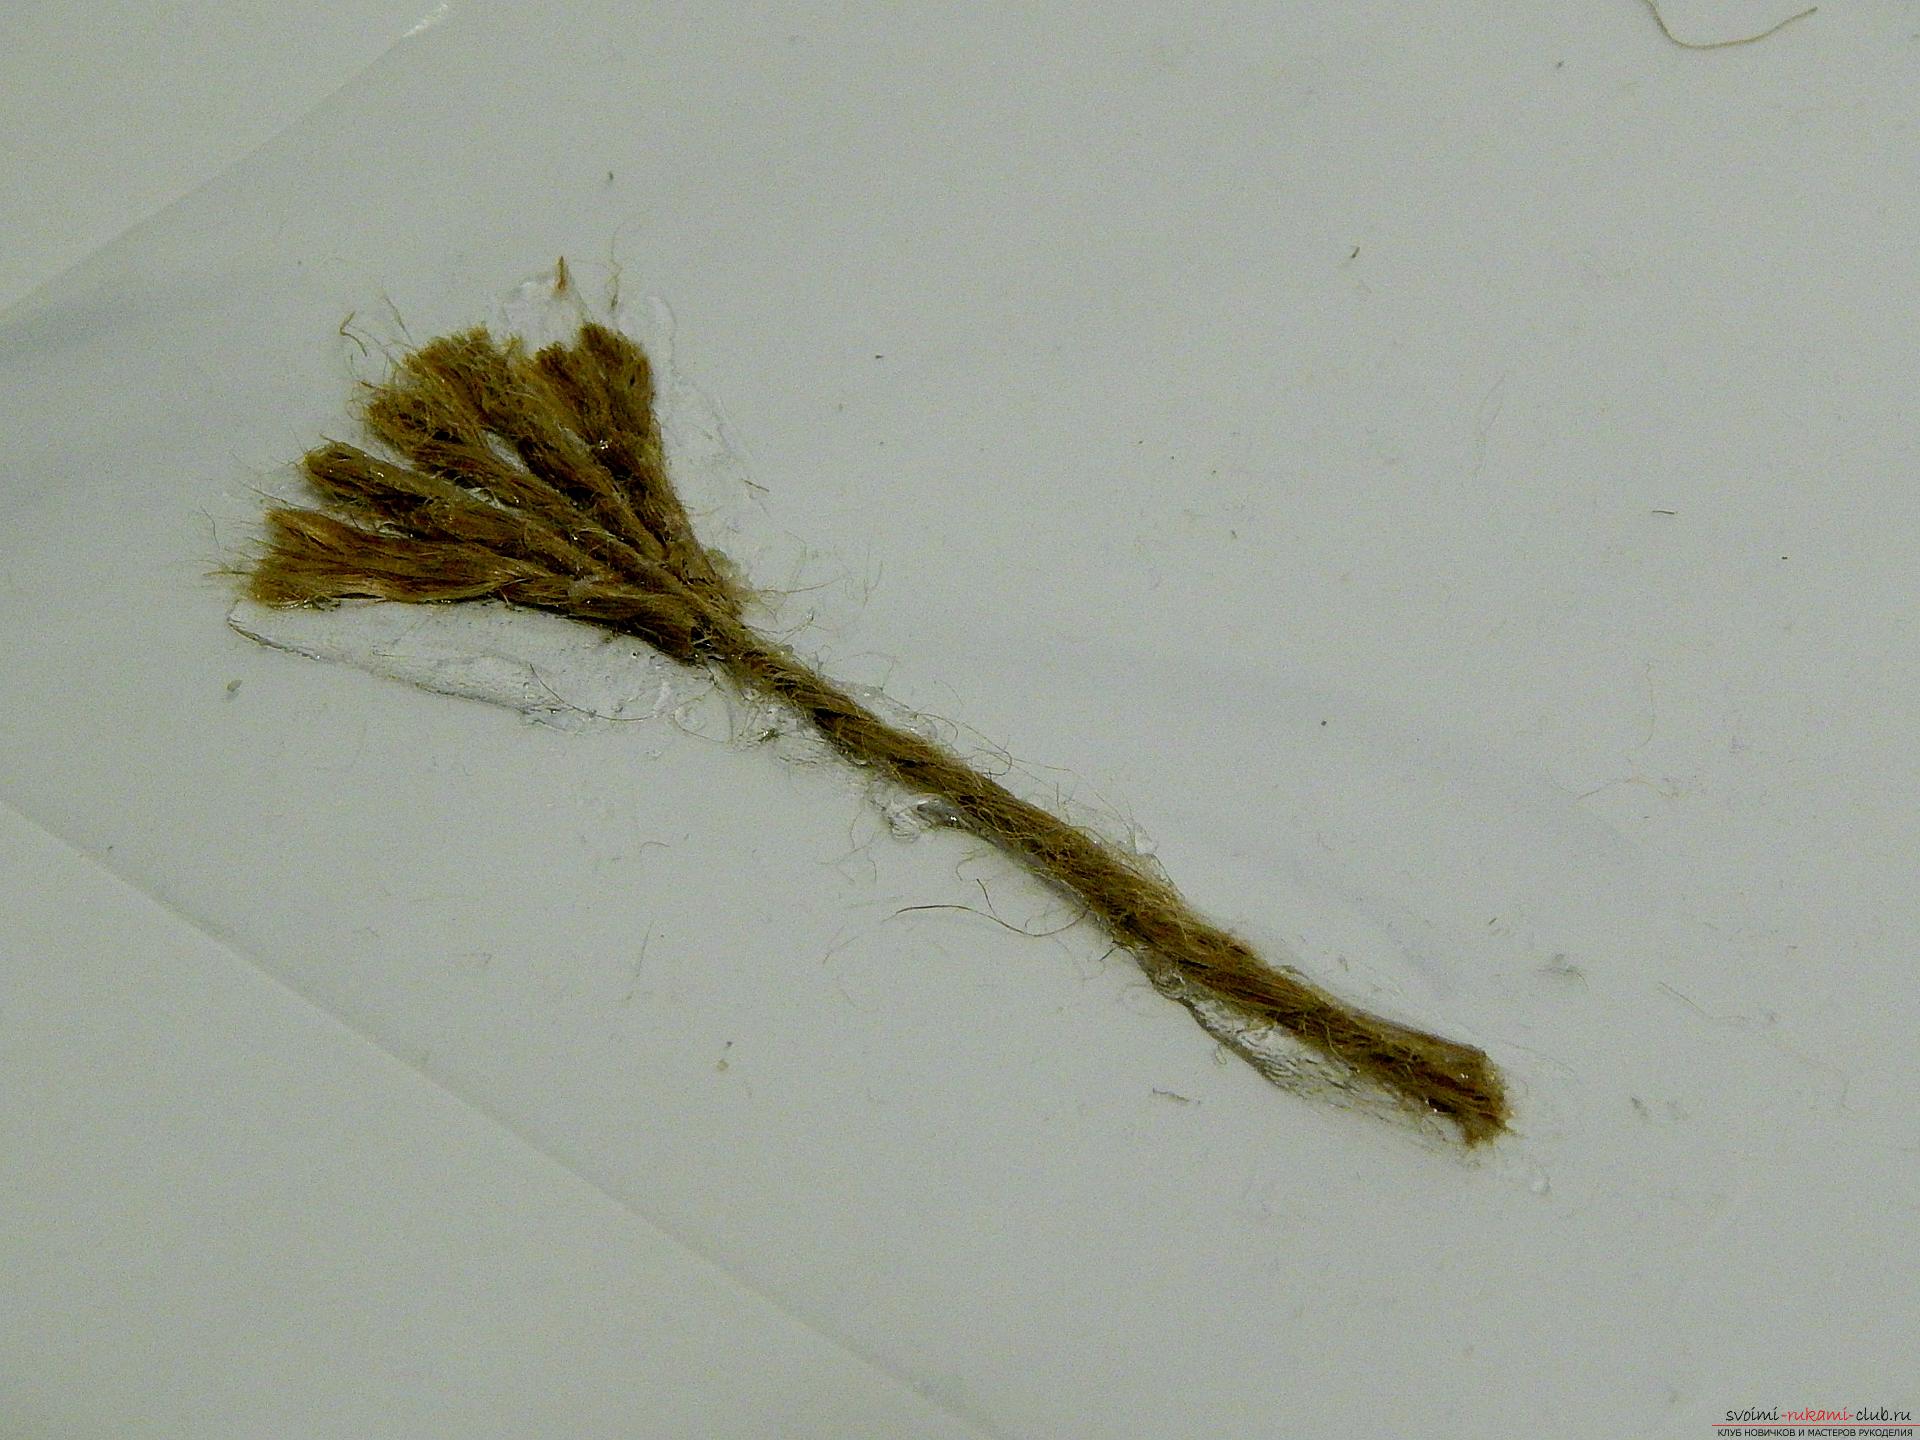 While the broom will dry, so as not to waste time, we will make a sack. From the burlap, cut out two rectangles with rounded edges on one side.
 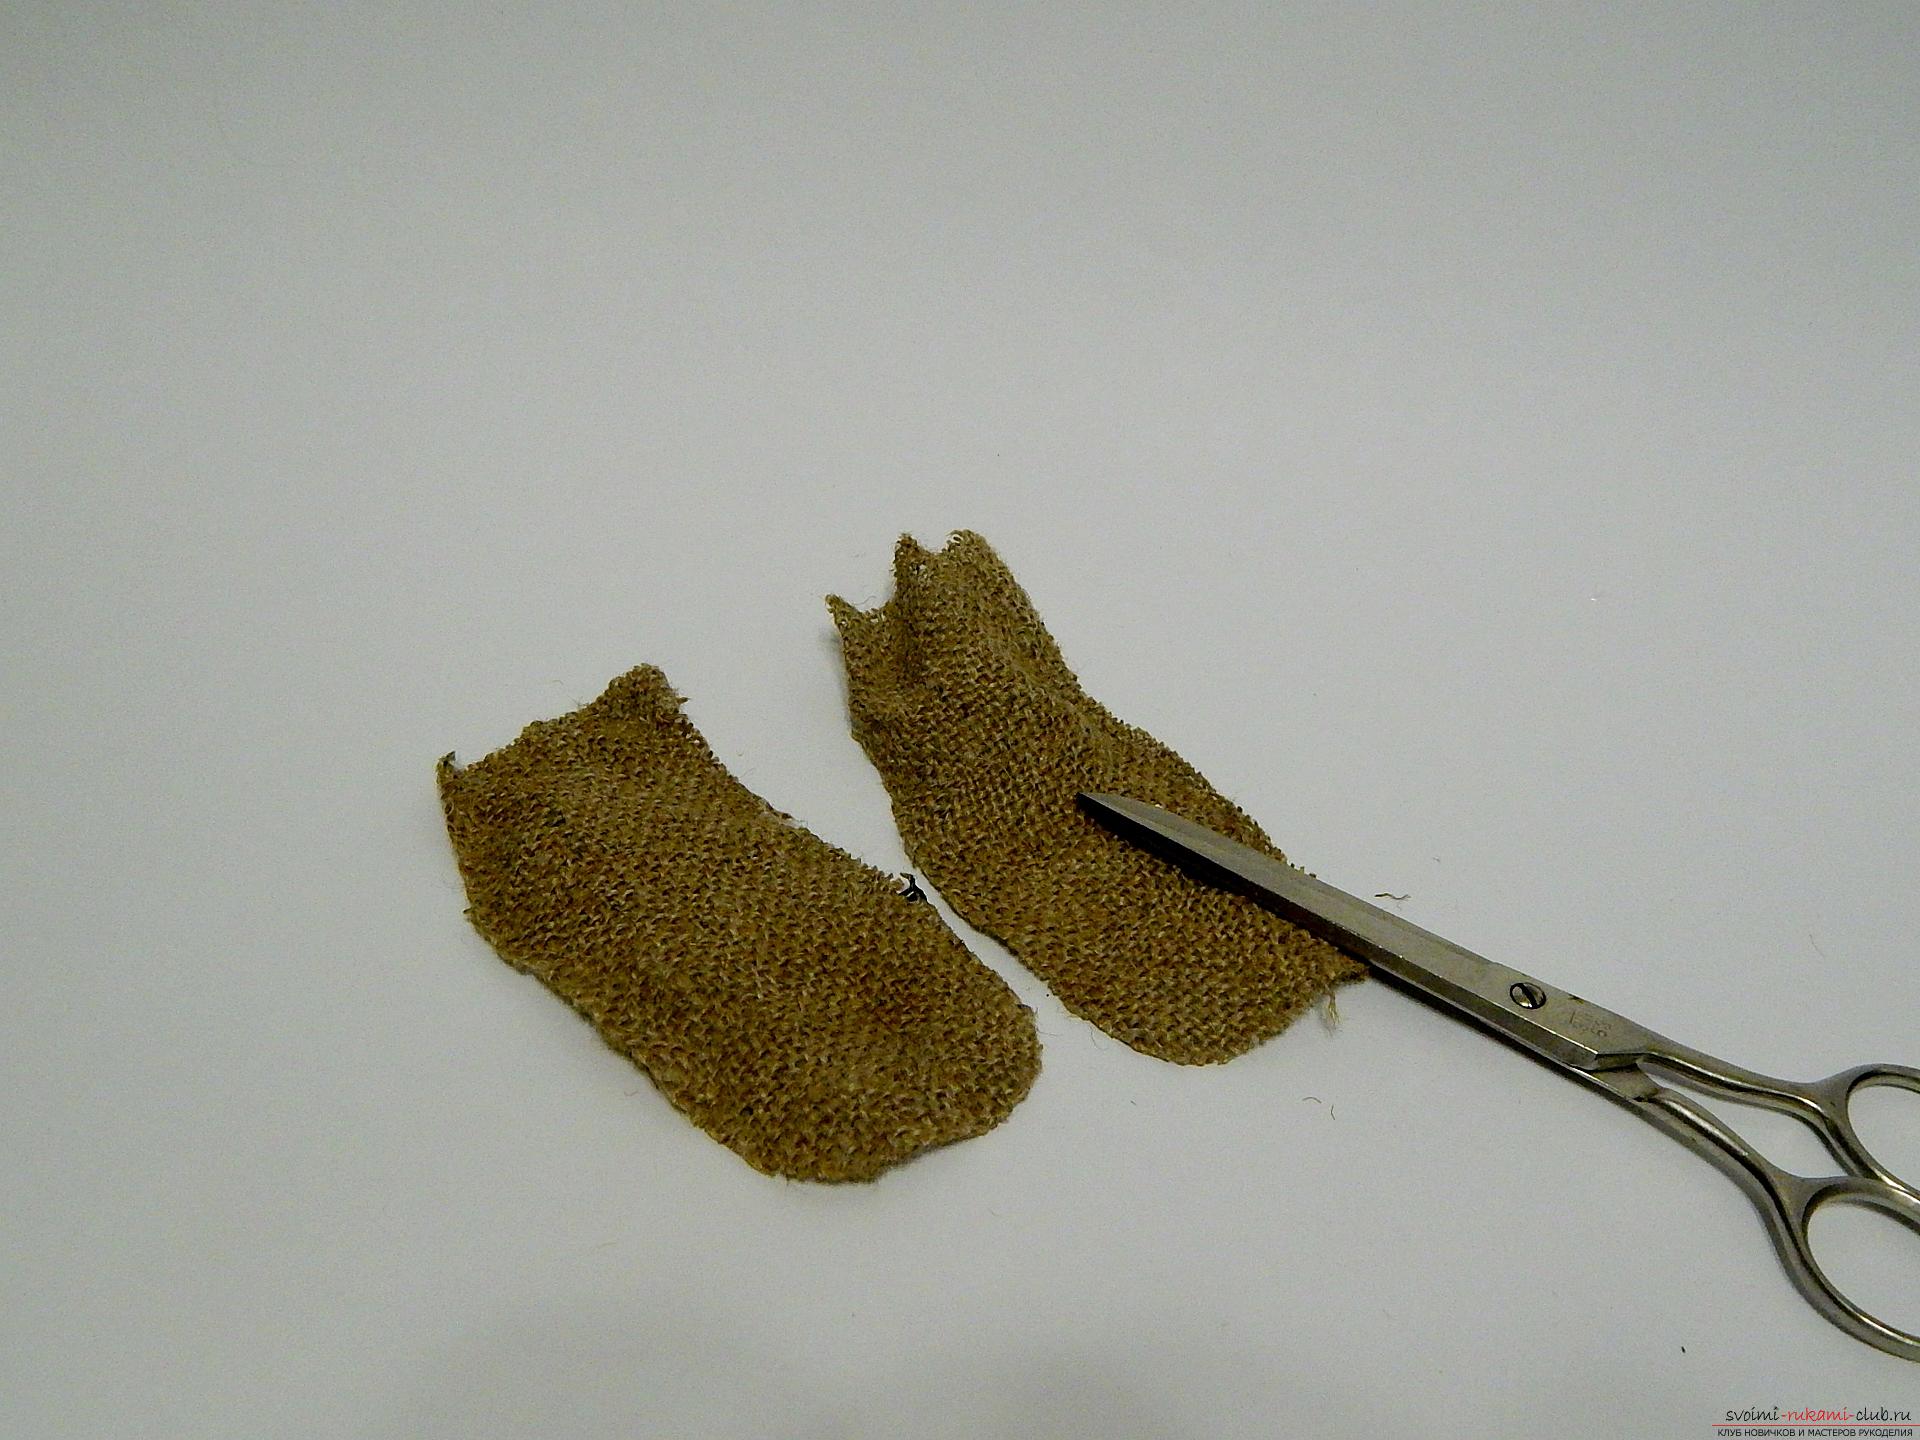 Sew the two pieces of the bag on three sides, leaving one flat edge free.
 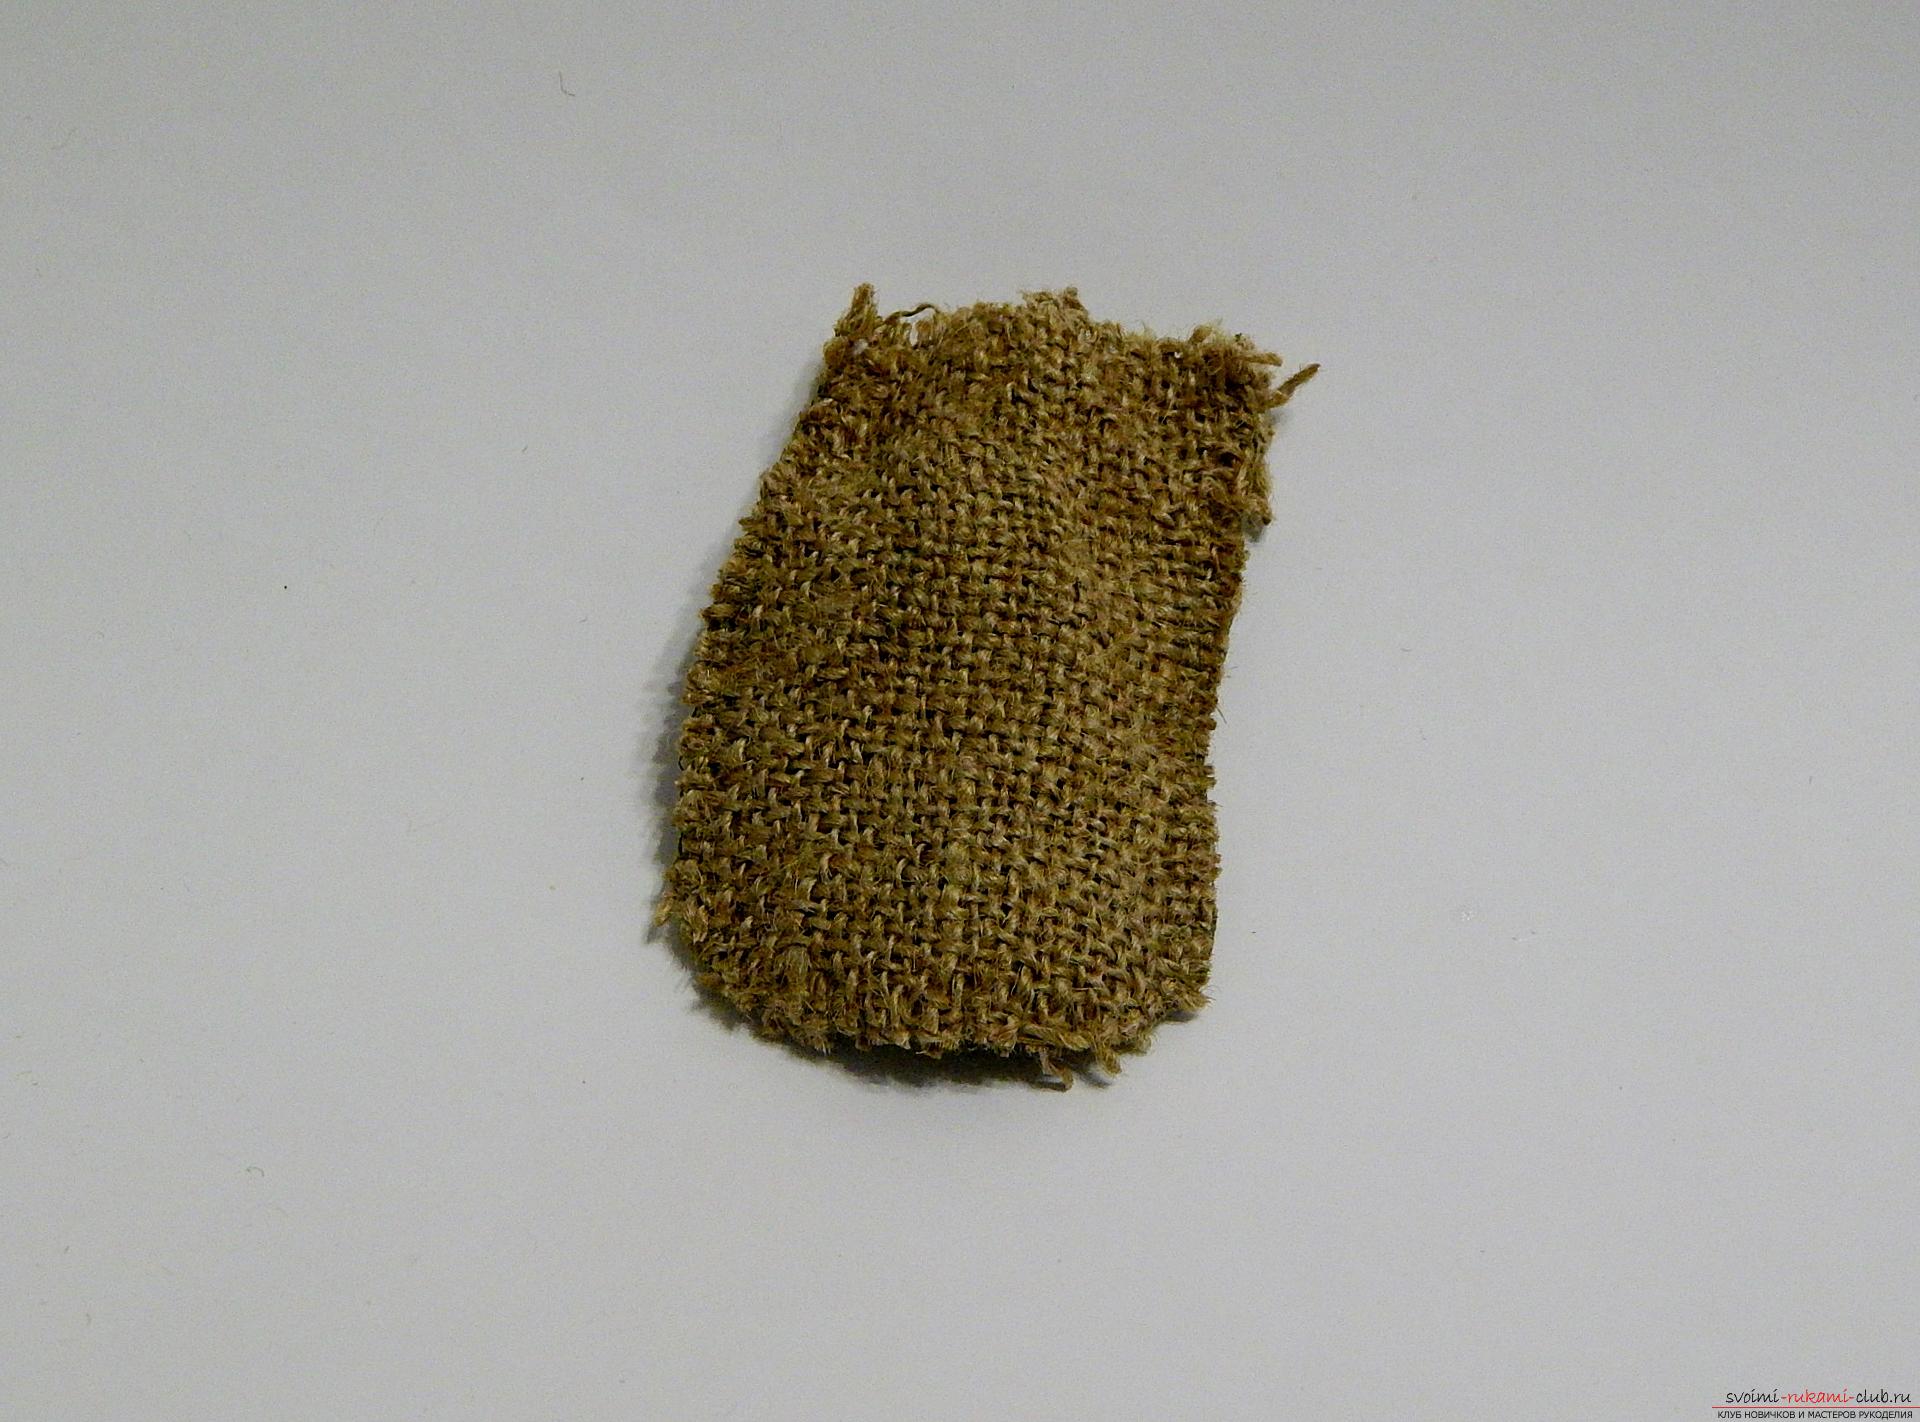 Fill the bag with packing.
  We decorate the bag with gifts with paillettes and tie it with string. The bag is ready.
 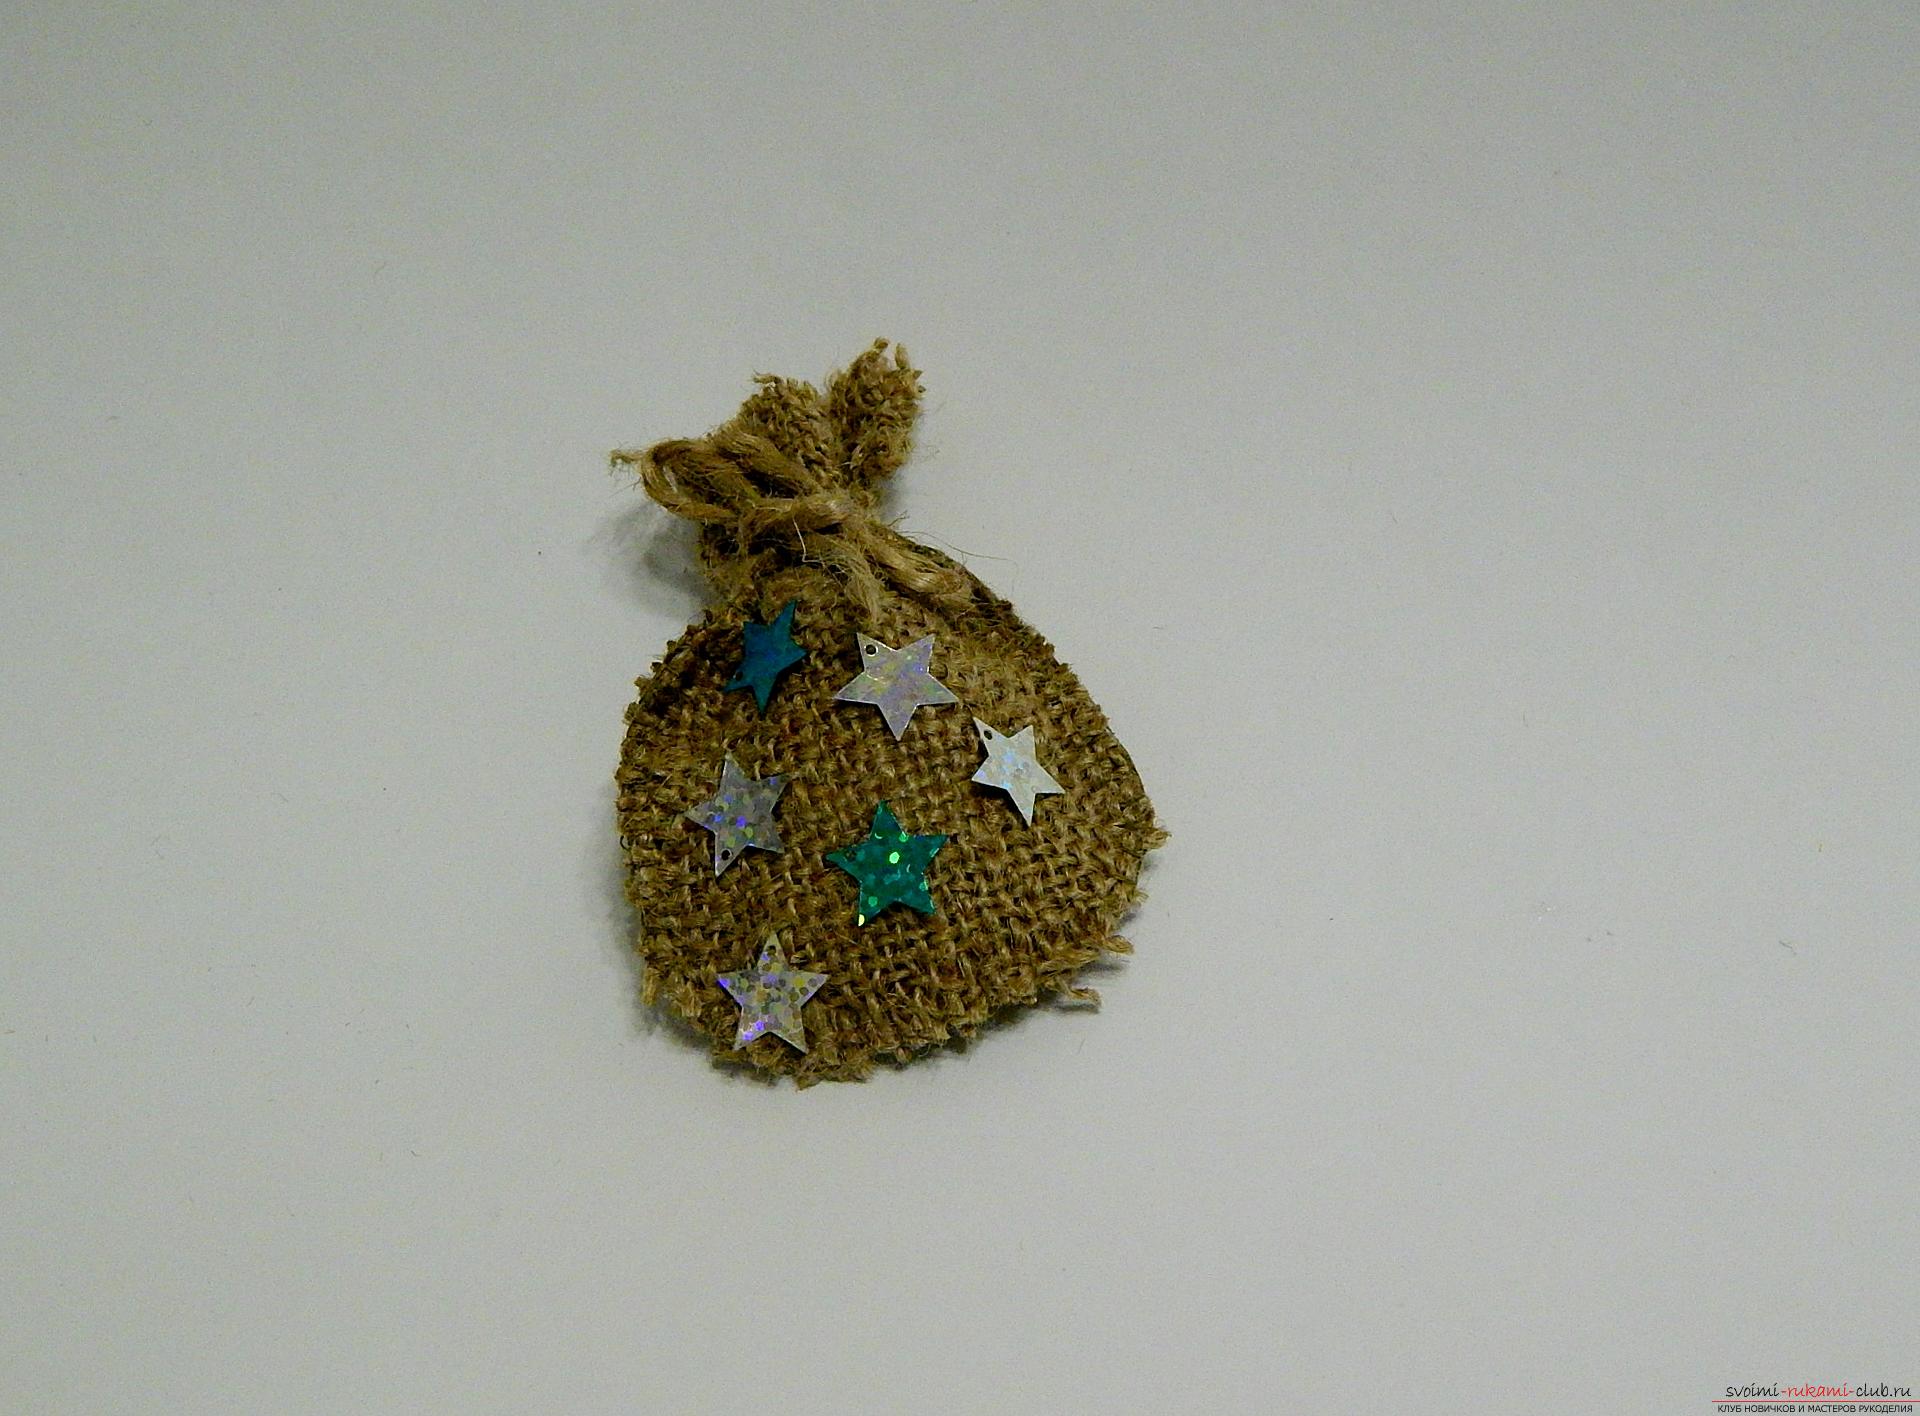 Now back to the broom, it must already dry completely. Gently separate the string from the file.
 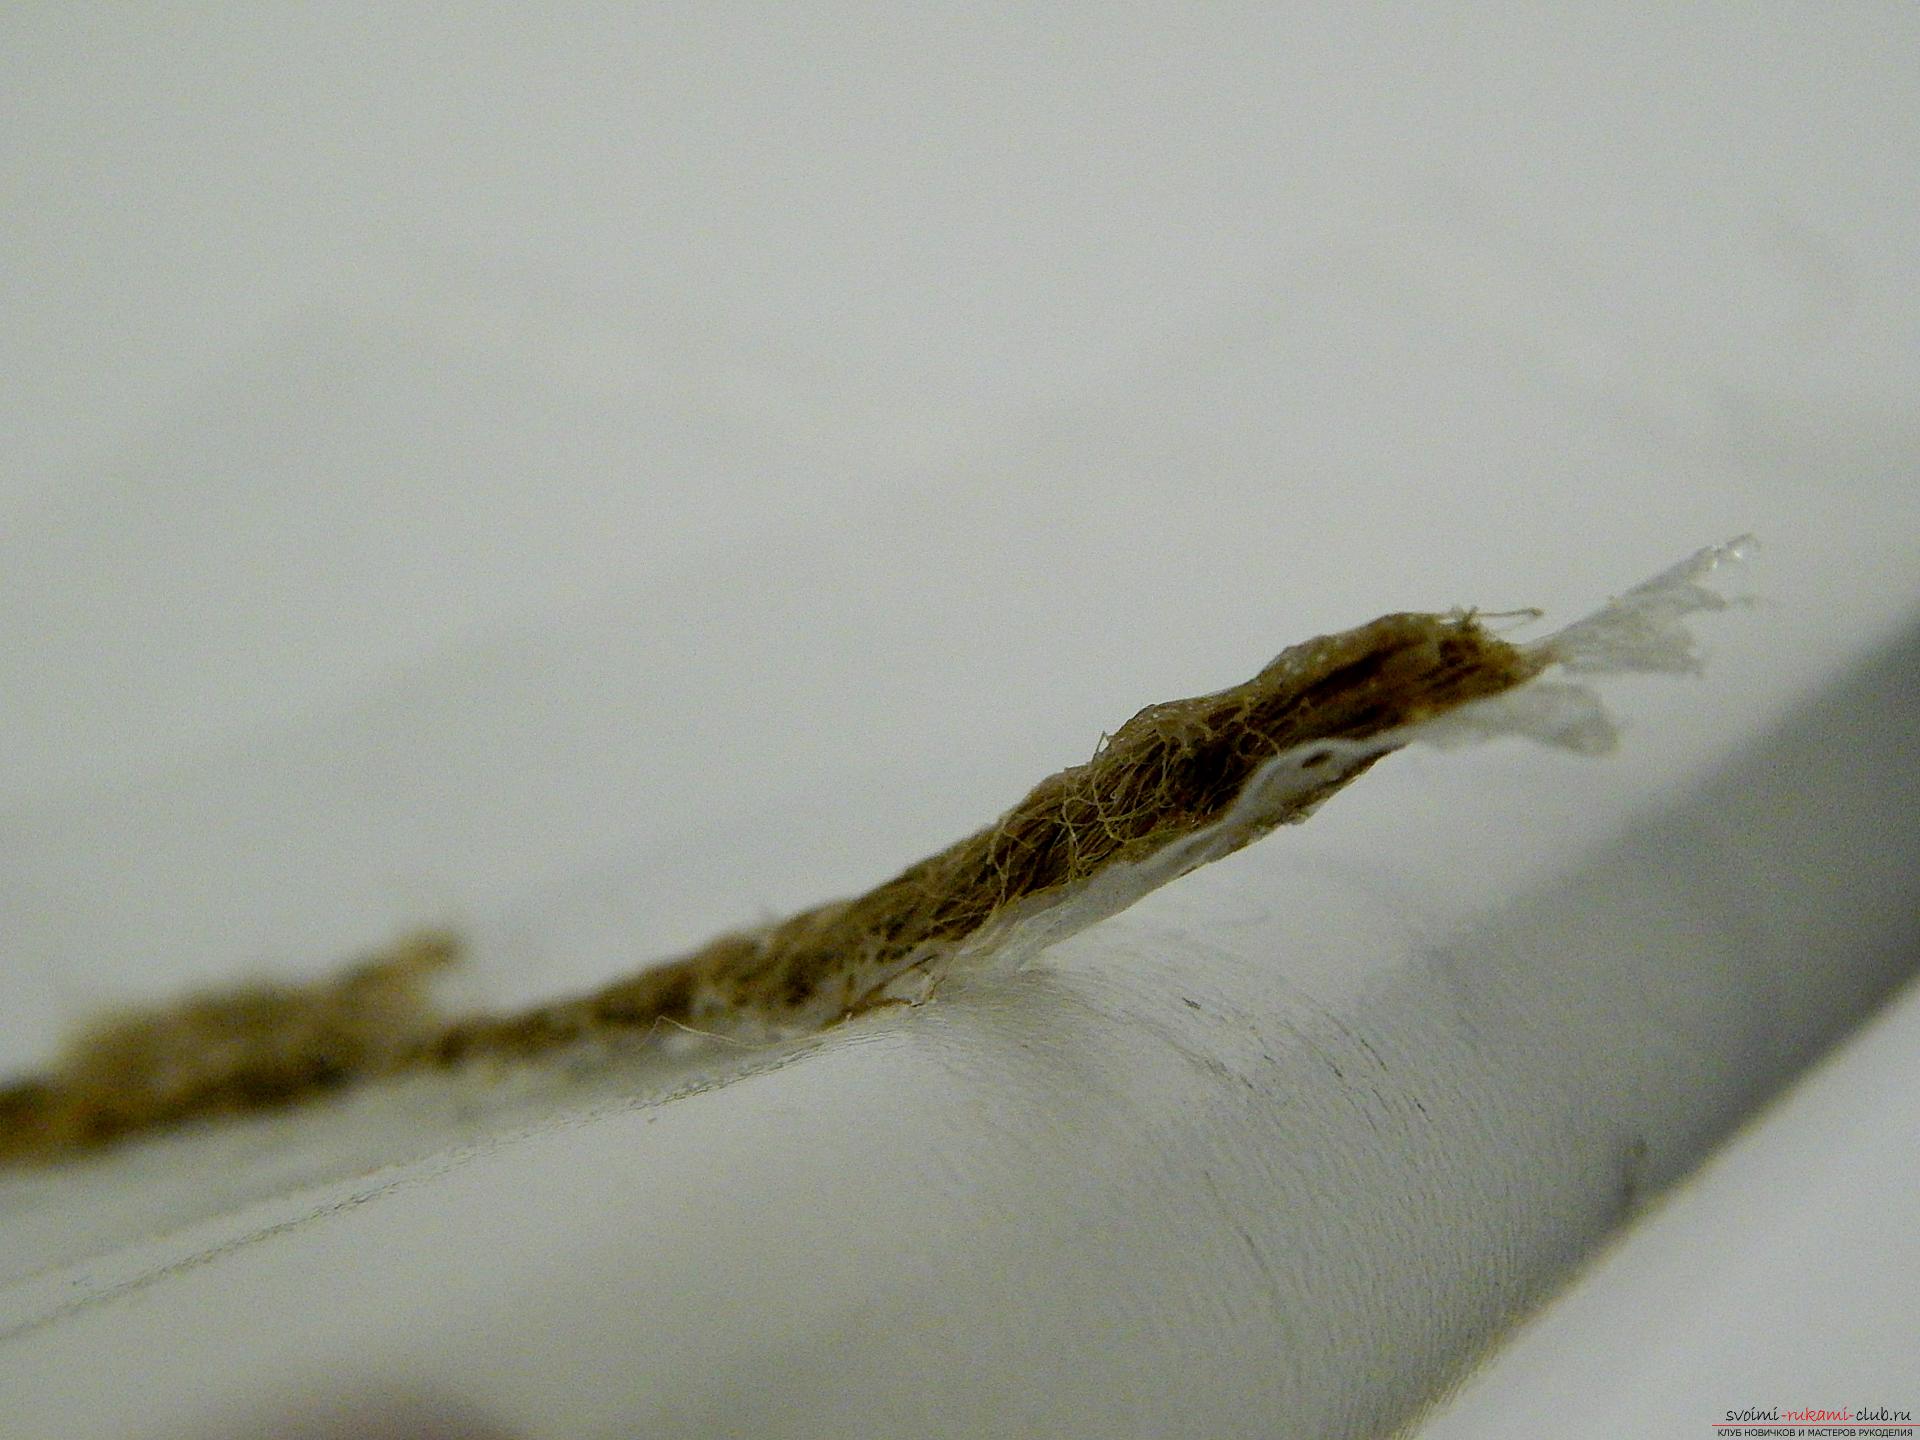 We cut off the excess glue and the broom is ready.
 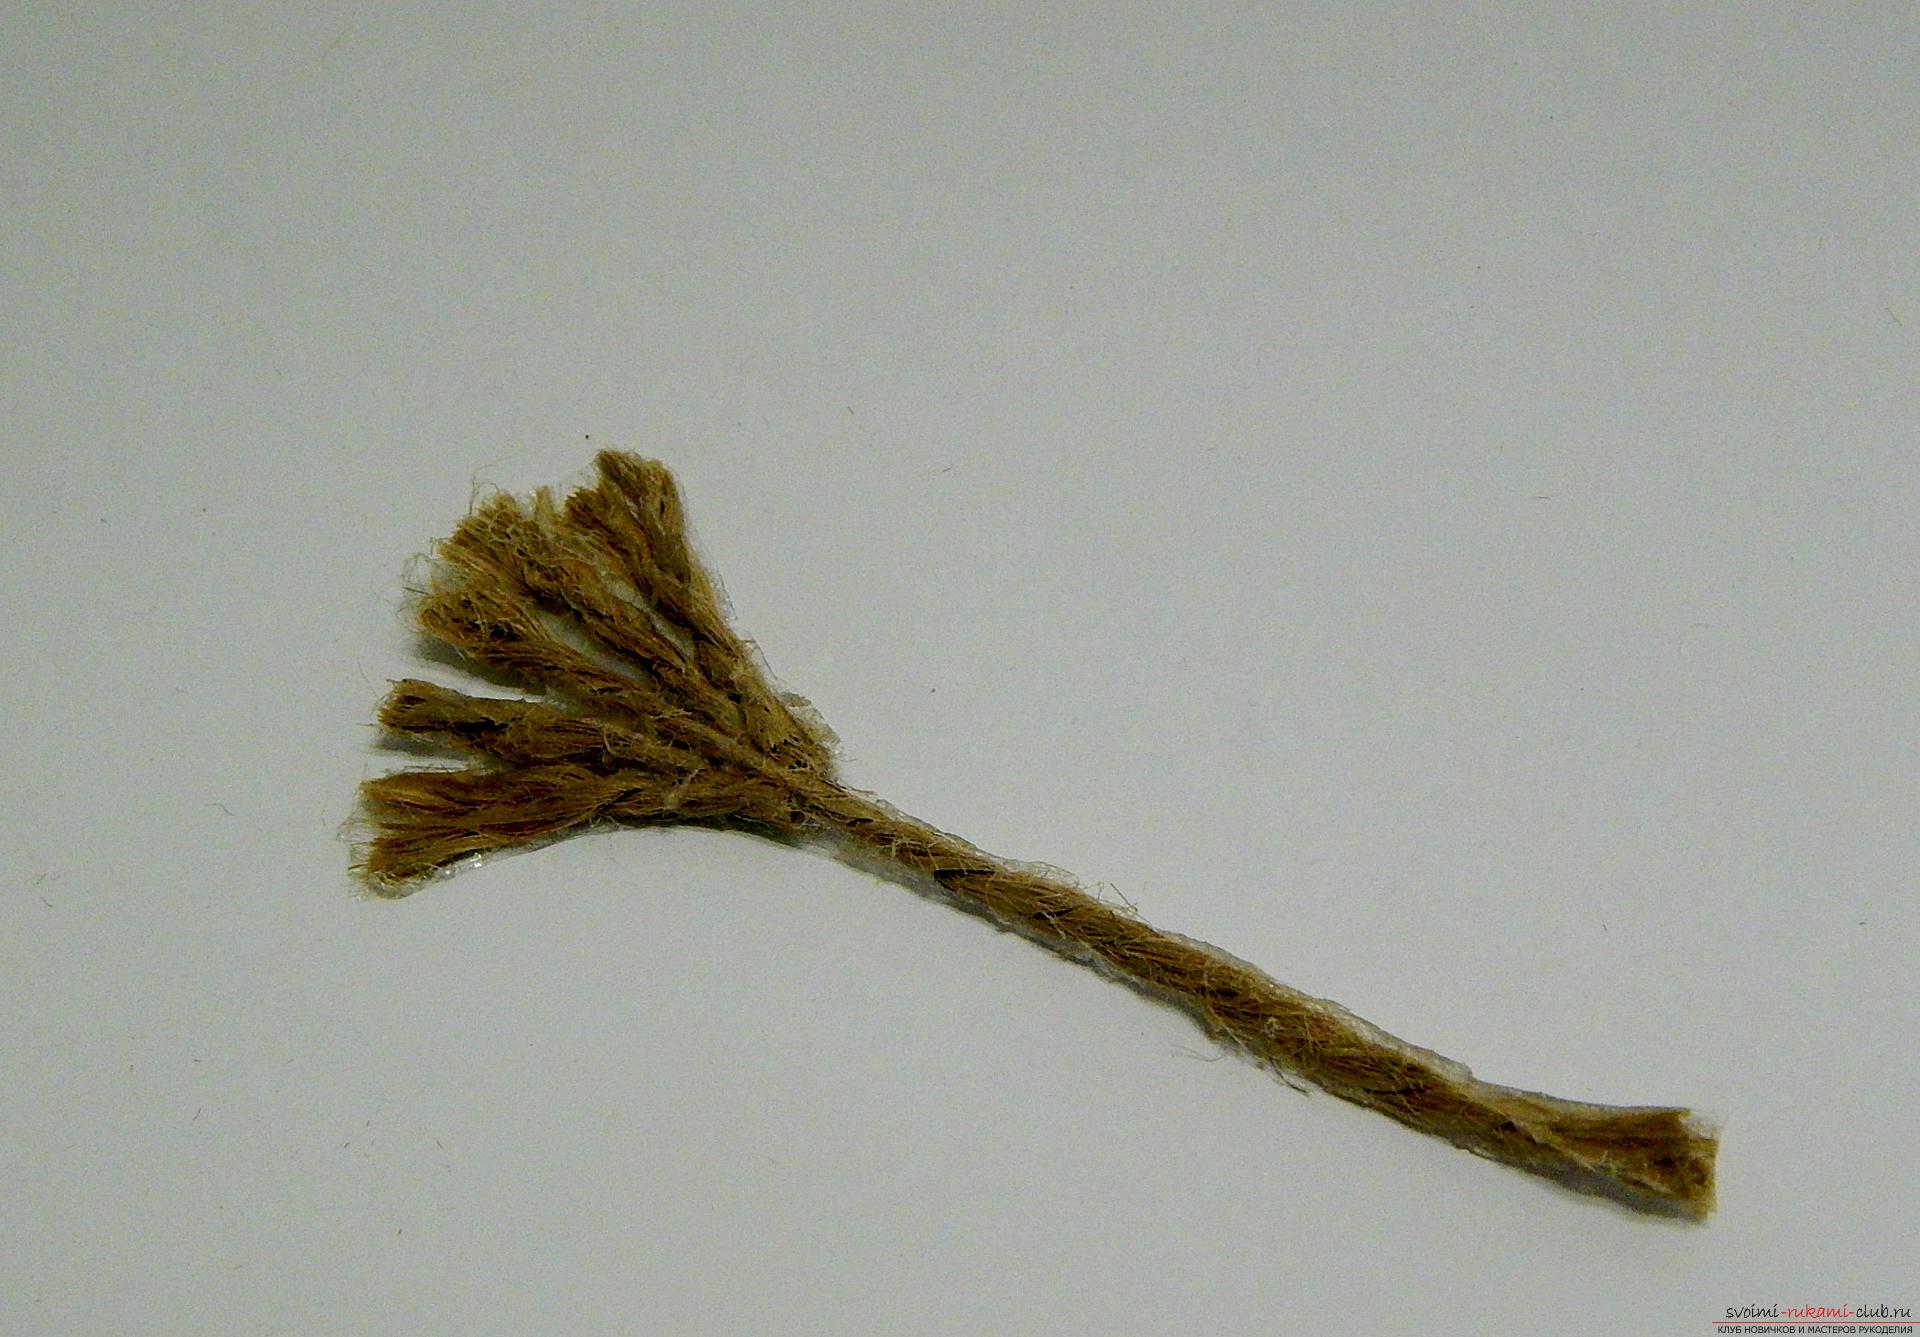 To one handle of a snowman we glue a bag with gifts, and to another broom. The snowman-suspension is ready.
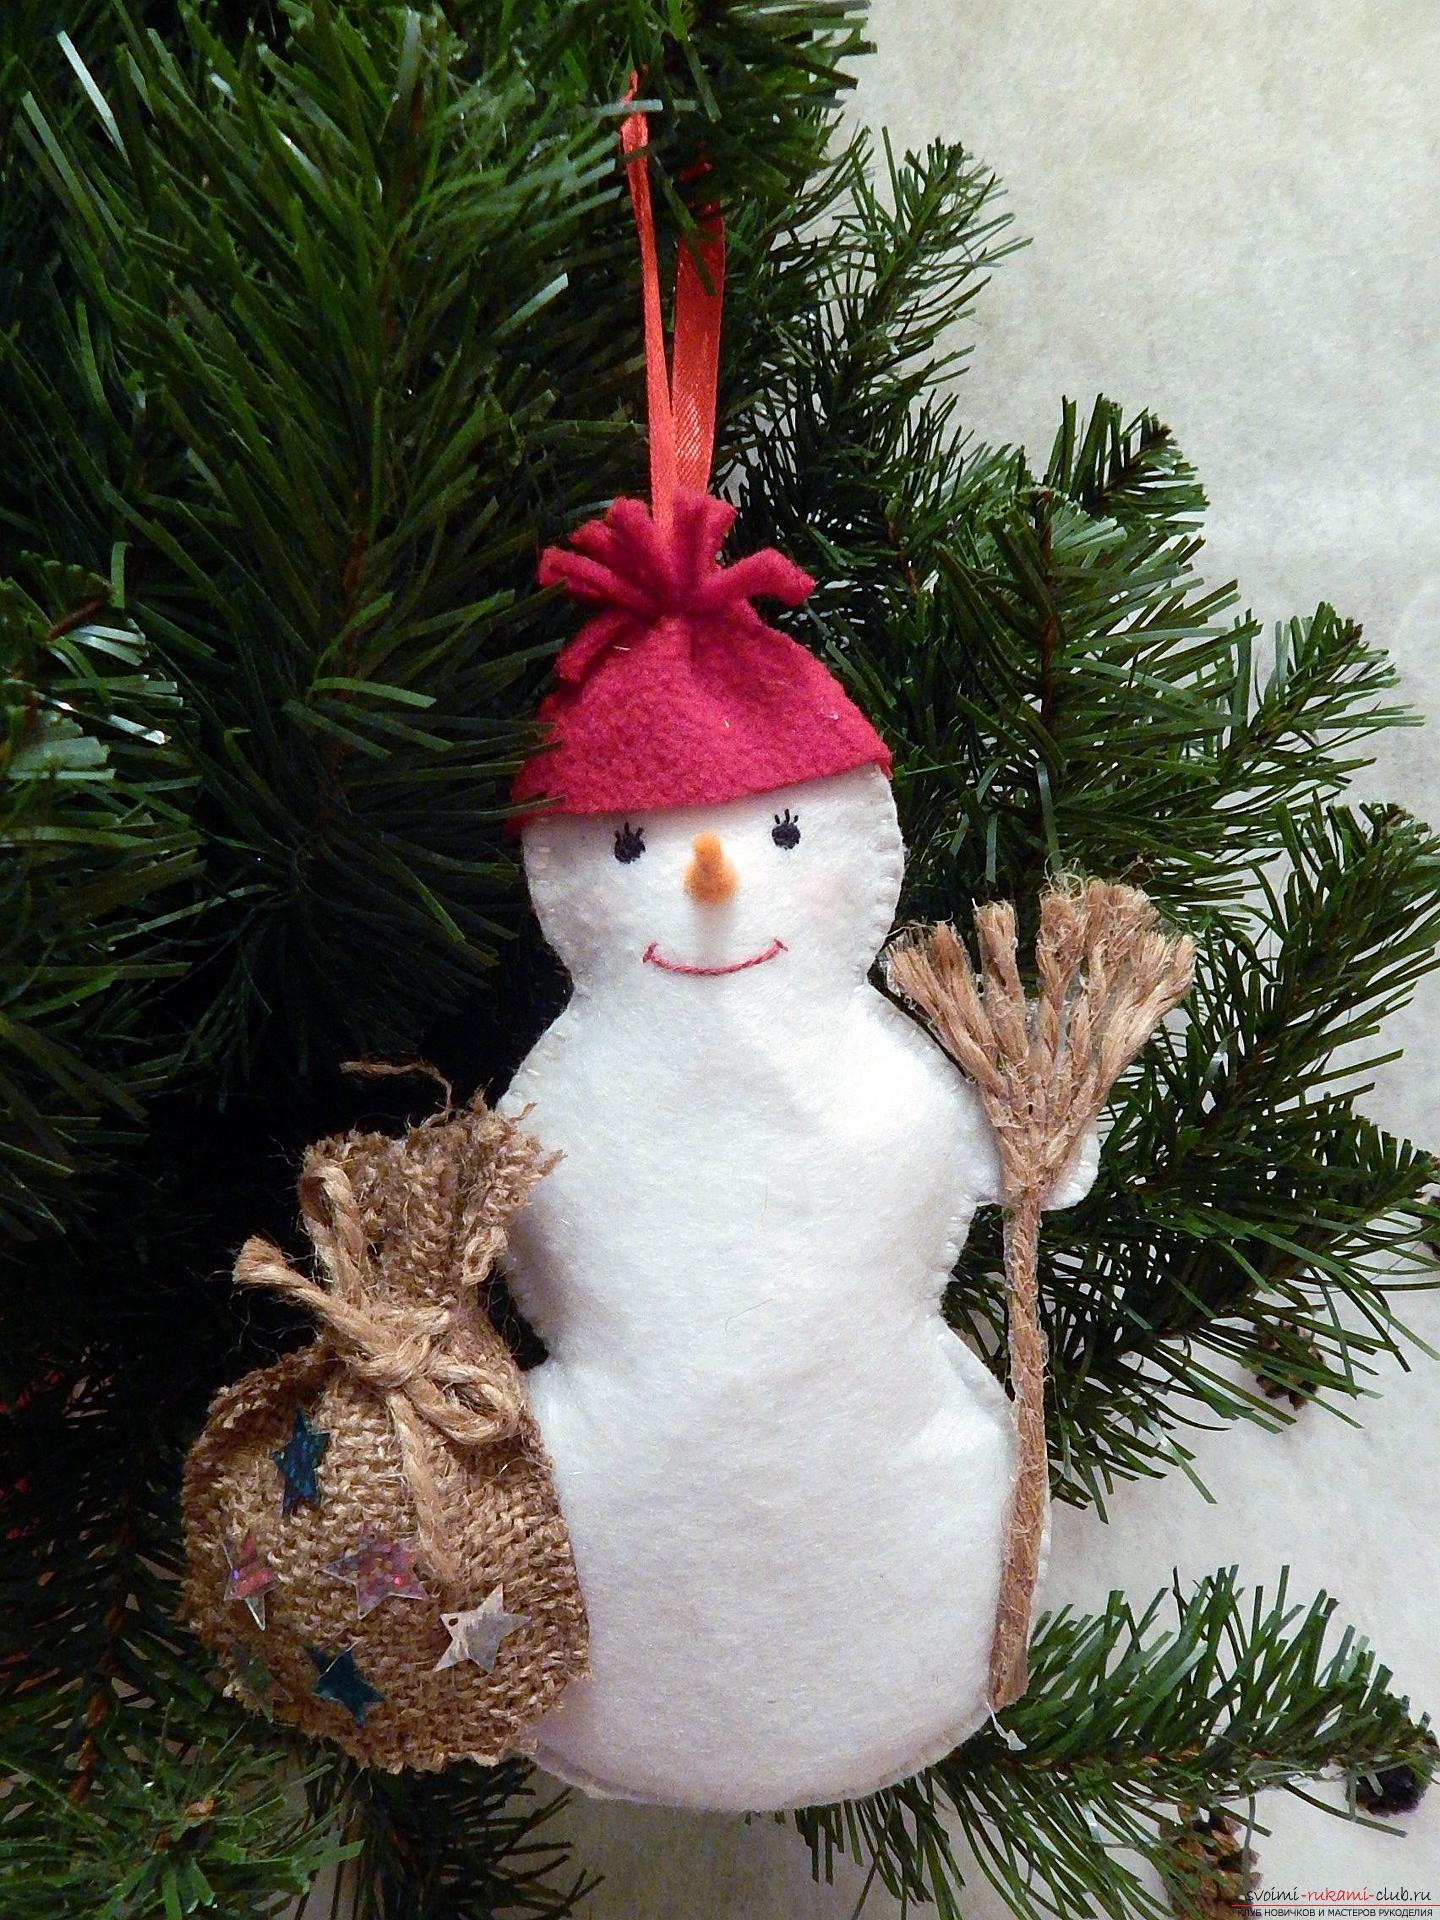
Comments
Related posts:
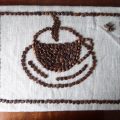 This master class with photo and description will teach you how to make coffee paintings from coffee beans for the kitchen.
 This master class will teach you how to make an interesting craft yourself - a snowman from a sock.
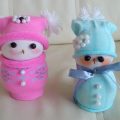
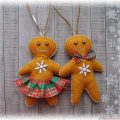
 Masterclass with photos and descriptions will tell you how to make your own hands a children's hand-crafted snowman
 A detailed master-class with a photo will teach how to make a hand-made book for a book
 This master class with a description and photo will teach you how to make crafts from felt by yourself.