
Master-class with step-by-step photos will teach how to make flowers from Fahmiran with your own hands
I really like making jewelry for mydaughters. Particularly pleased with the work with foyamin or plastic suede. This material is very pleasant to the touch, products from it are not afraid of moisture, do not crumble, do not burn out, serve their mistress for a long time, look effective and naturalistic. Today we will make a fantasy flower. Such a flower can always be made to match the color of the dress and wear it on the head, on the chest or on the dress belt. 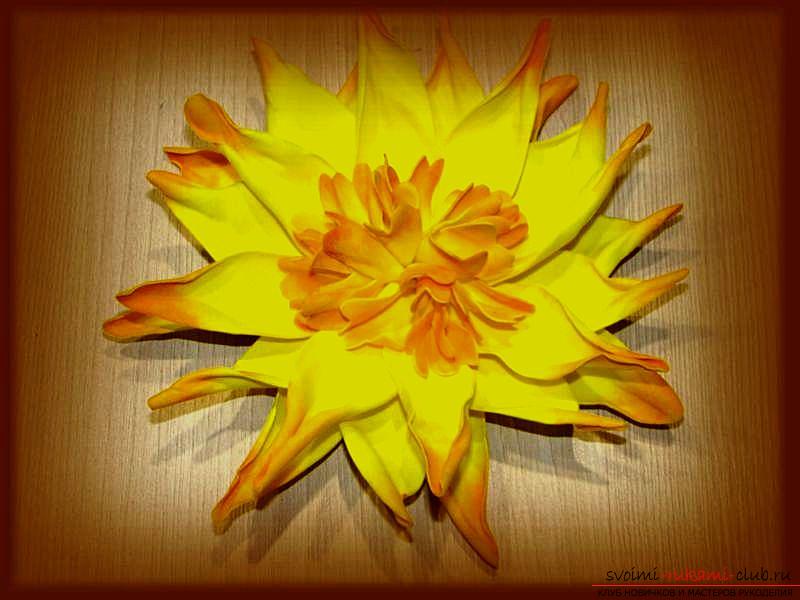 To make a flower you need to find:
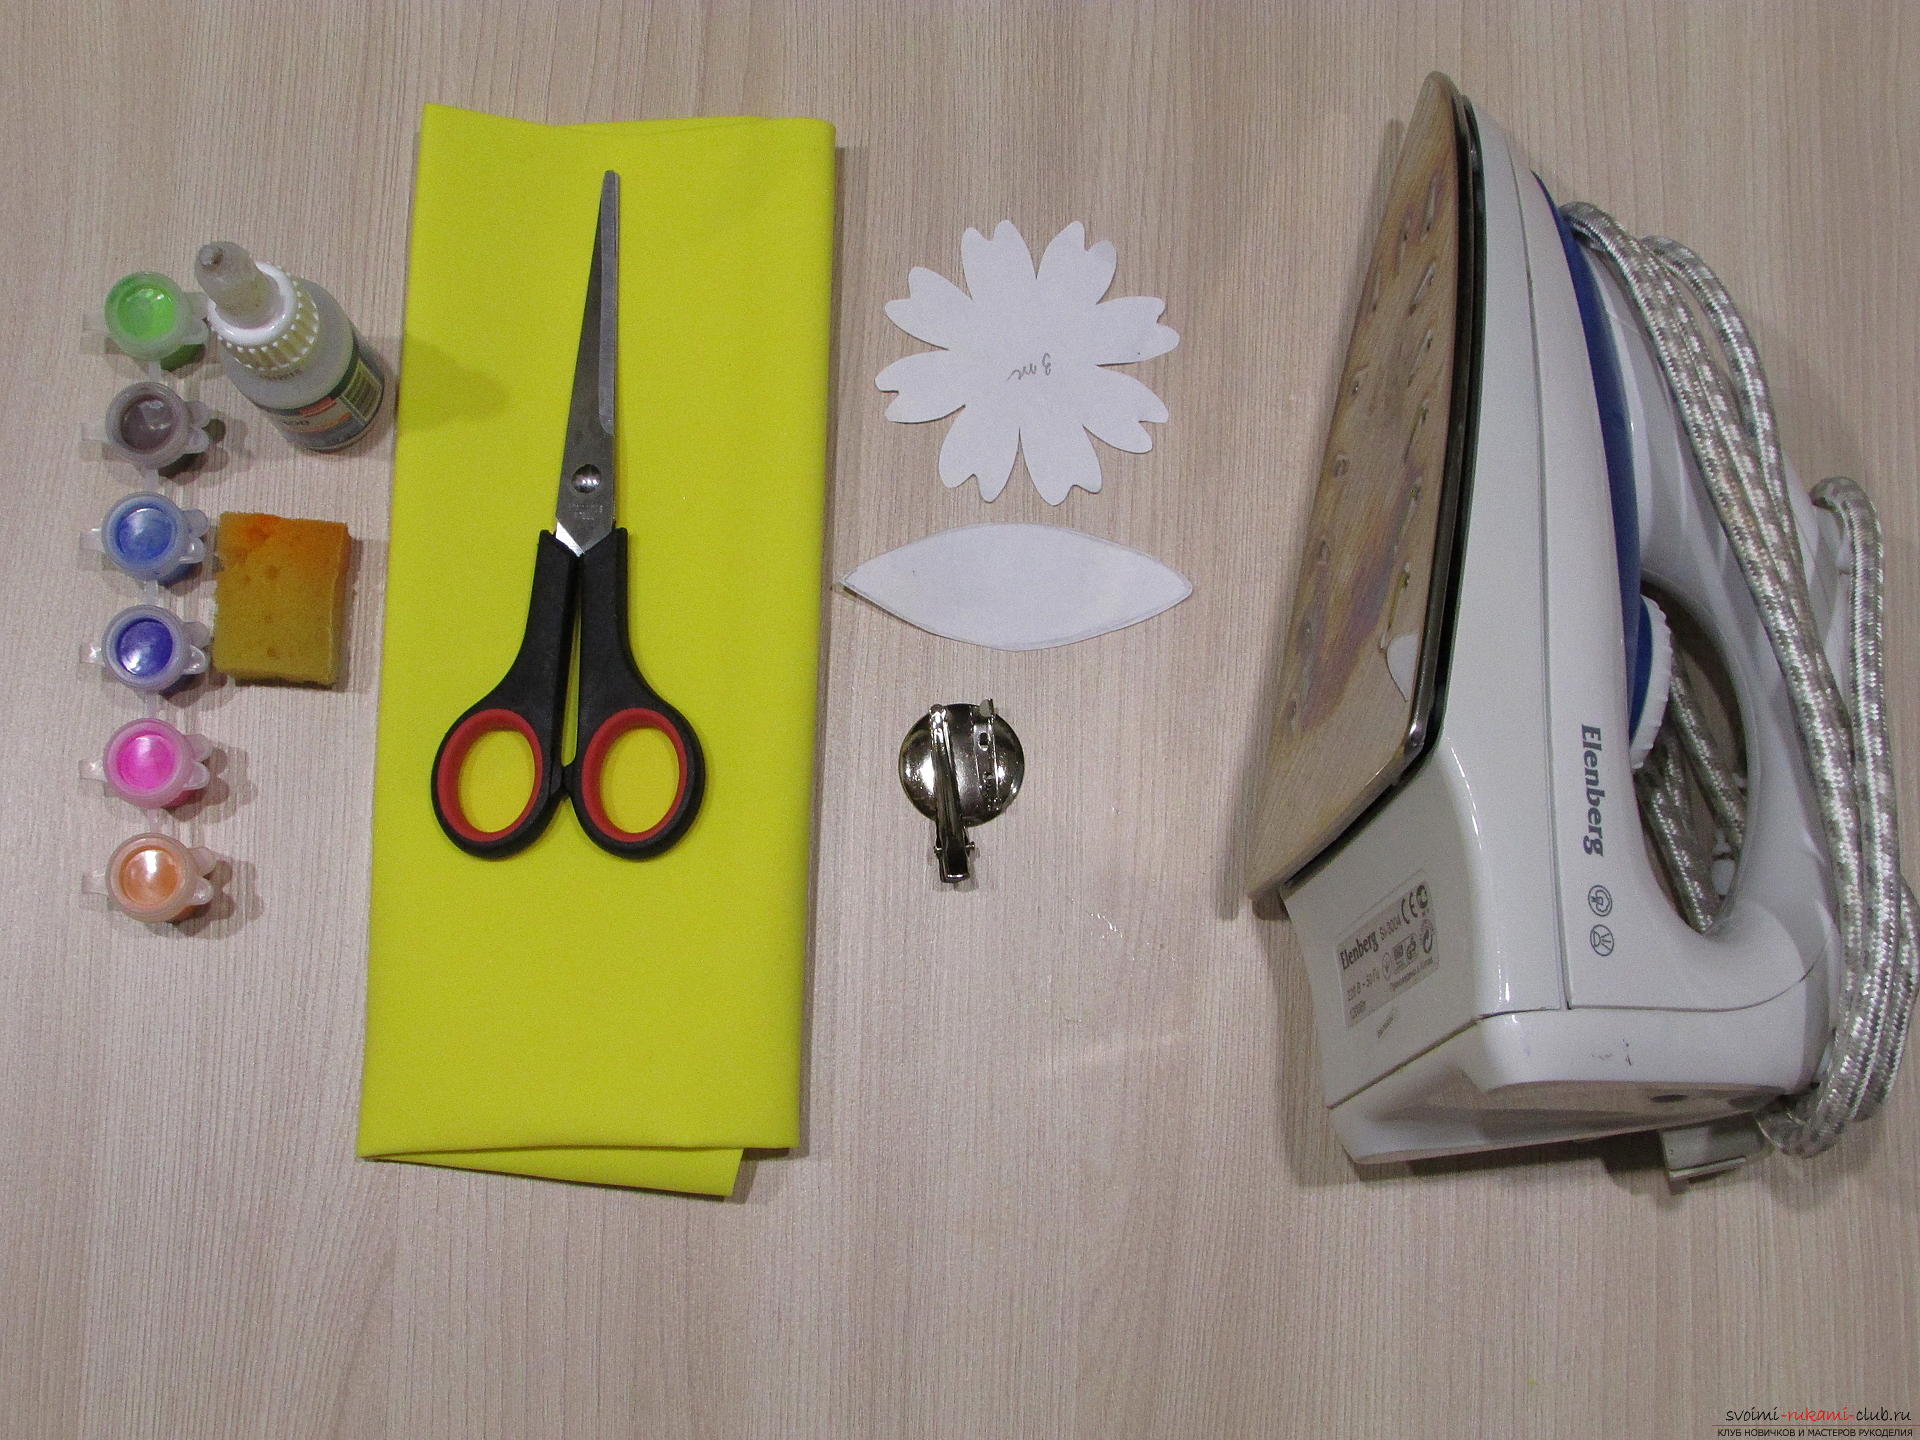
- foamiran;
- sharp scissors;
- paper templates;
- glue for working with foyamin (can be replaced with an adhesive gun);
- toothpick;
- sponge;
- paint (better acrylic);
- iron;
- base - barrette, elastic.
 A crayon made of paper 4 flowers 13 cm in diameter and 24 long petals approximately 8 cm.
  Pencil, and better toothpick, which does not spoil the fabric, we transfer the workpieces to the foamiran and cut out parts of the fantasy flower.
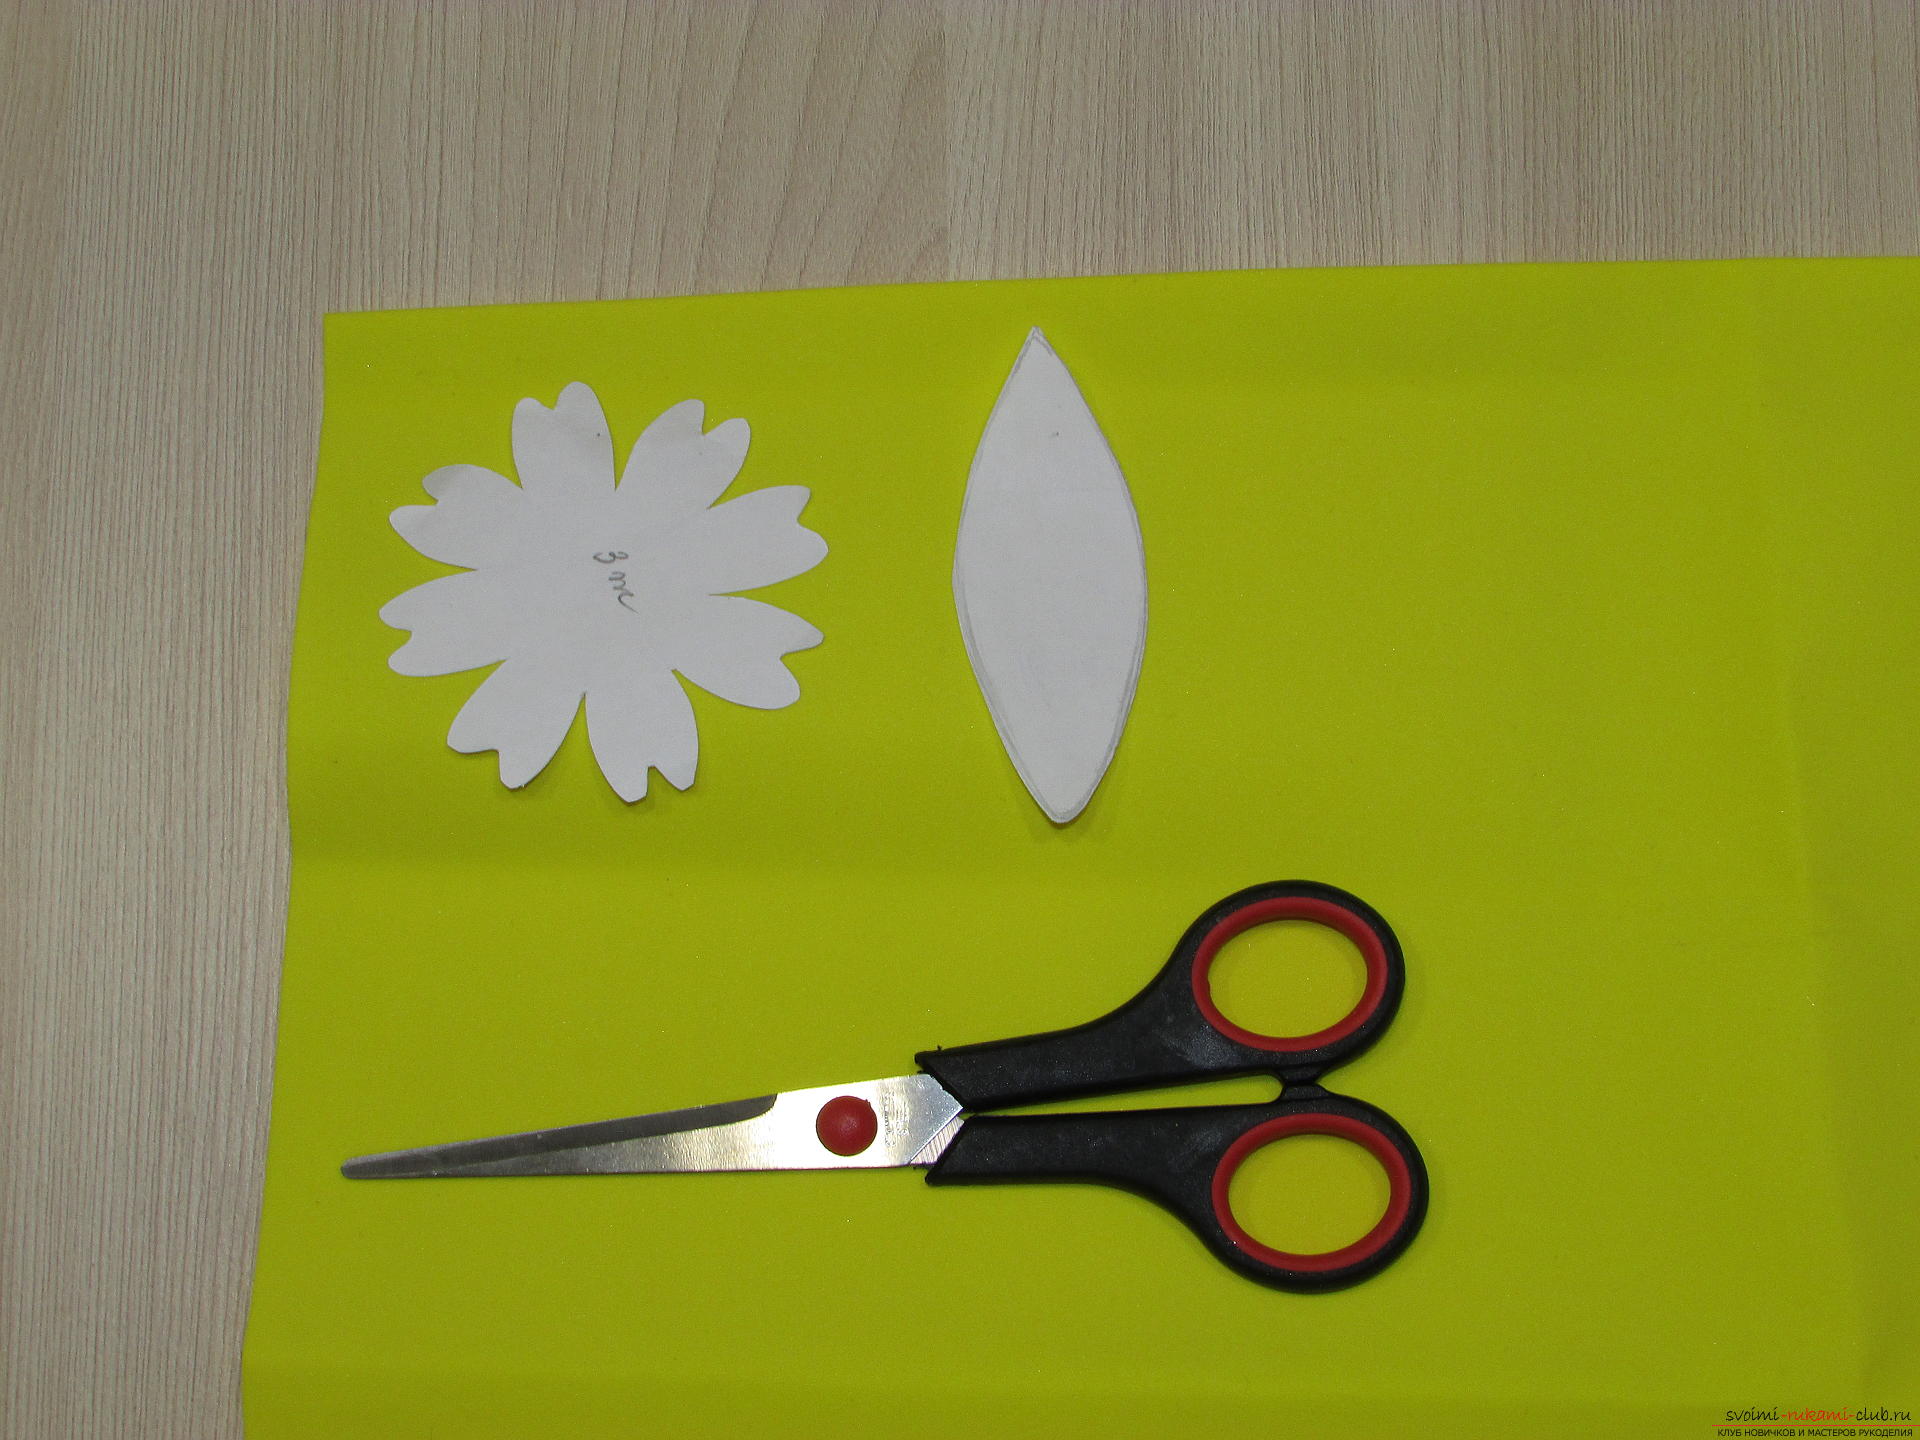
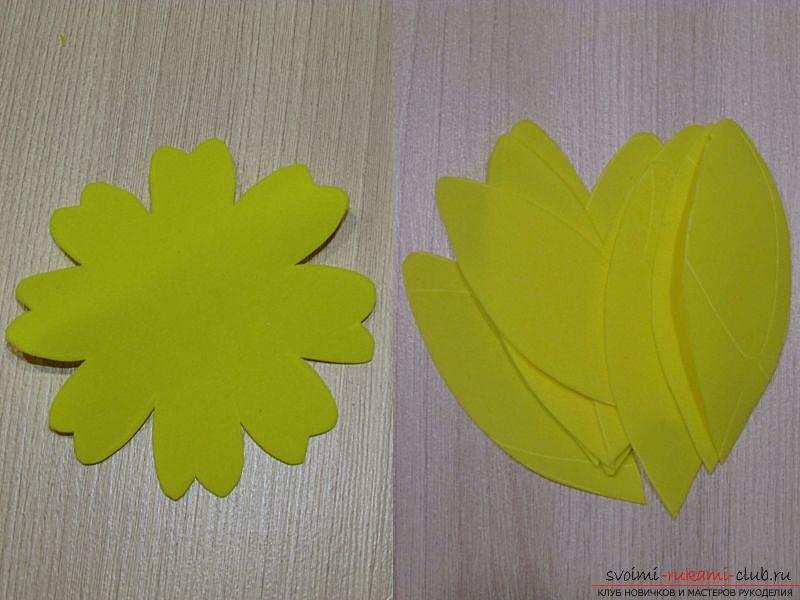 All blanks for the flower are ready, now you need to give them a more natural look. To do this, using a sponge, lightly paint the sharp parts of the petals.
  Then, to give a natural shape, we touch the petals to the heated iron for 1-2 seconds, the petal will take the desired form.
 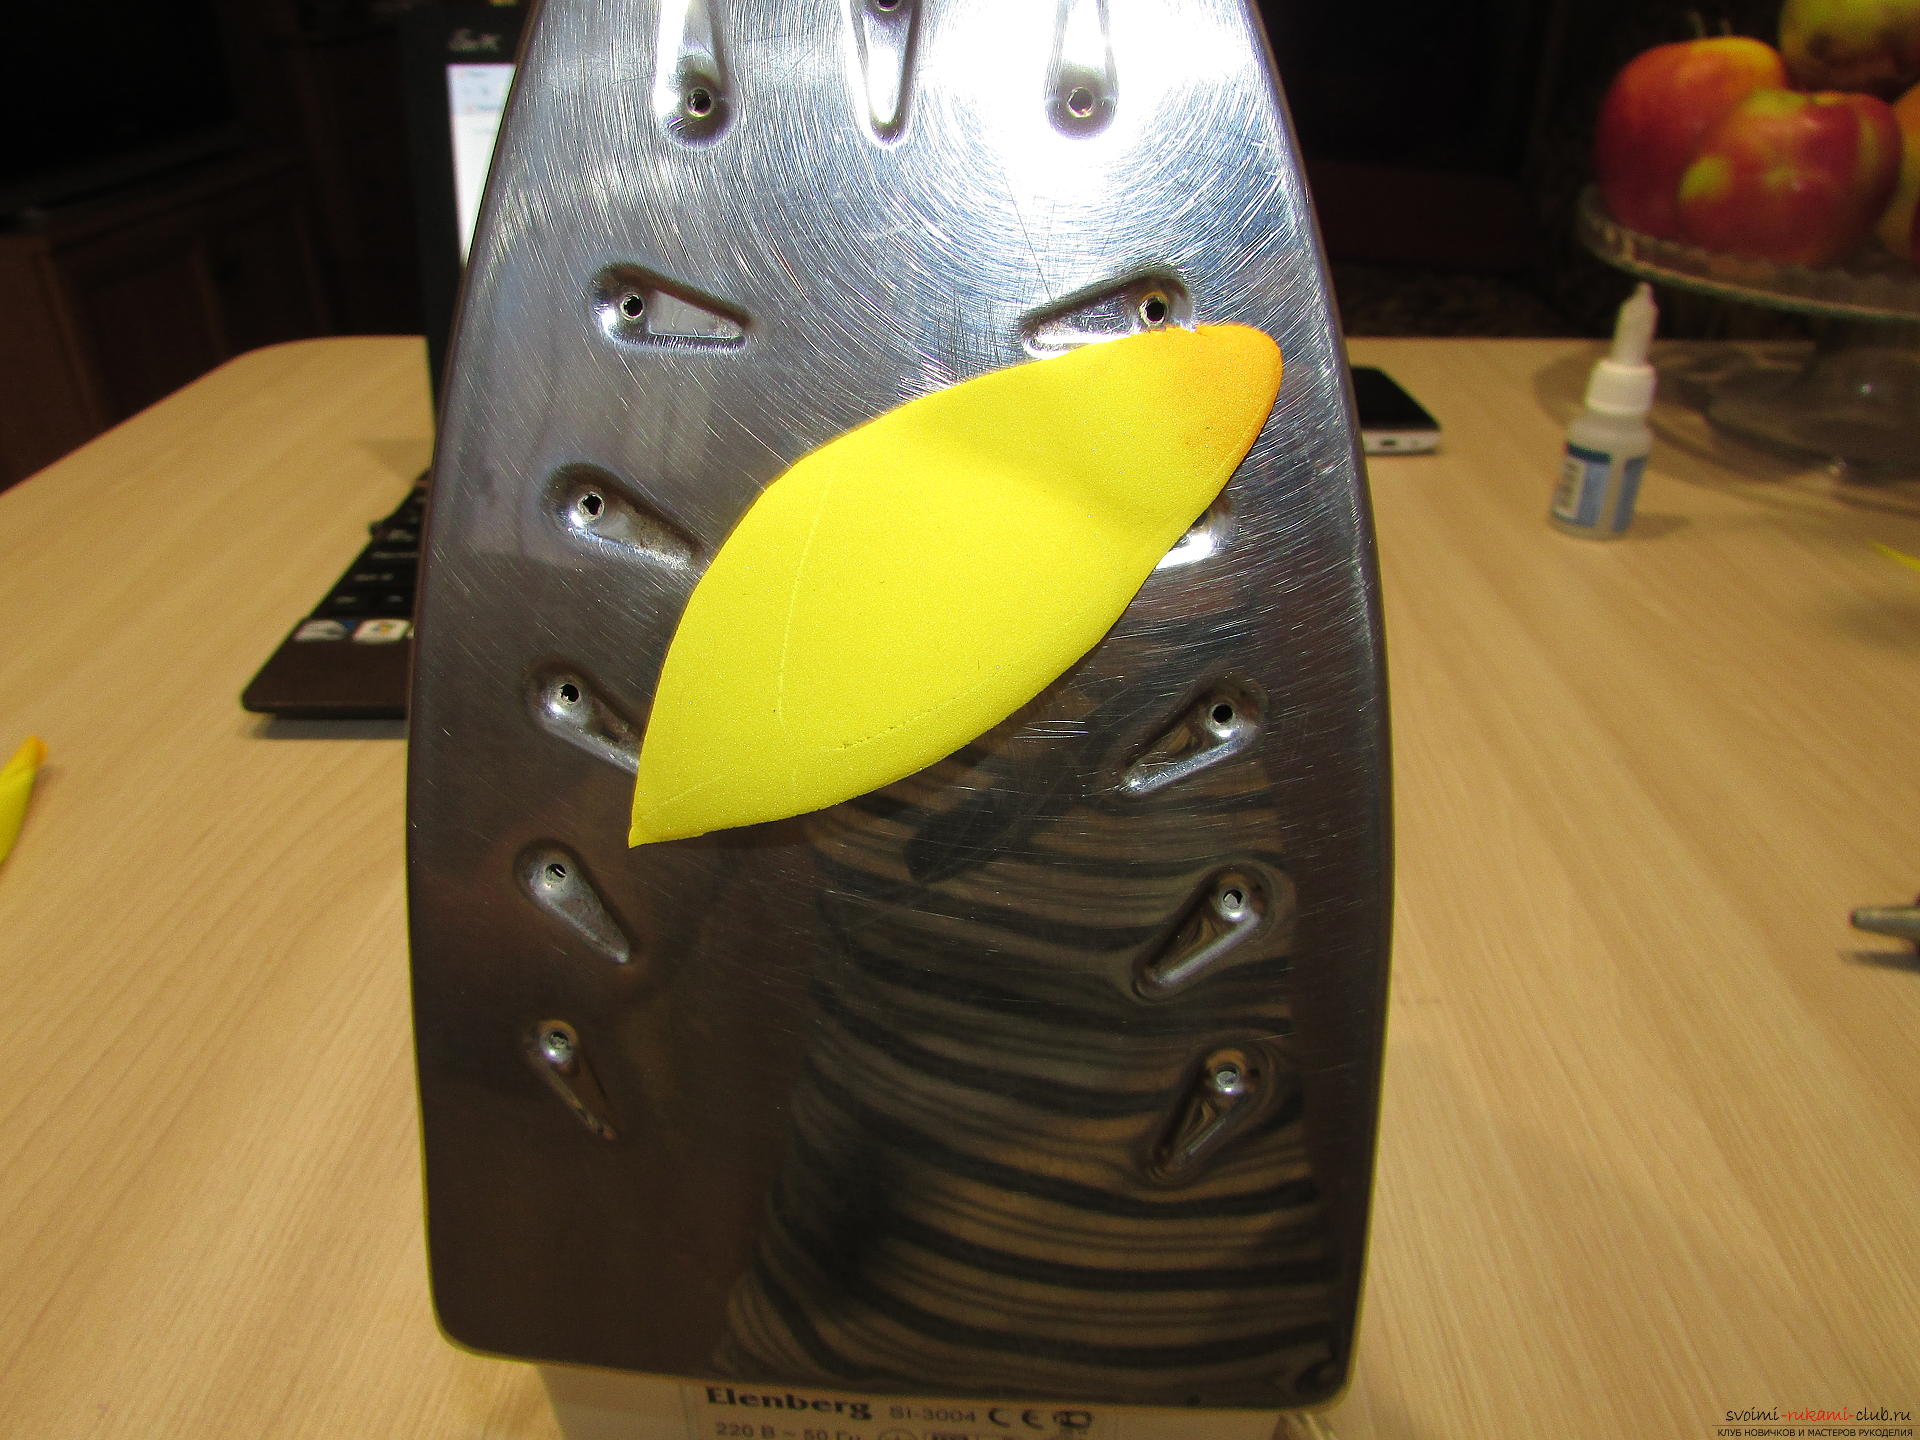 While the petal is not cold, tightly twist, then - unfold, creating a more natural form, slightly deforming. It turns out that such a petal.
  Repeat the action with all the petals. Large flowers are also pressed against the iron for a few seconds, folded in half and once again.
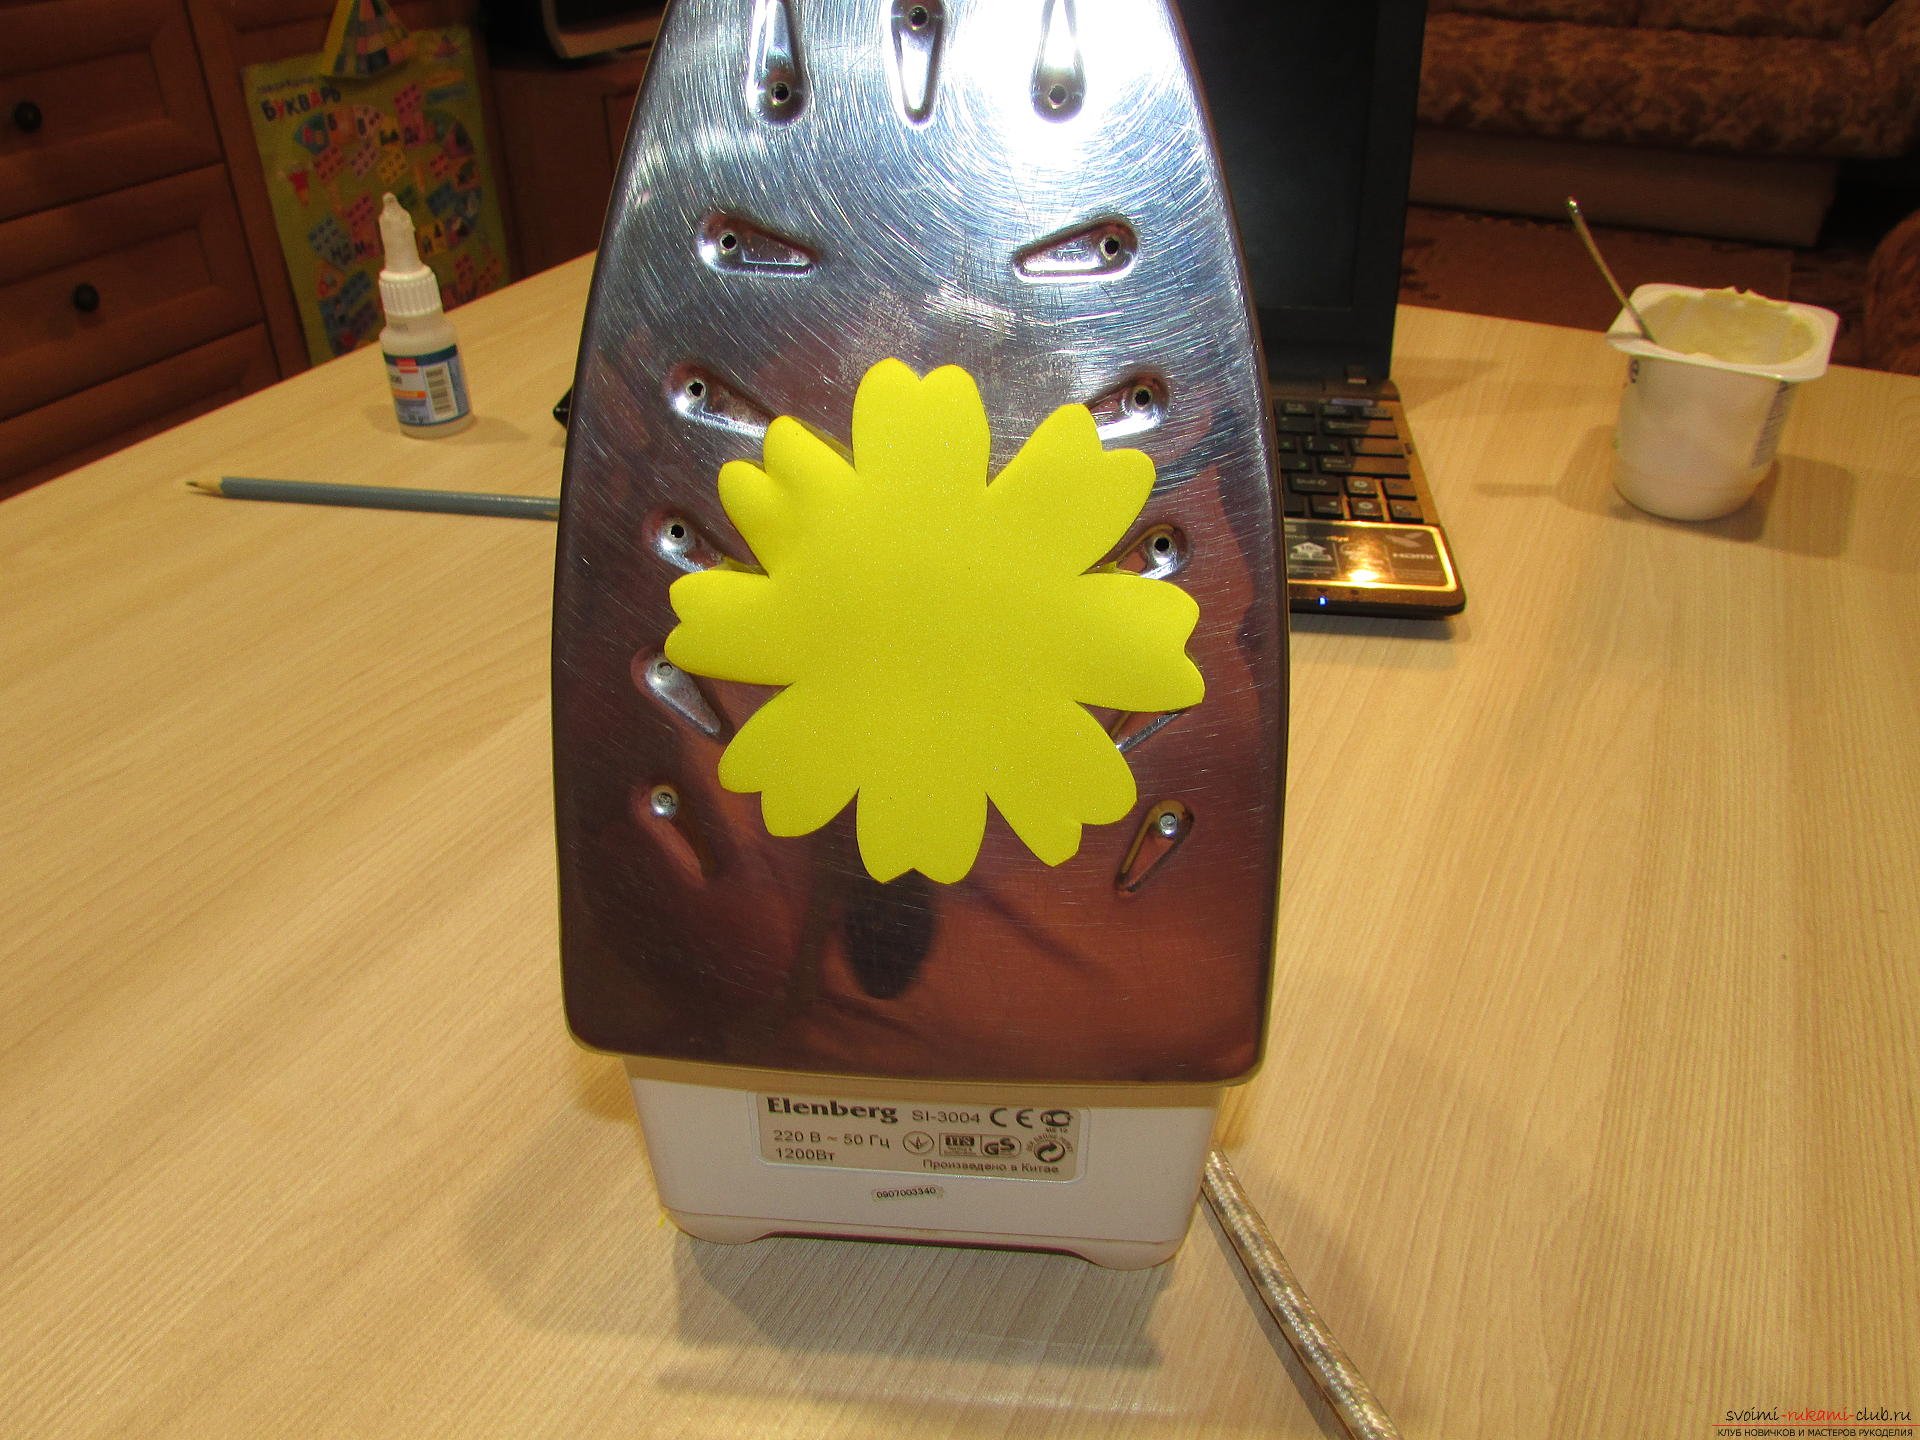
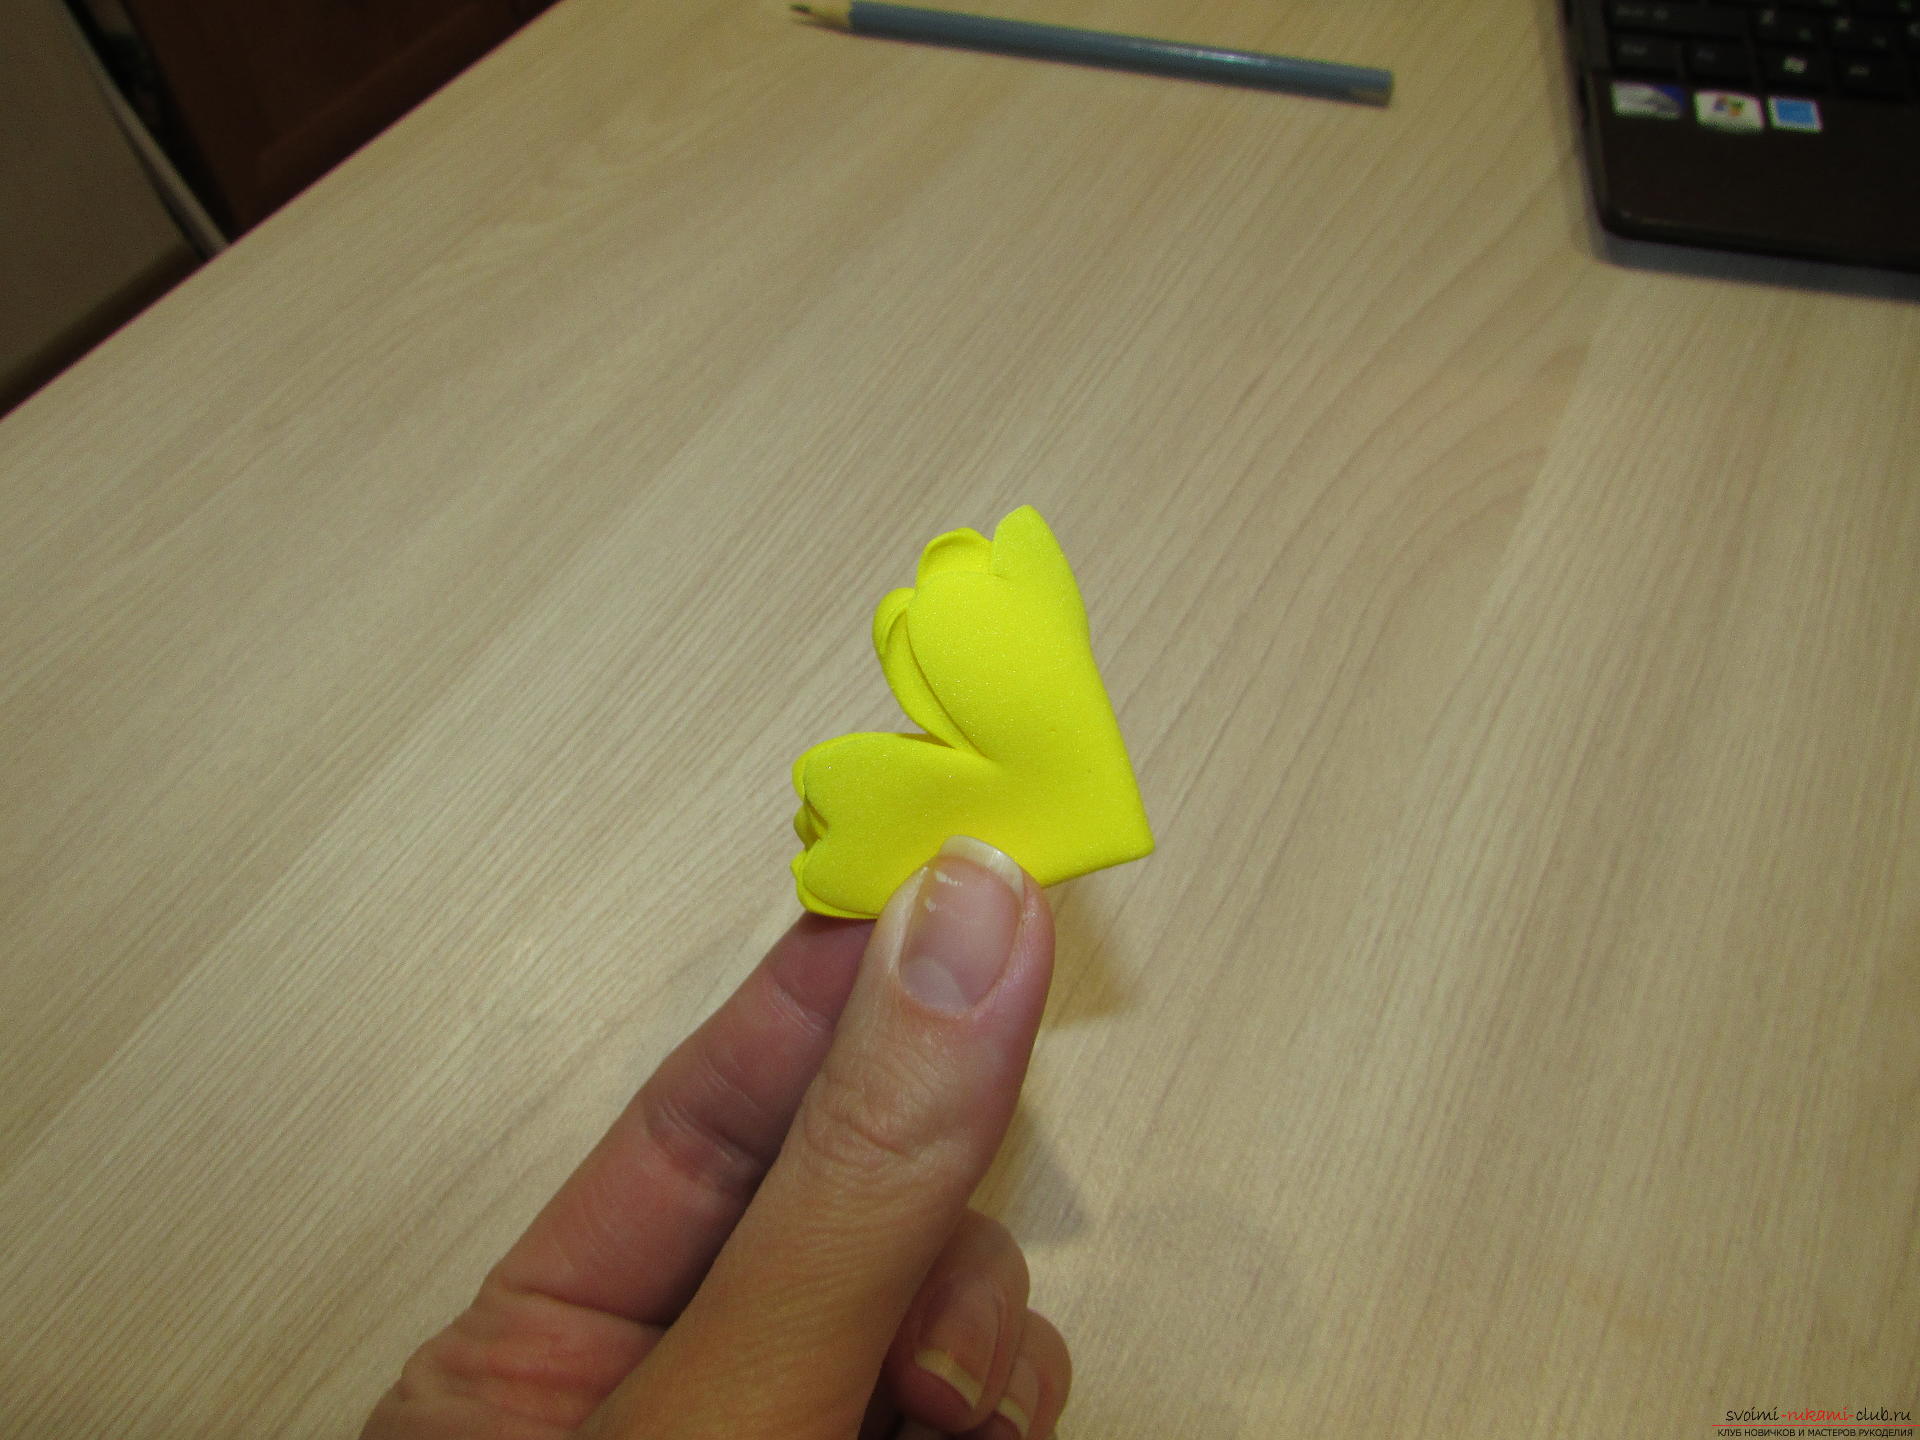 Then they are also twisted with fingers, then unfolded, but not until the end. We will need them in such a folded form.
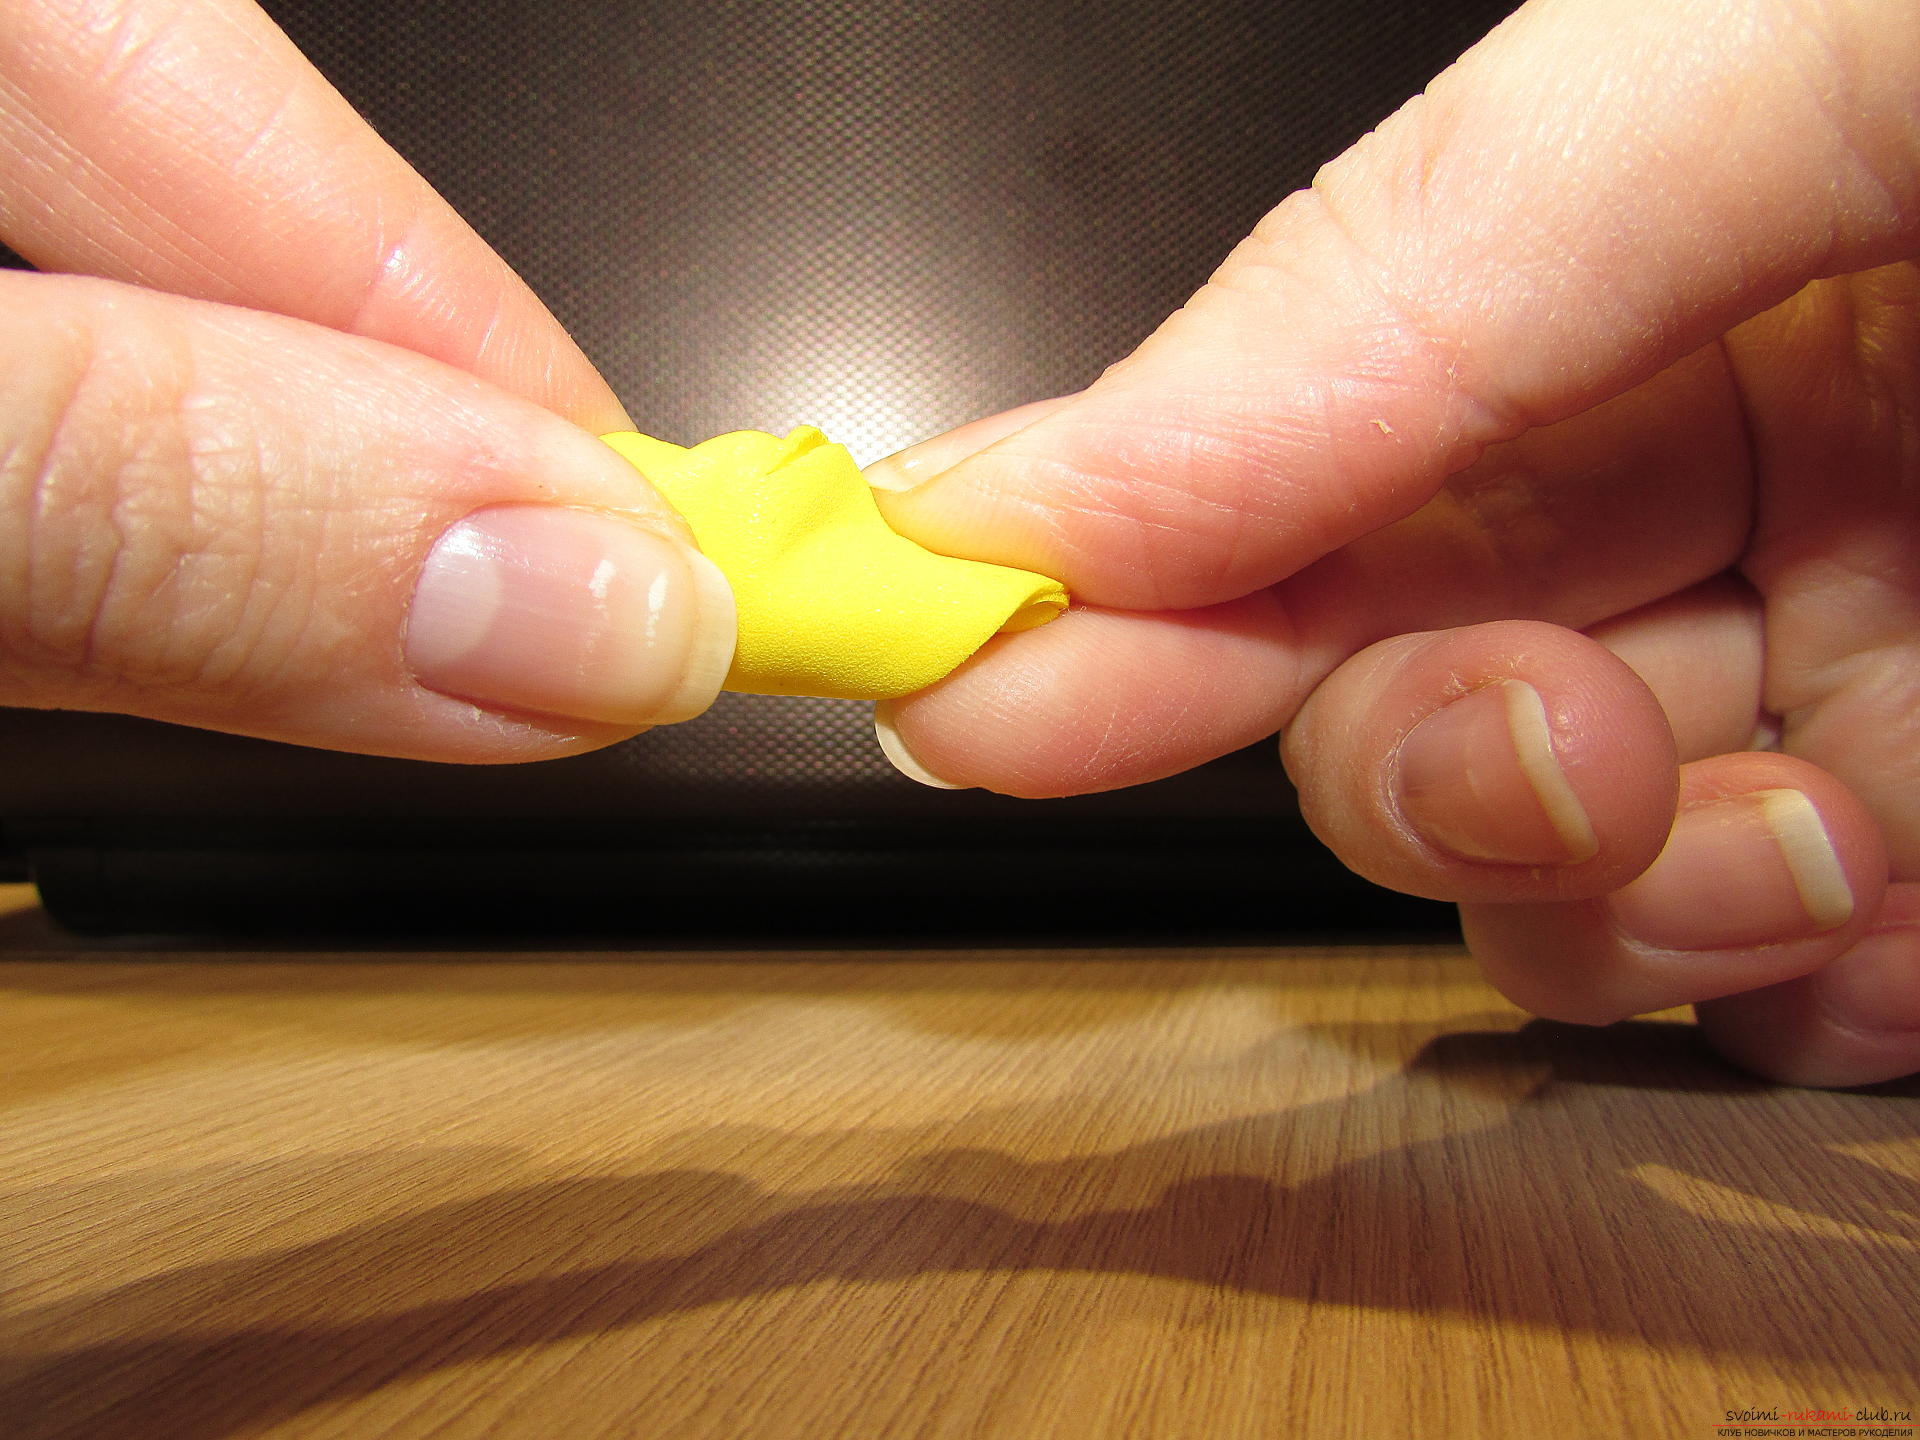
 All elements are ready, we proceed to assembling the flower.
  Four folded flowers are glued together anda little stretch. The middle of the flower turned out, we put it aside for the time being. From a small piece of fameiran we cut out the circle and begin to stick the petals to it so that they do not go over each other.
 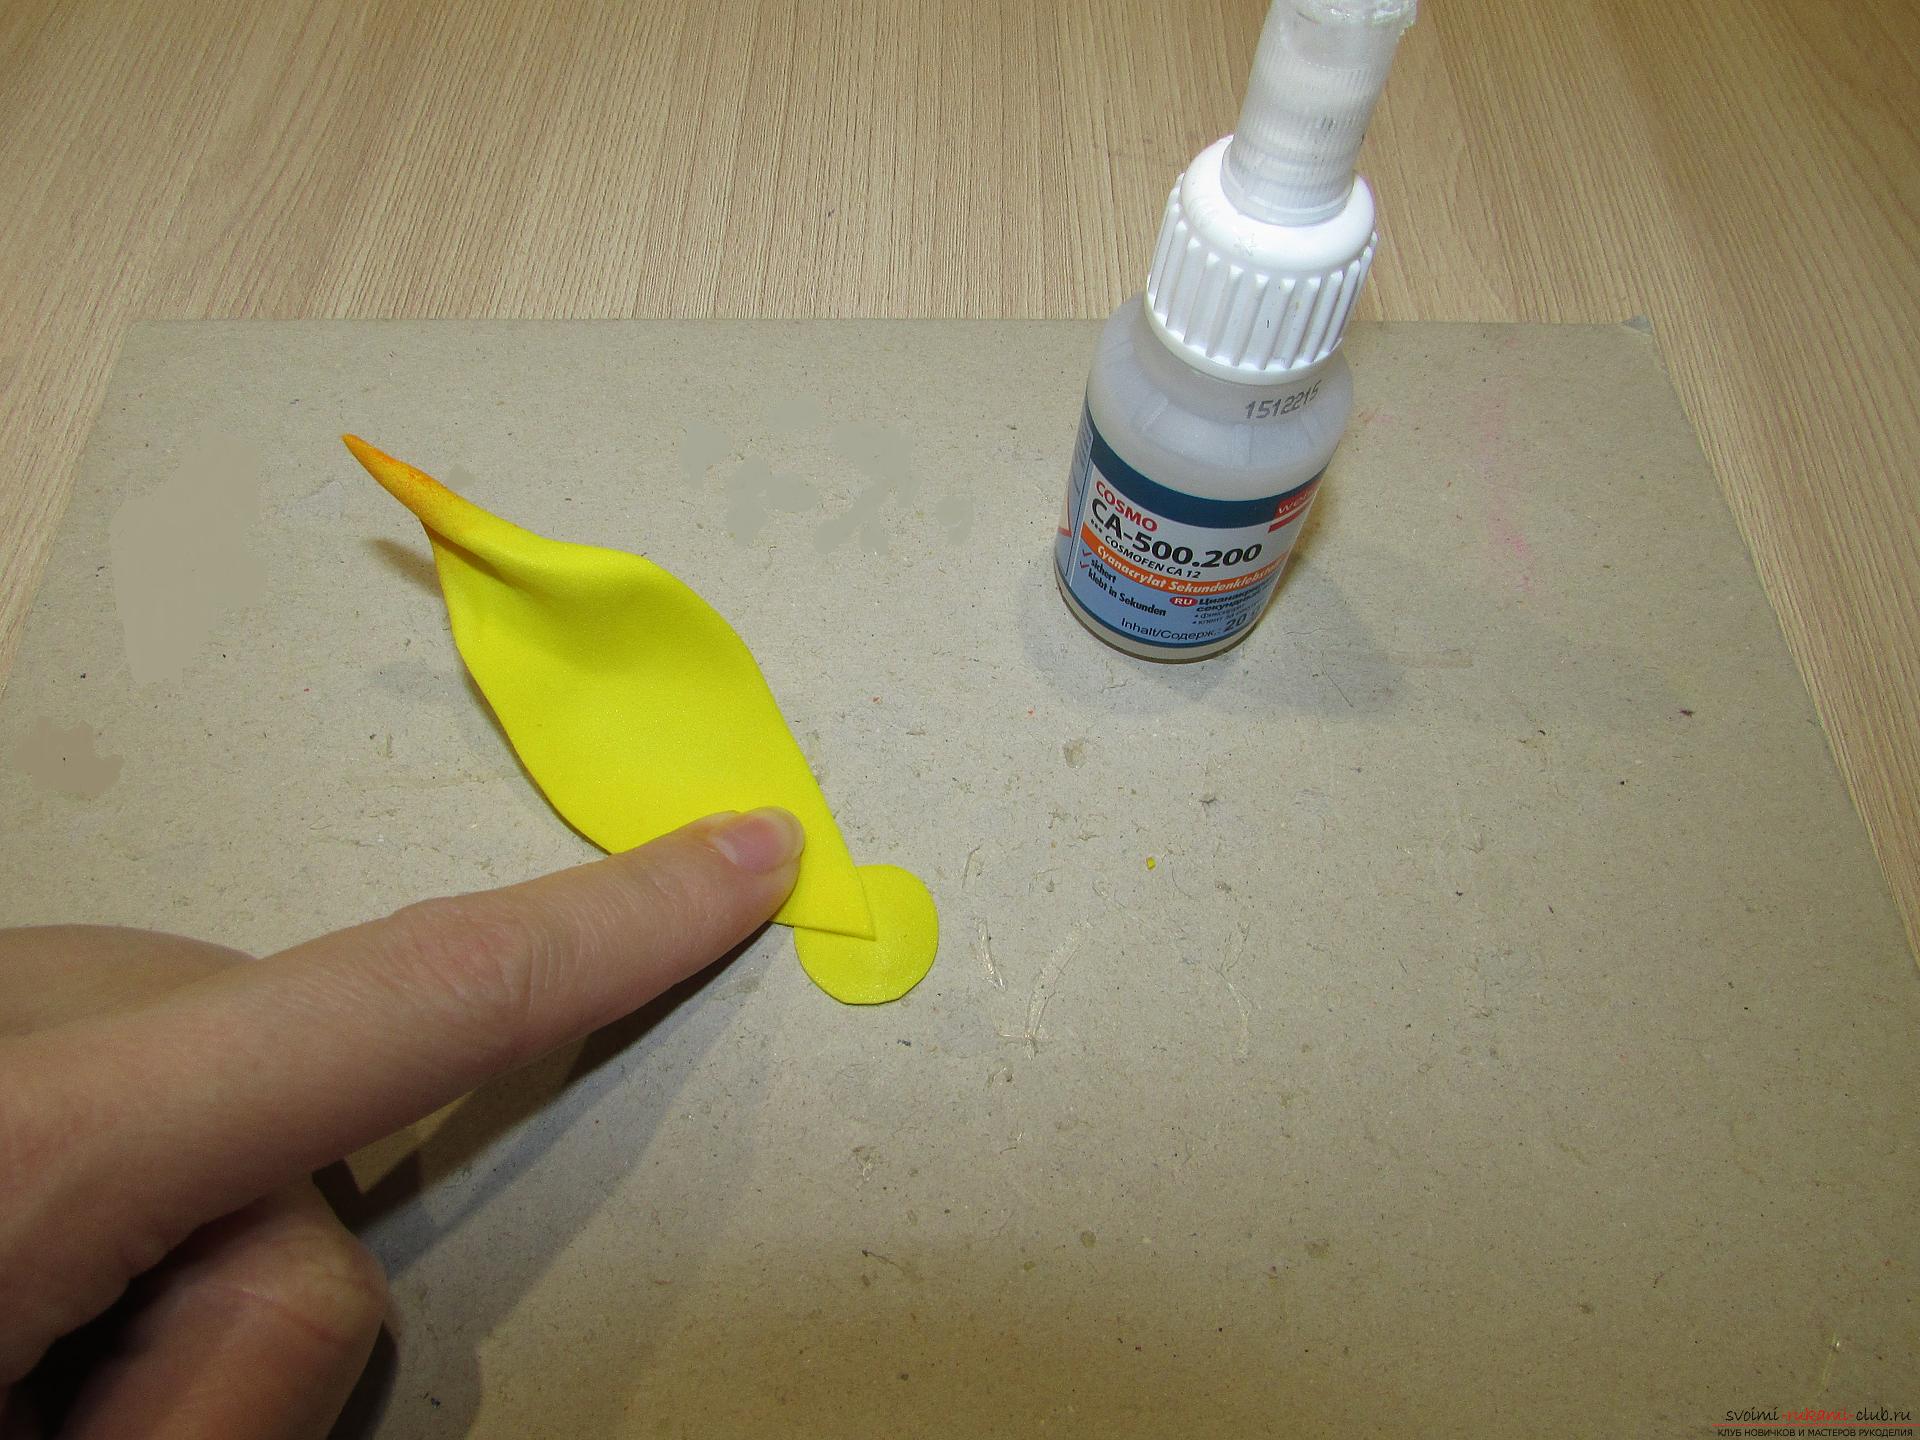 In one row should fit 8 petals.
 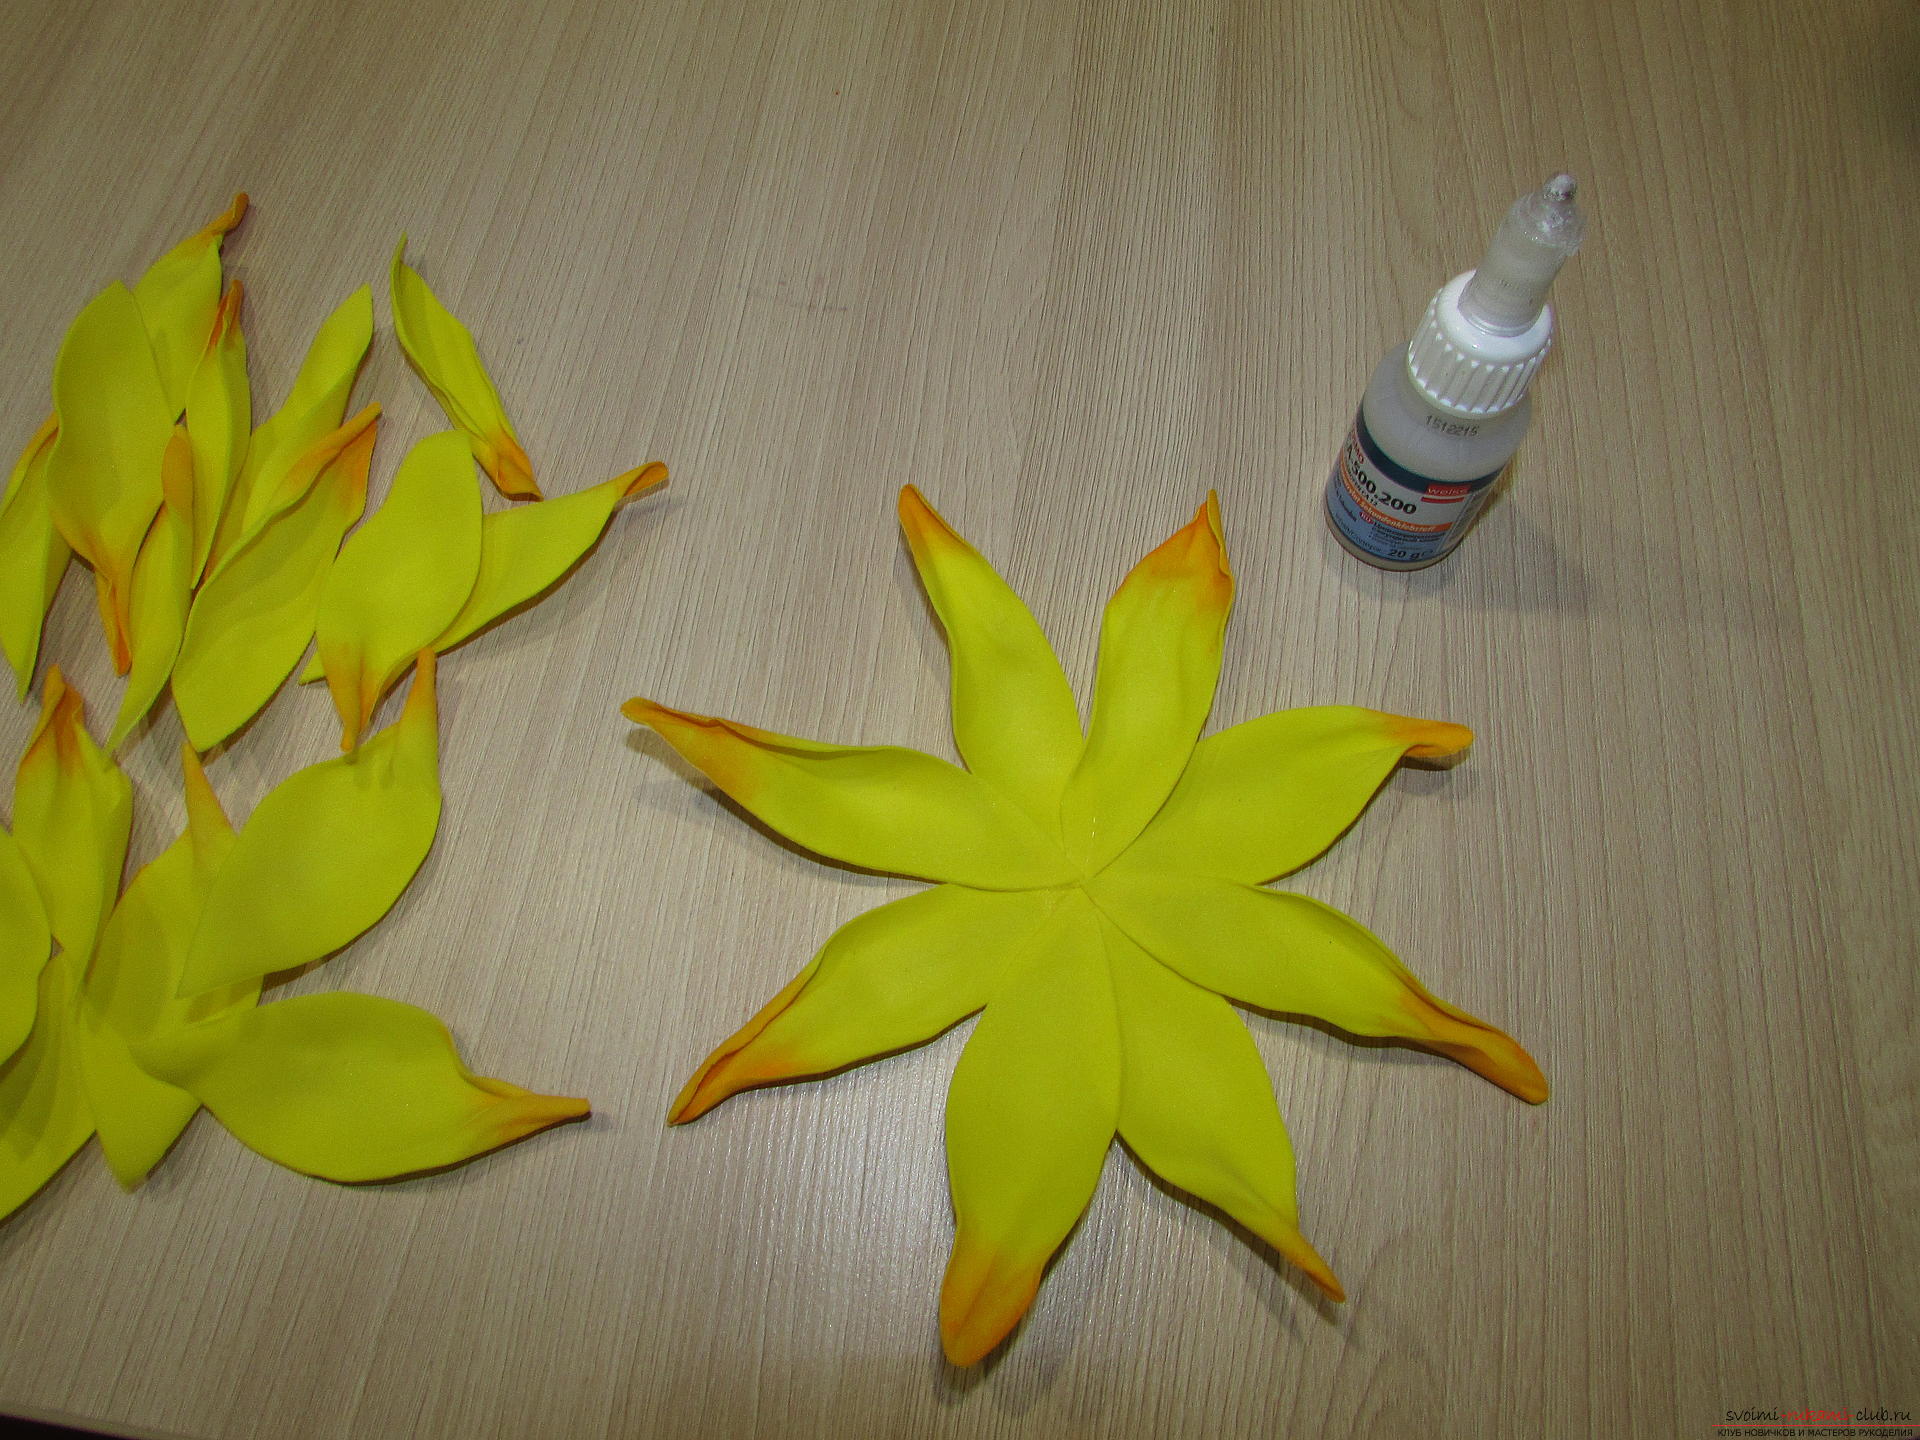 In the next row, the petals are glued into the space between the elements of the first row and in the same way we work with the third row.
 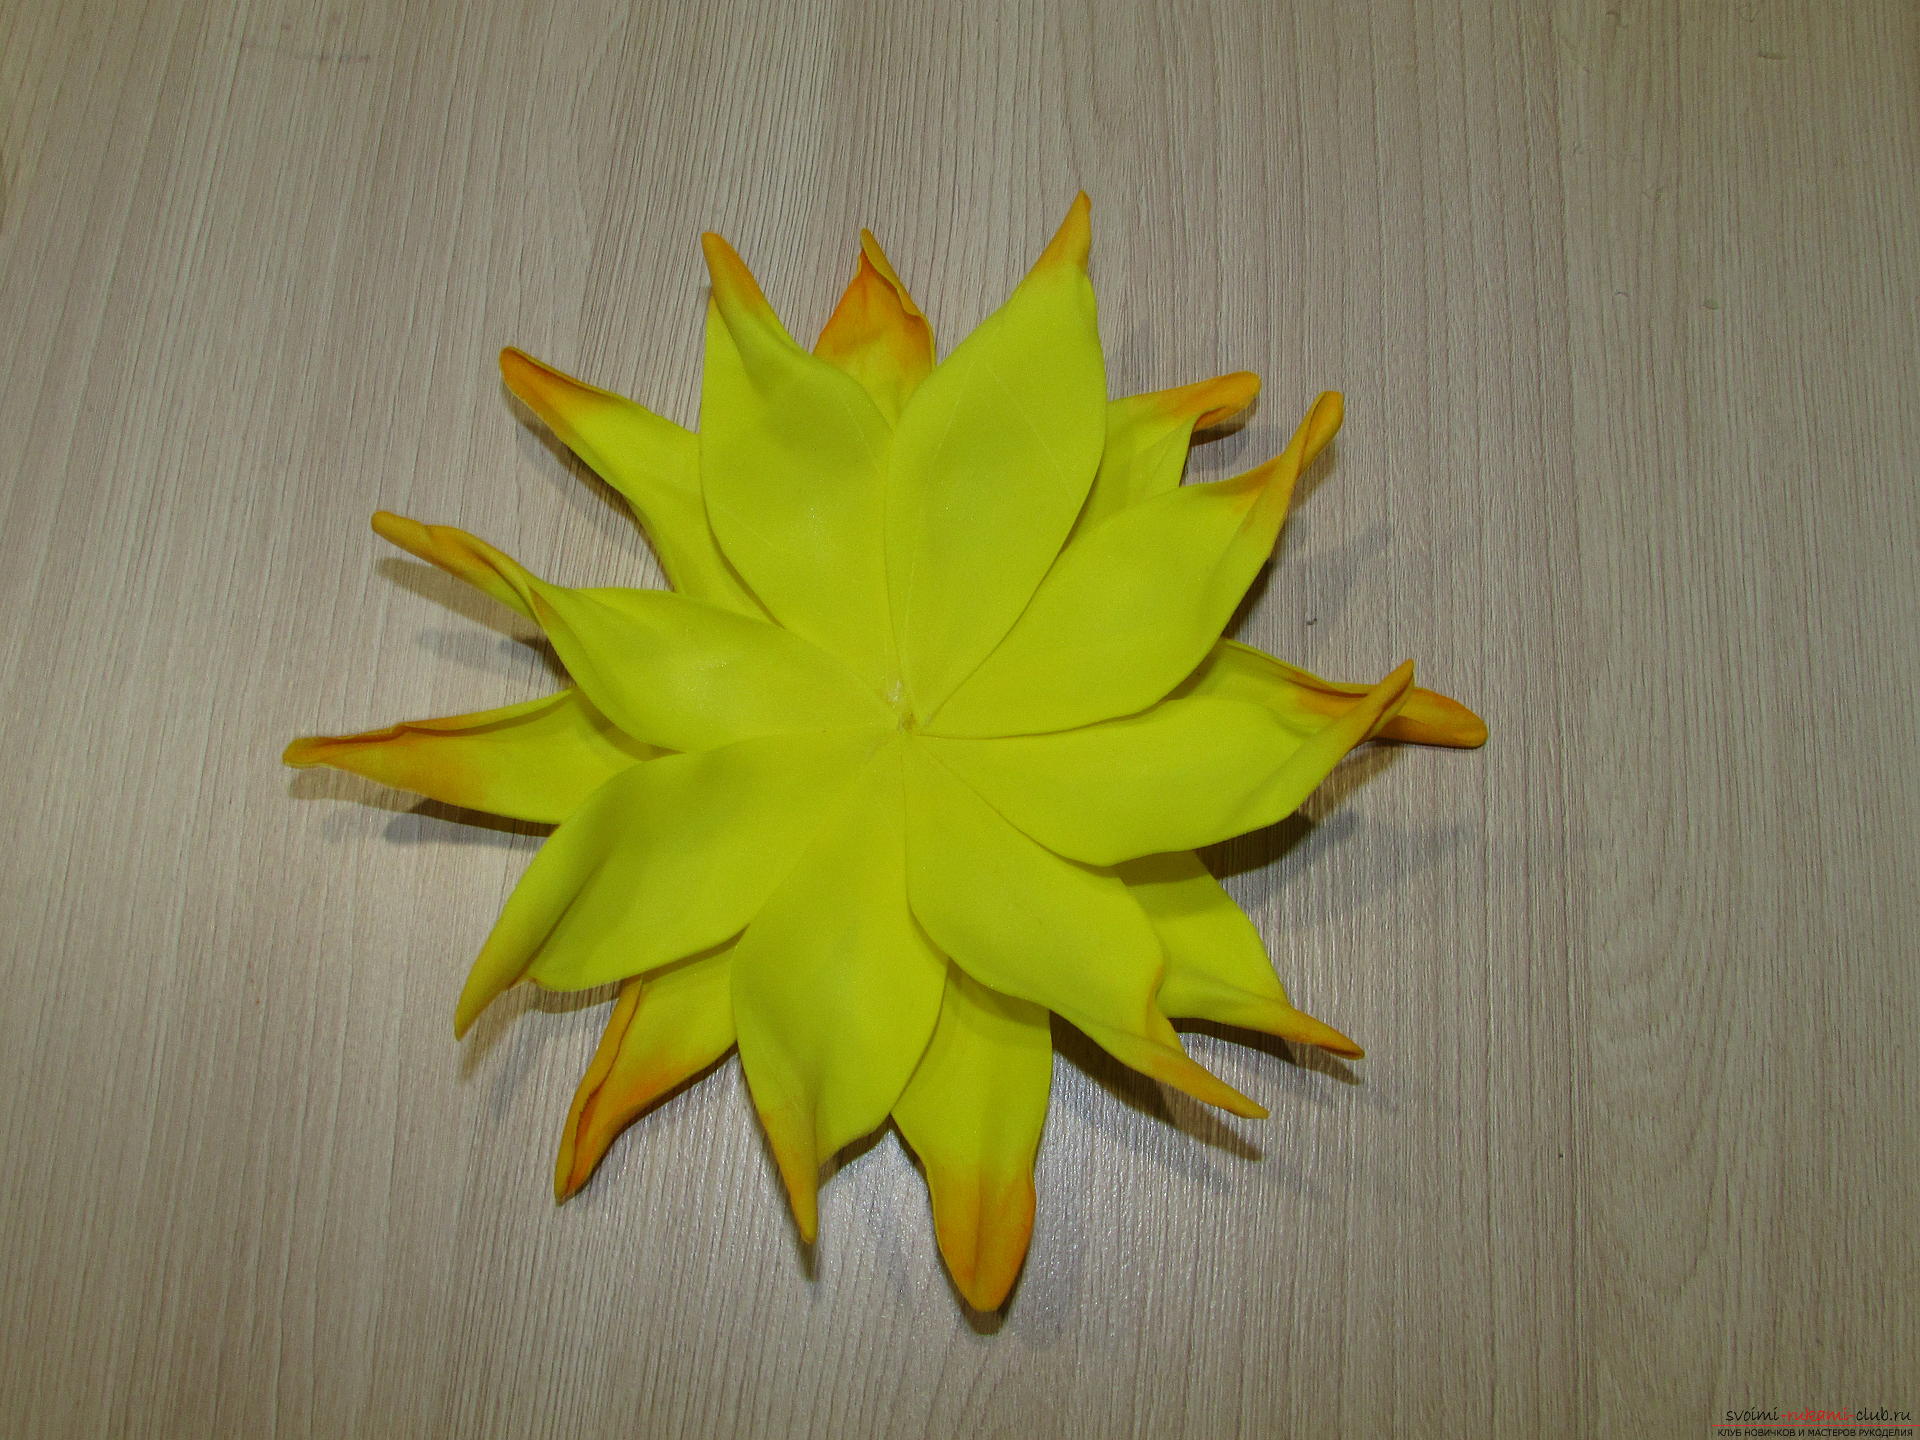 We put the center of the flower in place.
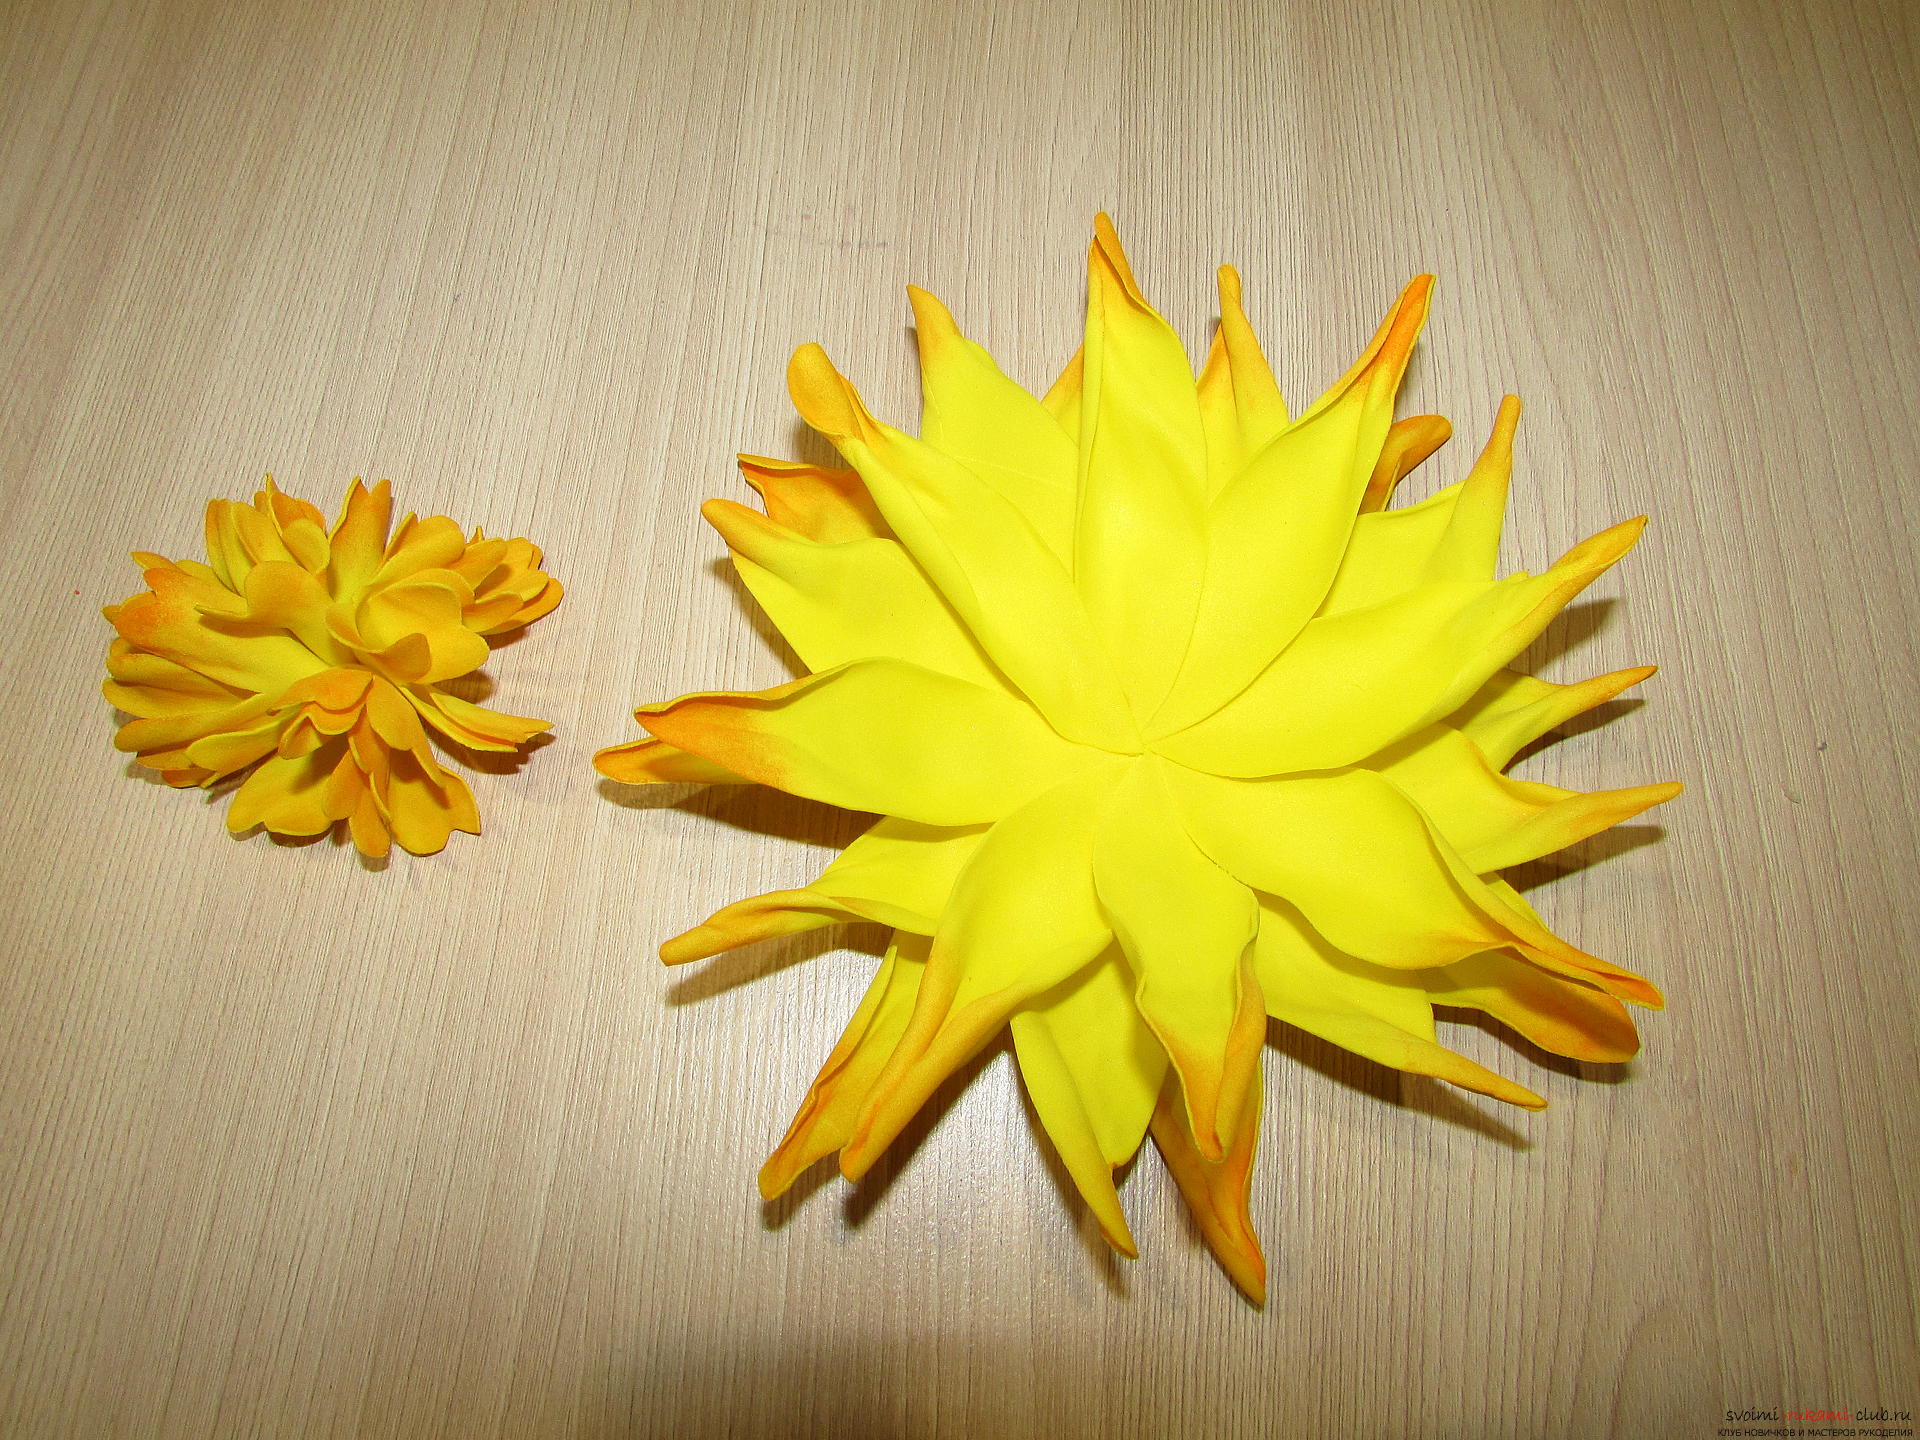
 We decorate the hair clip or clip.
 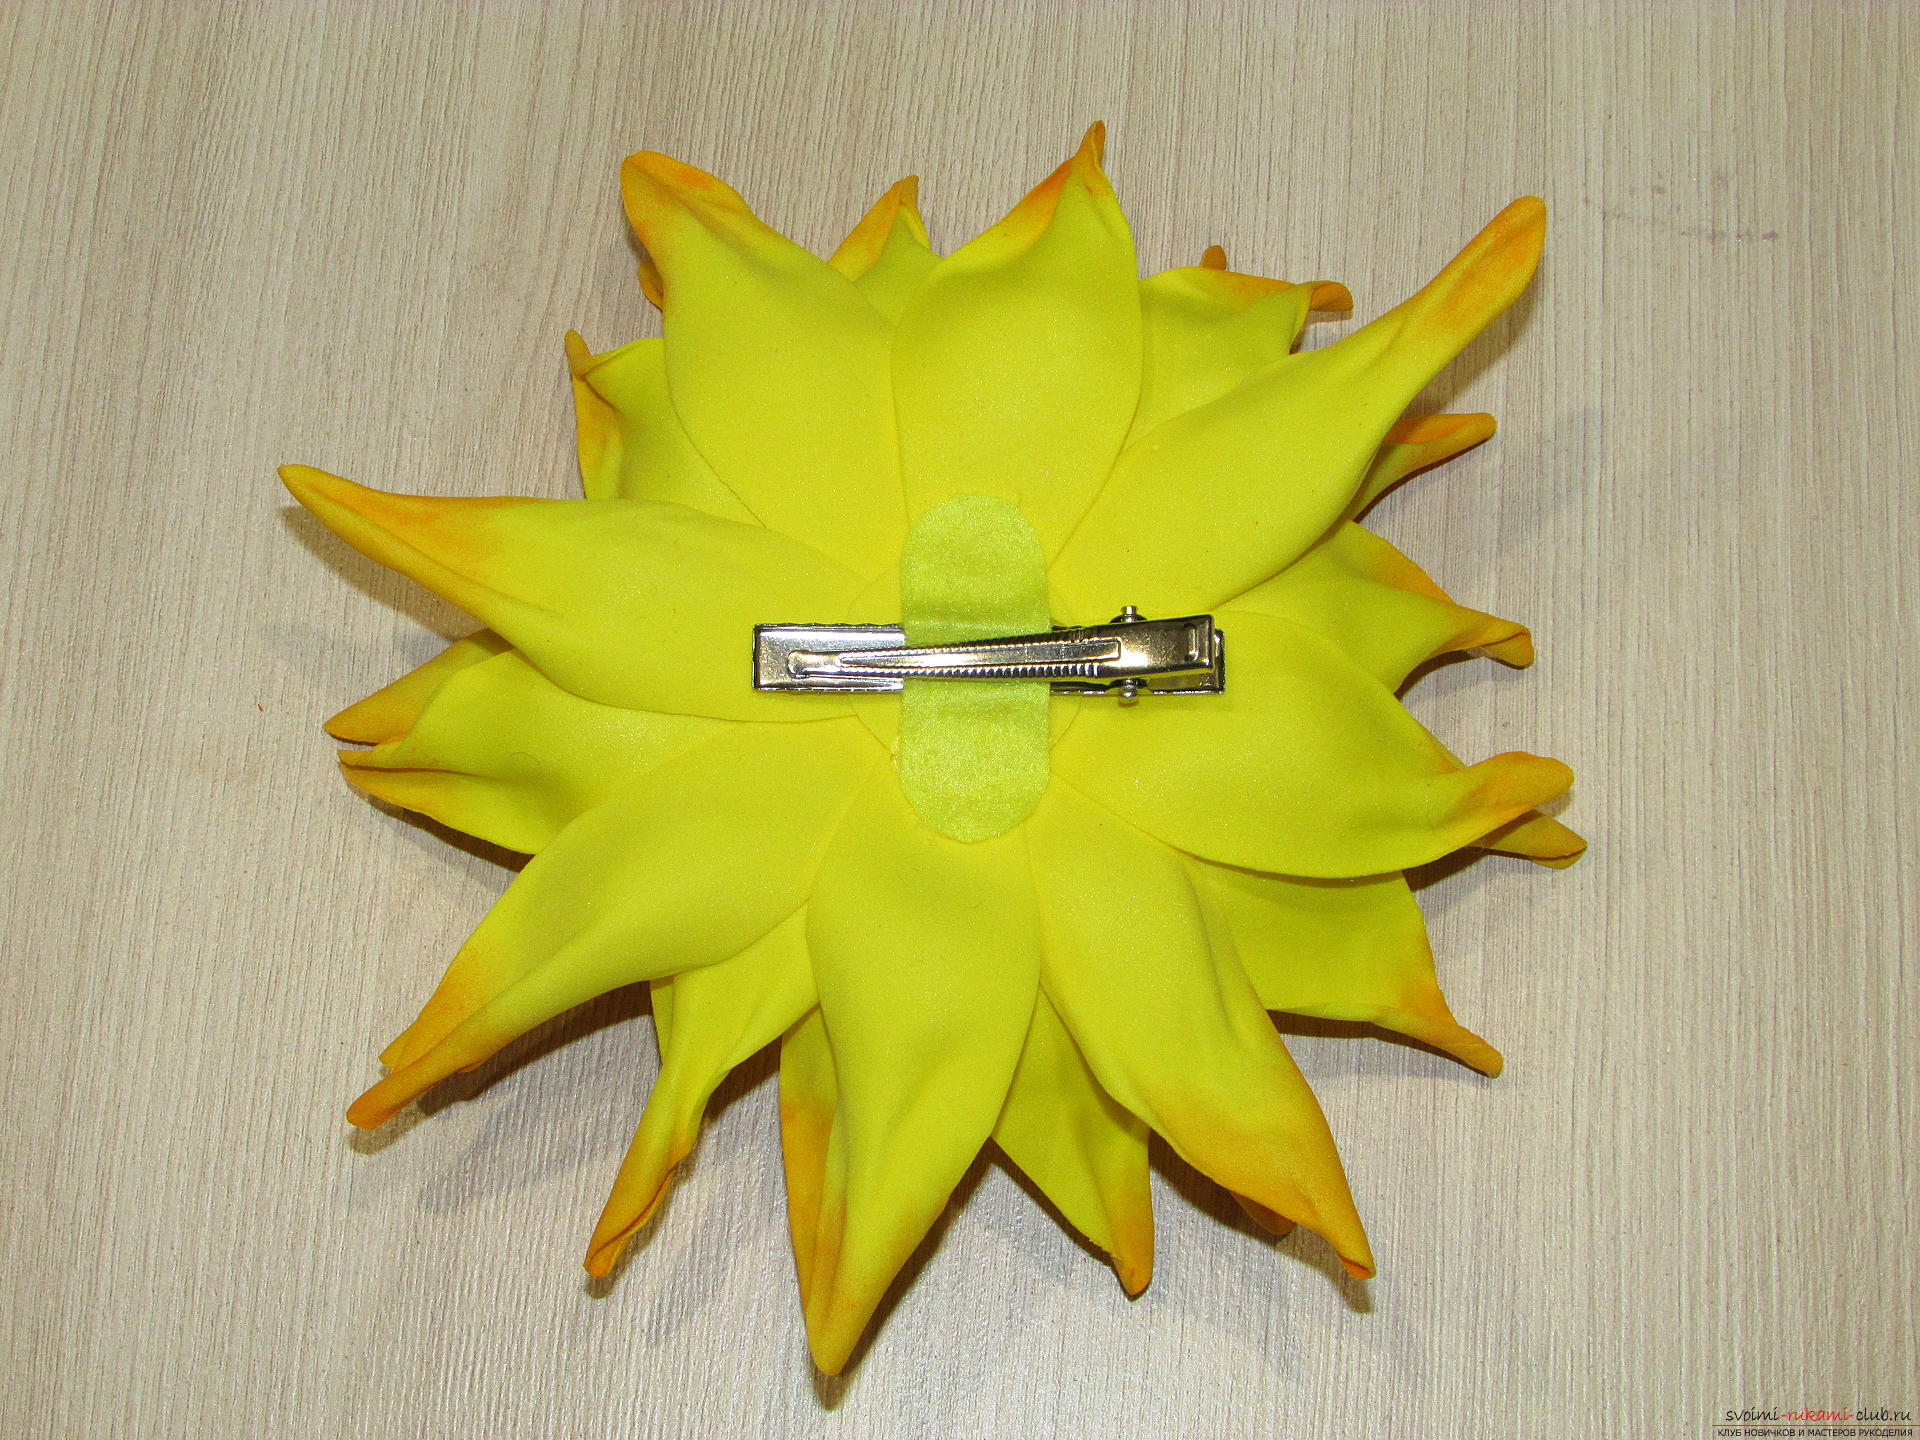 That's all, the accessory is ready. The flower turned out to be quite large, it can be a good addition even to a fairly simple dress, thereby creating a festive image. Thank you for your attention and creative success!
Comments
Related posts:
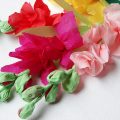 This master class will teach you how to make gladiolus flowers from paper with your own hands.
 Flowers from Foamiran with their own hands are a master class. MK from Foma.
 This detailed master class with photo and description will teach you how to make your own flowers from polymer clay for hair clips.
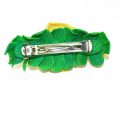
 The master class will help to create a boutonniere for which flowers are made by hands from the fameirana.
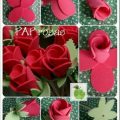
 Master class on the creation of colors will teach you how to make your own hands a rose from fameirana or leather