Master classes on the creation of bouquets of polymer clay with a description and photo.
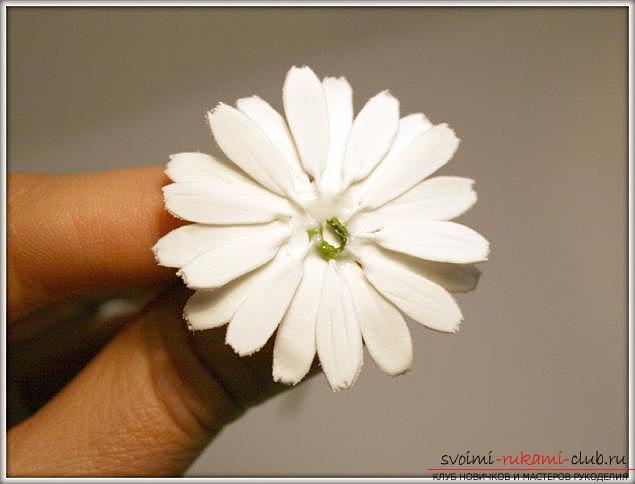
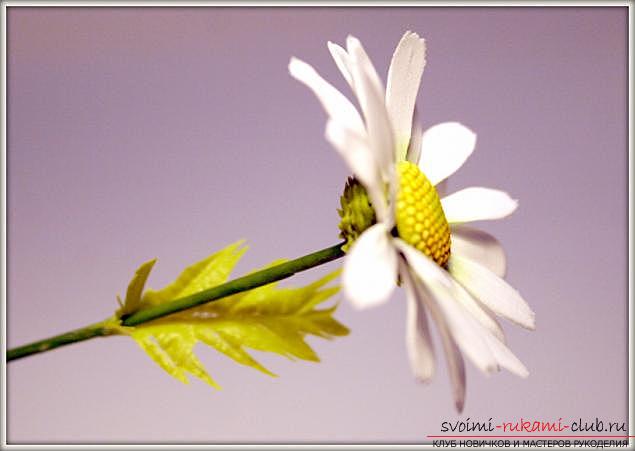
Flowers are a wonderful gift of nature. They are pleasing to the eye when they blossom in gardens, on flowerbeds, they see arbours, they decorate the interior in vases and wreaths. They are weaved into hair, make boutonnierees and decorate with flowers bracelets. Delicate snowdrops and lilies of the valley with a forest clearing, luxurious roses from the garden or a bouquet of camomiles in a vase will give bright colors, will revive any room and become an excellent gift. Unfortunately, their age is not long, beautiful flowers wither, their beauty fades. Therefore needlewomen have learned to create flowers with their own hands. They are tied up, folded from paper and cloth, made of beads and molded. Very popular is the excellent plastic material for modeling - polymer clay. It can be baked and self-hardening. The latter category also includes cold porcelain. Charming bouquets of flowers created from polymer clay, indistinguishable from the real ones, will please you all year round. A bouquet of chamomiles.  You will need:
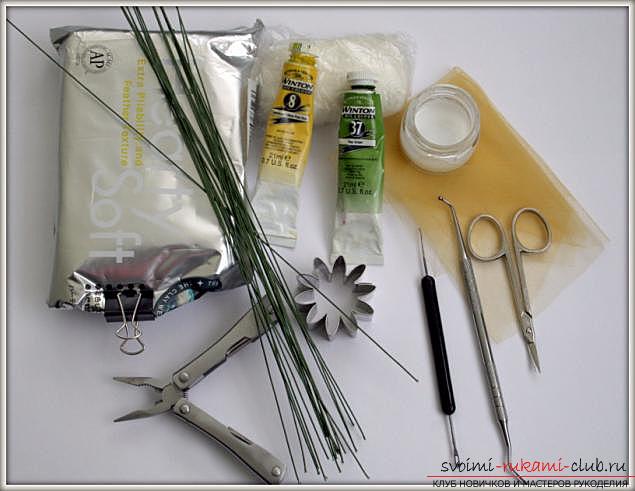
- Self-hardening plastic of white color;
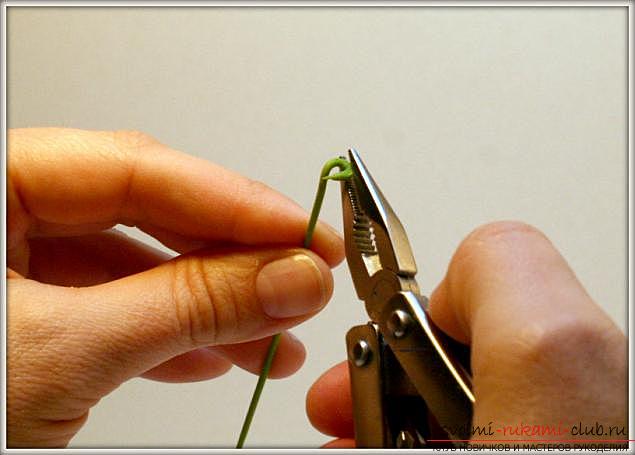
- Wire;
- Roller for polymer clay;
- Cutter petals of chamomile;
- Latex glue;
- Paints, green and yellow (better oil);
- Set of stacks;
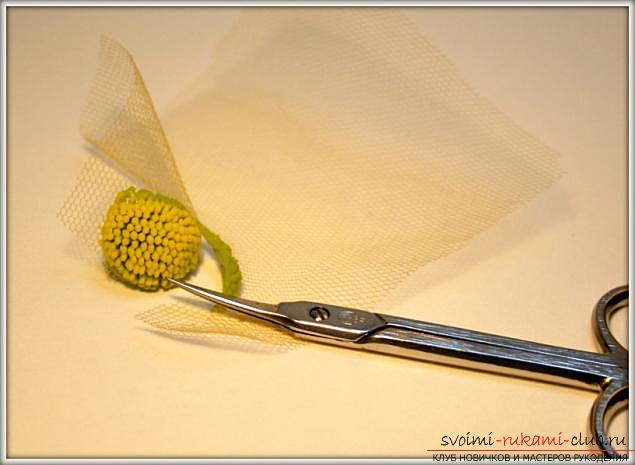
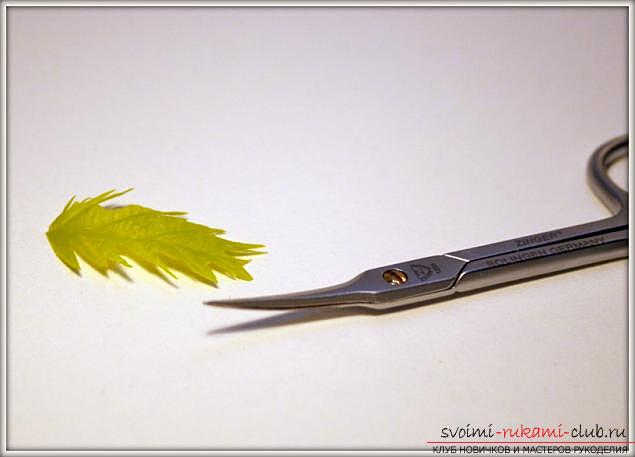
- Scissors (suitable manicure);
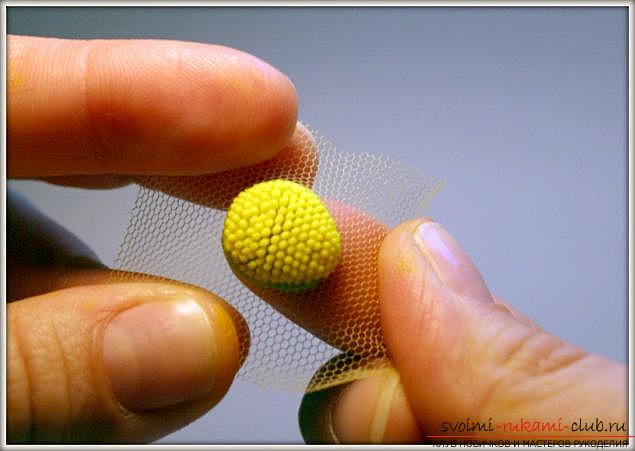
- A piece of tulle;
- Mold or weiner for sheet;
- Round nose pliers;
- File.
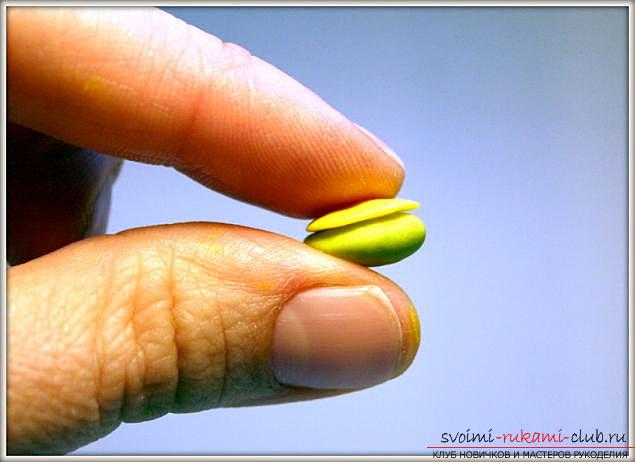
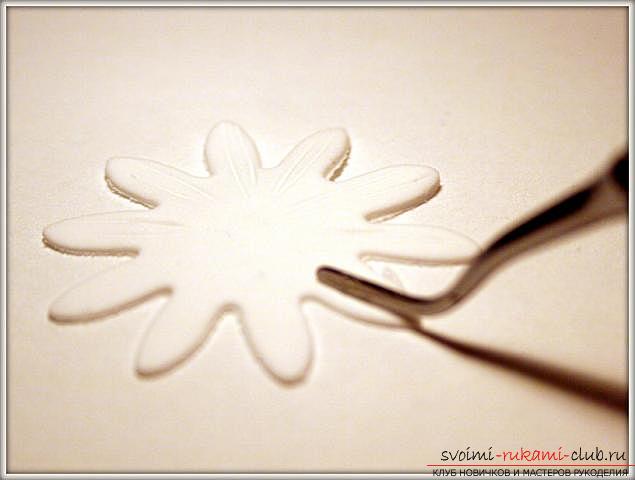
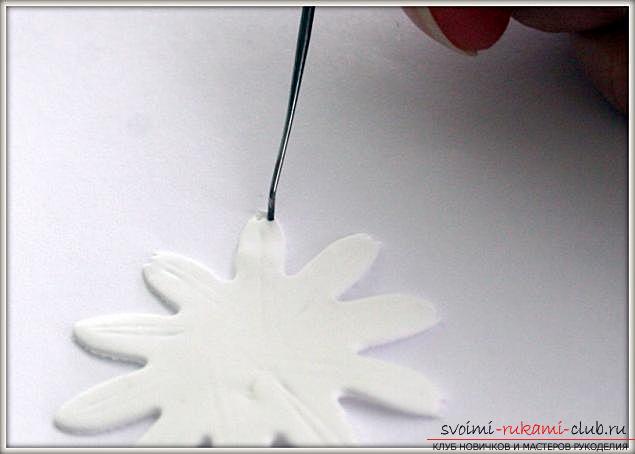
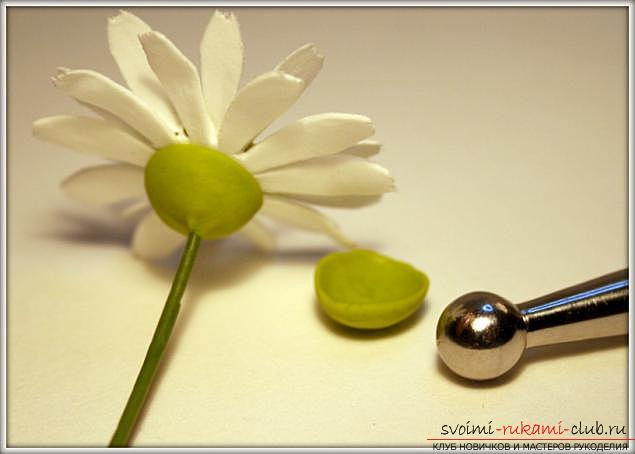
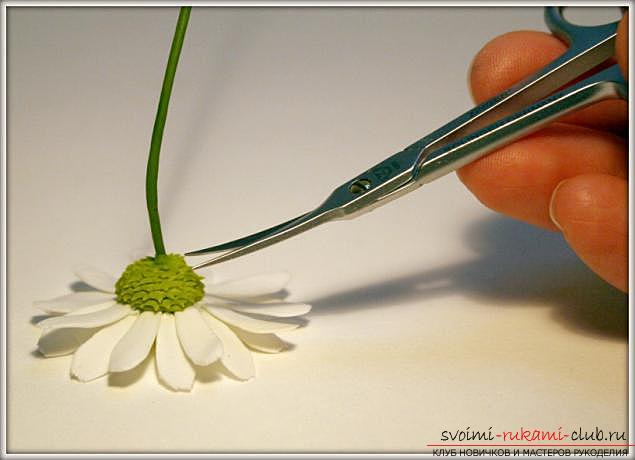
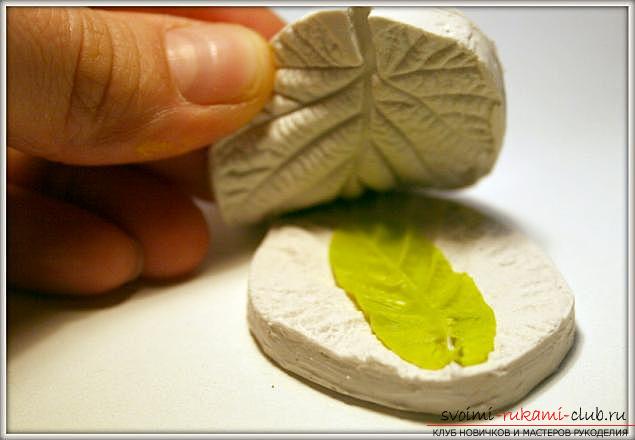
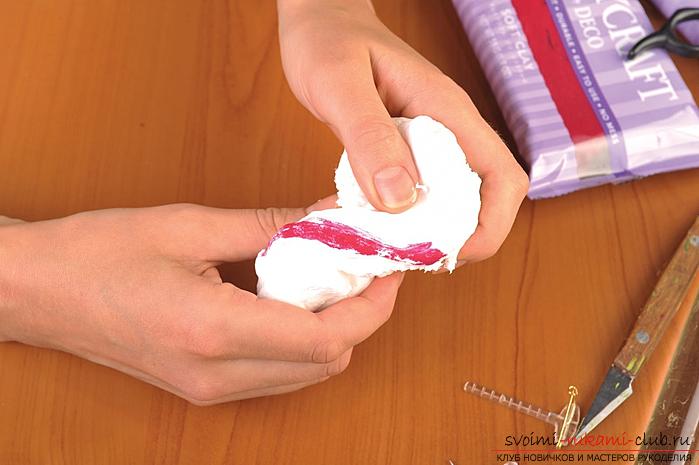
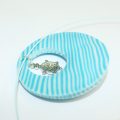
 Before you start creating chamomiles, you need to paint part of the clay in green and yellow.
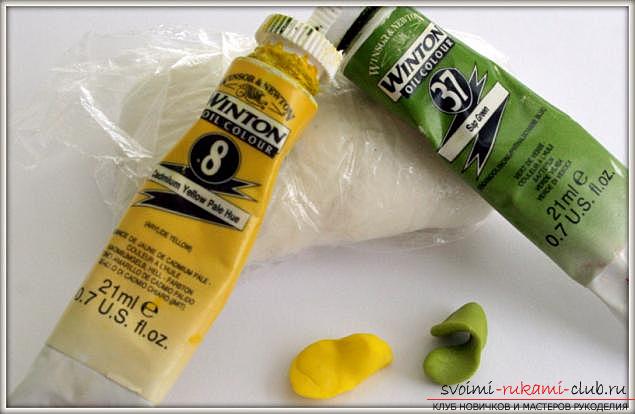


The bouquet is ready. Bouquet of peonies and roses. 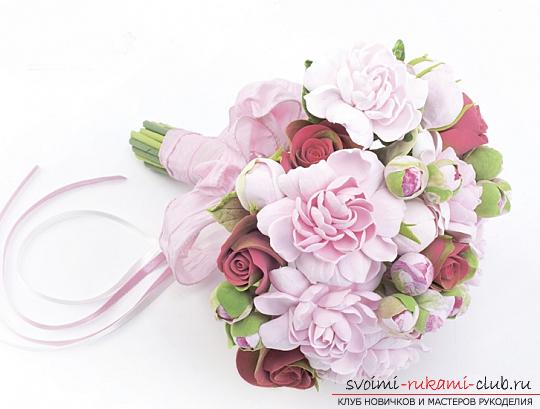 Required:
- Polymer clay of white, red and green colors;
- Mold or weiner for sheet;
- Tape tape;
- Nippers;
- Pins with transparent heads;
- Basis for the buttonhole;
- Wire;
- Glue;
- Ribbon for decoration.
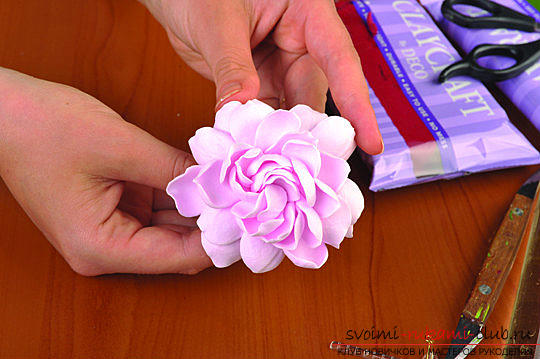
Self-hardening polymer clay dries up in the air, so during work it is covered with a damp cloth. A flower of a peony.
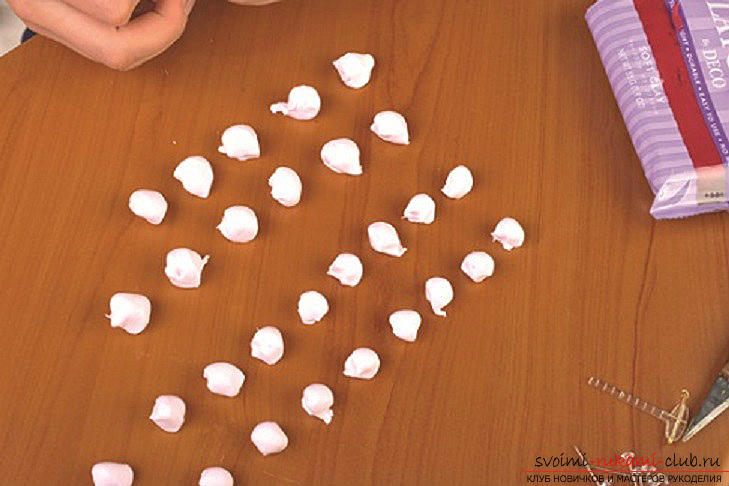

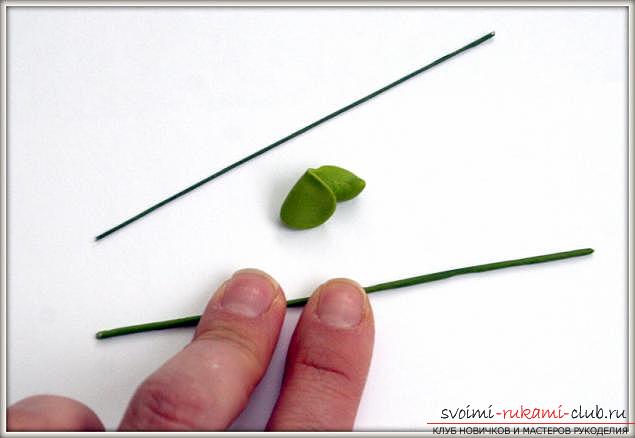
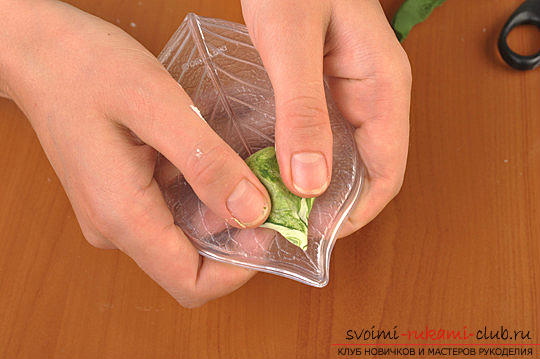
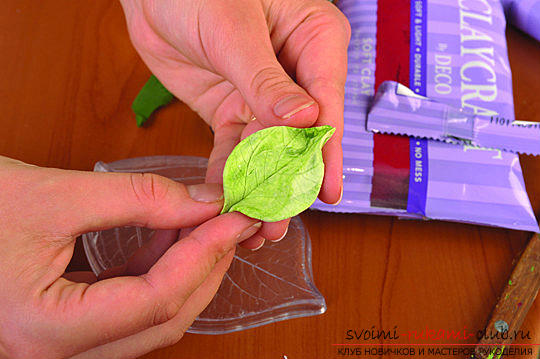
Leaflet.
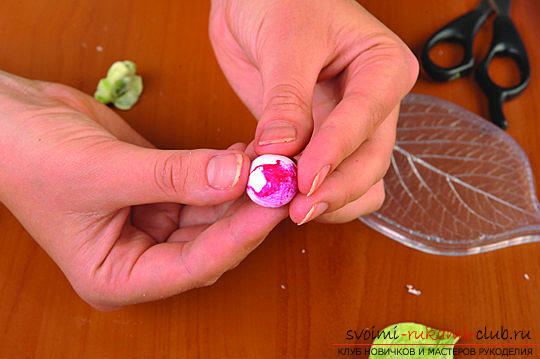
Peony bud.

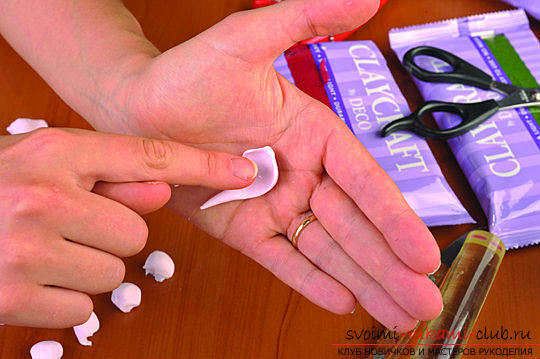
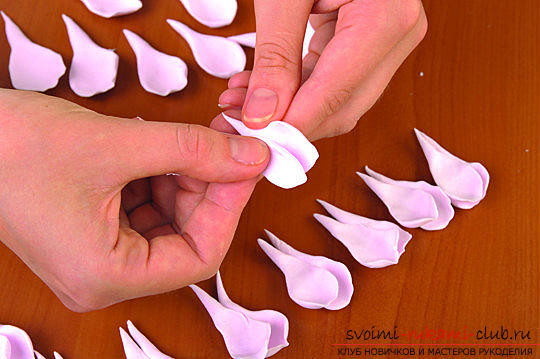
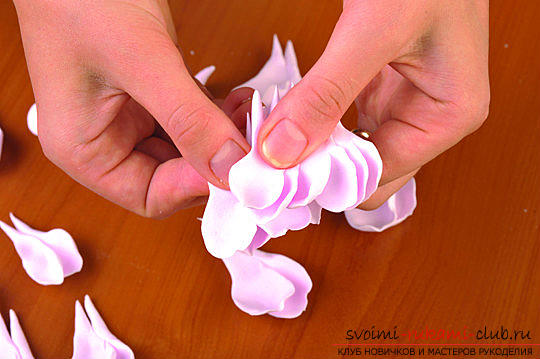
 How to mold a rose from polymer clay is shown here. Assembly.
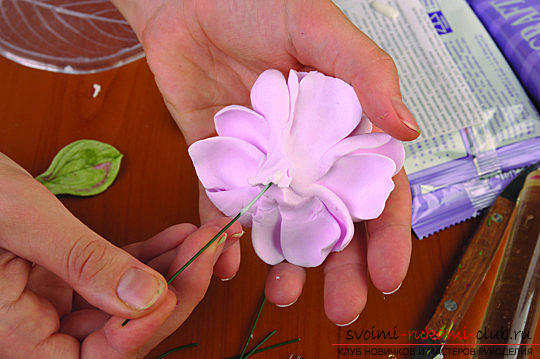
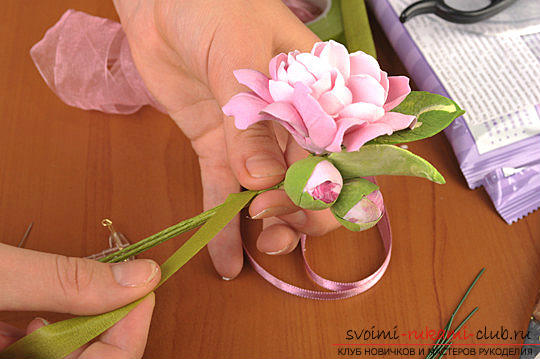
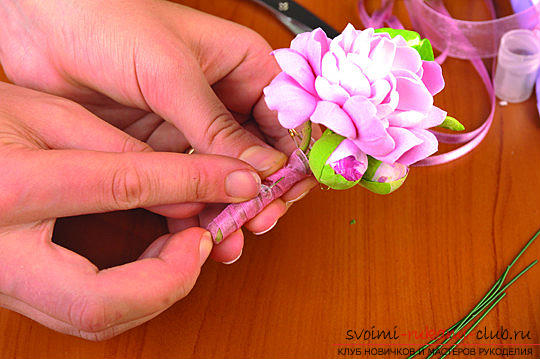 All leaves, buds and flowers are glued toflorist wire and leave until completely dry. Wrap the tape wire and the base of the buttonhole, to attach to it all the flowers, buds and leaves. Wind the resulting leg with a ribbon, cut the wire to the desired size, fix the tape.
 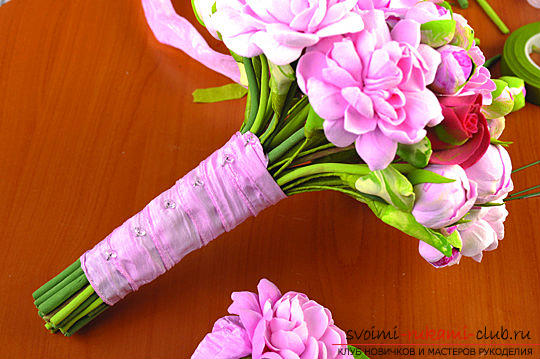 Touching spring crocuses.
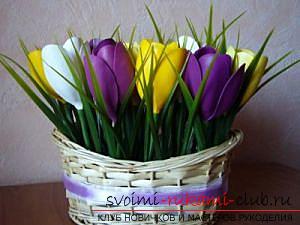
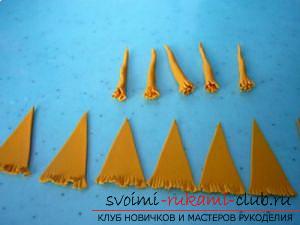
 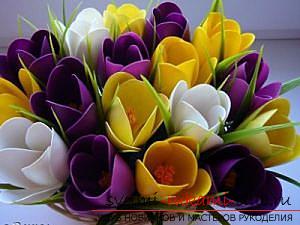 It will take:
- Polymer clay of white color;
- Oil paints (yellow, green, purple);
- Floral wire;
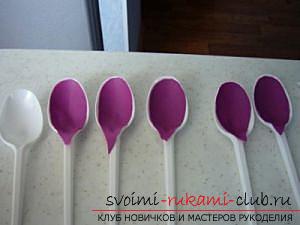
- Plastic spoons;
- Tepip-tape;
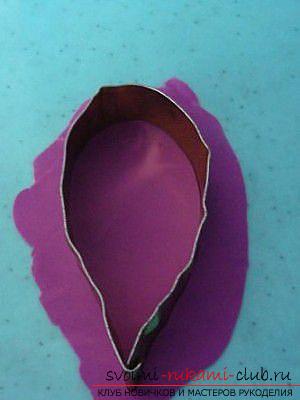
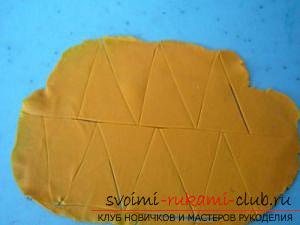
- Cutter for petals (can be replaced with a baking dish);
- A piece of corrugated paper;
- Special rolling pin;
- Artificial grass.
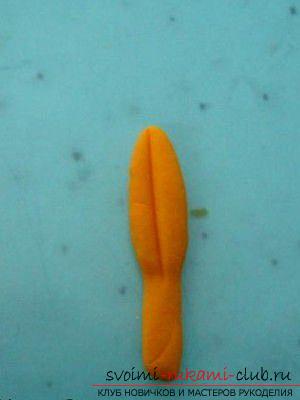
Before work, paint part of the plastic in different colors or for convenience, you can immediately purchase a color.


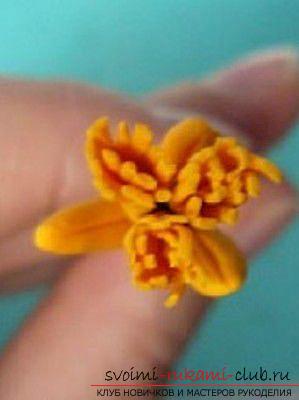

Add artificial turf and bouquet is ready.
Comments
Related posts:
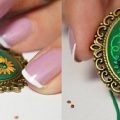
 This detailed master class with photo and description will teach how to create with your own hands a set of jewelry made of polymer clay - a pendant and earrings with a turtle.
 How to make a pendant or suspension from polymer clay with your own hands, master classes with photos
 How to make earrings from polymer clay in the form of snowmen, detailed master class with photo and description
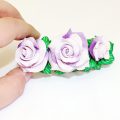 This master class with a photo and description will teach you how to make flowers - roses - from polymer clay in texturing technology.
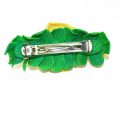 This detailed master class with photo and description will teach you how to make your own flowers from polymer clay for hair clips.