Master-classes on braiding on the fingers of bracelets made of rubber bands
Content
- How to weave a "Chain" bracelet on the fingers of rubber bands
- Bracelet made of rubber bands on the fingers "Fish tail"
- Video lesson braiding bracelet "Double pigtail"
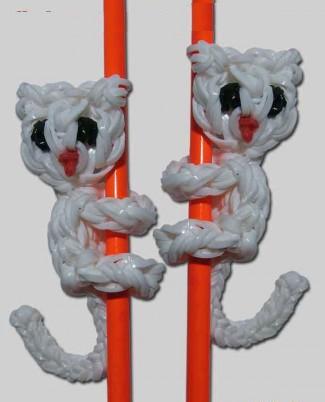
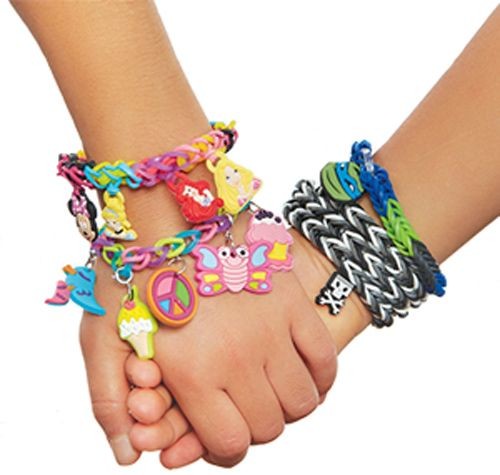
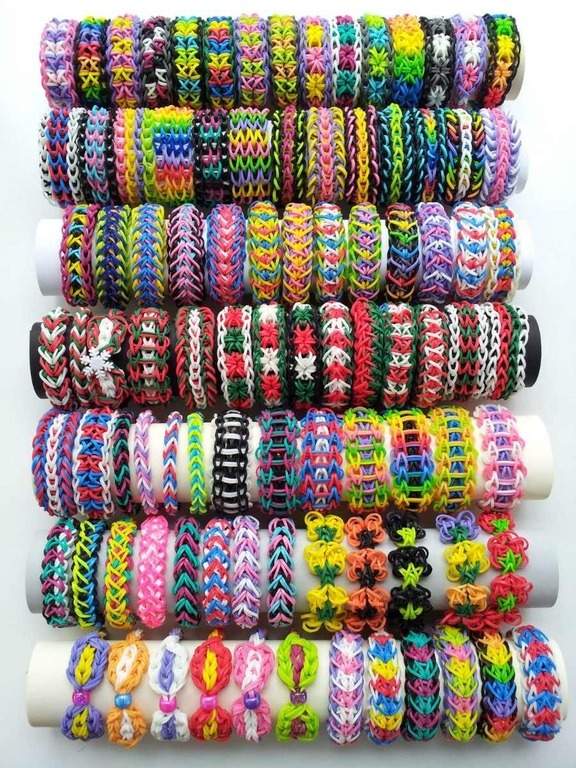
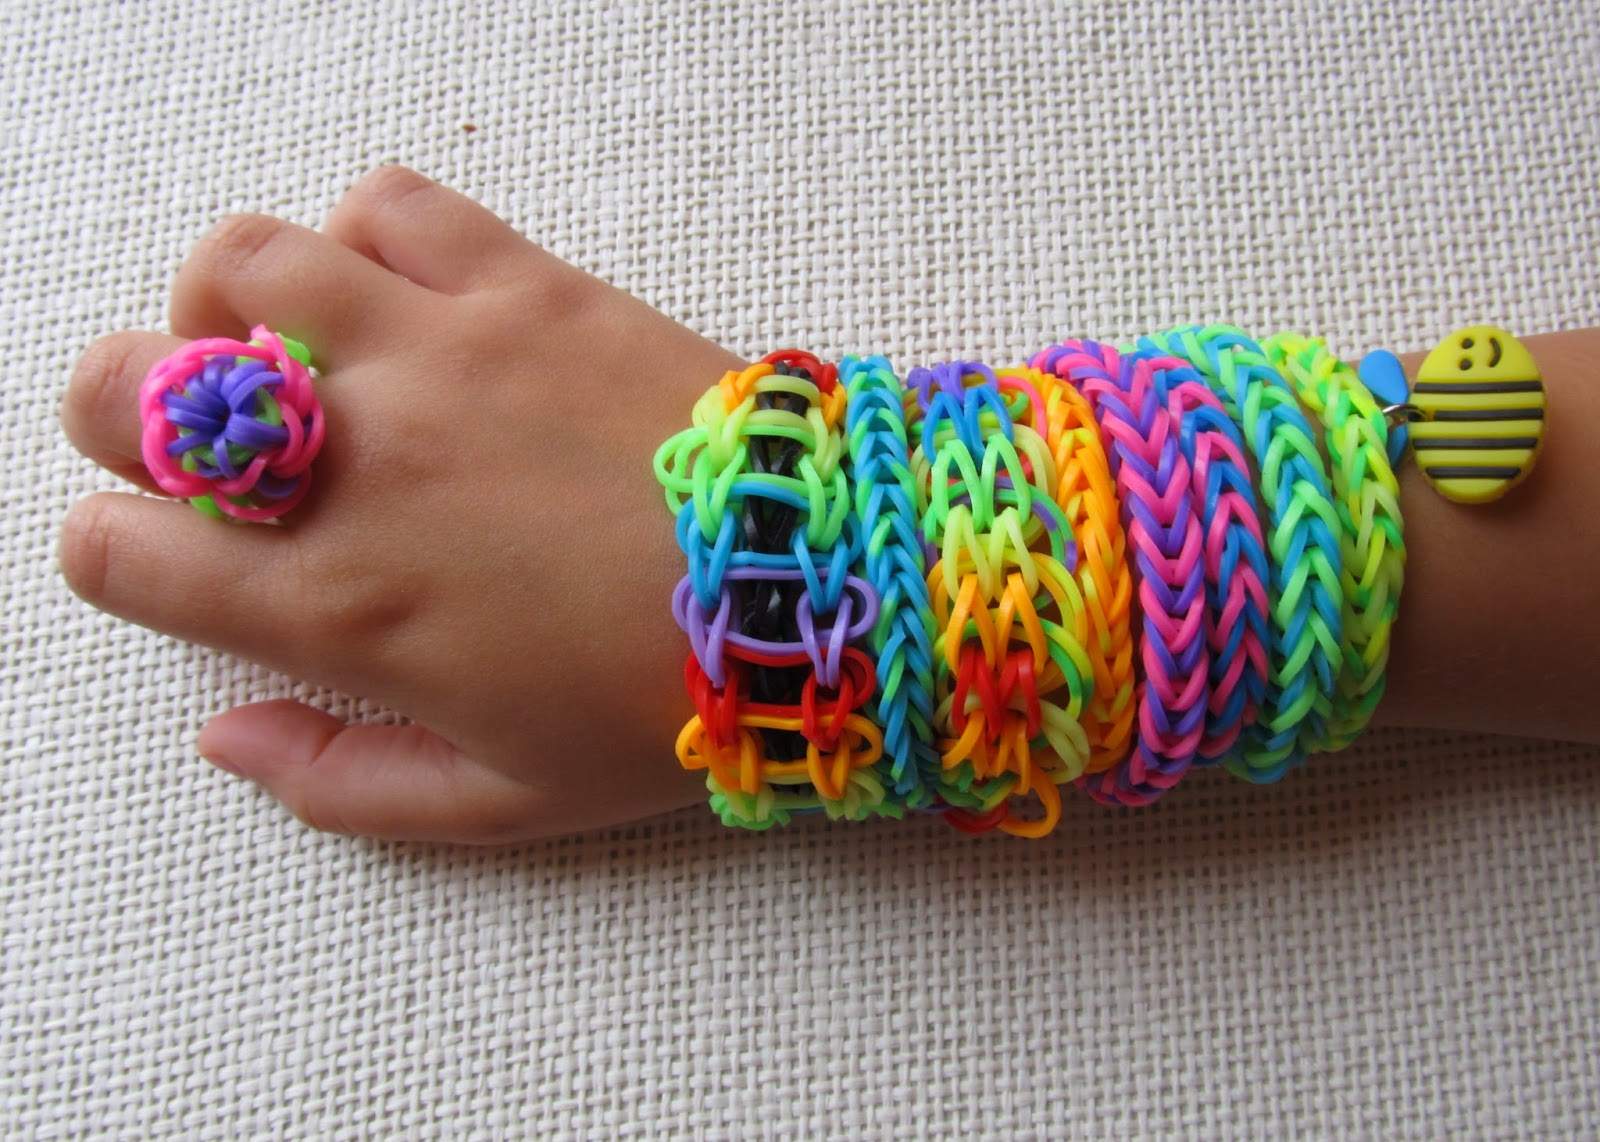
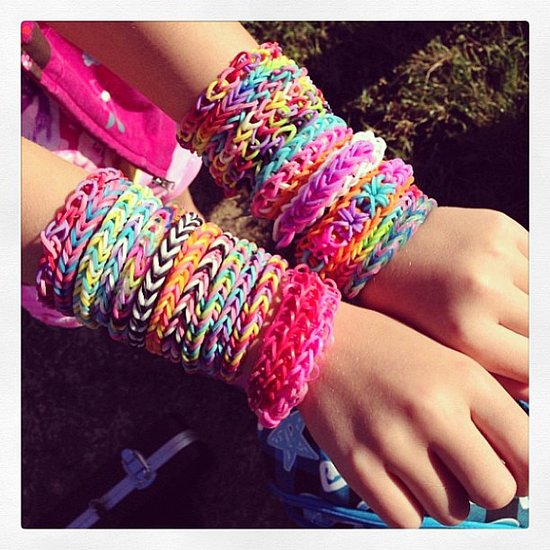
Gorgeous needlework from colored rubberEmerged in America very recently, but already managed to conquer people in different countries. This was due to the maximum simplicity of needlework and the availability of rubber bands at a price. Often people like the process itself, as well as its results. Braiding from rubber bands will allow you to create magnificent ornaments, such as amazing braces for beauty. Especially love to weave such accessories girls and girls are teenagers, who basically and are engaged in their manufacture. Bracelets and
Are available to almost everyone becauseHave a relatively low cost. Thanks to this bracelets have become an excellent alternative to expensive jewelry. Beauty and affordability determine the huge popularity of such jewelry. A ring or bracelet made by hands will be unique in color. This is because each of you independently chooses and weaves the necessary shades and their combination. As a result, the bracelet can be weaved to a certain style and color of clothes.
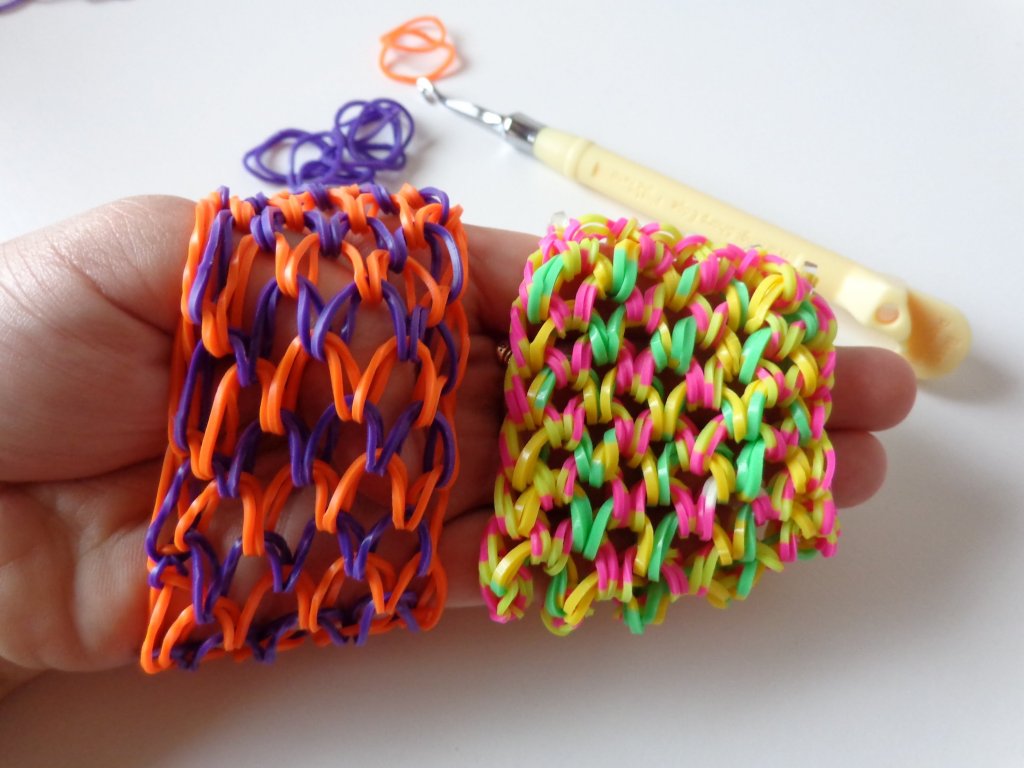
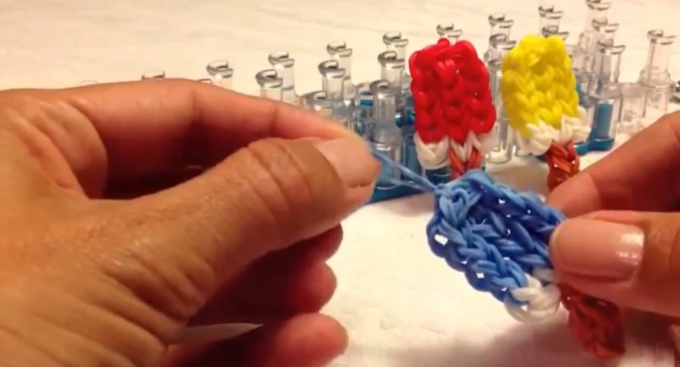
Novice needlewomen are best to learnWeaving from rubber bands in the most primitive way, that is, on the fingers. Bracelets made of rubber bands are woven with the help of various techniques, from the easiest to the more complex ones. An easy braiding technique is called "Chain". Having mastered the chain and gaining valuable experience of work, you can weave bracelets with the technique "Dragon Scales", "Rain" and so on. Note that there are a lot of such techniques of weaving.
How to weave a "Chain" bracelet on the fingers of rubber bands
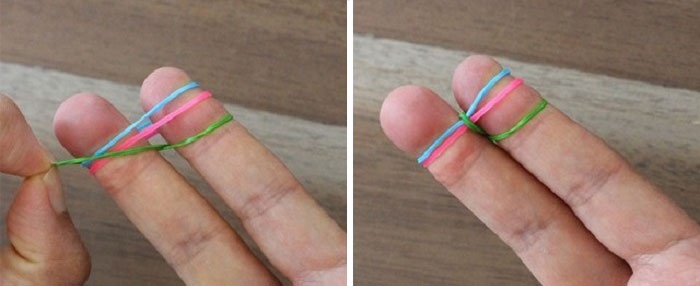
Bracelet "Chain" weaves by the most primitiveA scheme that is ideal for beginner needlewomen who master the formation of products made of rubber. It is the easiest way to weave bracelets on your fingers.
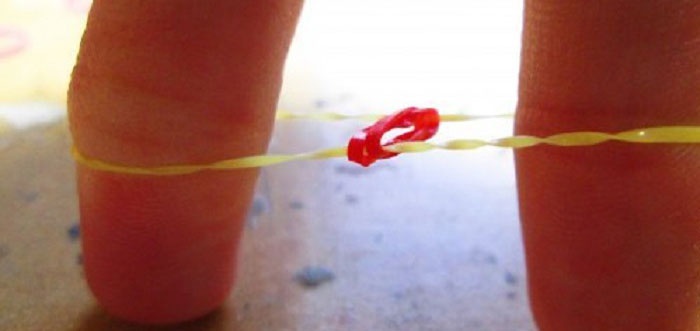
This scheme is the basis for all others, moreComplex ways of needlework. According to this scheme, all those needleworkers who want to learn the basics of creating objects made of rubber bands are usually trained. Start the weave by twisting the gum in the form of a figure eight, then placing it on two fingers.
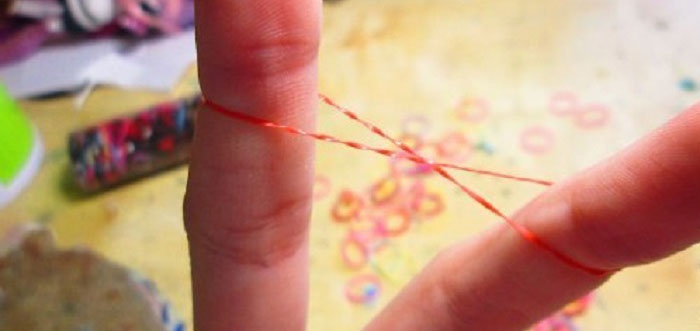
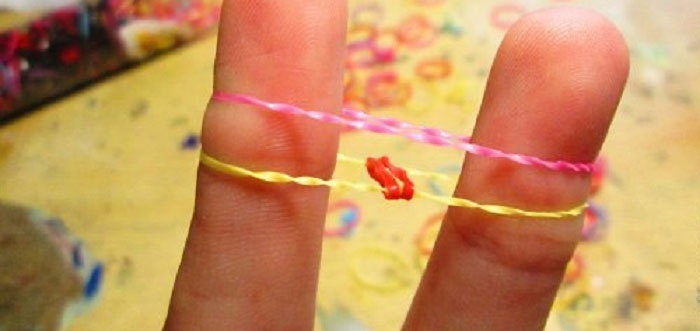
Immediately after the first iris, you need to put on the second iris. We do not twist it, but stretch it evenly.
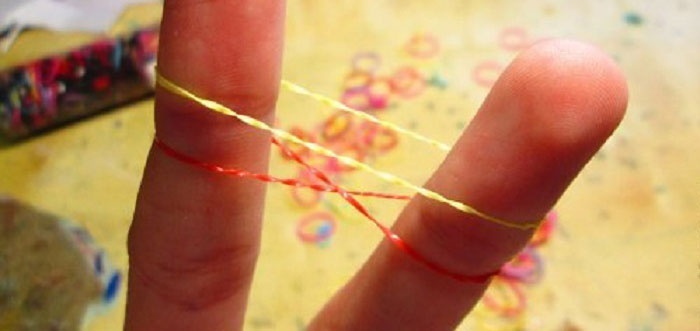
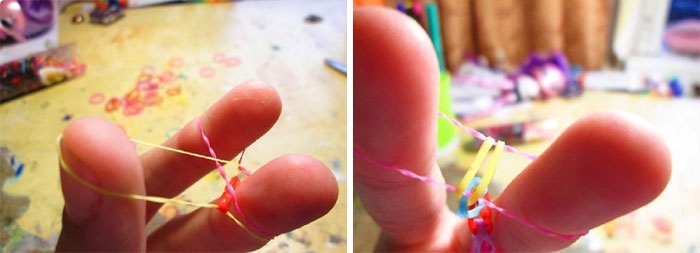
When two gums are in place, you needPick up the bottom, pulling it, and throw it over the top. Dragging the lower elastic, release it, and place it on top. Similarly, we do with the second half of the bottom gum.
As a result of this action, you have on your hand an elastic band that is intercepted by another in the center.
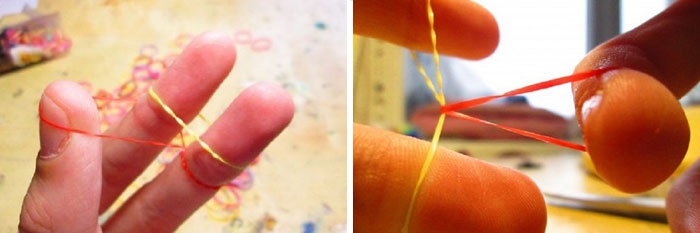
After that, we put the next iris in place.
With this newly worn part, we perform the same actions, moving the lower element through it, and placing it on top.
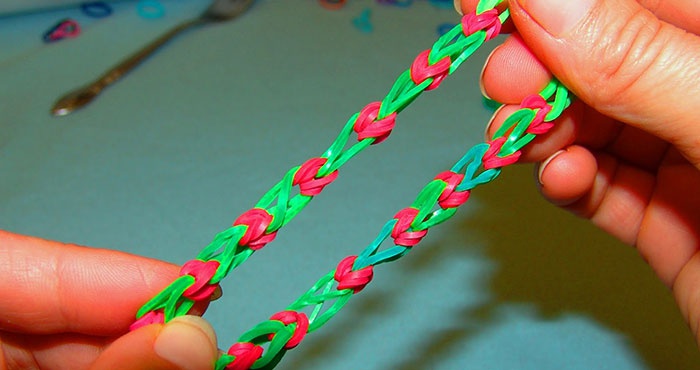
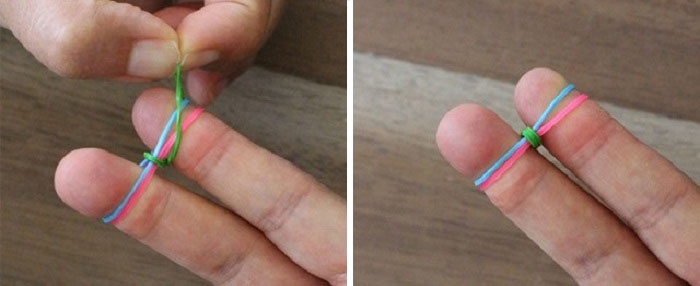
After that we will have to repeat everything beforeDescribed operations until the desired length of the bracelet is reached. Having finished braiding of a bracelet from elastics, we pick up the second end, and we transfer it near to the first. We need to arrange both eyelets of the bracelet on the finger.

After that, it remains to attach the fastener to the product, fixing it.
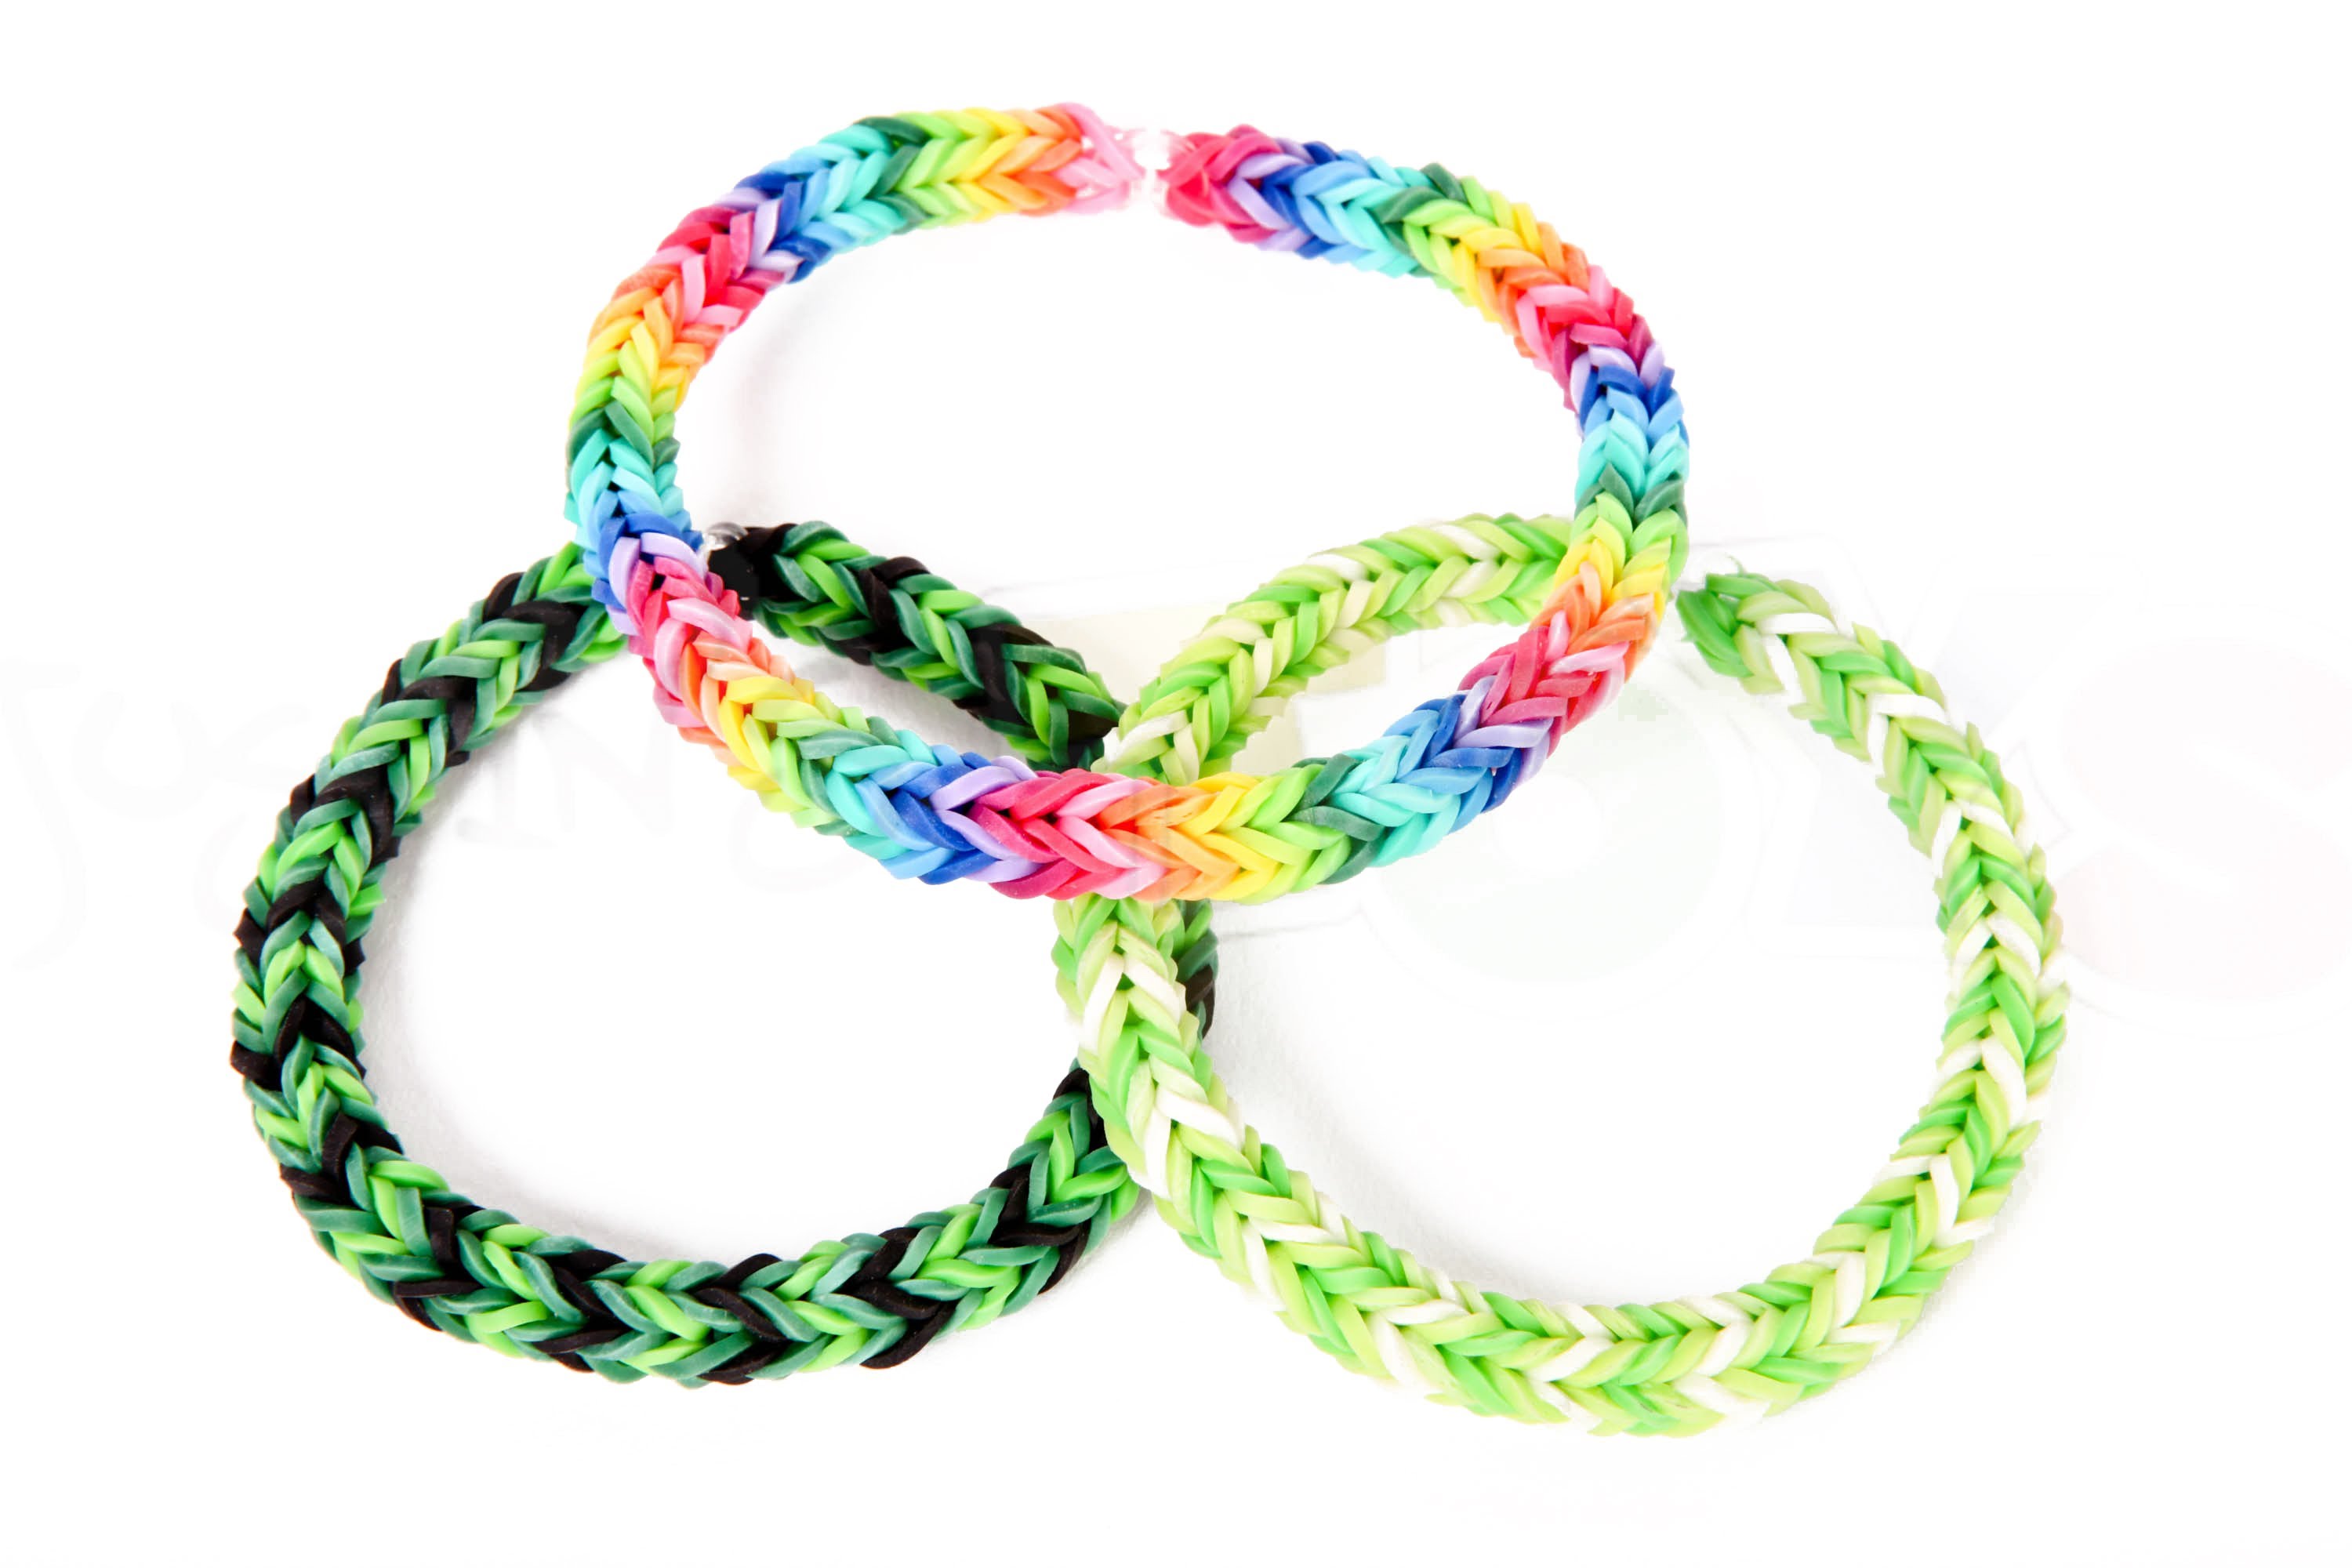
Bracelet made of rubber bands on the fingers "Fish tail"
This appearance has a bracelet made of rubber bands "Fishtail". To weave this accessory, you need to apply a more difficult technique than when making the "Chain", but the appearance of the product will undoubtedly please any of you.
Let's begin to weave the bracelet in the same way as the first lesson, from twisting the first part to the number eight. We pull the figure eight on the fingers, the index and the middle one.

Then we take two more elements, and put them onUpward, without twisting. Then we pick up the part on the left and below, moving it above, to the center. With the other half of the bottom gum perform the same action.
Next, add another iris, and move the lower arms to the right and left to the middle position.

In the same technique, add as many gums as necessary to achieve the required length of the fishtail bracelet.


Having reached the required length, stop adding the iris, and the two remaining loops will be placed on the finger. Completing the work, attach a plastic buckle.

Video lesson braiding bracelet "Double pigtail"
We study the weaving of a more complex bracelet fromRubber bands with the interesting name "Double pigtail". For this technique, the "double pigtail" should take two irises, and fold them with a figure eight. One will place on the index and middle fingers, and the second on the middle and nameless. Over the first line we stretch the second line of irises, without twisting them. At the edges we throw one bow, and from the center two arms upward. Then we add one more elastic band from above, and we perform the same operation with lifting and transferring the arch. In the future bracelet weave, repeating this technique until the moment when the required length is reached. After finishing the weaving, tighten the last loops in the knot, and put on the clasp. This bracelet is unusual in that it changes color when turning, because it is double.
Video: Shaving your own hands