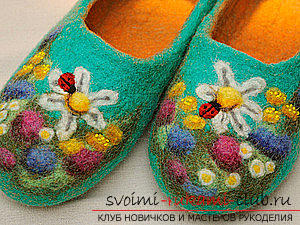
Master a detailed master class on felting Slippers "Polyanka" with photos and instructions
Master class on wet felting of Slippers "Polyanka"This article brings to your attention a master class on wet felting of slippers. Having studied our detailed step-by-step instructions, you can easily and quickly create your own environmentally friendly comfortable slippers "Glade". In our calculations, we focused on the thirty-seventh size of shoes. To do this you will need: one hundred and ninety grams of carded wool, a pattern, a palette of wool, fibers for decoration, a needle for a dry kind of felting number thirty-eight. 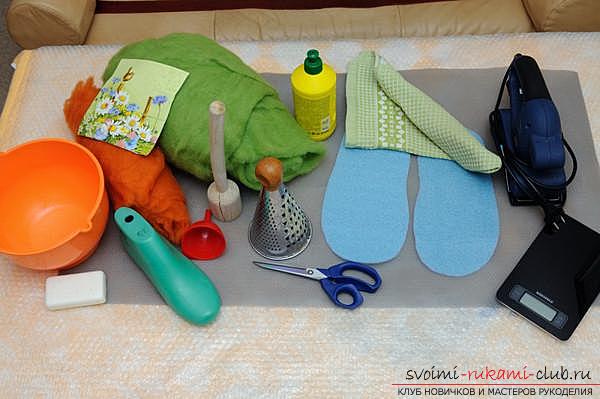 As usual, you need to start with a templatefuture product. To do this, circle your foot (or the shoe) with the marker, round the line around the edges, approximately along the oval, then add three centimeters on all edges, and in the narrowest place you can add two centimeters. Then you need to cut this workpiece. Very convenient material at this stage can be a substrate under the laminate, due to its density and easy proschupyvaemosti edges.
 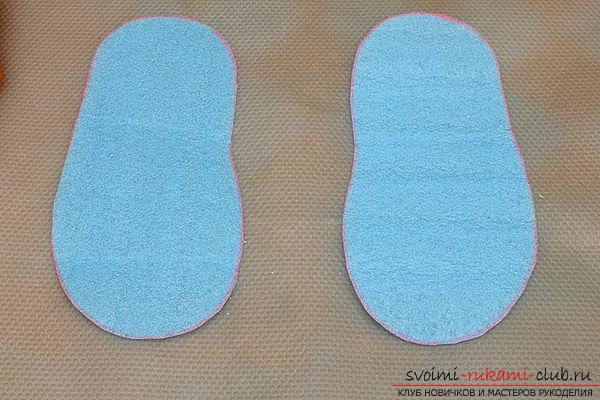 After this, a piece of wool spread and vertically spread out according to the pattern. The wool will protrude by one and a half to two centimeters in the heel and toe, but this should not be on either side.
 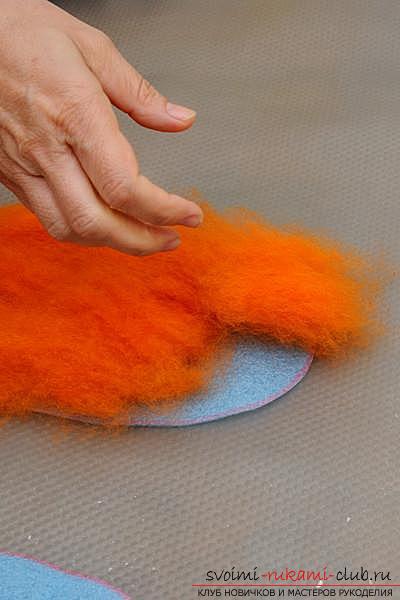 Then create a second layer, now byhorizontal, and this time the wool will appear on the sides, and below and above - no. It is important that you evenly distribute the wool over the surface of our workpiece. Next, you need to moisten the surface of the workpiece with a soap solution of warm water, without touching the edges. After that you can cover with a film-puppy and press it tightly. Smoothing gently, trying to distribute water as evenly as possible.
 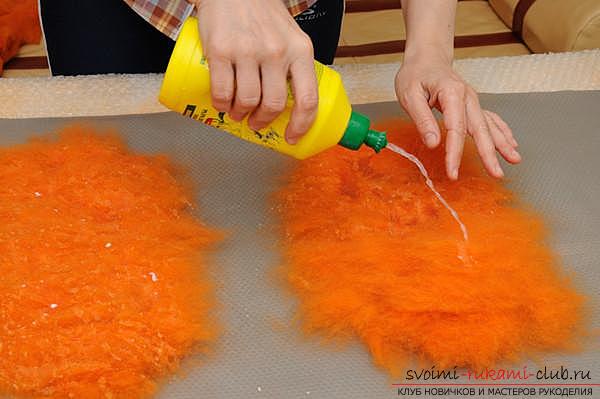 You can use for this purpose a rolling pin or a machine (GSOM).
 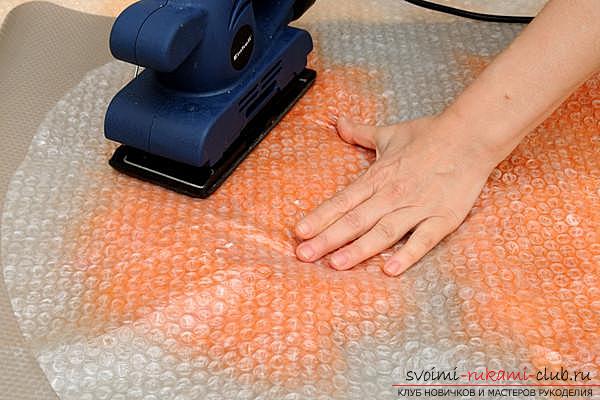 Then turn and bend the edges in such a way that thus there are no seals or depressions, and the sheet itself is tightly covered with the workpiece.
  Repeat these two layers on the other side. But at the same time, we do not make an overflow at the edges, since there is already a wool there. Then the shovchik will come out neat. Then we proceed similarly. In total, you will need four layers of orange wool in each part of our future product. In order not to get confused, you can mark each layer with a bright contrasting thread. In our model, the upper part of the slipper will have a green color, and the inner one will be orange. Carrying out the felting, it is necessary to wet the excess moisture with a napkin.
 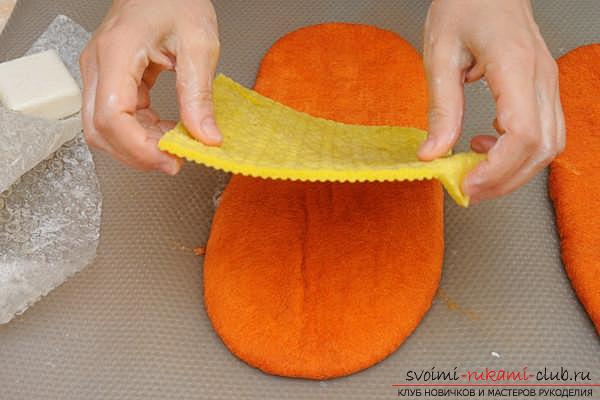 The optimum amount of moisture in the future productwill be when, when you press it, a foam of a creamy appearance appears. Without special effort, three from the edge to the center in circular motions. Then, smooth the center of the workpiece.
 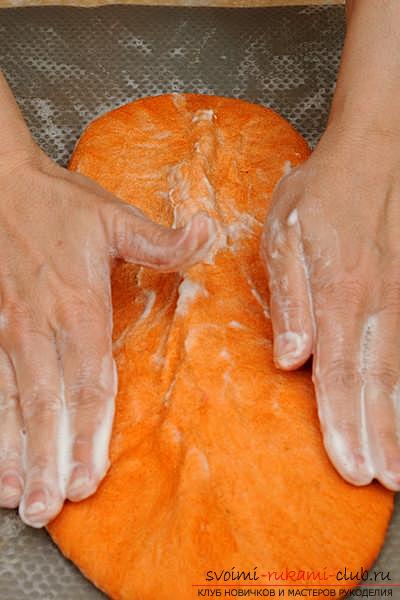 Considering how fast the wool will thicken,you will need to apply more force when pressing. And only when the orange wool tightly wraps the workpiece, you can begin to lay out the green wool in two layers. As a result, we will have six layers on each side. Before you start the decor stage, you should treat it with a machine.
 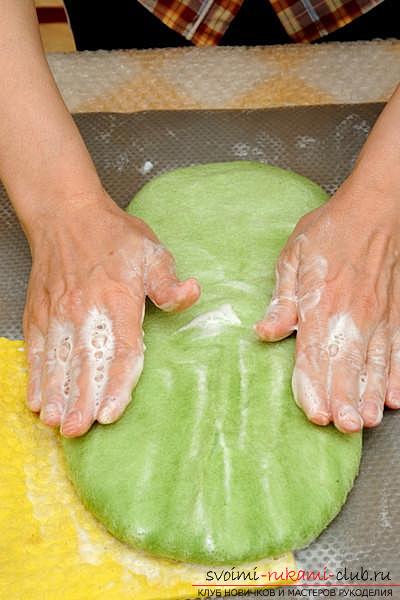 Pay special attention: if you want to make sneakers with a high heel, then you need to place the drawing in one third of the slipper, and if in the form of slippers - two thirds. To lay out the drawing layers, you should start with its background, draw a stretch of three shades of green: dark - at the bottom, light - at the top. You can put a thread of silk, bamboo, to create an imitation of grass.
 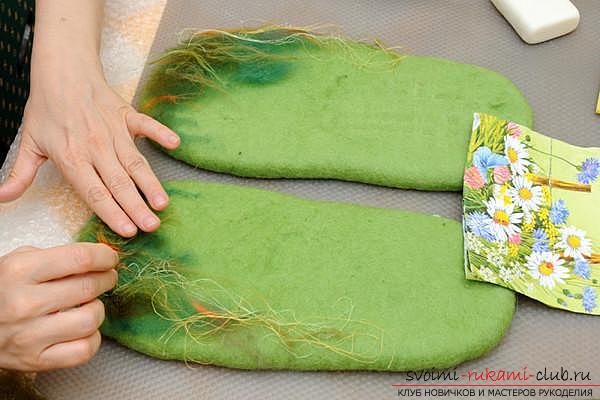 All flower petals need to be formed by their ownhands, and then nail a needle on the contour. Also remember that wool for drawing needs to be taken a lot, so that the picture does not merge with the color of the base slipper.
 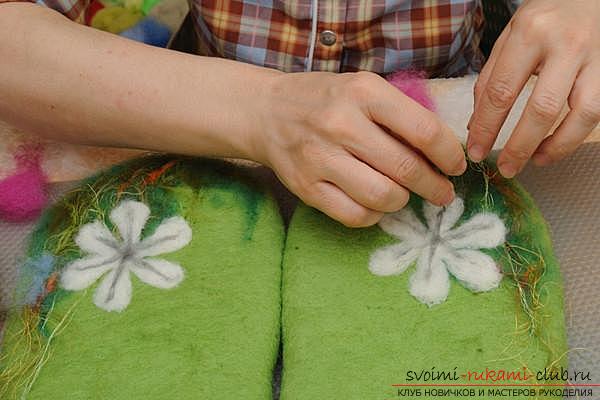 Flowers need to be made larger in size to leave room for shrinkage. You need to create the cobwebs, rolling in the palms for three seconds, like dread, and then nail the sneaker to the bottom.
 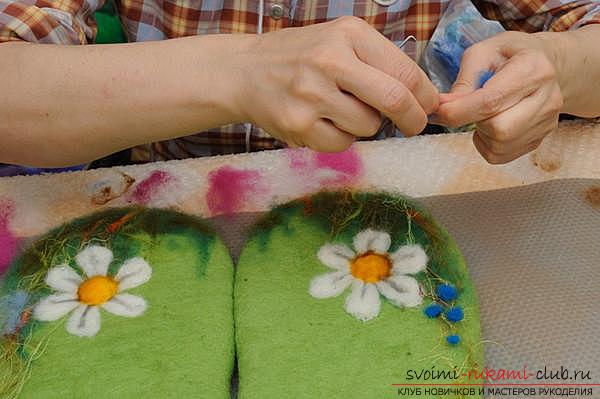 All subsequent elements need to be createdthe same way. Then the drawing should be moistened with a soap solution and act with it as well as with the base of the sneaker. Further, when the wool becomes as dense as possible, an incision should be made and the template removed. Pay attention to the fact that slippers were the same in size.
  After the template is removed, you need to gently smooth all the seals. Seams should be wiped with a film, then remove excess soap solution. Rinse with water and soap again.
 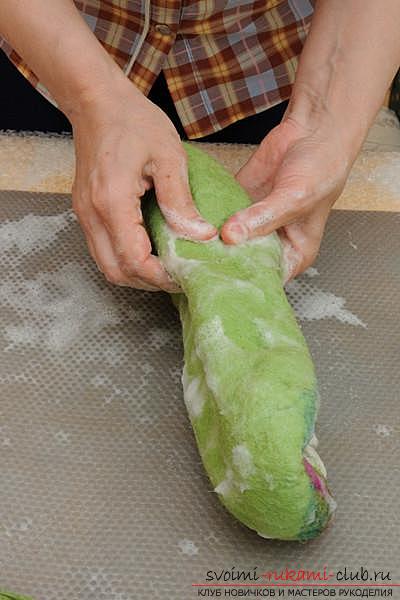 Throw every slipper, like a dough, for fiftytime. This will help to make the sneakers dense and contribute to their "fortune". Smoothing and straightening the wool, it is necessary to cut out the place under the foot (the shape of the drop). Do not cut a hole of large diameter, because it will still stretch.
 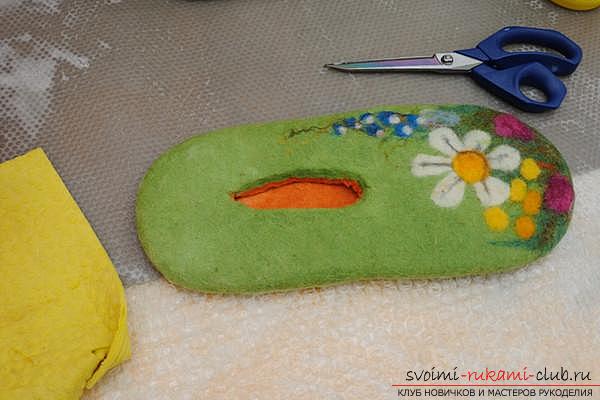 Similarly we do with the second slipper. On the slice line, it is also necessary to grind and rinse to prevent the stratification of the fibers of the wool.
  Carefully unscrew the sneakers on the wrong side. Let's go to felting the surface of the inside of the sneakers. It is necessary to moisten the surface of the billet with a soap solution of warm water, without touching the edges. After that you can cover with a film-puppy and press it tightly. Smoothing gently, trying to distribute water as evenly as possible. You can use for this purpose a rolling pin or a machine (GSOM). Then turn and bend the edges in such a way that thus there are no seals or depressions.
 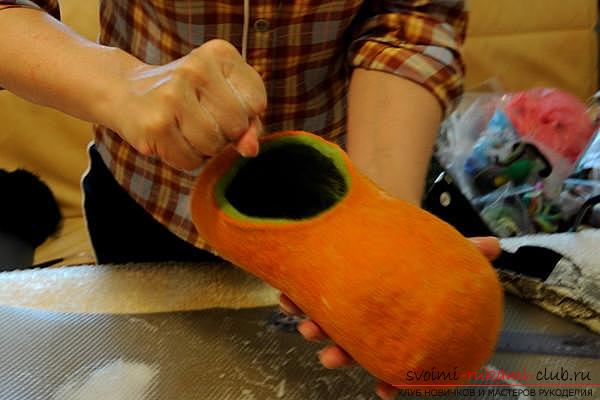 After that, the slippers are readyeighty percent. Again, correct the cut line, remove irregularities. Round the corners of the back. Using a scissors cut the chamfer along the cutting line. Next, try on the sneakers on the shoe or on the foot.
 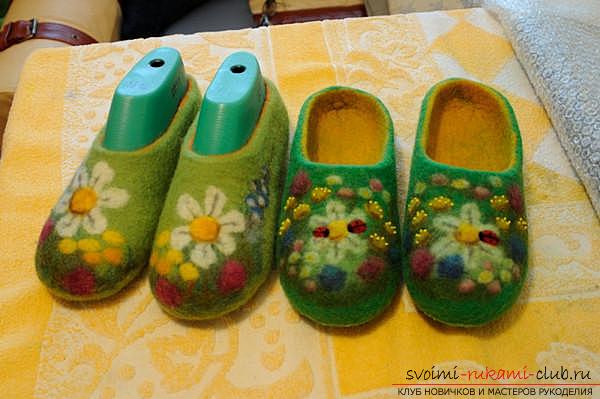 With a washing board, you can also speed upprocess of manufacturing and shrinkage of the product. If the shoes are very rough, then you can try to warm them up in the microwave or pour boiling water. Rinse the soap and add vinegar to the water. The towel will take away excess water. Further spread and put on sneakers on the shoe.
 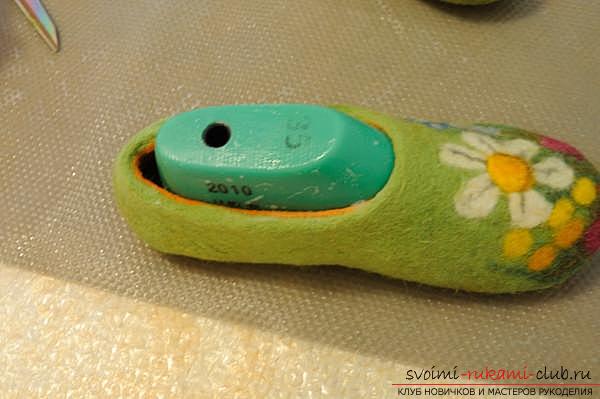 The rolling pin will help you break the seams and make them softer. That's all! Your slippers are ready! Wear it with pleasure!
Comments
Related posts:
 Knitting slippers with knitting needles with description: master class (photo)
 This detailed master-class modular origami with step-by-step photos contains a scheme for assembling birch from paper.
 This detailed master class with a photo and description will teach you how to make origami for beginners - an origami-crown made of paper.
 How to make a Snow Maiden costume as a carnival costume for the New Year. A detailed master class with photos and videos will help to sew a Snegurka costume even to novice craftsmen.
 A detailed master-class will teach how to sew a children's jacket for a boy with an applique