
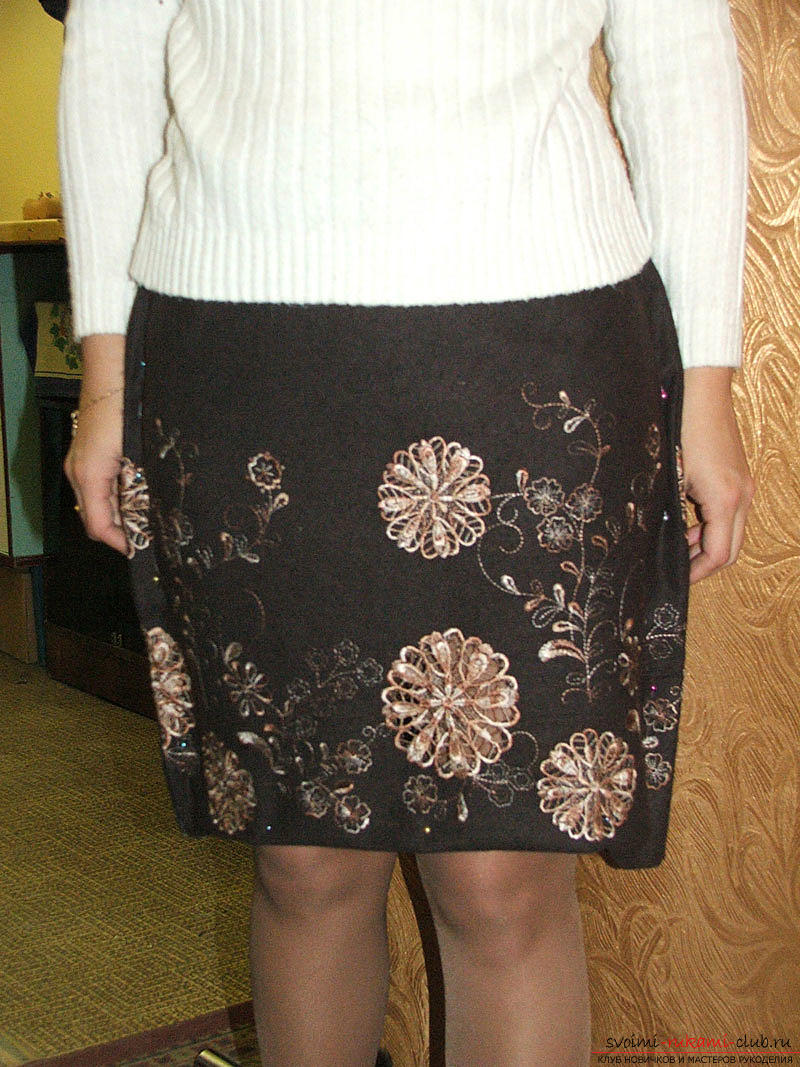
Having mastered the sewing by your own hands of a straight skirt on the lining, you can easily sew other models
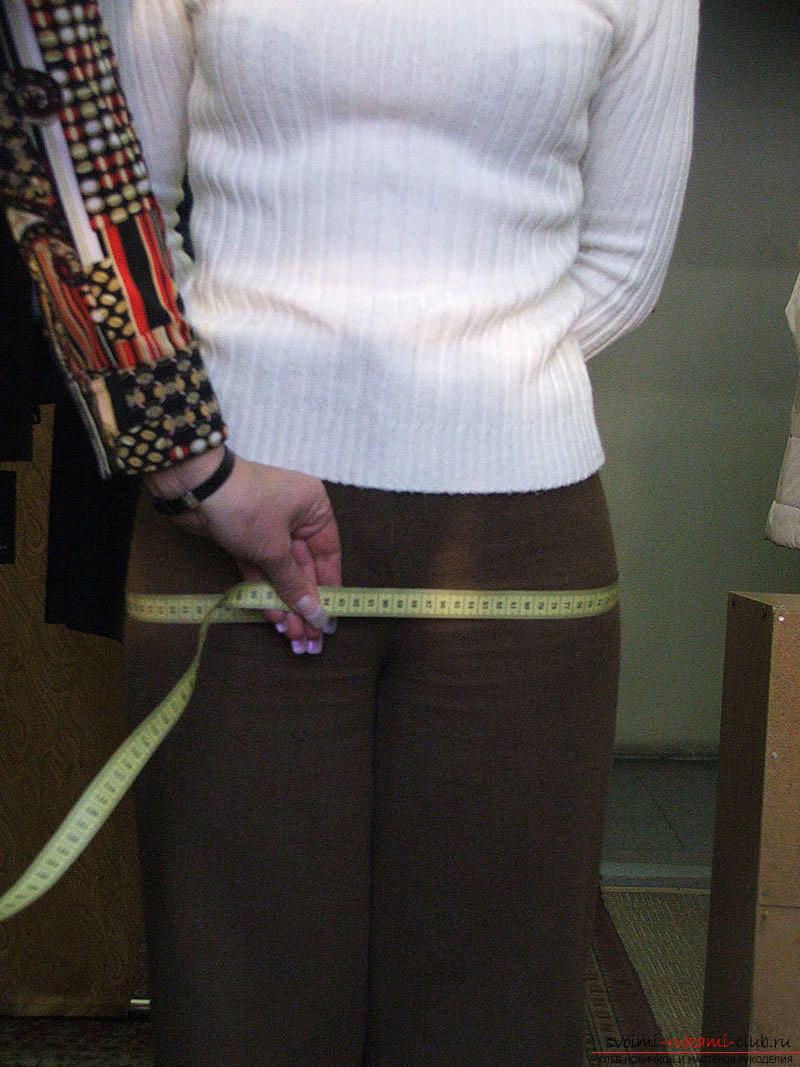
Sewing your own hands a straight skirt on the lining -a responsible task for any seamstress, although this model is one of the simplest. When sewing it is necessary to comply with all the rules of working with the cloth, taking measurements and drawing patterns. But, having coped with this model, you can easily sew yourself skirts and other styles that will be an excellent addition to your wardrobe. Sewing your own clothes is an excellent option for a woman to replenish her wardrobe and wardrobe of her loved ones. At the same time, old things can come in, from which simple pieces of clothing or stunning accessories are created by simple manipulations. Today we will talk about such a necessary thing as a skirt. Moreover, we will learn how to sew one of the models. A universal model, actual in many cases, is a straight skirt. We suggest you sew a classic model of a straight lined skirt. As with the tailoring of any product, you first need to take measurements from the model. To sew a skirt, we need to know the waistline (OT) of the model, the volume of the hips (OB), and the length of the product (DI). In this case, we take the last measure completely, and the first two we divide in half and get half the waist (POT) and half the hip (PBS) volume. 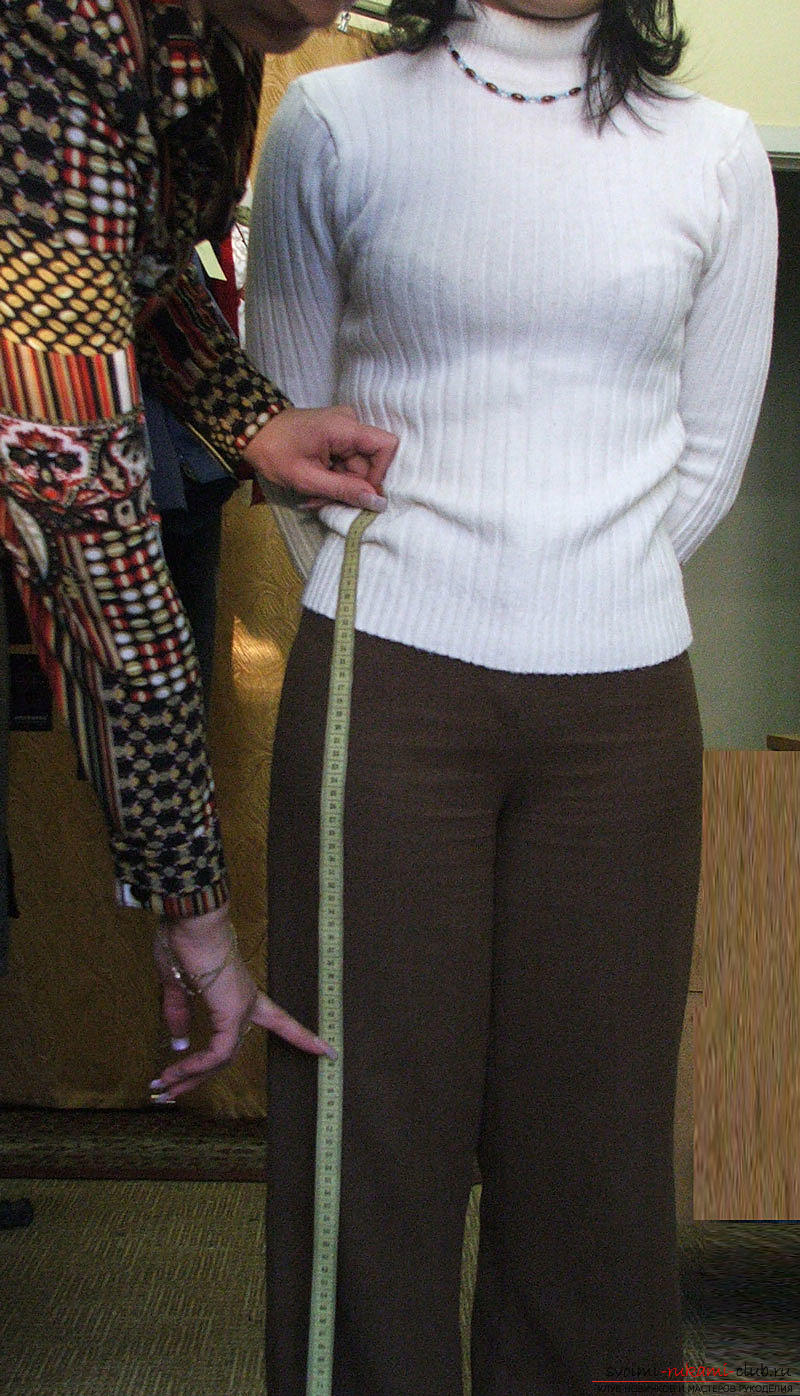 There are situations when we are unsure of whichthe length will suit us in the best possible way. If at you such case, act as follows. Dress those shoes in which you plan to walk in a sewn skirt and stand in front of the mirror. The mirror should be so large that you can see the entire silhouette completely. Now take a piece of fabric from which you will sew the product, and attach to yourself, adjusting the length. Leave for the product the option that best fits your figure, the one that you liked best. After measuring the length, we take two other measures, the waist and hips.
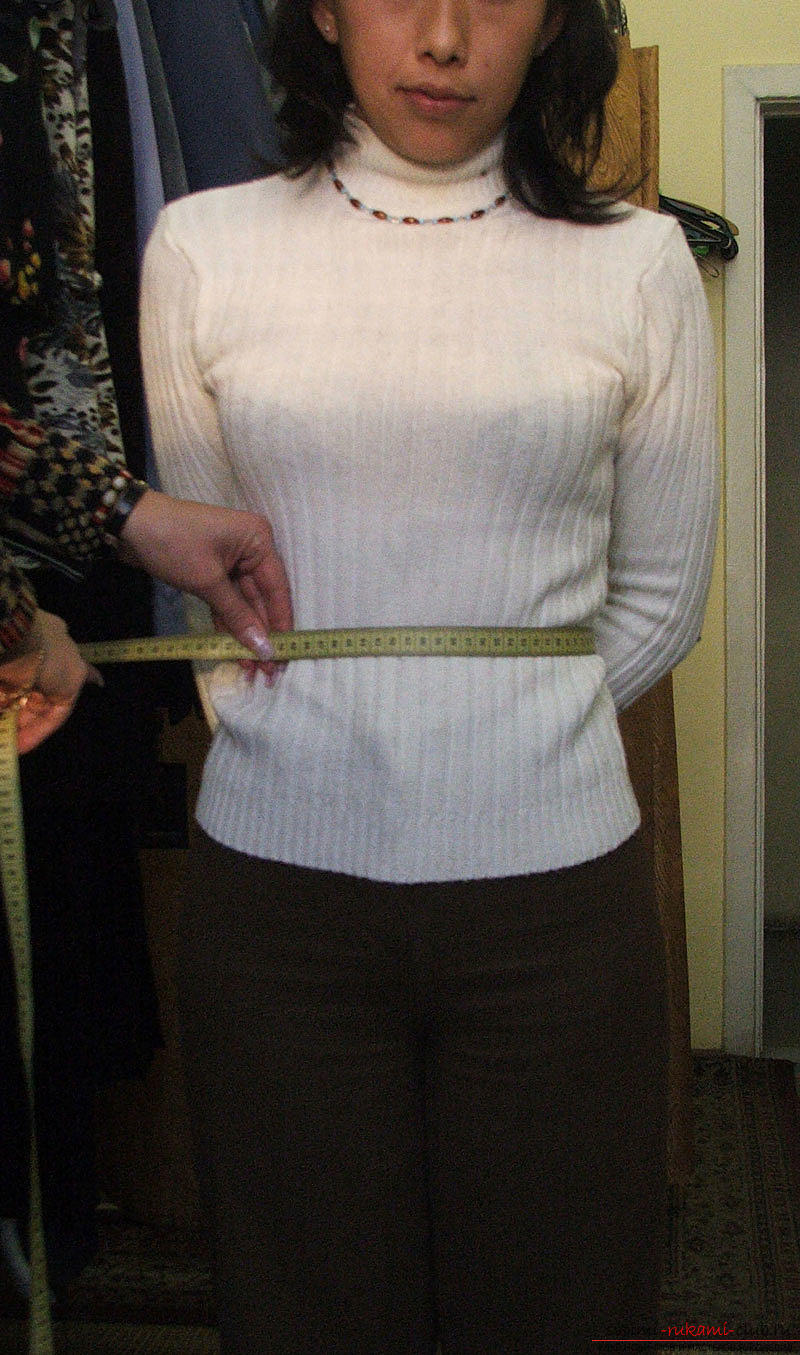
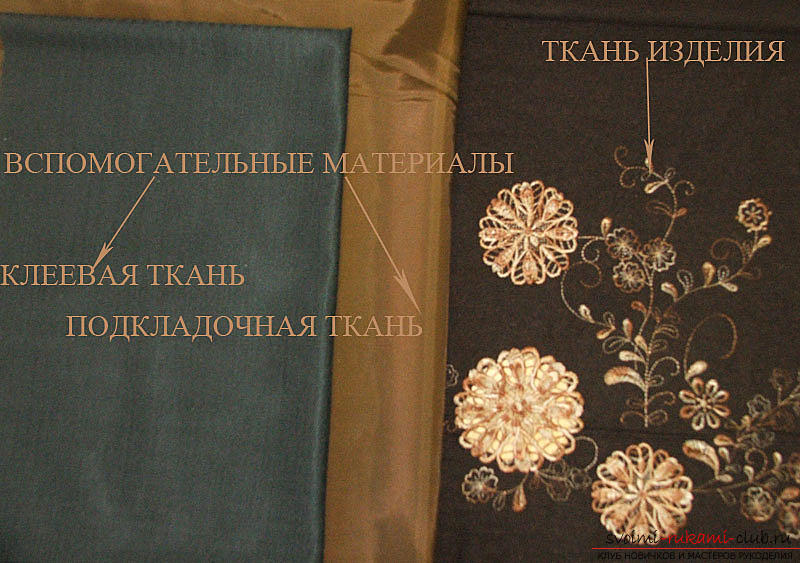
 We pass to the next stage - the selection of materials necessary for tailoring the product. We will need:
- the main fabric from which, in fact, we will sew;
- The fabric intended for a lining, is selected in tone of the basic material;
- the gasket is special glue (to create this model, the skirt needs to have about ten centimeters);
- for a fastener - a zipper, and also a button or any other fastener at your discretion;
- thread of the corresponding color.
 Before we start to cut out the matter, weit is necessary to prepare it, prodekatirovat. In other words, it is good to steam out and iron. Modern irons with adjustable steam and temperature regimes perfectly cope with the task. For stretch fabrics this stage is very important, since they are characterized by shrinkage. No less important is the decontamination for natural fabrics. To properly prepare them, it is recommended to lower the fabric first in sufficiently hot water for a certain time, then squeeze, dry and iron. It should be remembered that shrinkage of such fabrics can reach 10%.
 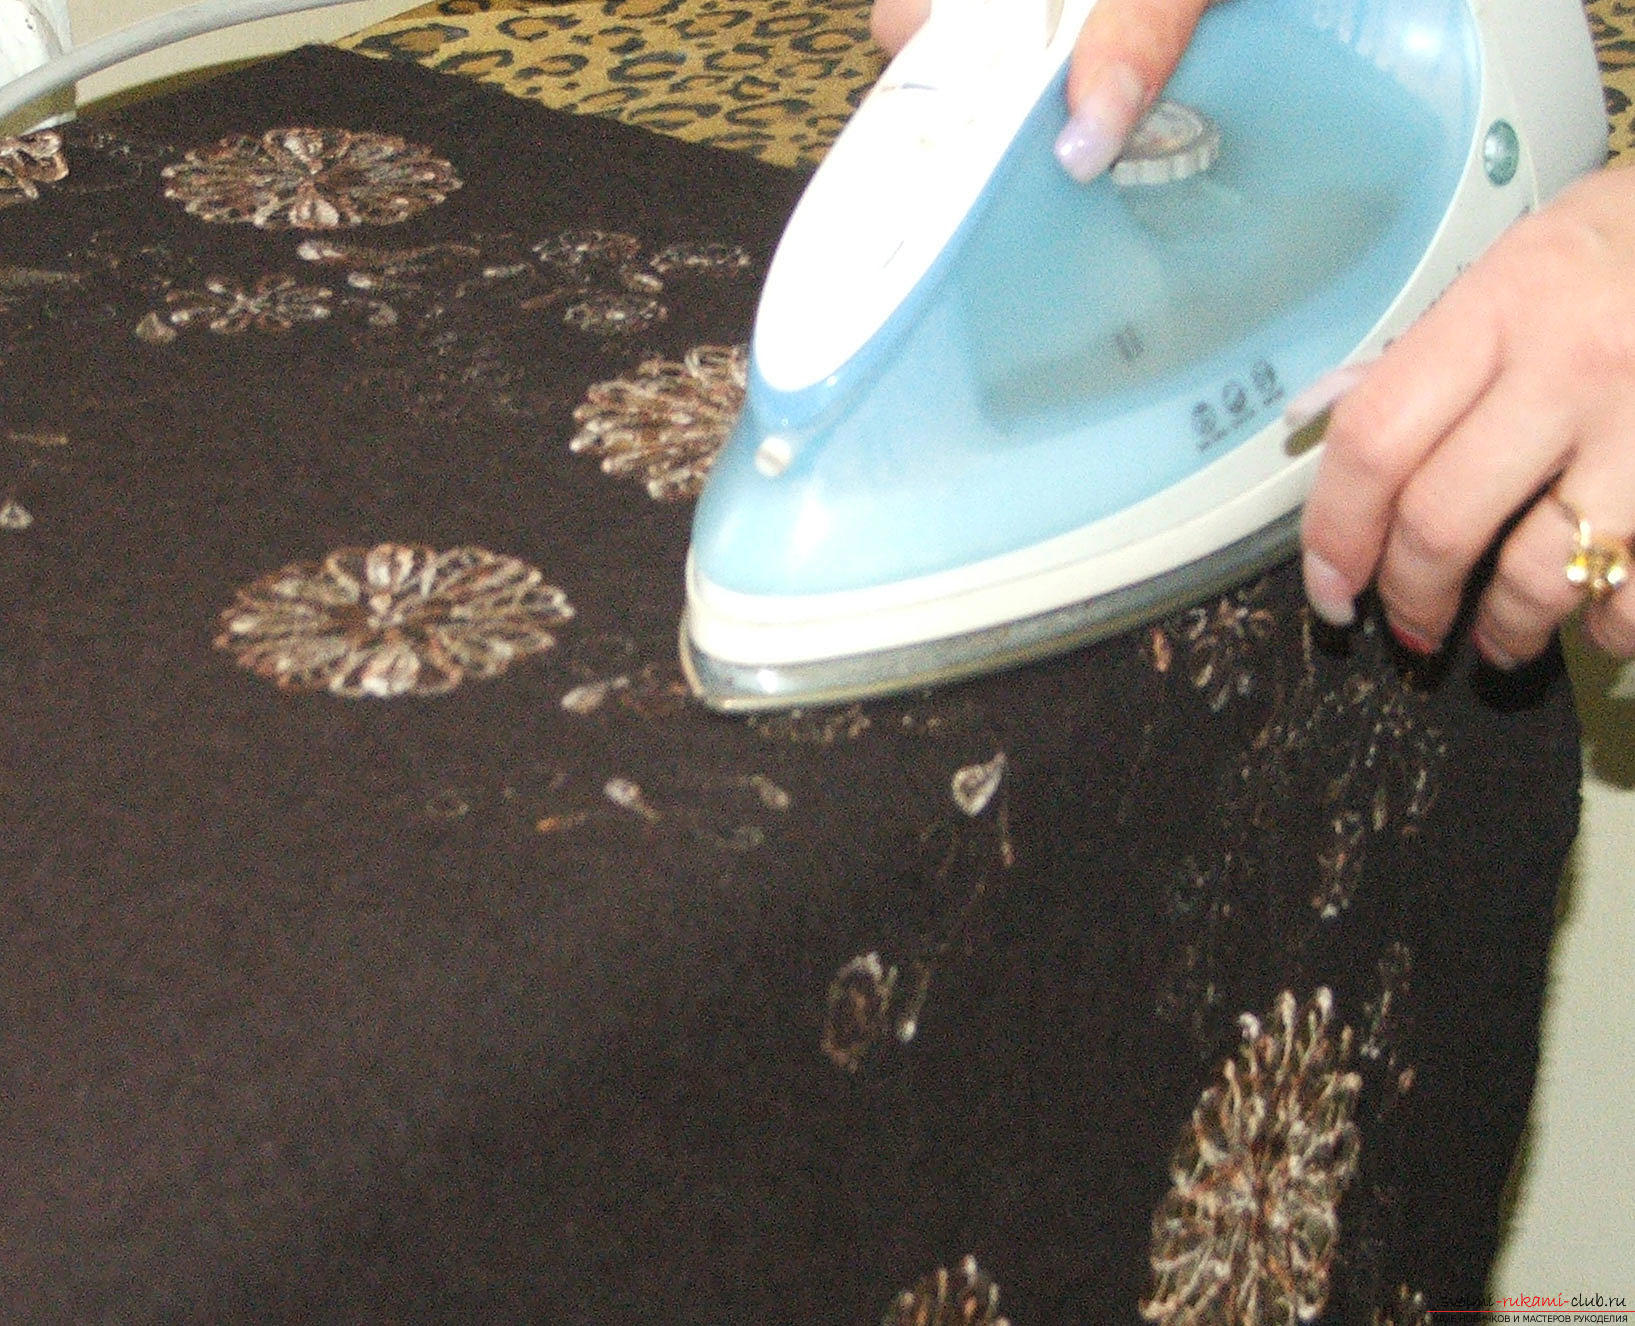 If necessary, you need to combine the pattern on the fabric. In this case, the pattern is located along the share thread, so we will cut along the transverse. The edges of the fabric need to be combined, but in some cases when the pattern is aligned, one edge can look out from under the second.
 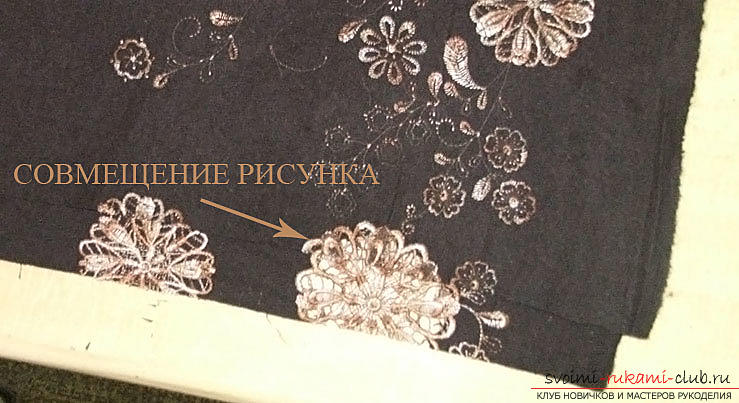 After the done manipulations it is necessary to cut the edge of the lower part of the product. Crop is necessary, even if the edge is flat, otherwise in the process of wearing it, it can pull the product in this place.
  Now you need to determine and cut out the length of the skirt. To do this, it is necessary to retreat from the cut in the direction of upwards about three centimeters (they will be needed to bend the bottom of the product) and postpone the measurement of the length of the product from this point.
  Now you need to determine the waist line. To do this, through the top point, obtained after the length was laid, it is necessary to draw a perpendicular to the middle.
 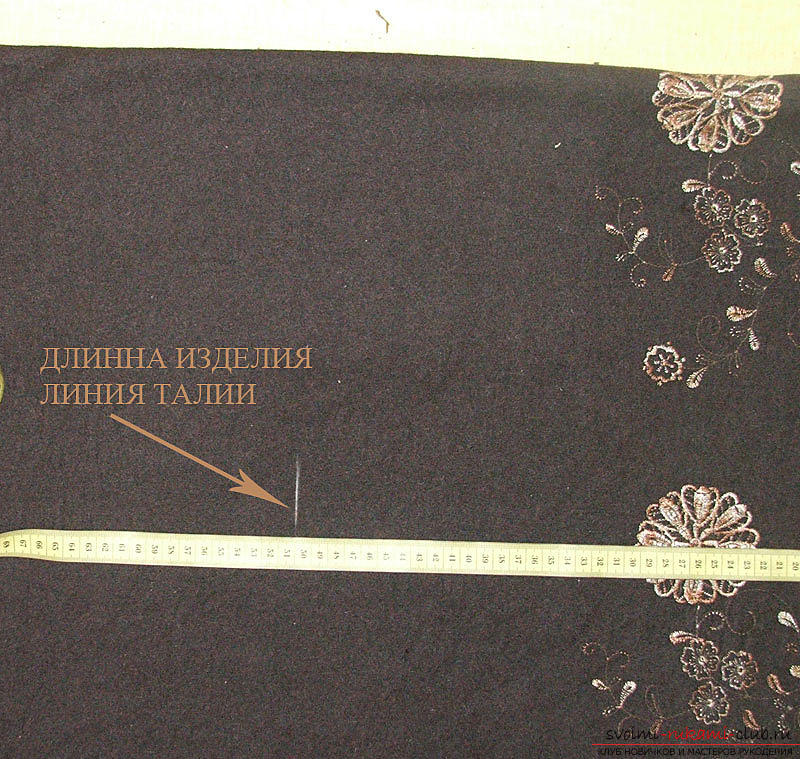 The next stage is the designation of the lateralline of the skirt. To do this, a straight perpendicular line is dropped from the waist line and a line parallel to the waist and bottom of the article is drawn. This will be the line of the hips. Typically, depending on the growth of the model, you need to postpone twenty to twenty-five centimeters.
 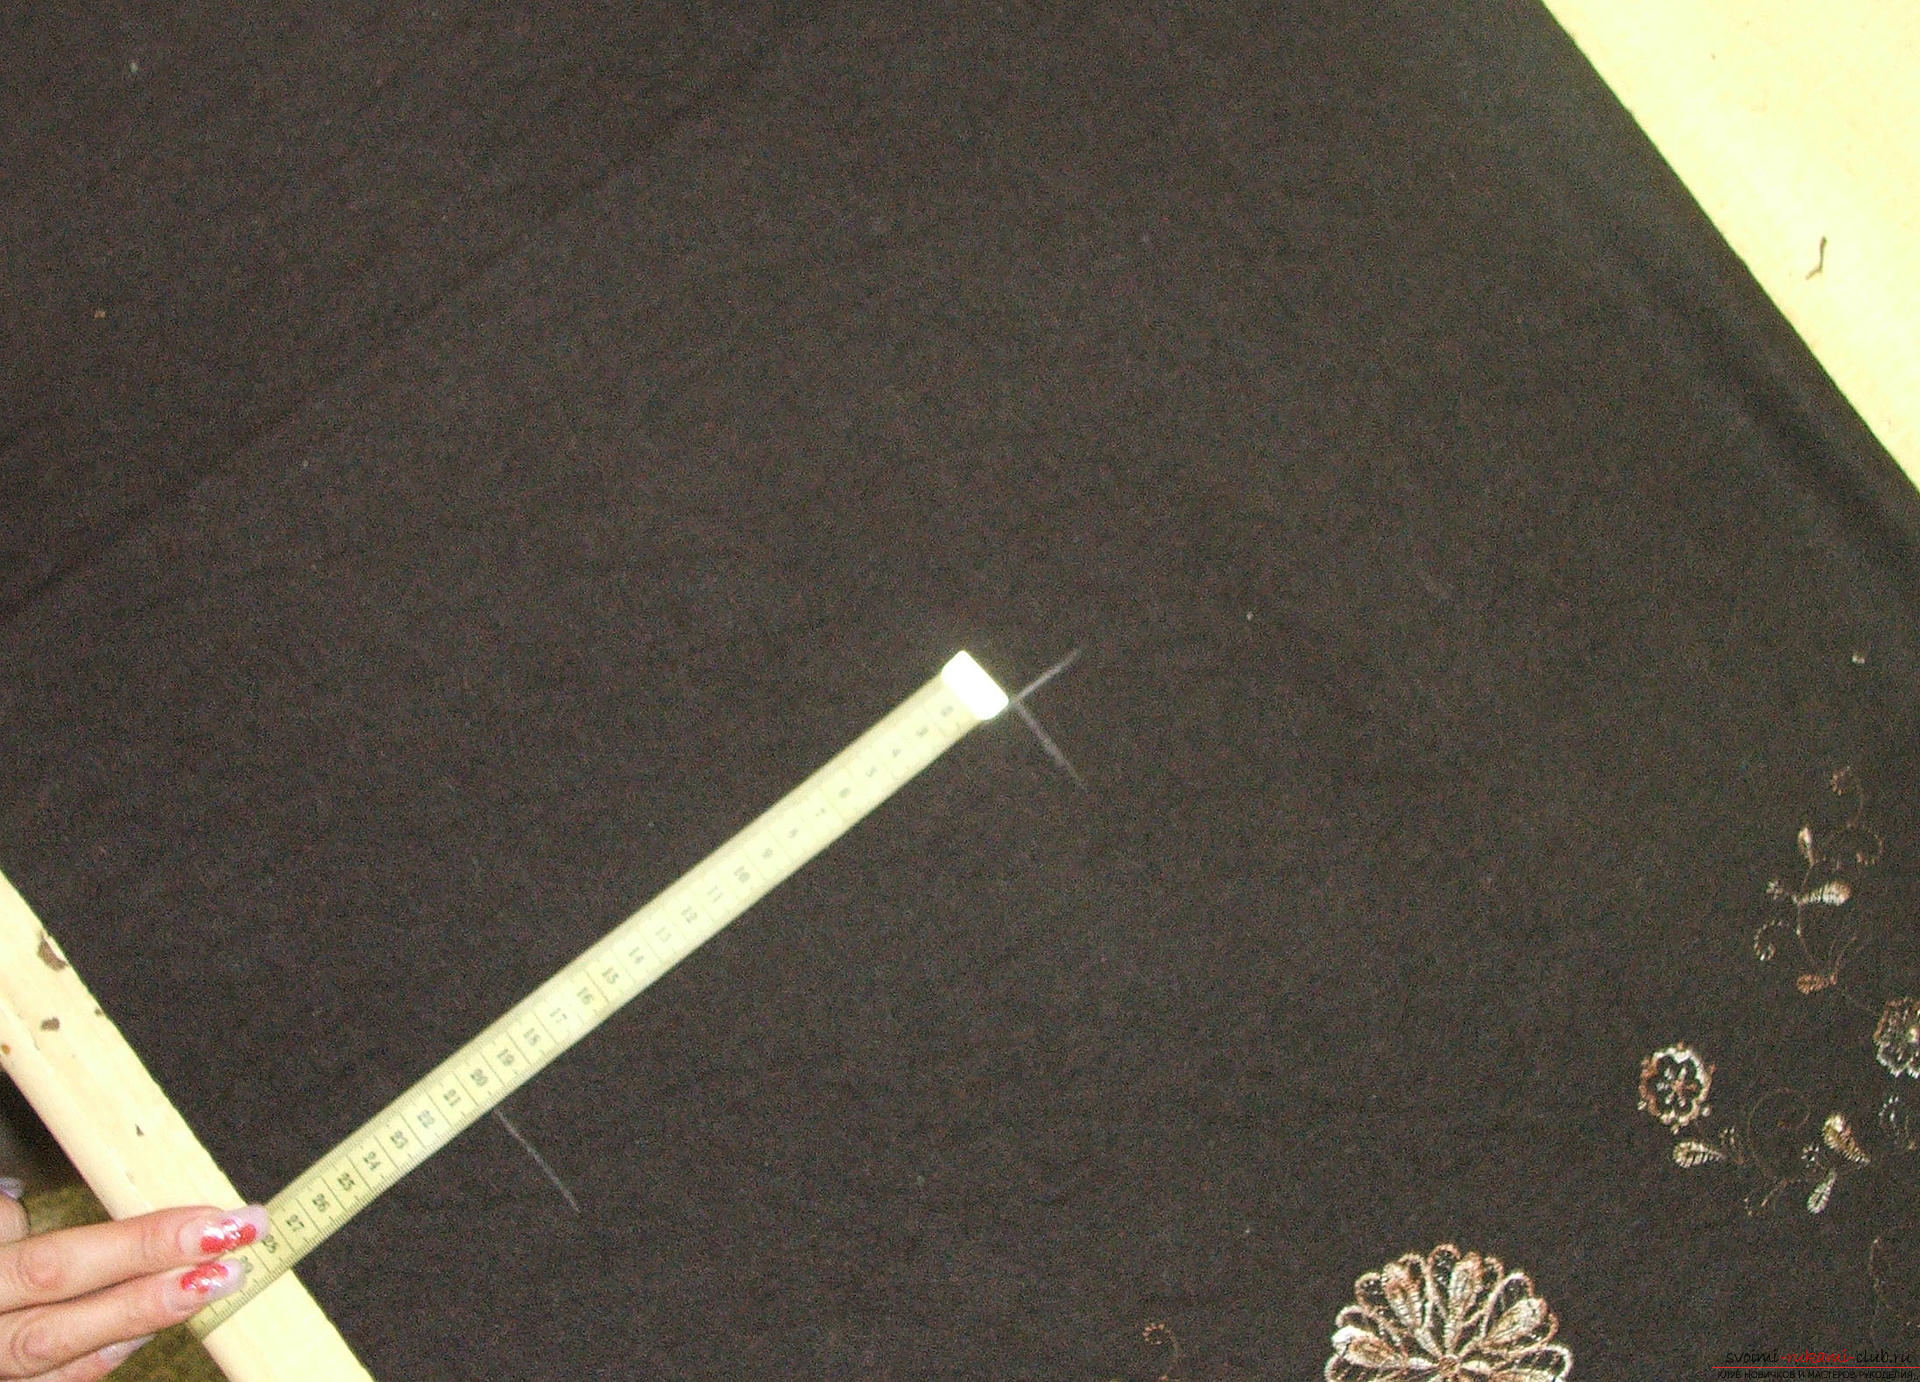 Now let's denote the waist, and also the beginning of the thigh line.
 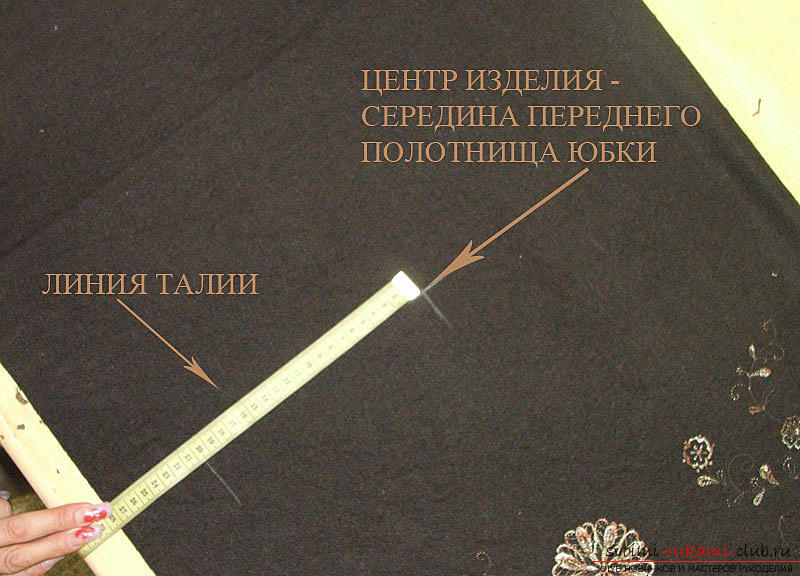 It's time to determine the location of the dart. To do this, from the middle of the front part of the skirt, we need to postpone ¼ OT plus add two centimeters (for tucking) along the waist line and ¼ OB along the thigh line.
  Further it is necessary to note the depth of the darts, asNormally, this is done according to the pattern. In this case, from the line of the middle of the front part is laid ten centimeters, the depth is two centimeters, its height is about seven centimeters. All marks are subject to adjustment when fitting.
 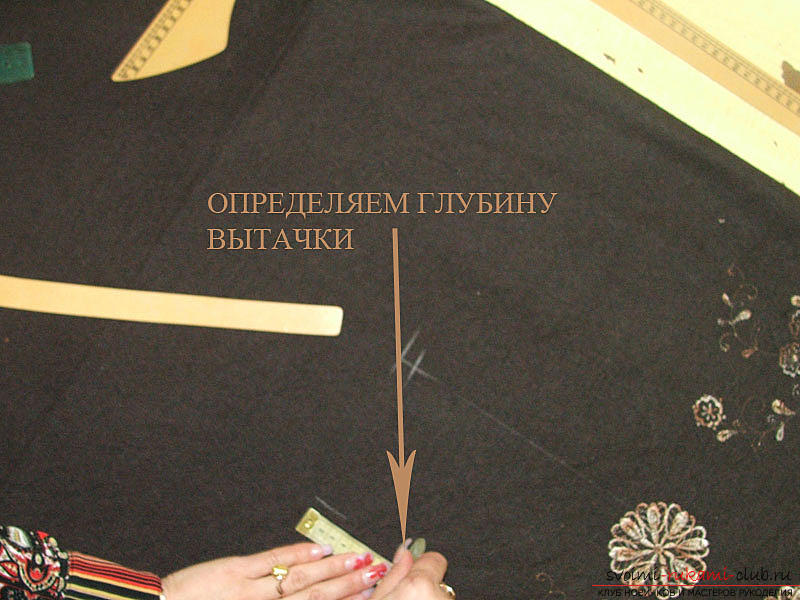 Now we mark the lateral section with the help of a template. Usually we do it on a pattern.
  We form the upper edge of the skirt.
  Given that the body is not perfectsmooth, you need to make a small indentation on the so-called deflection in the middle from the waist line somewhere by one centimeter. Get the drawing, as shown in the photo.
 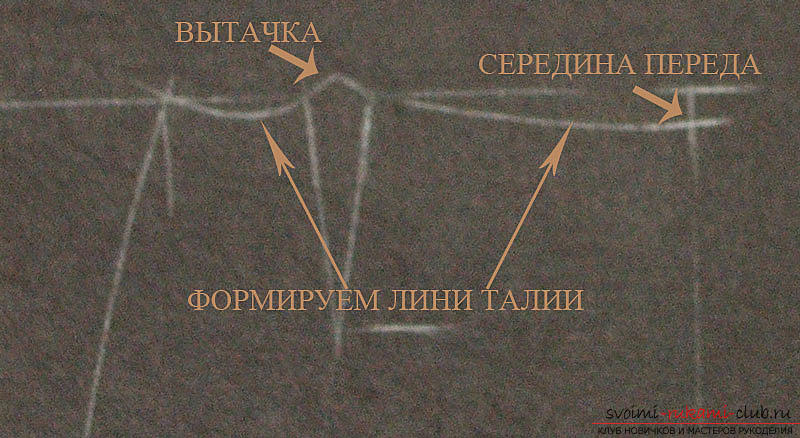 We note the allowances for all the seams (one and a half to two centimeters).
 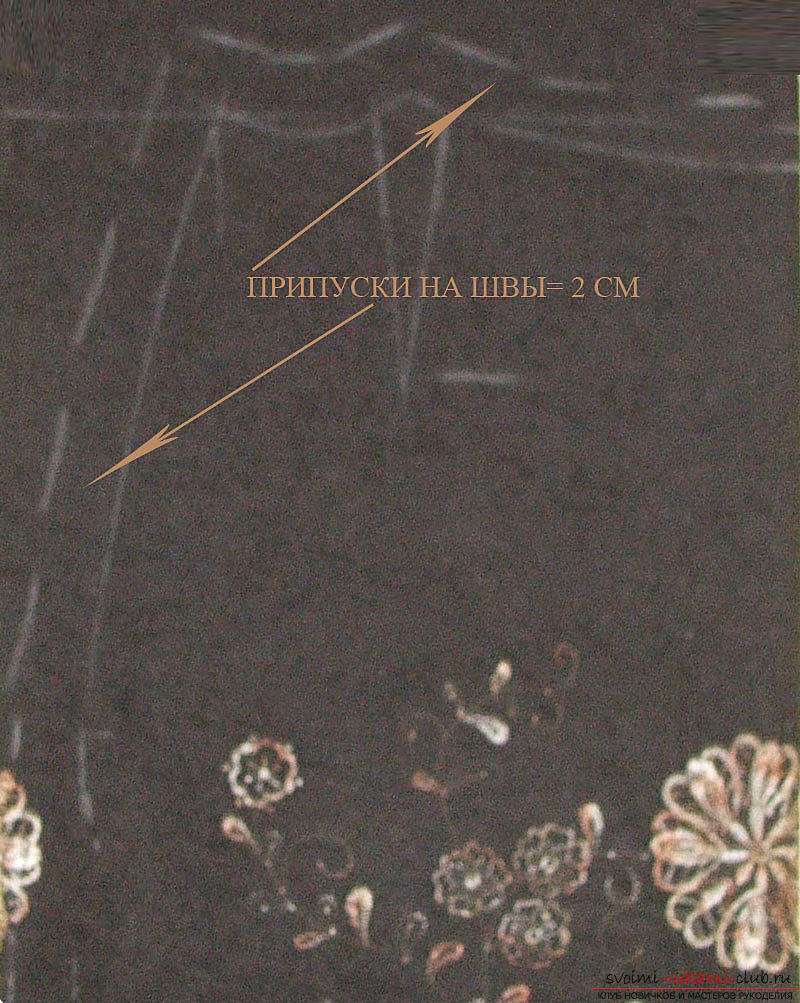 To ensure that the fabric layers have not been displaced during the cutting, they must be knitted with sewing pins.
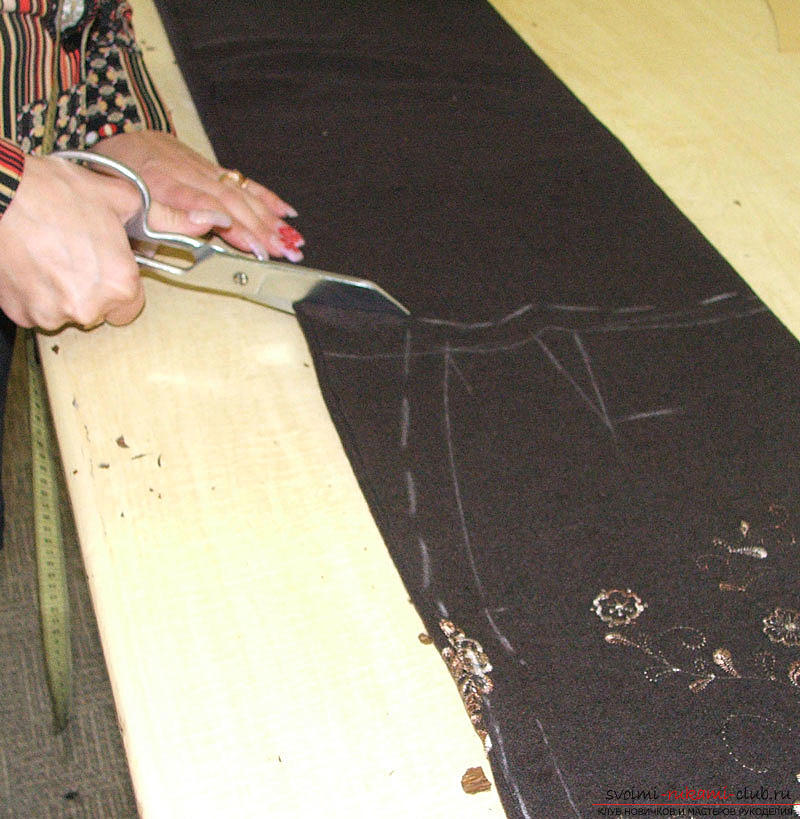
 We need to display the second dash onlinen skirt. You need to transfer it with the help of the same sewing pins and chalk. On the back of the skirt, the dart must be laid somewhat deeper, the indentation to the deflection should also be made more approximately one and a half centimeters.
 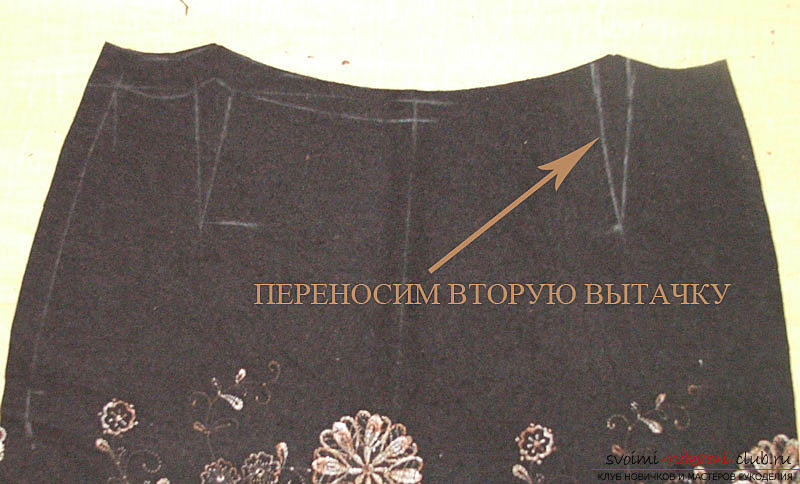 All parts must be chopped or swept by hand. The lock also cleaves.
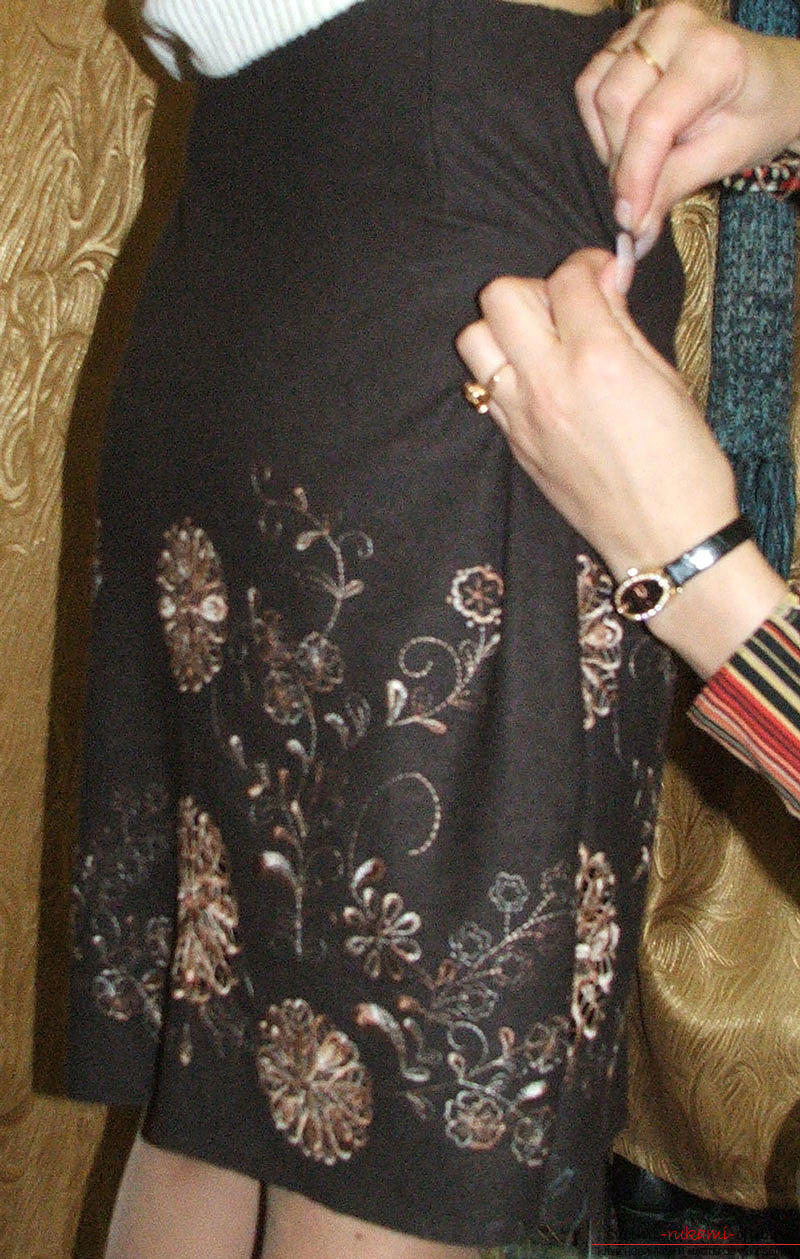
 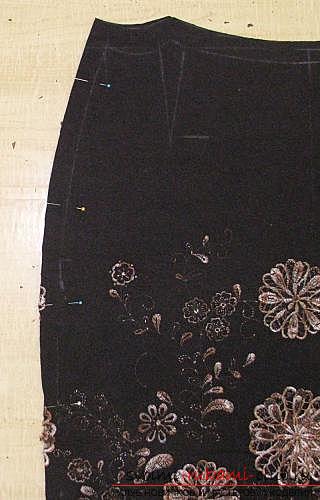 During fitting, the dimensions andcarry darts (as in our case). the waistline is also determined. After fitting all the defects are eliminated. Once again, the product is tried on and then, it is spent on the machine (the lining and buckle are stitched). You can sew a skirt on this pattern without a lining. From this it will not become less attractive.
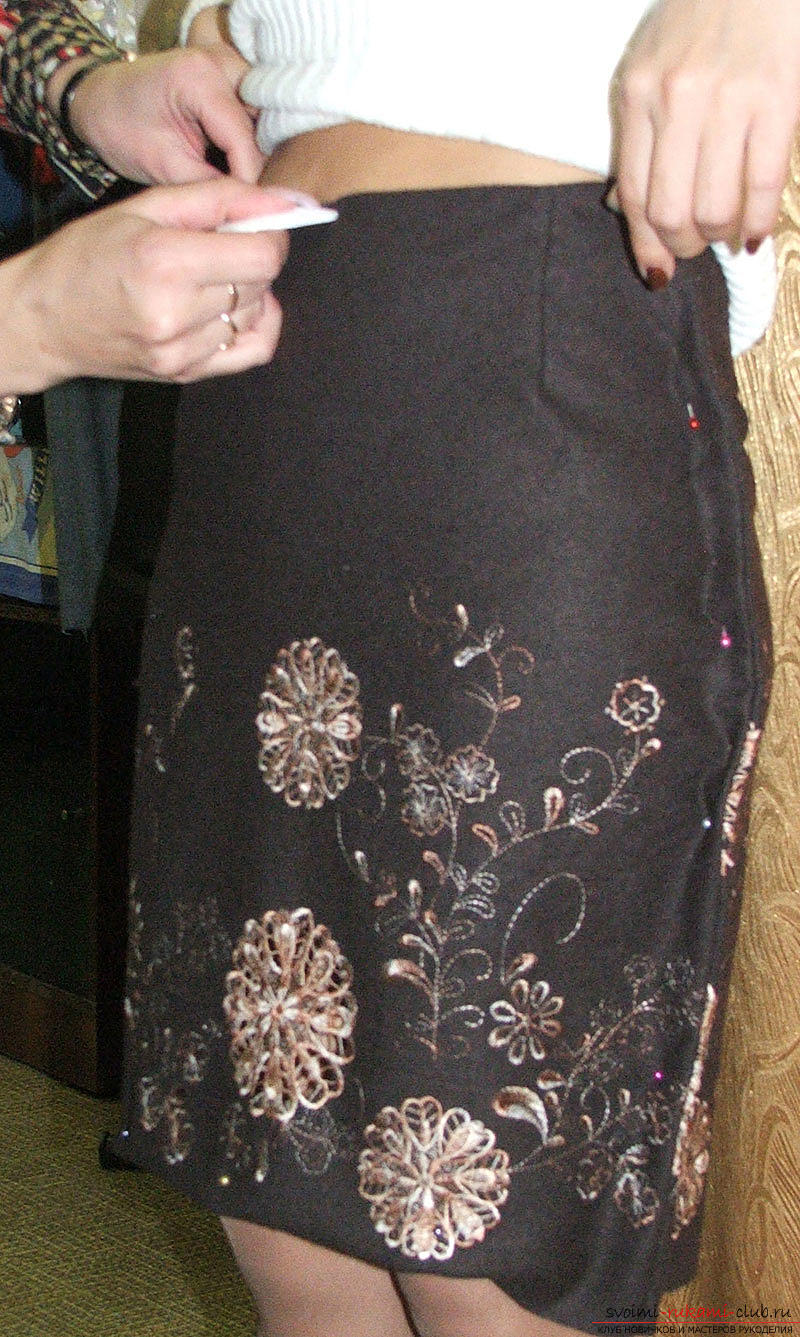
Comments
Related posts:
 Sewing any thing you will help remove the measurements from the model for example, sewing a straight skirt
 Comprehensive information on how to make a straight skirt pattern with your own hands
 To master the sewing of a universal skirt - skirt-sun you can, using the material of this article
 How to make a pattern of a skirt-year with your own hands. Amazing innovative solutions.
 To learn how to build the basic pattern of a straight skirt, even a novice seamstress can easily