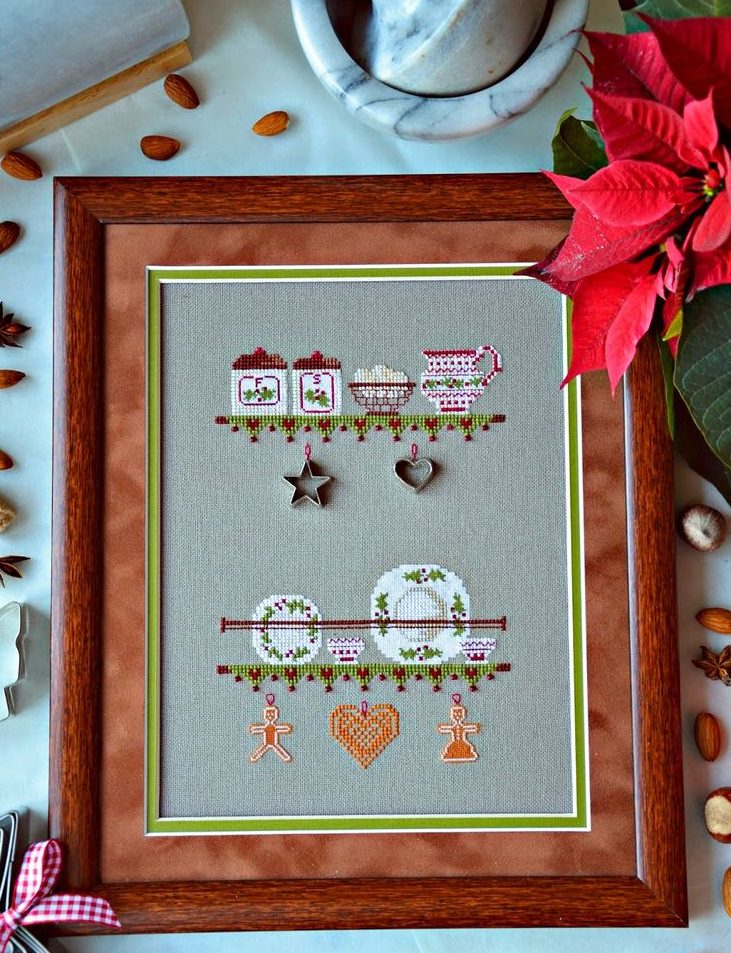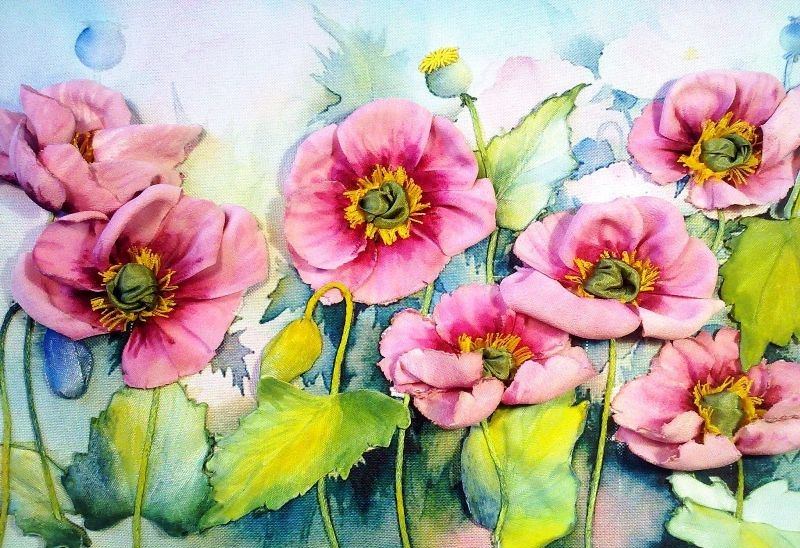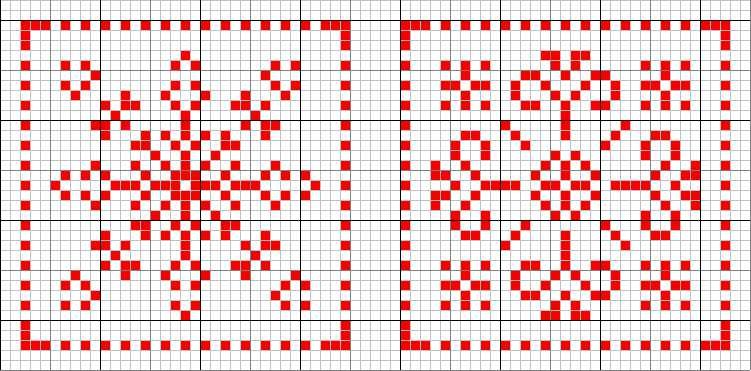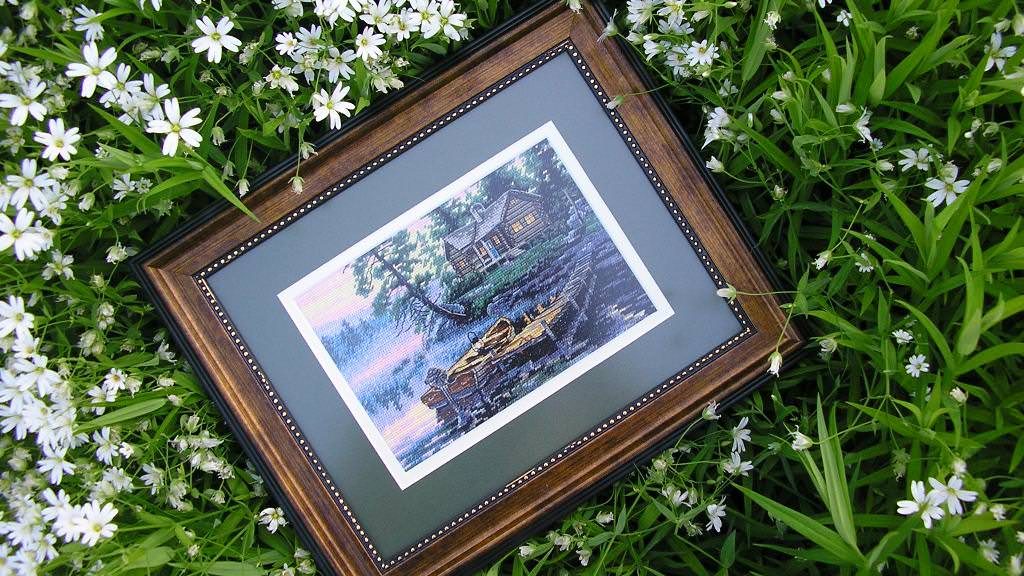
Passepartout for embroidery design of finished work (photo)
Content
- How to decorate an embroidery in a passepartout
- Passepartout for embroidery with beads
- We select a mat for embroidery
- Video: we make out our own embroidery on the mat
In addition to the fact that the embroidery process requiresSkills, patience and accuracy, cross-stitch or beaded embroidery - this is not the last stage of needlework. In order to give the manual work a refined appearance and completeness, it is necessary to wash the fabric, iron it from the wrong side and decorate the mat for embroidery.
In fact, the passepartout is a piece of cardboard paperWith a cut oval, rectangular or square hole, serving to fix the fabric in the frame. Its goal is to emphasize the accents, the details of the picture and the whole picture. Making embroidery with a passepartout and frame is considered a full-fledged creative process, from which the overall impression of the embroidered product will depend.
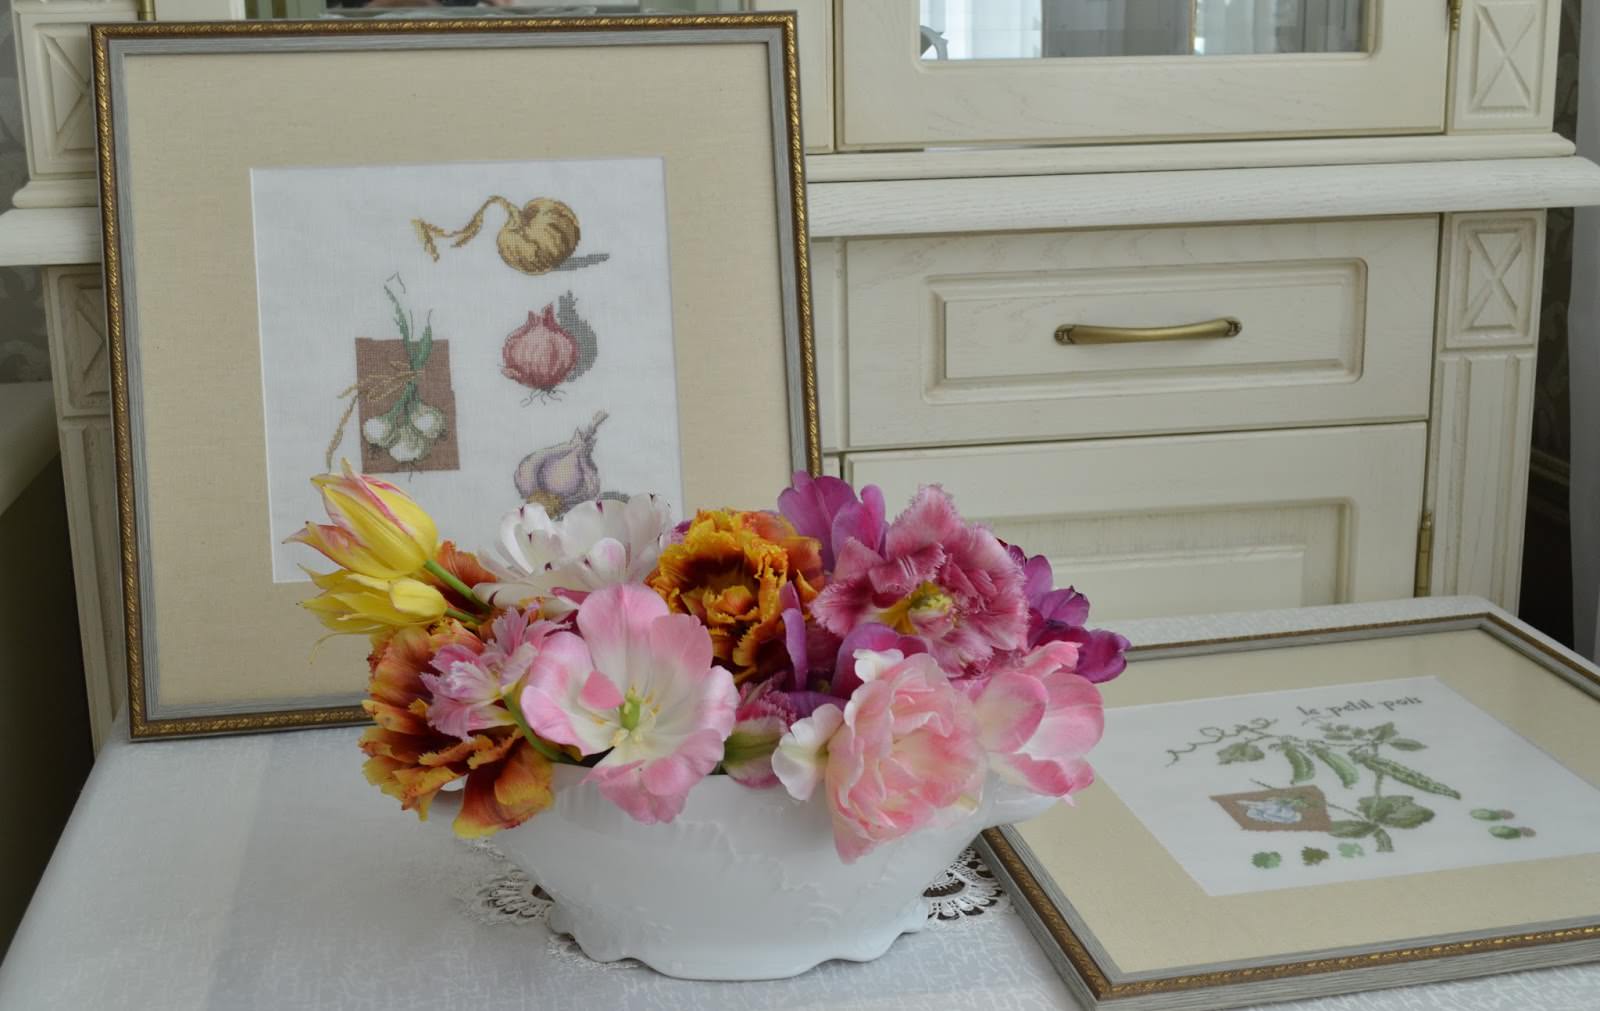
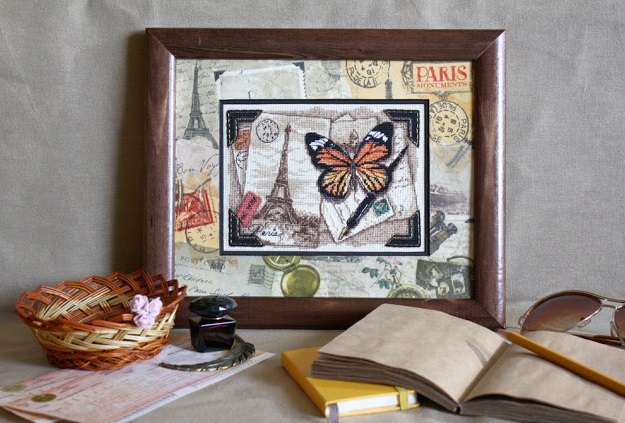
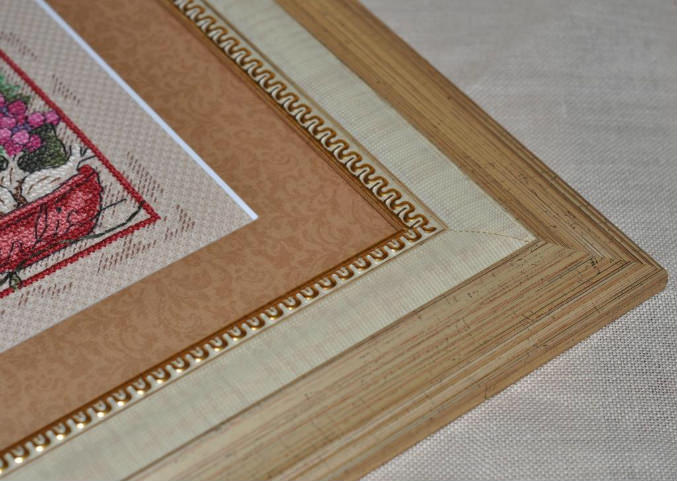

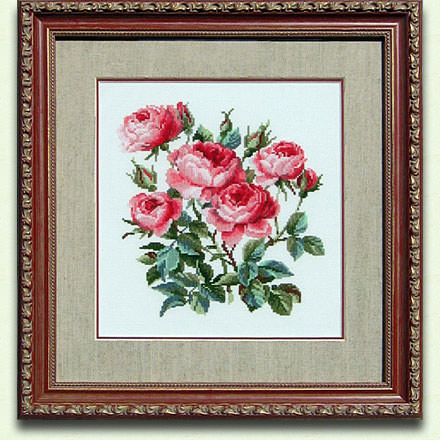
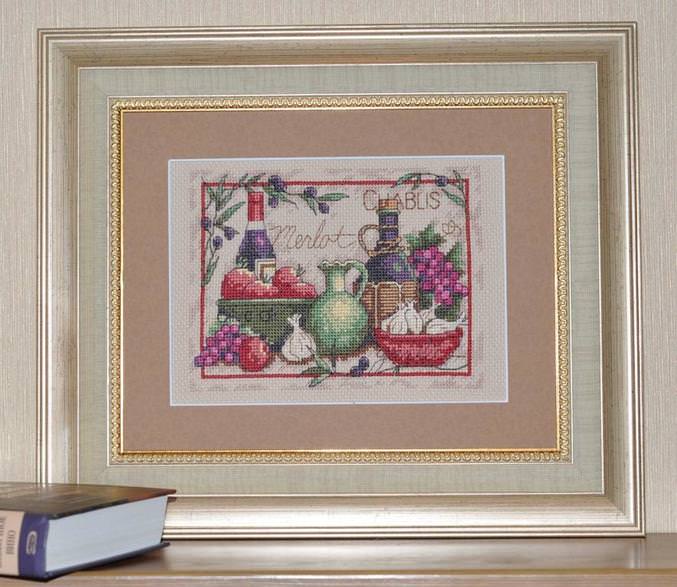
How to decorate an embroidery in a passepartout
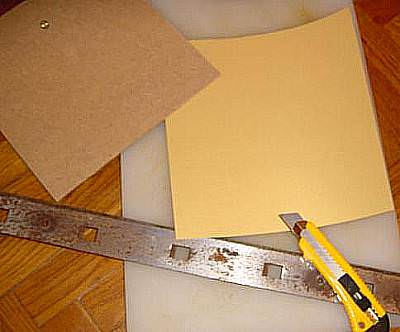
For registration of ready-made embroidery in a passepartout we will need:
- line;
- A simple pencil;
- Dense cardboard of the right color;
- stationery knife;
- scissors;
- Glass frame;
- double sided tape.
Ready-made embroidery is laid out on a levelSurface, measure the length and width of the fabric with a ruler. To the results obtained, add three to five centimeters. The size of the passepartout depends on the length and width of the embroidery itself. For example, if the figure is 25x15, then a passepartout of three centimeters will be optimal for this size of embroidery. Accordingly, the frame should be 30x20 centimeters. Making a passepartout requires special care and accuracy, so it's very important not to be mistaken with the size.
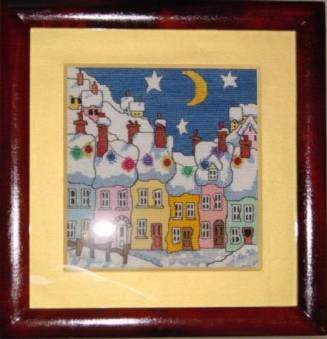
The glass frame is dismantled into parts. Take her back, apply a cloth, blur, so that the canvas does not go beyond the substrate. If necessary, cut off excess tissue with scissors. On the back of the frame are glued three vertical strips of double-sided adhesive tape. Exactly apply the fabric to the substrate and glue the canvas, holding and leveling the canvas with his hands. Alternatively, you can apply thick paper to the fabric, bend the edges of the embroidery and sew them together with a double stitch, and then glue it to the substrate. When sewing it is important to make sure that the drawing does not warp, and the fabric does not move.
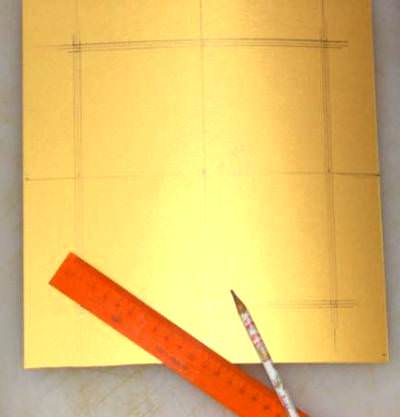
To create a passepartout cut out of cardboard fourIdentical strips. On both sides of each cardboard line, note the angles of three centimeters, put a dotted diagonal line and cut out the corner with scissors.
The spacing between the frame and the embroidery attractsAttention, gives expressiveness to the work. Too broad canvas cardboard enhances the beauty of the canvas, makes it a real work of art, like art gallery paintings. Too narrow cardboard frames on the contrary can make the work squeezed.
On the substrate lay four strips of cardboardFace down, connect the corners. At the same time, make sure that there are no open spaces or irregularities in the joints of the cardboard. All corners are glued together with adhesive tape. As a result, a complete frame is obtained that is equal to the dimensions of the substrate. For the passepartout, white cardboard can be used, it can be repainted at any color in any color range with the help of gouache, watercolors, spray paints, pastels or immediately pick up a thick paper of the necessary shade for work.
On the edges of the fabric are glued two-sidedAdhesive tape, and then from above fix the mat on the adhesive tape on the surface of the fabric. At the same time, press the paper frame several times with your hands, make sure that the picture does not distort, and the fabric does not "go". Instead of double-sided scotch, it is possible to fix the mat on the fabric with the help of PVA glue or glue-pencil. But there is a possibility that PVA cardboard will become wet and softened, and dry glue-pencil may not glue the paper with the canvas.
At the final stage, join all the elements of the frame together.
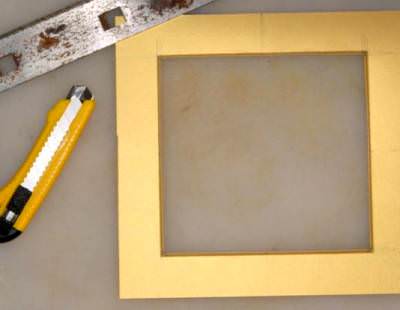

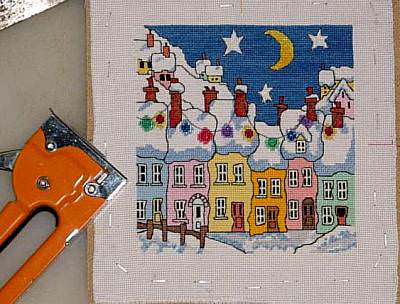
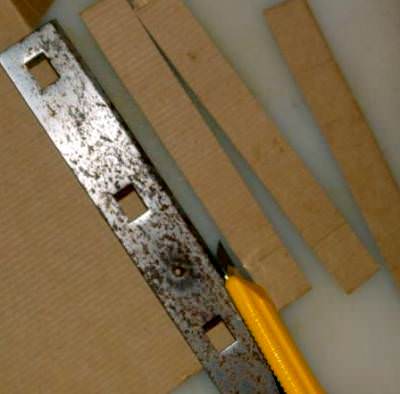
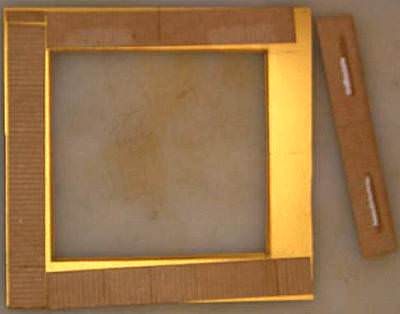
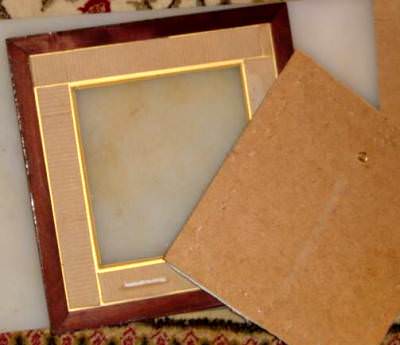
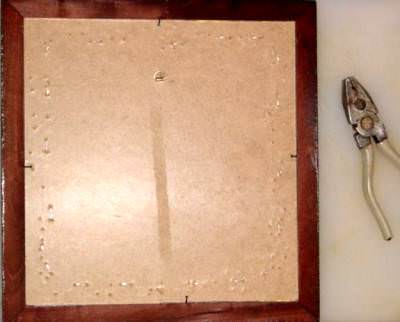
Sometimes the design of embroidery is complemented by edging -Plastic or wooden strip. This is done in order to separate the passepartout from the canvas itself. This trick allows you to give the picture three-dimensionality or an additional visual effect. In this case, the edge is selected according to the finish and color of the hairs with a mat and frame. The most acceptable combination of colors for embroidery design is beige mat and green, blue, gold edging.
Passepartout for embroidery with beads
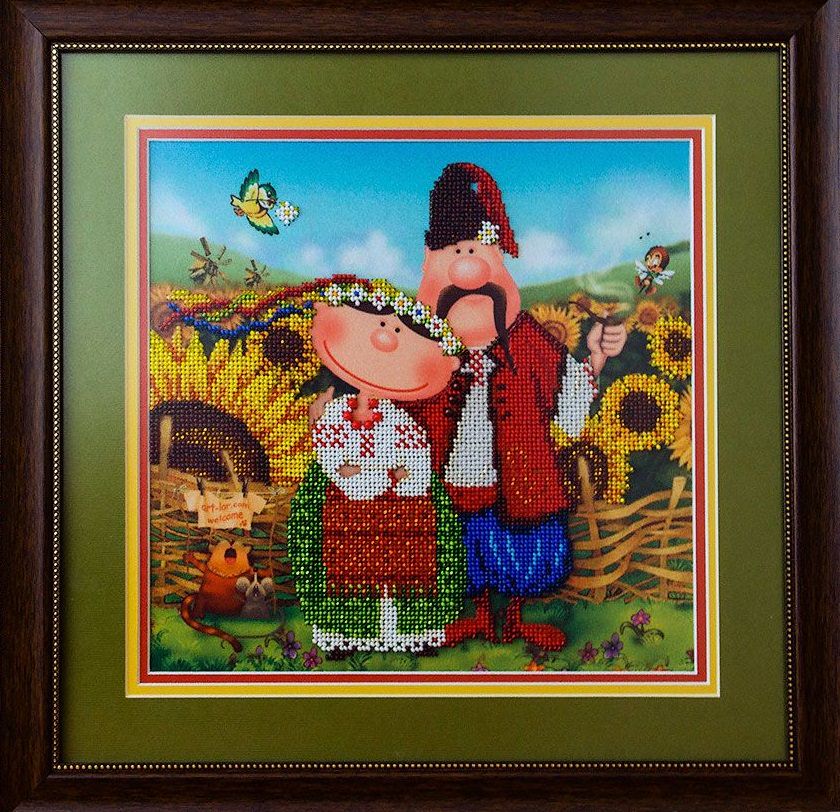
Embroidery beads in a glass frame will beLook beautiful and expressive, if you make the fastening of the fabric on a three-dimensional basis for the substrate. For its production, a folded cardboard sheet is used, on which an uneven layer of foam is sewed. The very embroidery is placed in the center of a dense backdrop, stretching the fabric with hands from top to bottom. The edges of the embroidery are fixed centrally by a stapler first on the upper side, then on the bottom of the thick paper. Staple the fabric with each side until the embroidery becomes even and taut. If the relief is obtained, the fabric is gently trimmed with the hands, if necessary, the stapler is pierced by the stapler in the place where the error is formed.
To decorate the mat, the cloth is applied to theCardboard, measure and mark on paper the estimated sizes of the rims. Point on the cardboard points of contact between the upper and lower corners, connect them with lines. With a stationery knife, carefully cut out the resulting inner square in such a way that a single paper frame is obtained. On a cardboard it is possible to make a drawing, an inscription or to put an ornament. Such a way of decorating will especially emphasize
.
The cloth is placed on a prepared mat,Care is taken to ensure that the white stripes of fabric do not look through the frame. Before decorating the embroidery in a single fabric, the excess webs at the corners of the homemade substrate are carefully cut with scissors, and then the frame is closed with the rear part of the base substrate.
We select a mat for embroidery
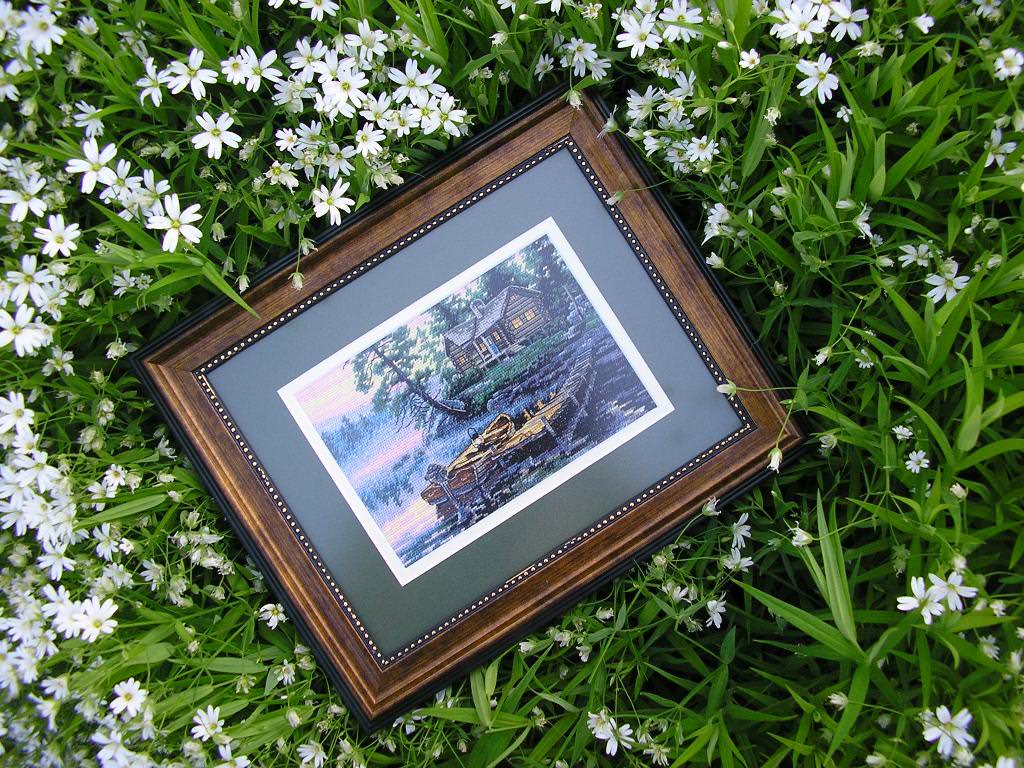
The choice of a passepartout is a very important partDecoration embroidered cloth. The frame can dramatically change the look of the picture. There are two ways to choose the color of the passepartout: according to the shade of the brightest element of the embroidery (if the picture is a vase of fruit, then the palette for the passepartout is chosen based on the most saturated fruit, for example, a red apple). In this case, it will be appropriate to make a cardboard scarlet or burgundy color. The picture will be "live", will attract the eye. But if other fruits are present on the embroidery, akin to the color of the apple, for example, strawberries, peaches or watermelon, the canvas eventually can be produced with an overabundance of juicy colors, will become too nasty and difficult to perceive. Therefore, for color passepartout it is important to make one dominant color from embroidery.
The second option for matching the passepartout depends on the overallScales of the picture. For example, for a painting saturated with colors, a passepartout of light, warm shades (light blue, ivory or white) is selected. This way of registration helps to emphasize the embroidery, makes it expressive. The color of the passepartout should not be above or below the lightest or darkest element of the picture. Framing embroidery with cardboard light shades makes the work more open, and the dark plating guides the look deep into the picture. If the embroidery was made on a black canvas, then it is better to put a black paper or a piece of cloth on the back of the frame, this will prevent the cardboard from appearing through the cells of the canvas.
You can also choose a palette for the passepartout based on the interior of the room, in which the finished picture will hang.
Video: we make out our own embroidery on the mat
