
Mittens with two spokes: a diagram and a detailed description of knitting
Content
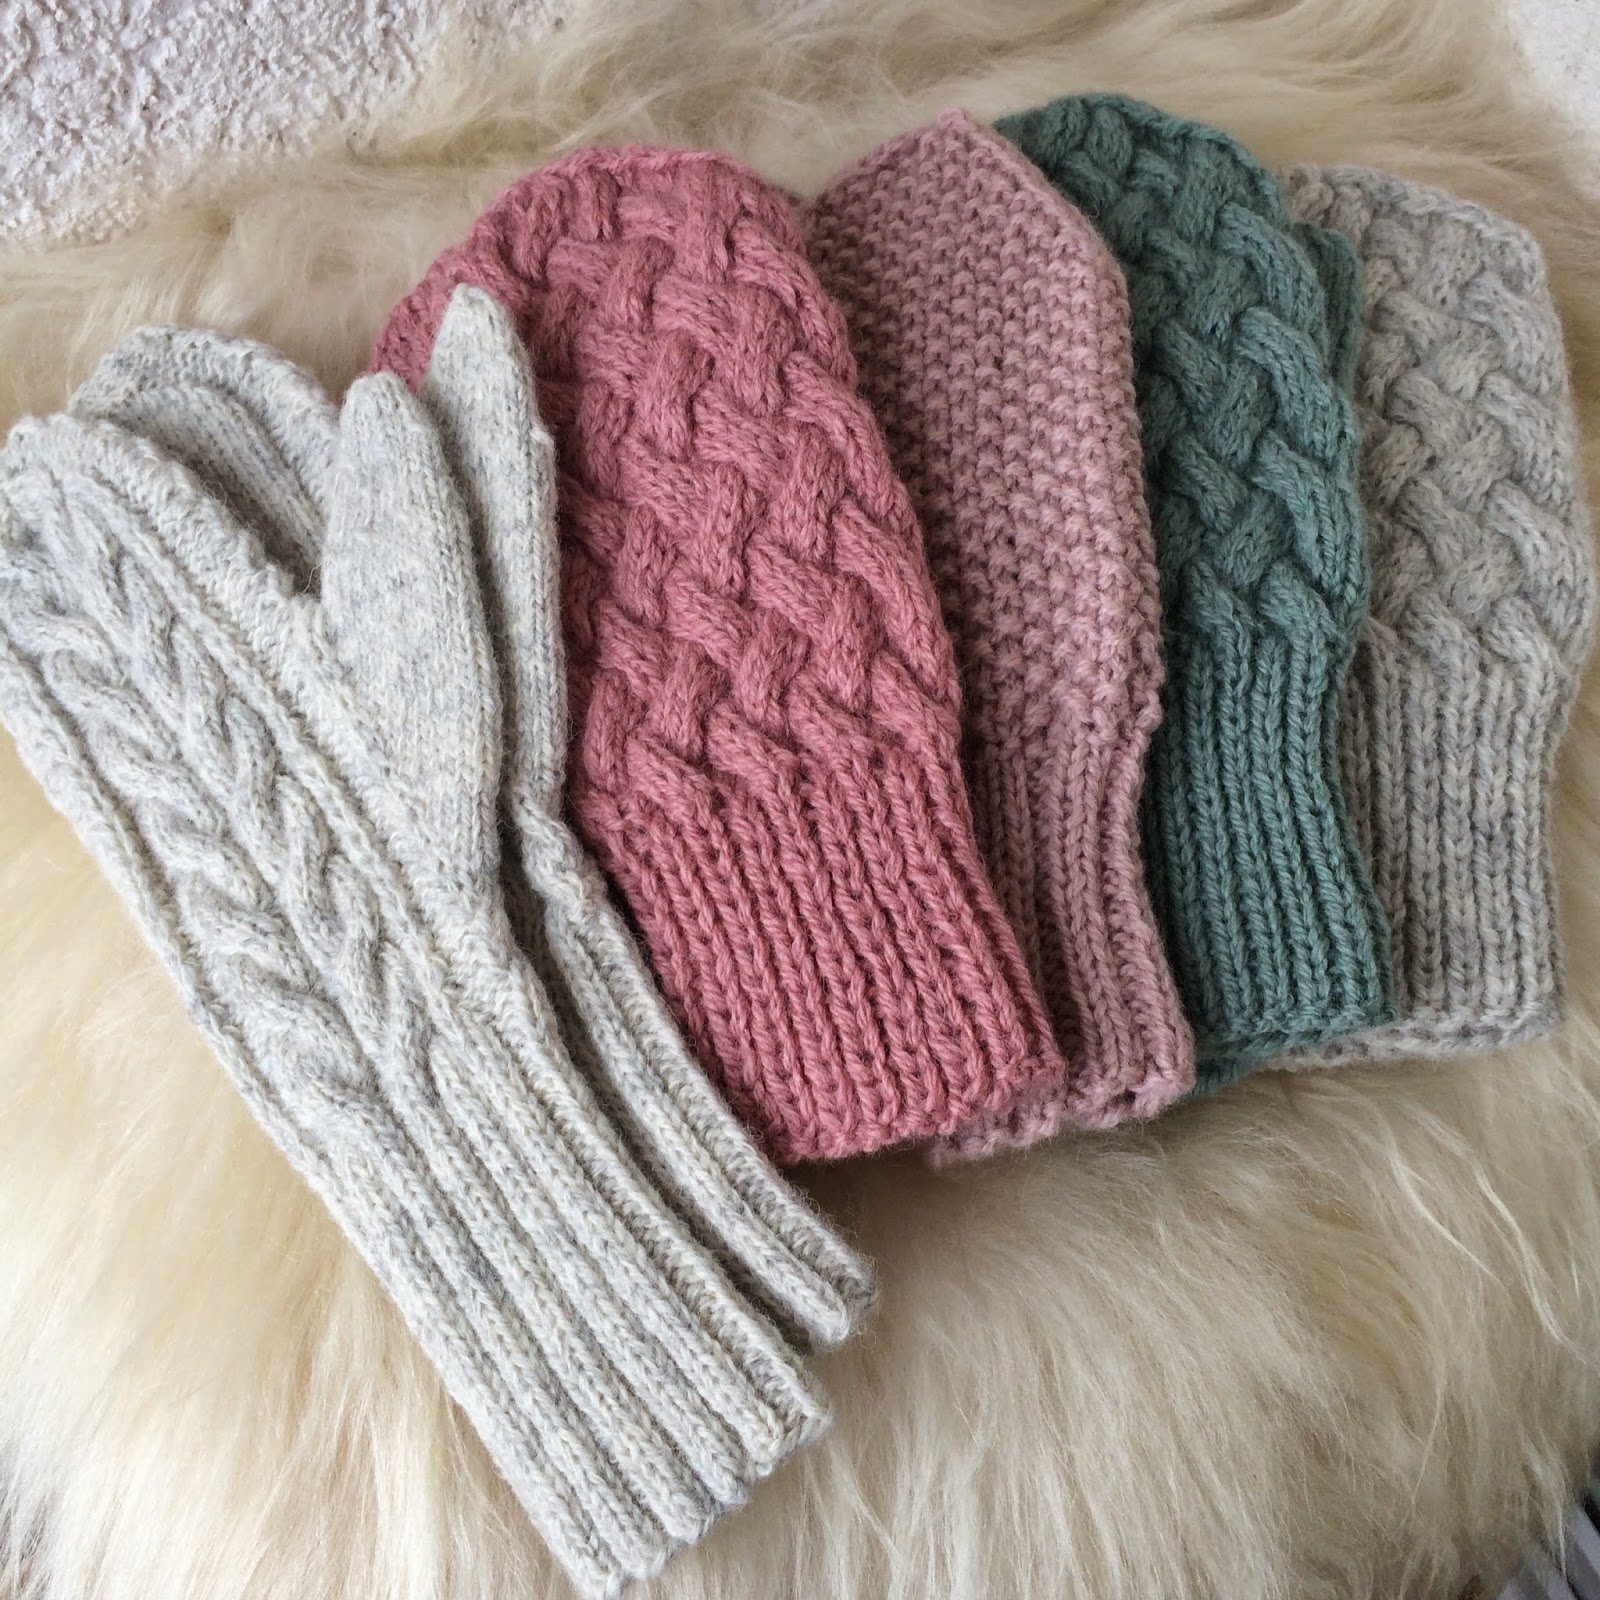
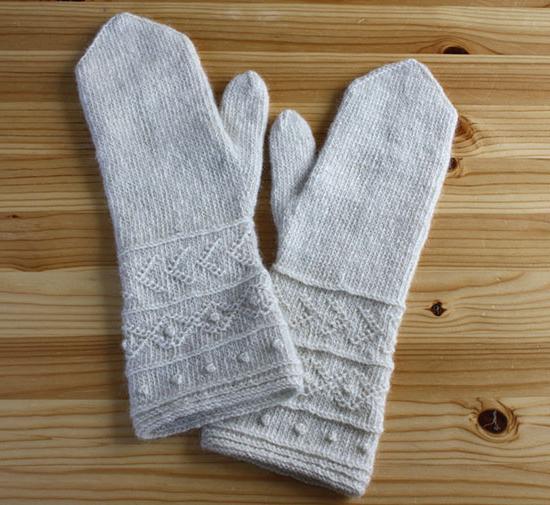
On the eve of the coming winter, warm mittens will be useful. Bind them simply on two spokes and winter colds will warm you and your loved ones.
We will study the step-by-step process of knitting and learn how to make this warm wardrobe thing ourselves.


Master class knitting mittens
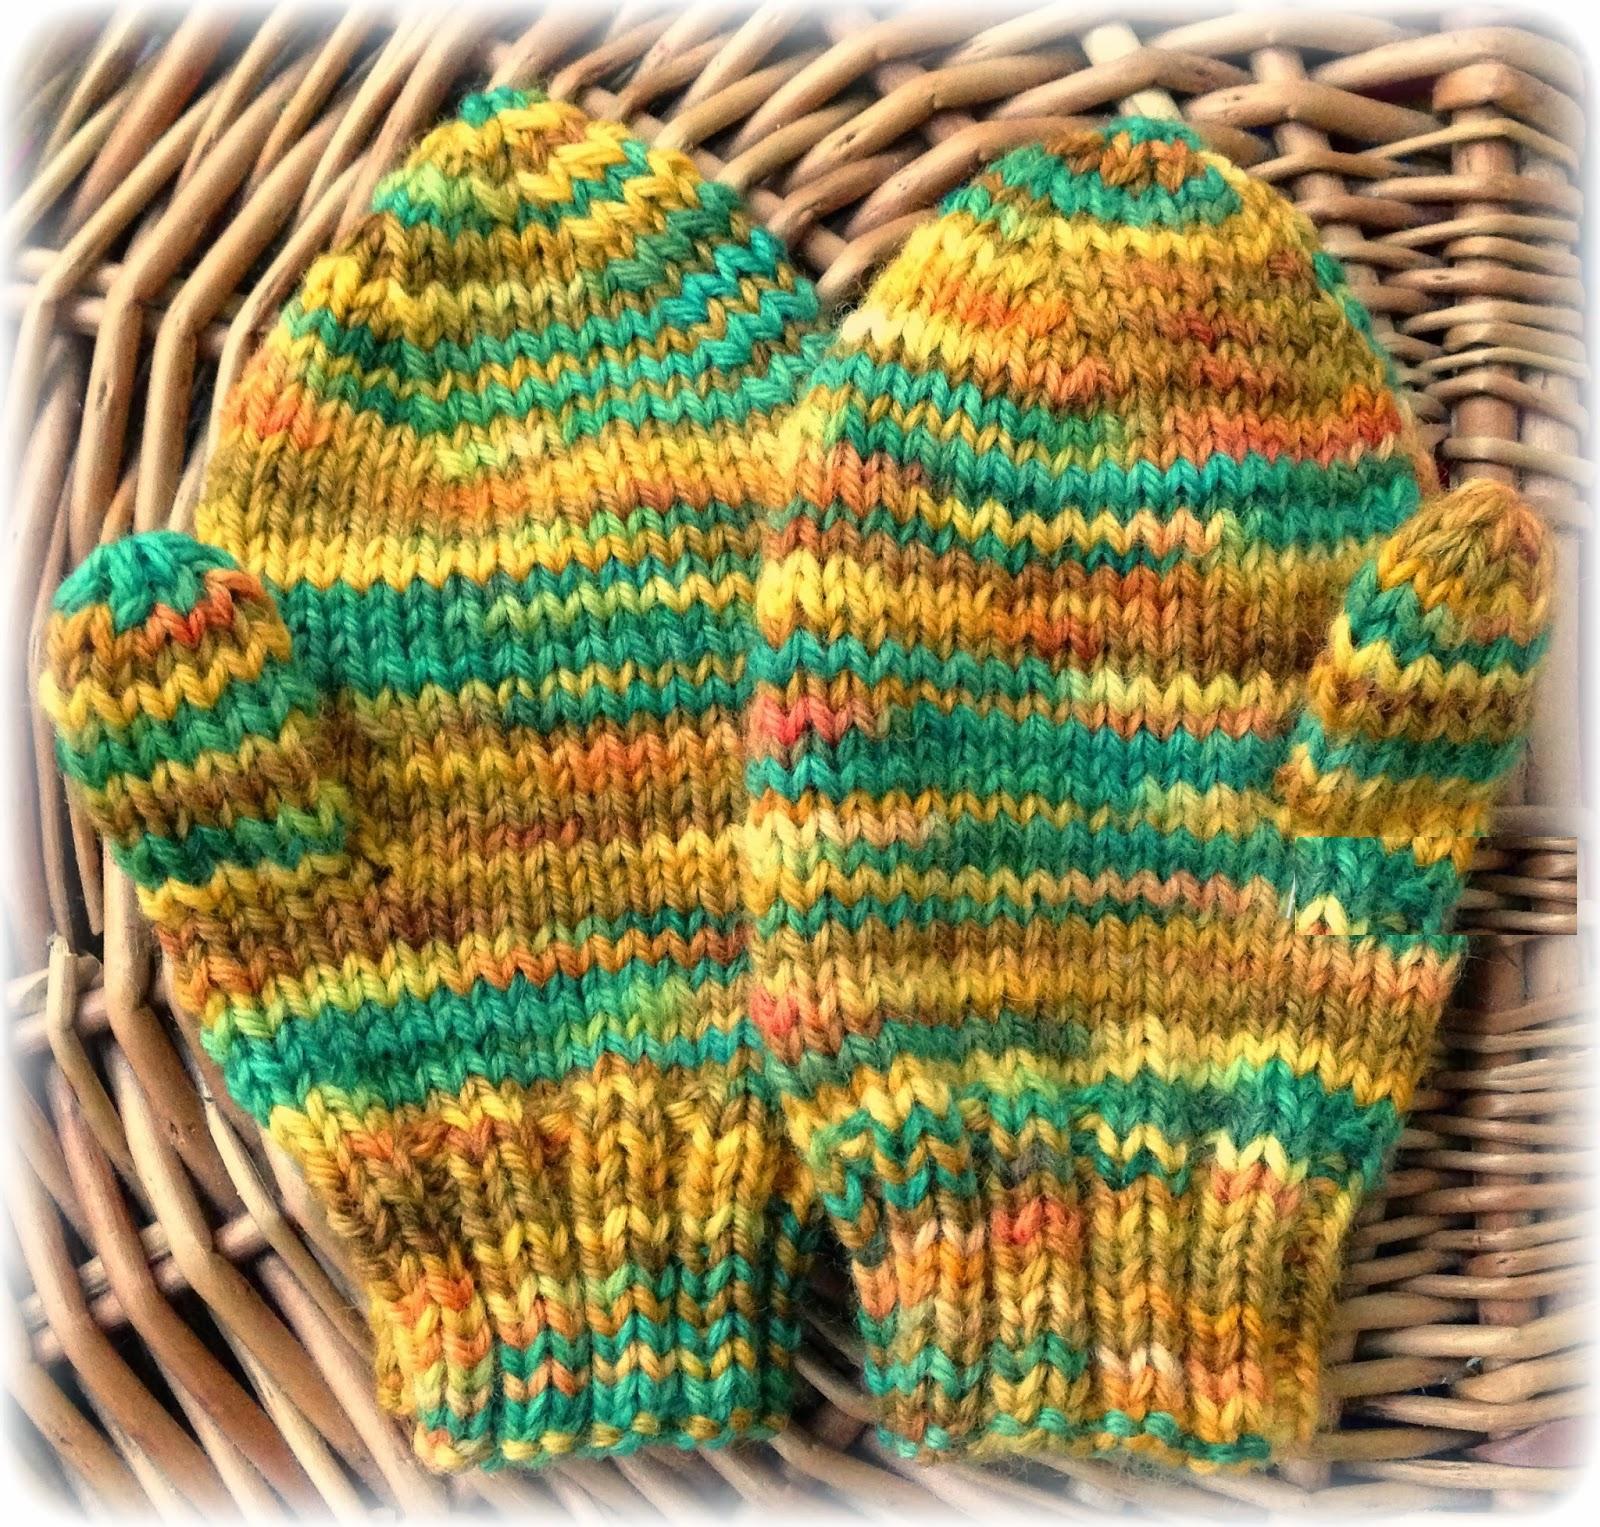
Knitting mittens will take quite a bit of time. You will need yarn and two spokes number 2.5 or 3. First, both halves of the product are knitted separately, and then stitched with a hook. Another option is a seamless product. In this scheme, the seam will be on one side.
Before calculating loops, it is better to perform a smallSample to correctly count how many loops you will need to type. Be sure to strip off the finished sample and only then count how many centimeters of rows and loops. Now it remains to measure the palm itself, and you will know the number of loops that will be typed on knitting needles.
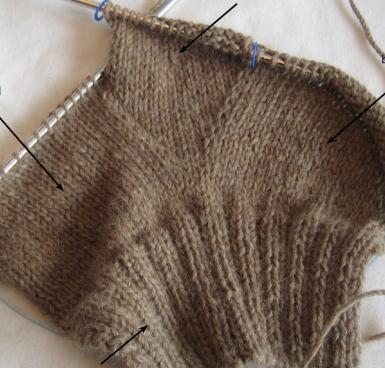
The first half of the mitten Knitting begins withThe back of the mittens. The master will always tell you that to the necessary number of loops you need to add two more, which will be edgebanded. So, we type loops. For beginners, it should be noted that knit is not too tight, so that the loops can be loosened from the spokes.
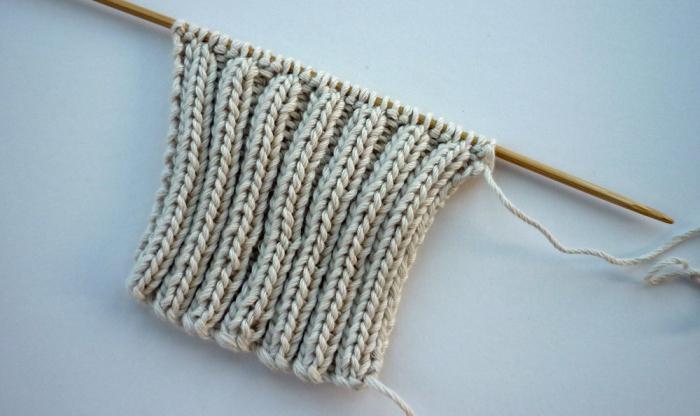
Start: Elastic band For a rubber band the 2 * 2 or 1 * 1 scheme, which you like best, will do. For those who do not know how to knit an elastic band, you can suggest watching a video. But this process is very simple - 1 loop (n.) Is removed, then 1 st. Front (LP), 1 st. Purl (PI). In the end - purl. The height of the gum depends on what kind of gloves you want to make. Now in fashion, products with elongated cuffs. Bind the elastic on smaller spokes. When it is finished, we move the loops to thicker needles. This way you will achieve a close fit of the product.
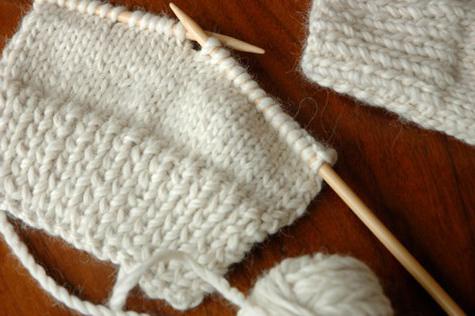
The middle of the mittenTie with the selected pattern, until along the length it does not fit the little finger. The master probably chooses a fancy drawing, but newcomers can choose a simple smooth surface. To do this, remove the first loop, then we sew all the loops with the front ones, the last one - the edge banding is done in the wrong way. Turn the knitting and perform all the loops with the wrong ones, except for the first, which is just as easy to remove.
Now we start to reduce the canvas. To do this, starting from the little finger, at the beginning and at the end of each facial row we sew two loops together. Knitting is closed when there are 8 loops left - in this case the toe will have an oval shape.
Second half mittens For beginnersHandicrafts it will be a little more difficult to perform the inner half of the product. Difficulties can arise with finger loosening. At the beginning, the main drawing is to tie the product to the beginning of the thumb.
All the loops on the spoke are divided into 4 parts. On the pin or other knitting needle, we remove 3 pieces of loops. We consider how much is left on the spoke, and we recruit as much. From the hinges so typed, you need to tie a rectangle along the length equal to the height of the thumb. The master class of this process is easy to find on our website. When the length is dialed, collect all the loops on the thread and tighten, form a finger.
We continue to work on the mitten. An additional thread at the base of the finger is carefully removed inside so that it is not visible. The rest of the canvas will not be difficult to bind to the usual scheme - smooth. Closure the canvas at the top of the fingers is the same as you did on the first part of the mittens. Simply class, how interesting looking mittens, closed by a triangle. To do this, remove the 2 n. Until the number on the spoke is equal to two. Then close them and pull the thread into the product.
Video: Mating the mittens from the toe
When doing the second mitt, it's worth remembering that the finger's position on it should be mirrored from the first.
You can also connect a finger according to another scheme. When the eyelets are left for him, we look for the central one. Begin to type on both sides of the loop in such a way that their total number was enough to grab the entire finger. We will use additional knitting needles to separately tie and close this part of the product. The master can offer other ways of doing the thumb, but these two are the simplest. To make it more clear, you can watch the video.
We are assembling the product
So, the mittens on the two spokes are ready. More precisely, we have in our possession two parts that have only to be joined together. For beginners knitters it is worth noting that this should always be done with a knitted suture. We take the needle and begin to sew, passing it under the edge loops in turn at both sides.
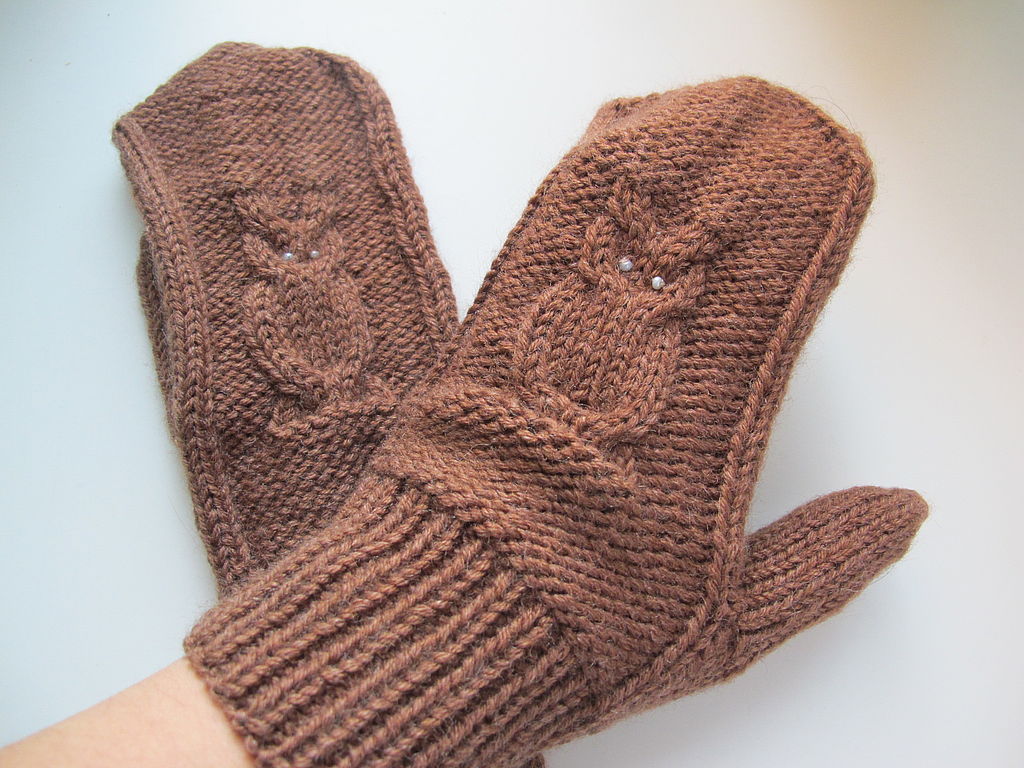
Any knitted article can be additionallyEmbellish with embroidery. The highest class of needlework - then a simple scheme, as in our case, to present on the advantageous side with decoration and embroidery. You can learn this by watching the video.
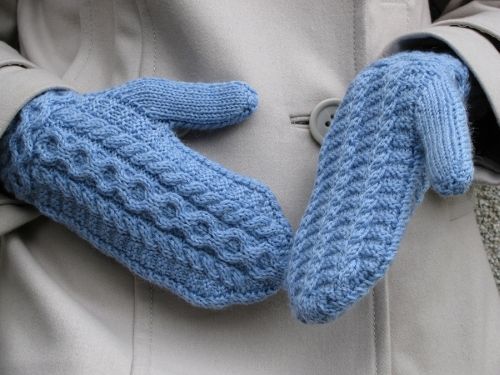
Video: Mittens with braids on two spokes
Comments
Related posts:
 Sledkov two spokes seamless: knitting master class (photo)
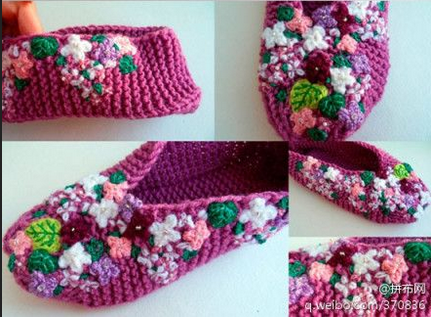
 Booties on two spokes: step master class in the photo and video
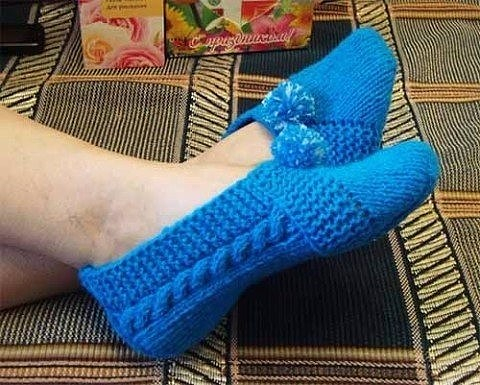 Knitted slippers on two needles with a description and video tutorials
 Pearl spoke pattern: a description of the scheme and the video lessons knitting
 English gum with knitting needles photo and crochet pattern with description