
Modular origami butterfly, medium complexity, very beautiful work
One of Japan's long-standing legends says that butterflieshelp people in the fulfillment of their desires. It is necessary only to whisper to the butterfly its desire, and on its fragile wings it will necessarily deliver desire to the heavens. Do you like butterflies of origami, artfully built of paper? You can create your own whimsical butterfly or moth thanks to the step-by-step instructions of my article. According to my calculations, to create the butterfly, 158 modules were needed and another plus two orange modules per antennae (one end of each module is twisted). Of these, 74 green, 36 orange + 2 on antennae, 18 yellow, 30 red and 60 blue modules. Perhaps, I miscalculated, so this may not be an exact number, but an approximate number. Let's start assembling the calf. Take 4 red and 3 yellow modules. On the sides in the first row are yellow modules, in the middle of the 2 red ones. In the second row there are 2 red modules on the sides and 1 yellow in the middle.  Then in the middle of the 2 yellow, on the sides of the red module.
 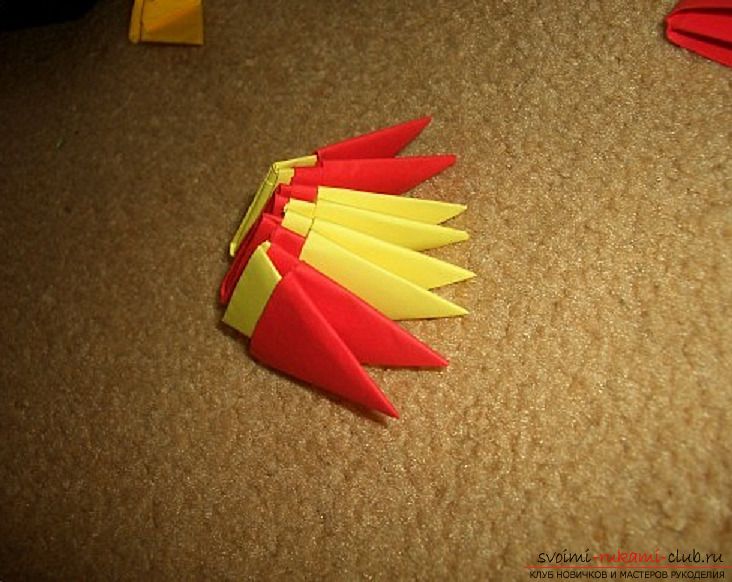 In the next row, all 3 modules are yellow.
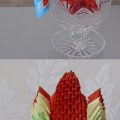
 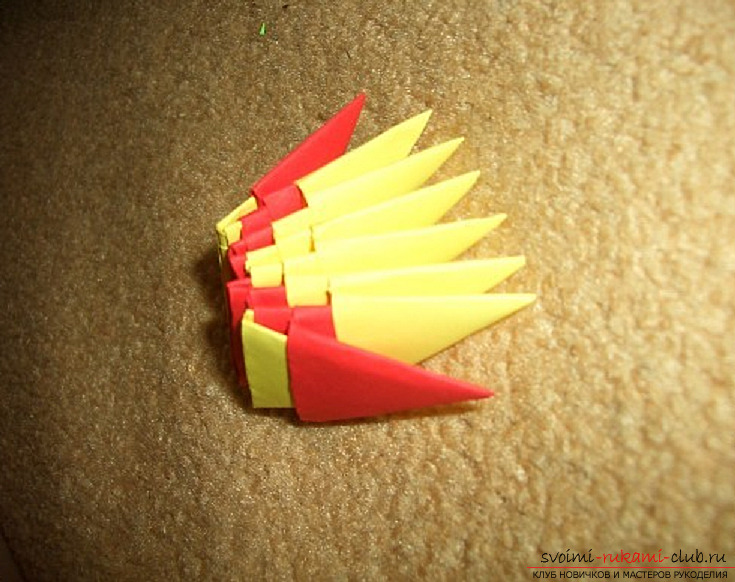 In the fifth row, all 4 modules are yellow.In the sixth row, all the modules are yellow (there are 3 of them). In the seventh row on the sides are red, in the middle of 2 yellow. In the eighth in the middle of the 1 yellow module, on each side are red. Then three rows of red modules. Then we take 2 red modules (they should be bigger than the others) and in each pocket we insert two tips of the modules of the previous row. Then in the middle 1 yellow module, on it we put on 2 yellow modules (they should be darker, but in principle it is possible to make them the same as the previous module). Then as pictured in the photo, we put the modules for fixing the wings. From the top we build 3 more red modules. Taurus is ready.
 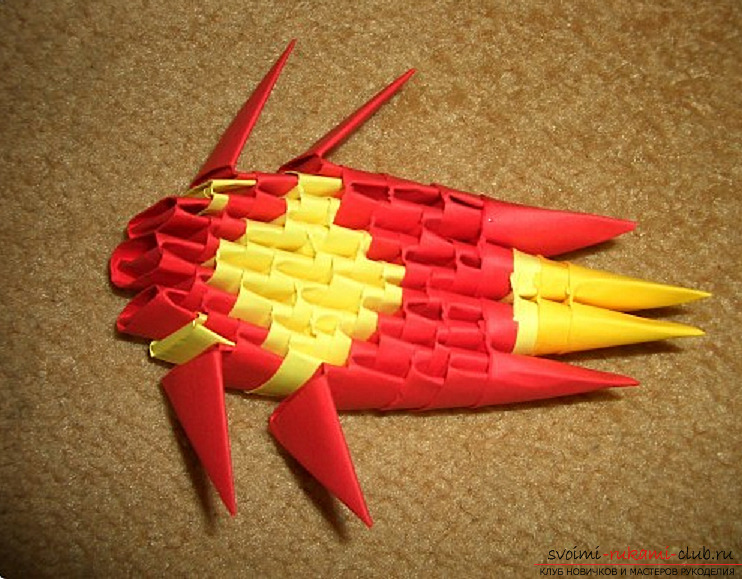 We collect the lower wing. We take 3 green modules and fasten them, in the first row - 1 module, in the second - 2 modules.
  The third row: in the middle is a dark yellow module (we will call it orange), along the edges are green. In the fourth row in the middle 2 blue, green modules around the edges.
 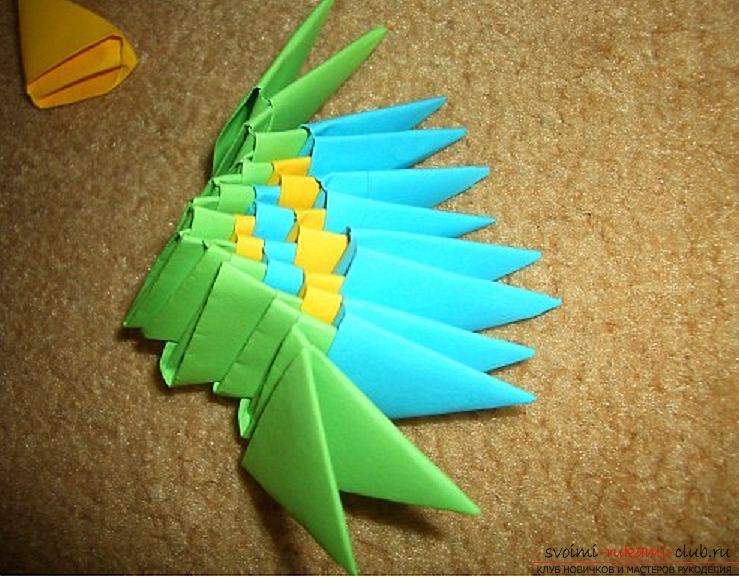 In the fifth in the middle 3 orange, on the edges greenmodules. In the sixth row in the middle of the 4 blue, around the edges of the green modules. Next narrow the wing. In the seventh row in the middle 3 orange, green at the edges. In the eighth in the middle there are 2 blue modules and on the edges are green. In the ninth in the middle 1 orange, on the edges of the green. In the tenth 2 green modules. In the eleventh row there is a green module. The wing is ready.
 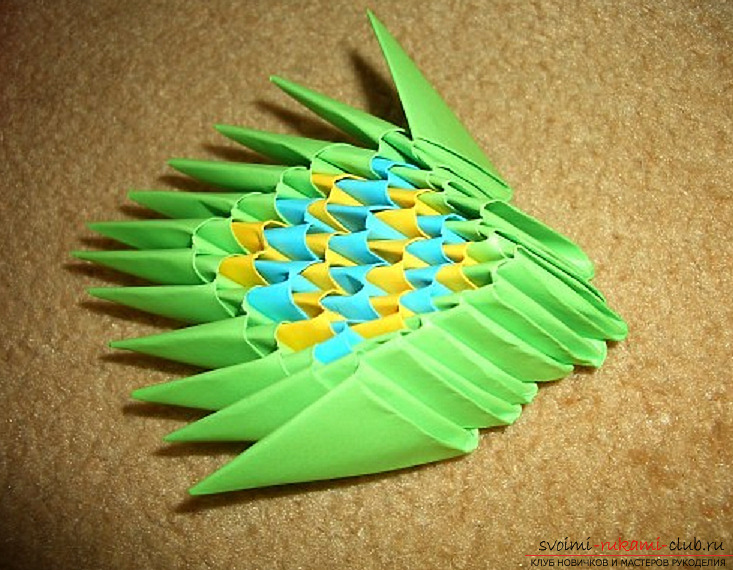 We collect one more of the same. If the wings turned out slightly different in size, it's okay.
 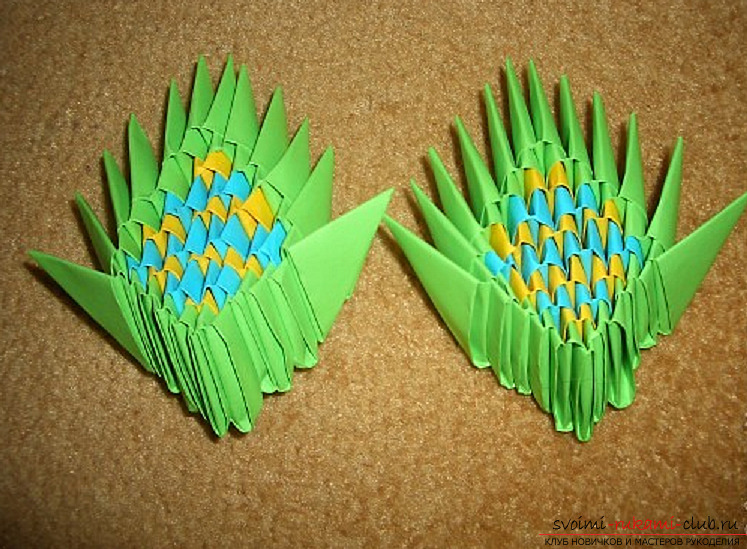 The upper wing. The first row is a blue module. The second row is 2. In the third row in the middle 1 green, along the edges of the blue modules. Then in the middle of the 2 green, at the edges of the blue. Further in the middle we put 1 green, 1 orange and once again green, on the edges again blue. Then in the middle 1 green, 2 orange, 1 green, around the edges are blue. Further in the middle 1 green, 3 orange, 1 green and around the edges of the blue modules.
  We collect one more same wings.
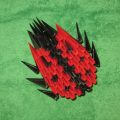
 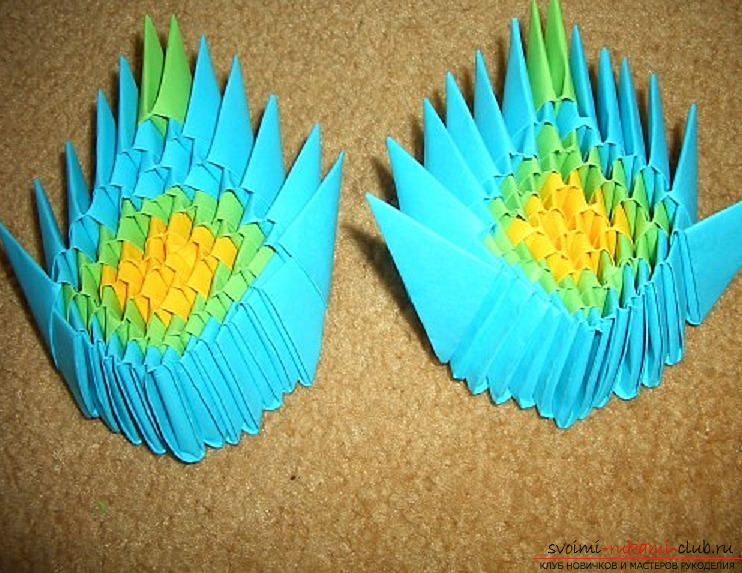 We connect all the parts together.
  We attach the antennae to the butterfly. Our butterfly is ready!
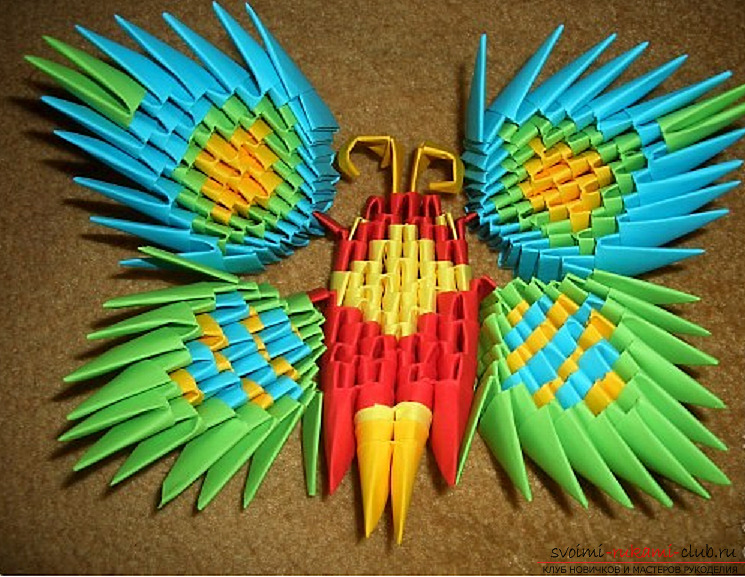
Comments
Related posts:
 We make an origami parrot, step by step instruction. Origami modular, requires a certain skill.
 This master class will tell you how to make a modular origami from paper - a ladybug.
 Modular Origami with your own hands for the 2015 Competition, master classes on modular origami
 A beautiful blue goat is a simple modular origami, follow our instructions
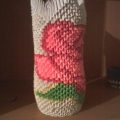 Modular origami: a vase with a rose, a modular origami of paper circuit and a video for beginners