
Modular origami "Vase spring mood" photo process of creating origami.
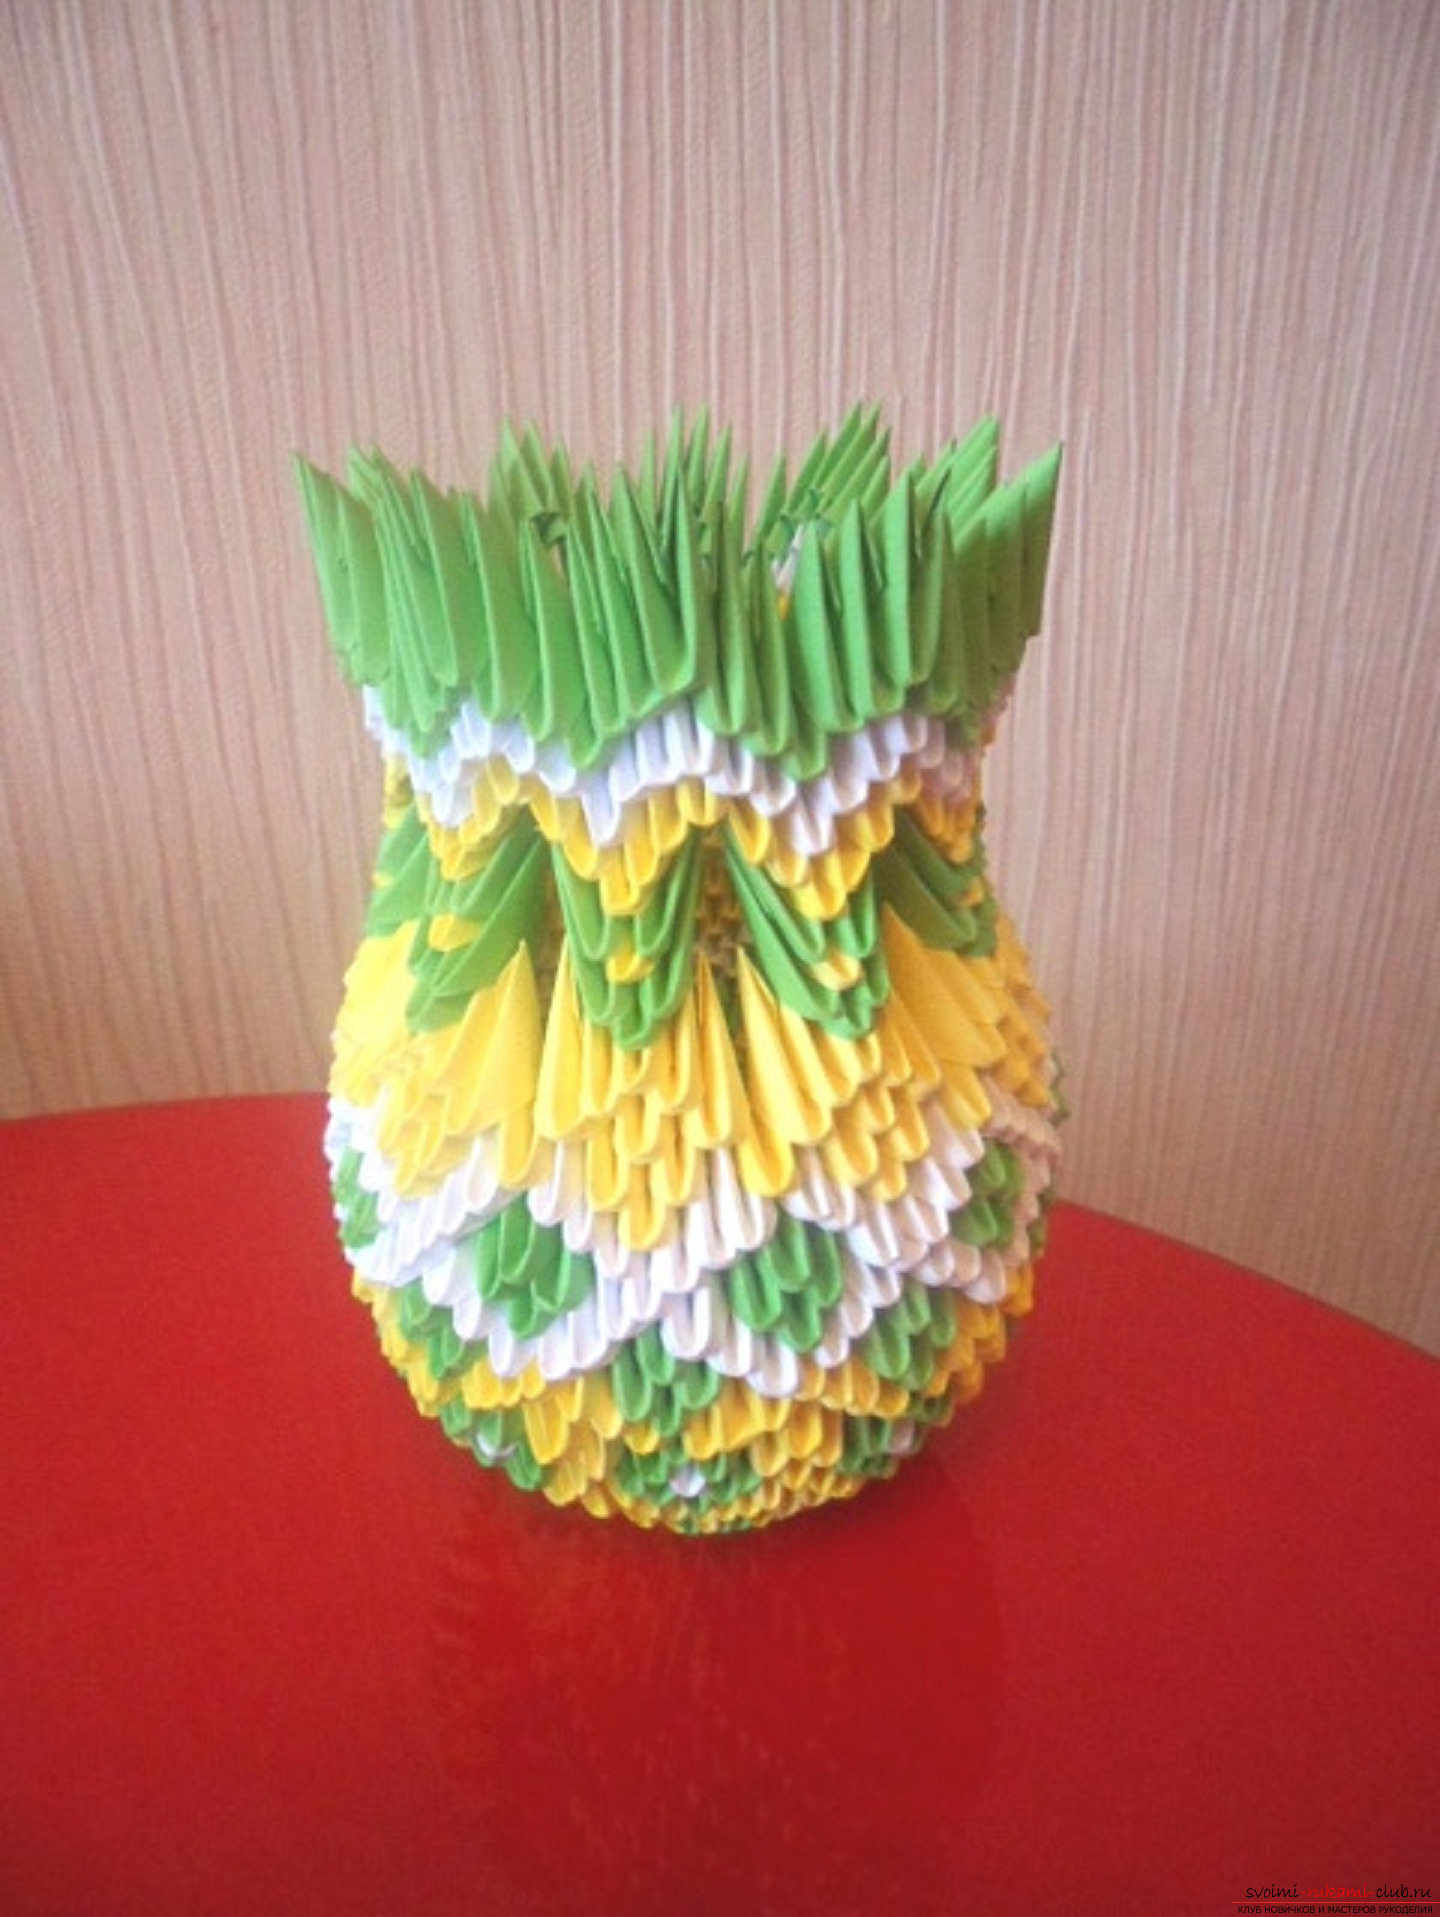 How do you look at decorating the interior?his room is a small piece of art, for example, to make a beautiful vase that shimmers with all the colors of the rainbow. To create such an article is a long and painstaking task, which only the patient and plodding people can do, and this is what modular origami teaches. To build this vase you need: 490 yellow, 310 green and 200 white modules. 1. Prepare for the first and second rows of a chain of 50 yellow modules. We connect the modules in a chain. Get: The first row is 25 yellow modules; The second row is 25 yellow modules. From the third row there is a division into 5 angular parts. The description is given for each row in the fragment, multiplied by the number of fragments. The fourth row - (4 yellow modules) x5 between the angular fragments in this row we leave 2 free angles. The fifth row is (3 yellow modules) x5; The sixth row is (2 yellow modules) x5; The seventh row is (1 yellow module) x5. Between the angular fragments lay out diamonds of four green modules each. Only 5 diamonds.
 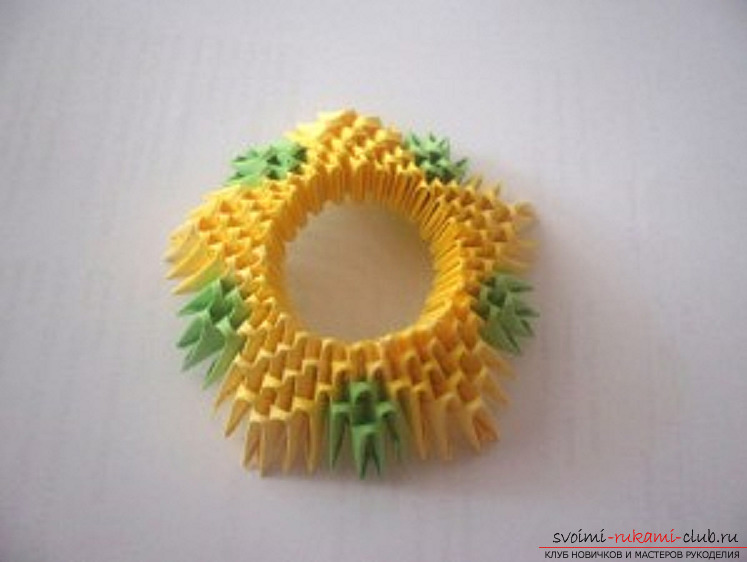 2.Turn the part. On the upper green modules of rhombuses we put the bars of two yellow modules each. Only 5 posts.
  3. The corners of the upper yellow modules turned to each other in columns are connected by an arch of 7 yellow modules: 3 modules on each side and one fixing from above. We collect 10 v ares around the circle of vases.
 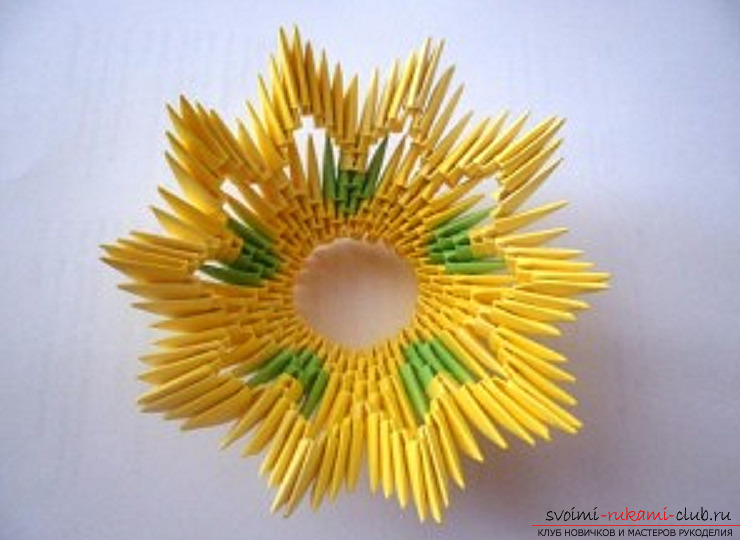 4. Between arches we collect diamonds from 8 green and one white module. In total we collect 10 rhombuses.
 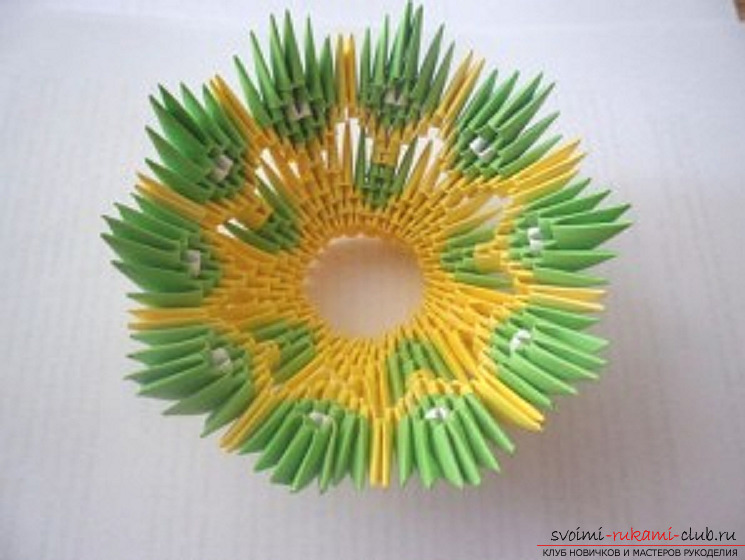 5.Connect the green corner of the rhombus module and the yellow corner of the upper module of the arch by the yellow module. On the other hand, we do the same. We connect the adjacent corners of the yellow modules with a yellow module.
 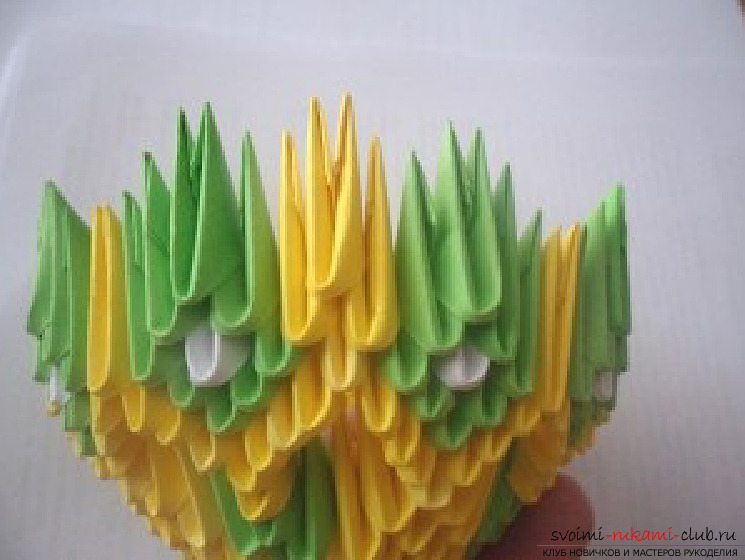 6. We fix pairs of green modules of the last and penultimate rows of diamond modules in yellow modules.
 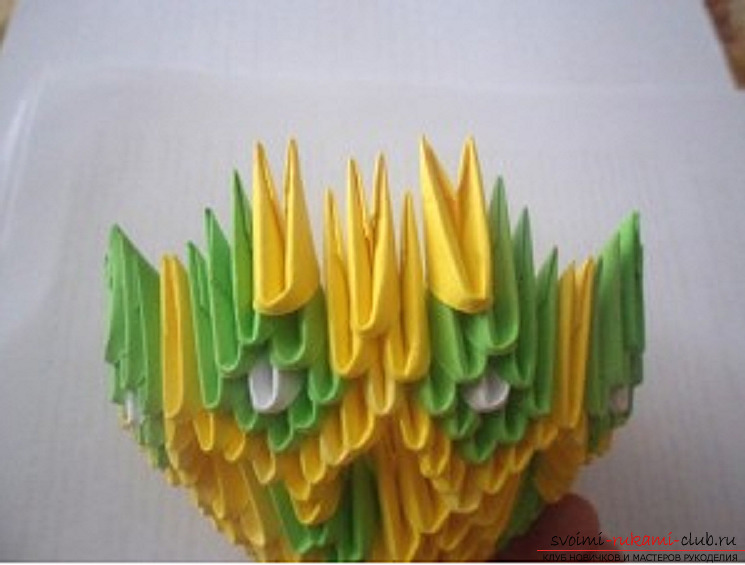 7. Then we fix the yellow corners on both sides
 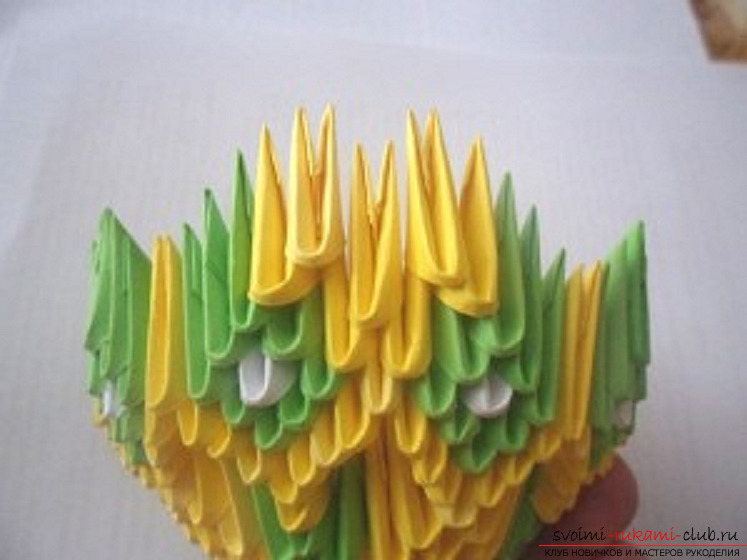 8. The corners of the upper modules are connected by a yellow module. The corner fragment was obtained.
 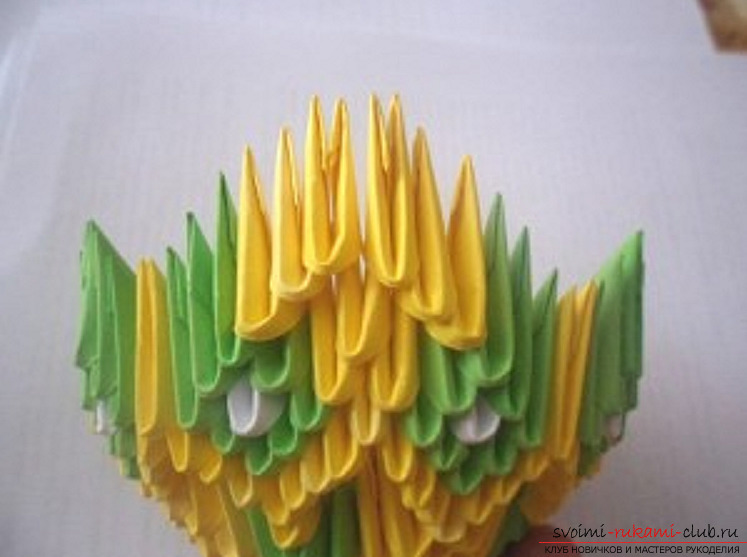 9. We make 10 such fragments.
  10.With the angular fragments we collect diamonds from 4 green modules each.
 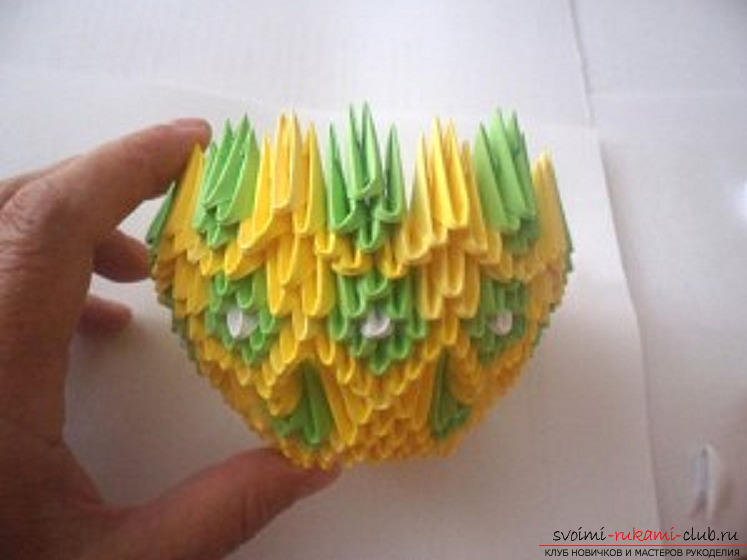 11. We assemble 10 such rhombuses.
 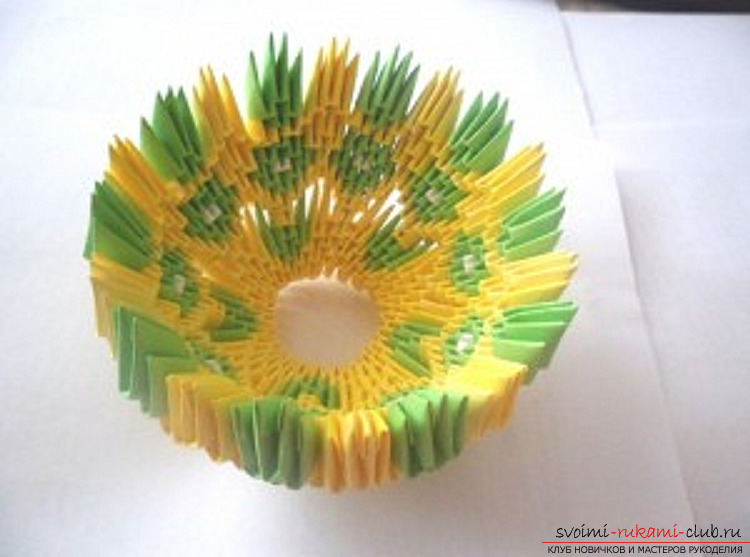 12. We connect the yellow corners of the upper modules of the arch with a series of white corners, white modules. Rising above connect the green and white corners of the white modules. The upper white corners are connected by a white module.
  13. The same thing is done around the circle of the vase.
 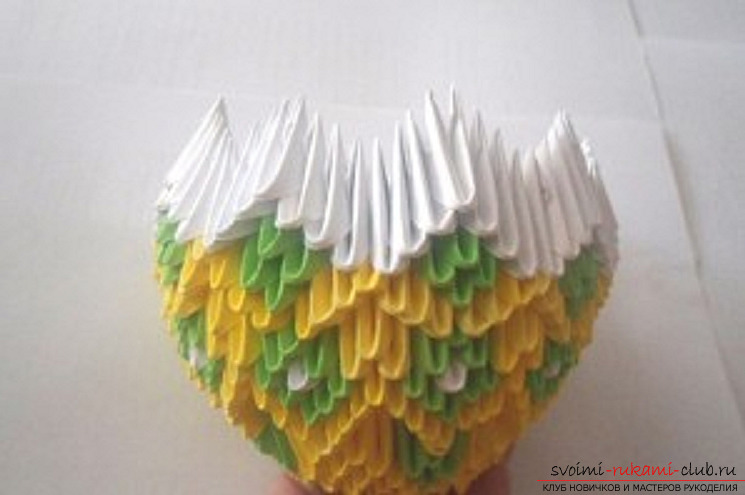 14.Between the corners lay diamonds of 4 green modules each. In total we collect 10 rhombuses. Two white corners on different sides of the diamond are attached with white modules. Rising up we attach white and green corners with white modules. White corners of the upper modules are connected with a yellow module.
 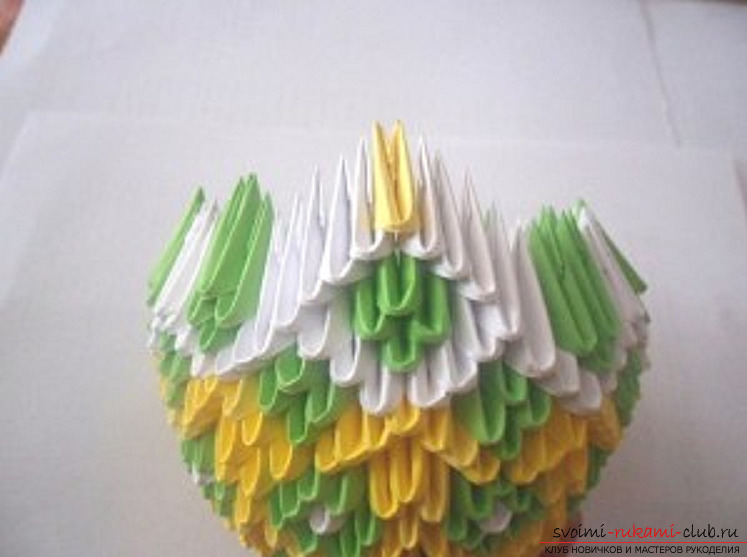 15. The same we make round the vase.
  16. Between corners we collect a diamond from 4 yellow modules.
 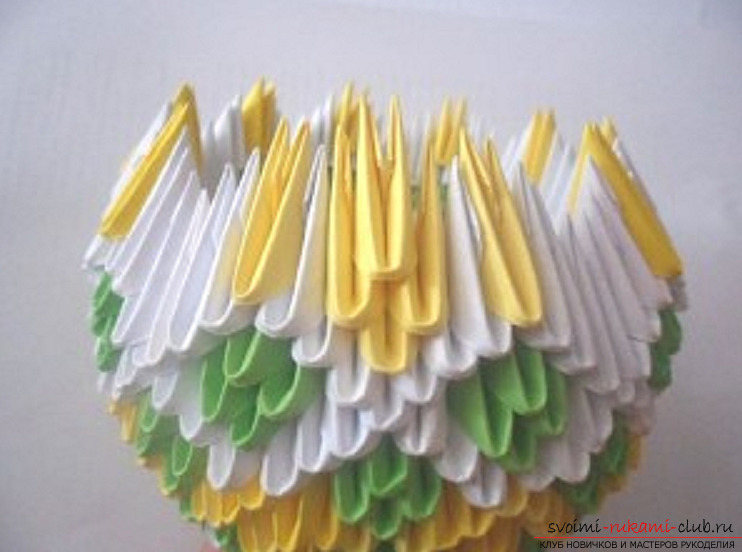 17.Low we attach 2 yellow modules and one white corner with one yellow module. On the right we do the same.
 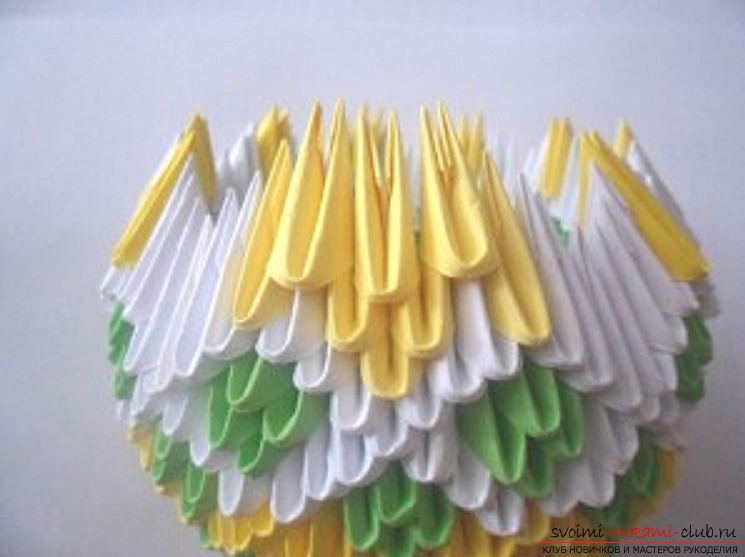 18. Then we attach the yellow corners of the yellow modules, forming an angular fragment.
 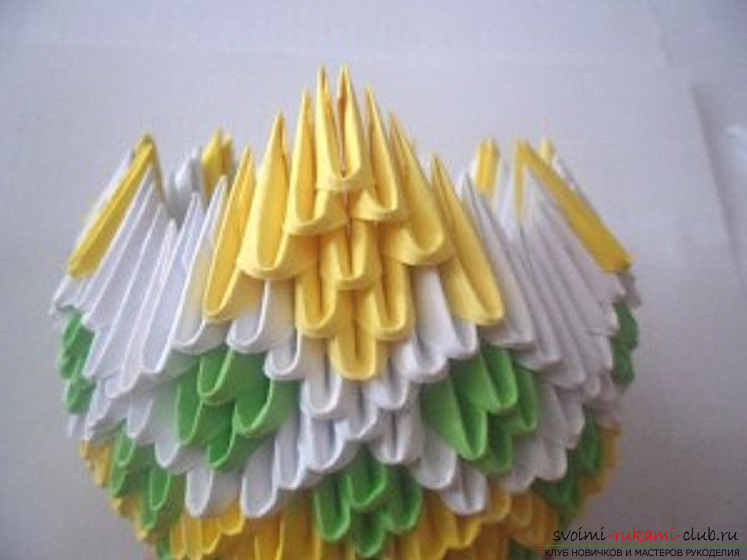 19. We assemble 10 such angular fragments.
 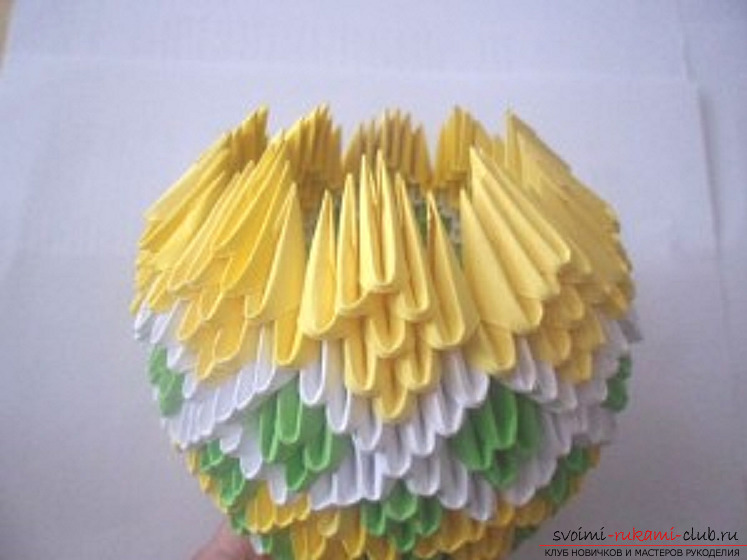 20.On the upper module of the corner fragment, put on 1 green module. For each corner of the green module, we put on 1 green module with one pocket. Then increase the number of modules up: 1 yellow, 2 green one pouch. 1 yellow.
 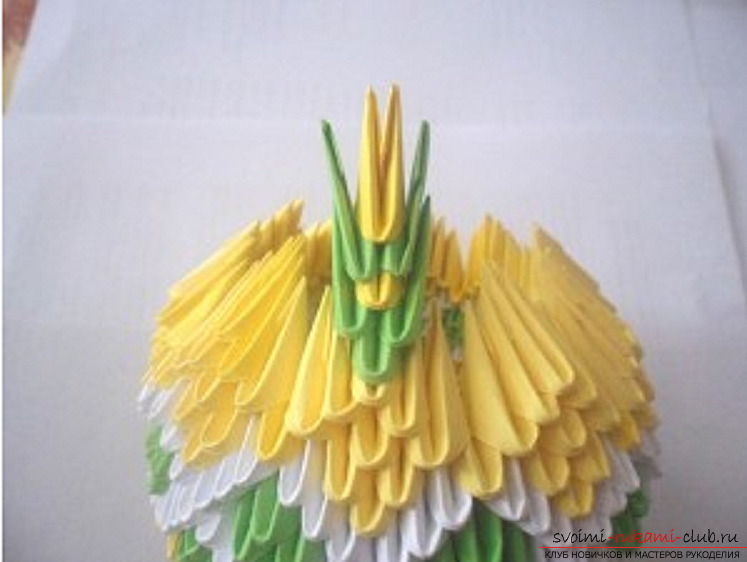 21. We assemble 10 such fragments.
 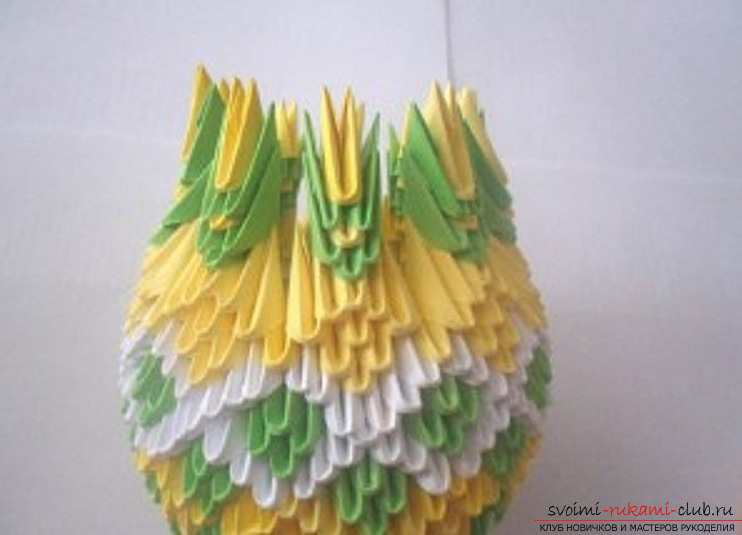 22. The corners of the upper modules turned to each other are connected with an arch of 5 yellow modules: 2 on each side and one fastening from above.
 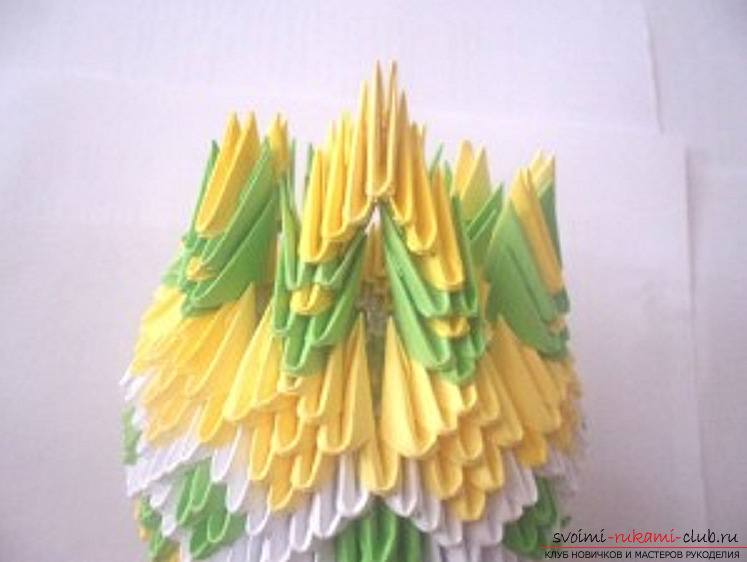 23. We assemble 10 such arches.
 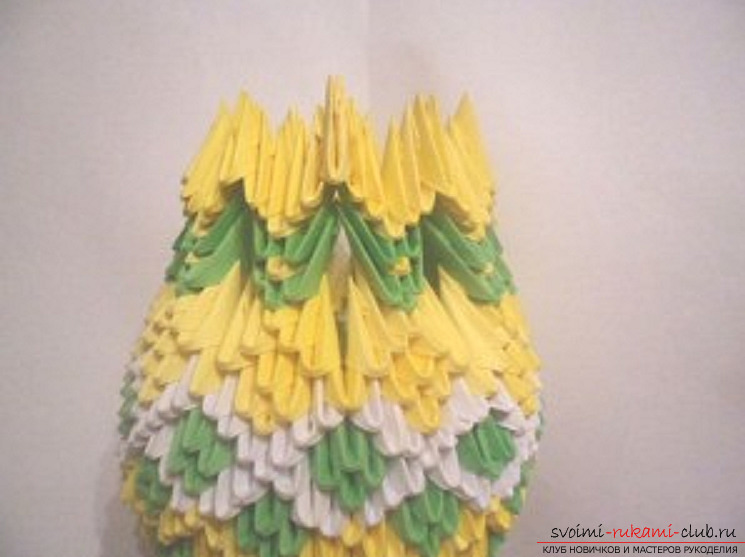 24. We make edging of arches with white modules. For this, we connect the lower corners between the arches with white modules. Rising along the edges of arches from the bottom up we attach white and yellow corners with white modules. The corners of the upper white modules are connected with a white module.
 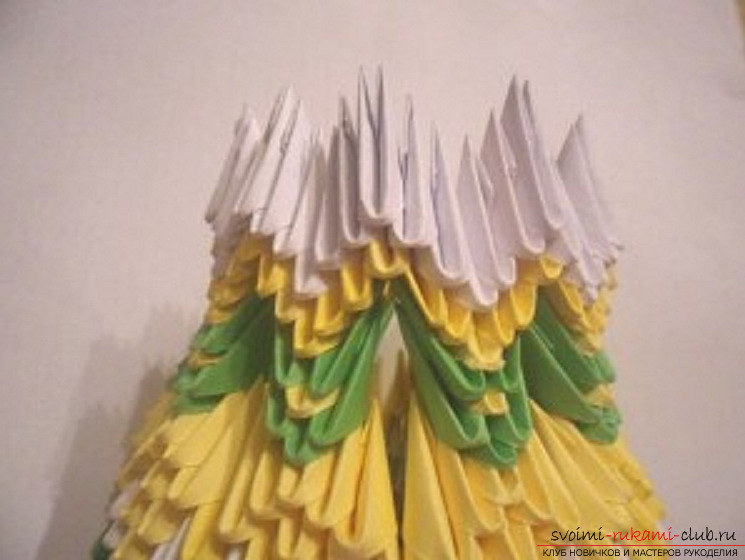 25. In the same way we assemble the edging with green modules.
  26. Slightly bend the corners to the sides. The vase is ready.
Comments
Related posts:
 Vase in the technique of modular origami at the Spring 2016 Competition, a modular origami vase
 We make an origami parrot, step by step instruction. Origami modular, requires a certain skill.
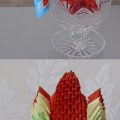
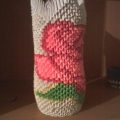 Modular origami: a vase with a rose, a modular origami of paper circuit and a video for beginners
 A beautiful blue goat is a simple modular origami, follow our instructions
 Make your origami box. Photo to create a beautiful origami-boxes.