Modeling of salt dough for beginners, master class, sculpting a panel, paintings / Toys with their own hands, patterns, video, MK
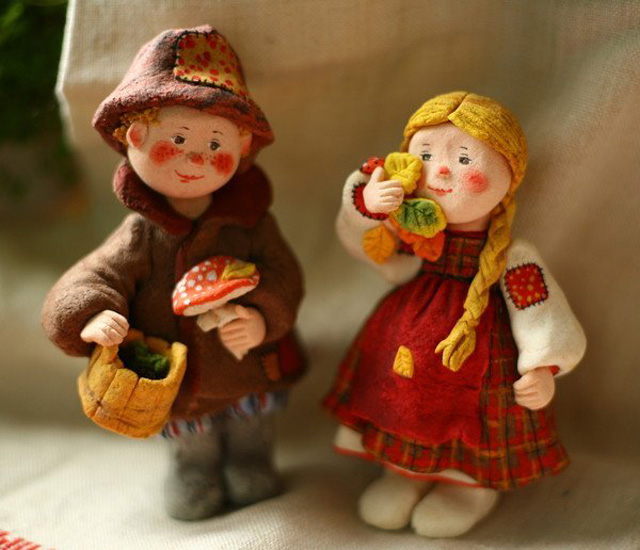
The sculpture of figures of salted dough or dough- a very fascinating occupation, which does not require special skills and special monetary investments. Salt, water and flour - these are the main components for this type of needlework. The dough turns out soft and pliable, allowing you to make wonderful crafts even for beginners. First you can sculpt the simplest figures, then try to make products more complicated: small souvenirs, dolls and even three-dimensional paintings. Acquiring a little experience and using creative imagination, you can make real works of art! In addition, performing various crafts with children, you will not only accustom them to creative work and develop fine motor skills, but also enjoy precious minutes of communication. Our master class and some interesting ideas will help you to perform simple crafts, and the necessary advice will be made by this the creative process is maximally fruitful and exciting. 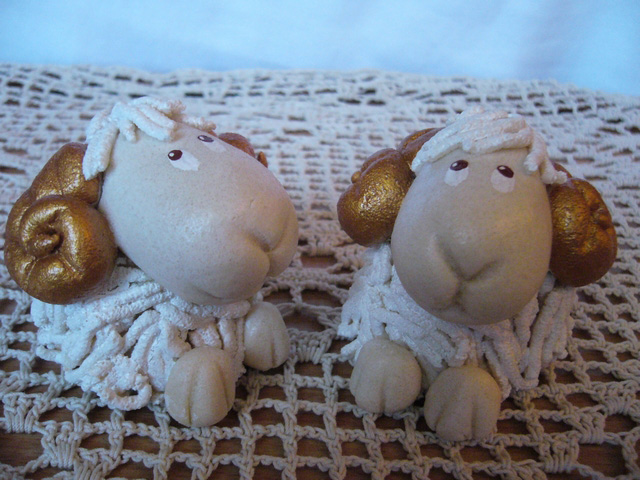


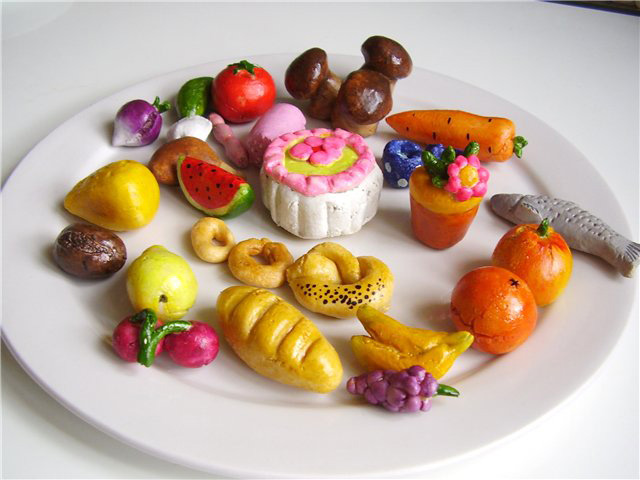
Dough for simple crafts
Recipes for molding from salt dough existsenough. Depending on the scale of the crafts, salt, flour and water are mixed in various proportions, and in the dough, among other things, additional ingredients are added: glycerol, glue, vegetable oil, starch and even hand cream. For beginners, the dough is recommended for making a classic recipe. To do this, mix flour and salt in the same proportions with the gradual addition of cold water. For example, for 200 g of salt and 200 g of flour you will need 125 g of water. 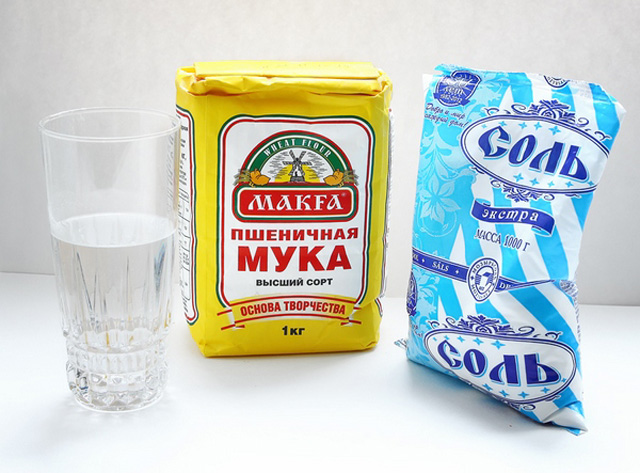 Advice for beginners!

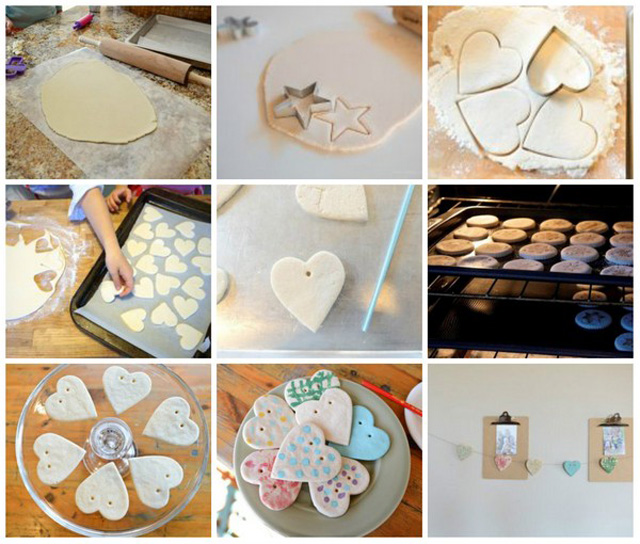
Master class for making mucosolic
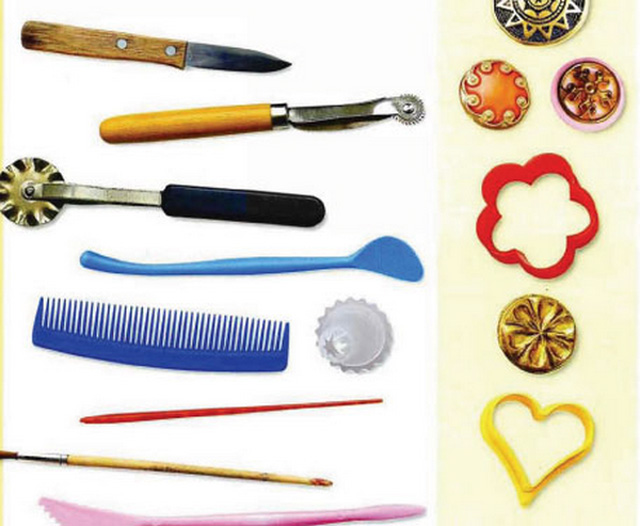
In addition to flour, water and salt for the master class, the following devices will be needed:
- a board for modeling;
- a small rattle;
- small knife;
- toothpick or rod from a ballpoint pen for small holes and patterns;
- water tank;
- brush and paint;
- varnish for coating.
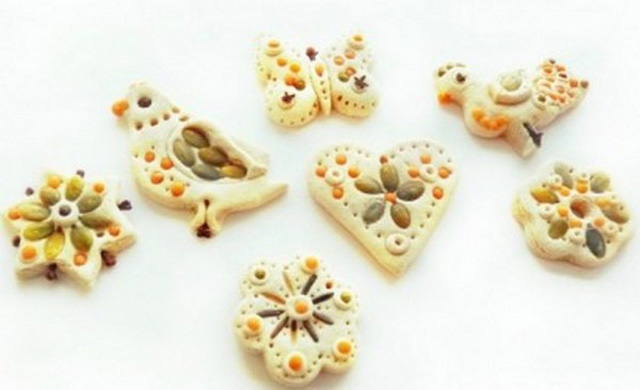
Depending on what kind of figurines you will be doing, you may need molds for biscuits, beads, buttons, sheets of different shapes to create impressions.
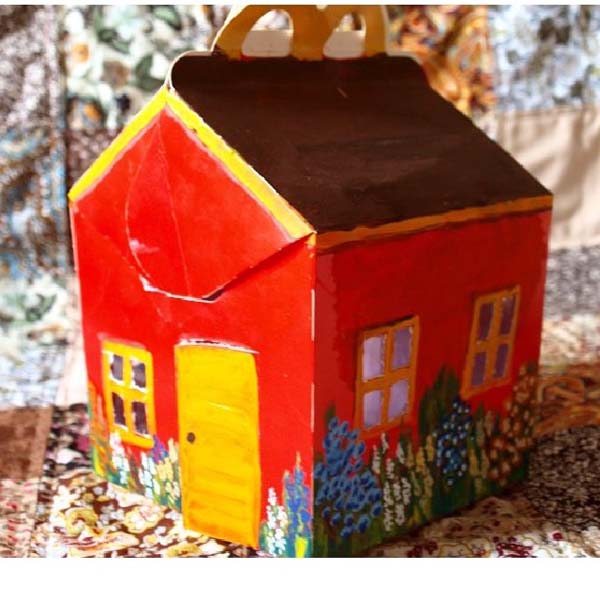
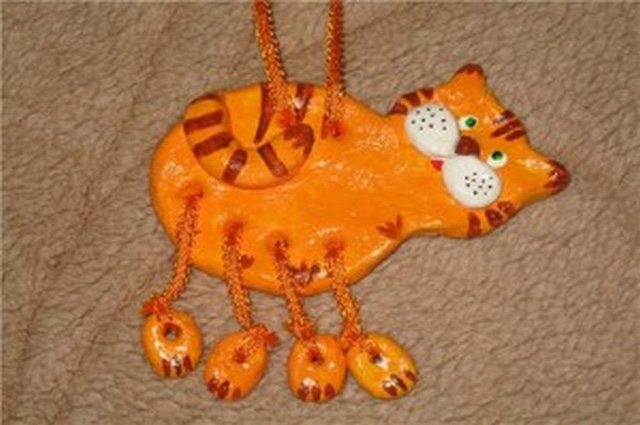

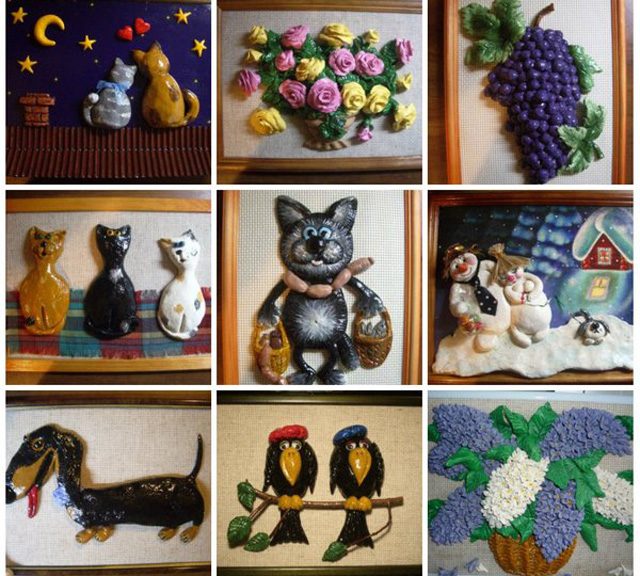
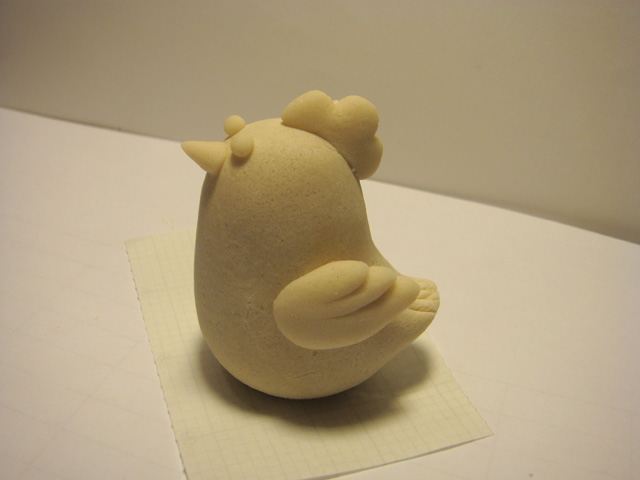
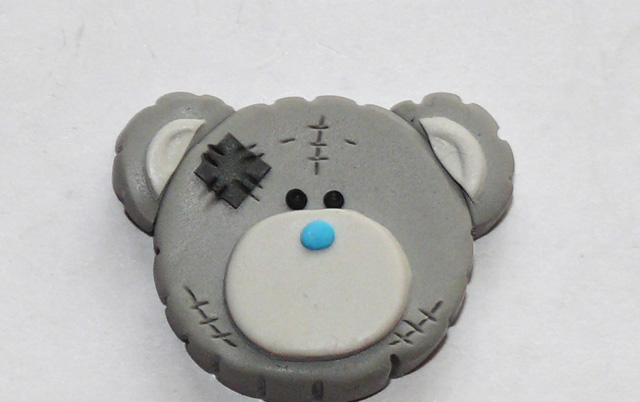
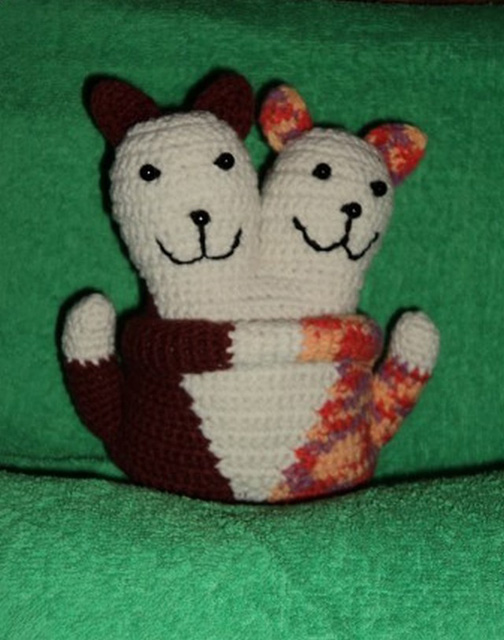
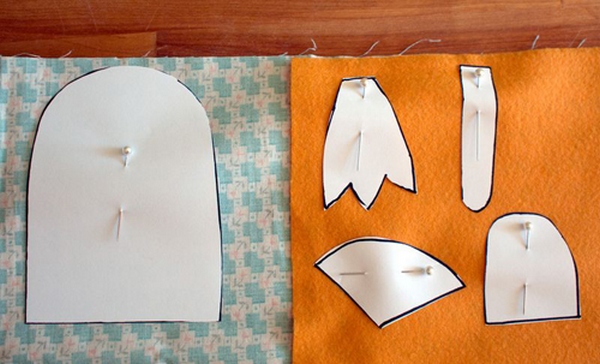 Mukosols can be performed with a smallknife, carving all sorts of elements. For example, you can make a cottage-suspension for children on a Christmas tree or a funny cat with paws-rope. From the salted pancake can get a pretty owl, if you wrap three of its edges and cut out the eyes with a spout.
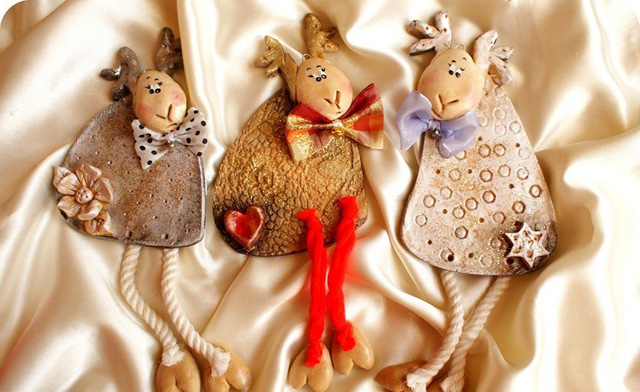
Master class for the production of voluminous lamb


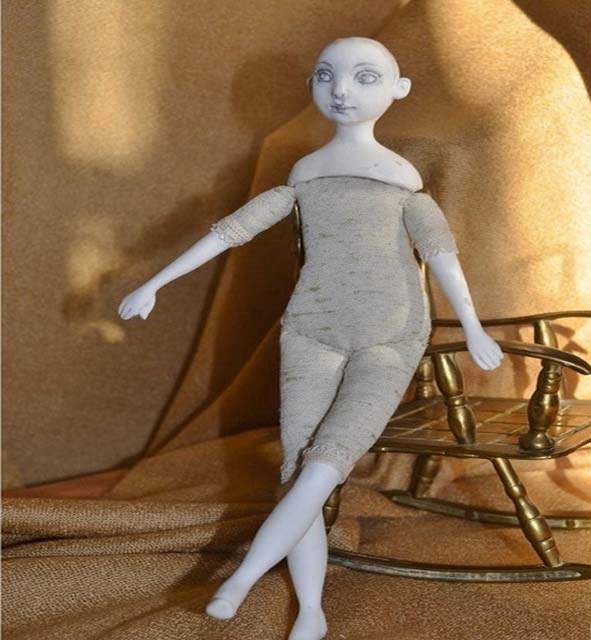

 The materials and devices needed to create such a funny lamb will need the same ones as in the previous master class.
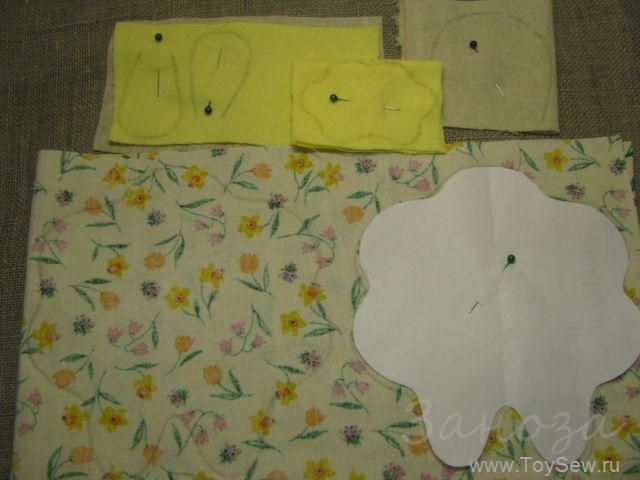
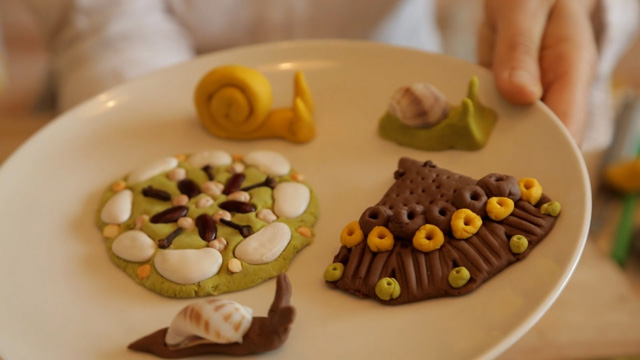
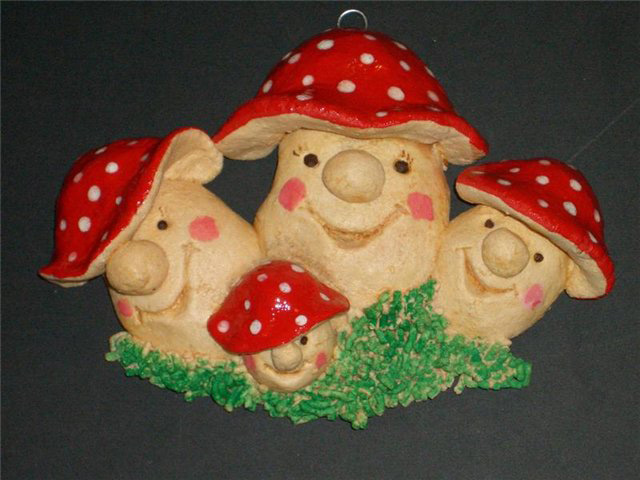
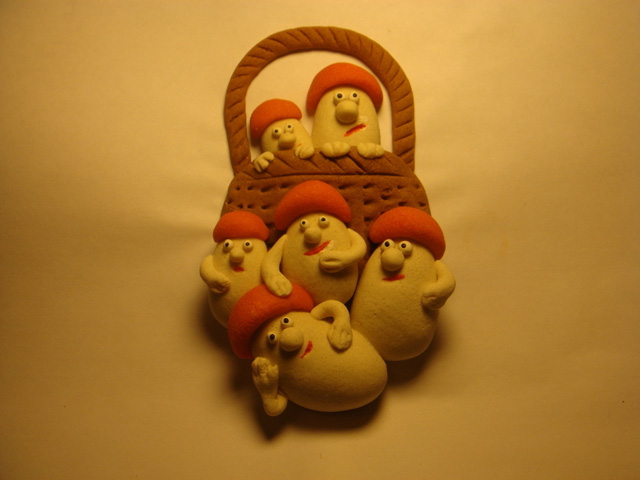
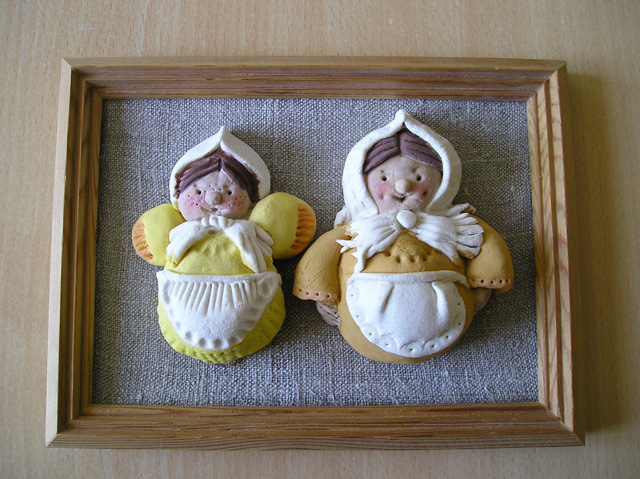
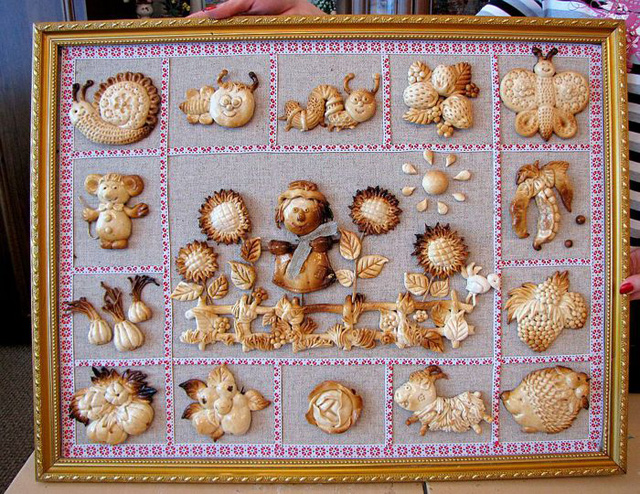
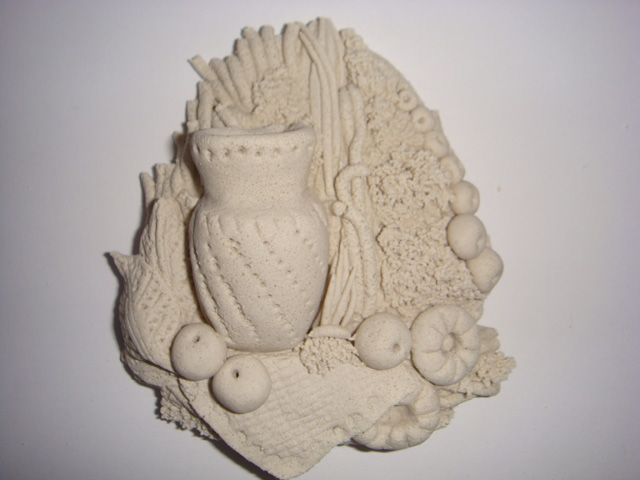
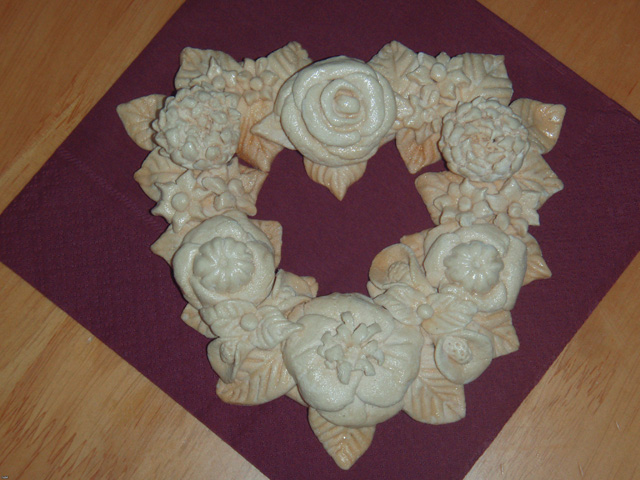
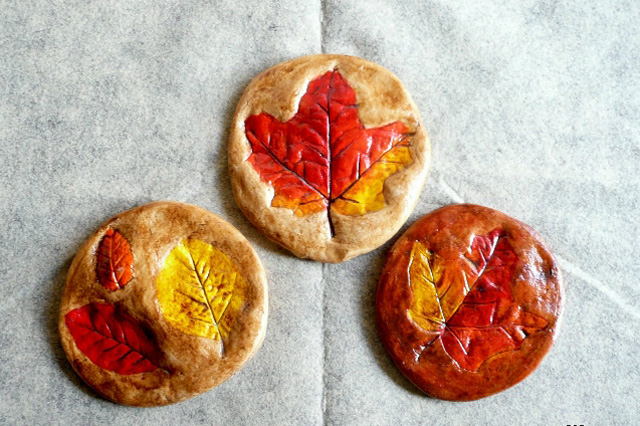
The sculpture of voluminous panels and pictures of salt dough
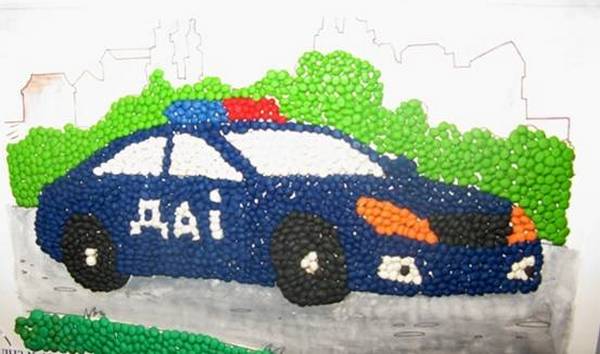 As a rule, pictures are salteddough according to the following recipe: one glass of salt and flour, 1 tbsp. water. Beginners are best used in the picture a small amount of salt figures, decorating the rest of the space with decorative materials. Salted parts perform best on foil, so that their back surface is perfectly even and easily glued to the picture field.
  Possible problems for beginners in the manufacture of crafts from salt dough
Comments
Related posts:
 Master classes: Angels from salted dough. Video / Toys with own hands, patterns, video, MK
 A beautiful panel for a salted dough kitchen. Master class with detailed descriptions and photos for beginners.
 Crafts for children from salted dough: pie with berries for the 2015 contest, modeling from the test
 Felting lamb master class / Toys with their own hands, patterns, video, MK
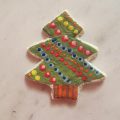 Step-by-step master class will teach you how to make a herringbone of salty dough with your own hands