Motanka do-it-yourself doll: master class
 Motanka doll, or nodular doll, receivedThis name is due to a specific manufacturing technique. In creating such a talisman, a needle is not used, and all parts are wound with each other by a thread. Another feature of this pupa is the absence of eyes, mouth, nose. On the face - the sacred cross. In order for a self-made motanka doll to be real, it is important to provide it with all the necessary elements. Each such element is endowed with a certain meaning and must necessarily be present in the finished doll. So, the skirt is a connection to the ground. The shirt symbolizes the connection of past, present and future. Headdress denotes a connection with heaven and god. All sorts of decorations are welcome - they symbolize fertility and wealth in the family. It is believed that the motanka doll in the house is a charm that protects the family from unclean forces, as well as bringing good luck and wealth. Our master class describes how to make a simple motanka doll.
To make a doll-motanka, you will need the following materials:
white cotton fabric cut; linen fabric green; lurex scarf; embroidered ribbon; thin ribbons (white, yellow, cherry, green); white thread; cotton wool; scissors. 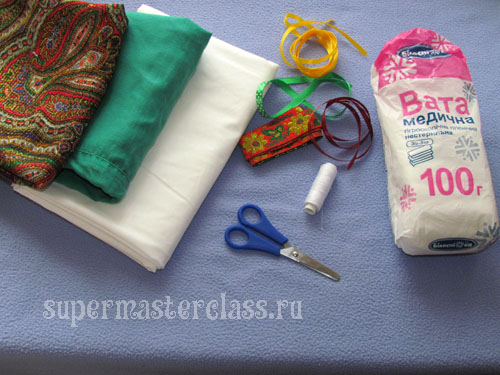
Motanka do-it-yourself doll: master class
We take a piece of white fabric with a size of 25-25 cm. In the middle of a piece of fabric, put cotton wool and form a ball out of it - it will be the head of a doll. We collect the fabric around the cotton ball and fasten it with a thread, winding it tight around the fabric. 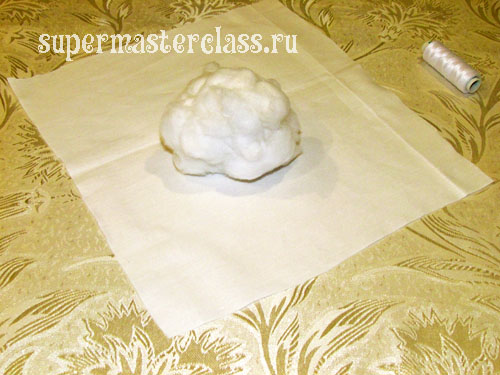
 On the face do a cross. For this you will need thin ribbons of white and cherry flowers. We take at first a white ribbon, clasp our heads horizontally, then draw them vertically and fasten it on the back of the head. We also tie a cherry on top of a white ribbon. It makes sense to take a cherry ribbon somewhat narrower than the width of white. As you can see in the photo, the ends of the tapes go into the winding of the head - you can thread the tape under the existing winding, or you can wrap the tapes with another piece of thread.
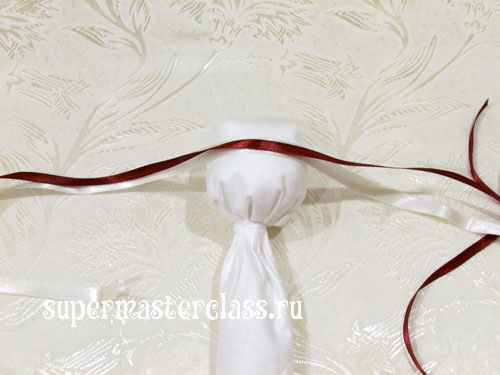
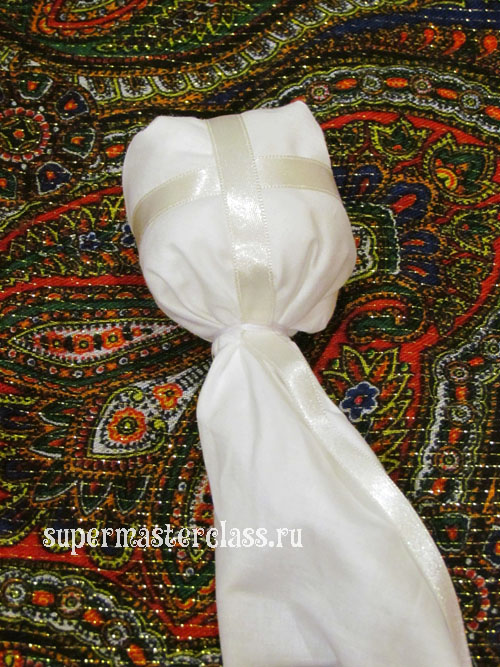
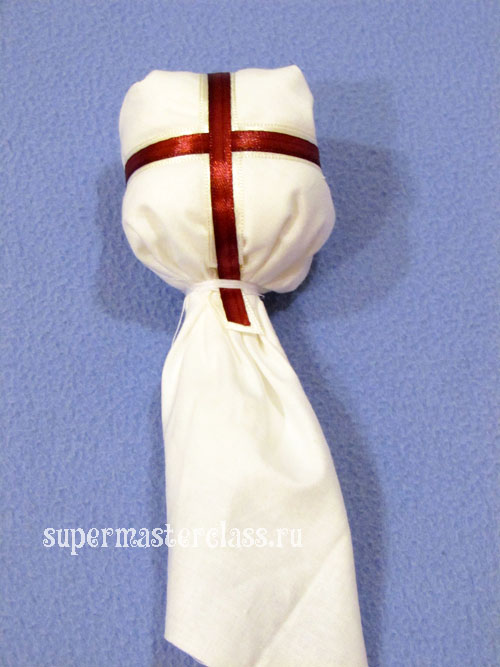 Here is a beautiful face turned out to ourmotanki. This design method is called a sacred cross. Making a pen handle. To do this, from the same white fabric, cut two flaps measuring 15x15 cm.
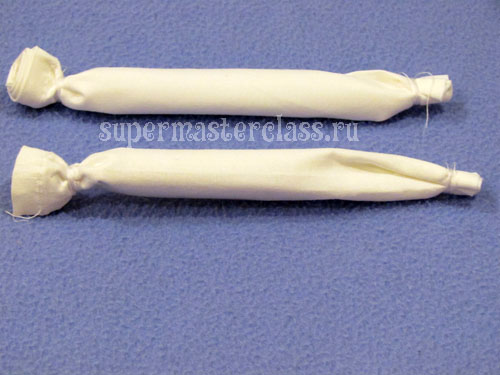
 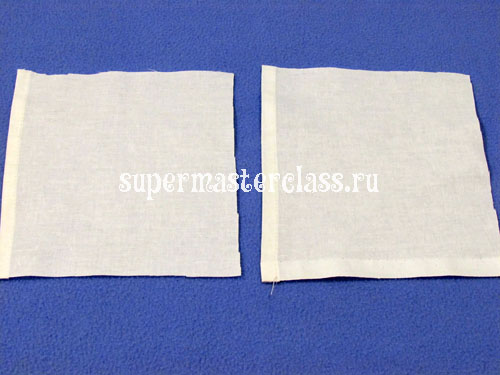 Each flap is twisted into a clean roller and fixed with a thread, wrapped around the edges, top and bottom, slightly retreating from the edge of the roller.
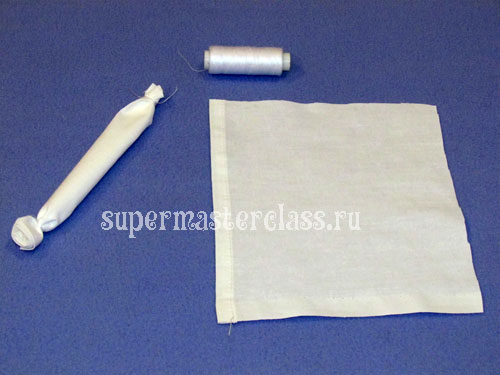
 We form the basis of the doll. You will need a cut of fabric with a size of 30x60 cm. Place a strip of cotton wool on it and fold the flap into a roller.
 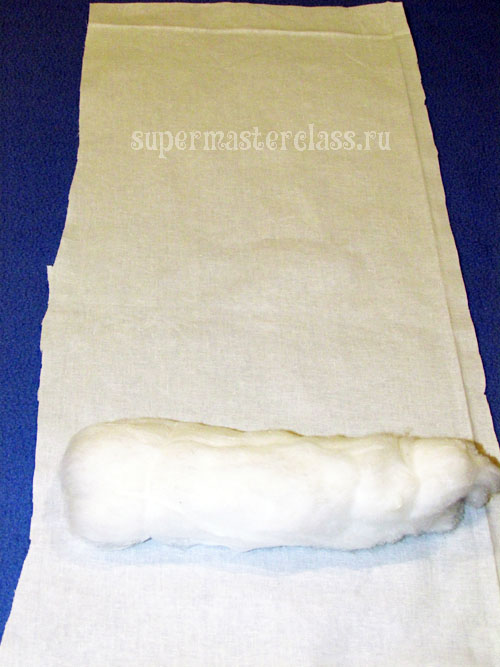 Tightly wind the roller along the entire length of the roller.
 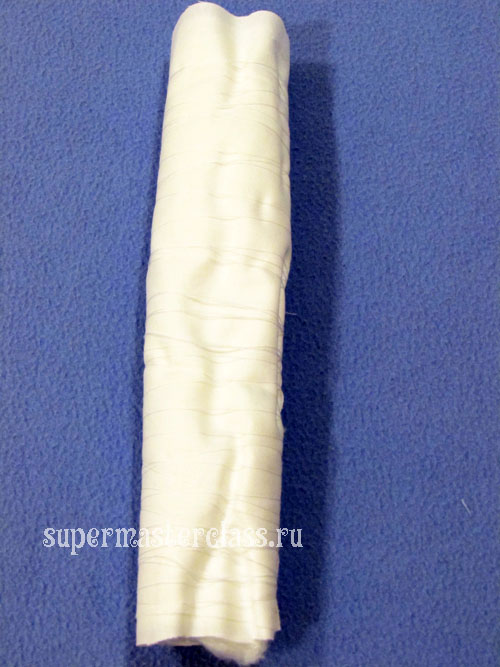 We straighten the flap of tissue below the head, insert the column-base inside and tightly wind it around the base. It turns torso head.
 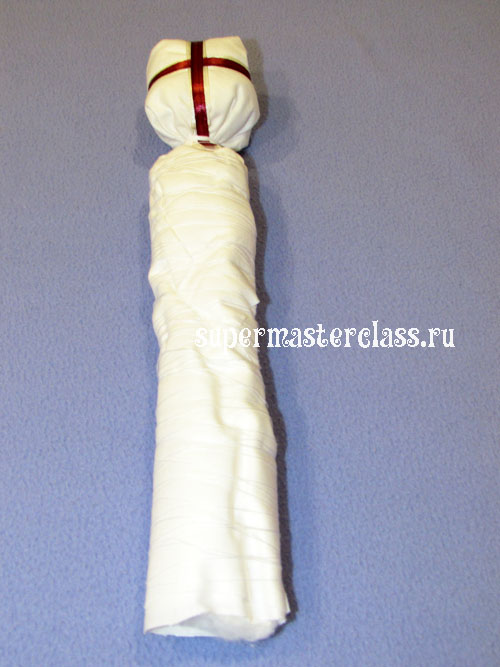 Then both pens are wound around the neck.
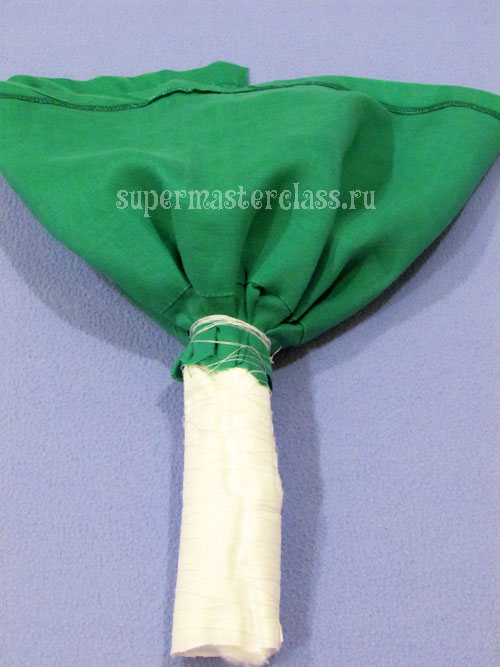
 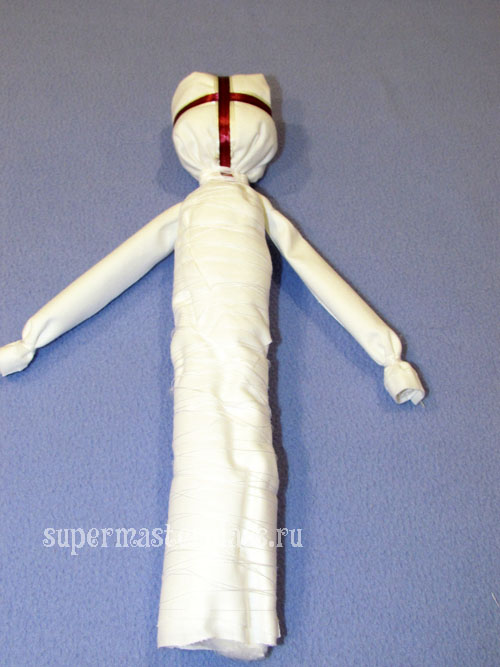 We cut out a skirt. For it, you will need a linen fabric size of 30x50 cm. The fabric is placed on the wrong side up in the “waist” area so that the skirt covers the face. With our hands we collect the edge into the accordion around the “waist” and tie it with thread, as shown in the photo below.
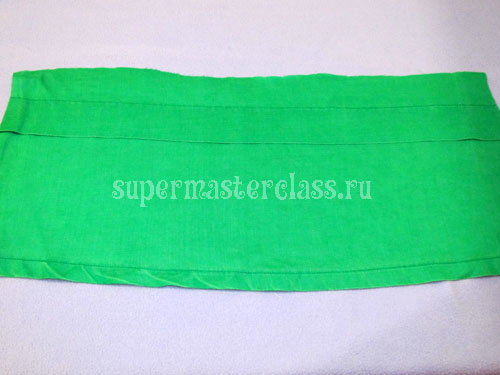
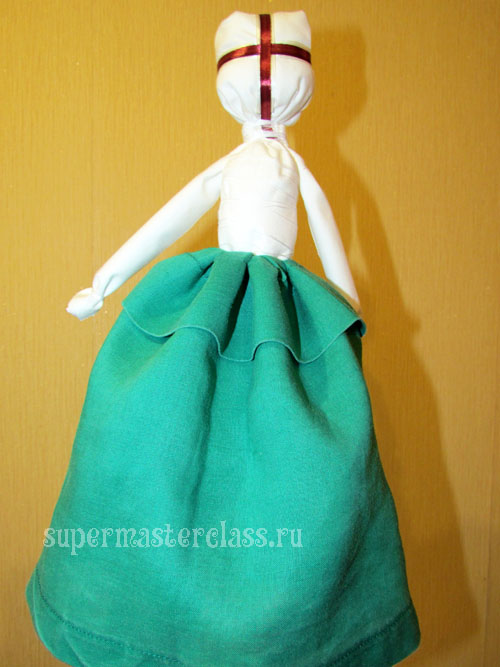
 We lower the skirt down - it is ready.
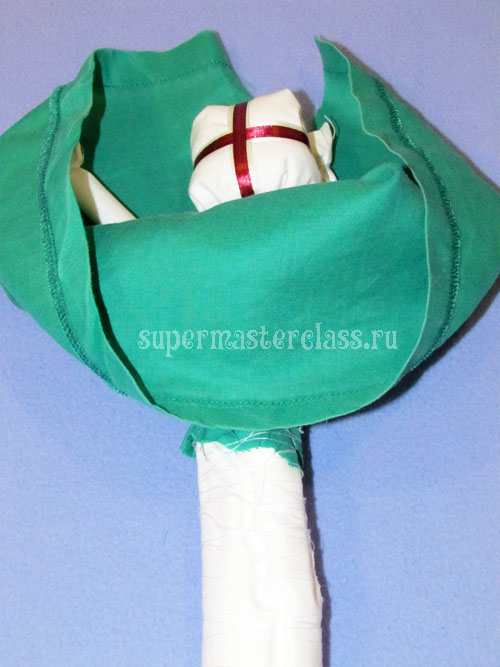
 Making a shirt. For her, we cut off a strip 6 cm wide, wrap it around the back of the neck and crosswise in front. We remove the remnants of the bands under the arms, laying the edge inward. Fix the thread, winding it around the doll.
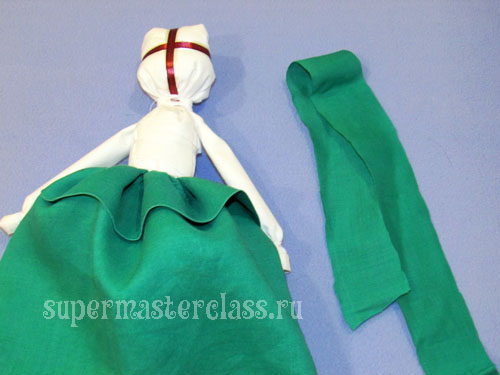
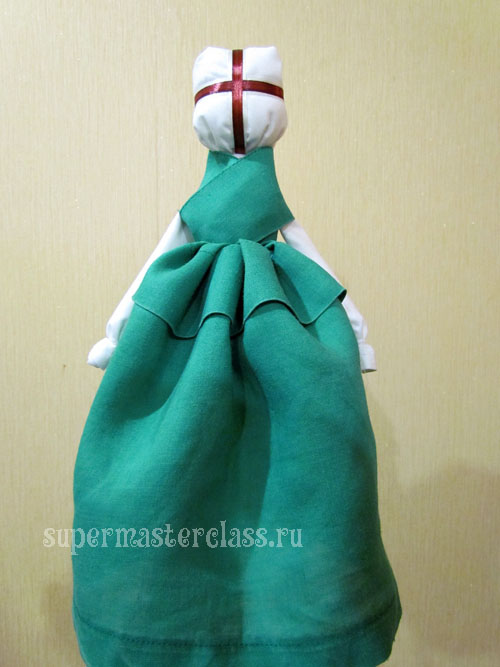 To visually separate the skirt and shirt, at the waist we tie a colorful ribbon.
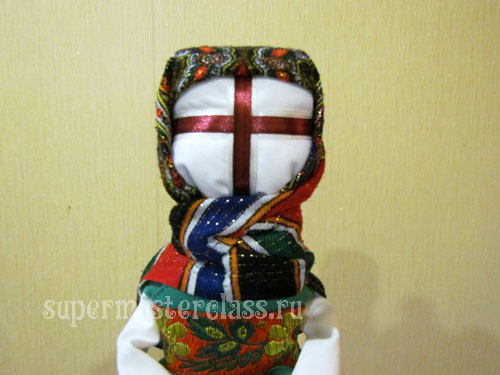
 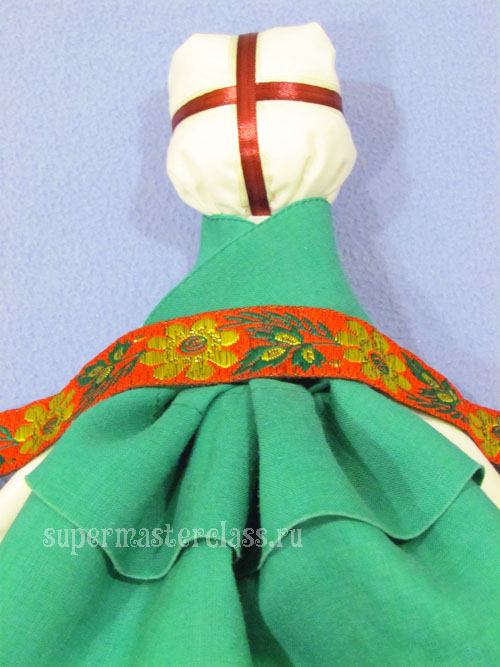 For a scarf, cut off a triangular piece, and tie it on the head, around the neck. Fix the back of the node.
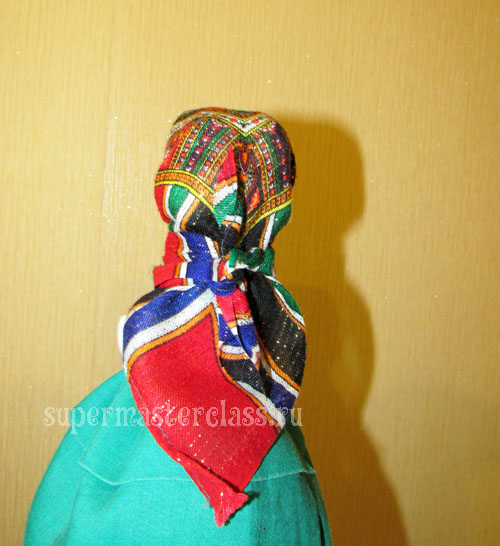
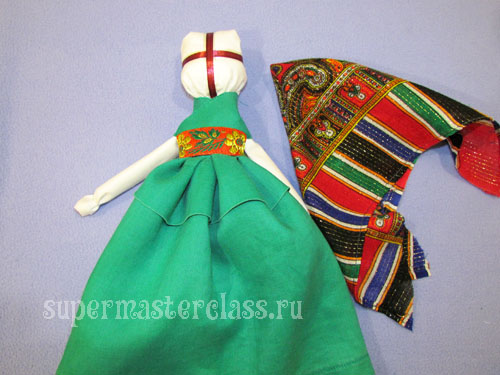
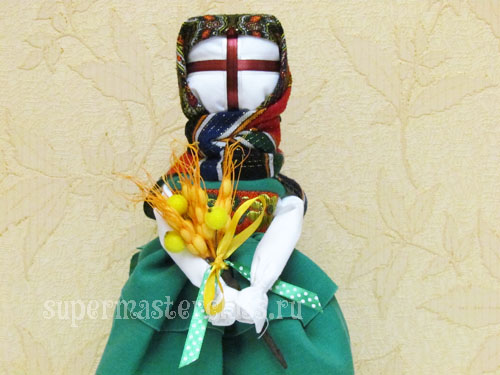
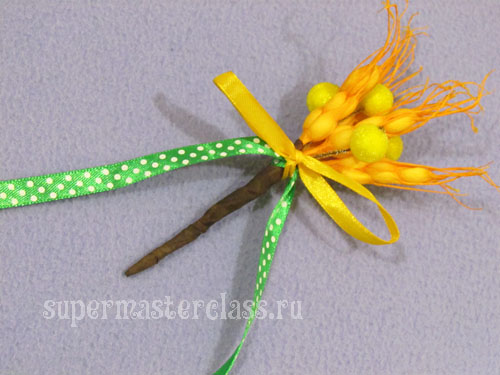
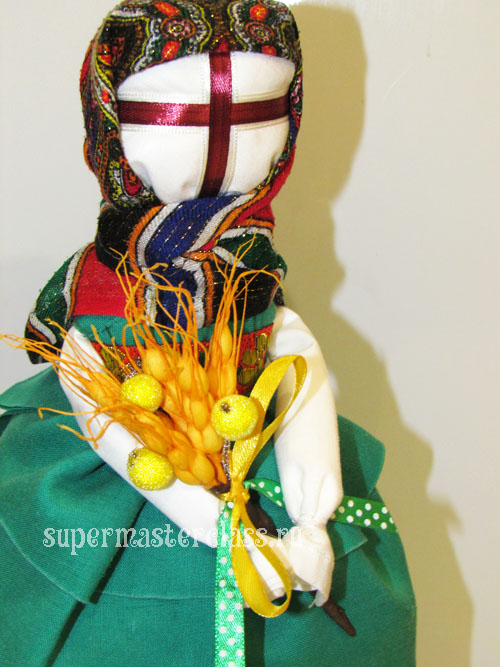
 We decorate a motanka doll: spikelets and sugar viburnum are wound with a tape-tape, on top we tie a bow of yellow and green tape. And we fasten with thread our bouquet in beregini handles.
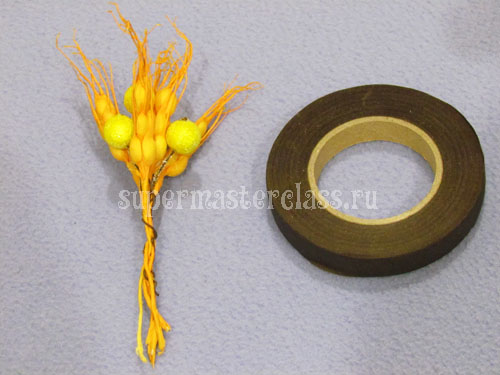
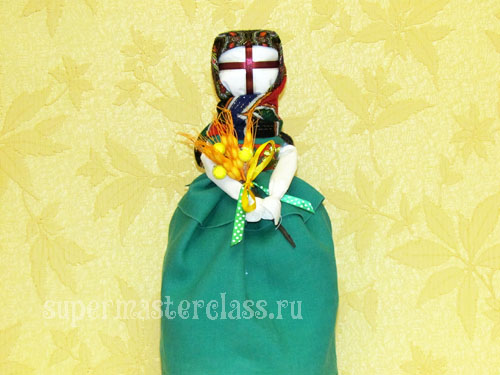
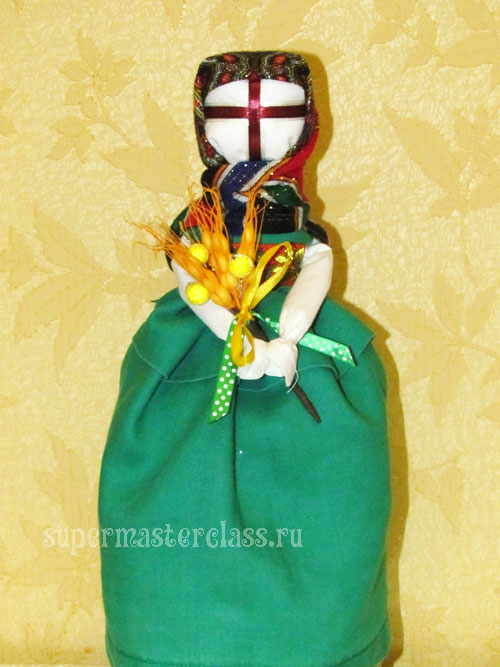
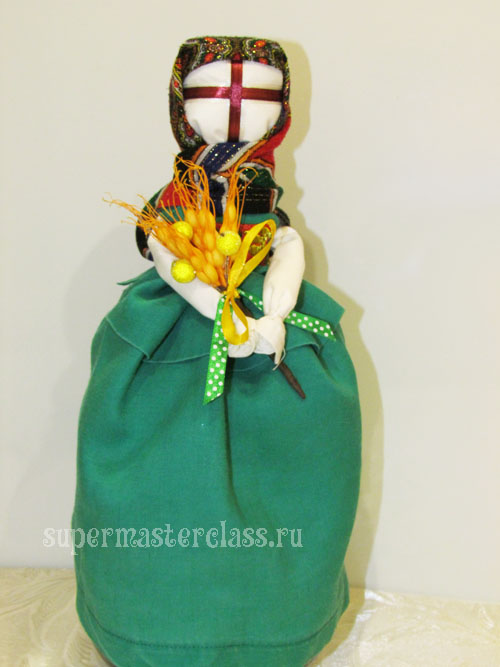 A self-made motanka doll made in our master class is ready. Now your home and family will be well protected.
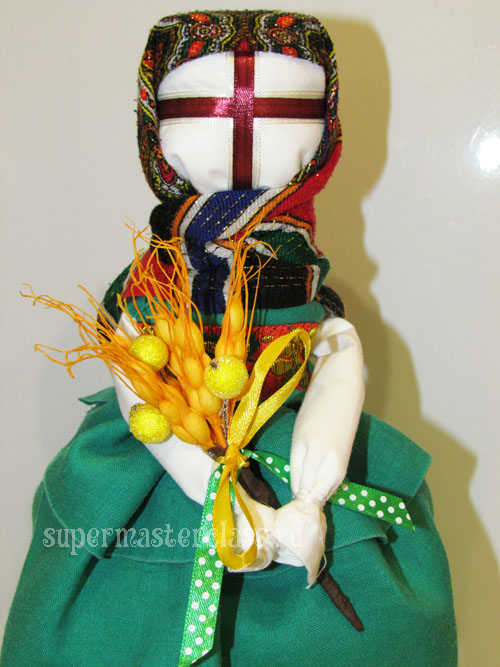

 Irina Usovich specifically for the site Previous article: Next article:
Comments
Related posts:
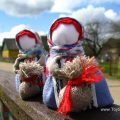
 Create your own wards, according to our master class, a doll-travnitsa is made, or else a motovka doll.
 Doll protects plantain master class, photo / Toys by own hands, patterns, video, MK
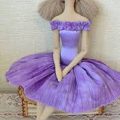 Doll tilda dancer with her own hands, master class / Toys with her own hands, patterns, video, MK
 Buratino with their own hands, wooden doll master class / Toys with their own hands, patterns, video, MK
 Doll made of polymer clay with their own hands, master class / Toys with their own hands, patterns, video, MK