Pearl bead from polymer clay own hands - master class
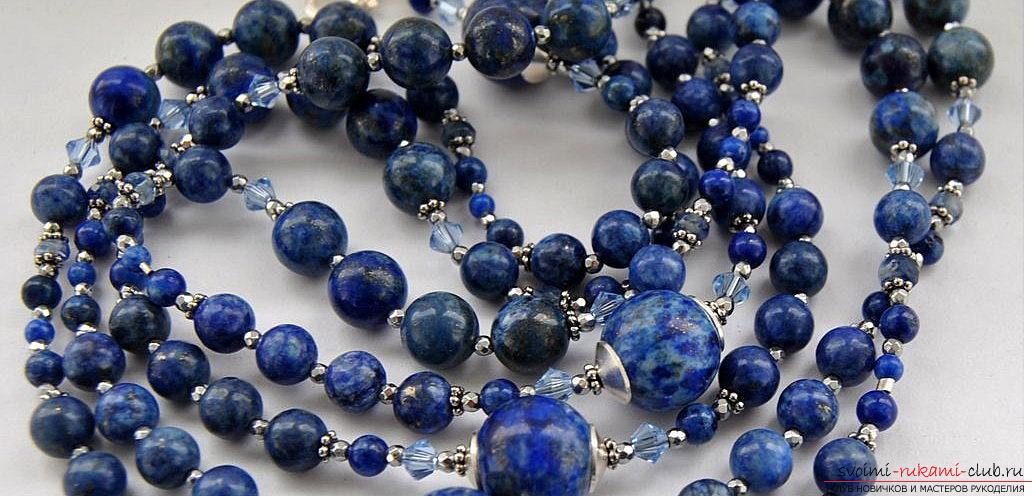
Lapis lazuli is a very unusual material, which was popular with many women of fashion. Therefore, zaimet own beads made of this material - will be an interesting task.
Pearl bead from polymer clay own hands - master class
 On the one hand, this will help improve the skill of needlework. On the other hand - an excellent opportunity to make a gift to a loved one or yourself!
 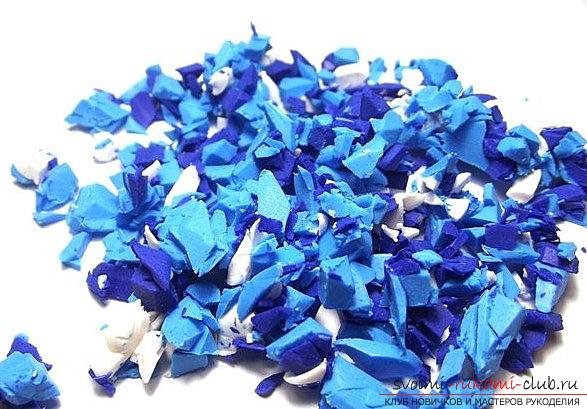 We need some material, with which we will try to recreate our lazurite version of beads:
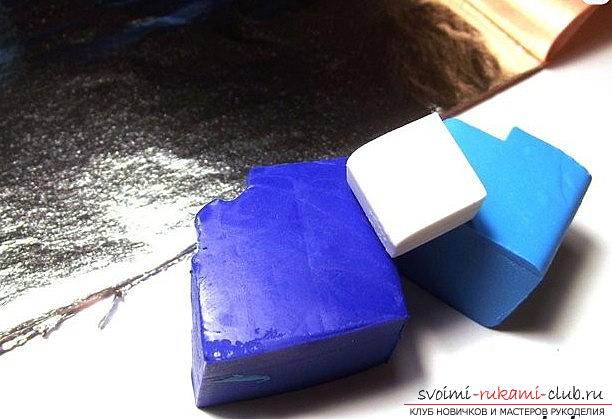
- It is necessary to take polymer clay. We take it in a variety of colors - blue, blue, white and purple.
- We use the potal of the colors of silver and gold.
- Board for work on polymer clay
- Knife for clay
- Beads (different shapes)
- Roller (Pasta machine)
- Lacquer
Formation of polymer clay 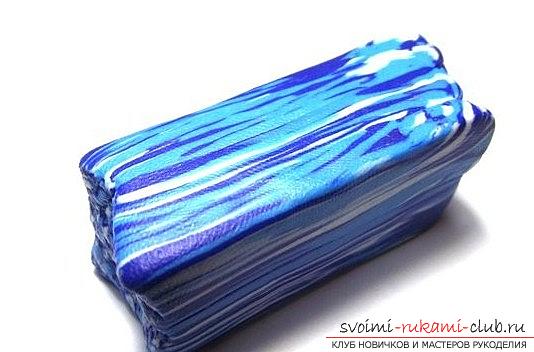 So, for starters, you need to rubpolymer clay with the help of a grater (with a coarse grinding). Also, you can use a knife to cut our product in small pieces. Pieces must be gathered together, and then, pulled out in the form of sausages. As you will notice, our colors will mix.
 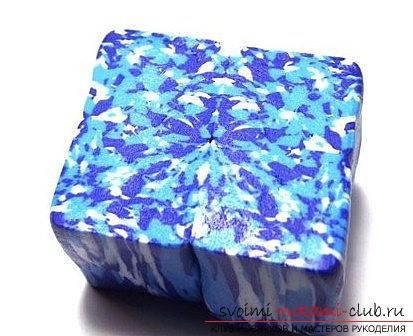 During work, try to combine colors as much as possible, but do it as smoothly as possible. Ideally, if the sausage will have smooth, but partial color transitions.
  Create sausage! The sausage should also be divided into 4 equal parts. Then, it again needs to be collected. The drawing should turn out to be small, so we will have a very plausible version of the product. Then, using the main layer, we make the rolling of our drawing, using thin sections. When we get a picture, we need to load a small amount of potassium on a tool or hands, and then - to spread on our product.
 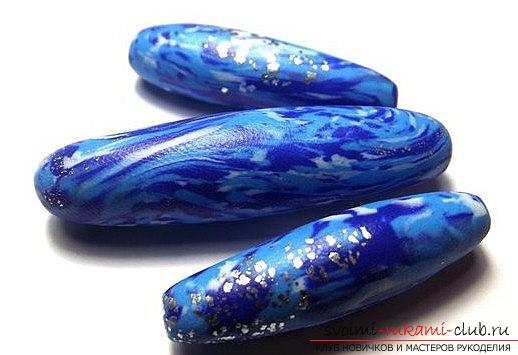 Pearl beads - the process of creating After,Plastic should be rolled up using a paste machine. As a universal tool can also come up with a rolling pin. Thus, the sheet will become flat, and no distances will be seen, which may be before cuts. Round forms of workpieces in this case - the best option for work. Using a base in the form of a bead, we fix it with the help of our base. In addition to round beads, we can also use beads in the form of squares, triangles and other options. End of work
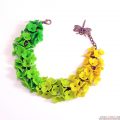
 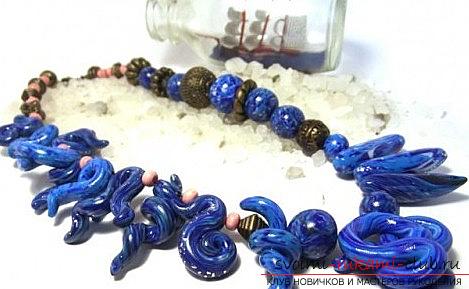 Next, beads must be burned in the oven. We set the temperature at 130 degrees and wait 20 minutes (or another amount of time, depending on the material). Then, beads need to be covered with a varnish! At the end of work, using a small winding of rubber bands, as well as fixing materials, we form a necklace or an ornament on the arm - a bracelet. You can also make a chain of beads.
Comments
Related posts:
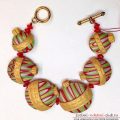
 How to create a bracelet of polymer clay with your own hands, master class with a photo.
 We make a gradient of polymer clay with our own hands - a lesson and a master class with a photo
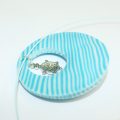 This detailed master class with photo and description will teach how to create with your own hands a set of jewelry made of polymer clay - a pendant and earrings with a turtle.
 This detailed master class contains the technique of working with polymer clay and will teach you how to make Keynes and beads from polymer clay.
 Christmas tree beads made of polymer clay for New Year's holidays - master class sculpting