Bead necklace with own hands and patterns of weaving (photo)
Content
- Master-class on the creation of a simple necklace of beads
- Schemes for weaving necklaces
- Necklace of beads with a flower motif
- Video: Plait of Beaded Necklace
Very stylish, fashionable and beautiful decoration isNecklace of beads, which you can make by yourself. Such a thing can be original, exclusive and unique, at the same time it can not be interwoven, it is enough to use a photo of the scheme of weaving, or lessons in the video format, which are in sufficient quantities on our site, and they are understandable and accessible even for beginners.
Originality and uniqueness can be achievedWith the help of interesting color combinations. Beading is an activity that will allow you to show your imagination, attach your hands to creating a fashion accessory.
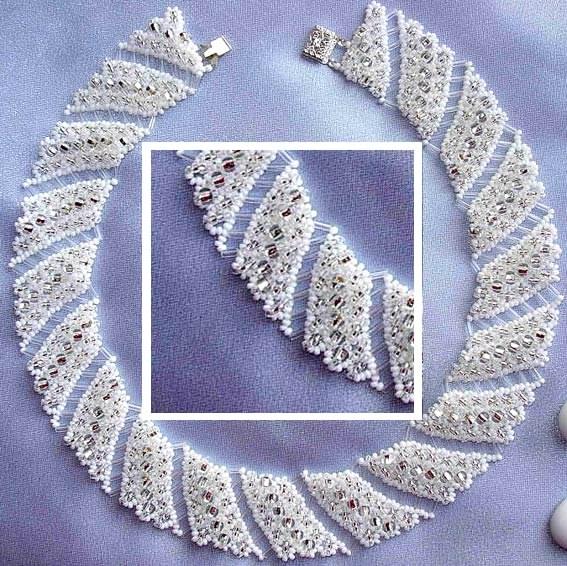
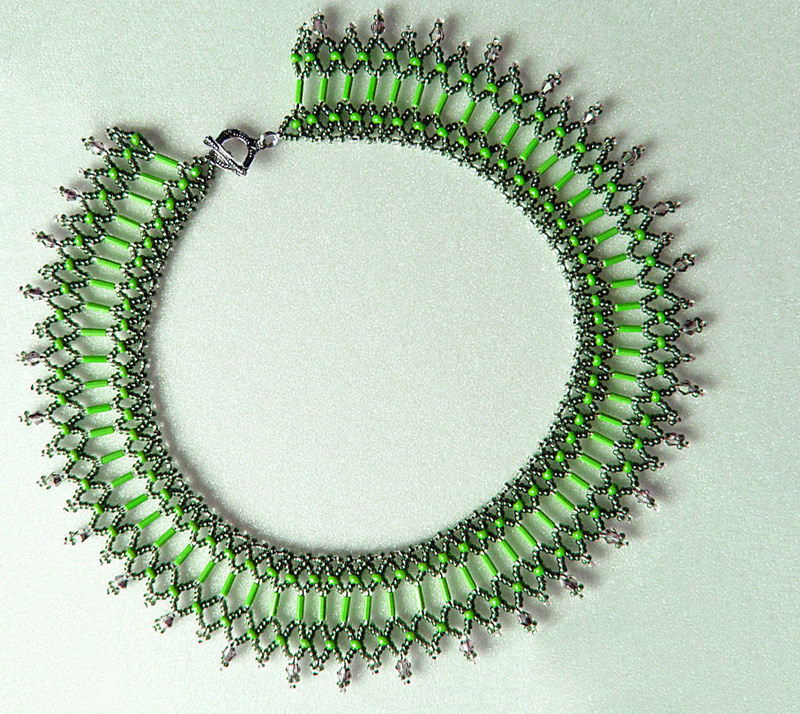
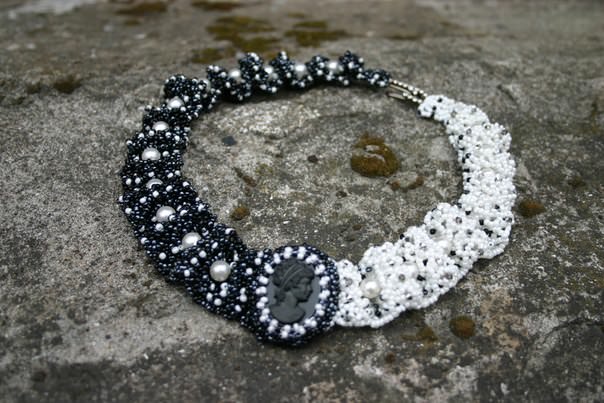
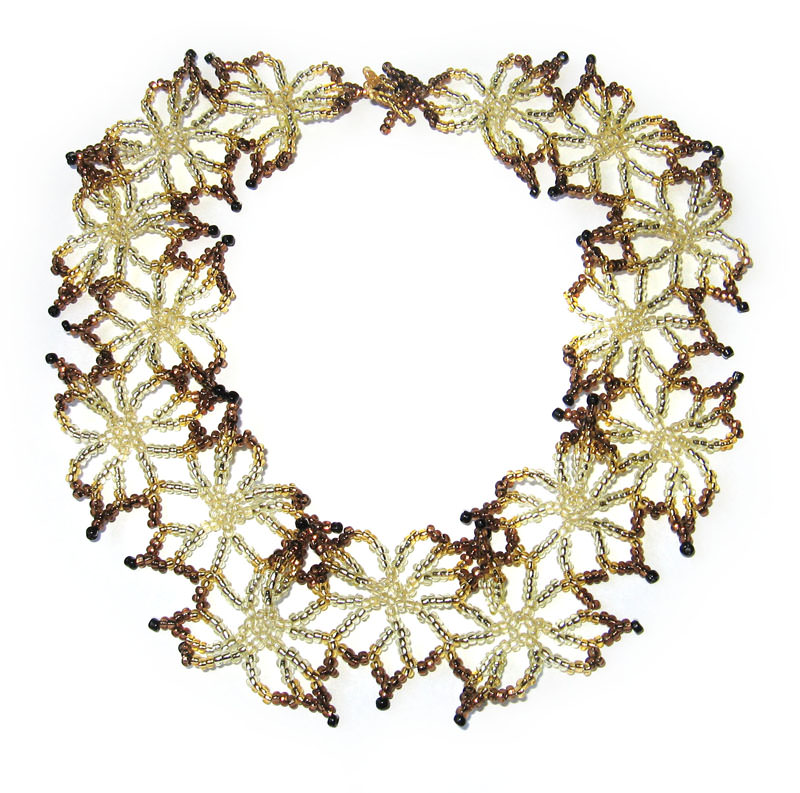
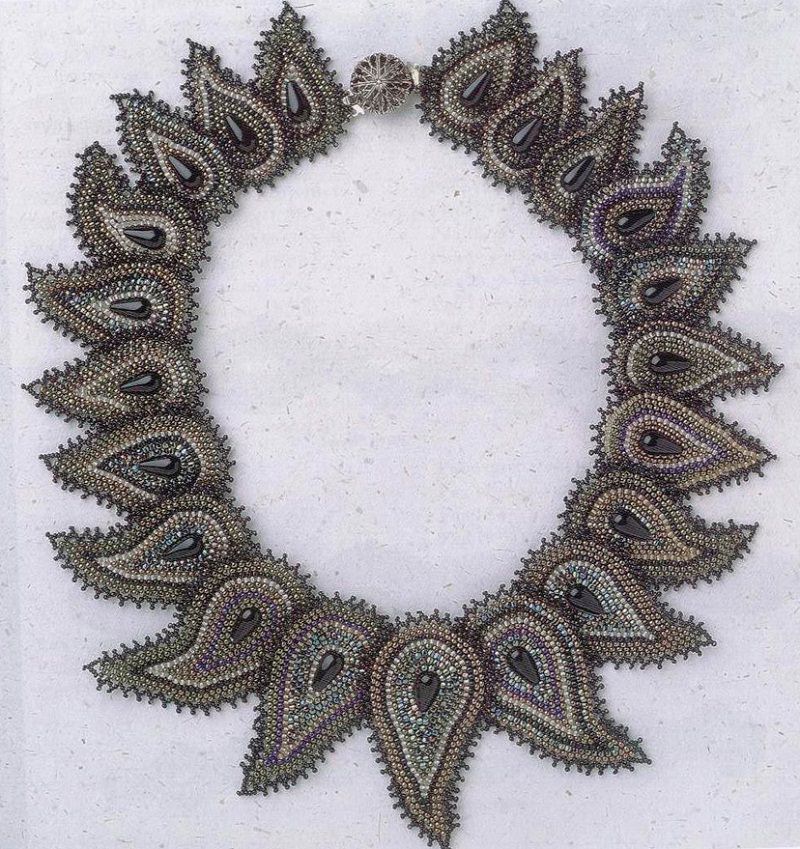
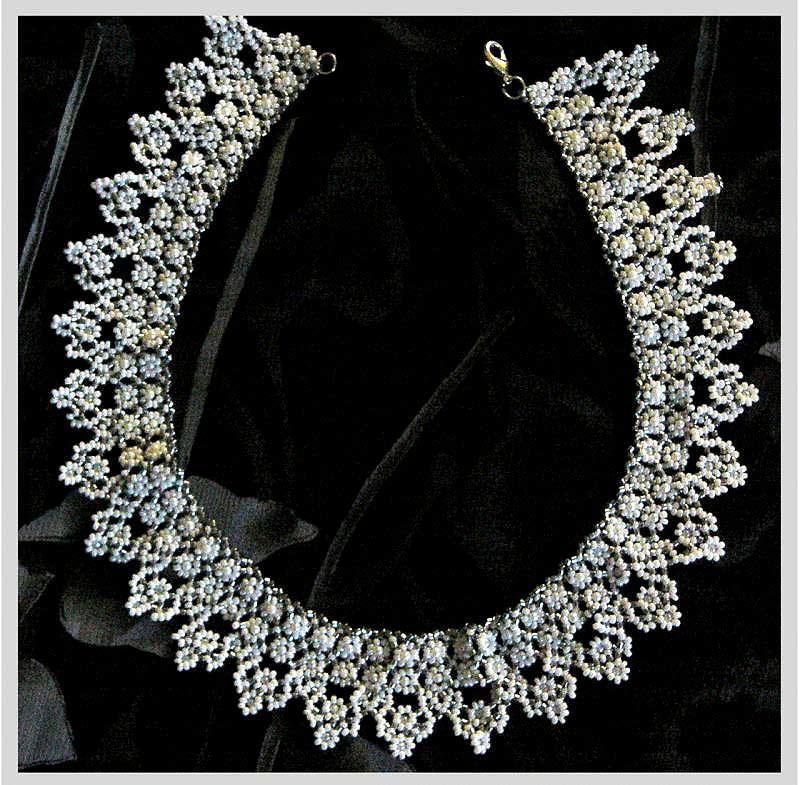
Master-class on the creation of a simple necklace of beads

The first master class is dedicated to how to make by yourself a very beautiful necklace of beads from interwoven threads with beads strung on them.
To make this decoration, we need the following materials:
- Beads of two colors;
- Thread for stringing beads;
- needle;
- End pieces in number of two pieces;
- Rings for attaching to the fastening product;
- Pins - 2 pieces;
- clasp.
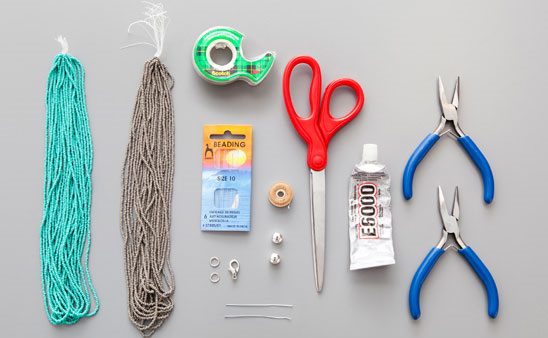
And also we will need to take advantage of such tools while working:
- scissors;
- glue;
- Scotch;
- Nippers;
- Round pliers;
- pliers.
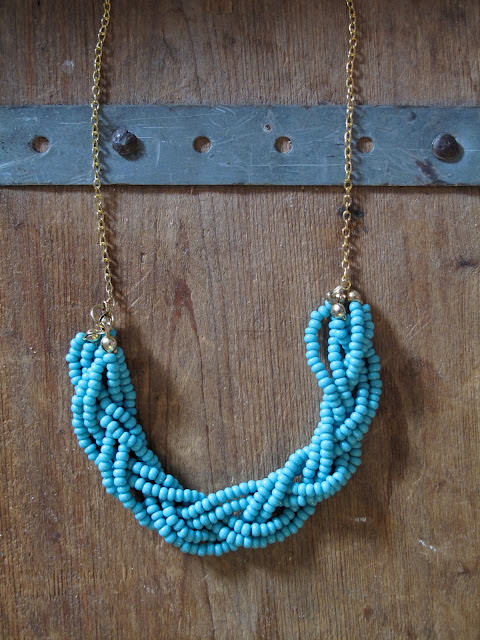
At the first stage of work it is necessary to make workpiecesFor our future necklace of beads. To do this, you need to thread beads on the thread, you should end up with exactly 6 threads of each color. The photo shows a necklace of beads of turquoise and gray colors, you can also choose colors to your taste, so that the product fits the specific objects of your wardrobe.
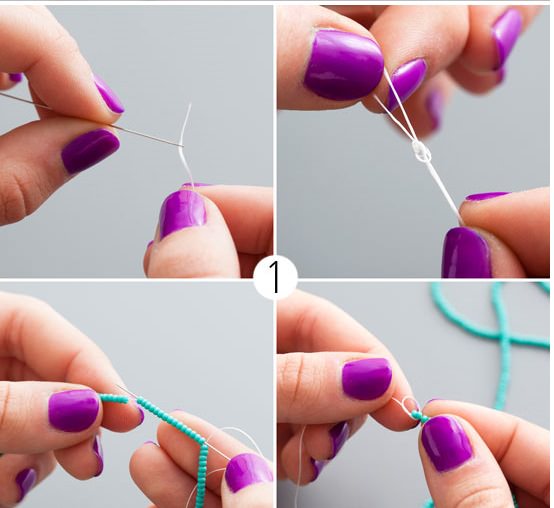
All six threads must be the same length, the length can also be chosen at your own discretion, based on your own preferences, as well as the style of the outfits with which you will wear it.
The optimal length of each thread is 76 centimeters, so your decoration in the finished form will be of medium length, not too short or too long.
In order for the following stepsWork beads are not crumbled, you need to fix the ends of each thread, for this in the bead the bead is threaded again and tied to a knot, you need to make sure that the tails are of sufficient length to be beaded in the next stages and to fasten the buckle to our fashion accessory . The ends need to be tied together, and then fixed to the surface of the table on the scotch, so it was convenient to work on.
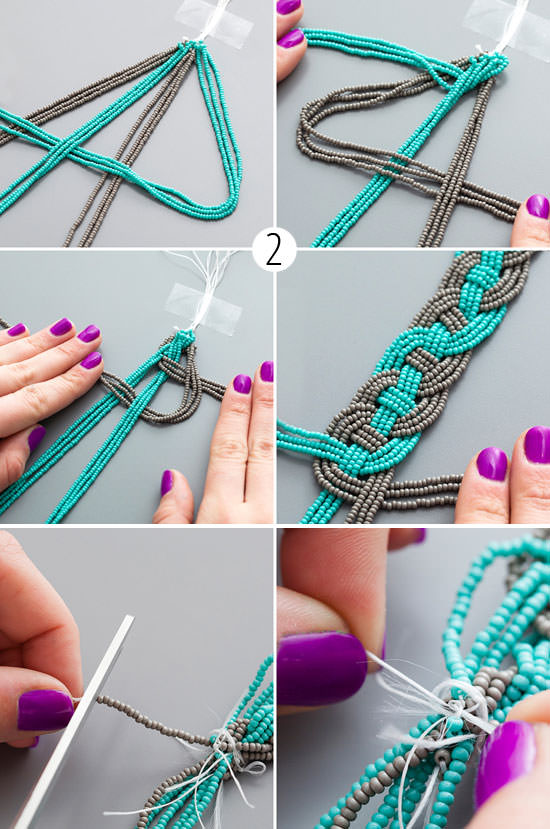
Now it is necessary to divide our workpieces into 4 groups, in each of 3 threads of the same color, the groups must be alternated with each other as shown in the photo of the scheme of weaving.
Now we begin to interlace the threads. You need to take three right-hand threads and hold them over the second three threads, and also under the third and fourth. The work is executed from right to left. Now, too, you need to do the same thing with the three extreme left threads and skip them from left to right over the second three, under the third three and over the fourth. And so it is necessary to interlace the rows to the very end of the threads. The previous photo of the weaving scheme clearly shows how it is necessary to do this. During work, you can try on your necklace of beads to determine the length of the product.
The next step is to fix the product so that the weaving is preserved. To do this, you need to do the following:
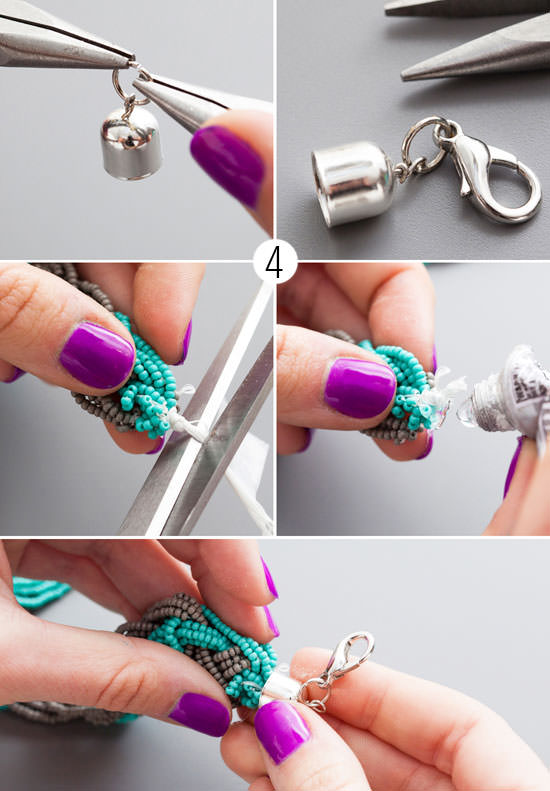
When the article is fixed it is necessary to makeBuckle. To do this, a special cap is put on the beads and a pin is inserted into it, which must be adjusted to the length - remove excess with the help of clippers and leave only the tail that will serve as a loop for attaching the buckle. The loop is made with the help of round pliers. Now the rings are attached and one of them is fastened with a lock. Now it only remains to cut off unnecessary threads, so that your creation looks beautiful and neat. For reliability, you can drop a little superglue on all the nodules.

Your fashionable, stylish, exclusive necklace that you made with your own hands, using completely uncomplicated schemes of weaving - it's ready!
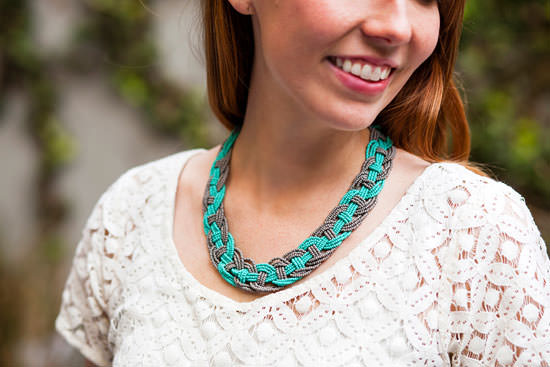
In the photo we see the result of our work. For a summer wardrobe very opportunely it will weave such a necklace of beads and beads.
Schemes for weaving necklaces
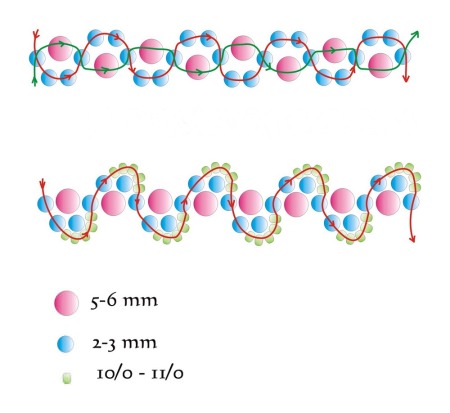
Before you start anotherMaster class, we suggest that you familiarize yourself with the different patterns of beadwork patterns for necklaces that in the future can inspire you to create your own unique decoration.
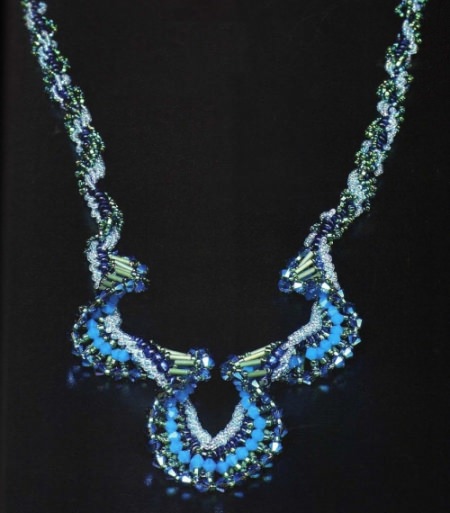
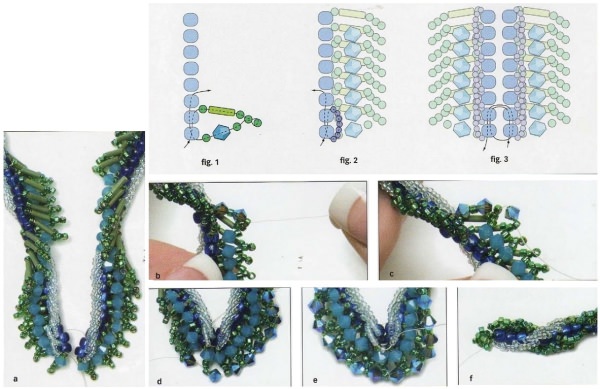
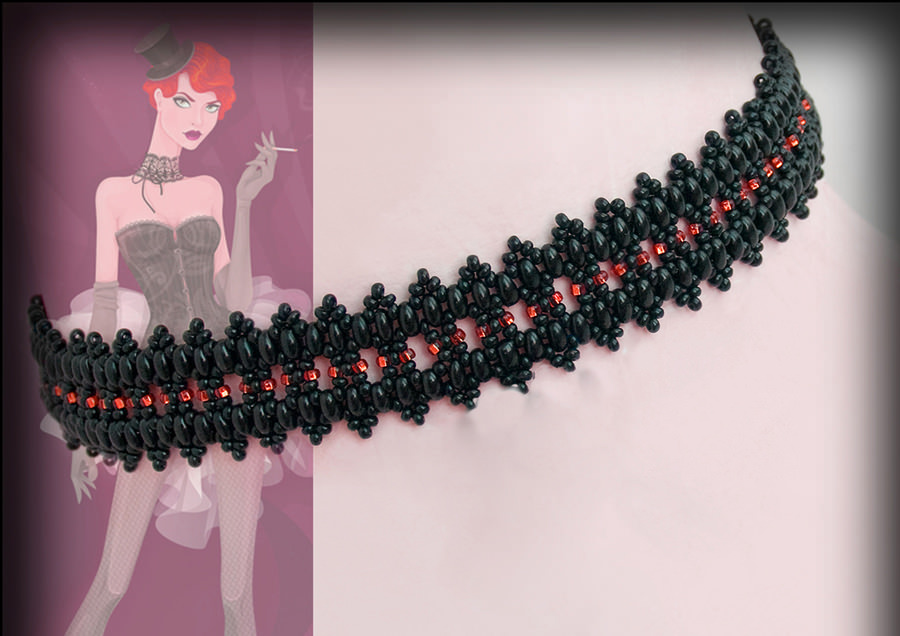
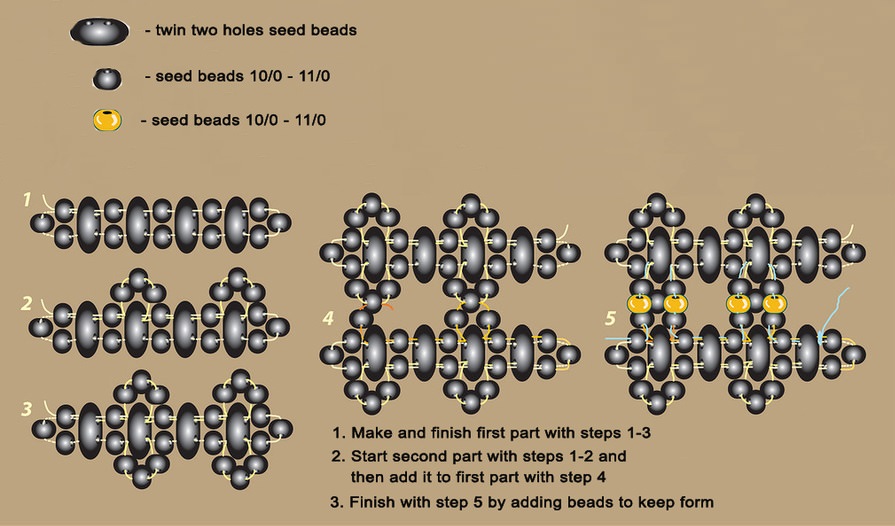
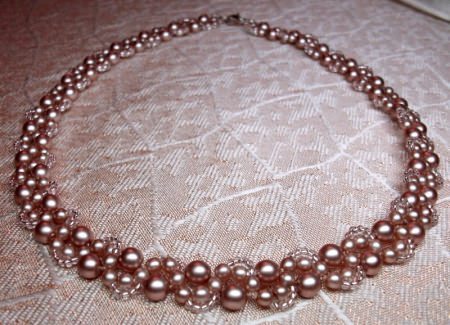
Necklace of beads with a flower motif
Beading is a way to distract from cares,Relax, calm down and at the same time make an exclusive decoration that will only be with you and which you will do according to your taste and under your wardrobe. Such accessories are very stylish, bright, fashionable. Decoration of beads will look perfect with summer dresses of almost any colors.
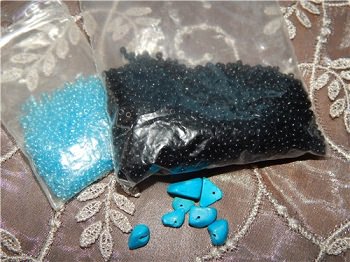
In order to do this yourself, you will need the following materials and tools:
- Turquoise beads small in size;
- Black small beads;
- Large black beads - several pieces;
- Turquoise (pebbles) are asymmetric.
- Silver colored fastener;
- Light threads;
- Two needles, designed for work with beads.
- We can use the weave patterns.
Let's get to work. This method is also like starting masters.
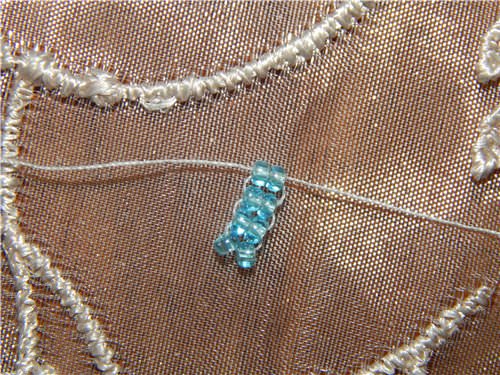
First you need to measure the thread lengthChoose at your own discretion, such that it would be convenient for you to work with it. The thread is threaded into the needles, both ends of it. We take beads of turquoise color. String two beads and place them on the center of the thread, then string two more beads of the same color and draw through them a thread with a needle from the opposite side. The thread must be tightened well, but not too tightly, so that it is not over-stretched and the beads are not collected in a ball. As a result, you should get a square of 4 beads - 2x2. Now add two more beads and pass through them a needle from the opposite end of the thread. Next, we continue to add pairs of beads, which must be very tightly pressed against each other. During the work you will help the use of the scheme of weaving.
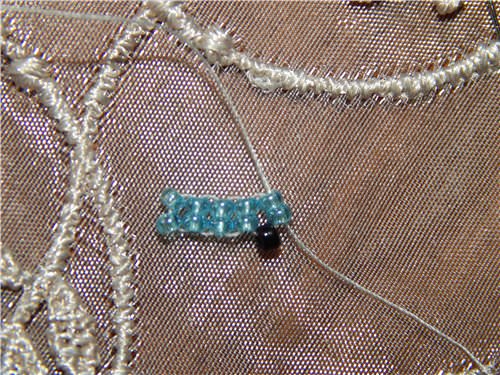
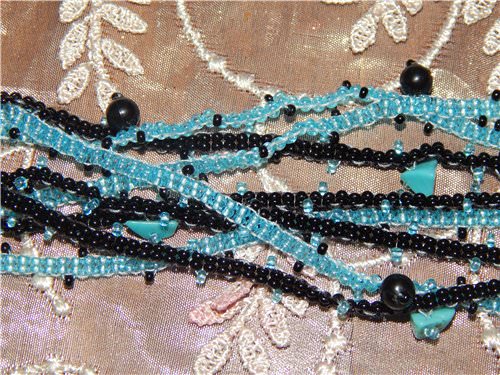
During the weaving of chains of paired beads,You need to add ornaments on the side of the product. To two turquoise beads to string on the third edge - black. But the needle must be carried only through turquoise beads. The side part will be in black beads - creating a certain contour. It is better to decorate with black beads not every row, but use one bead of black color for every six pairs of turquoise beads. So you need to decorate the whole product.
That the decoration was more voluminous and colorful,In addition to black beads, large beads of black color can be used along the edges, attaching them to strips of turquoise beads, and large turquoise - weaving to strips of black beads. But turquoise (stones) should not be too much, otherwise the product will look tasteless, it will be heavy, and the base of the beaded will hang ugly ...

In general, you will get 8 beaded strips - 4 of which will be turquoise and 4 - black. If you want the decoration to be more voluminous, then you can increase the number of bead strips.
At the next stage of work these stripsIntertwined with each other, you need to try to make it look as much as possible confused with each other, so your fashion accessory will be even more beautiful and intricate.
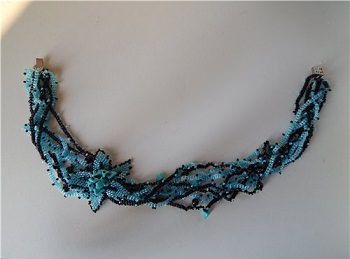
Now let's start weaving the flower. We take a thread 30-40 centimeters in length, we weave 5 petals from a turquoise bead with black beads around the edges. Then the petals are sewn together, then the flower is ready to be sewn to the decoration itself. In order to make it easier to correctly perform the weave, you can see the photos of the scheme.

Scheme of weaving a flower petal 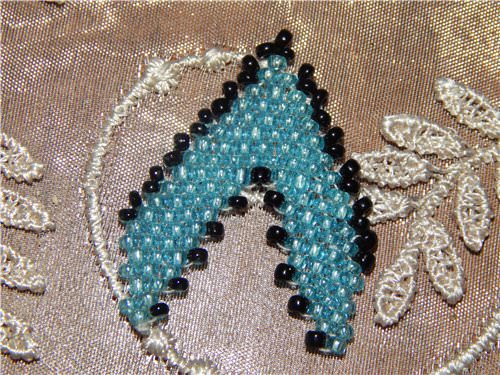
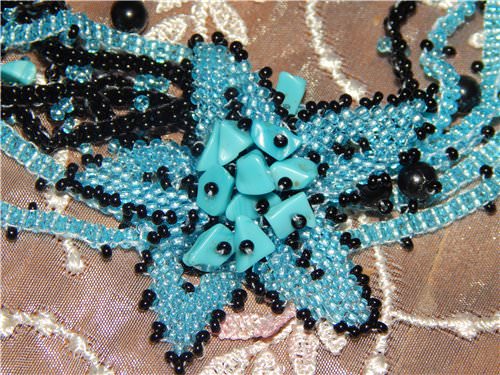
After that fasteners fasten, on the same principle, as in other ornaments of a similar type.
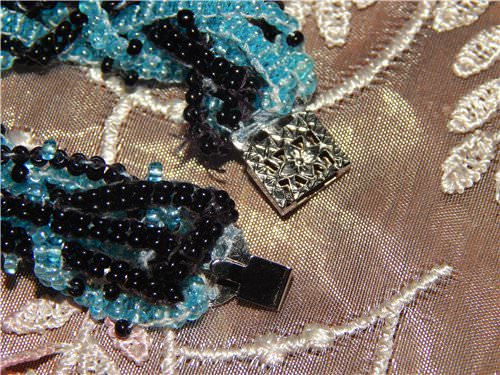
The beading of this product is now complete. Your decoration is ready, you can safely wear it and admire others.

The following video tutorials will introduce you to two varieties of weaving for experienced and novice craftsmen.
Video: Plait of Beaded Necklace


