New openwork pattern for crochet, step by step MK (photo lesson)
The next lesson is crocheting patterns. Today we look at the new crochet pattern that can be used for sweaters, tops and other items of clothing. Using this openwork pattern you can also get very beautiful handbags and covers for your mobile phone. The fantasies of the application of patterns are endless, the main thing is to connect the fantasy! ? This pattern can not be attributed to simple crochet patterns, more to the average complexity. Nevertheless, the beginner will also cope with the task of viewing the execution of some elements of the pattern. Consideration of the pattern will be in a small area, later we will consider the product with this pattern. Getting started! 1.  2. Knit. The number of loops should be divisible by 4 plus 2 loops
  3. We put the hook into the second loop from the hook, the working loop is not considered
  4.
4.  5. Three air loops
  6. Make a cape
  7. We put the hook on the same loop and knit a “” of three loops and three crochets
  8. When the knob is ready it looks like this.
  9. One air loop
  10. Skip 3 air loops of the chain and thread the hook
  11. A column without nakida
  12. Three air loops
  13. Make a nakid and weave a hook into the same loop where the crochet is knitted
  14. Knit a knob of three loops and three knit
  15. One air loop
  16. Further we continue to knit according to points 10-15 to the end of the chain of air loops. The last will be a single crochet in the extreme loop of the chain.
  17. Three air loops
  18. We turn knitting, we put a cap on and we put a hook into the loop formed on the top of the nipple
  19. We knit two columns with one nakida in the same loop
  20. Make a cape
  21. We put the hook on the top of the next bump
  22. We knit four columns with one nakida in this loop.
  23. In each of the following vertices we knit 4 columns with one nakida
  24. Make a cape. Enter the hook into the last loop of the chain of the three air loops of the previous row
  25. Knit two columns with one nakida in this loop
 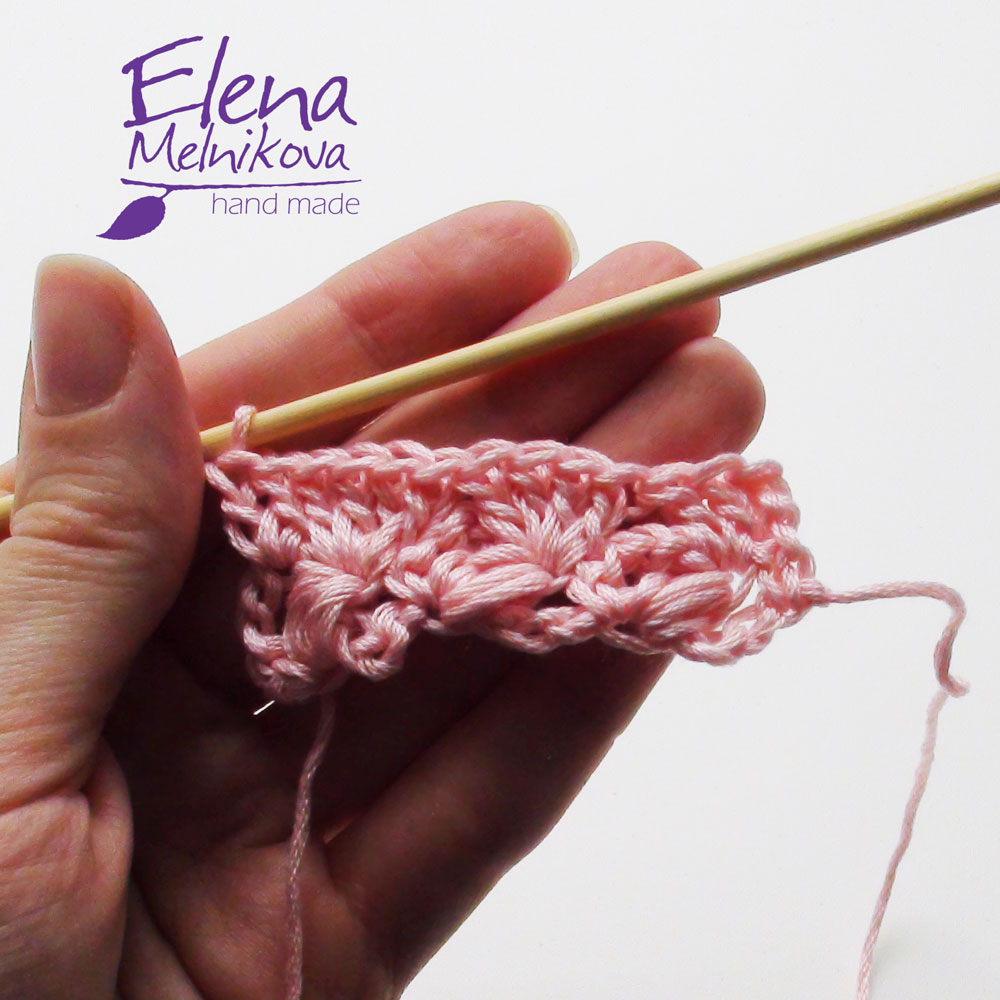 26. One air loop
  27. A single crochet column in the loop of the second column of the previous row
  28. Three air loops
  29. We carry out the knob from three loops and three nakidov in the same loop, in which the column without knit is knitted
  30. It turns out like this
  31. Air loop
 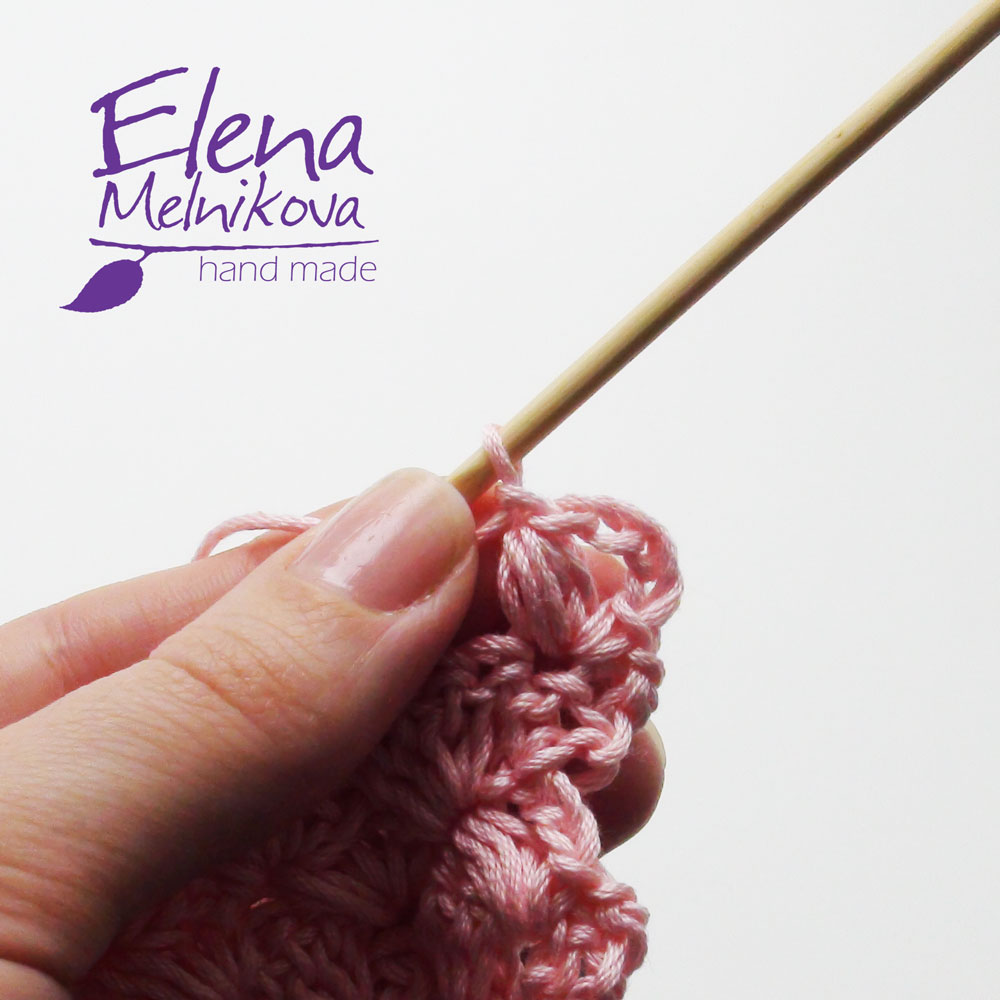 32. A single crochet column in the loop of the top of the fourth column of the group of the previous row, currently under the working loop
  33. Three air loops
 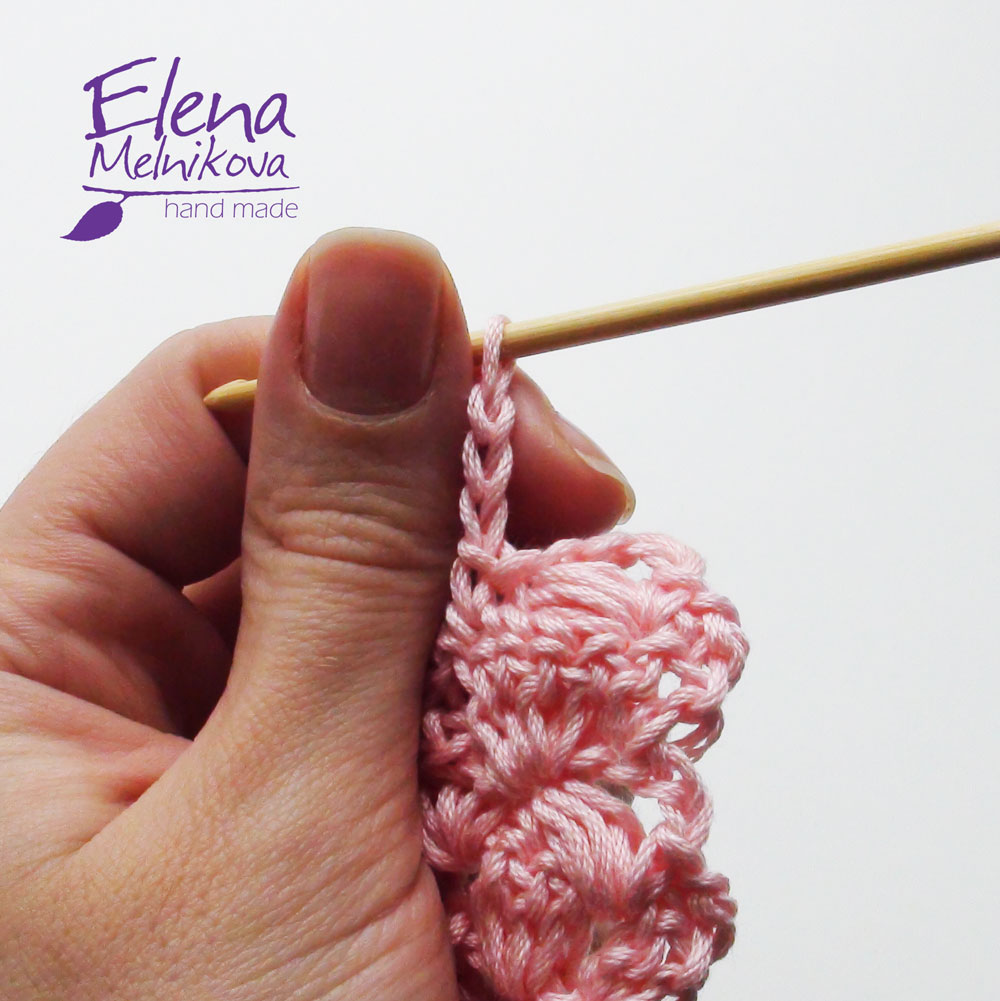 34. Perform a knob from three loops and three nakidov in the same loop, in which a single crochet column is knitted, one air loop
  35. Continue drawing to the end of the series, repeating paragraphs 32-34. the last will be a single crochet in the last loop of the previous row
 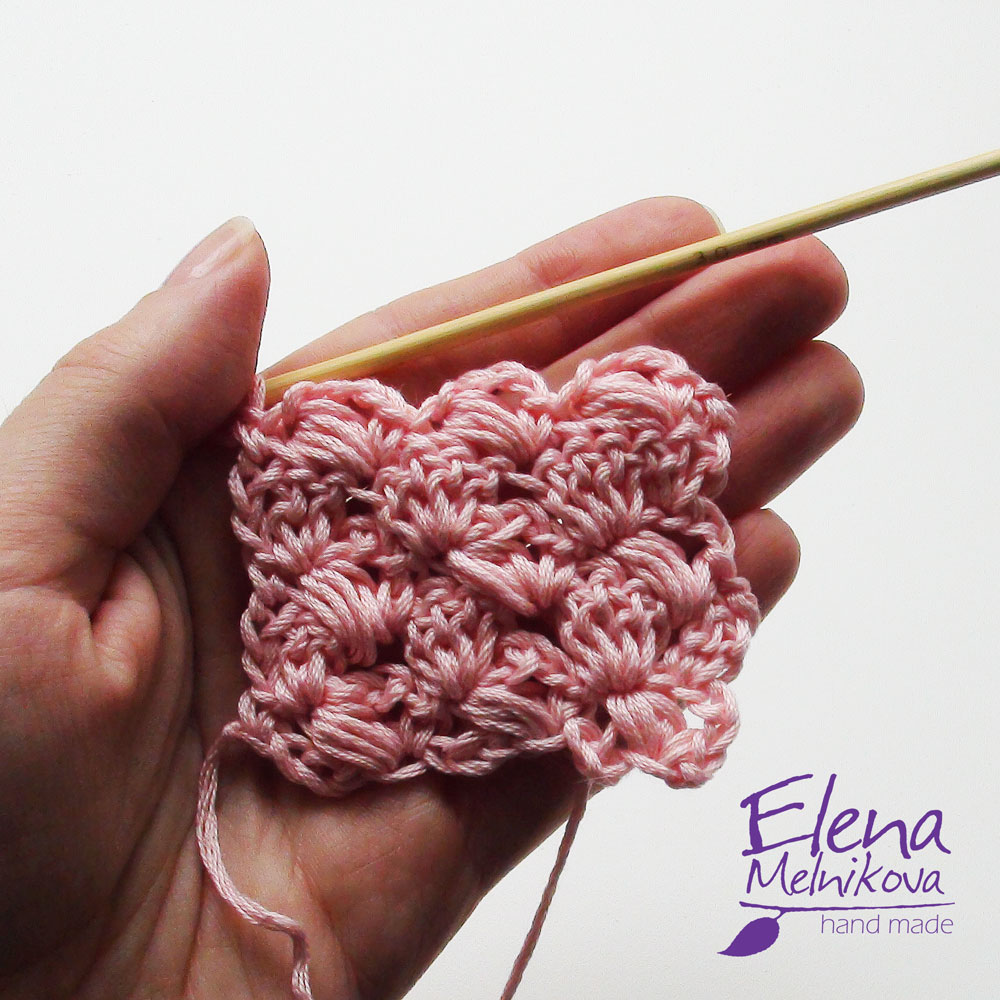 36. This is how we get a picture using the “Openwork” pattern
  This original crochet pattern will add zest to the product on the easiest pattern!
 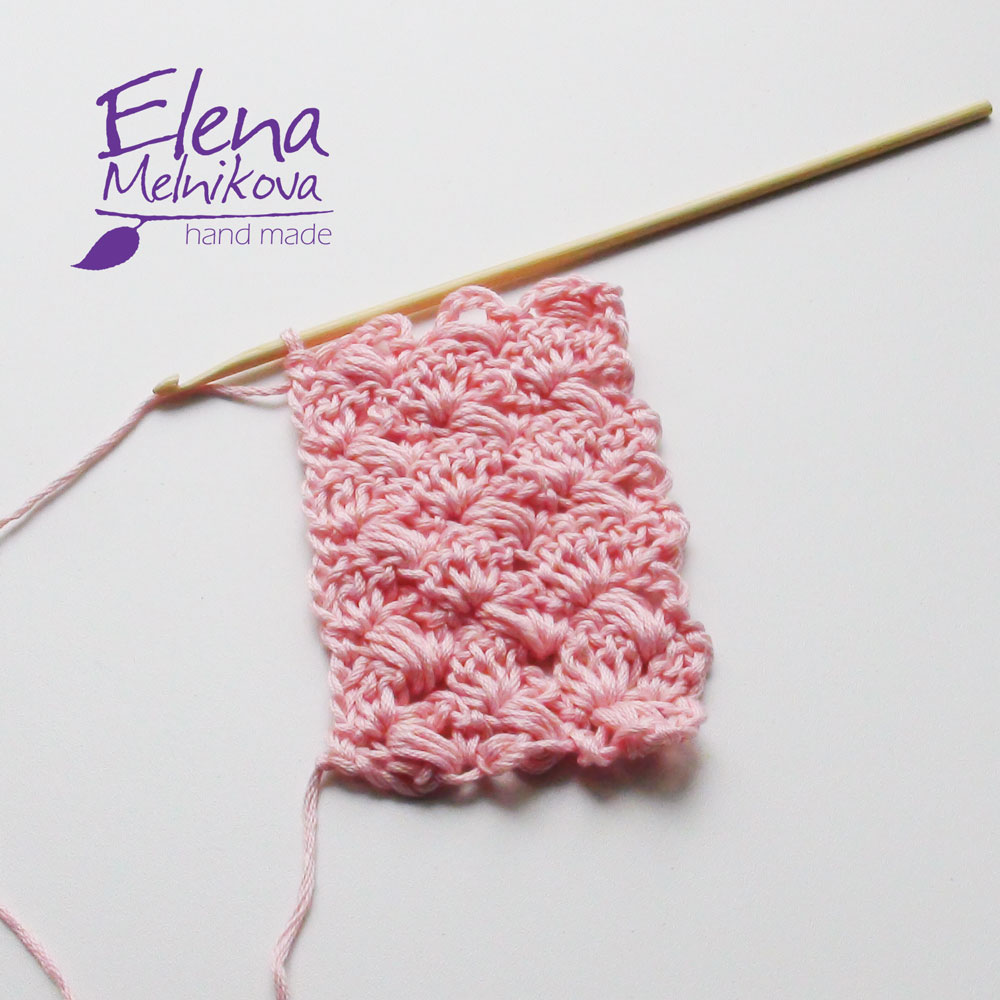 Stay up to date! Be the first to know about new articles! Subscription: “Crochet patterns and motifs” Your e-mail address: * Your name: * Share in the social. networks
  </a> Navigation by records
Crochet pattern "Openwork": 14 comments
 Alla: MISCELLANEOUS)) me Pts NRA? THANK YOU!
 : You are welcome! ?
  Lyudmila: And where is the scheme!
  Evgenia: Thank you !!! Very beautiful pattern!
: You are welcome!
Evgenia: Thank you !!! Very beautiful pattern!
: You are welcome!  Alain: I liked the pattern very much) and described in such detail in pictures, it will be easy for anyone to learn! and the threads in the photo are cotton!
: Yes, cotton. Semenovskaya yarn - Polina (TEST 14)
Alain: I liked the pattern very much) and described in such detail in pictures, it will be easy for anyone to learn! and the threads in the photo are cotton!
: Yes, cotton. Semenovskaya yarn - Polina (TEST 14)  Sonia1209: very beautiful! Thank you!
  S_brik11: I can’t understand how to make a “lump”, please tell me))
:
S_brik11: I can’t understand how to make a “lump”, please tell me))
:  Karina: Hello, Elena! Very nice, I also want to learn, but the 7th paragraph doesn’t work out, could you describe in more detail if you can.
  Inga: Elena, p.27 just baffles me. What is this loop of the second column of the previous row! there are all the columns one by one ... Tell me, please, at what point is the very same second-row loop that we need in p.27!
 Add a comment Your e-mail will not be published. Required fields are marked * Comment Name * Email * Website
Comments
Related posts:
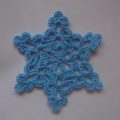 How to tie a snowflake with a crochet for the New Year's decor of the interior? A crochet lesson on the openwork snowflake with detailed recommendations and step-by-step photos
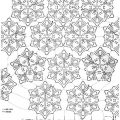 How to tie a crochet, chart, photo and descriptioncreation of various models of berets, a pattern of "bumps" and twisted columns, a lesson on crocheting crochet with the help of relief convex and concave columns with a crochet
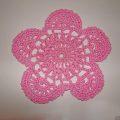 Master-class knitting with a diagram and a photo will teach crochet an openwork flower