New Year's toys made of paper with their own hands. Scheme. Video / Toys with own hands, patterns, video, MK
Someone is preparing for the new year by decorating the Christmas treedesigner expensive jewelry, and someone - funny colorful electric garlands and glass balls from the store. Such Christmas decorations will undoubtedly make the New Year's beautiful and beautiful, but, unfortunately, they can not compare with toys made by themselves. After all, the process of creating them not only enhances the anticipation of the holiday, but also gives invaluable moments of communication to all family members. 


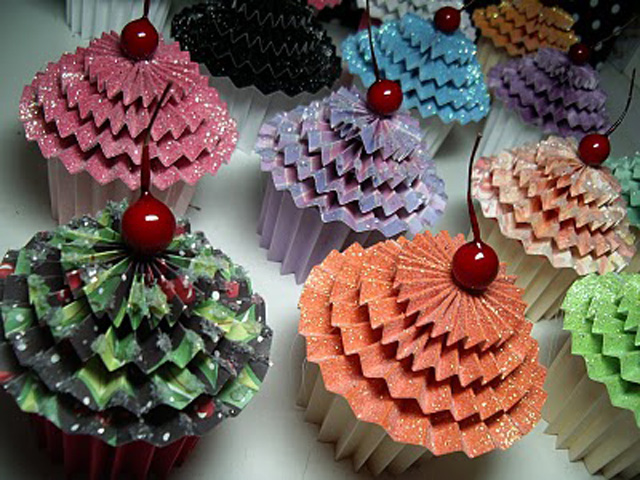


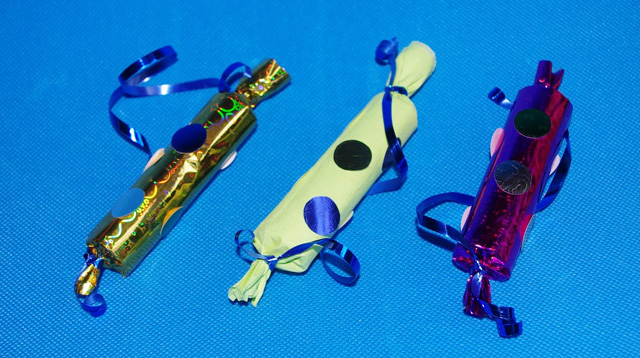
 Options, how to make Christmas tree decorationshands for the new coming year, a lot, but the most affordable and not requiring special skill in making - this New Year's toys made of paper. You will only need materials that are available in any home, a little patience and creative imagination.
Balloons
The most common and versatile toys onNew Year - it's Christmas balls. You can make them with your own hands from any thick paper: colored cardboard, colorful postcards or old magazine covers. Monochrome balls will give a single style to the room, and colorful - an atmosphere of fun and fairy magic. 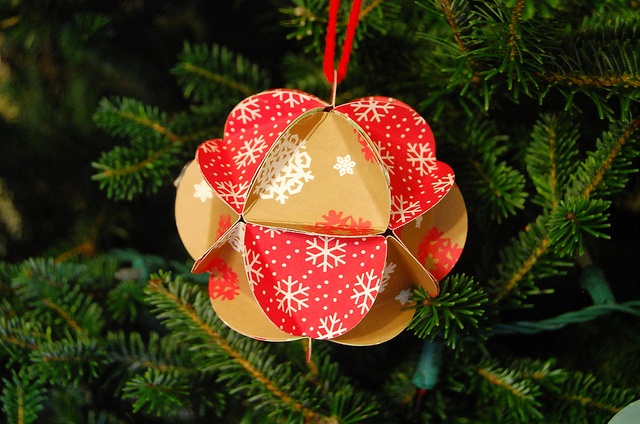 So, before you start working on making such paper toys, you need to prepare the following:
- dense paper with a drawing you like;
- scissors;
- PVA glue;
- Compasses or any object, outlining which, you can reproduce the circle (jars, lids, glasses, etc.).
How to:
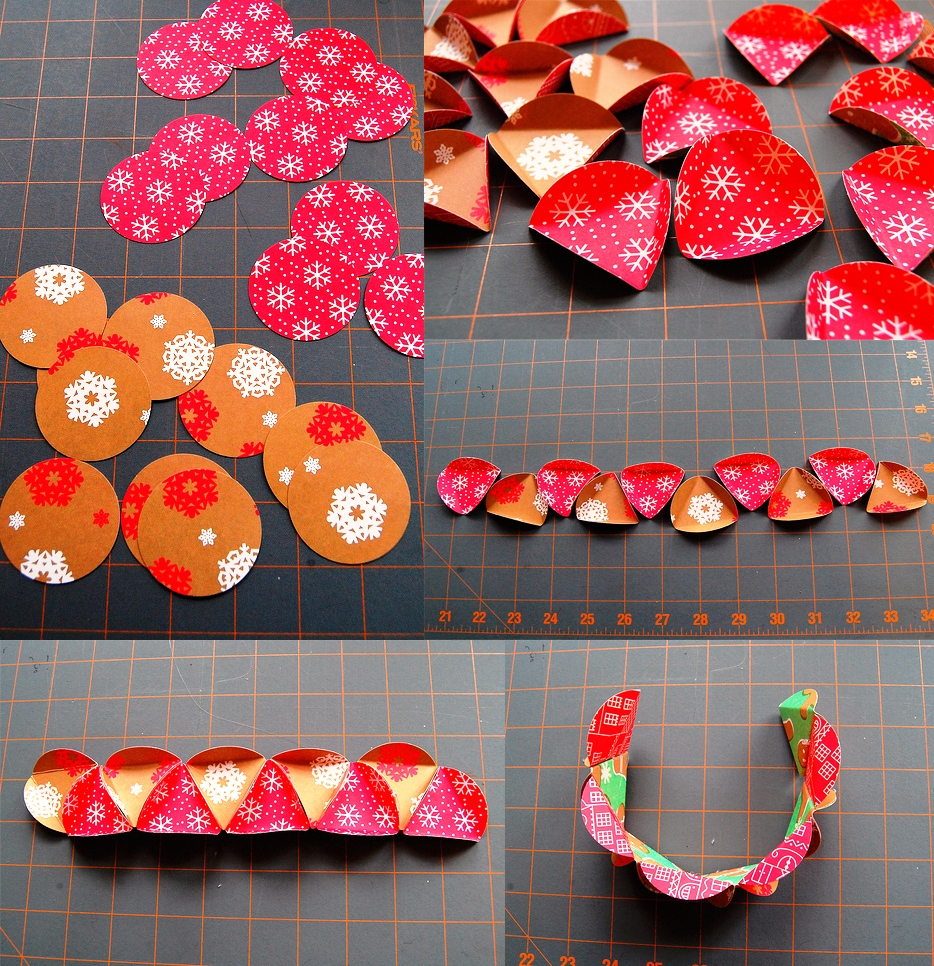
- Draw on the paper 21 the same circle and cut them with scissors.
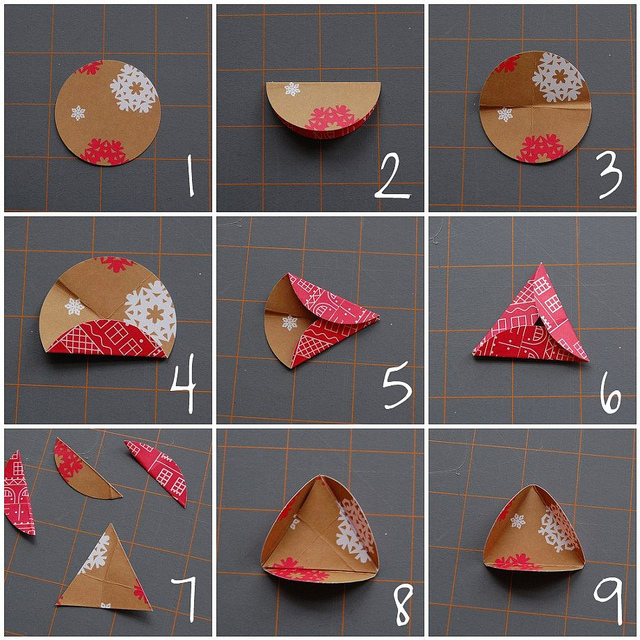 Prepare the circles as follows:
- bend the circle twice in half (this is necessary to determine the center);
- Unbend the circle and bend one side of it so that the edge of the circle is exactly centered;
- bend the other two sides of the circle to make a triangle with equal sides;
- Cut out the resulting triangle, which will play the role of a template for the rest of the details;
- Put a triangle on the other circles, circle with a pencil and bend the edges outwards along the lines.
- 10 circles, glue between the two sides in such a way that a strip is formed: 5 circles on top, and 5 - from below. The strip must be glued in a ring. This will be the basis for the ball.
- 10 remaining parts, divide by 5 pieces, which are glued into a circle. Two "caps" were obtained.
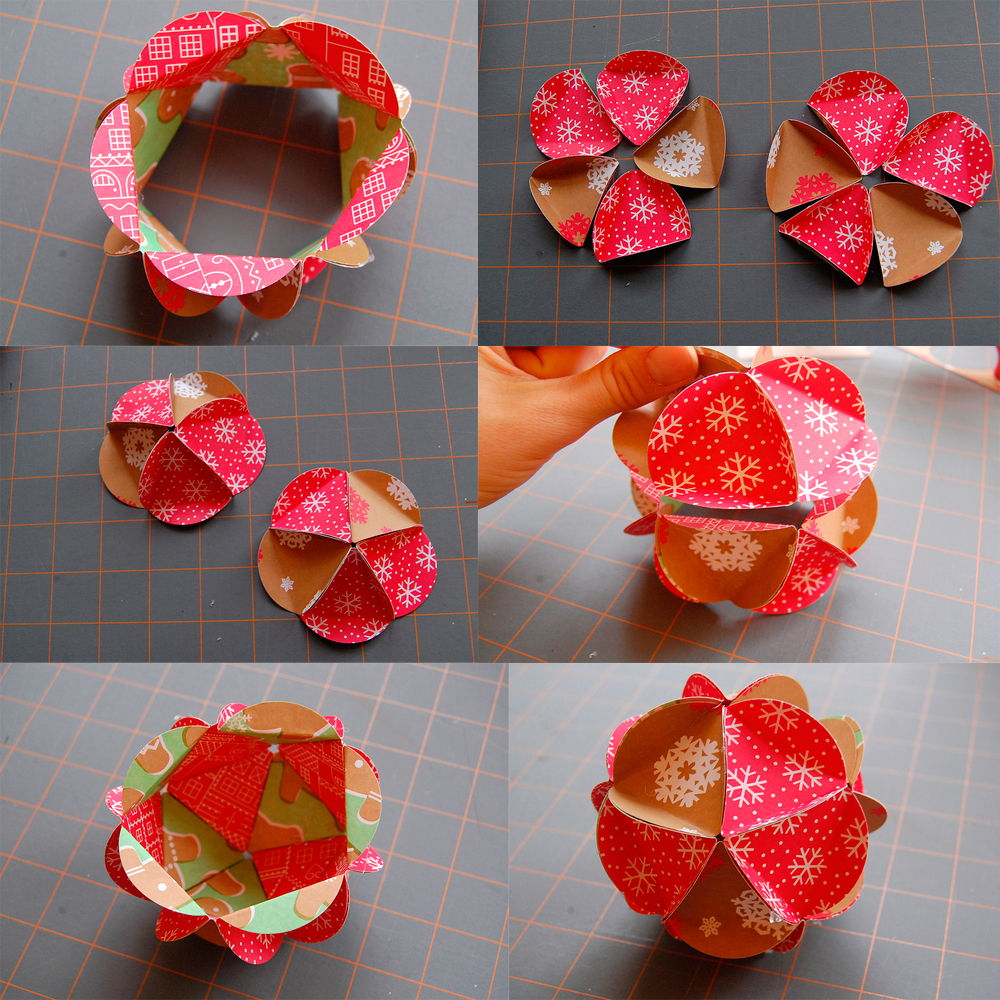
- Top and bottom "lid" consistently glued to the base.
- The loop, for which the ball is suspended, can bemake of the thread passed through the top of the toy with a needle, or from a beautiful ribbon. A loop from the ribbon is fixed with a knot and is passed through the top of the "lid" of the ball before gluing it to the base. The knot is left inside the toy, and the loop is outside.
The original paper toy is ready for the new coming year!
More balls from the paper tree

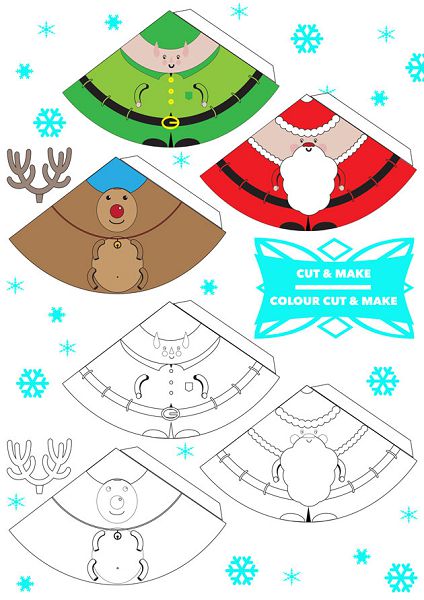 See similar master classes:
Comments
Related posts:
 Ladybug of paper, charts, video / Toys with own hands, patterns, video, MK
 New Year Christmas toys with own hands, ideas, photo / Toys with own hands, patterns, video, MK
 How to make a machine made of paper, origami typewriter, schematics / Toys yourself, patterns, video, MK
Homemade garlands made of paper for New Year, Masterclass, schemes / Toys with own hands, patterns, video, MK
How to make a machine made of paper, origami typewriter, schematics / Toys yourself, patterns, video, MK
Homemade garlands made of paper for New Year, Masterclass, schemes / Toys with own hands, patterns, video, MK
 How to make a penguin out of paper, origami, schemes, master class / Toys yourself, patterns, video, MK