Beautiful hand-made articles from autumn materials with their own hands, crafts made of cones and autumn leaves with descriptions and photos.
Autumn time is the most favorable time of the yearto create original handicrafts. And this is explained by the fact that it is easy to find all necessary and inexpensive materials for the manufacture of unique handicraft items in the autumn. Cones, grains, acorns, seeds, nuts, yellow leaves - that's far from an incomplete list of the most popular autumn materials. In this article, we offer to your attention several interesting master classes for creating crafts from autumn materials yourself, using step-by-step descriptions and photos. Vase from autumn leaves by own hands 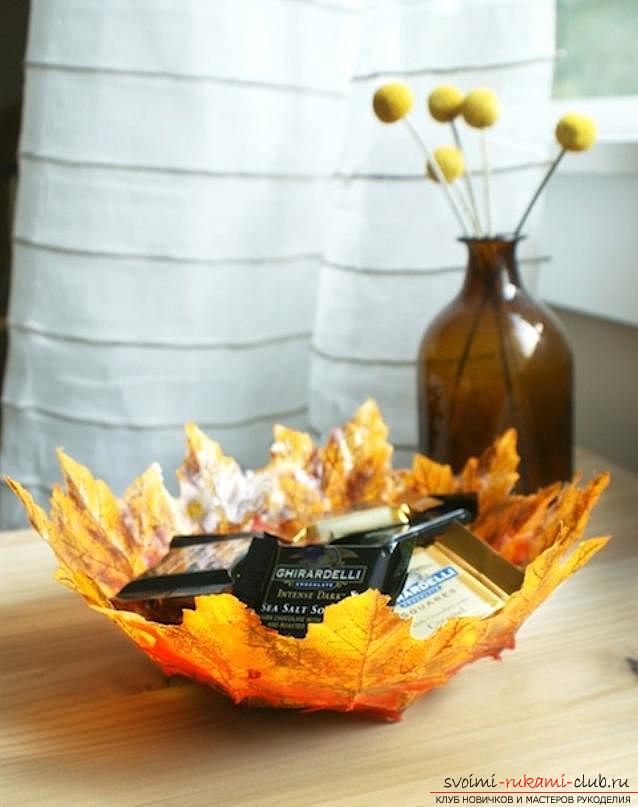 For work you will need: autumn leaves; balloon; glue; brush. Step-by-step description 1. First, inflate the balloon and install it on a bowl or cup.
 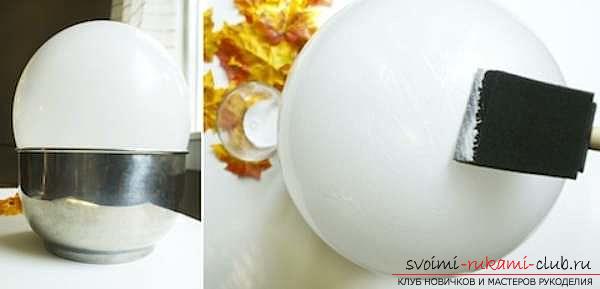 2. Autumn leaves should be cleaned from their cuttings.
 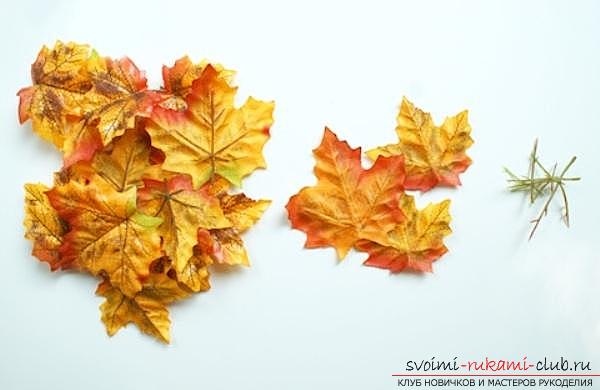 3. Go to the attachment of glue leaves to the base of the ball.
 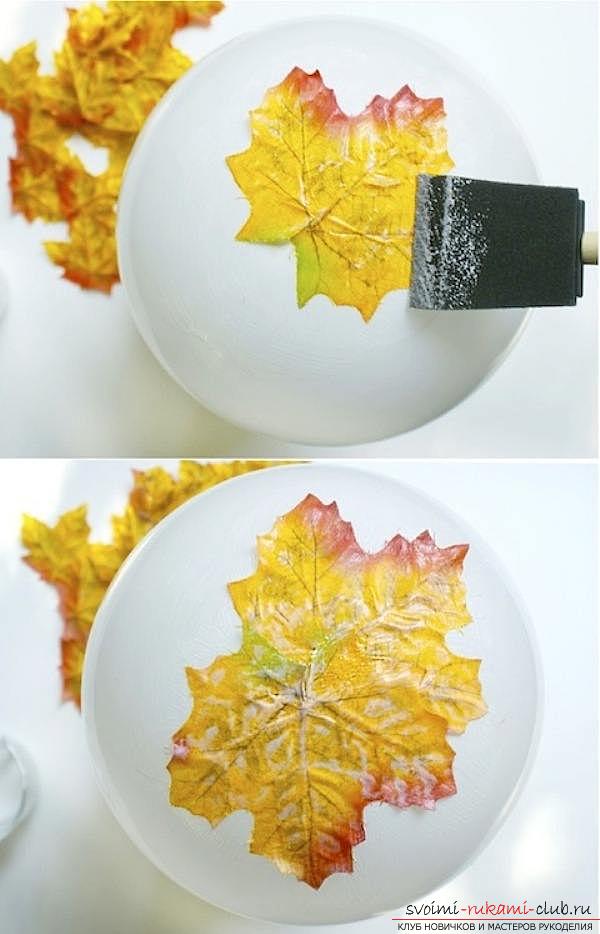 4. In this way, you need to make a couple of layers of leaves, and then glue them on the outside.
  5. After the glue dries, gently blow off the ball. 6. As a result, we get a beautiful autumn vase. How to make a beautiful picture of autumn materials?
  For work you will need: autumn leaves, bumps, acorns; small twigs; threads of different colors; the basis of a square or triangular shape.
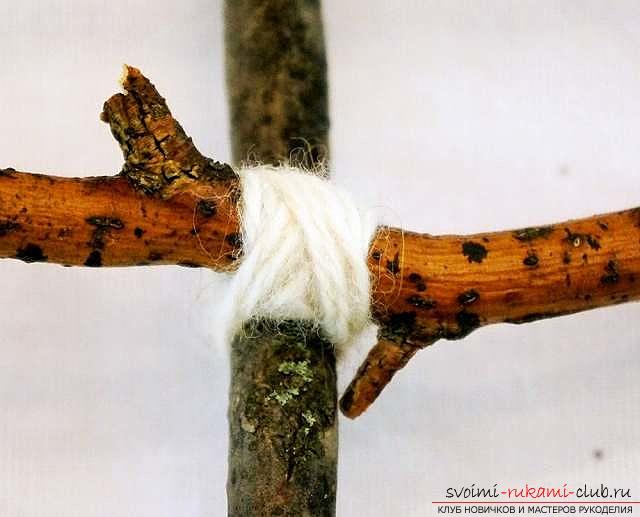
 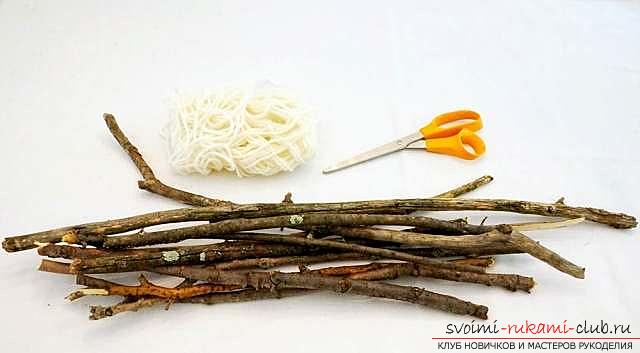 Step-by-step description 1. The edges of the rods need to be fastened with threads. As a result, you will have a frame to create a picture.
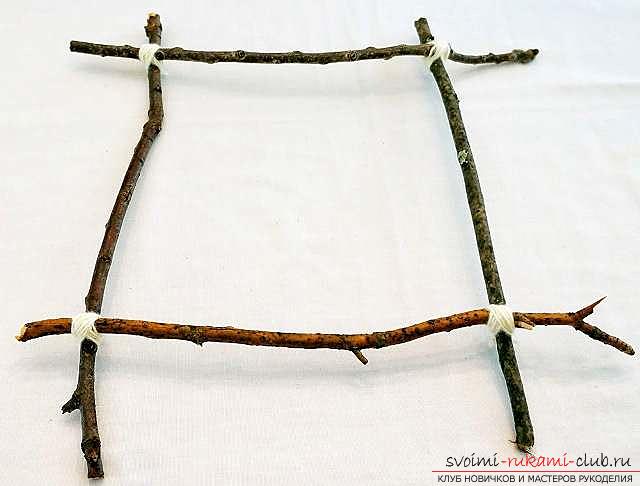
 2. Tie one edge of a strand of bright shade to the corner of the frame and go to wrap the thread of the entire frame, leaving room for decor.
 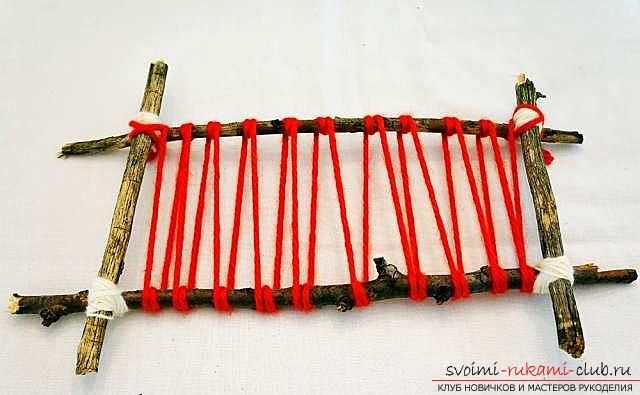 3. You can try to twist all the threads 2 times (two circles). 4. After the frame is wrapped in threads, you must tie its end to the corner of the frame that is on the opposite side.
 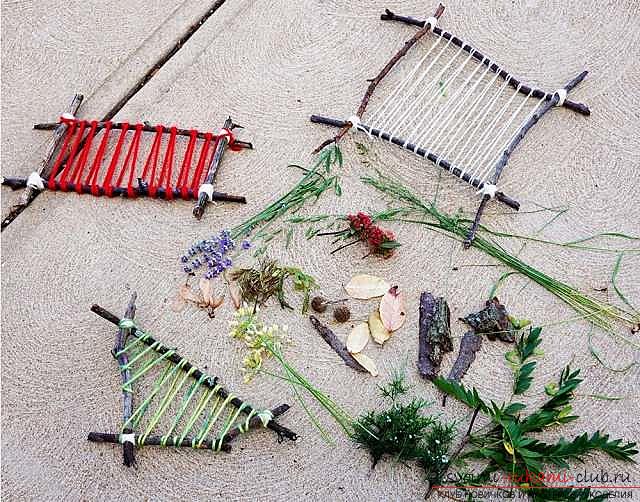 5. All of your available autumn materials (autumn leaves, bumps, acorns) are used as decor, which we will fasten between stretched threads.
 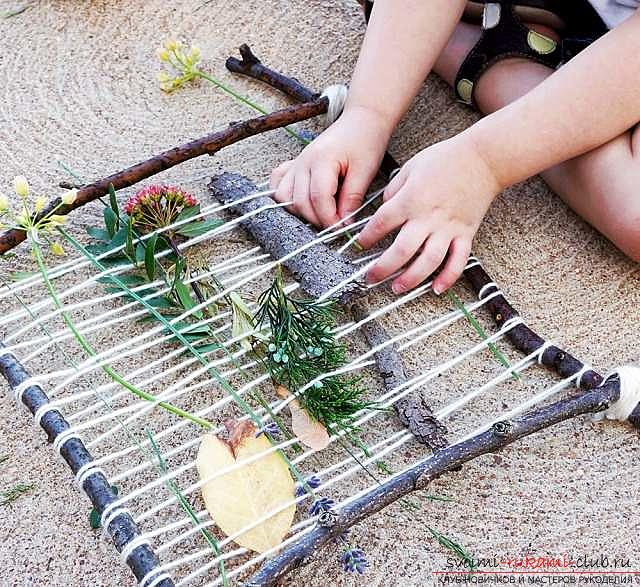 6. As a result, we get a beautiful picture of autumn materials. Autumn falling asterisk from natural materials with own hands
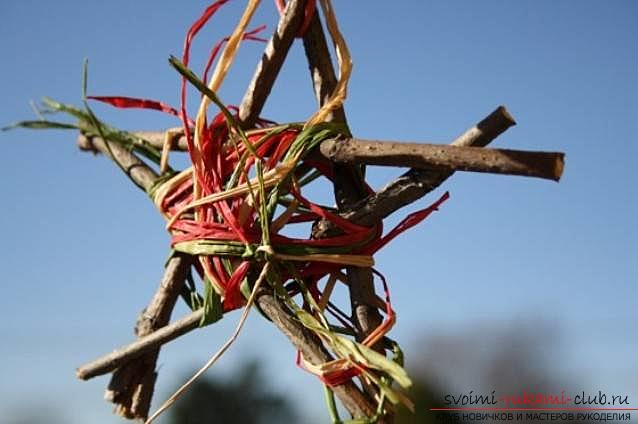
 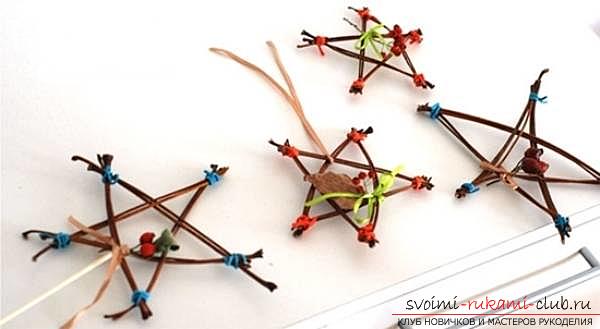 To create one such star, we will need: ten long stalks from leaflets (in our lesson - stems from chestnut leaves); thread of different colors or wire; elements of decor (small leaves, branches of berries, etc.).
 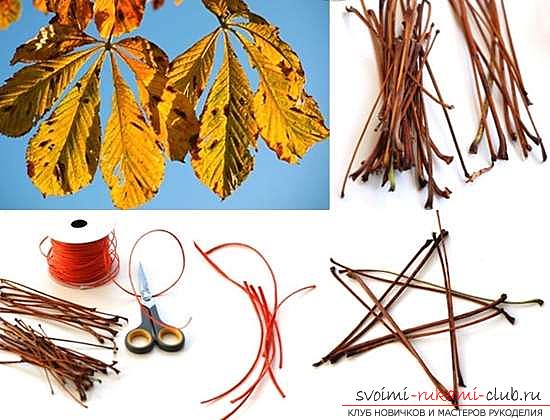 1. To create one star, you need to fasten 2 stems for greater strength. We connect them together with a thread or wire. The result is the basis for creating an asterisk. 2. We proceed to the assembly stage of the asterisk. In this case, we need to spend all of its details under and over the other two intersecting blanks.
 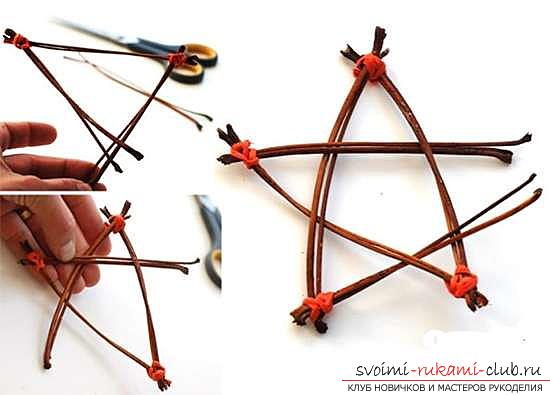 3. All of your autumn materials (autumn leaves, bumps, acorns) are used as decor, which we will attach to the base of the asterisk. 6. As a result, we get the original starlet made of autumn materials, which can decorate the house or country house.
Make a mask of autumn leaves
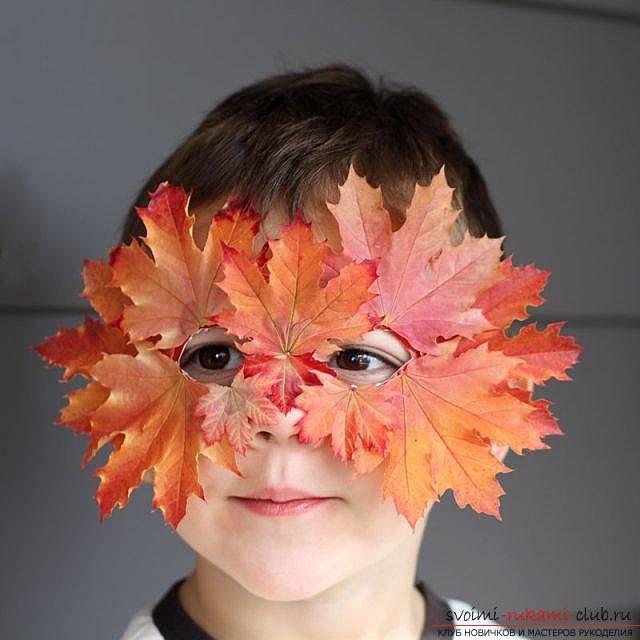 For work you will need: autumn leaves of different sizes and shades; elastic threads; quick-drying glue; scissors. Step-by-step description 1. On the cardboard basis draw a mask, and then cut it out.
 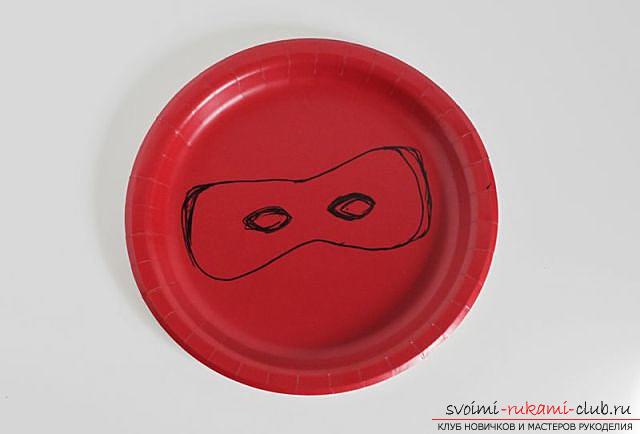 2. Next, we determine where the holes for the eyes will be located and cut holes there. 3. In the extreme points of the mask from both sides make a hole in which to thread a thread or a rubber for attaching the product to the head.
 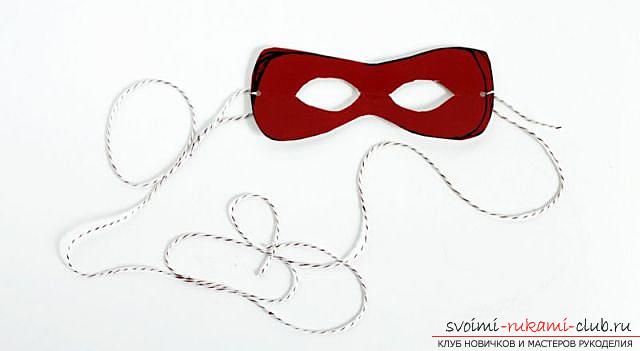 4. After that, we proceed to fixing with colored glue colored autumn leaves. Begin with large leaves, gradually moving to smaller ones.
 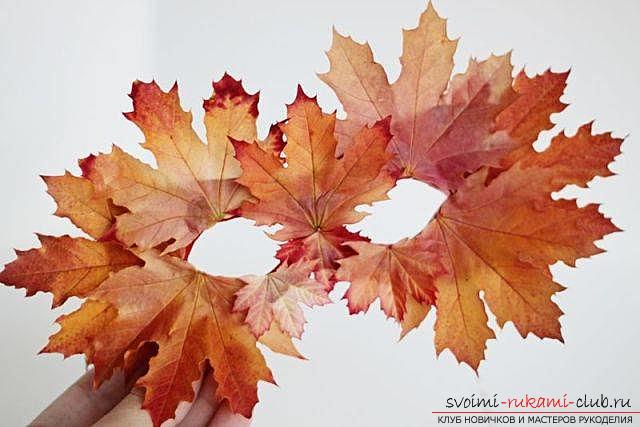 Autumn collage with your own hands For work you will need: autumn leaves, bumps, acorns; small thin twigs (in this lesson - a vine grape); threads of different colors; cardboard.
 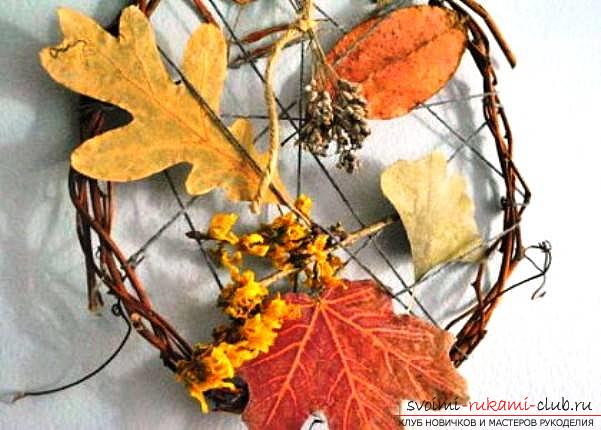 Step-by-step description 1. From the vine we create a base in the form of a circle. The edges of the rods must be secured with threads. As a result, you will have a frame to create a picture. 2. Tie one edge of a strand of bright shade and go to the wrapping thread of the whole frame, while leaving room for decor. As a result, a kind of "spiderweb" turns out.
  3. All available autumn materials (autumn leaves, bumps, acorns) are used as decor, which will be fastened between stretched threads.
 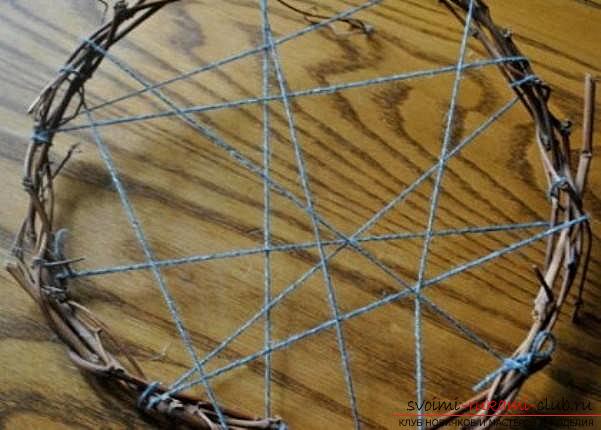 4. As a result, we have a unique collage of autumn materials. Autumn Crown for your prince or princess with your own hands For work you will need: autumn leaves of different sizes and shades; scissors; adhesive tape; dense cardboard.
 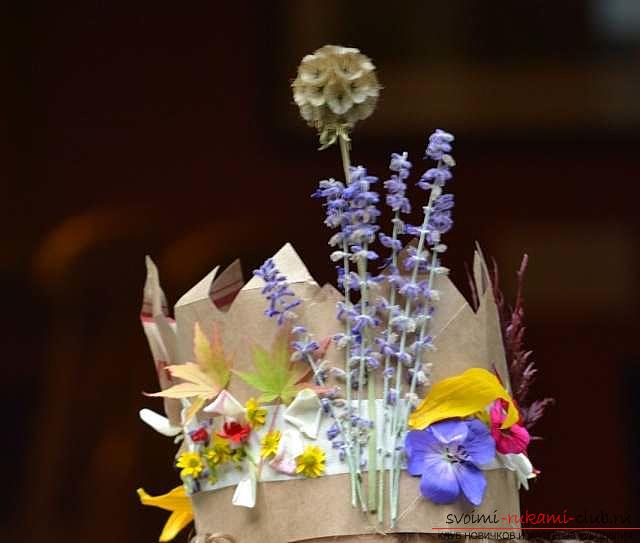 Step-by-step description 1. First you need to measure the volume of your child's head. Then, proceeding from the received data, we cut out a strip of a cardboard in width five centimeters (having added still a couple of centimeters on allowances). If there is no way to make a whole strip, then you need to connect several pieces of cardboard. 2. Next, cut out the next strip of cardboard, creating one of its edges in the form of a zigzag. 3. From the adhesive tape, also cut a piece, the length of which will be equal to the strip of cardboard. Place the tape with the adhesive side up. 4. At the top of the adhesive tape (slightly above the middle), attach one of the cardboard stripes, and attach a toothed strip to the bottom part. In the center you will have an empty part. To it you will attach various elements of decor. As an adhesive, which can replace the tape, you can use quick-drying glue.
 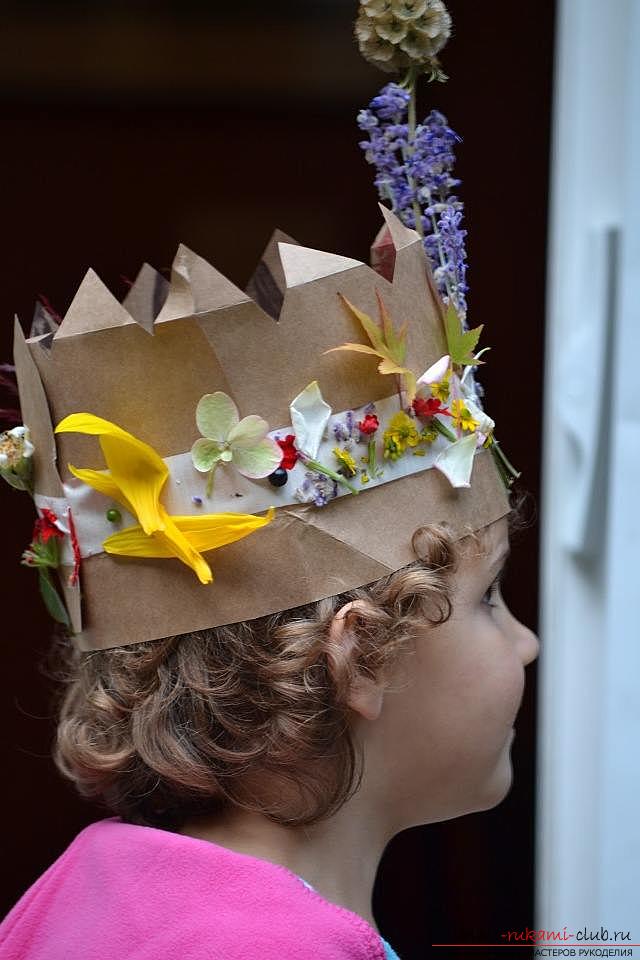 Finger puppets made of autumn materials
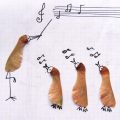
  For work you will need: cylinders of cardboard material; thin branches or a thin bristle; colored paper; autumn leaves of different sizes and shades; plasticine or plastic eyes; pugovki (or small pebbles); scissors; glue.
 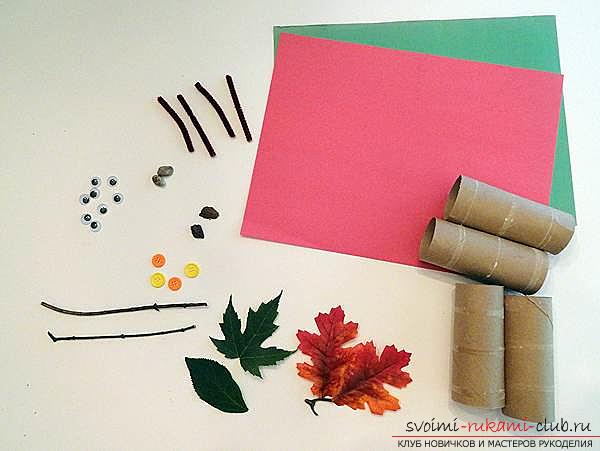 Step-by-step description 1. First, you must evenly attach the leaves to one edge of the cylinder. Before this, if there is a desire, it is possible to glue the tube with pieces of colored paper.
  2. Then attach the small branches on both sides. So you get doll handles.
 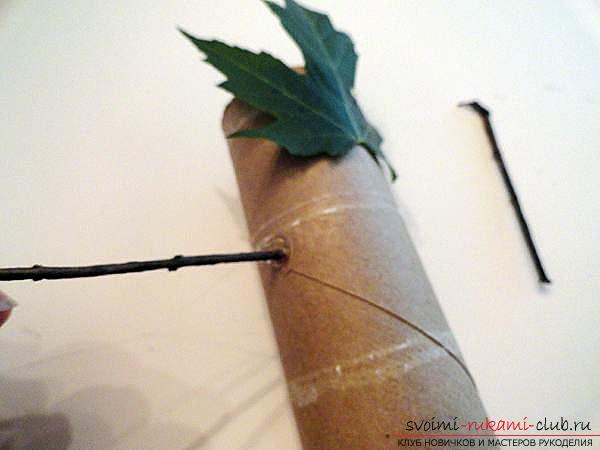 3. Attach by means of glue pebbles or pads along the entire cardboard cylinder.
 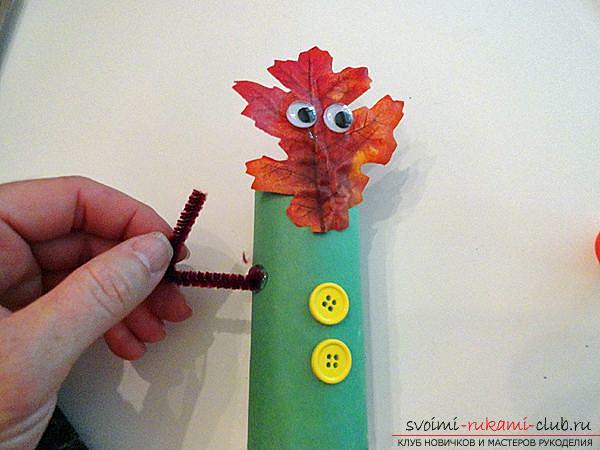 4. After that, it is necessary to glue the eyes, which can also be made from pieces of plasticine.
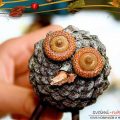
 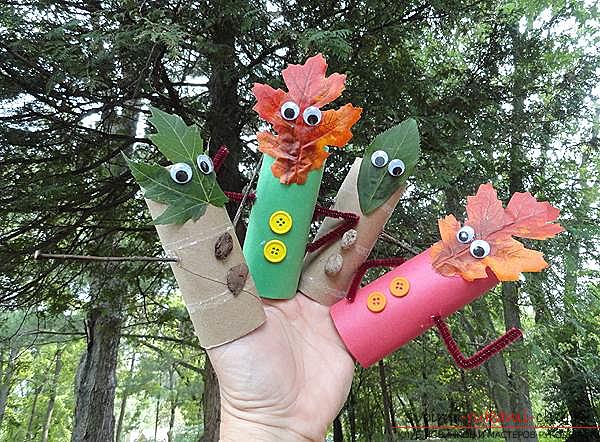 Autumn work: a spider of shishechek To create one such craft, we will need: a little bump; four twigs, which outwardly will look like spider's paws (can be replaced with a thin brush); pieces of plasticine; quick-drying glue; thread for hanging spider.
 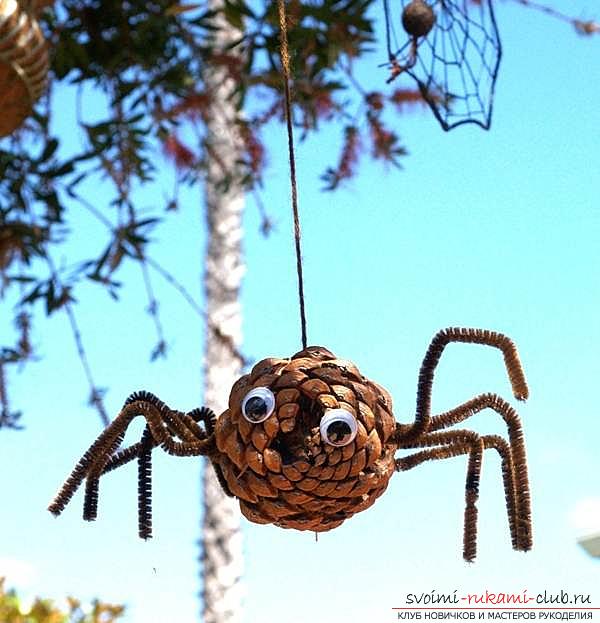 Description of work 1. To create one spider, you need to pass all the brushes to the central part of the trunk, and their ends bend so that it looks like the spider's paws.
 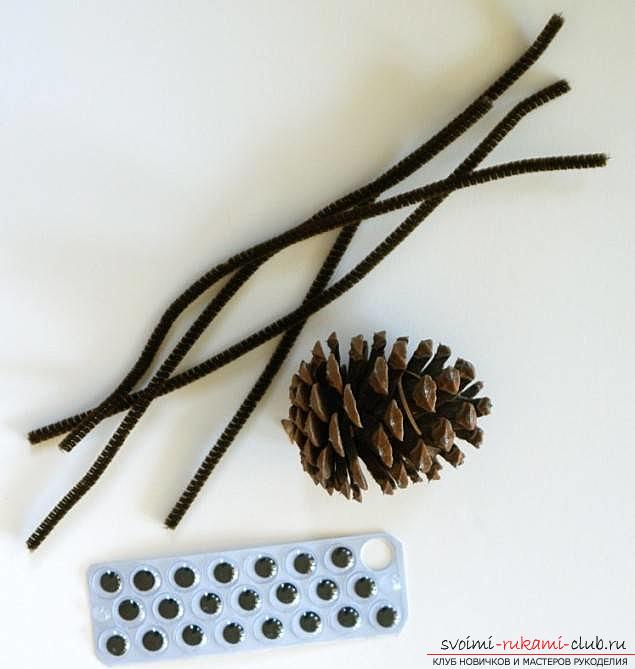 2. Attach the eyes. It is best to do this at the bottom of the knob (the part in which it is maximally expanded).
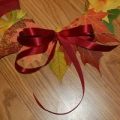
 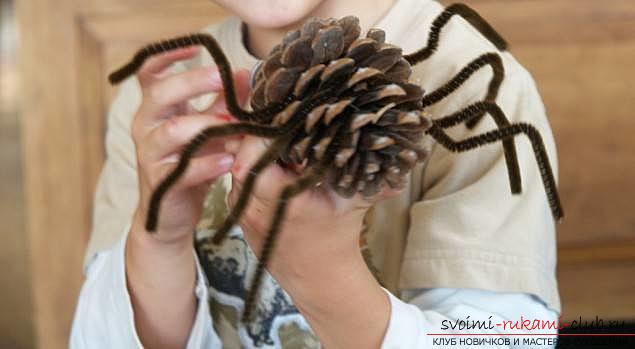 3. At the end, attach the thread and hang as an element of the decor. We create stars from branches with our own hands. To create one such craft, we need: five branches, which externally will have equal length and volume; tape made of paper or fabric of bright colors; quick-drying glue; paints of acrylic (can be replaced with gouache).
 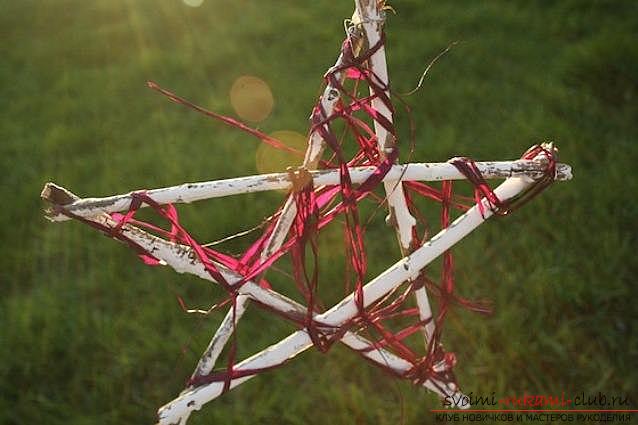 Description of work 1. Cut the branches so that their length is the same. As a result, you need five pieces to work.
 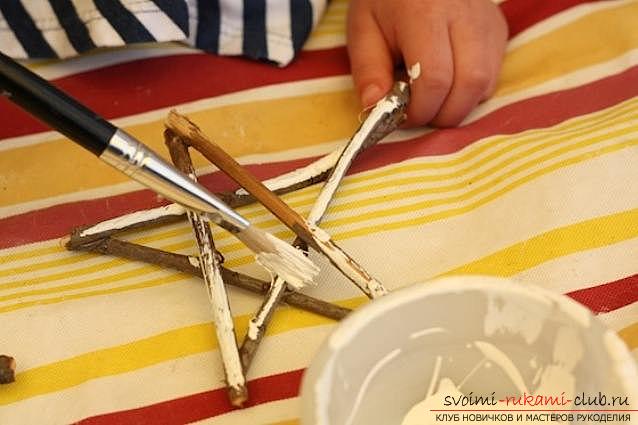 2. Create an asterisk from these twigs. If there is a desire, the branches can be treated with white acrylic paint. 3. Then take the ribbons and connect the twigs in such a way that a real star appears.
 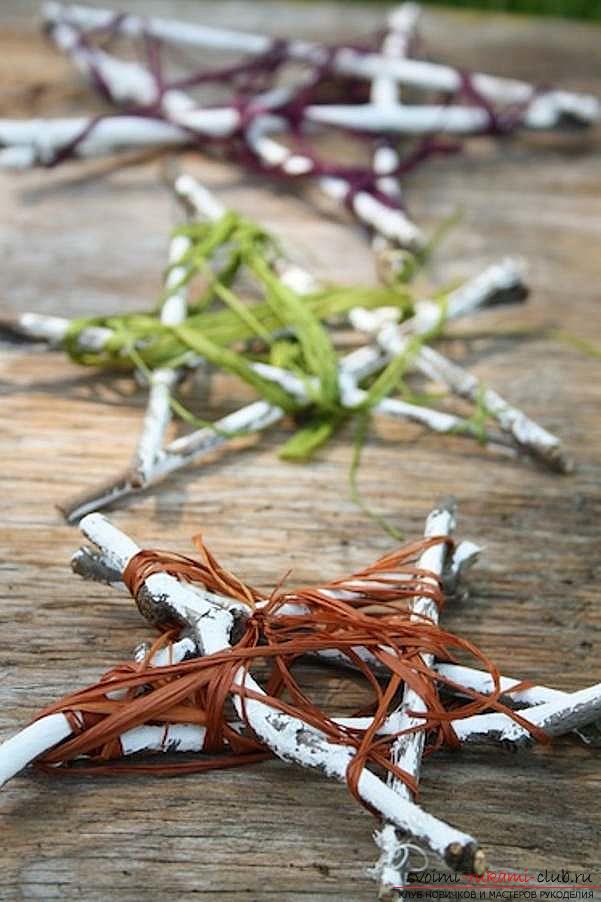 4. At the end, you can attach bright ribbons to the product. We offer you a photo of artifacts from the autumn material that you can create with your own hands.
Comments
Related posts:
 Beautiful handmade from autumn maple leaves with your own hands, the original topiary of maple leaves with a description and photo.
 Make beautiful autumn crafts in school with your own hands from improvised materials with a step-by-step description, photo.
 Learning to do handmade crafts from autumn leaves, using a master class with a photo
 Top 10. Crafts from autumn materials.
 Autumn decoration. Wreath from autumn leaves by own hands