Niche in the wall how to make beautiful: photo, workshop and ideas
The niche in the wall plays the role of a beautiful and convenient addition to the interior of the apartment. According to the method of application, niches can be divided into the following groups:
- big niche for things
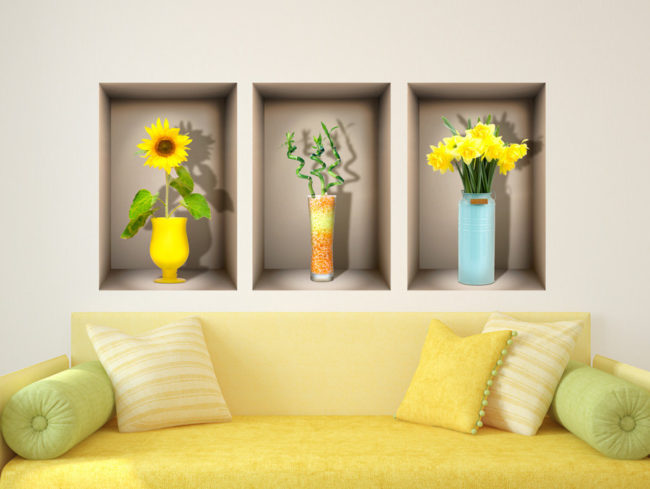
- decorative
 From a large niche you can make a closet for things orput there shelves for books. A small shallow niche is well decorated with decorative items, or narrow shelves for various souvenirs and other beautiful knick-knacks. It is also logical to divide the niche for their location.
 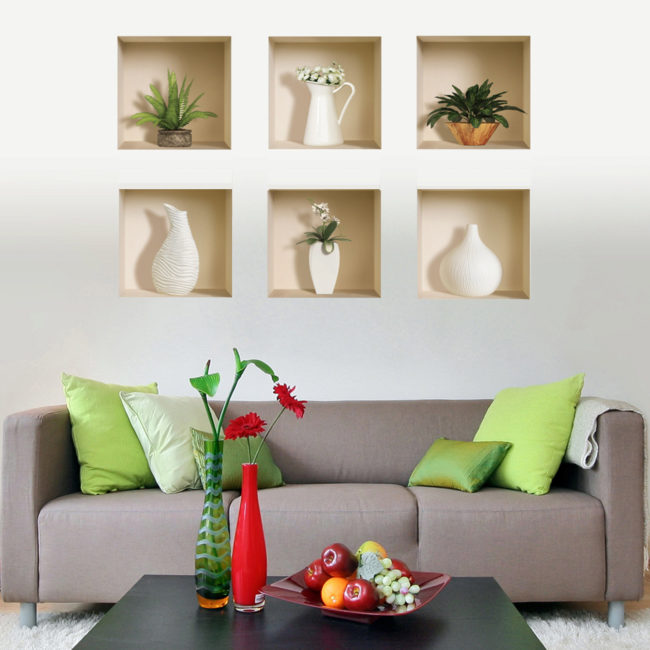 The content of the article:
Where do we make a niche?
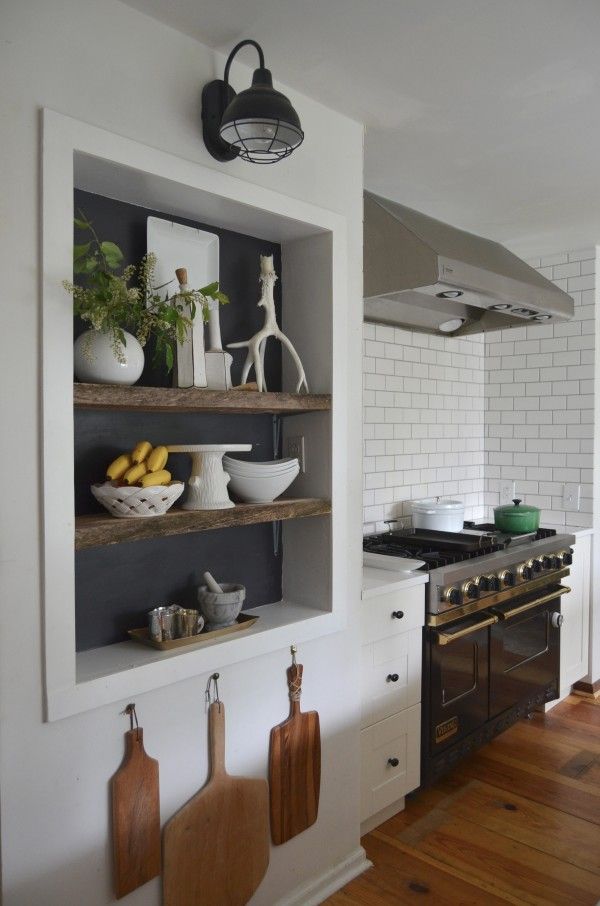
Niche in the wall in the kitchen In this case, you can put shelves for dishes in a niche, place jars of spices or flowerpots with flowers. It turns out beautiful and comfortable. The kitchen looks very appropriate:
- dishes: look here.
- .
- Wine cabinet.

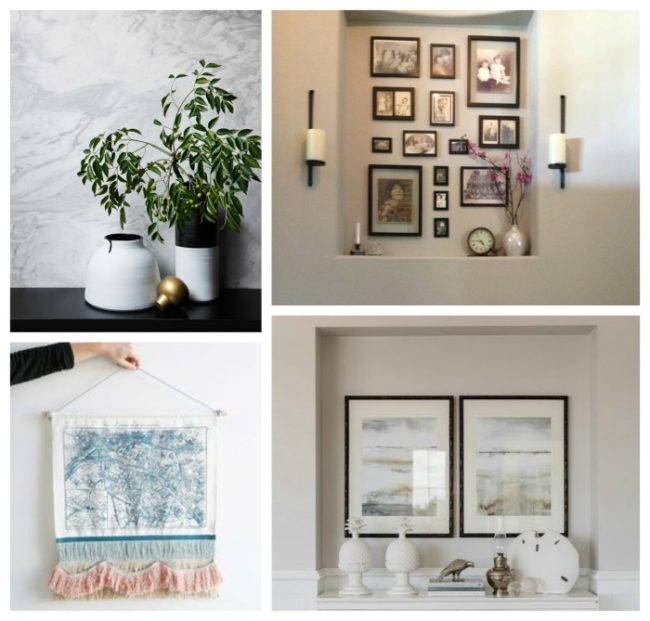
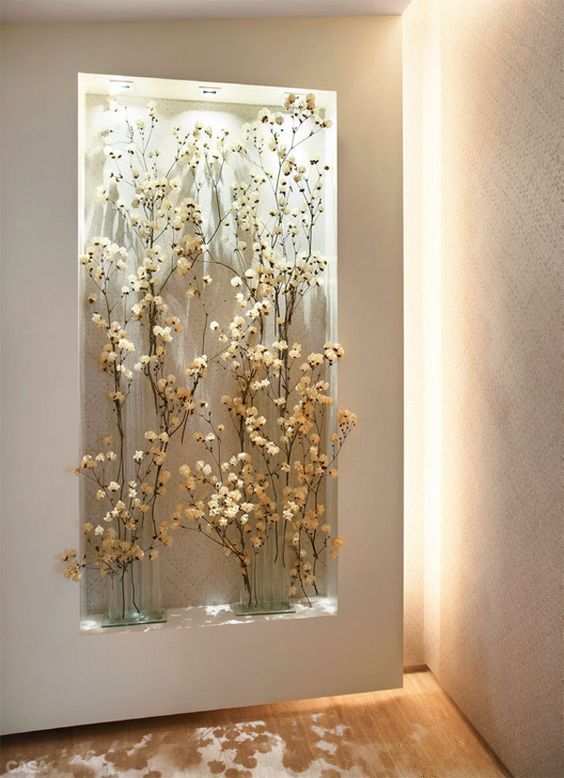
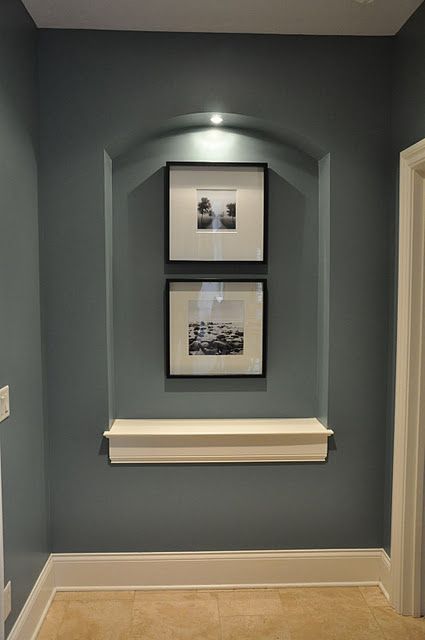
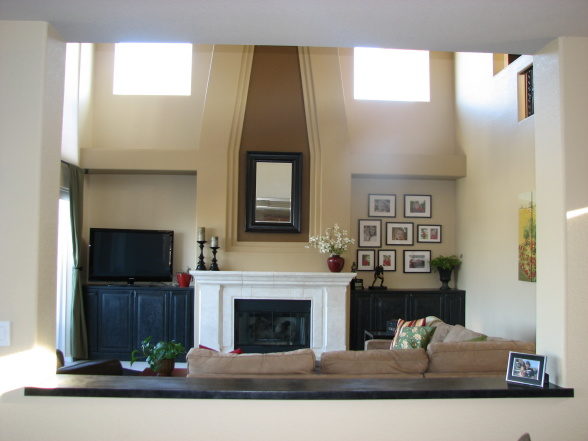
 Niche in the hall or living room Small niches in the wall in the hall will give the wall its original shape and make the interior of the hall more interesting.
- Also niches for flowerpots with flowers will look good.
- If you make shelves, you can create a cozy corner with family photos and books.
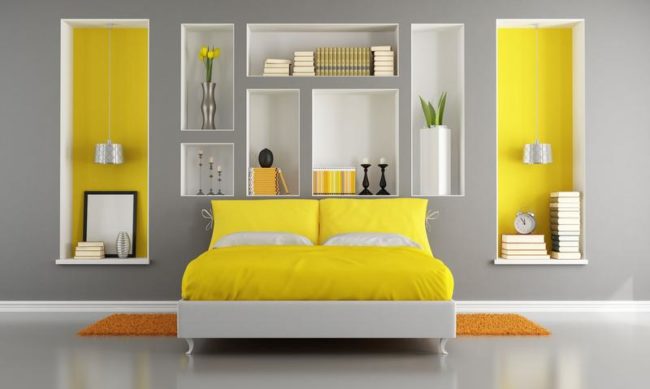
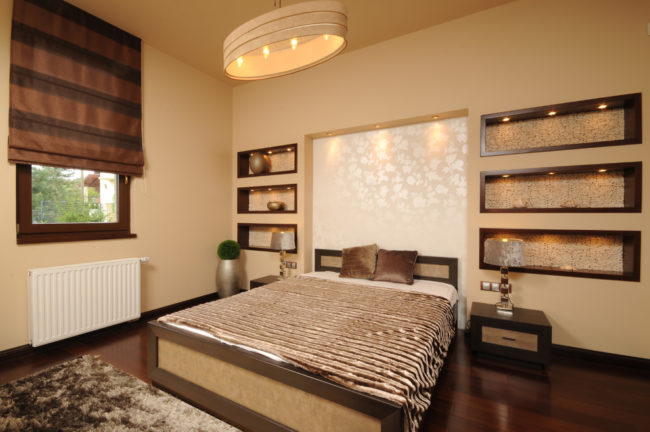
 In the bedroom are flowers, scented candles, books, orjust a beautiful, subdued lighting will wonderfully complement the bedroom interior. Once at a party, I even saw how the bed itself was placed in a niche in the children's bedroom (when planning the apartment, the niche was built under a wardrobe and was deep enough for a single bed), and curtain it with a curtain that could be closed and opened, allowing the child if you want to be alone. In the bedroom are appropriate candlesticks candles - master classes!
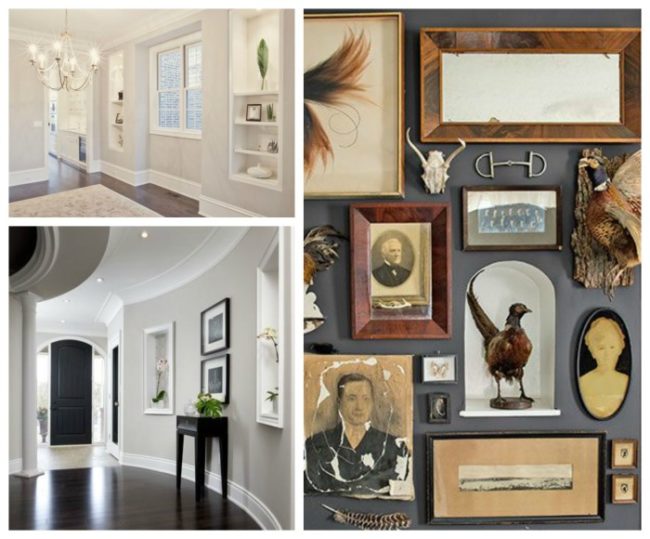
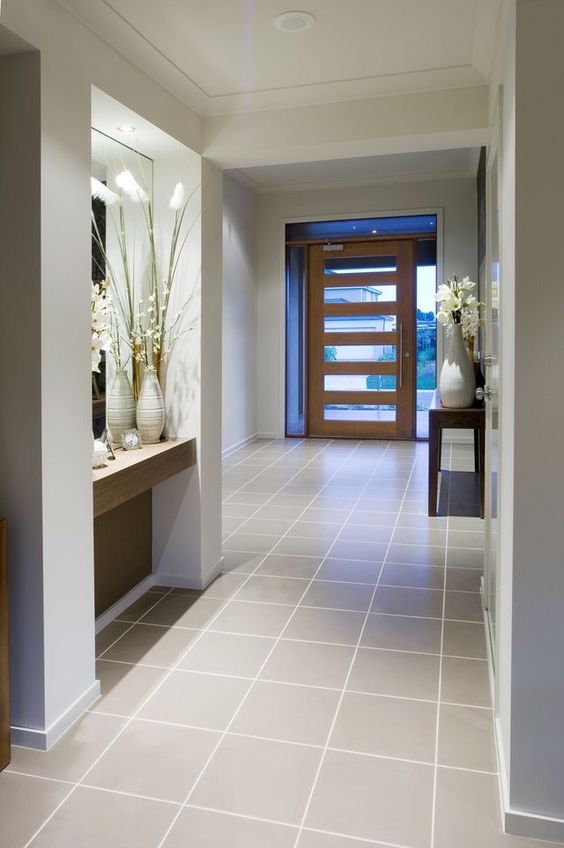
 In the corridor The photographs show differentvariants of decorative niches for the corridor, but I want to note that it is in this room that large niches for cabinets are most often made. If you have a small hallway, then look at the article - how.
 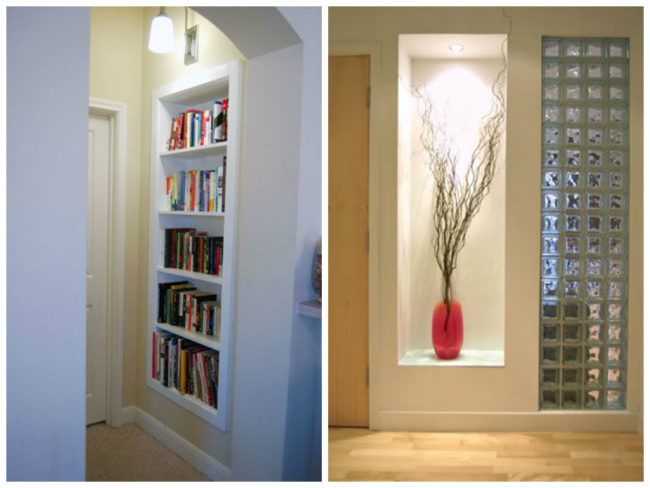 Both in Soviet and in new apartments, narrow corridors are often compensated by the presence of a built-in niche in them, where you can put a wardrobe or a home library.
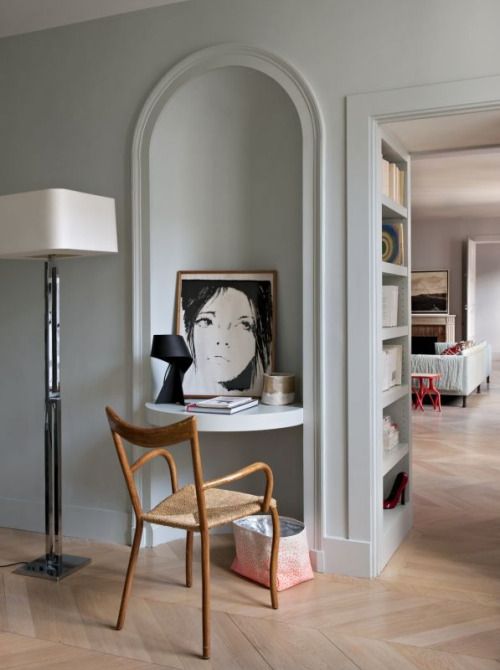
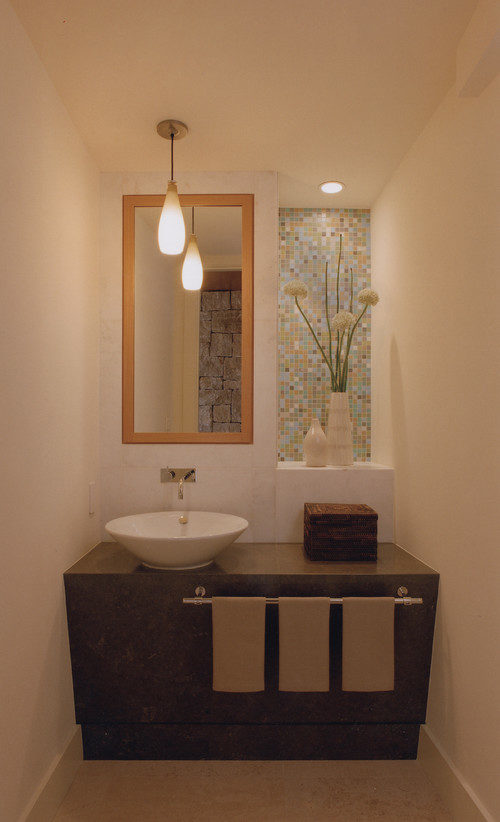
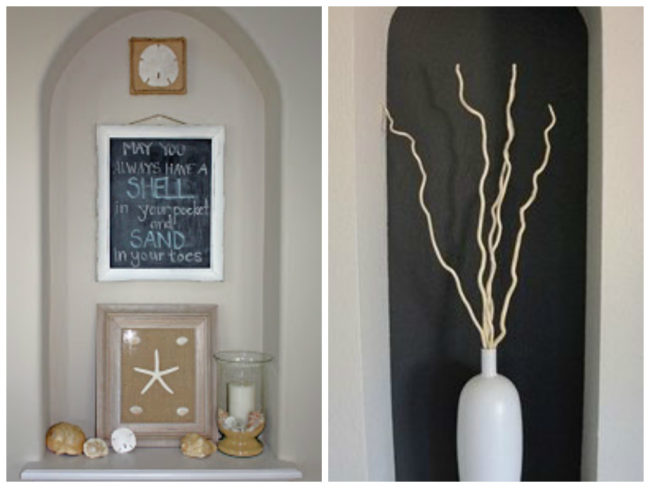
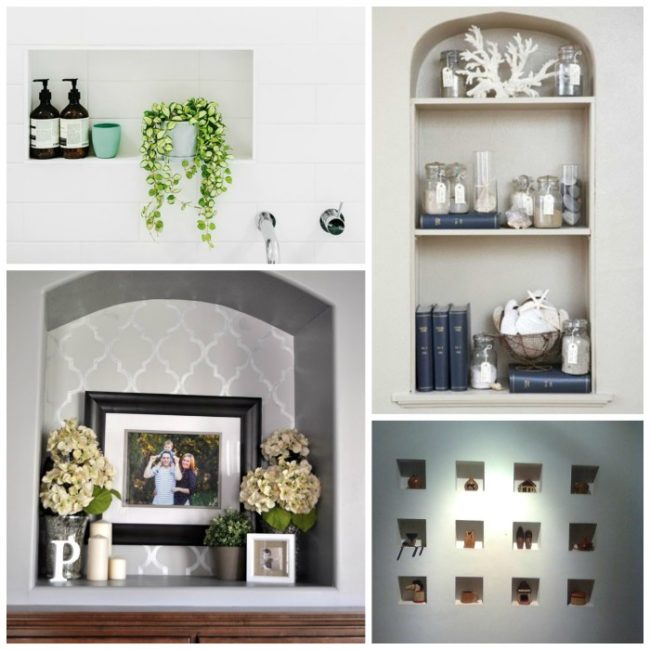
 In the bathroom are beautiful little tubes withbathroom accessories, scented candles, bath salt, decorative shells - these things, placed on niche shelves, will decorate the room in the best way. Also on the wall of the niche you can put a mirror and make the backlight - beautiful and practical.
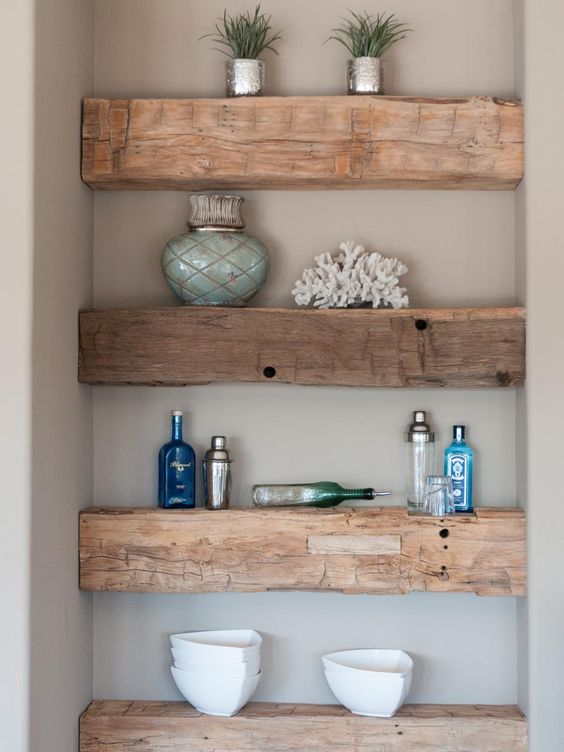
 Depends on size, destination and locationniche location need to choose the way to handle it. They can be combined to create a unique design that is perfect for your apartment.
Niche processing:
To glue wallpaper or wallpaper inside An alternative to the wall picture, but at the same time on the bottom of the niche you can still put flowers or decorative ornaments. 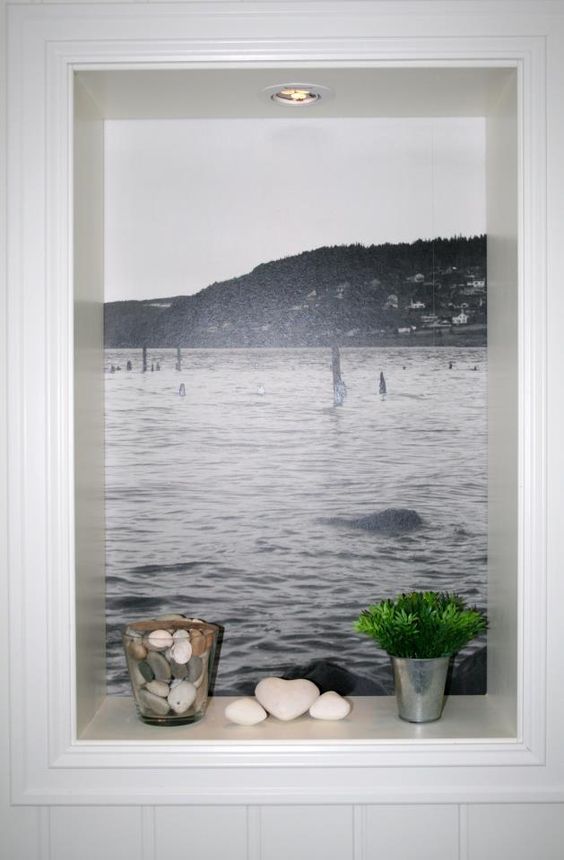
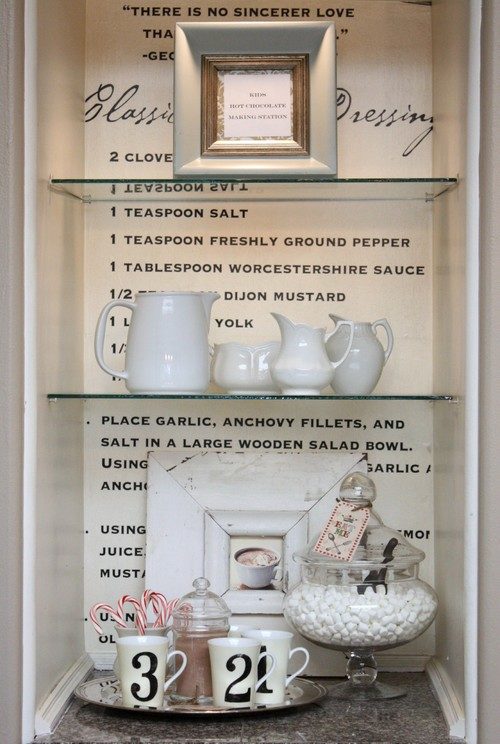 Paint the inner surface Niche surfacecan be painted in the color of the walls (in this case, the niche fits harmoniously into the wall, and does not stand out in particular) or in a contrasting color (emphasizes attention). or an inscription in a beautiful font will decorate a niche and, accordingly, the whole room.
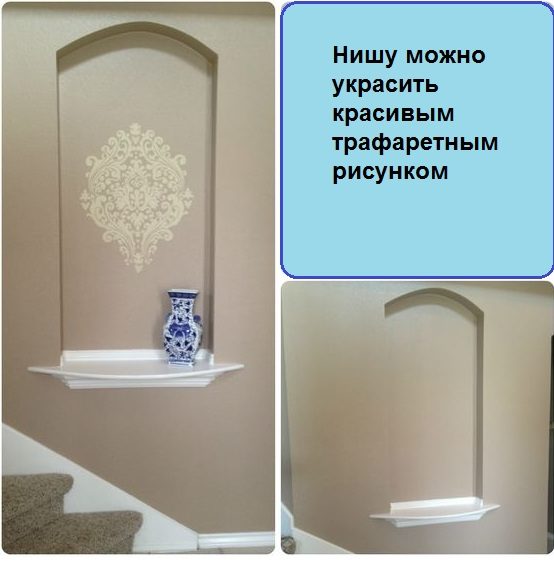 Another option is to apply a special paint, according towhich you can draw with chalk. This will please the children, giving them the opportunity to draw on the walls (without getting curses at the same time), and you can leave a note (this one should definitely be noticed and read).
 To lay out a decorative stone. At the same time consider the ratio of styles in the apartment.
 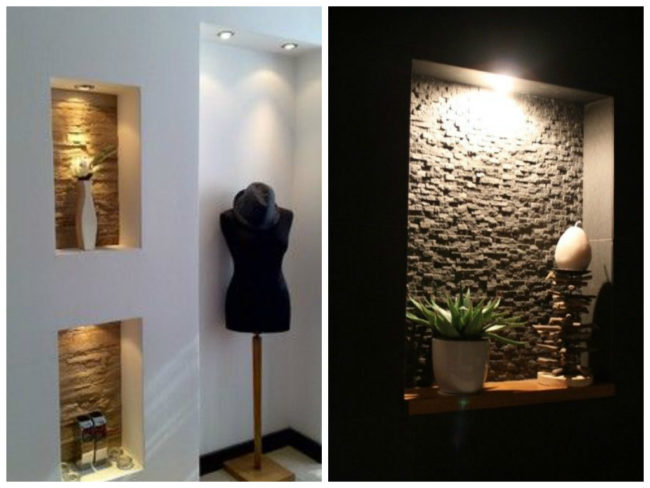 Make a frame for a niche This will help to better highlight a niche on the wall, make it more visible.
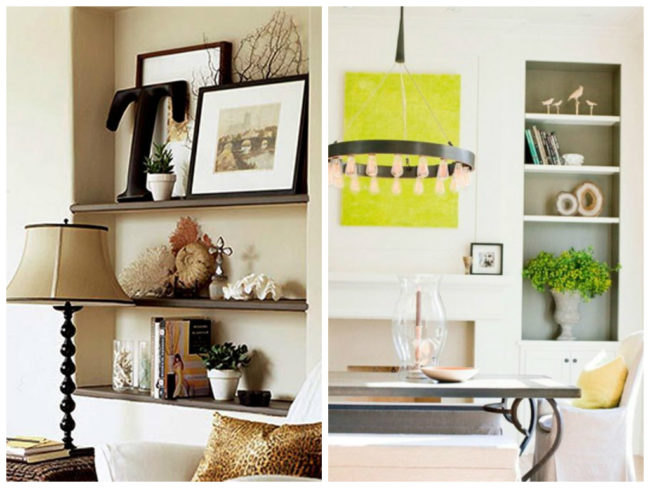
 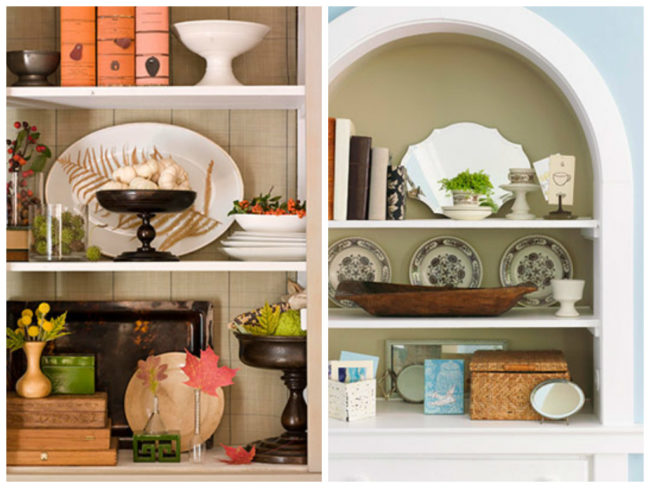 Place shelves or cabinet Shelves attach to a nichepracticality and functionality. Of course, it all depends on the depth of the niche and their size: a niche can remain decorative, but you can still put more things there. In a deep niche, you can equip a bookcase or even a complete wardrobe for things.
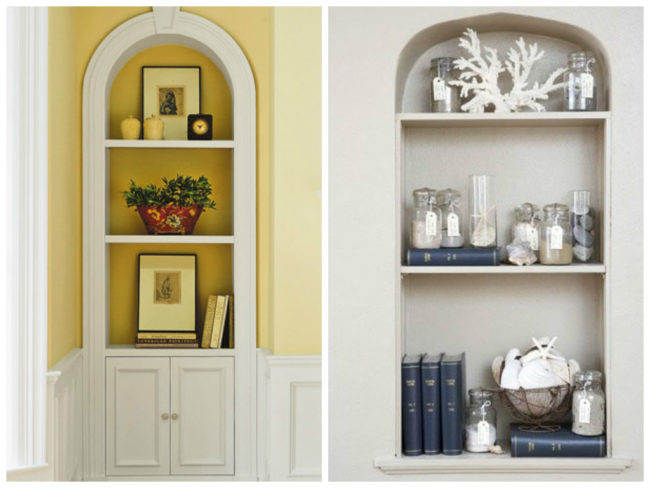
 Place a mirror By placing a mirror in a niche, youaccurately reduce the chance of breaking it by accidentally hooking it with your hand. In this case, it is better to make an additional highlight so that you can clearly see your reflection in it.
 Upholstered and seat Cozy soft corner for a pleasant tea or immersion in reading.
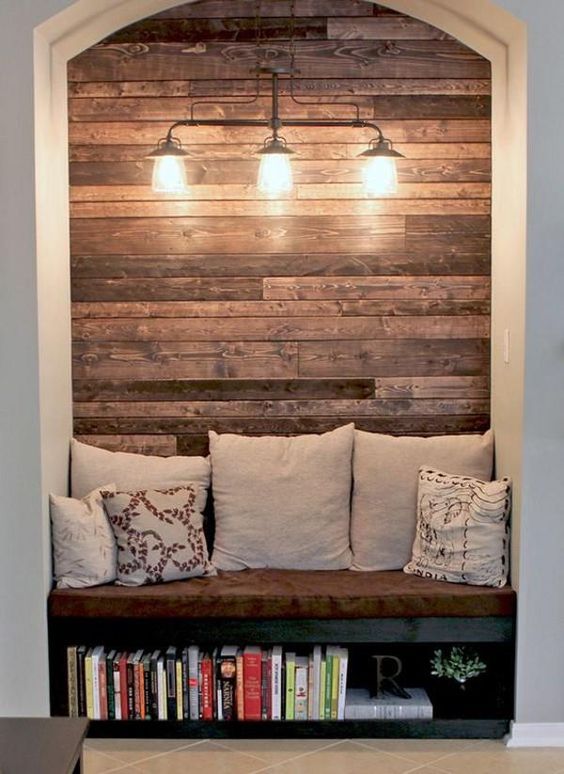 Highlight niche Additional wall decor and emphasis on things in a niche. In case there is a mirror in the niche, - convenience of use.
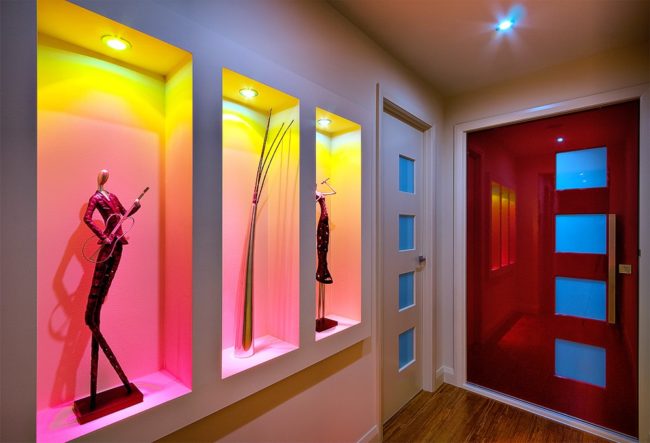
 Now that we have considered the ideas of using niches, I propose to move from theory to action and, with the help of the following workshops, try to build a beautiful and neat niche.
Master class: DIY frame for a niche
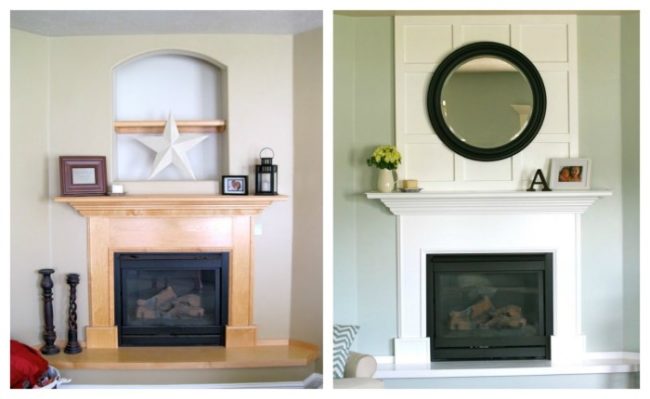
In a very narrow niche it makes no sense to insertAny cabinet or shelves, they just do not fit there. Also, the options for covering the back wall are narrowed; it should be thin so as not to narrow the shallow niche. Therefore, in this case, paint or wallpaper is used. PHOTO TO (niche before processing :) 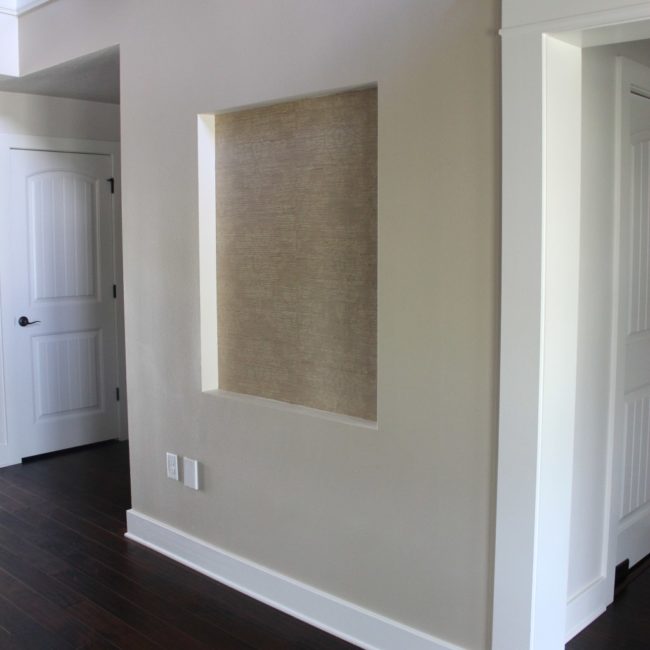 In this niche, structuredWallpaper, there was only a question how else can it be refined. And the frame is a wonderful way out. Since the door frame and plinth are made in the same style and painted white, the decision to make the same frame for the niche came of itself. AFTER (Niche after processing):
 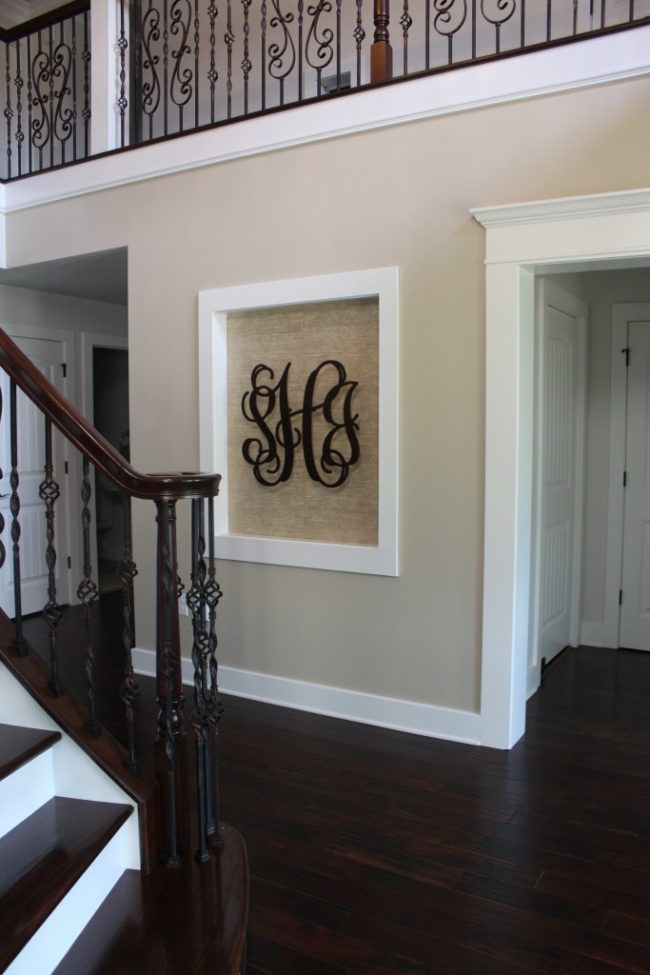 Necessary materials:
- 2 boards 9 cm wide and 114 cm long (for the inner side parts of the frame)
- 2 boards 9 cm wide and 117 cm long (for the outer sides of the frame)
- 2 boards 9 cm wide and 97 cm long (for the inner top and bottom of the frame)
- 2 boards 13 cm wide and 112 cm long (for outer upper and lower parts of the frame)
- Wood glue
- Hidden dowels
- Screws
- Drill
- Sandpaper
- Paint and brush
Here pine boards were used.  Dimensions spend on the size of a niche in your apartment.
- The outer side boards and the inner top and bottom boards must be exactly the size of the niche;
- inner side boards should be smaller than the size of the niche by the width of the boards so that the folded frame would fit into the niche.
Step by Step Instruction: Step 1: Painting Apply a layer of white paint to the wood, let it dry. Then apply another coat of paint and let it dry too.  Step 2: Making the inner frame. Form the frame in the middle of the niche. To do this, attach the boards from the inside of the niche with screws: first side, then top and bottom. Boards must be flush with the wall, do not protrude.
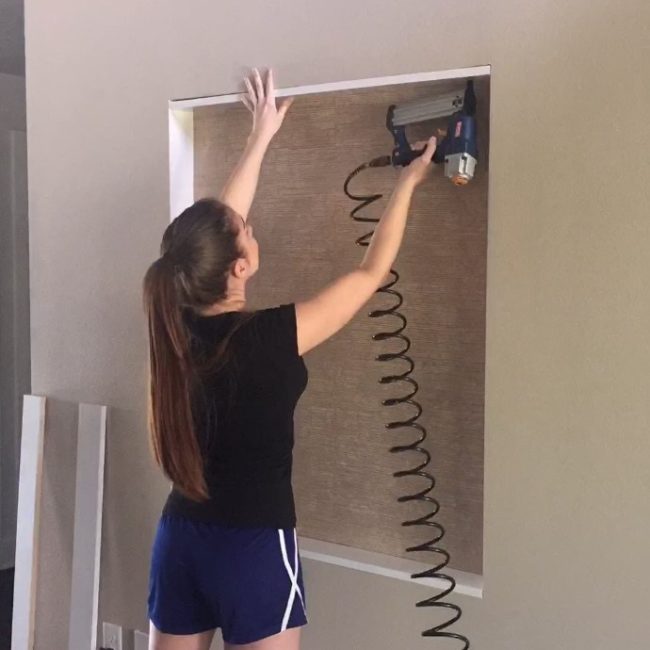
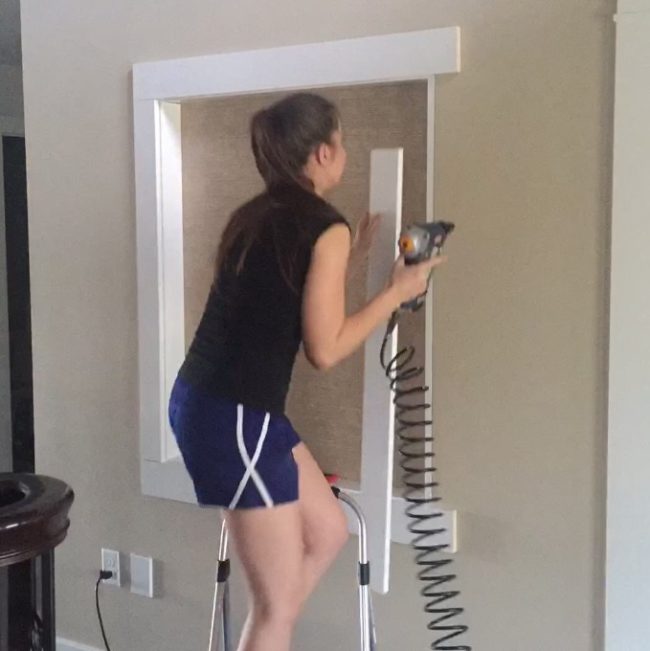
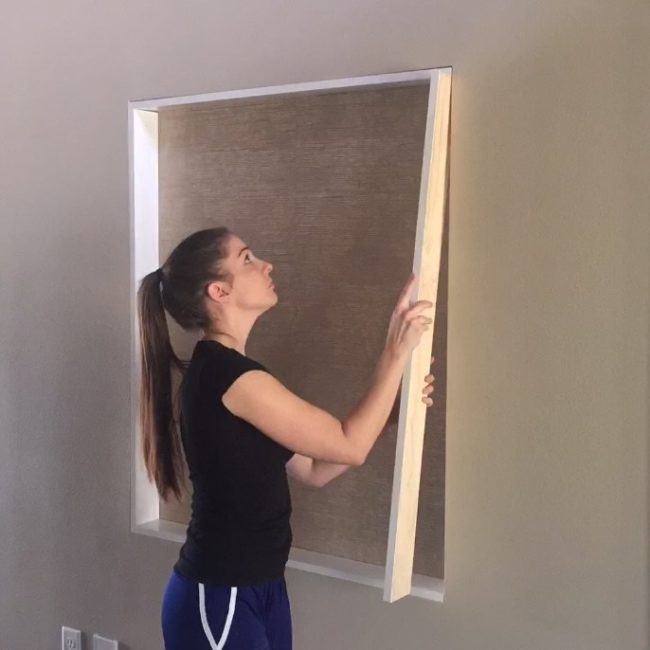 Step 3: Making the outer frame To connect the outer boards with the inner frame, we will use hidden fasteners (dowels).
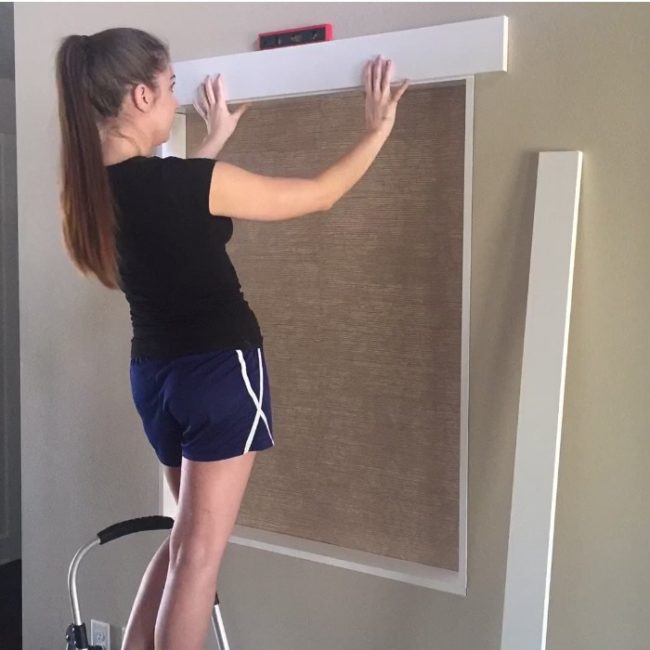
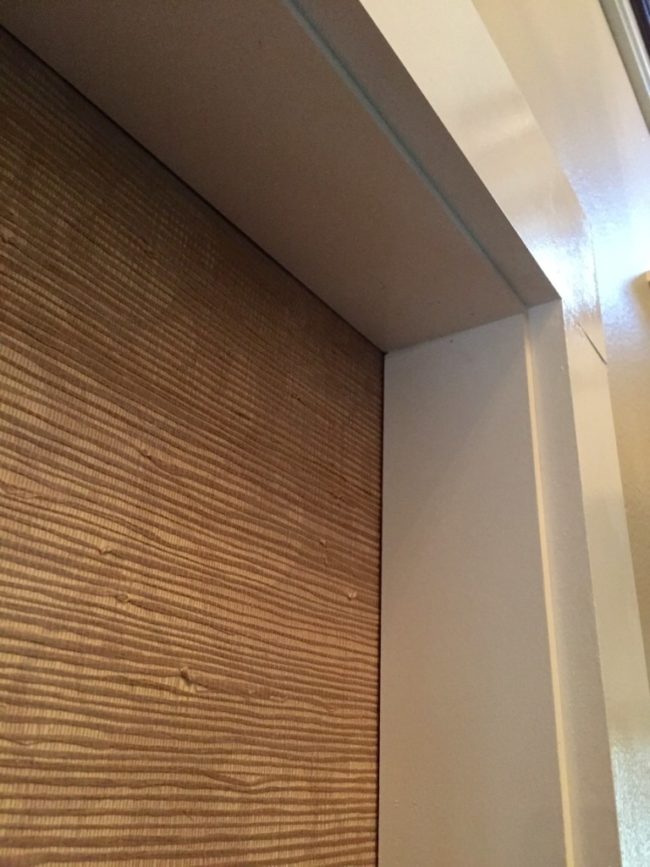
Here is the finished frame:  Overlap of the upper and lower frame with a ledge close-up:
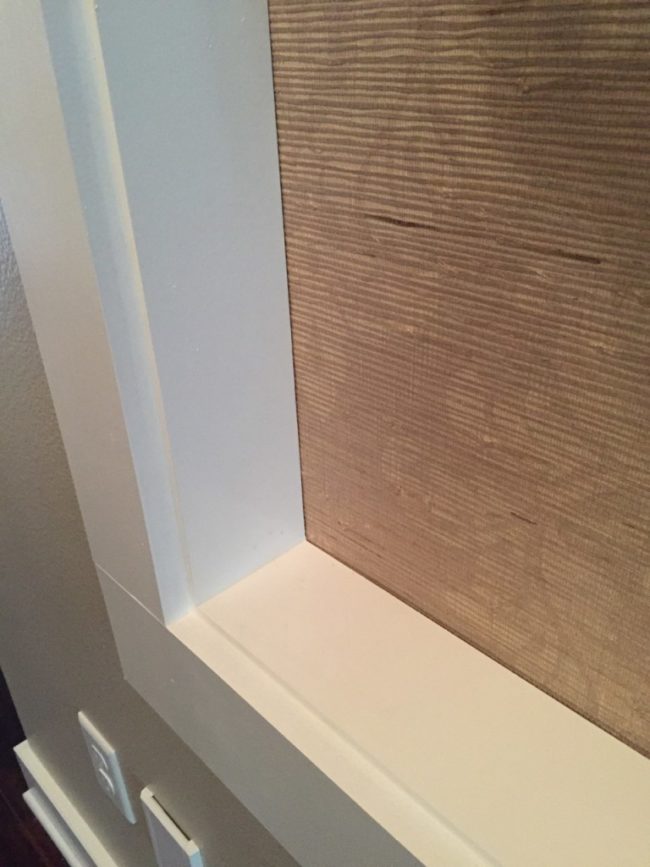
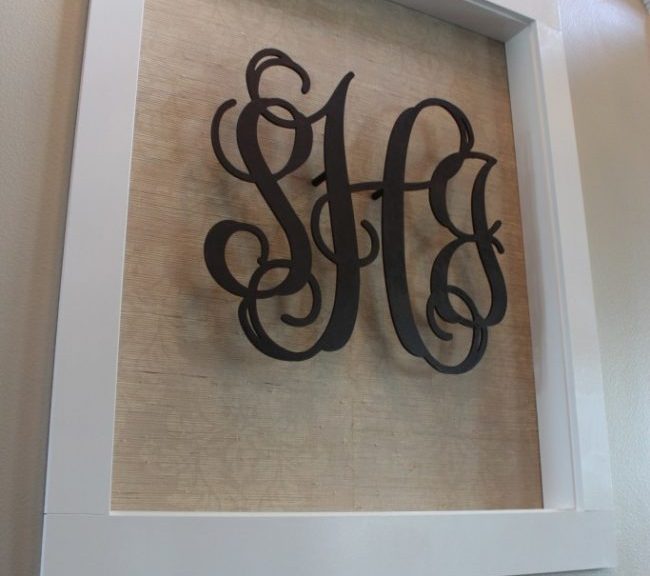
 Step 4: Add a decorative element In the middle of a niche you can put, for example, a picture or photos. But here we will decorate it with voluminous wooden initials (initials cut out were purchased from the online store).
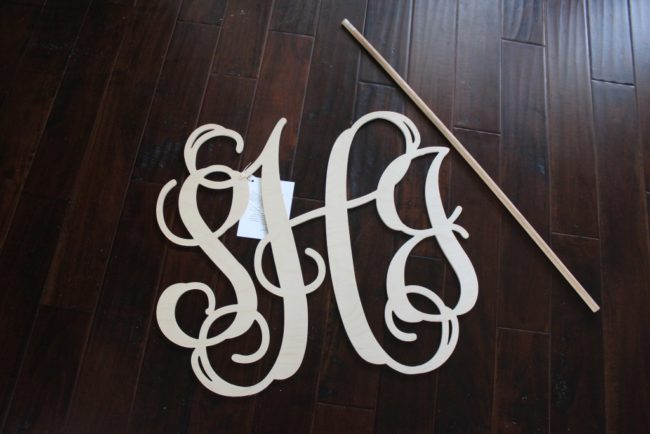
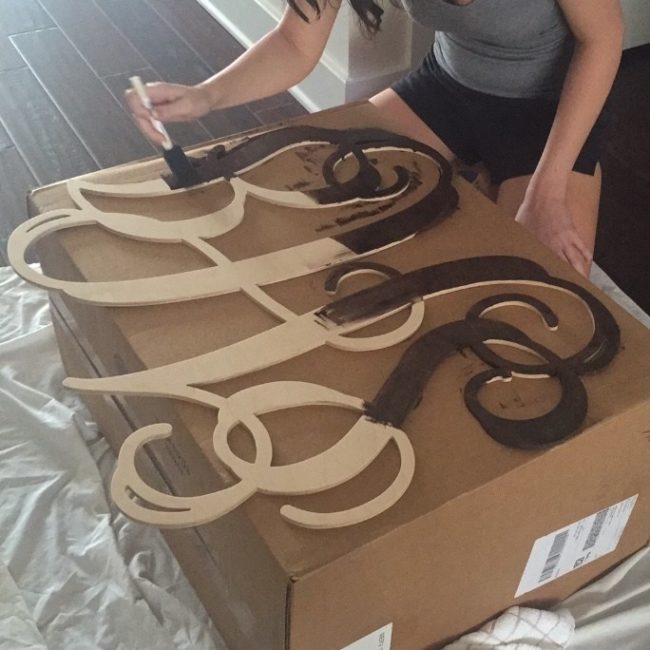
- First you need to paint the tree, for this was used contrasting paint (dark brown) to highlight the background of the frame.
- Apply two coats of paint and let it dry.
 Drill two holes in the wall and insert two wide wooden dowels approximately 7.5 cm long into it.
 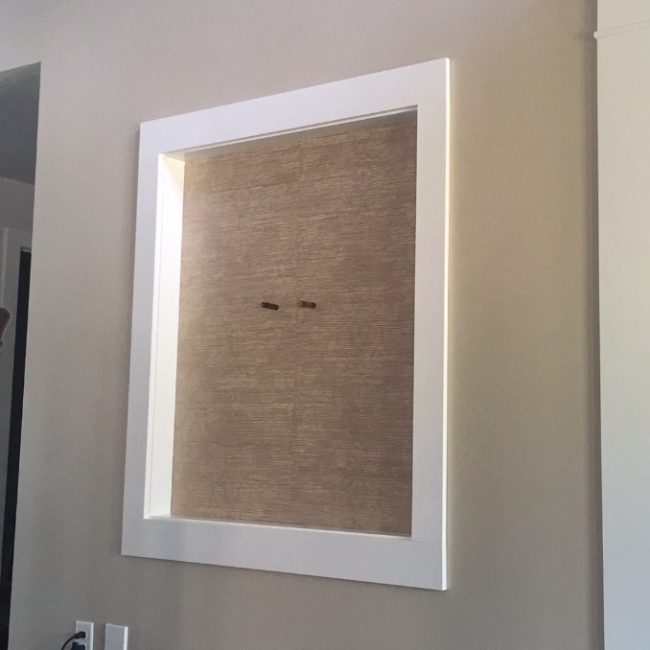 Now attach decorative initials to the dowel (this can be done with nails or screws).
 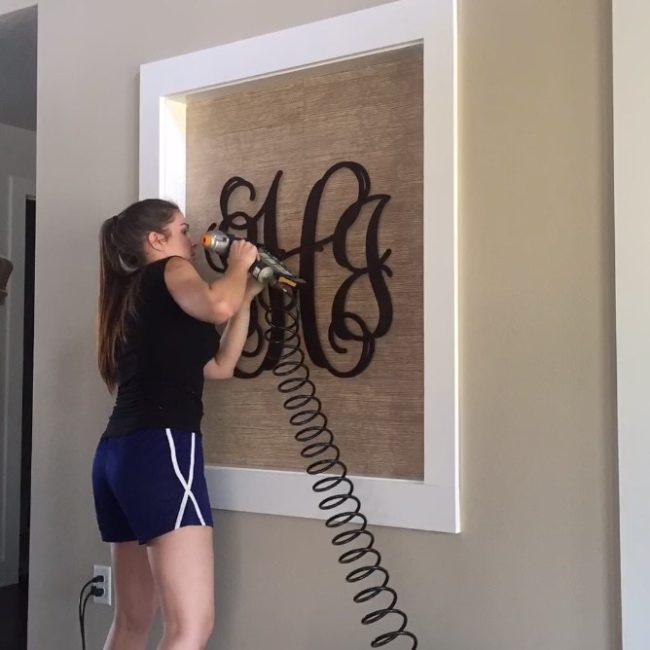 Here's what happens in the end:
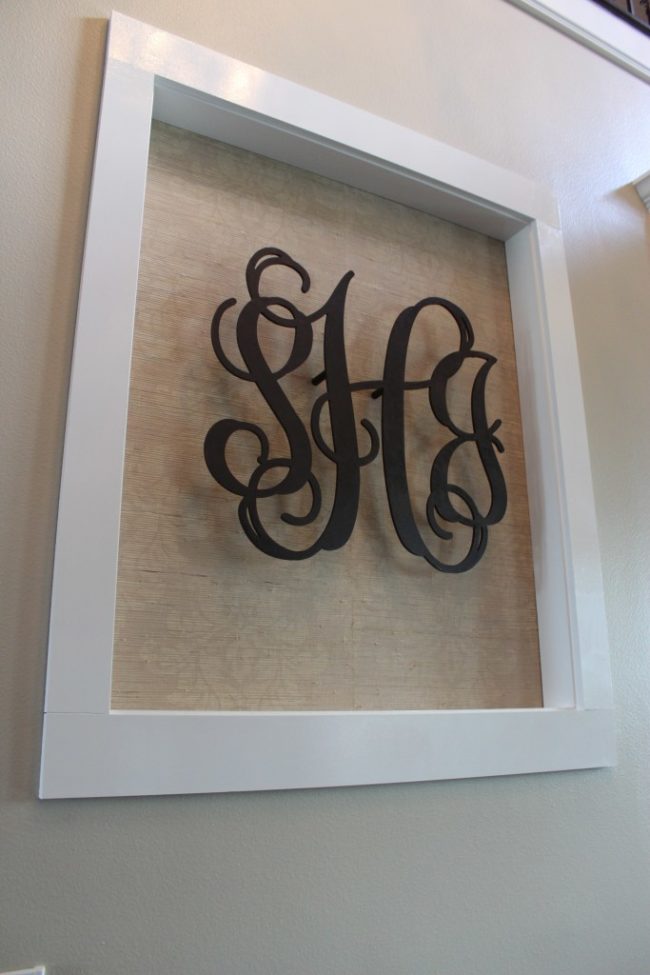
Comments
Related posts:
 Decoupage master class step by step. Photo ideas for decoupage.
 Beautiful hairstyles on long hair are easily created by own hands. Master-class with a phased photo hairstyles will teach you to beautifully style your hair.
 Tilda tulips and rose, master class, photo, ideas / Toys with own hands, patterns, video, MK
 How to tie a snowman with knitting needles, master class, photo, ideas / Toys with own hands, patterns, video, MK
 Cat tilde master class, pattern, photo, ideas / toys with their own hands, patterns, video, MK