How to make a beautiful bead for Christmas trees? New Year's master class beads
For a long time already beads have occupied an honorable place inhandicrafts and helps the masters of the whole world to make their experiments, use old and new ideas to form their own ideas. Such a multifaceted theme of beadwork touched also the big holiday of winter time - the New Year. It is not surprising, because the unique crafts that we can make with this technique, increasingly occupy a special place in our lives. On the eve of Christmas, as well as the new year, we try to come up with new ideas for implementing our own ideas. What will the beads prepare for us this time?
How to make a beautiful bead for Christmas trees? New Year's master class beads
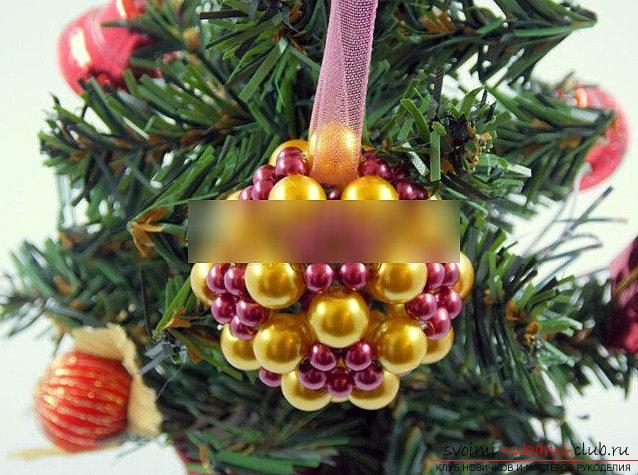
Of course, the main place for any New Yearholiday remains for the Christmas tree. It is her process of decorating for the family - one of the most important and perhaps significant events of this holiday (of course, except for gifts). Therefore, various toys and thematic items for the Christmas tree are always necessary and sometimes, we ourselves think about how to do something of our own. Beading of toys has a certain set of rules, as well as the skills that need to be mastered. But, this master class will be able to tell you all the subtleties of creating a new toy, as well as show modern ways of decorating a herringbone with beads. New Year's toy with beading on a Christmas tree 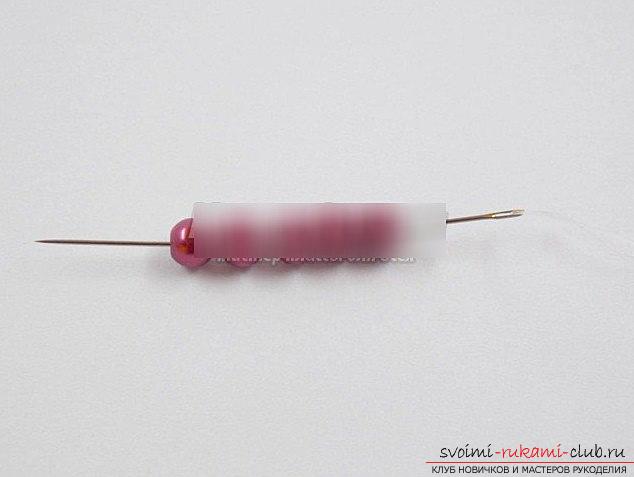 Our toy will be executed by means of differentchains of beads, so that it becomes a very bright and shiny toy. Therefore, if you are willing to spend your time preparing an interesting and unique gift idea - go for it. A toy made from beads is made easy enough. It will require a certain set of materials, as well as special skills that we will be able to implement with the help of a master class:
- Prepare beads of different colors in the amount of 2 millimeters, 5 millimeters
- You will need a mono-thread, as well as a string and line
- Requires a special needle for beadwork
Forming an asterisk 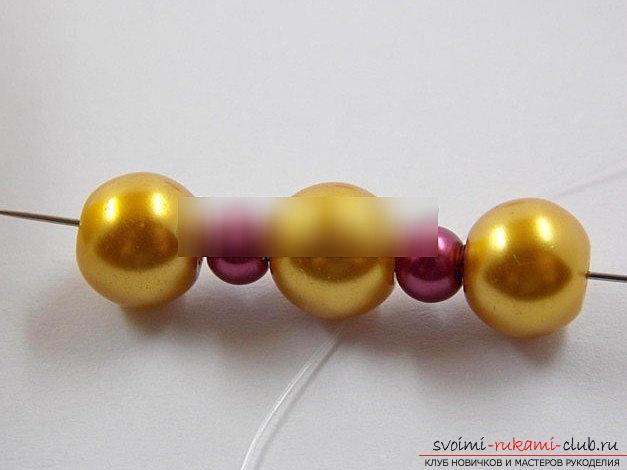 In order to implement a toy, we will have towork according to the scheme of five beads. Next, five new beads will be added to each circle. We use a mono thread in length of 2 meters to work. We put it into two parts and tie it in a knot. Also, you can weave on one thread, but, in that case, the ball will be more fragile. Next, you need to sew on the needle five beads. After that, we hold the needle in the first bead, and also tighten, leaving the thread in the knot by 5 cm in free space. After, we make a string of three large, as well as two small beads in turn. After, return the needle to the place where the thread came out. After, with a free needle, enter the next bead, in the same way - in a circular pattern. Next, you need to sew on a needle beads large size, a small bead, again large and again small. The third large bead may not be strung, as it will be carried through a large bead in the previous row of the circle. Thus we will form a common type edge. This principle is needed for the first four laps of five beads.
 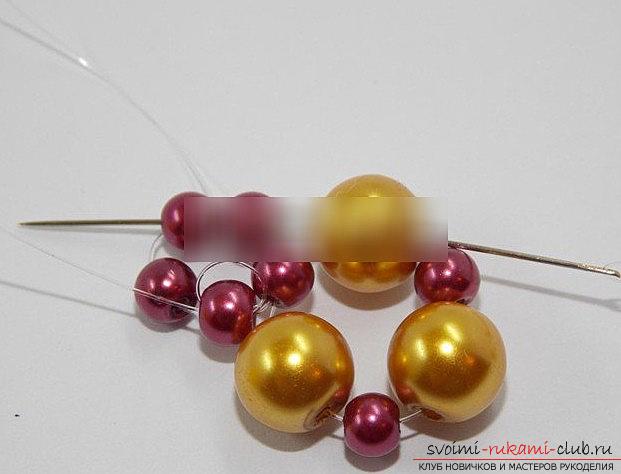 Afterwards, in the fifth round we make a bead of a general typefor the first round, with a common bead on the fourth circle. Guide the needle in the bead of the first corner, then - thread a small bead on the needle, after - again large, then - again small and hold the needle through a large version of the bead in the 4th circle. An asterisk is generated. It is necessary to make sure that the thread is stretched. Formation of the elements of the toy
 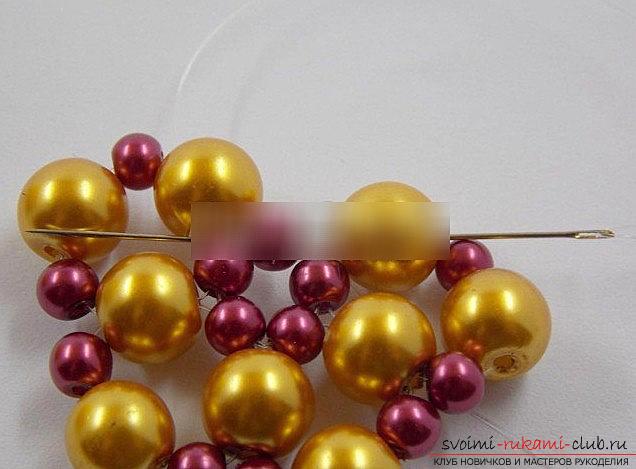 Then, the needle is inserted into small beads,further, string the beads on the needle and return the needle to the beads (two, small sizes). Get the shape of the circle into 5 beads. Next, you need to output the needle for a large bead. Again we sew thread on needles in a distance through one two small, two large. Then, the needle is held through a small bead in the circle of the previous step, then the needle returns to the big bead and after, again is carried out on two small beads. Next, to form a circle of five beads, you need to take two small beads. They need to be strung on a needle and lead through a bead (one) in the previous circle, as well as two beads in the bottom row. So, make a circular motion. In the last round, as well as in big and small beads, we will have one common bead of small size in the first circle, and also a small bead on the previous circle. The last time we make a string of one big, and then - one small, one big bead. In the end, we get a hemisphere variant where there are five small beads at the top.
  We produce a needle for one smallbeads, we form a flower for five beads. It is necessary to string 4 beads, and then, to conduct them in a bead that is bred in the needle. After, the needle is passed through a large bead, then small, again large. After, it is necessary to thread a large bead in the needle, also small, then pull the needle out to the location of the outcome.
  End of work For the next flower, take threebeads, as in analogy to the two. We take one in the last row, and take one in the previous step. To close the circle, we need a large bead. And the little ones will take from the first flower, and also from the previous version of the flower. In the next step, we make the withdrawal of the needle, using small beads in the amount of 2 pcs. After, it is necessary to make a string of beads of large size, then small and again large. Thus, we make the needle wiring to close the circle in one small, then the big one, and then - it is necessary to return the bead from which the needle is removed. The next row is formed between the beads of the two following species. One big, one small. The circle is washed. It turns out a ring for five small beads, as in the version of the beginning. After, the needle is held in them, after, so that the ring looks more rigid. The needle returns to the beginning, where the string for the nodule was left. After, we tie the corners and hide them inside the beads. Crop unnecessary elements. On the finished ball fixed tape, or thread! The toy is ready!
