
How to decorate Christmas tree balls with the help of decoupage techniques, two master classes with step-by-step photos
When the time comes for New Year's holidays,one of the most memorable moments is the decoration of the Christmas tree. The most popular of the items that both kids and adults hang with pleasure on a green beauty, probably, are Christmas balls. In the shops they are sold countless, which simply amazes imagination. At the same time, there will be no less impressive number of balls in every house. To decorate a Christmas tree with really original and beautiful balls, you can make them yourself. In this case, it is not necessary to add the remaining ones to the box with old toys. Use old or ugly balls to create bright and original handicrafts in decoupage techniques. In this article we offer detailed step-by-step master classes on the creation of such Christmas decorations. Decoupage techniques have more than 8 centuries. The very first crafts were created in the homeland of paper - in China around the 12th century. The peasants cut out various details from thin paper and used them as an application for decoration of housing, furniture and various accessories and interior items. Now, to create crafts in this technique, there are much more materials, so things are more colorful and beautiful. Christmas balls in the technique of decoupage Option 1 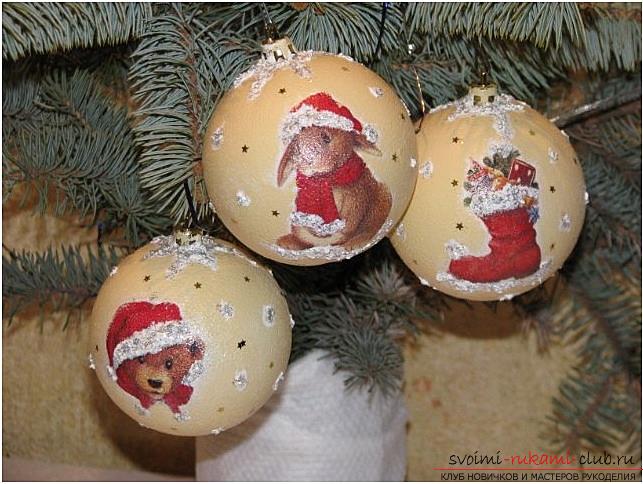 It will take:
- Balls made of plastic (in this master class the diameter of the Christmas tree is 8 cm) (color does not matter).
- Colors of acrylic white, yellow and blue shades.
- Acrylic lacquer.
- Three-layer napkins with a pattern (the figure is selected based on the size of the ball).
- PVA glue.
- Scissors.
- Contours for glass or ceramics (paints in tubes with a thin spout).
- Palette (in this master class in this role a plaque made of plastic for modeling).
- Flat synthetic brushes.
- Foam Sponge.
- For decor of sequins and semolina.
First, let's deal with the processing of balls. Simple plastic ones will do. On the palette put a little paint of white color. Now take a piece of foam rubber (suitable for washing dishes), dipped in paint and patted motion distribute the ball. Dip the sponge more often, it should always be in the paint. On the ball it looks like snow.  We cover with paint all the balls that we plan to decorate and leave to dry out. Time will need about 1 hour for this.
 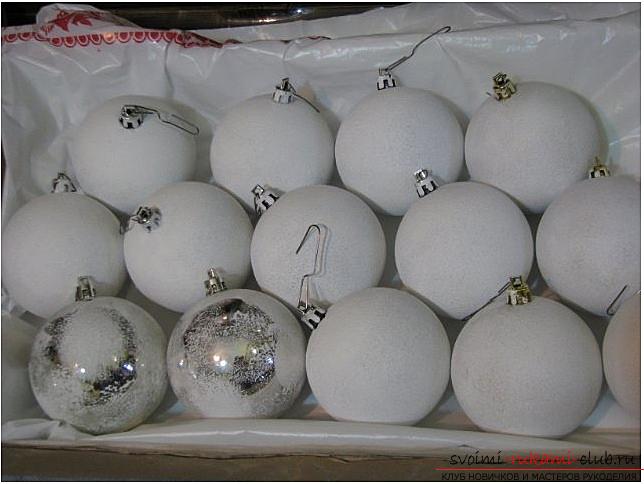 While the blanks dry, you can do napkins.
 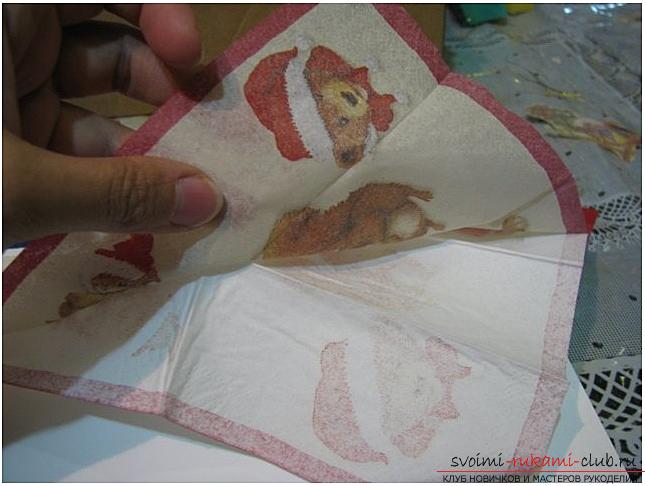 Separate the topmost layer with the pattern and cut out the fragments. Welcome New Year's motives, but it's the taste of the needlewoman.
 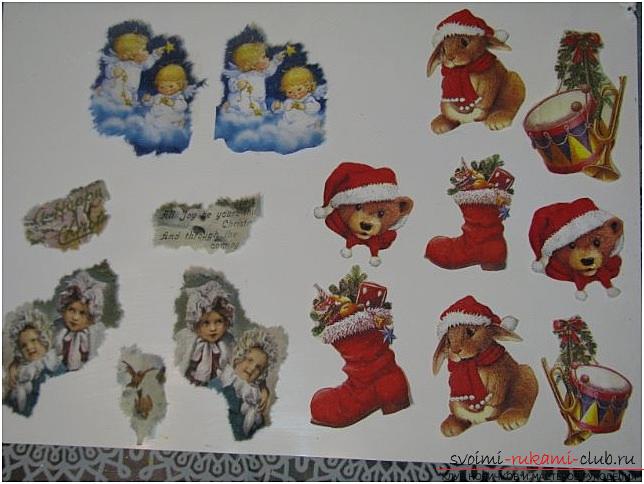 In a separate vessel it is necessary to dissolve PVA gluewith water in a 1: 1 ratio. Motifs are glued on the balls with this mixture. The process is reminiscent of wallpapering - first glue in the center, and then move to the edges of this piece of napkin.
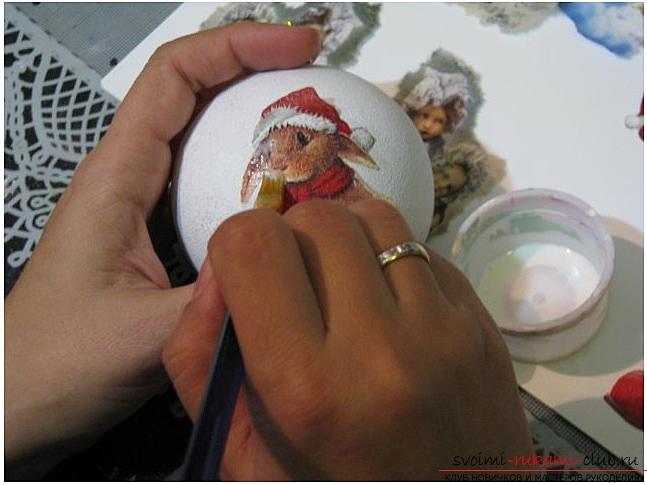
 Similarly, we do all the restblanks. Now we dilute the yellow paint and cover it with a ball around the fragment using a piece of sponge with similar patting movements. For different motives, use a different degree of intensity of the paint.
  After the yellow paint too will dry up, it is necessary to cover all ball with a varnish.
 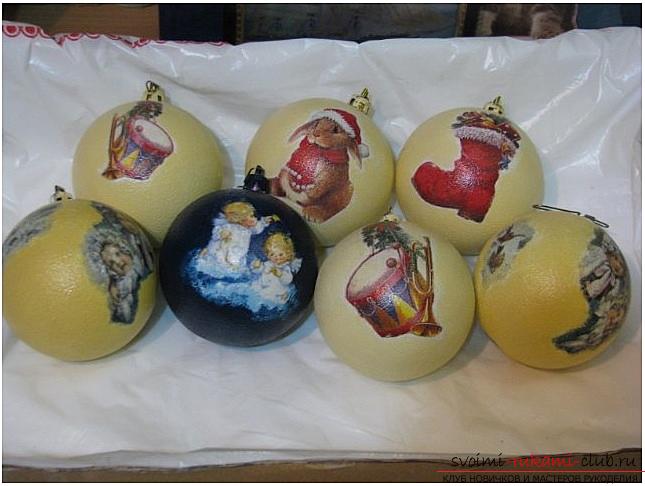 Now the most important thing. No New Year can not do without snow. To create it, you need to mix white paint and a manga before getting a gruel. Next, take a thin brush and put snow (see photo).
  It remains only to cover the strategic places with sparkles and the New Year's Christmas tree in the technique of decoupage is ready.
 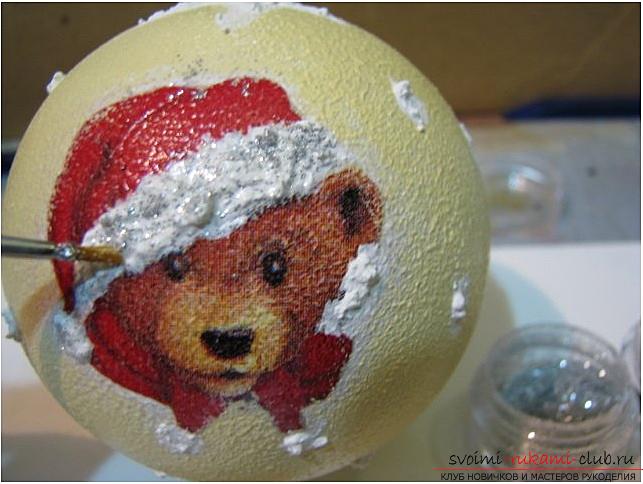 Option 2 Two-sided Christmas tree-ball in the technique of decoupage with elements of papier-mâché.
  It will take:
- Plastic Christmas tree ball (best transparent).
- Acrylic white paint (in this master class used enamel in aerosol packaging), as well as pink and green.
- Fine grained sandpaper.
- Alcohol or acetone for degreasing.
- Colored three-layer napkin with a New Year theme (several pieces of the same).
- Flat and fan brushes (synthetic).
- Acrylic lacquer.
- Scissors.
- Instant glue and PVA glue.
- White toilet paper.
- Contours for glass.
- Reinforced ribbon made of organza with sparkles.
- Narrow tape of satin.
- Sequins.
- 3D gel for decoupage.
We begin the process with the processing of the ball. If there is paint on it, sand the surface and degrease using alcohol or acetone. The fastening must be pulled out. Now it is necessary to paint it with white paint in several layers. The color should be very uniform. 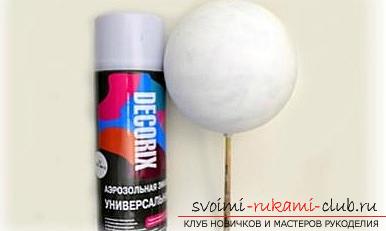 While the paint dries, we'll do a napkin. It is necessary to separate the upper paint layer. We cut out necessary fragments from it. In this master class it is Santa Claus and herringbone. Now glue our motives with glue or acrylic lacquer to the ball. Use a fan brush to do this.
  Since our figures are assumed to be three-dimensional,do a lot for papier-mache. Pieces of toilet paper (white) are filled with cold water. We wait about 7-10 minutes, squeeze out the pulp and crush it. Mix the resulting mass with the PVA glue. Now, using a thin and flat stick, lay out a mass of papier-mache on the glued fragments. At the Grandfather Frost the bubble and a beard we spread more thick layer, than a fur coat and other details. Belt leave free.
 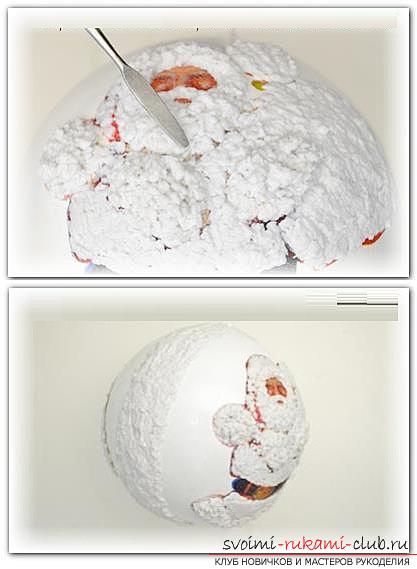 Since the ball is planned to be madedouble-sided, then spread a thin layer of mass as a border. Now we are waiting for all the components to dry up. When the workpiece has dried out, we cut out another identical image and paste it on top of the paper topography. Now, with the help of a paint of the appropriate color, we paint the details: bag, beard, etc.
 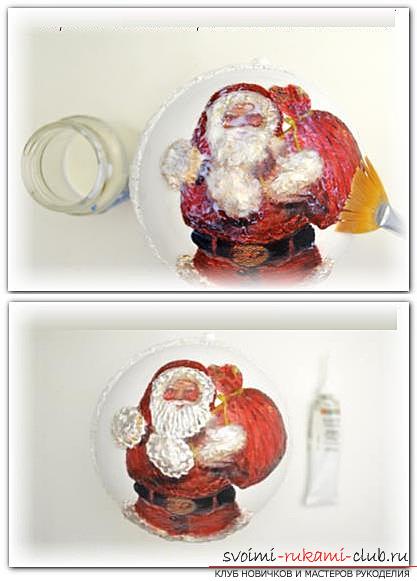 The outline of the golden color on the Christmas tree is drawntoys and candles. Now cover the contours of the relief with a suitable shade of green. It is necessary to shade the border in the direction of darkening to the border along the center of the sphere.
  We cover with a transparent acrylic varnish a fur-tree.
 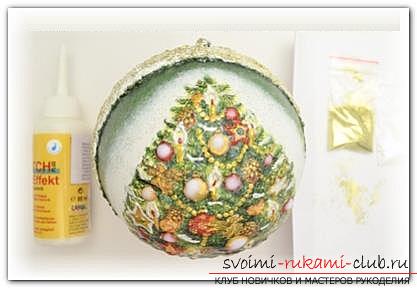 The separation strip must be left white. If the paints have a little bit got out of bounds, paint it with white paint again. We glue the sequins. They can easily be planted on a thin layer of varnish or PVA glue. By droplets of the bulk gel, the balls on the herringbone are convex. When everything is dry, we begin the last stage. As a fastener for hanging on a Christmas tree, use a thin satin ribbon of golden color. We make a loop from it and fix it in the hole of the ball with the help of instant glue. From the reinforced ribbon tie a bow on this loop, as shown in the photo. The edges of the tape are cut and placed along the line separating the drawings.
 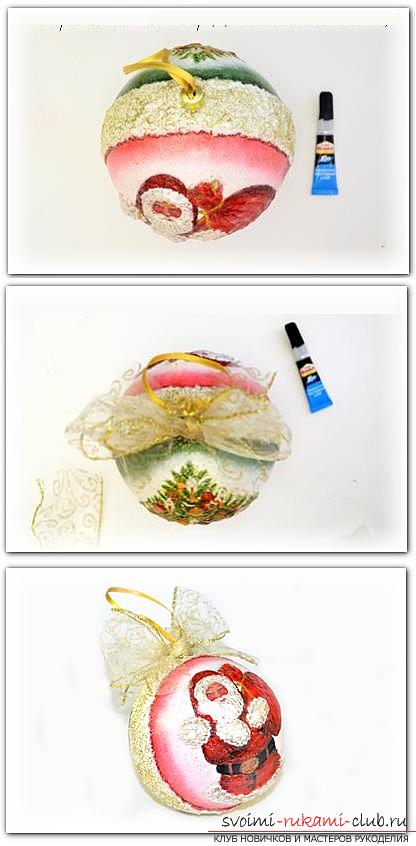 The ball is ready.
Comments
Related posts:
 How to make Christmas-tree toys: balls, snowflakes and much more by yourself, master classes on creating Christmas tree toys with step-by-step photos and descriptions
 This master class will show you how to decorate your hands with New Year's toys - Christmas balls
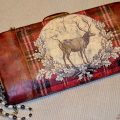 The master class will teach you how to decorate the clutch with your own hands using the technique of decoupage
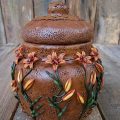 Master class with step-by-step photos, how to decorate a glass pot with polymer clay.
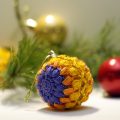
 Ornaments on the Christmas tree with your own hands - crocheted Christmas balls for the Spring 2016 Competition, Christmas balls at home