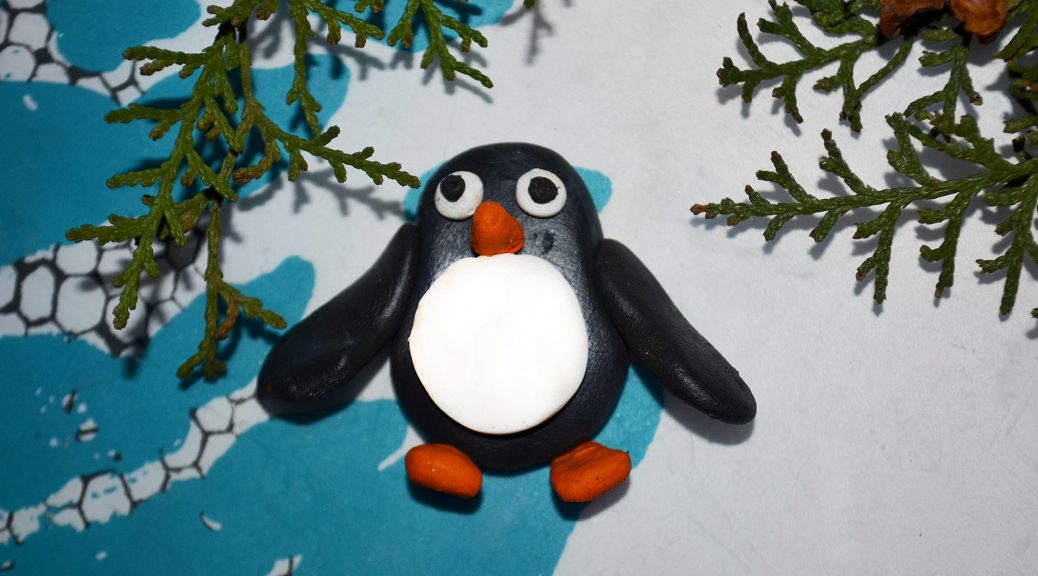
How to fashion a small penguin from polymer clay? Lesson modeling with a detailed description of technology, work stages and step by step photos
The modeling is very interesting and fascinatingan occupation that both adults and children enjoy doing. And if usually the children take the usual clay or salted dough for the basis of their crafts, the adults, wishing to save their man-made masterpieces for a long time, prefer to use polymer clay. Usually from this material create beautiful jewelry, as well as small trinkets, for example, magnets on the refrigerator, how to make one of these, in the form of a fun Penguin, I want to tell you in this master class. Such a product will not only be able to decorate the door of your refrigerator, but it is also able to become a small pre-Christmas gift for relatives, friends, or co-workers. Dear Penguinchik surely will raise all the mood and give a smile.
Materials and tools
So, how to make a penguin out of polymer clay. For work we need the following materials:
- polymeric clay of black, white and orange color;
- small flat magnet;
- Super glue.
Description of work
1. Let's start with the manufacture of the trunk and head of the Penguinenka, for this we take a piece of black polymer polymer, preheated in hands to a soft state and then form a small volumetric oval. In our version, its size is about 2.5-3 cm, but you can make a larger figure, for this you will need more work, respectively.  2. Then we start the resulting workpiece on a clean, flat surface, giving it the shape we need. The thickness of the product should be about 4-5 millimeters, with this, in the upper part we form the head, there is a smaller part, and below expand for the trunk. In general, in form, our workpiece must resemble the shape of a pear.
 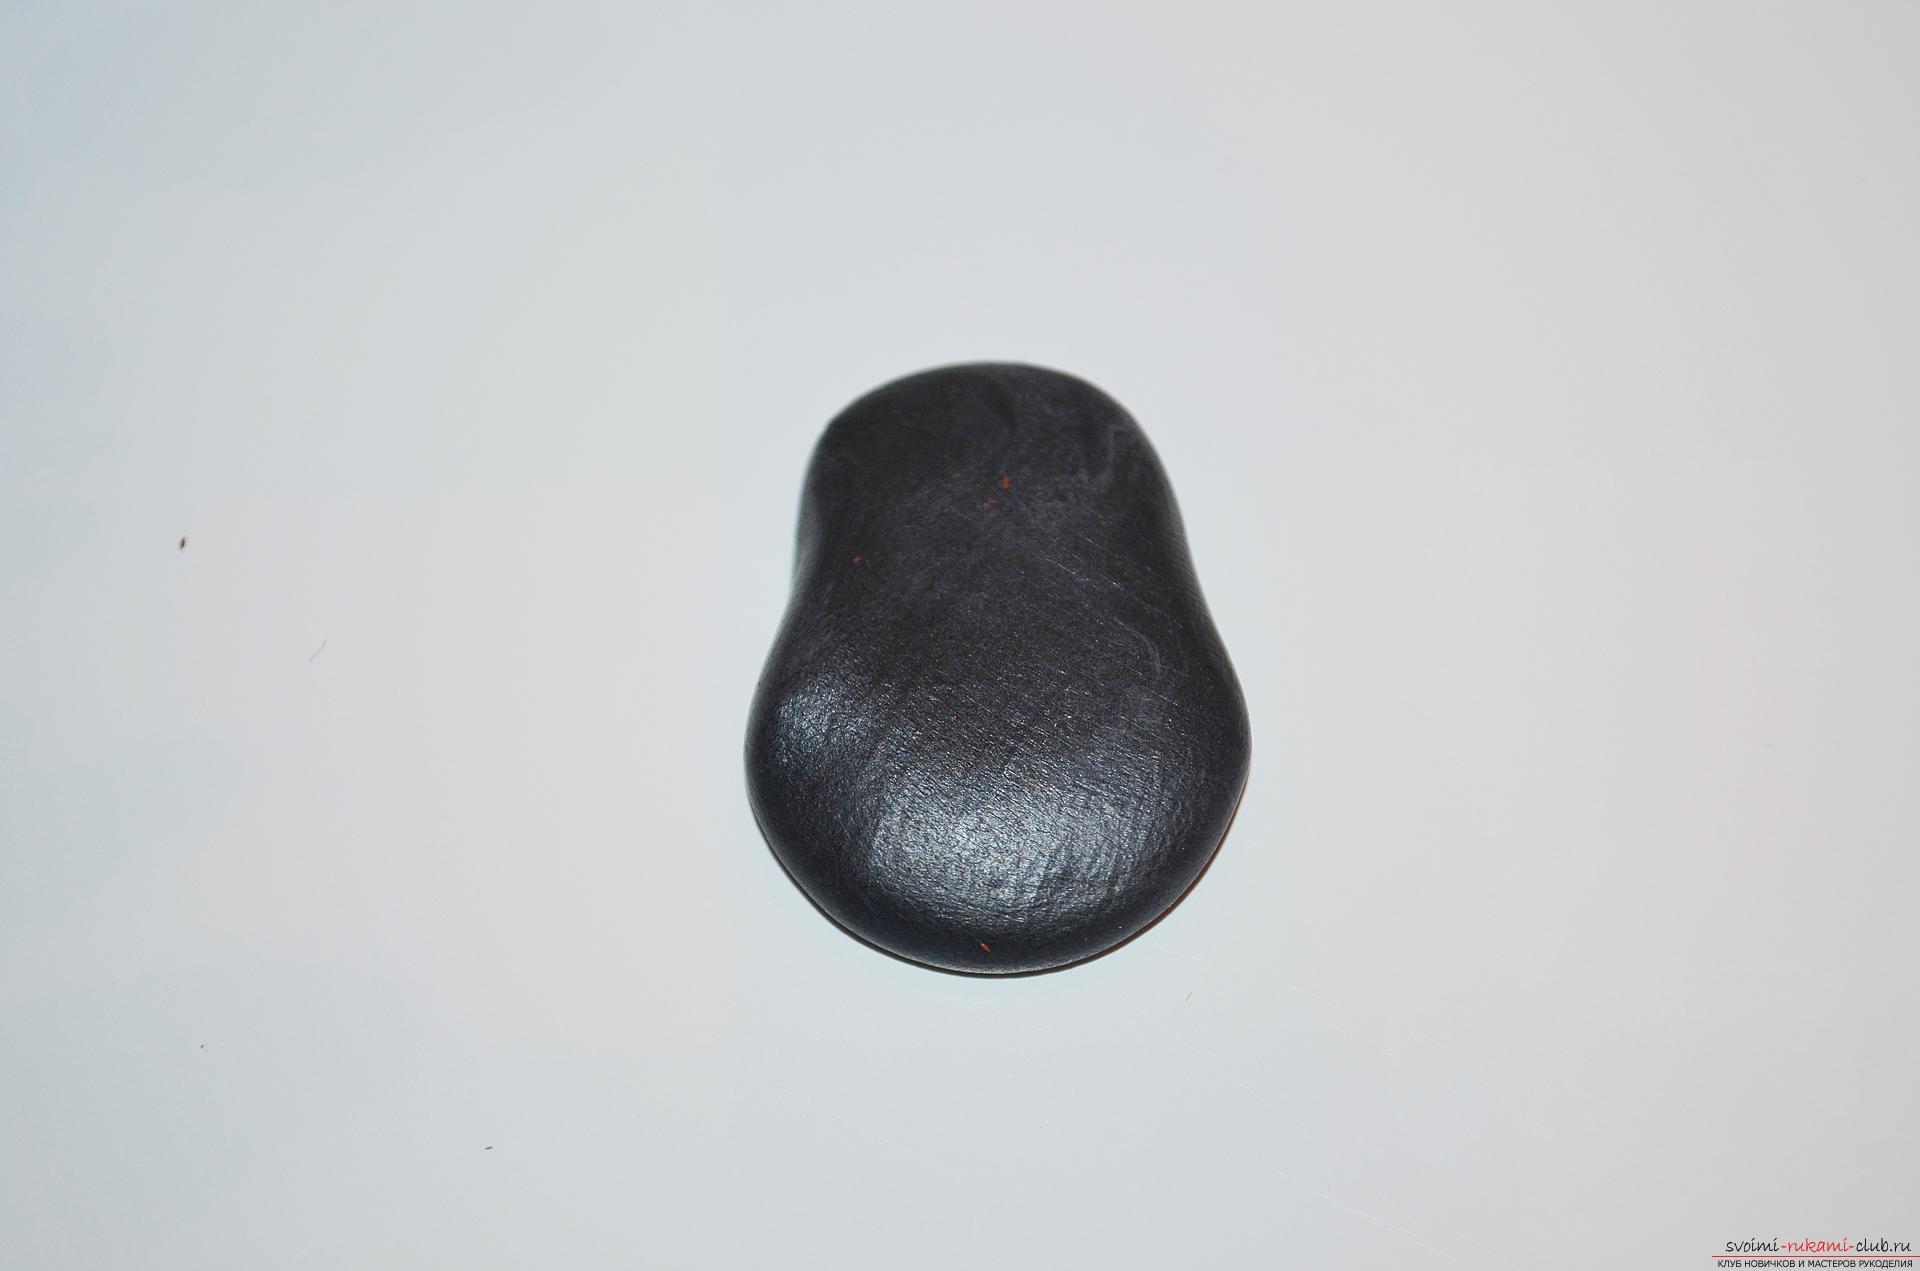 3. We set aside the main part of the head together with the body temporarily to the side, and we take in hands polymeric clay of white color. Pay attention, before you start working with it, you should thoroughly wash your hands and wipe them dry, to remove from them the smallest remains of black clay, which can simply stain our little snow-white detail in the form of small impregnations. It is also necessary to wipe the surface on which we work or use a new clean. From white polymeric clay we form a small ball in the palms.
  4. Then the ball is flattened into a piece of circular shape, 2-3 mm thick.
 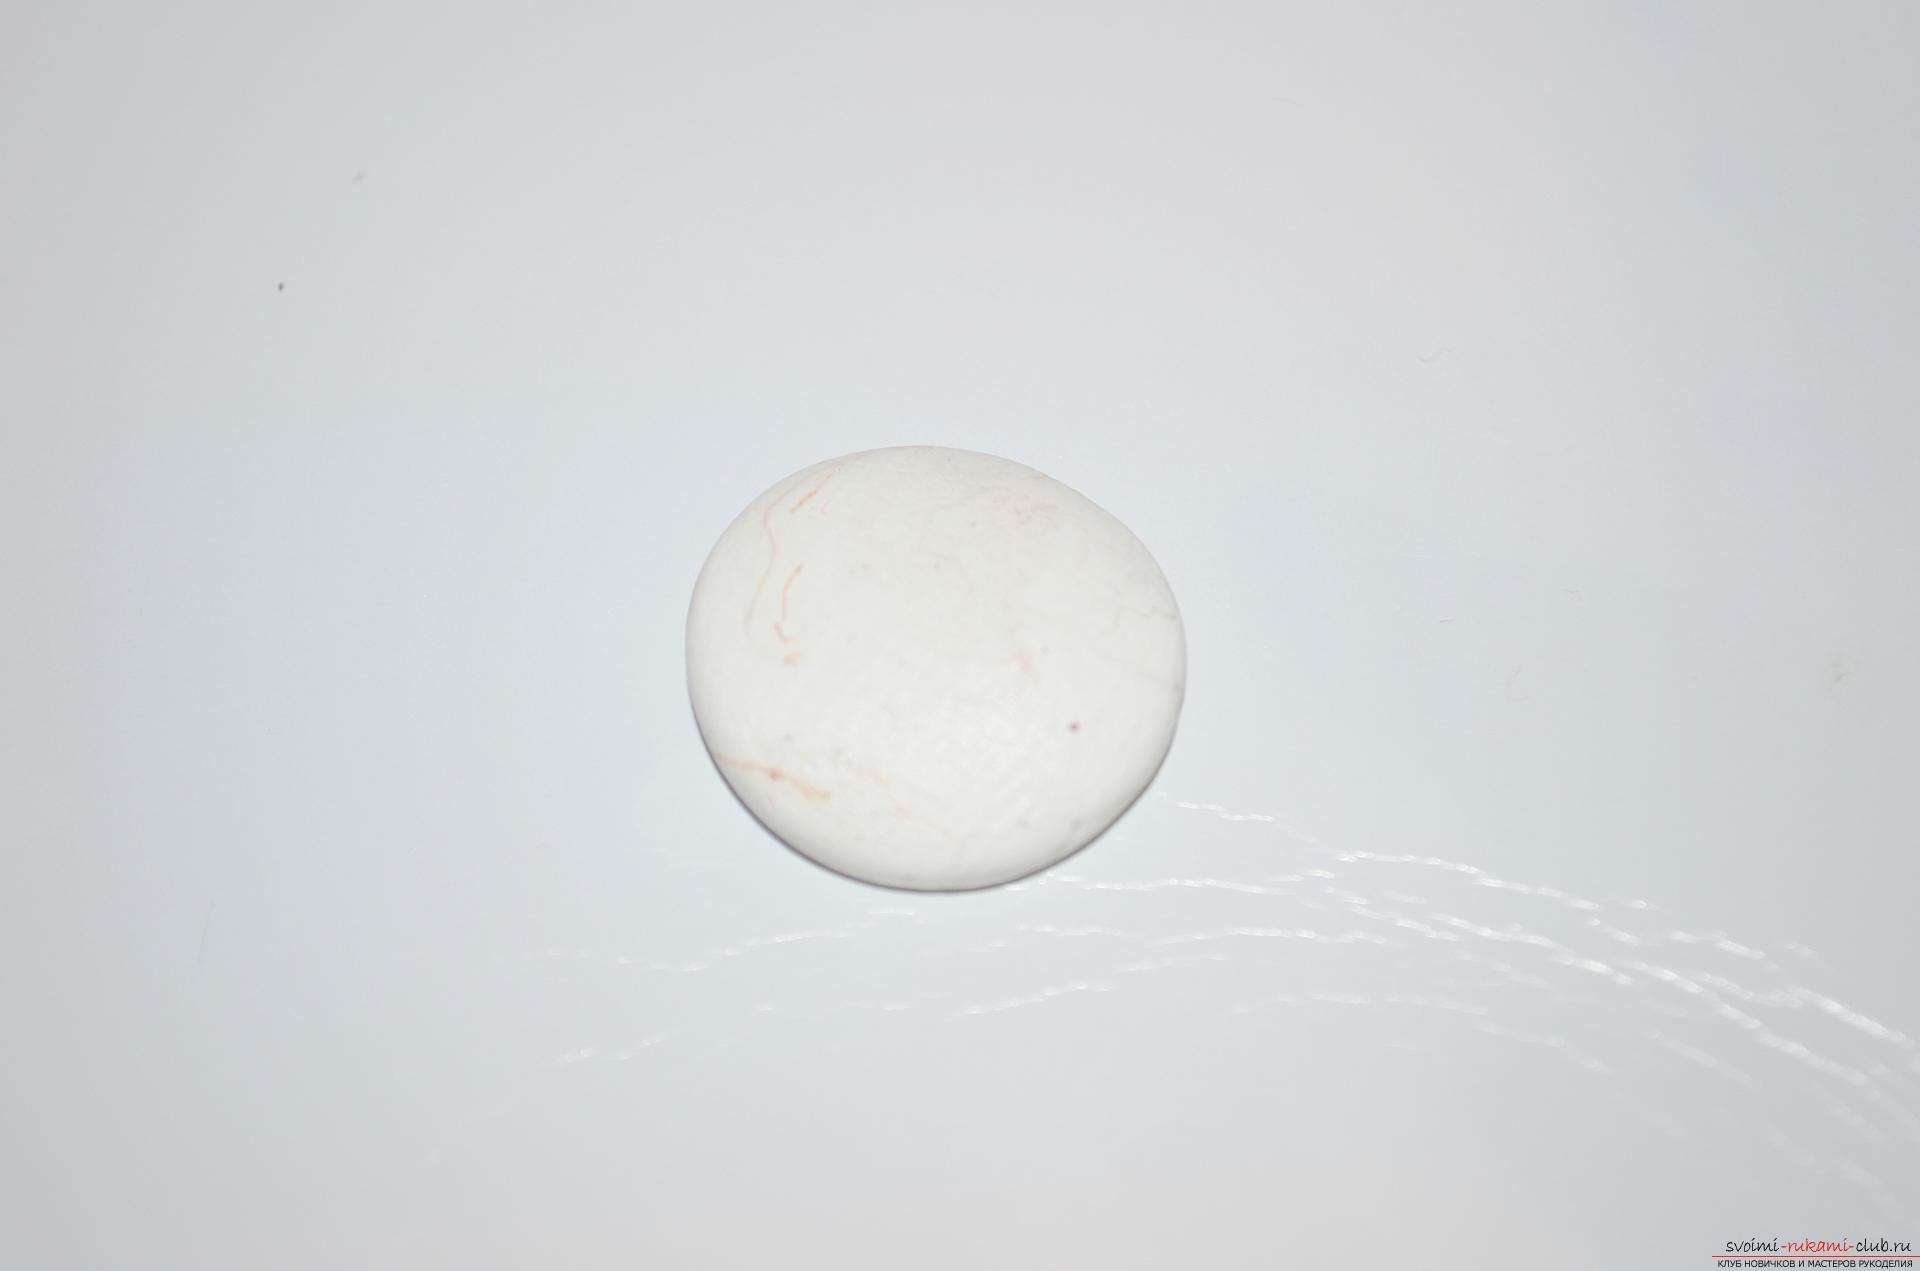 5. We glue the white preform on the penguin's tummy, so that it is as close as possible to the real one.
 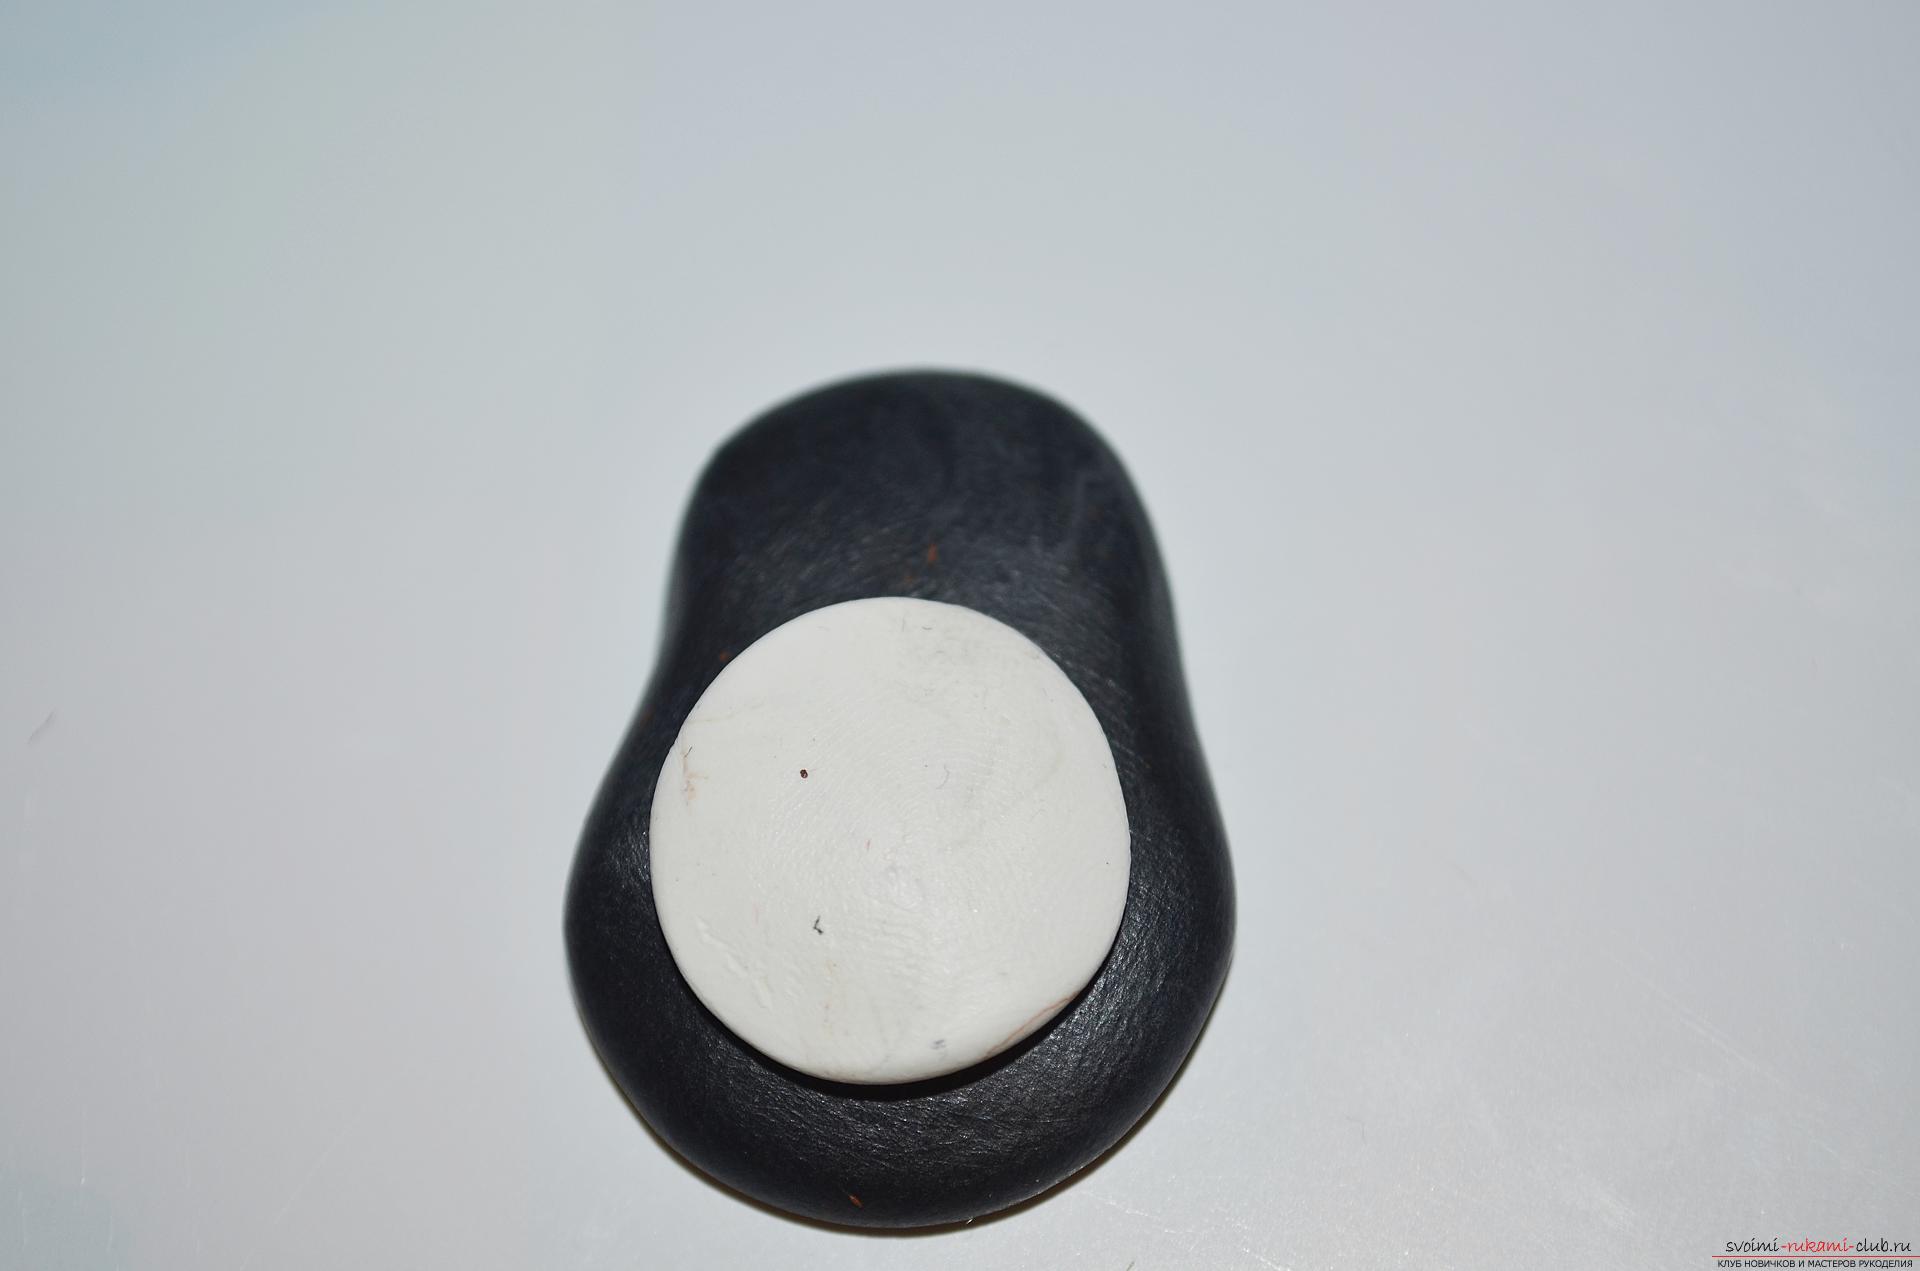 6. Then we pick off two small identical pieces from the white polymer clay and form balls for the peephole from each. Eyes glued to the head in the right place.
 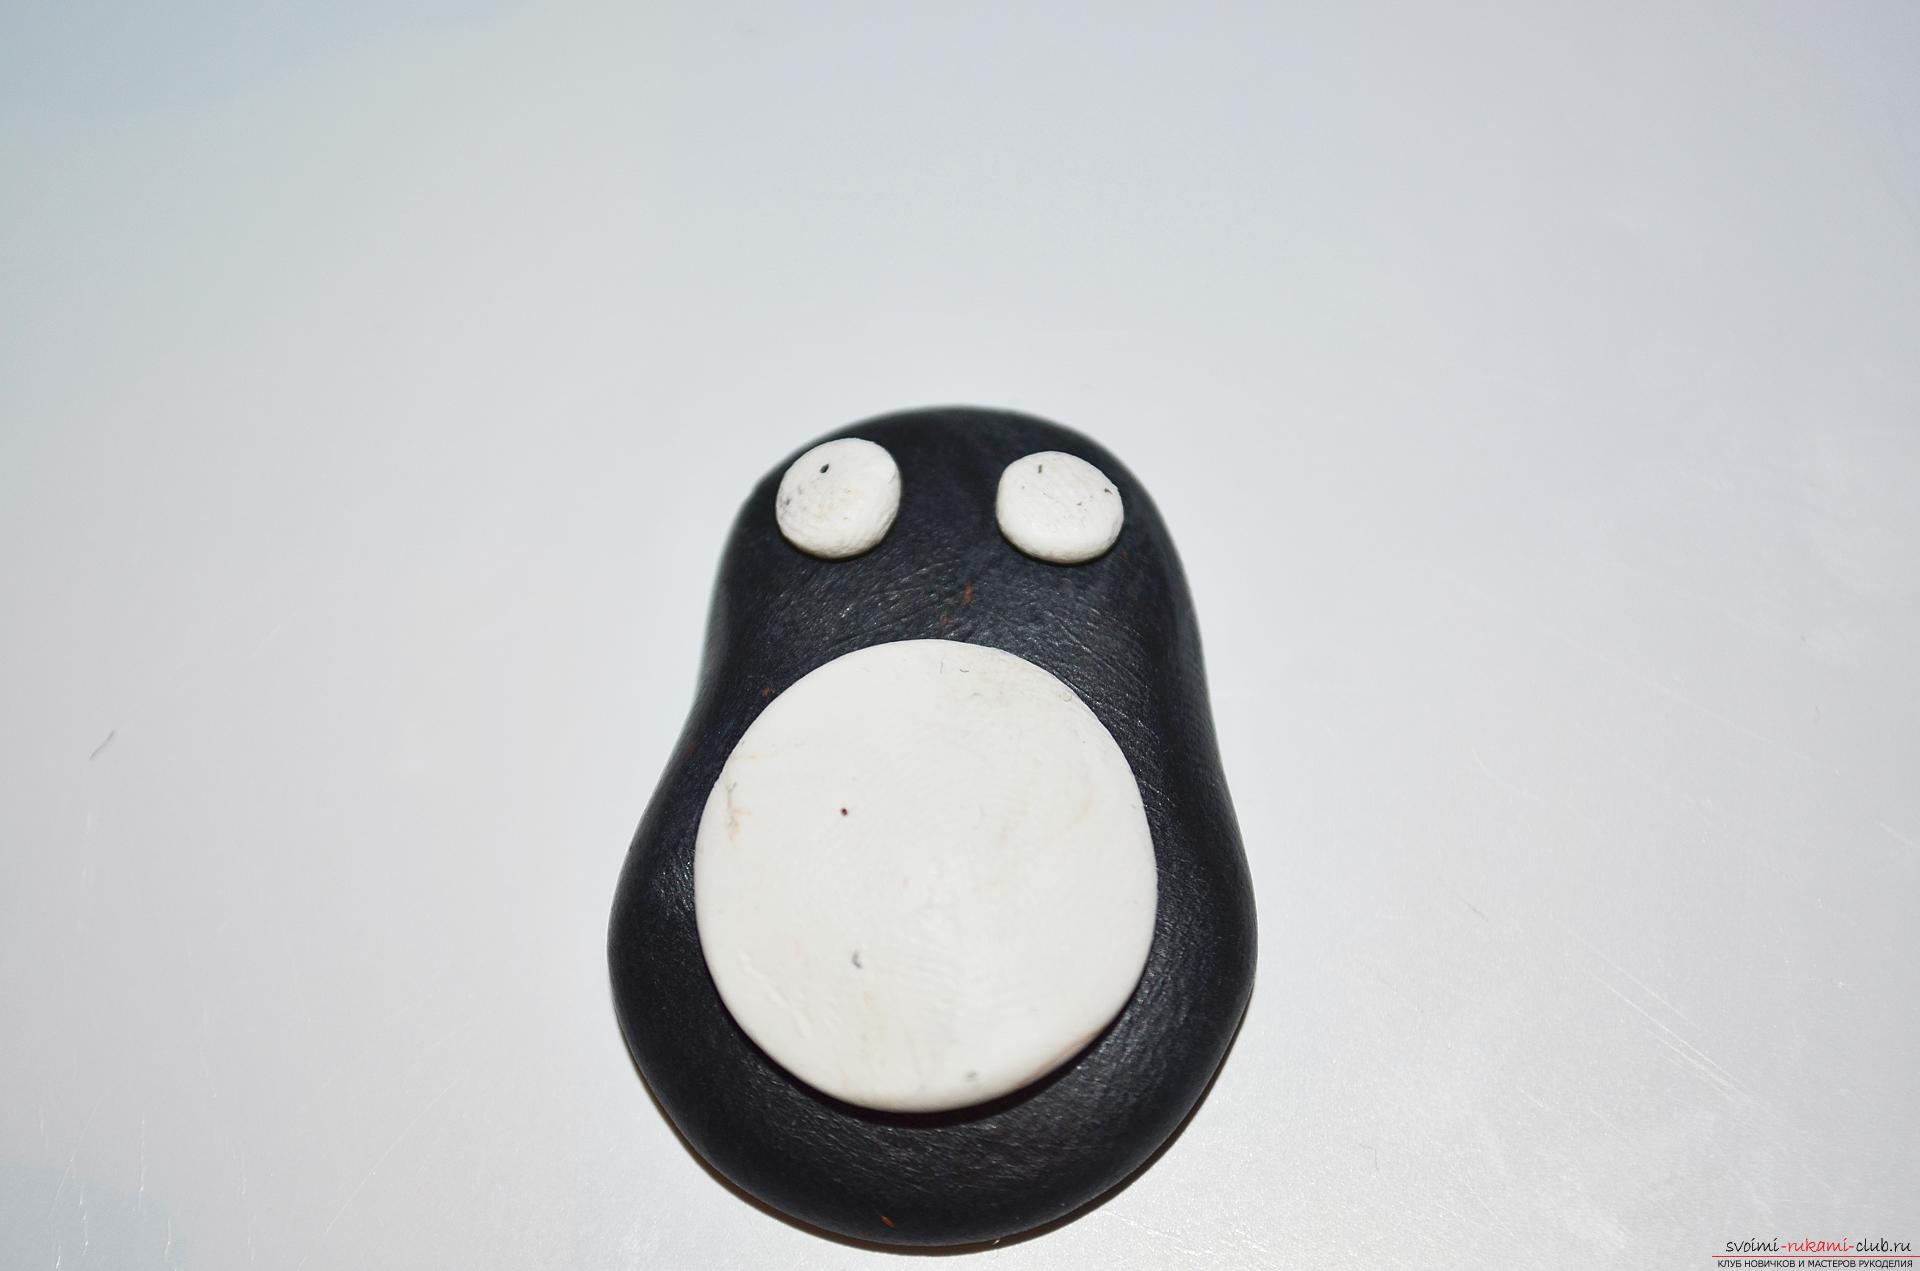 7. We return to the polymer clay of black color and form from it two more identical tiny balls, resembling the size of beads for the pupils of the penguin's eye. We glue the pupils precisely in the center of the white circles of each eye.
 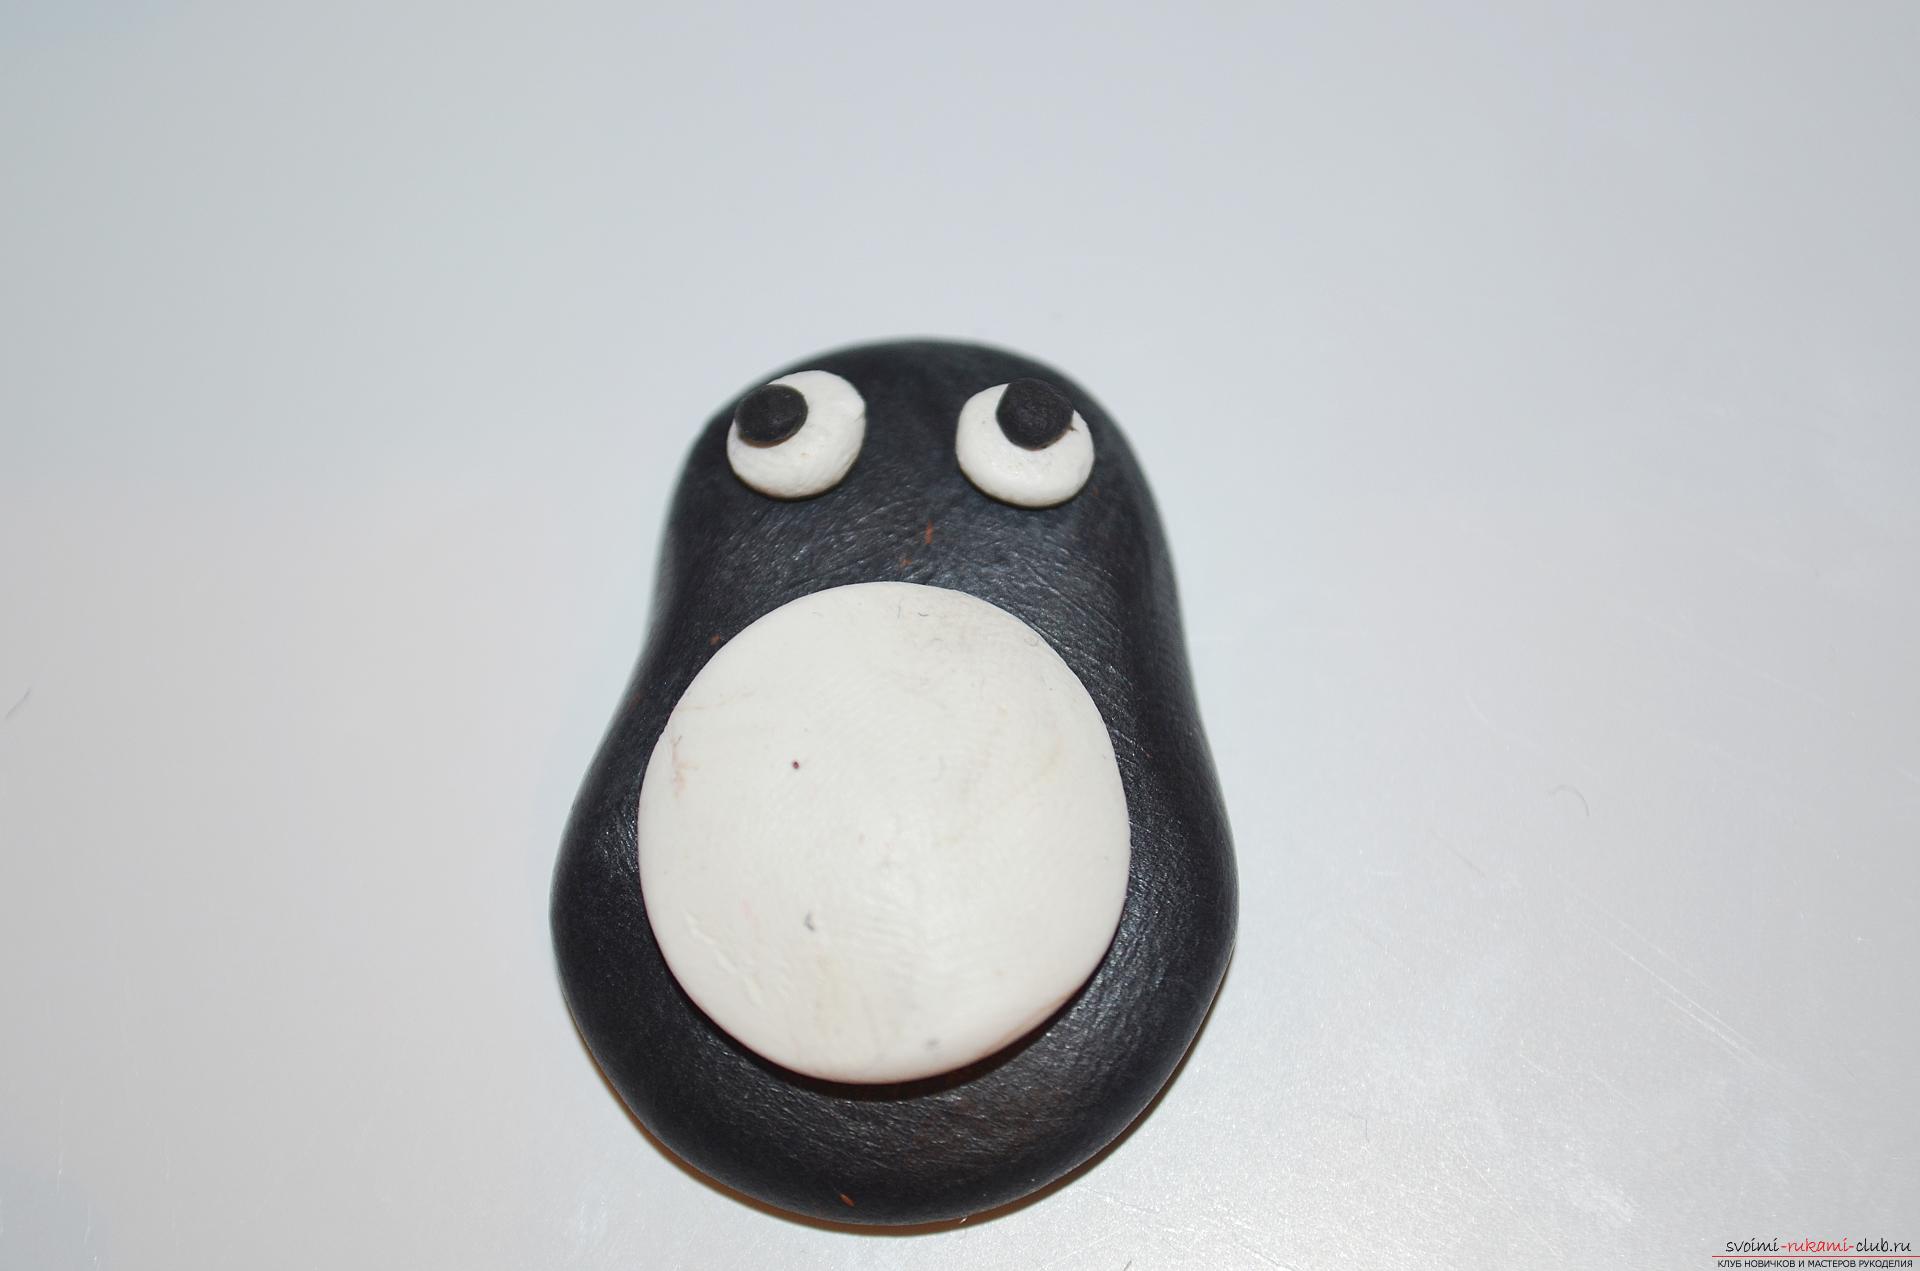 8. Now take the polymer clay of orange color and form the beak out of it. It should not be too large, but wide and large. We glue the beak into its place.
 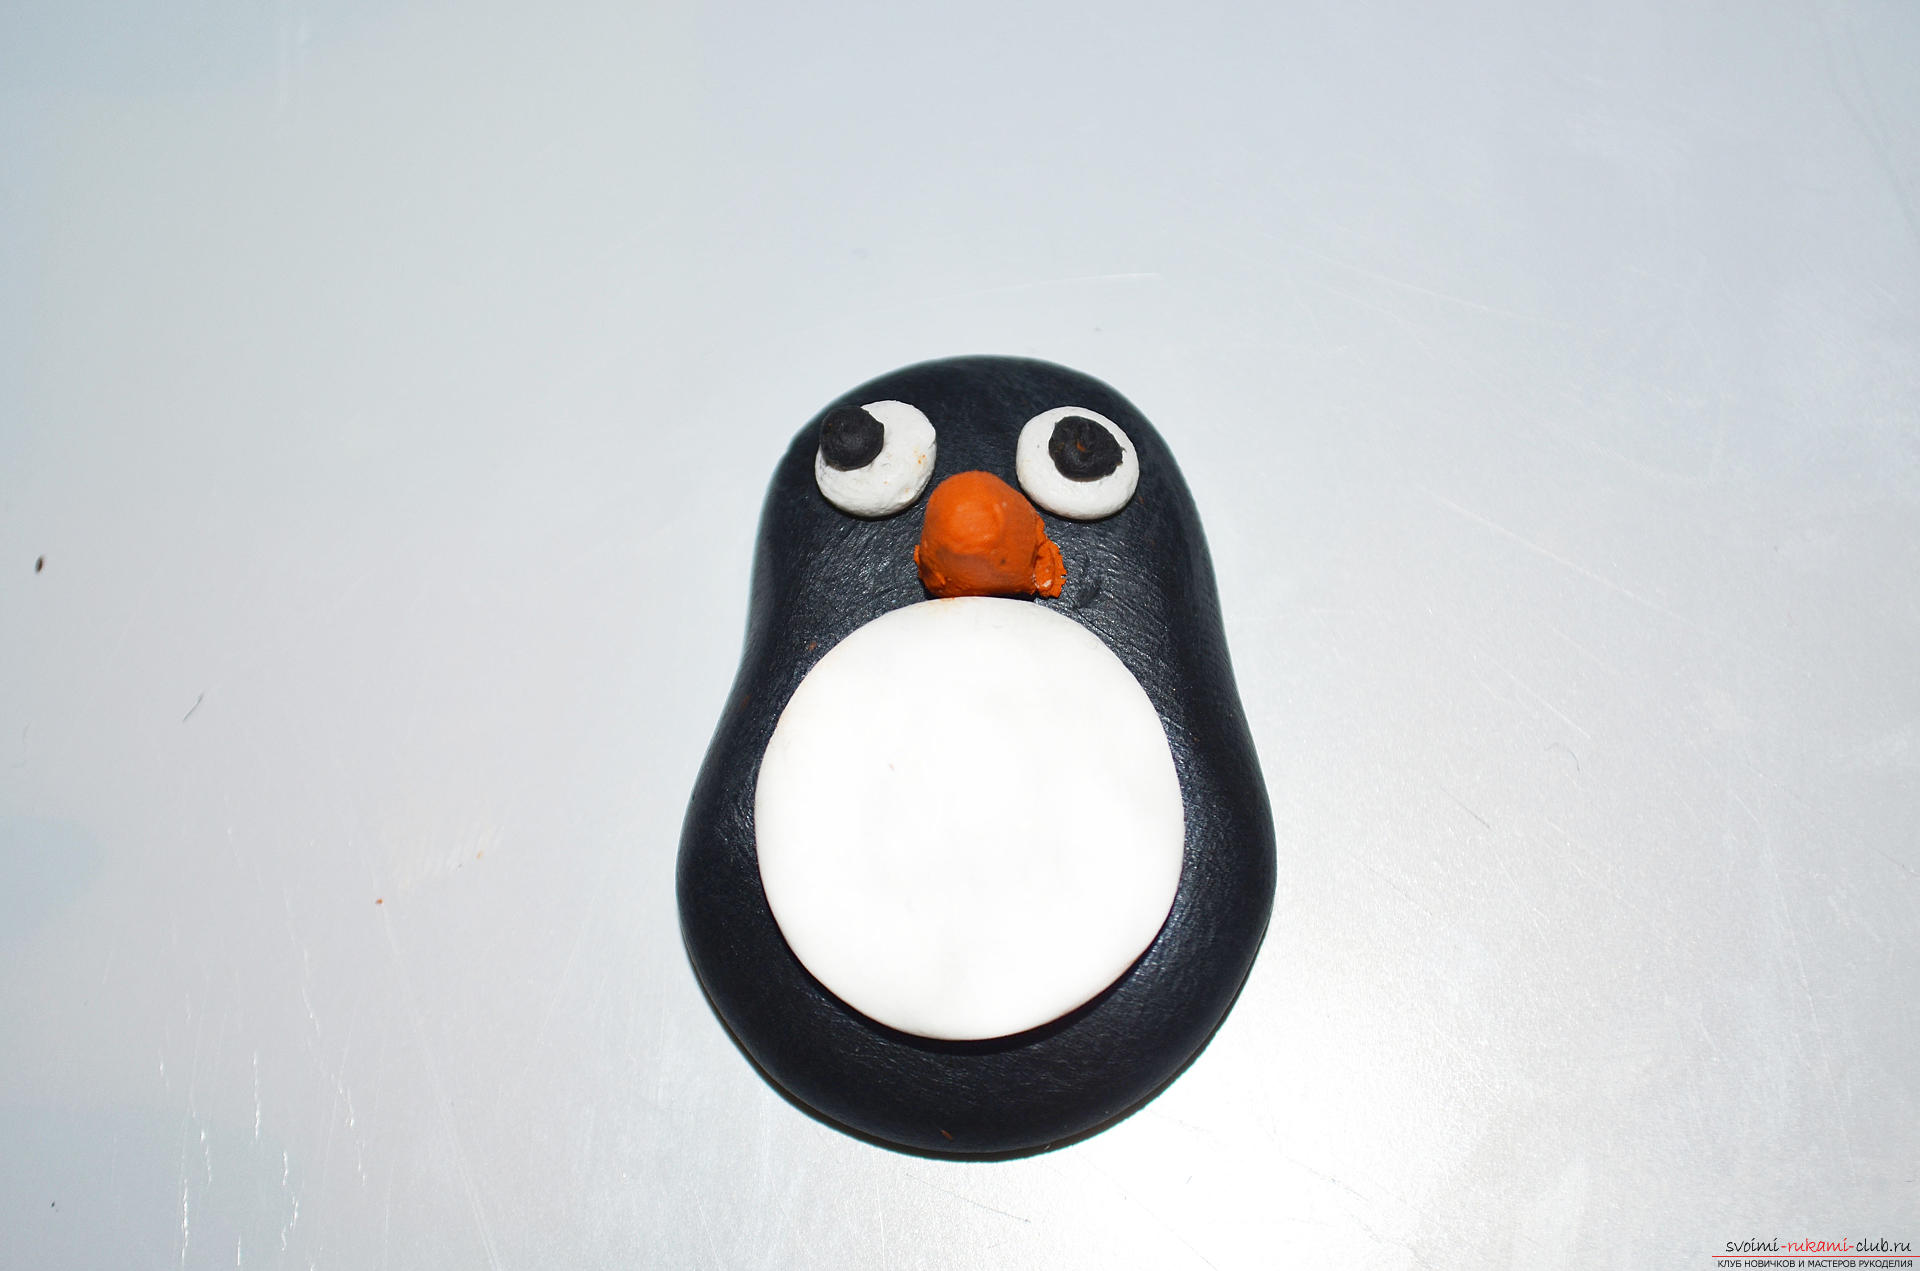 9. Of the same polymer clay of orange color we make two paws, in shape they remotely resemble fins. We glue the feet in the lower part of the trunk, where they are supposed to be.
 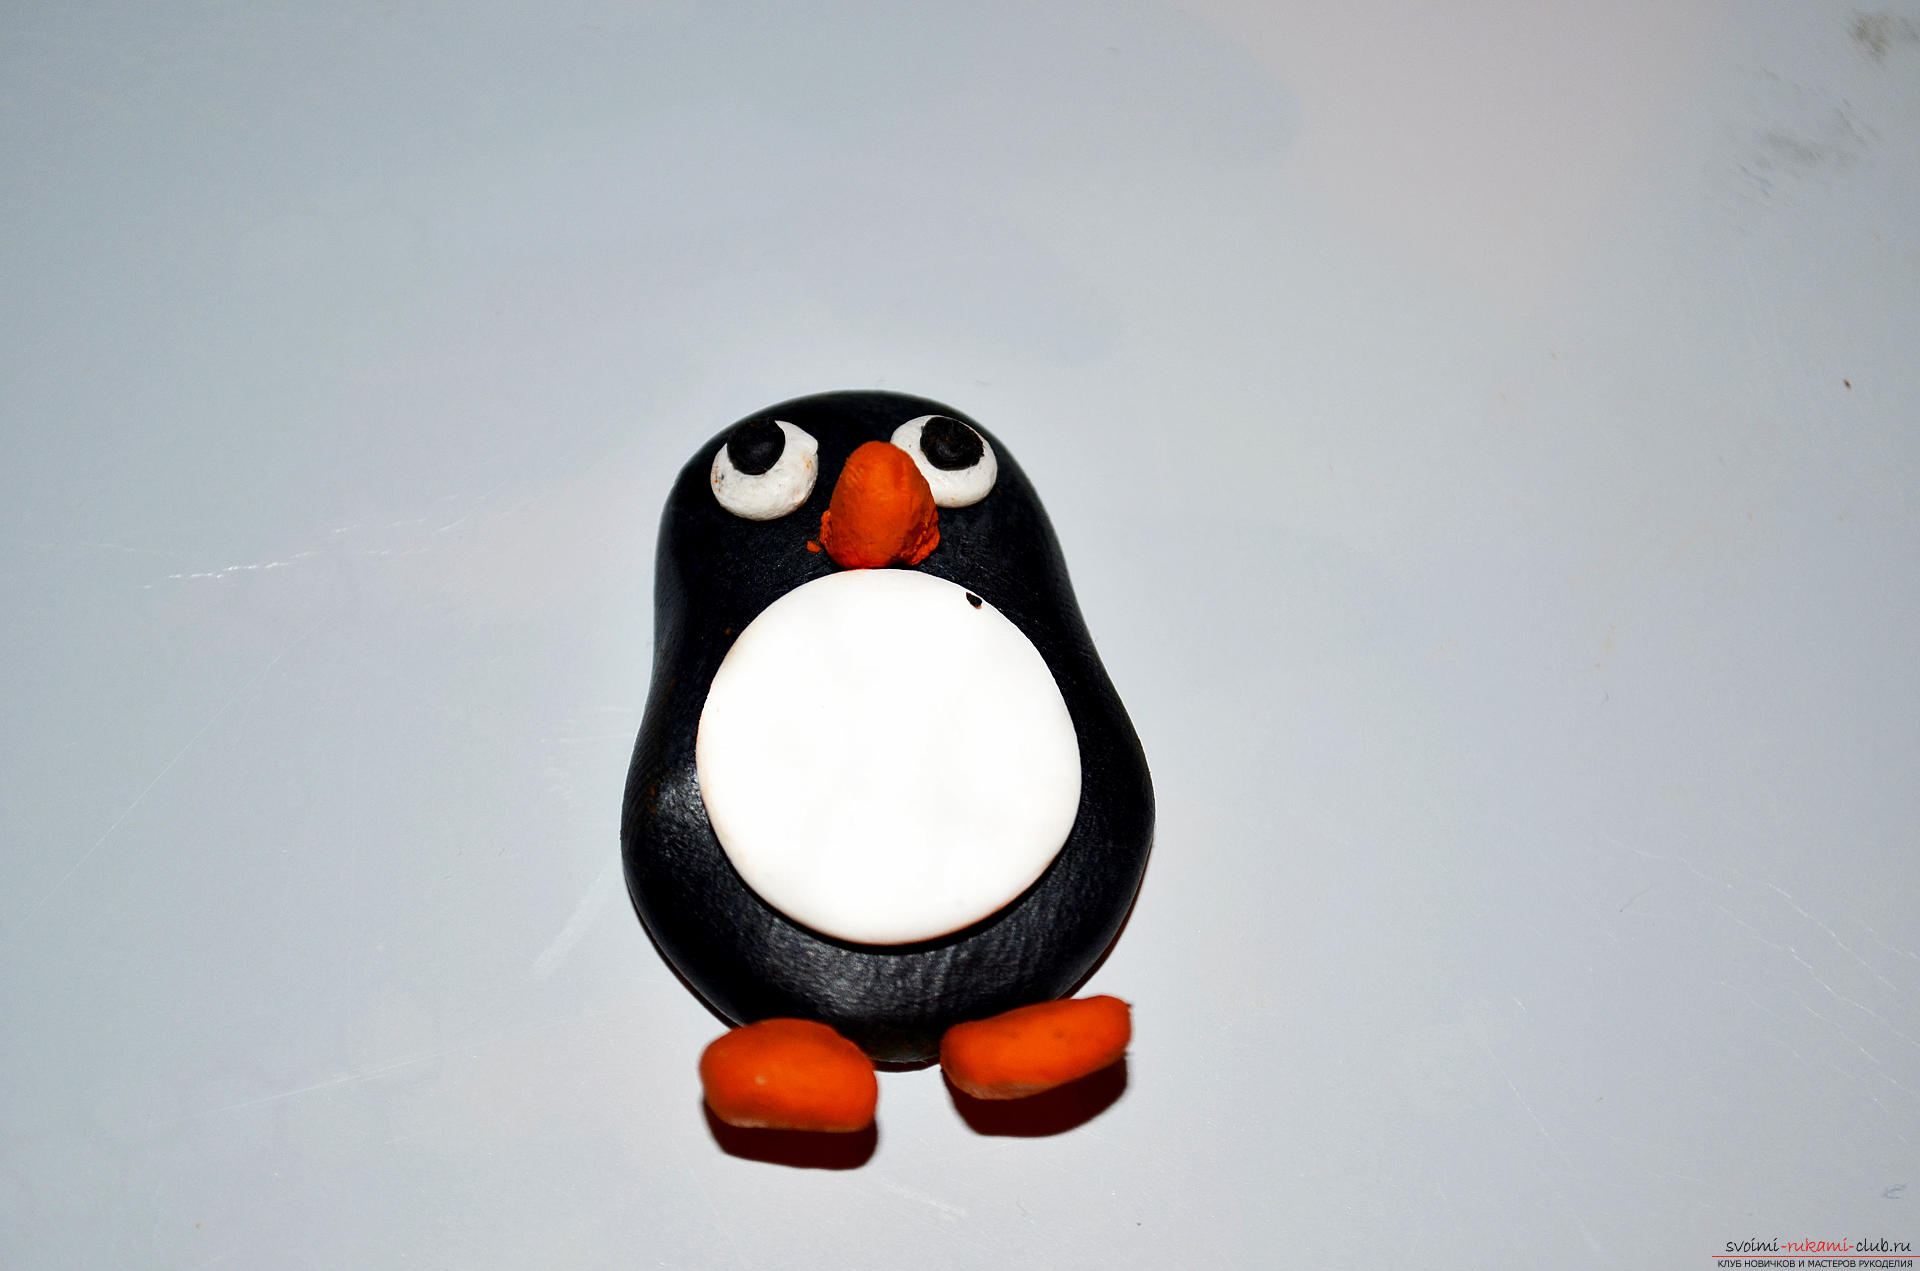 10. The last thing we need to do is the wings of the Penguin. Here we will again use polymer black clay. To begin with, we form two identical "sausages" of an elongated shape, about 2 cm long, and then flatten them on a flat surface, to a thickness of 2-3 millimeters, and give each the shape of the wings. In the end, we glue each wing symmetrically in relation to each other at the sides just below the head.
 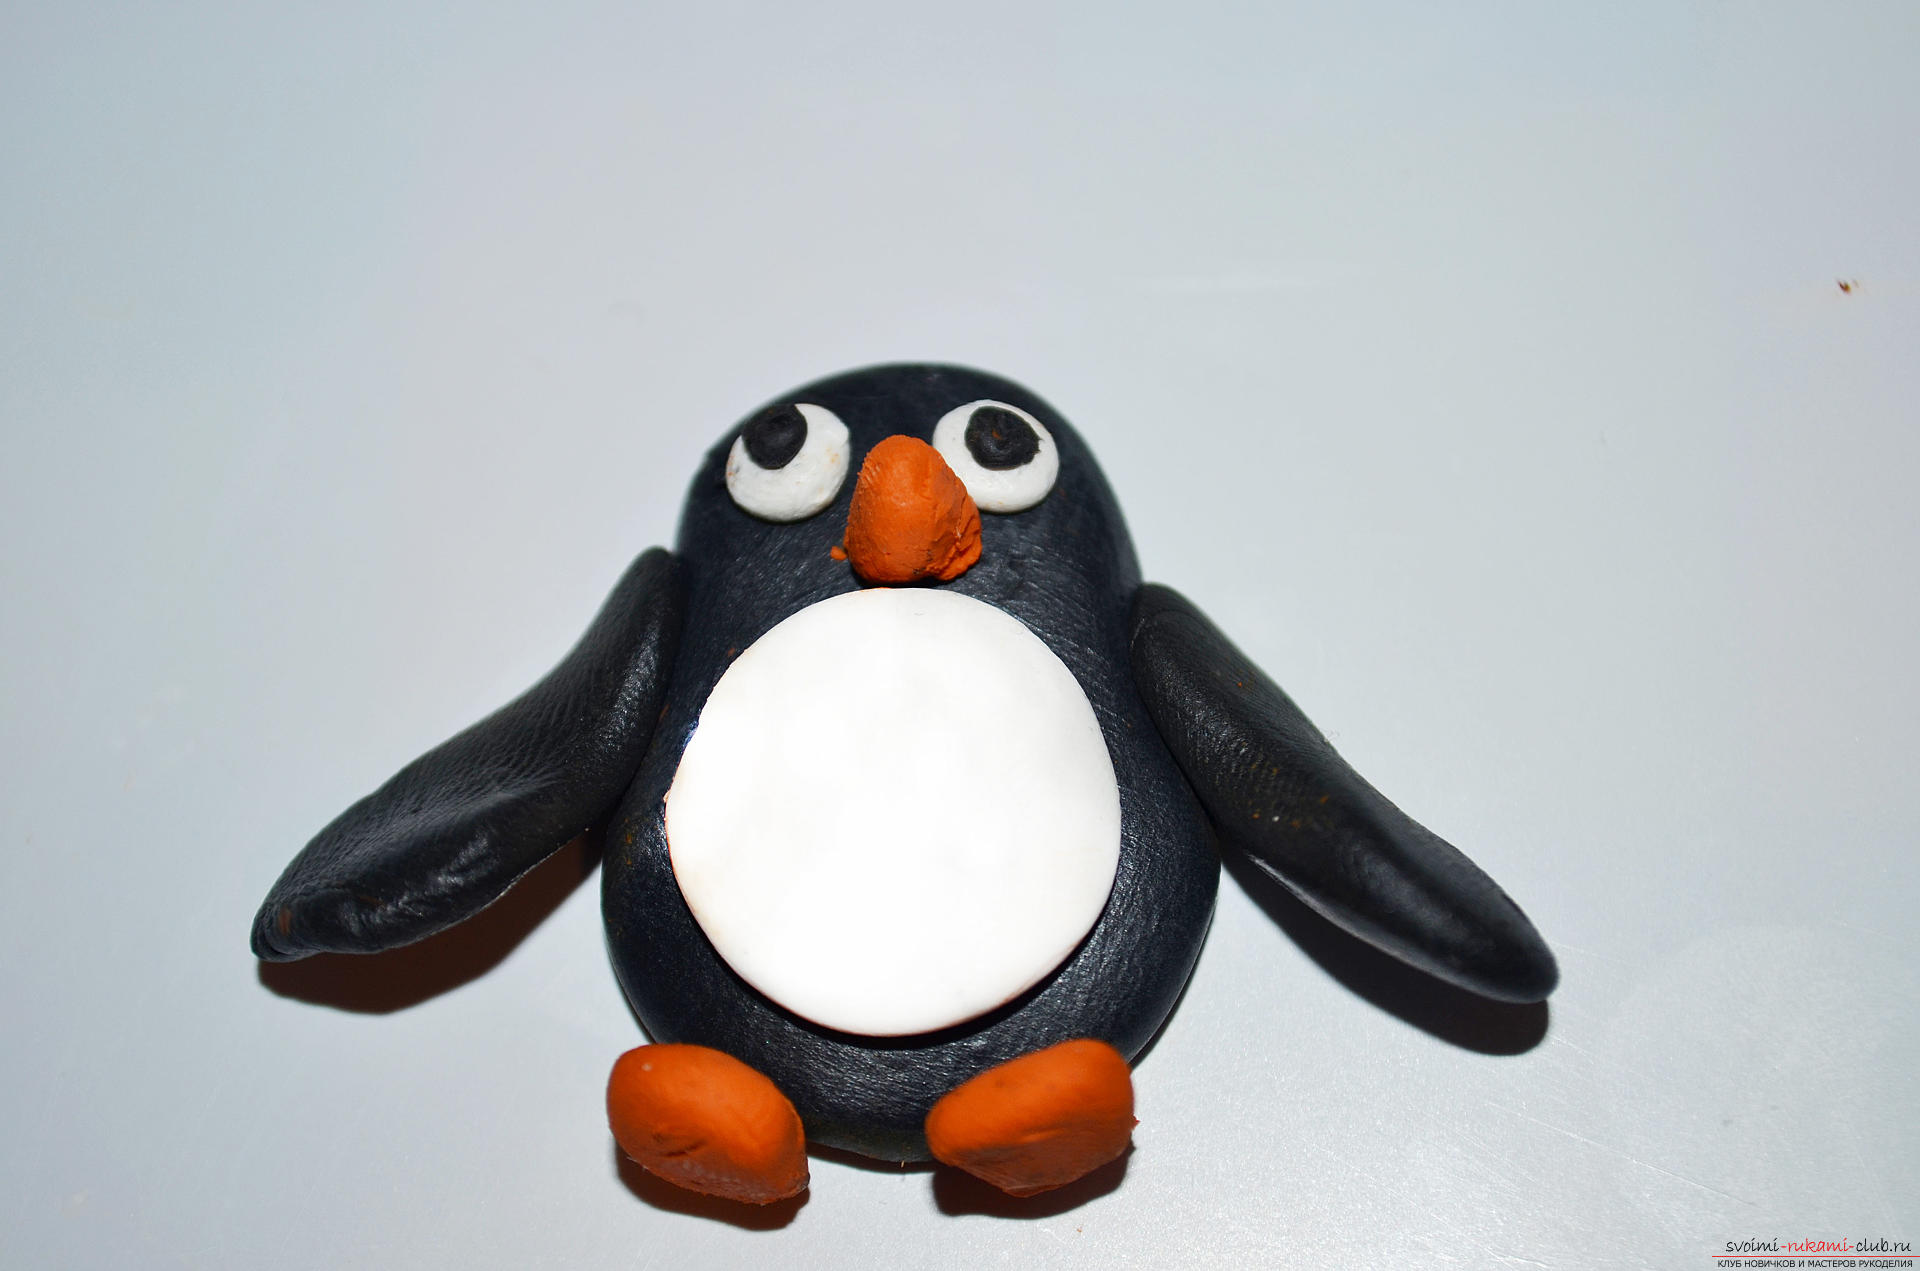 eleven. To keep the figure of the amusing Penguinen for a long time, the finished work should be baked in accordance with the instructions attached to the material used. You can also take self-hardening polymer clay for work. After baking, it only remains to glue a small flat magnet to the figure from the back with a small amount of super-glue.
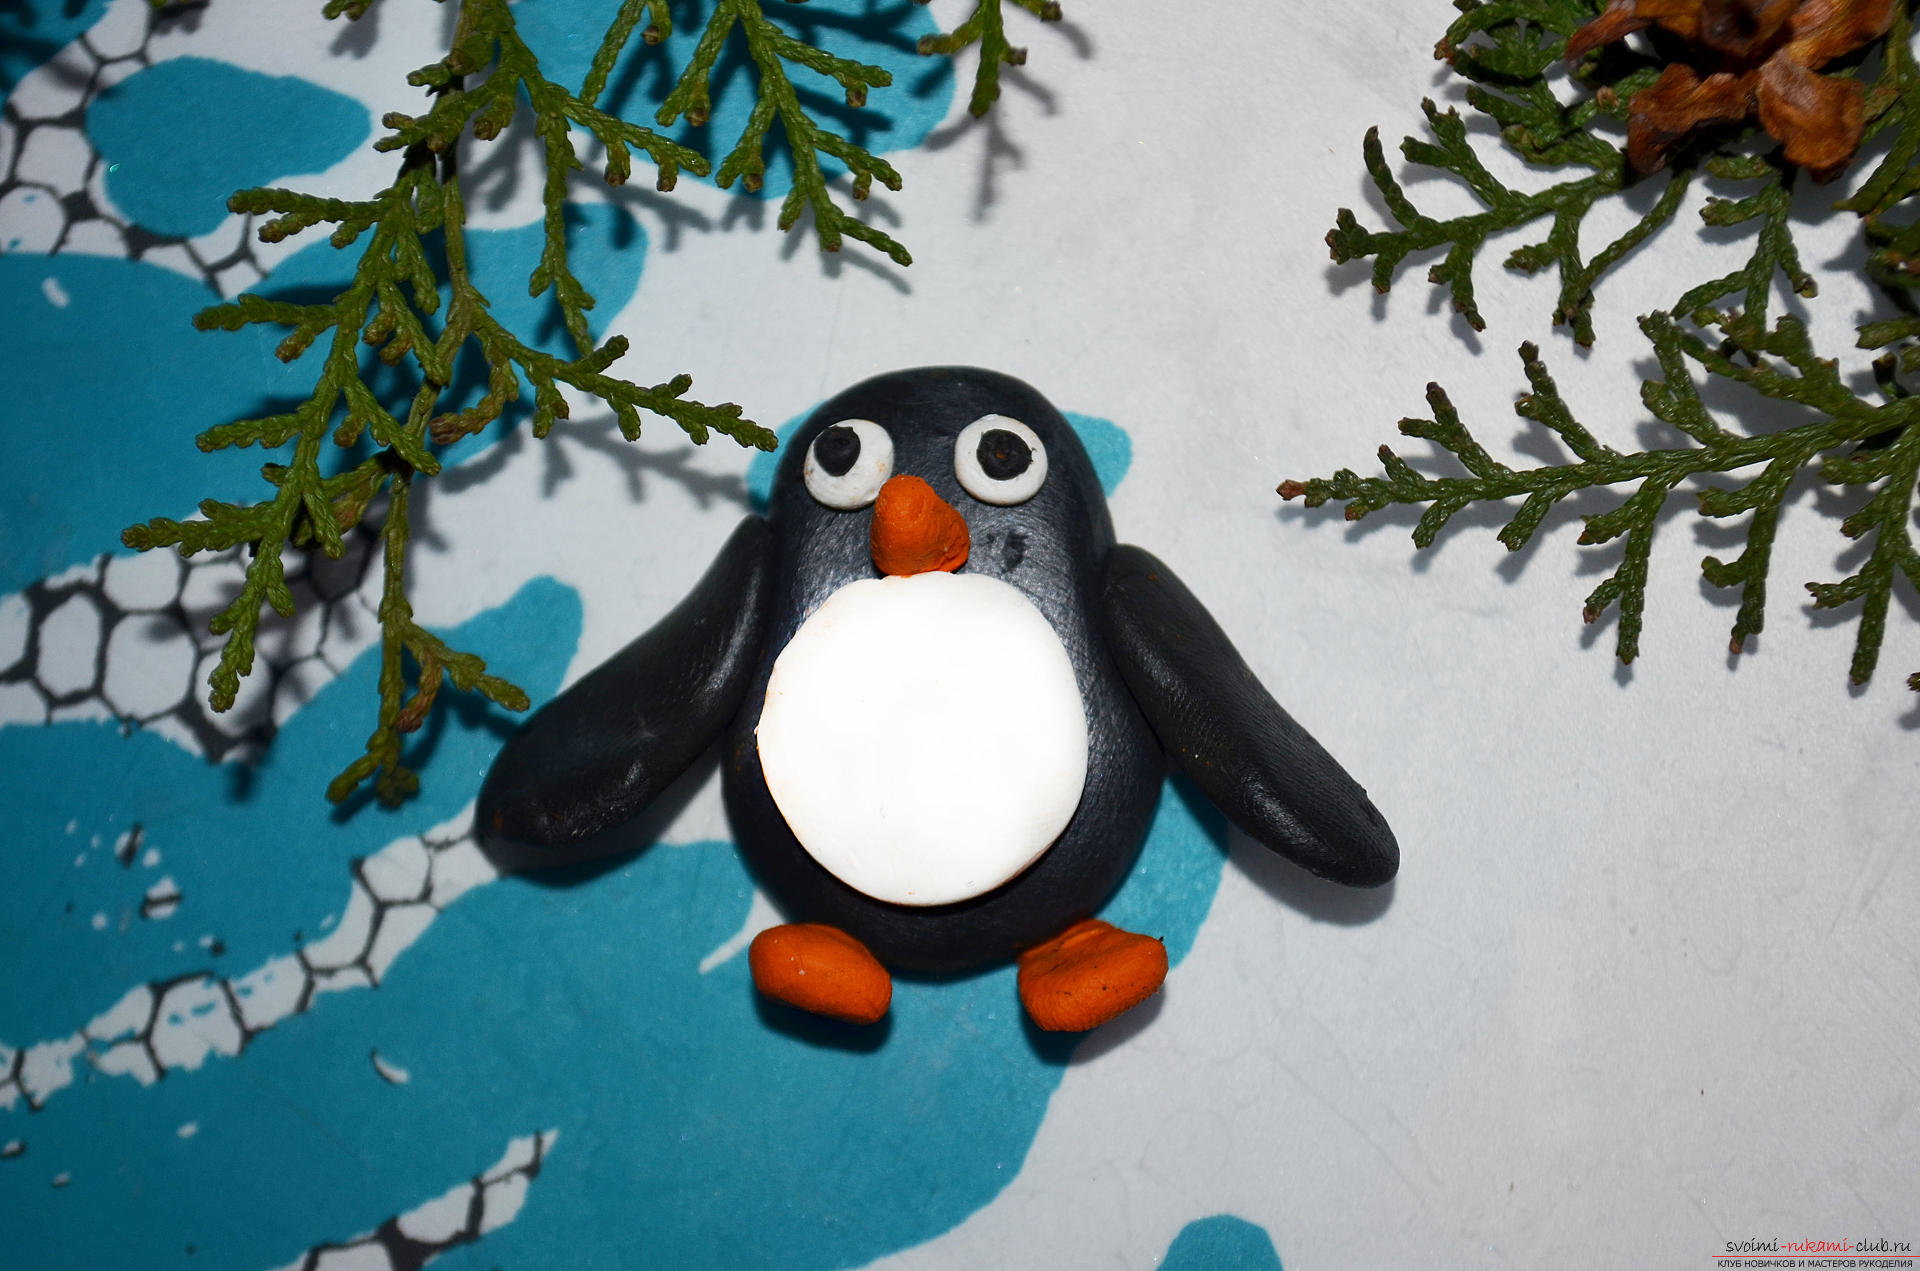
Comments
Related posts:
 This detailed master class contains the technique of working with polymer clay and will teach you how to make Keynes and beads from polymer clay.
 How to make earrings from polymer clay in the form of snowmen, detailed master class with photo and description
 This detailed master class with photo and description will teach how to create with your own hands a set of jewelry made of polymer clay - a pendant and earrings with a turtle.
 How to make a love gum love is made of polymer clay - a lesson and modeling
 How to make a ring made of polymer clay with a decorative element in the form of an orchid flower, step by step photos and description