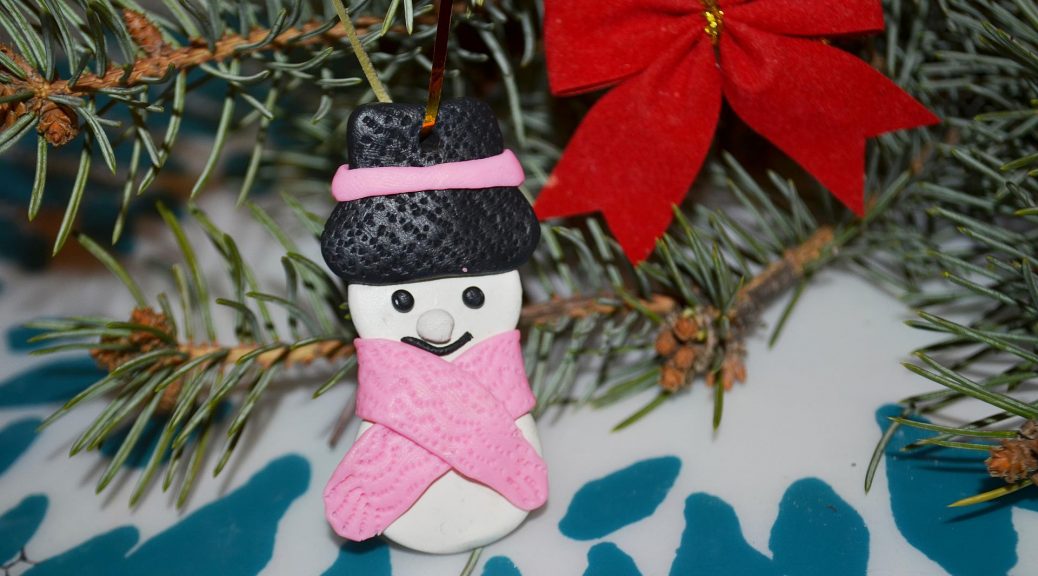
How to mold a snowman from polymer clay to decorate a Christmas tree? Step-by-step description of the process of modeling with photos
Since the early childhood on the eve of the New Yearholidays we are going to make handicrafts of various kinds of decorations to decorate our house, as well as the main culprit of the celebration - the Christmas tree. I must say that this process of creativity, as a rule, is already the beginning of a festive mood, which then stretches for almost a month. Previously, the main material for creating such a decor was primarily colored paper and foil, it was from them that we cut out bright flashlights, garlands and other paper crafts, and then used them in the decor. Today the range of pre-New Year creativity has increased many times and is no longer limited to paper products. Ornaments made of felt, beads, threads, natural and waste materials, etc. are very popular among needlewomen. Also, the decor is created from polymer clay, it's about working with it and our master class will go, in which I will tell you how to create an original decoration for the Christmas tree - Snowman.
For work we will need
- polymeric clay of white, black and pink color;
- a wooden skewer for snacks or a toothpick;
- thin golden thread.
Description of work
1. Initially, we heat polymer clay in hands to make it soft and supple. Then take the first small piece of clay white and roll it out of it in the palms of the ball. 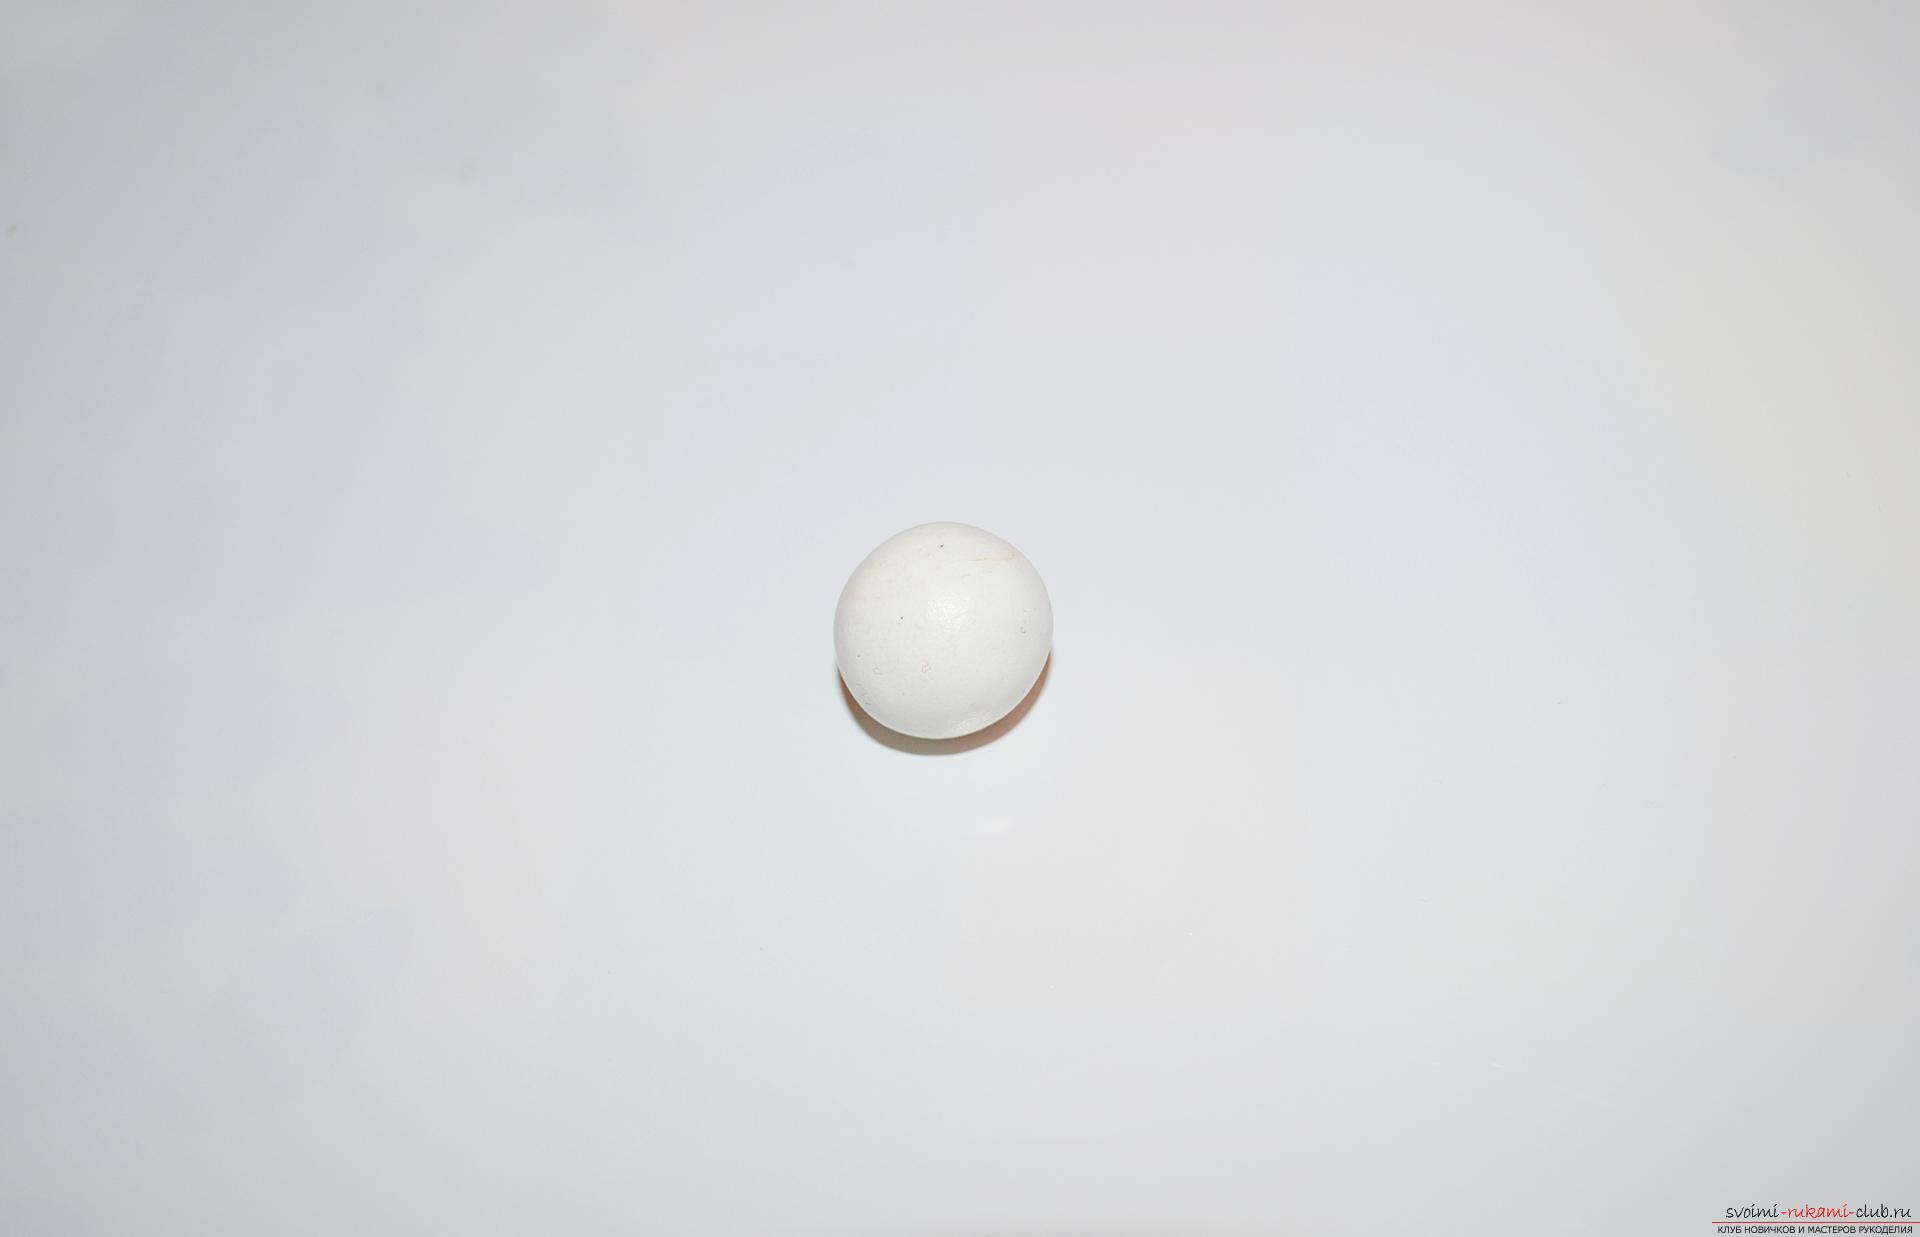 2. Further on a flat, clean surface (this is very important to take into account, since we work with white material), squeeze our ball a little, so that we get a round cake, approximately 2-3 millimeters thick and about 1.5 cm in diameter.
 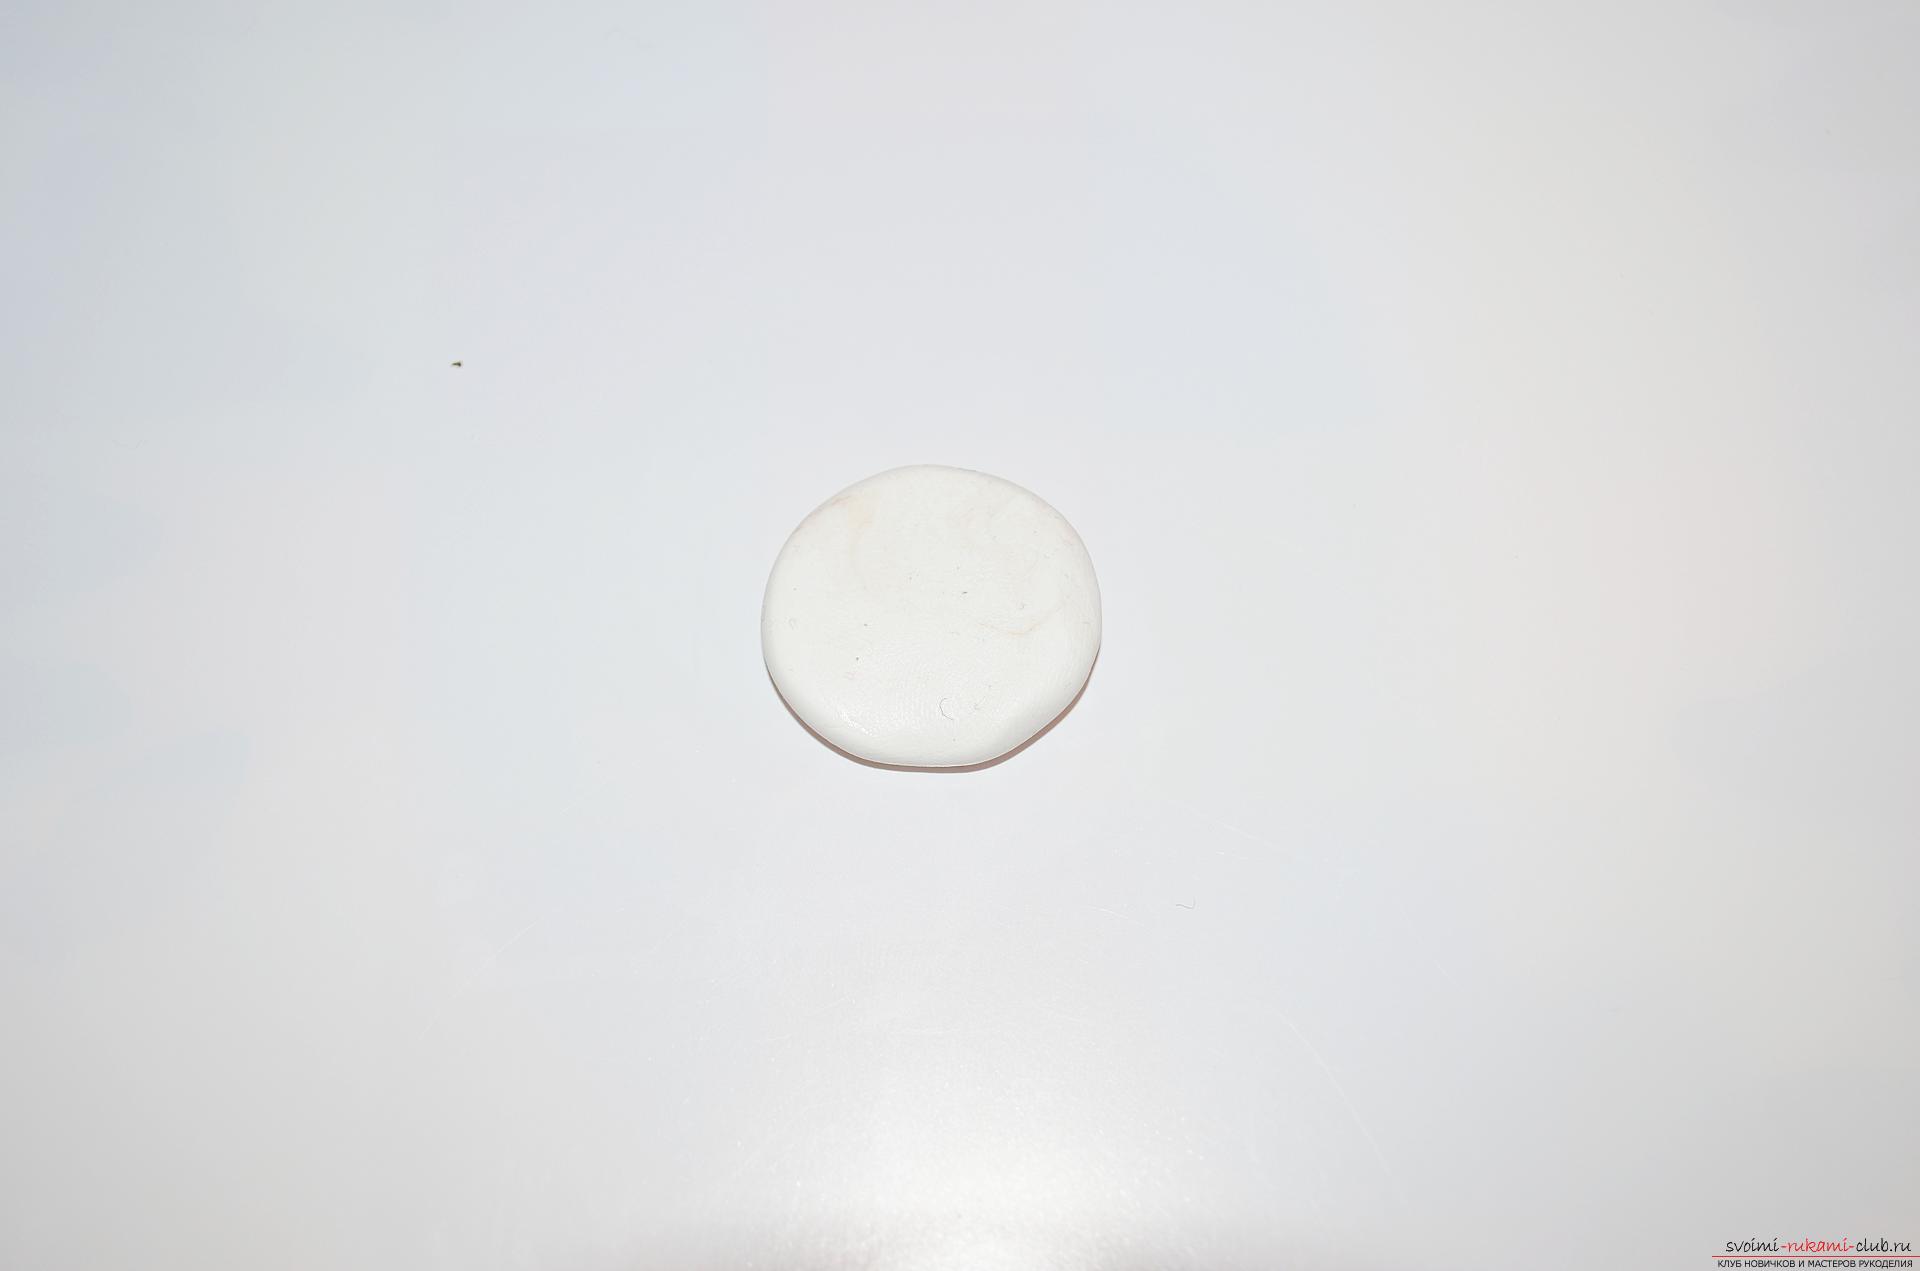 3. Then we take one more piece of polymer clay of white color, it should be a bit smaller and we roll one more ball out of it. In addition to the palms, the workpiece can be rolled on a suitable clean flat surface.
 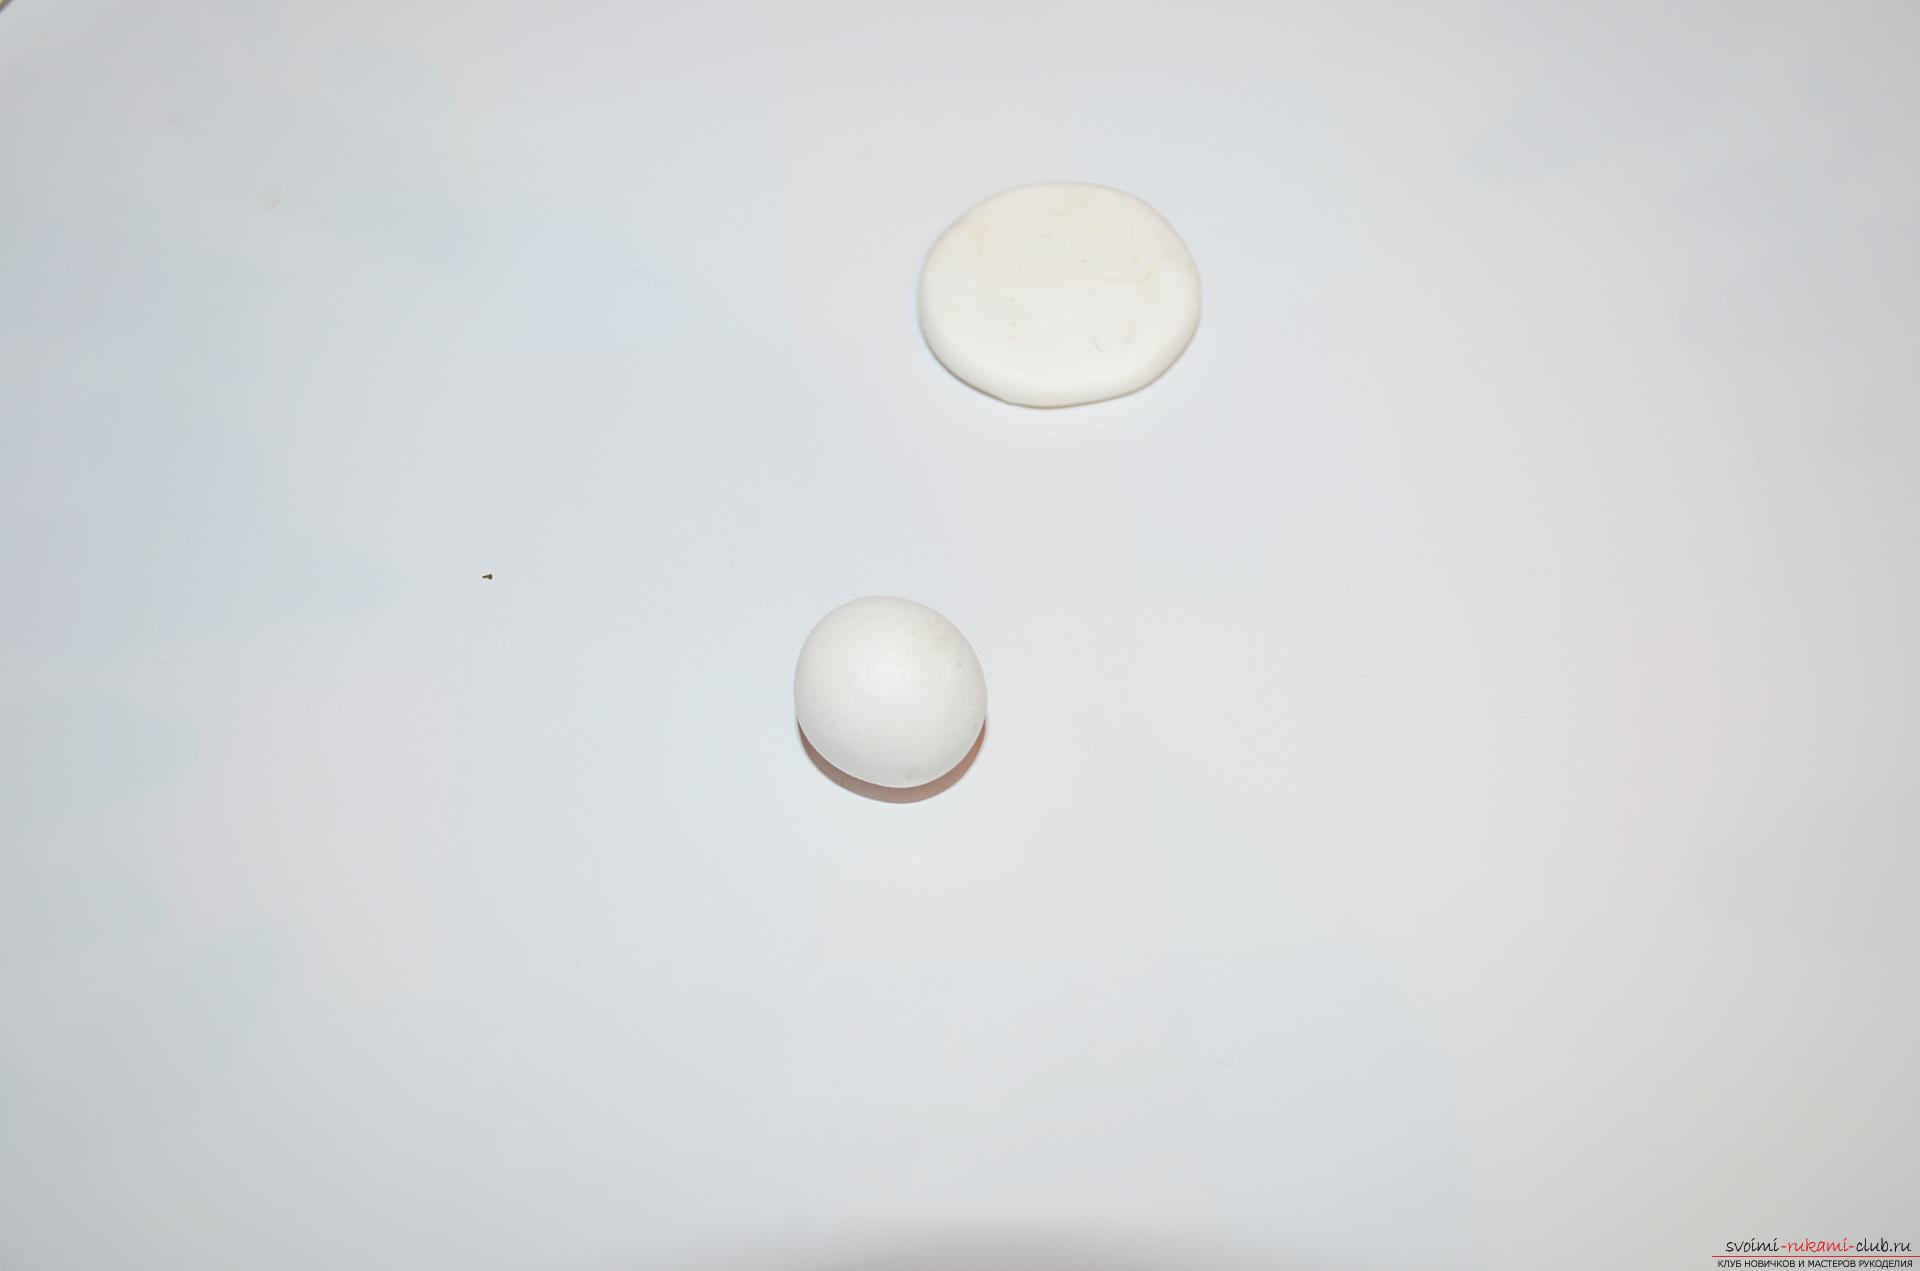 4. The second ball is also flattened, turning it into an ideally round cake a little smaller than the first and joining the two together, according to the design principle of the snowman, namely the large circle from below - like the trunk, and the smaller one from above - like the head.
 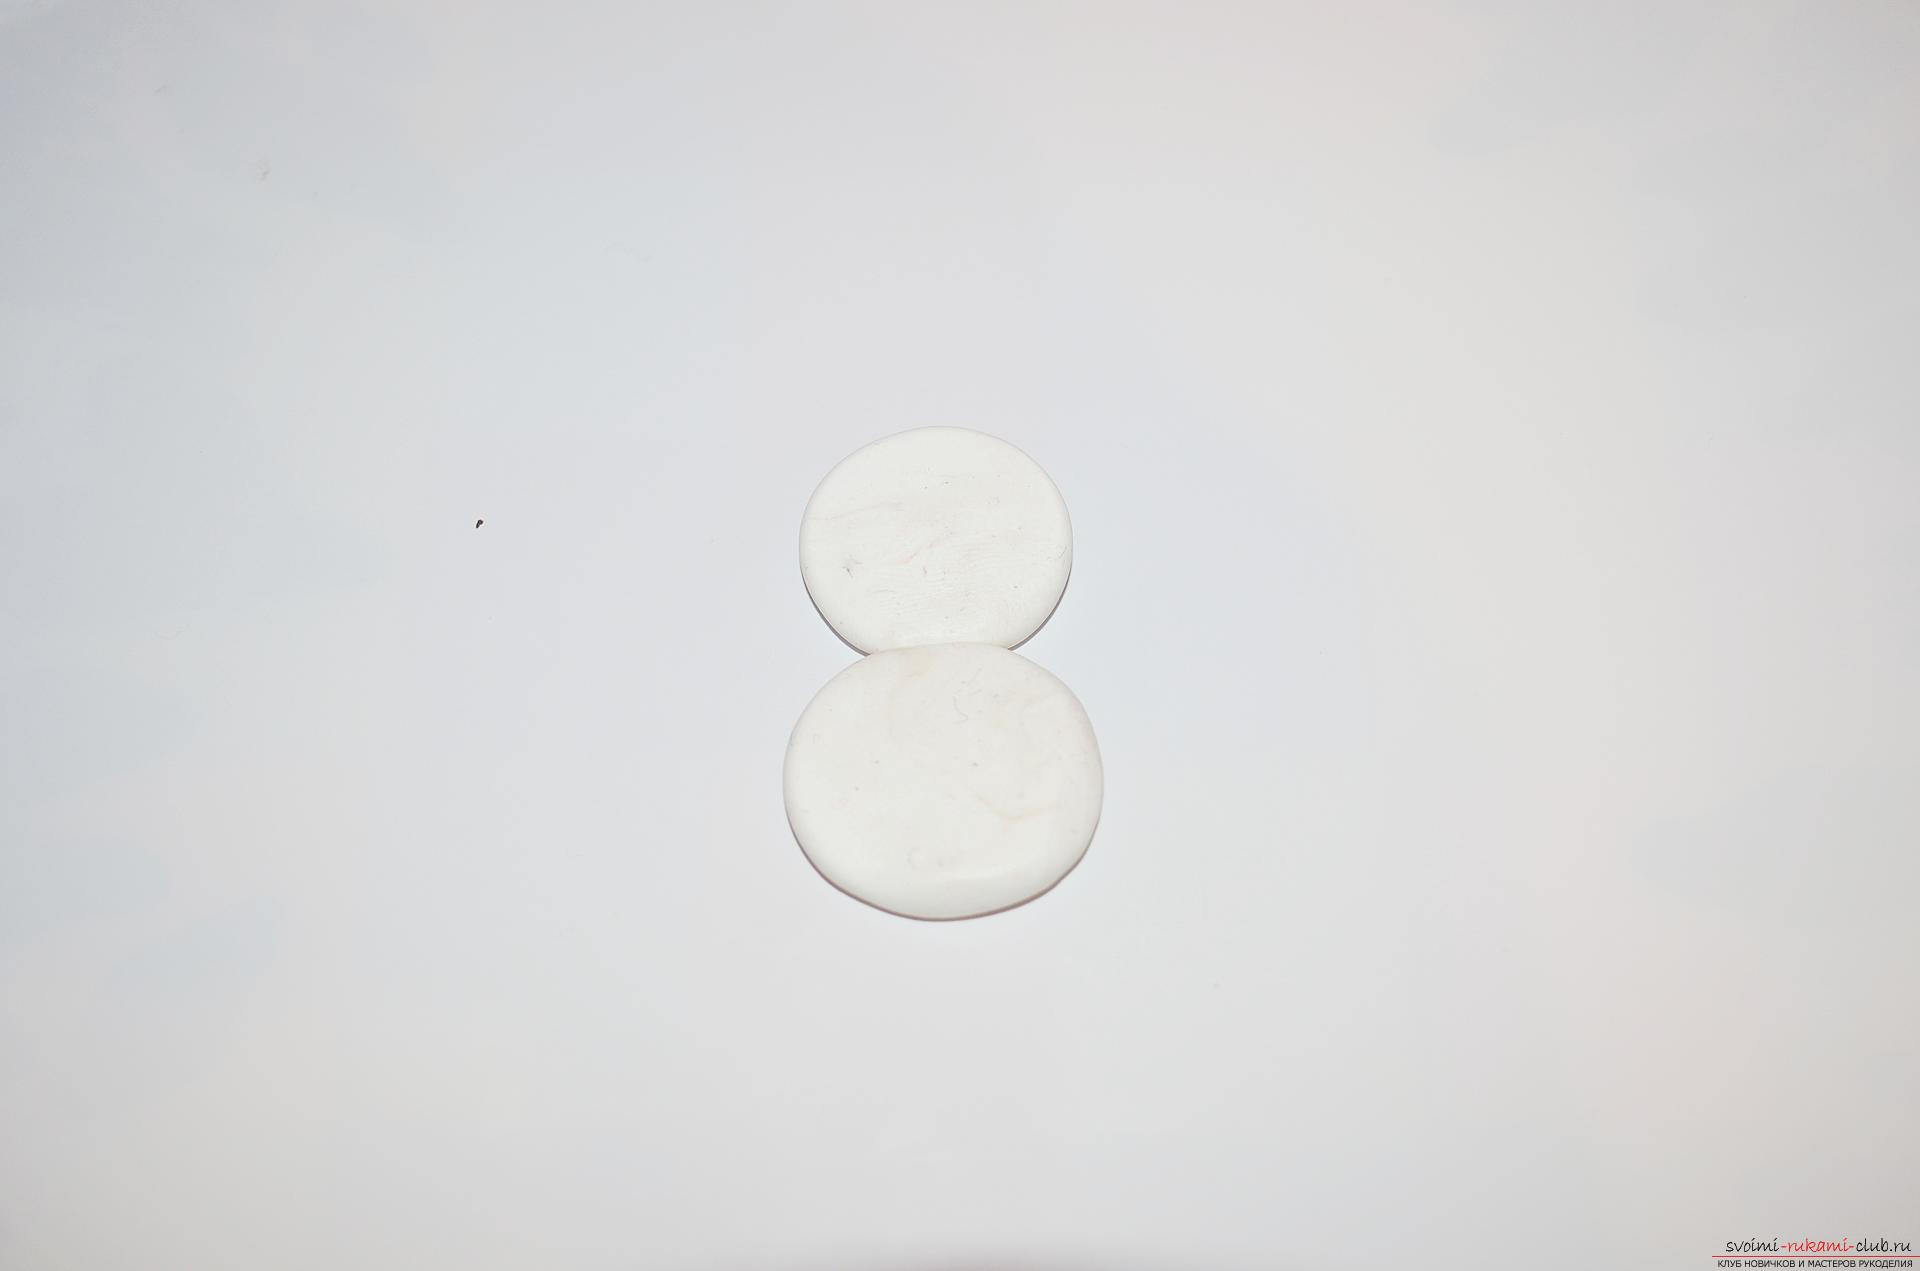 5. Now we need a polymer clay of pink color, we roll it into a small piece of cylindrical shape, reminiscent of "sausage", about 4-5 cm long.
 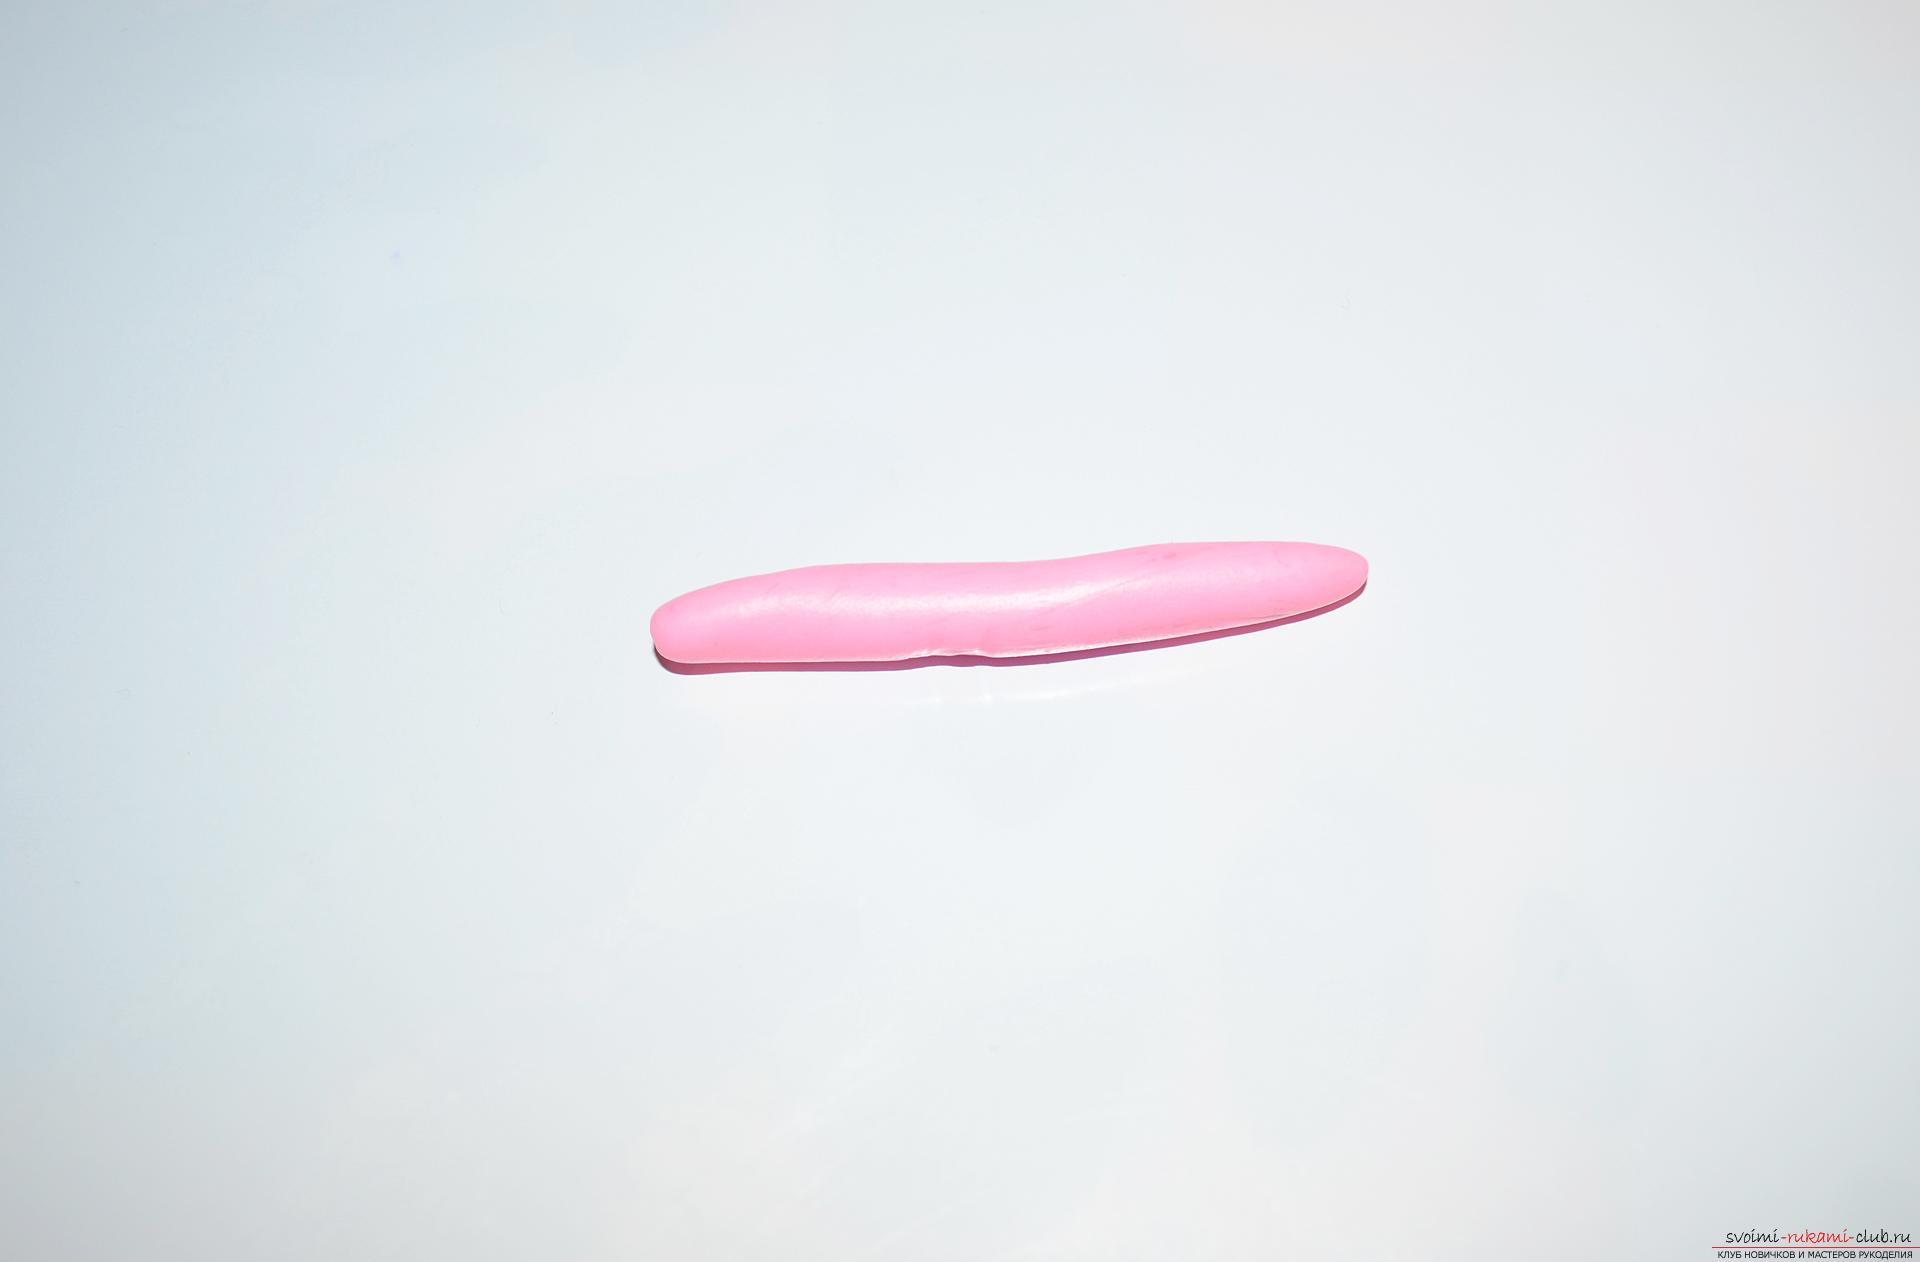 6. After that, the pads of the fingers gently flatten our workpiece, so that it becomes 1 mm thick - this will be a scarf for the Snowman.
  7. To make the scarf look more like a real knitted, the effect of a large mating we will create on its surface with the help of a usual wooden skewer for appetizers or a toothpick. Just put a lot of small indentations-points on the whole surface in the form of a wavy pattern.
 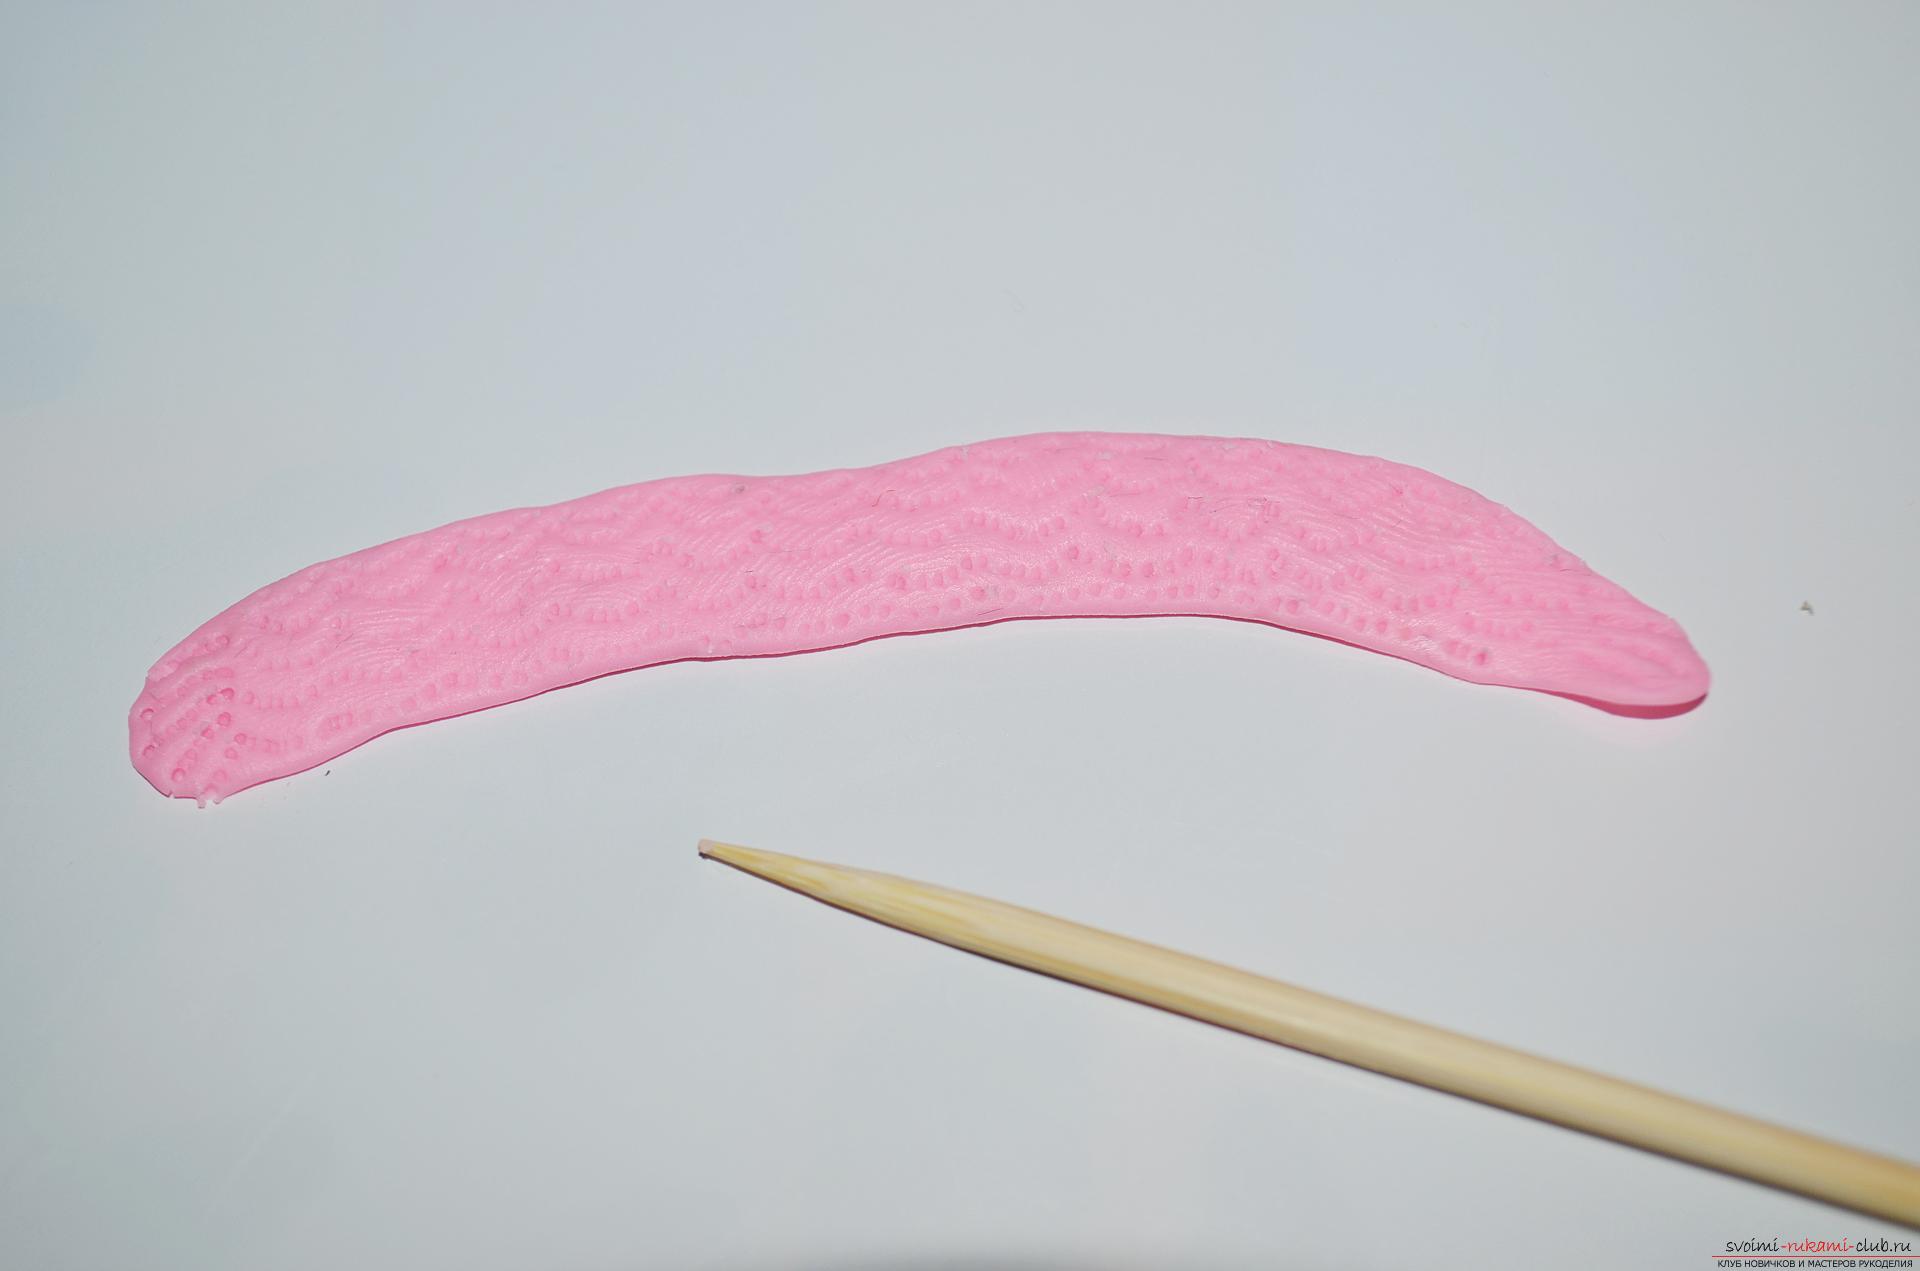 8. "We put on" a scarf around the Snowman's neck, this element will not only decorate our figure, giving it a winter mood, but it will also help to fix both halves of the Snowman additionally.
  9. Next we will make a hat - hat. To do this, we take a polymer clay of black color and form from it a fairly large cylinder, about two centimeters long.
 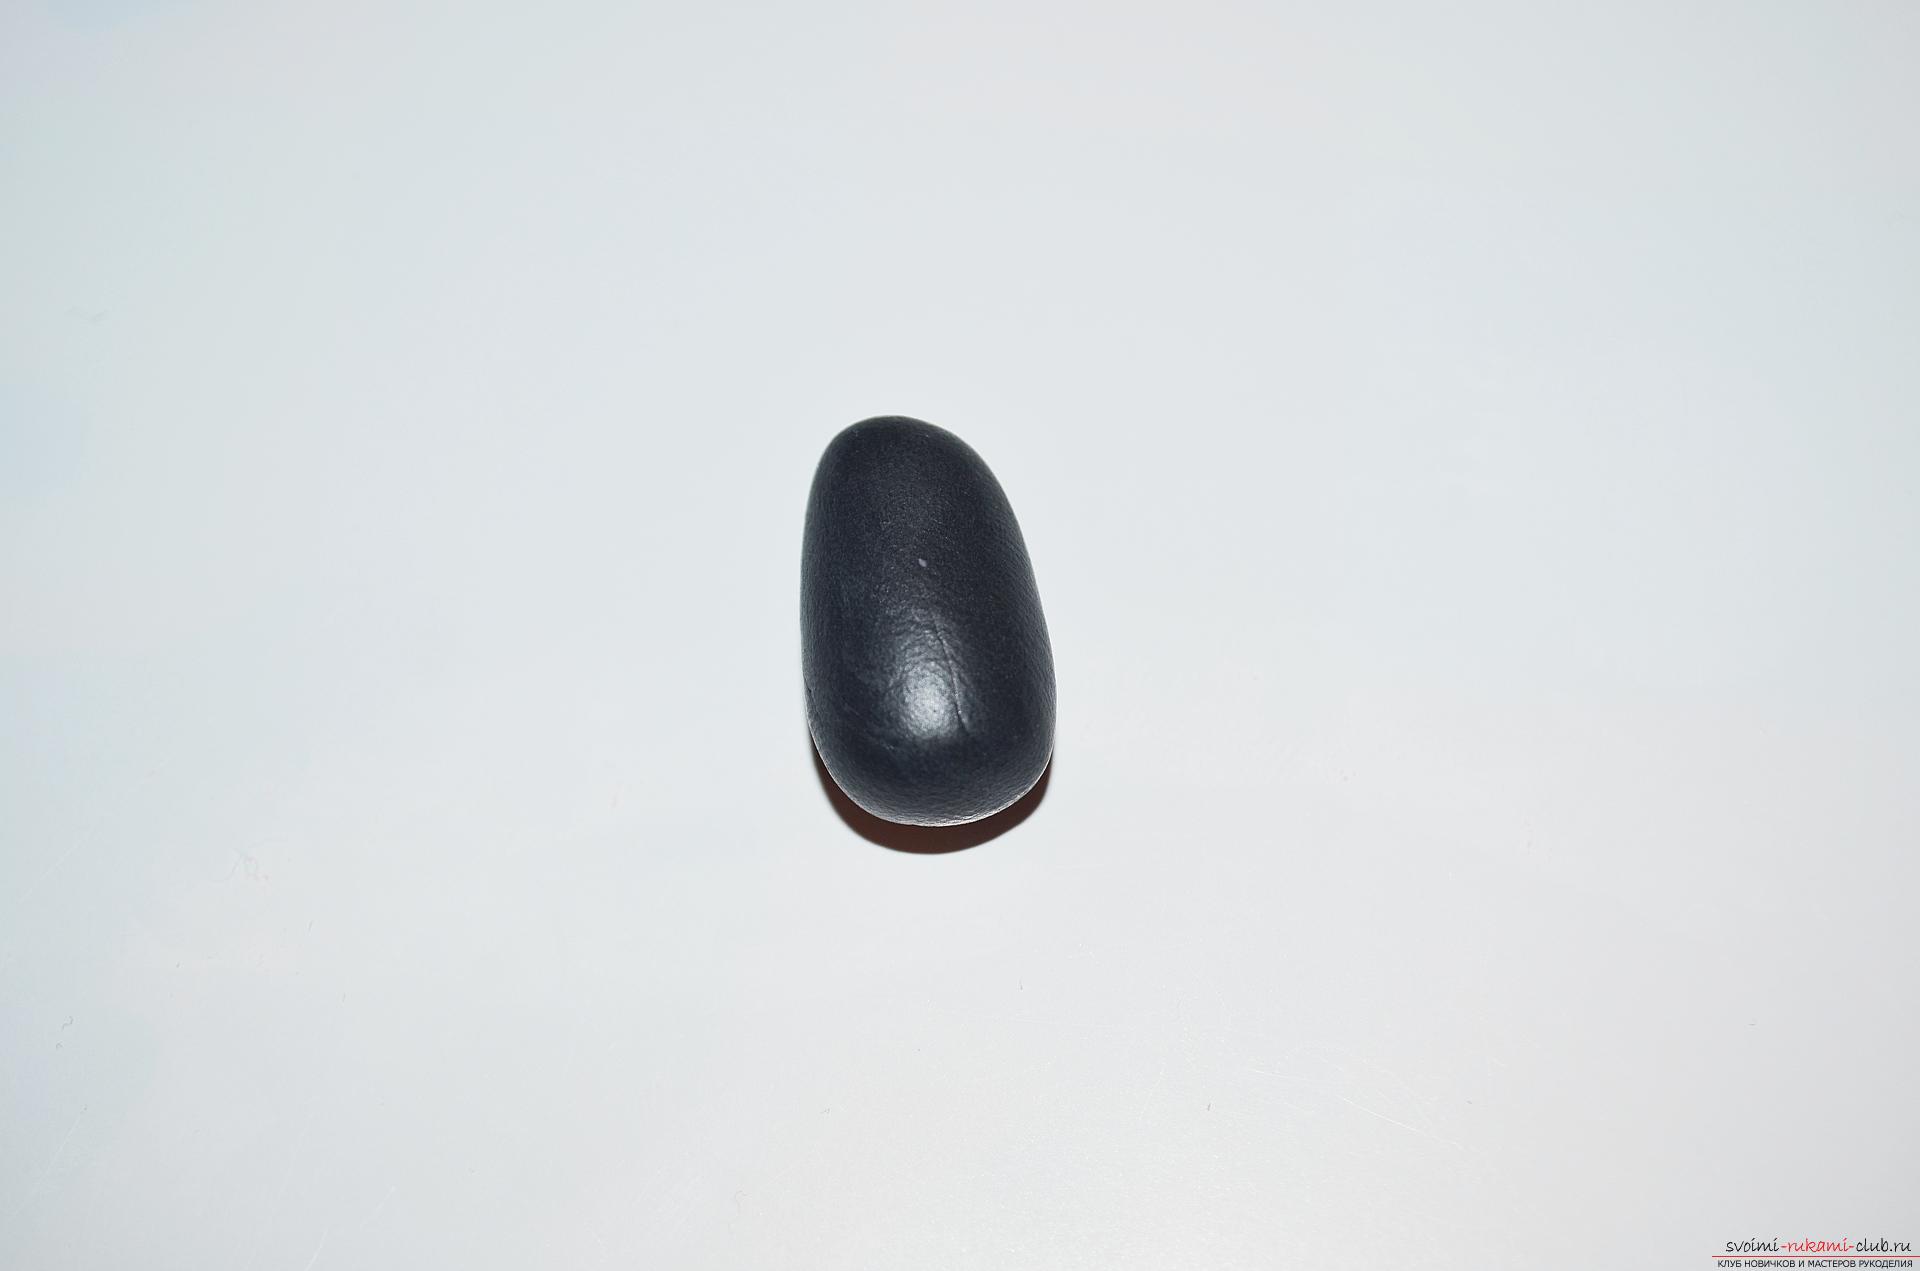 10. After that, the workpiece is flattened, forming a detail resembling a hat. Pay attention to the thickness of the detail of the hat, it should be at least 3 millimeters, otherwise, the headdress will look bad and stay on the head of the Snowman.
 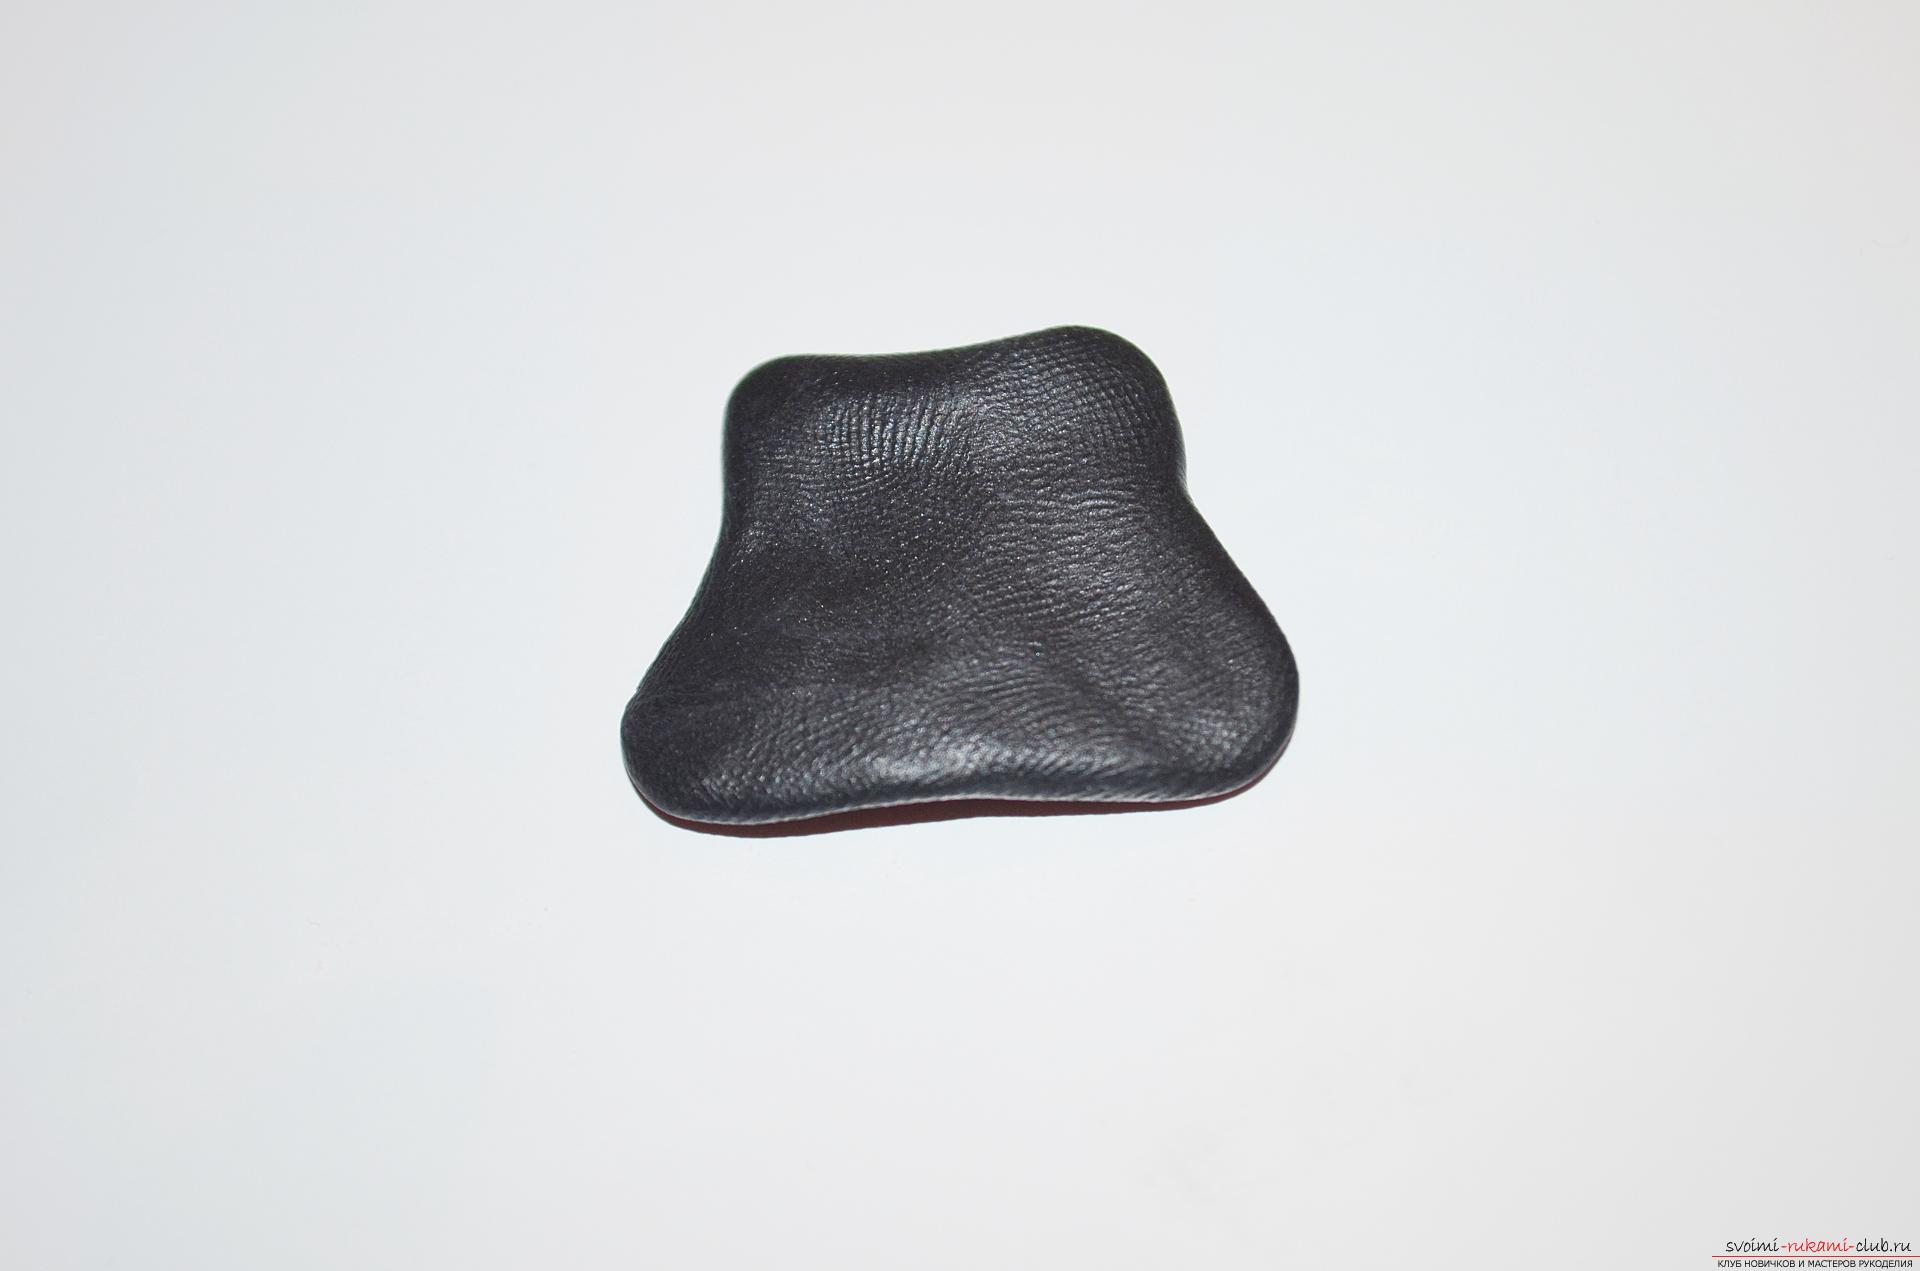 11. We will also make the hat textured. To do this, as for the first time we will use a wooden skewer for appetizers, first we will apply diagonal stripes of points in one direction all over the surface, and then in the opposite direction.
 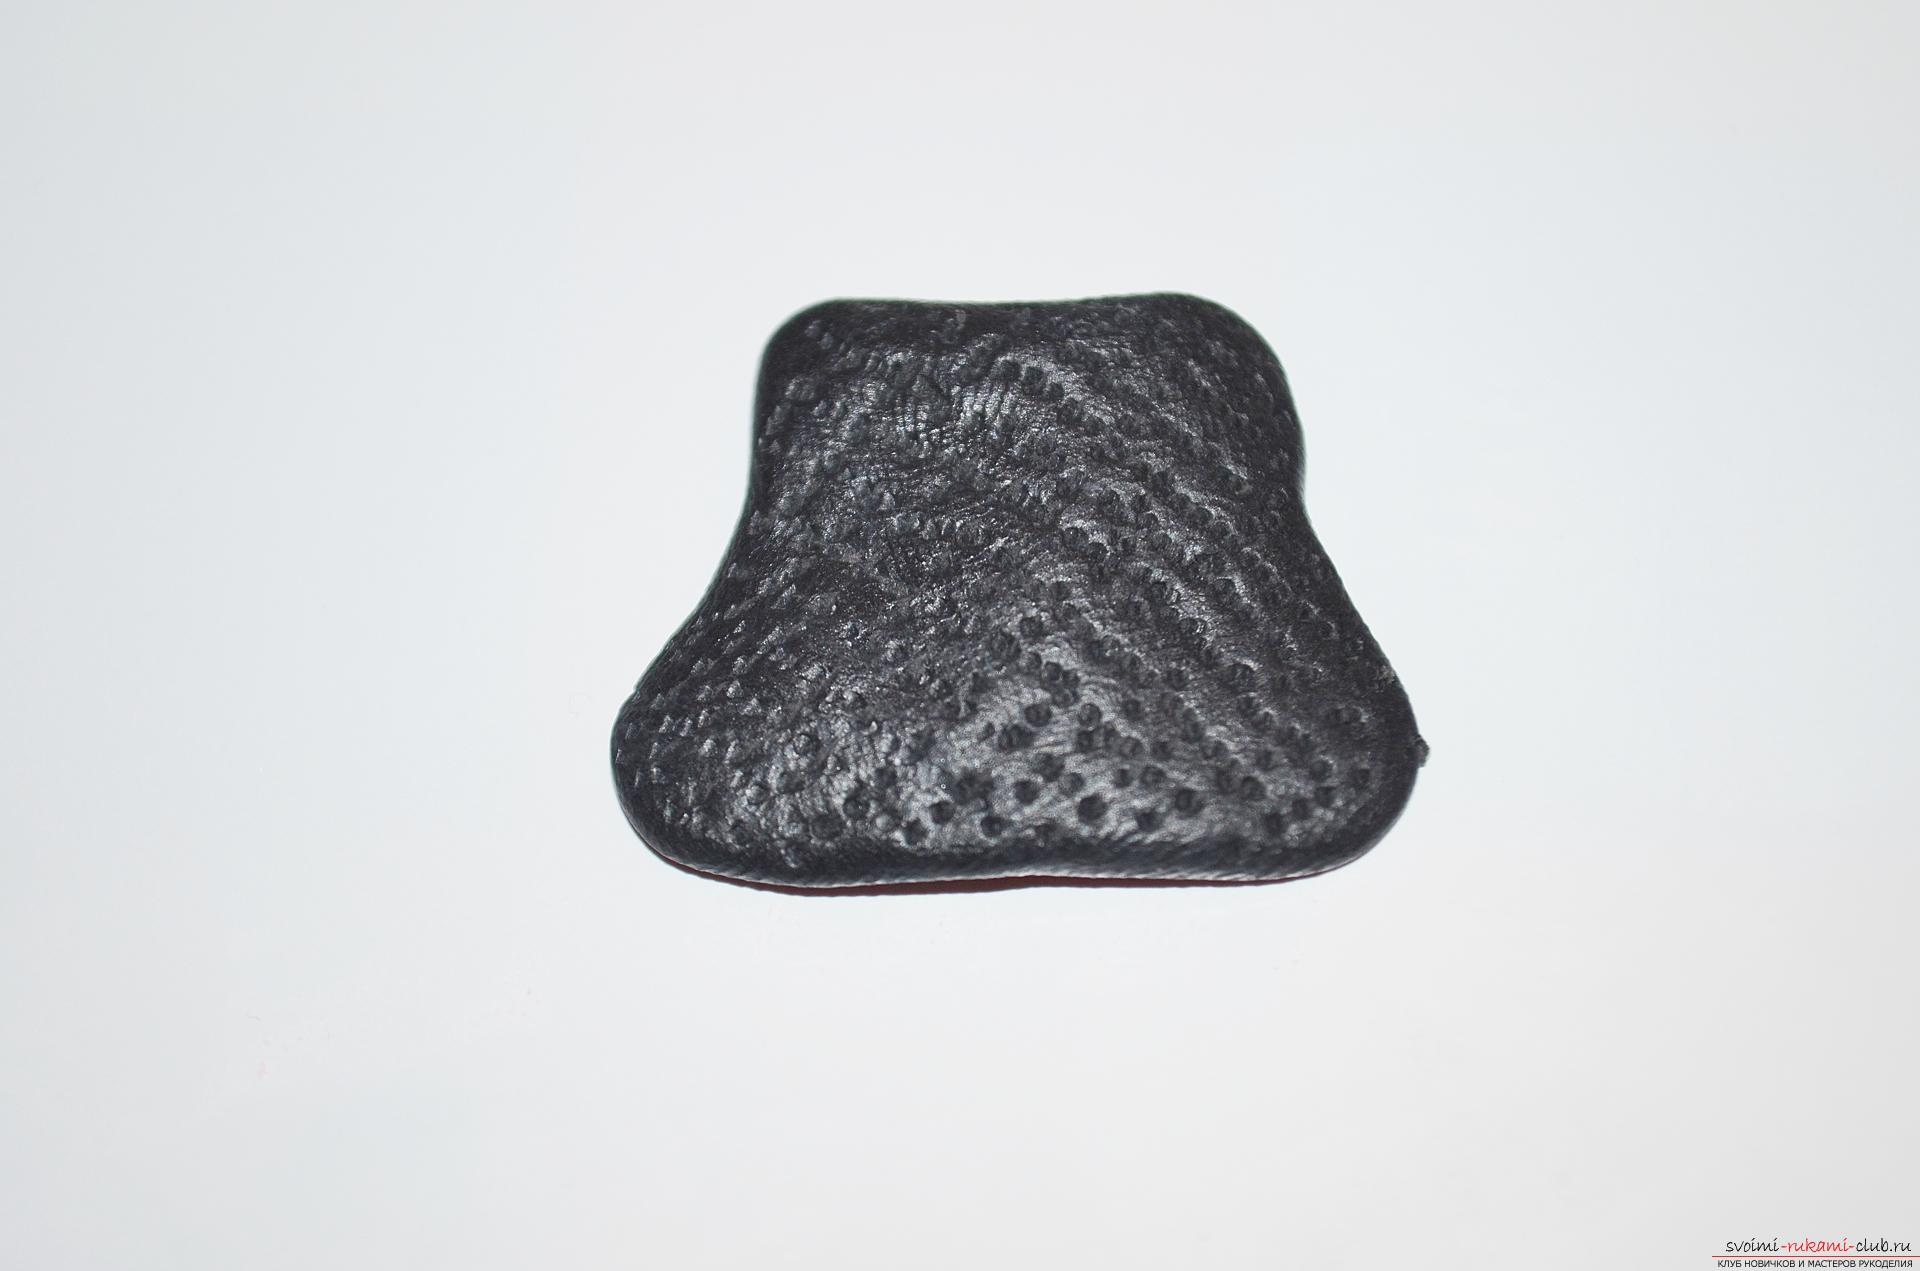 12. We will complement the hat with a small bright detail - a pink ribbon in the tone of the Snowman's scarf.
 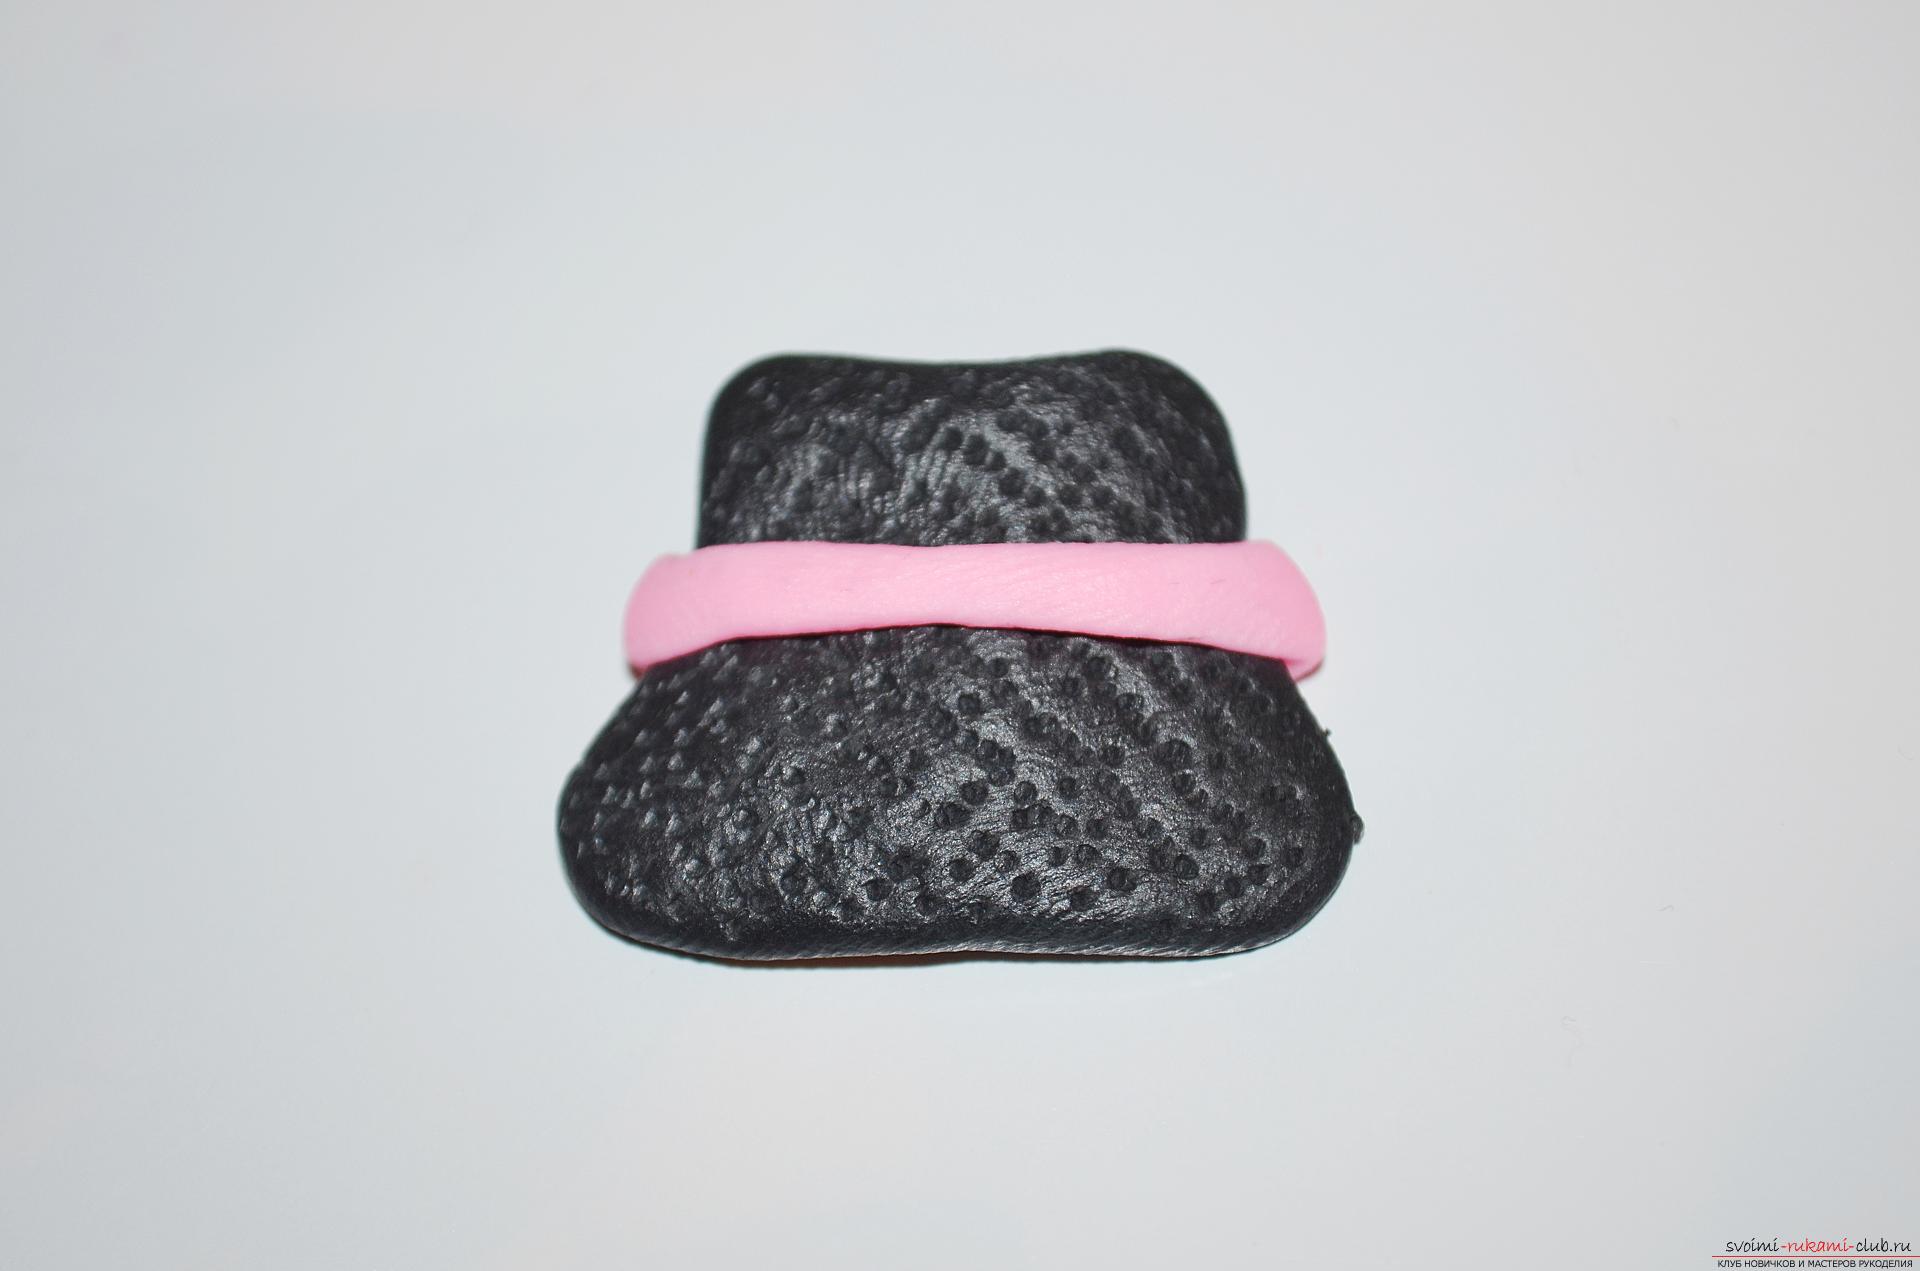 13. "Let's see" the headdress of our snow hero, it turns out very nice.
 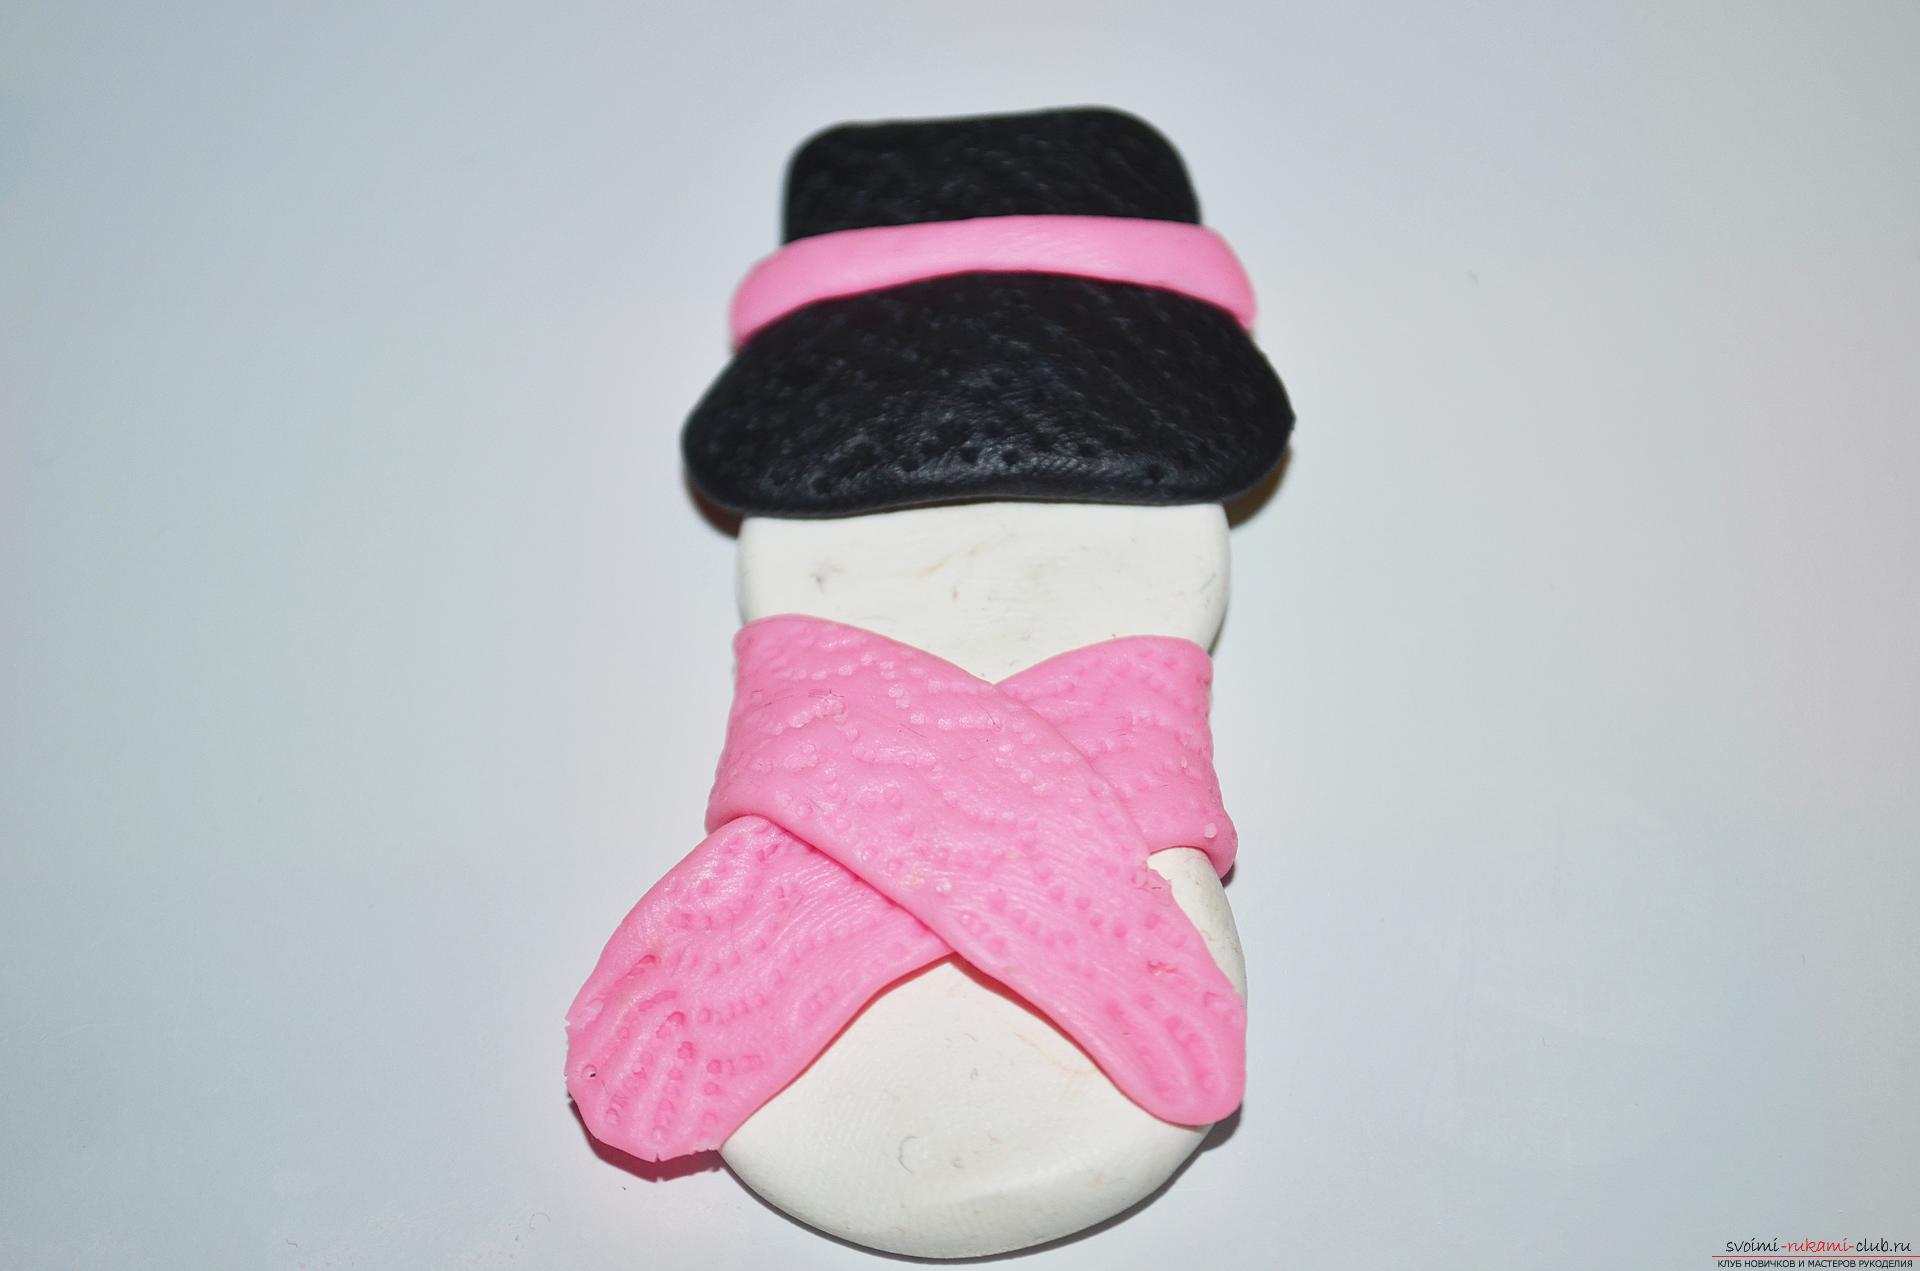 14. Now we form the eyes, for this we pinch off two tiny pieces from a piece of black polymer clay and roll each into a ball. We glue the eyes to their places.
 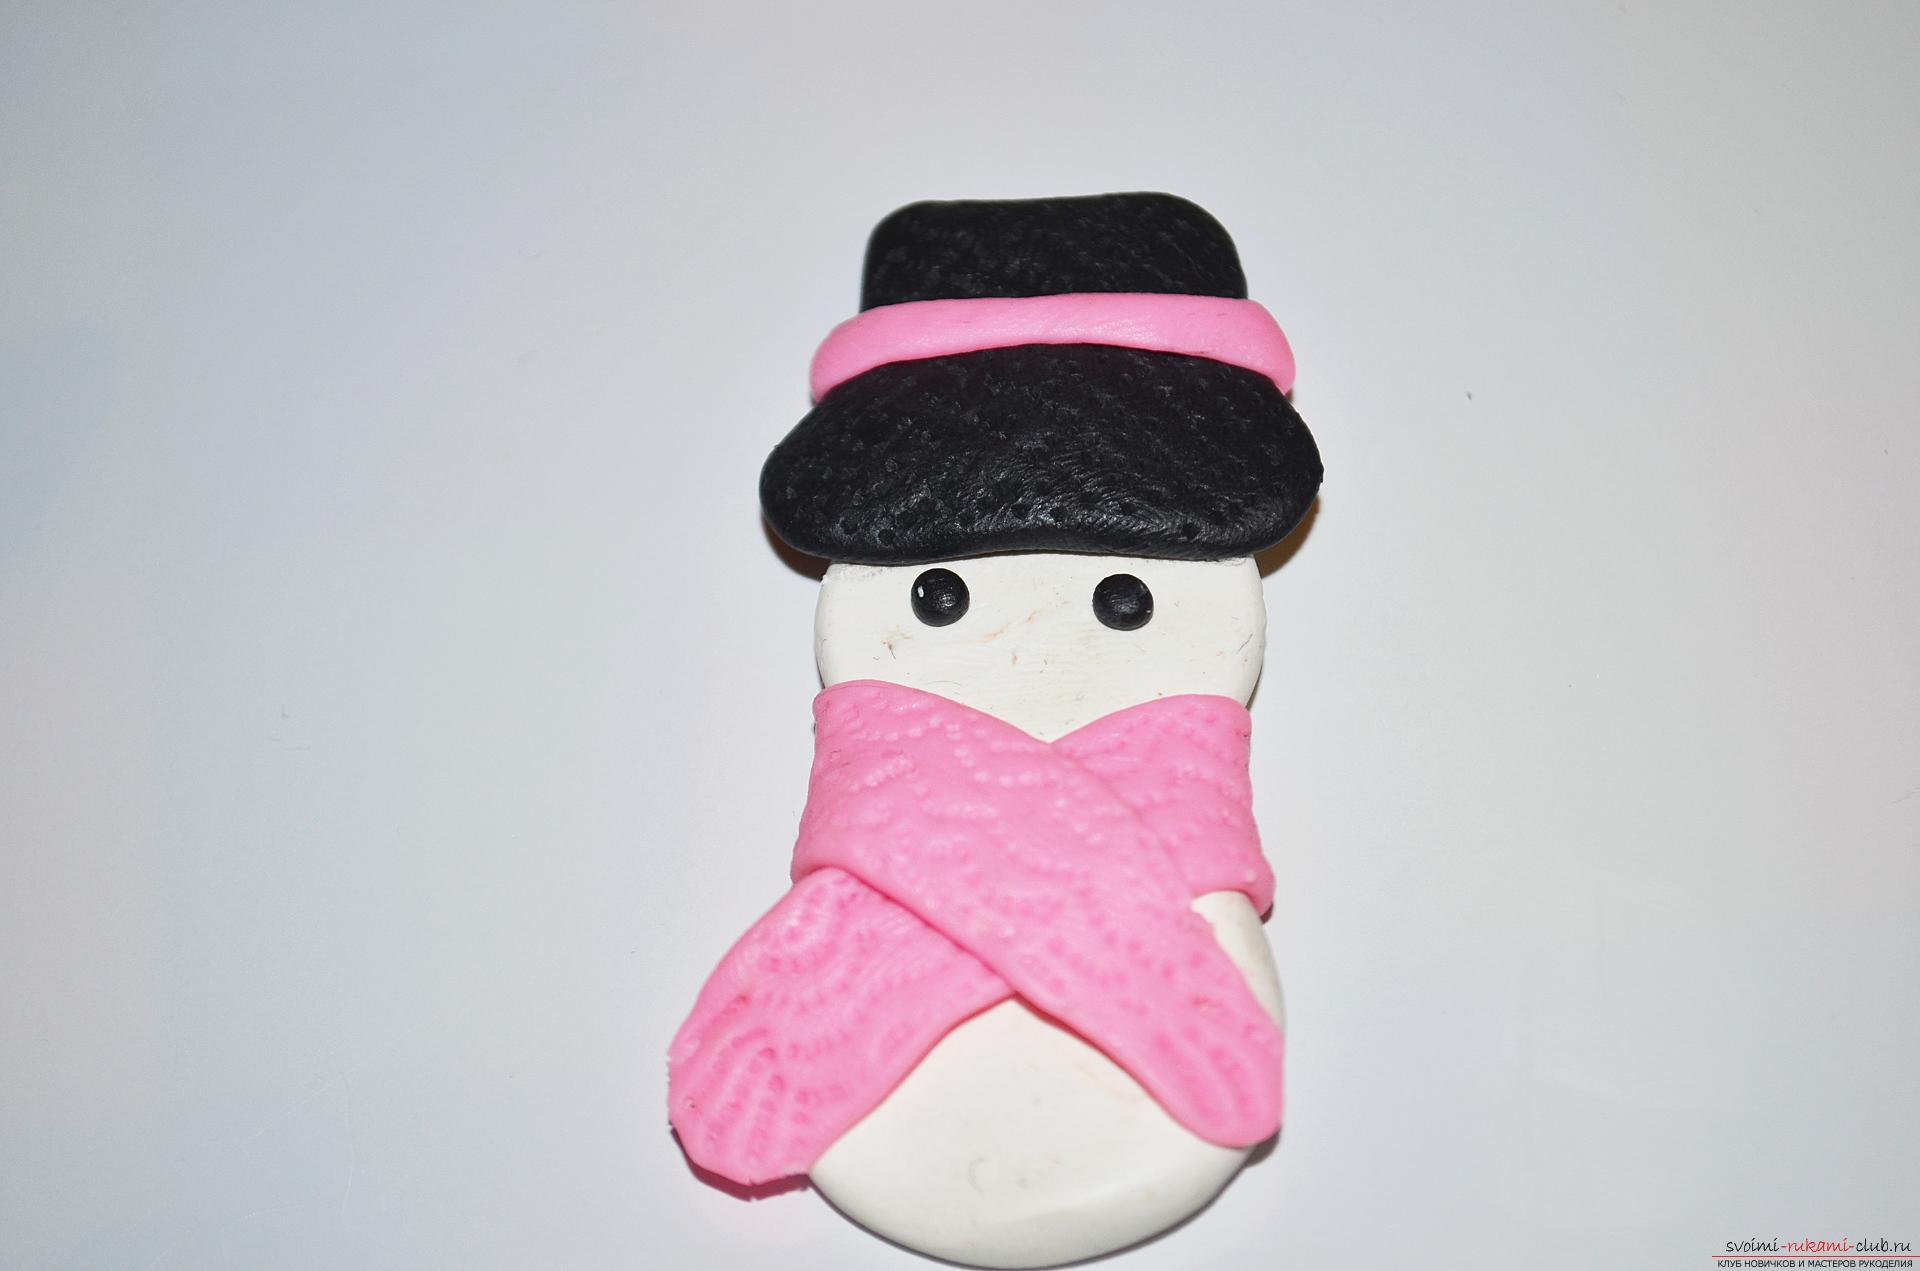 15. Then, from a piece of white polymer clay, form the nose in the form of snow, and also the mouth, for this we roll black clay into a thin strip so that we can lay out a smile.
 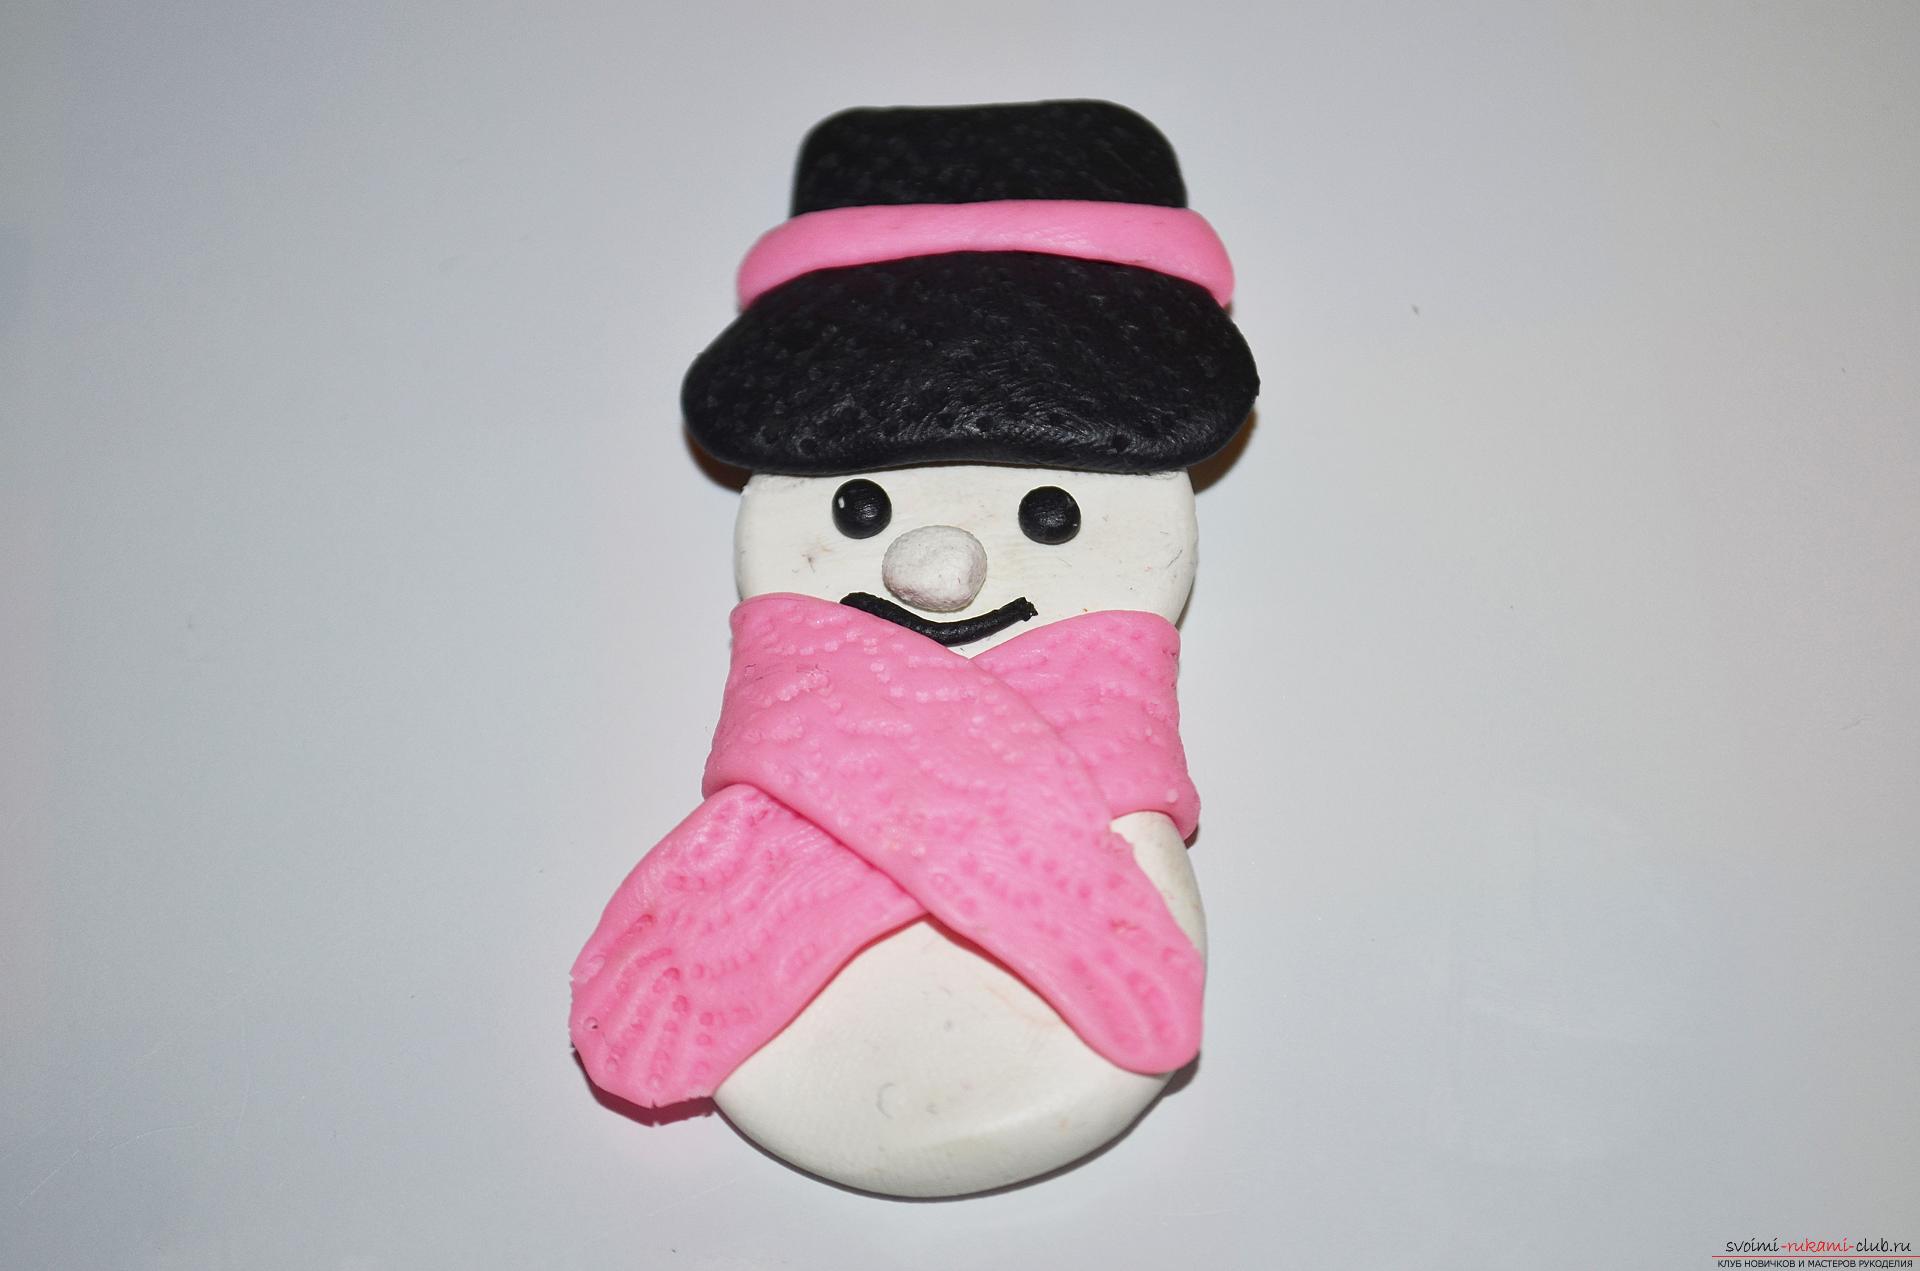 16. To make our toy possible to hang on a twig of a New Year tree, with the help of the same wooden skew, in the center of the upper part of the Snowman's hat we make a small through hole, into which we will later pass a piece of golden thin thread or a thin satin ribbon.
 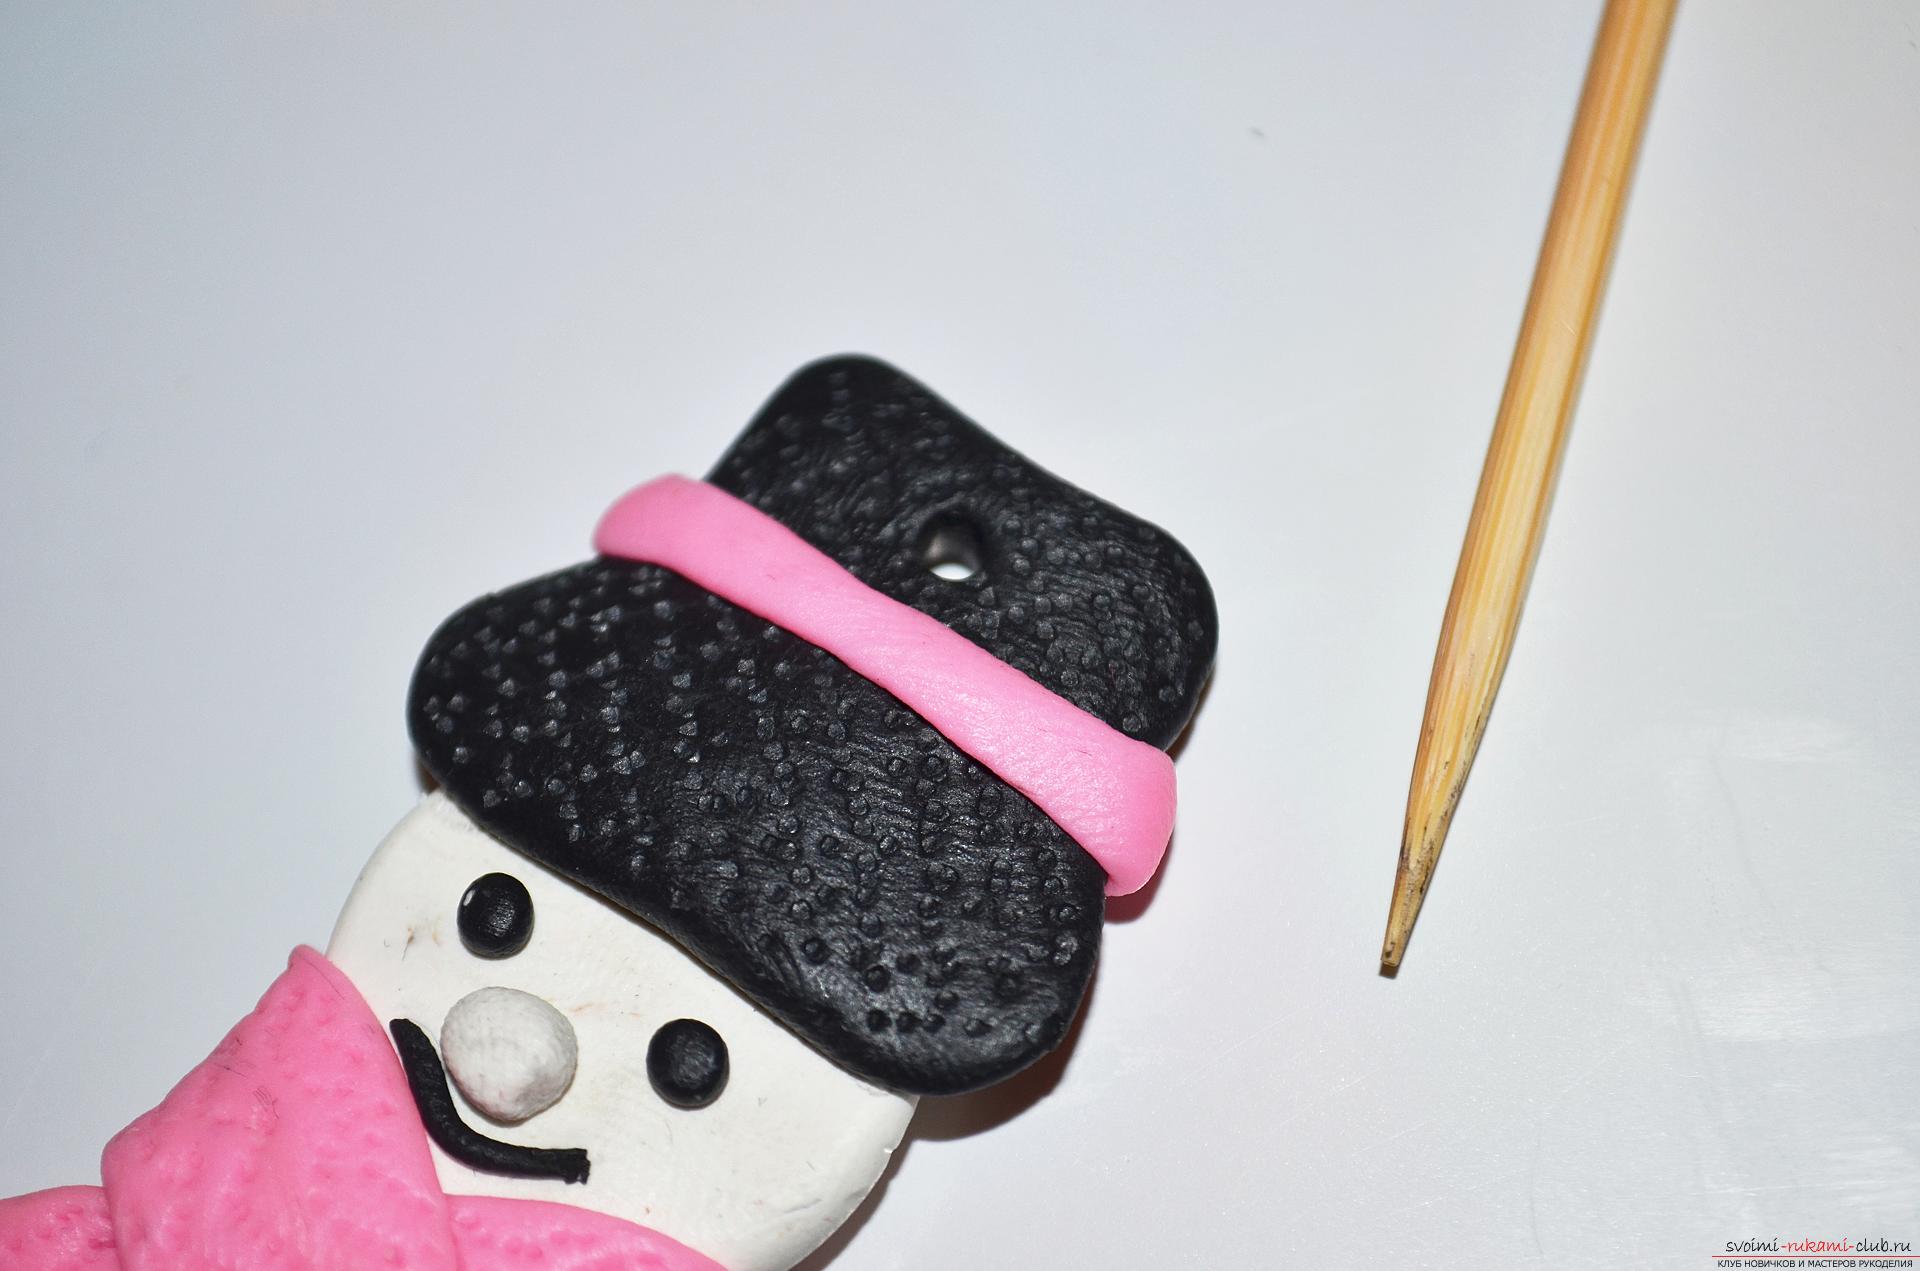 17. After the complete completion of the work on the modeling of the toy, we can only bake it in accordance with the instructions attached to the polymer clay, from which we made our decoration, so that it became firm and pleased you for many years.
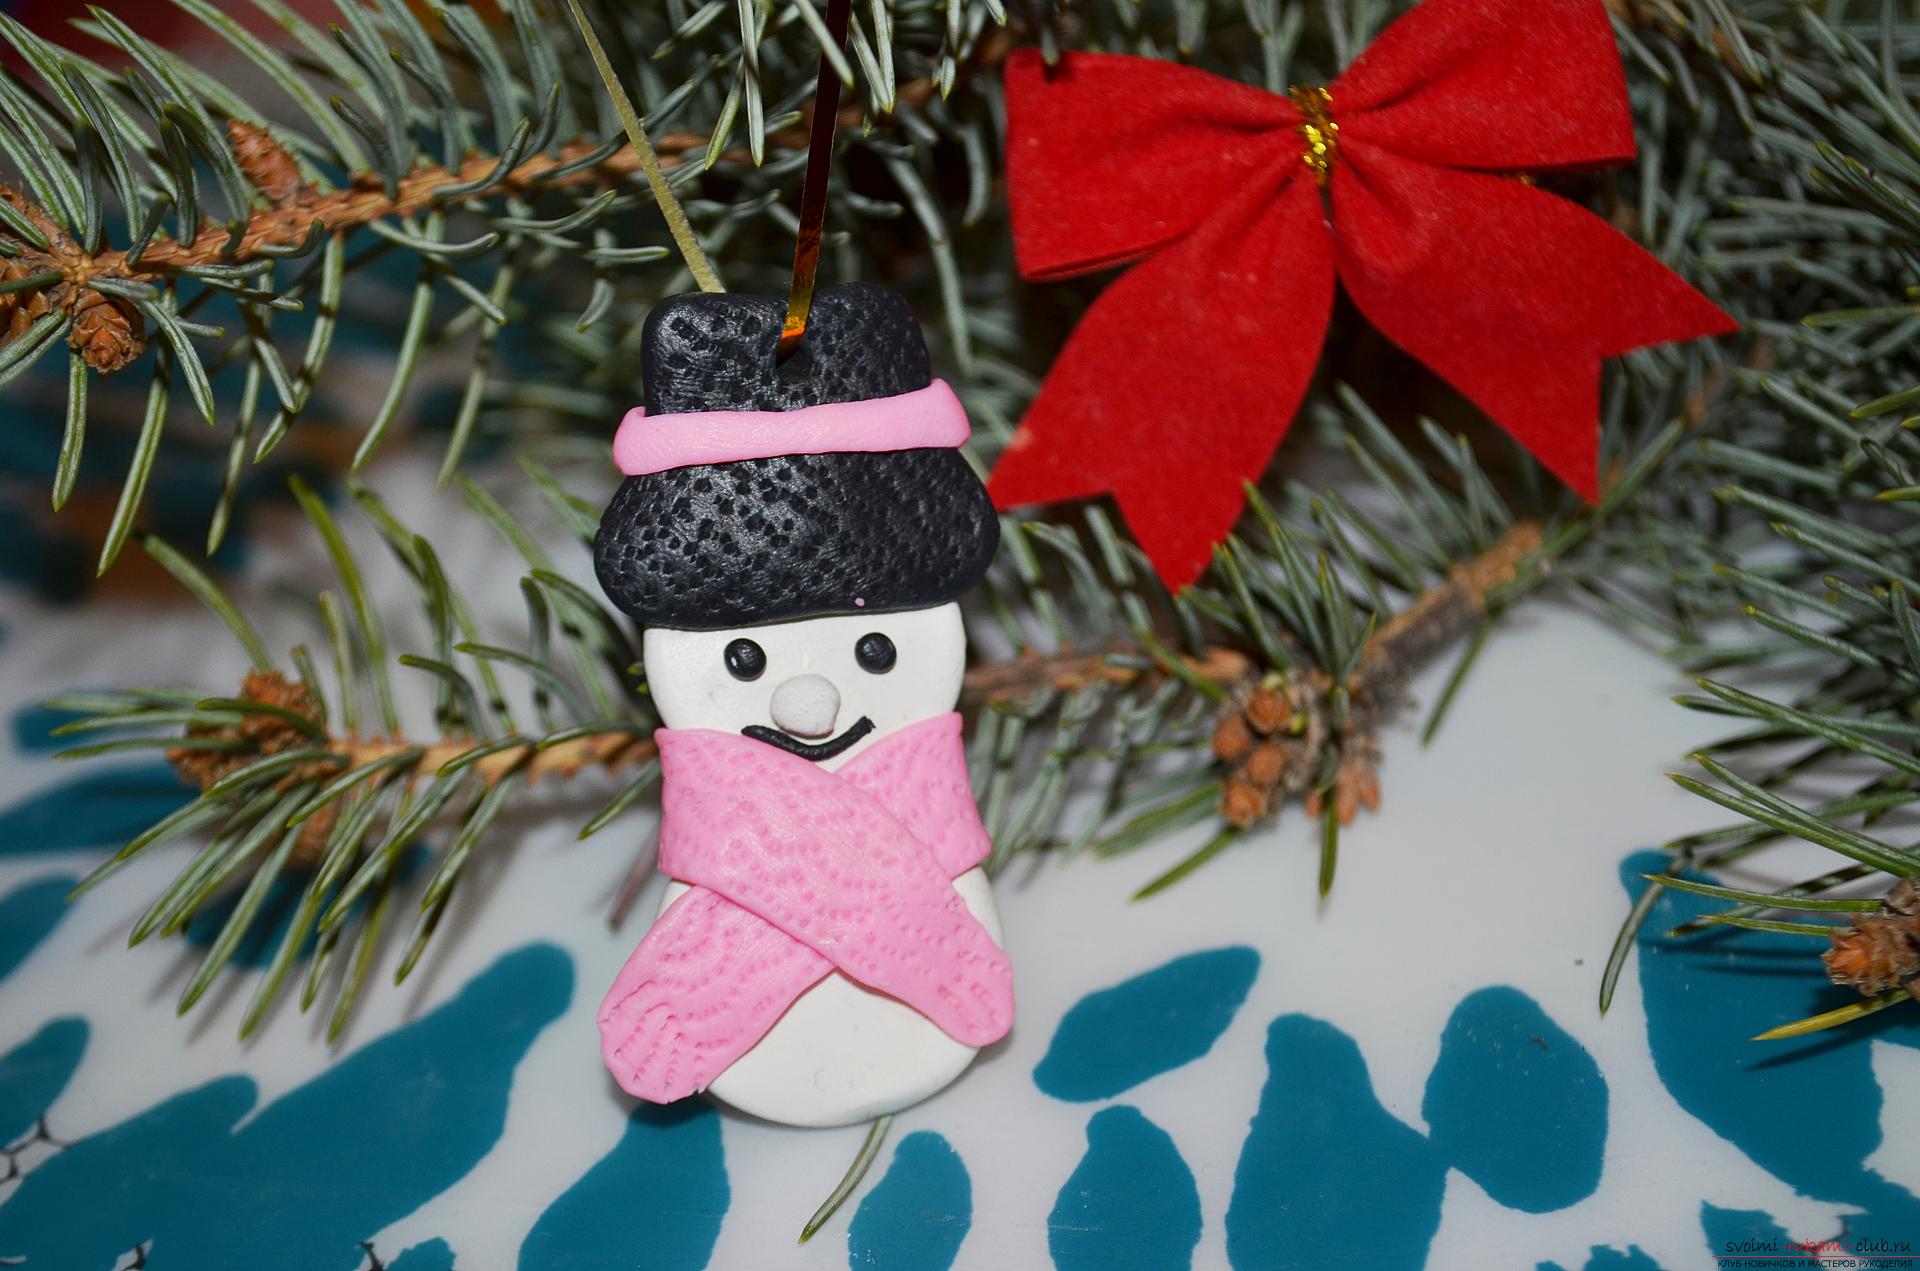
Comments
Related posts:
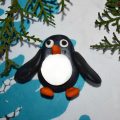 How to fashion a small penguin from polymer clay? Lesson modeling with a detailed description of technology, work stages and step by step photos
 We make a figure of a snowman from polymer clay - a master class with our own hands
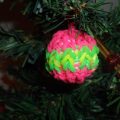 How to weave a ball of rubber to decorate New Year's fir, you will learn from our lesson. Detailed description of the process of weaving with step-by-step photos
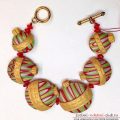 Christmas tree beads made of polymer clay for New Year's holidays - master class sculpting
 To mold your own flowers from polymer clay is not difficult. To do this, it is enough to carefully study the recommendations given in our master class with a photo