
How to make stylish and functional Roman curtains for the kitchen yourself. Step-by-step instruction manual
In the catalogs of popular shops you can finda variety of models of cornices and curtains, but sometimes you want to hang something individual in this room, that's when people begin to wonder how to sew beautiful curtains for the bedroom with their own hands. In connection with the fact that you can not talk about all types of curtains at once, I stopped at the Roman curtains, which recently acquired an enviable popularity and the process of their manufacture is quite simple. 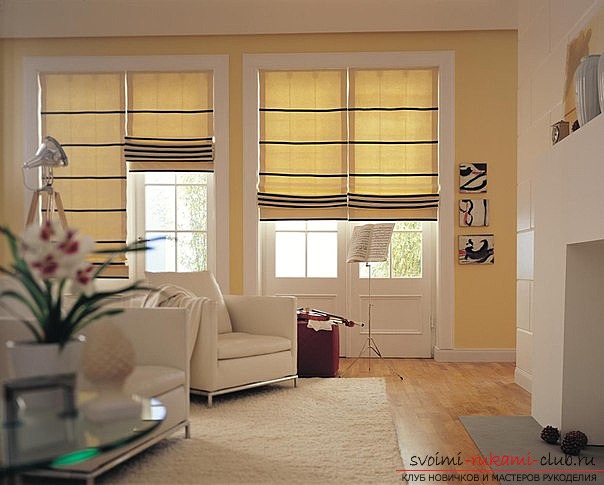 To finally convince you to listadvantages of Roman curtains: 1. They are great for interiors in the style of minimalism and are not bad combined with Japanese style. Thanks to the openness of the windows with such curtains, the room space will visually increase. These curtains are very economical due to the small expense of tissue. Any bedroom is significantly transformed due to the very diverse and beautiful colors of these curtains.
  How to fix the Roman curtains? First of all, we deal with fastening for future shutters, here you are offered two solutions. The first - fastening directly to the window itself, then the fabric will be located next to the glass, in the window opening. The second option involves the fastening of curtains of Roman on the wall, in this unusual width of the curtain will be increased by 10 or 20 centimeters. Pattern curtains for the kitchen First of all measure the window frame and add allowances about 6 cm for the side seams. Also 15 centimeters from the bottom and the top of the top of your product. To determine the required amount of material, you will have to calculate the estimated number of folds, as well as their size, using the table below.
  Necessary tools for workTo sewbeautiful curtains we need: Velcro tape, metal or wood rods (6-9 pieces), glue tape for curtains, a lower load of curtains, three cords, rings about 1 centimeter in diameter and the material itself. Still useful hooks, carnations and a pre-decorated planochka-bar. The sewing instruction: 1. We begin work with the processing of side seams.
  2. Nail the stapler with Velcro for the subsequent fastening of the curtains to the bottom of the previously prepared bar. The second piece of Velcro is sewn to the top of the fabric for curtains. Make a bottom gate to place the weighting agent. Sew the tape-gasket to the necessary places and in the resulting empty places we install metal rods.
  4. Sew the rings on the fabric, and then attach the nails to the bar. 5. Thread the cord into the rings from the bottom up and tie the knot in its lower part. Then pull the cord through each row with the rings from the bottom to the top. The ends must be withdrawn in the same direction. To check the uniformity of the folds, tighten the cords tightly. Then install the bar on the window frame and straighten the almost finished curtain. This manipulation checks the tension of the cords. If everything is in order, tie a knot in the final ring.
 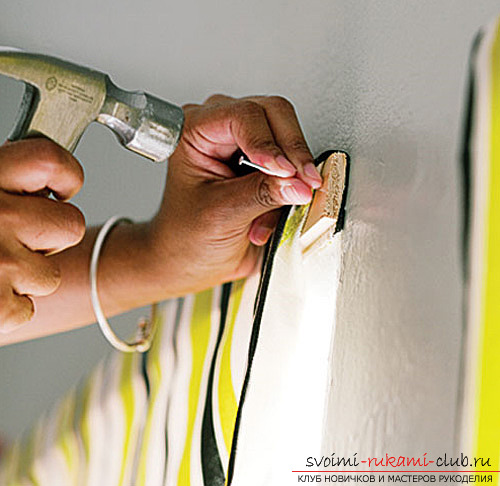 7. Now thread the cord into the handle, designed to quickly release / raise the curtains, once again tie the tip to the knot and cut off any excess leftovers. In conclusion, fasten the fastener to which the cord fixing the curtain will be wound in a wall or window frame. After that, beautiful Roman curtains for the kitchen with their own hands can be safely called ready. Now Roman curtains will complement the interior of your room and give a sense of chic and comfort!
Comments
Related posts:
 How to make excellent curtains on your own eyelets on your own. Secrets of sewing curtains on eyelets for kitchen, living room and children's room
 We sew simple but beautiful Roman curtains for the kitchen. Completely free of charge we make an excellent decoration by our own hands
 Roman blinds with their own hands on the strings
 A step-by-step instruction on how to create costumes for flattering animals for children with their own hands.
 How to make steamship from paper - step by step instruction