
How can we weave a small toy "Red-haired girl" out of multicolored rubber bands? Detailed description of the process of weaving, a list of necessary materials and step-by-step photos
Latex rubber weaving every dayis becoming more popular and popular. It's all about the variety of products that you can create from this seemingly simple material. Weave not only bracelets, but also various figurines. In this master class we will sew a red-haired girl from a rubber band, which can be used as a keychain.
Materials and tools
- Machine;
- Rubbers of orange, blue, yellow, green and beige colors;
- Hook.
Progress
We begin the weaving of the girl's hair. Prepare orange rubber, as the girl will be red-haired. You can choose any color of hair. We place the machine so that the open sides of the columns look from us. We put one elastic on the first column of the upper row and pull it on the 2nd column. Next, put on the elastic band on the 2nd column and pull it onto the 3rd column. And so on. In total we put eight rubber bands. 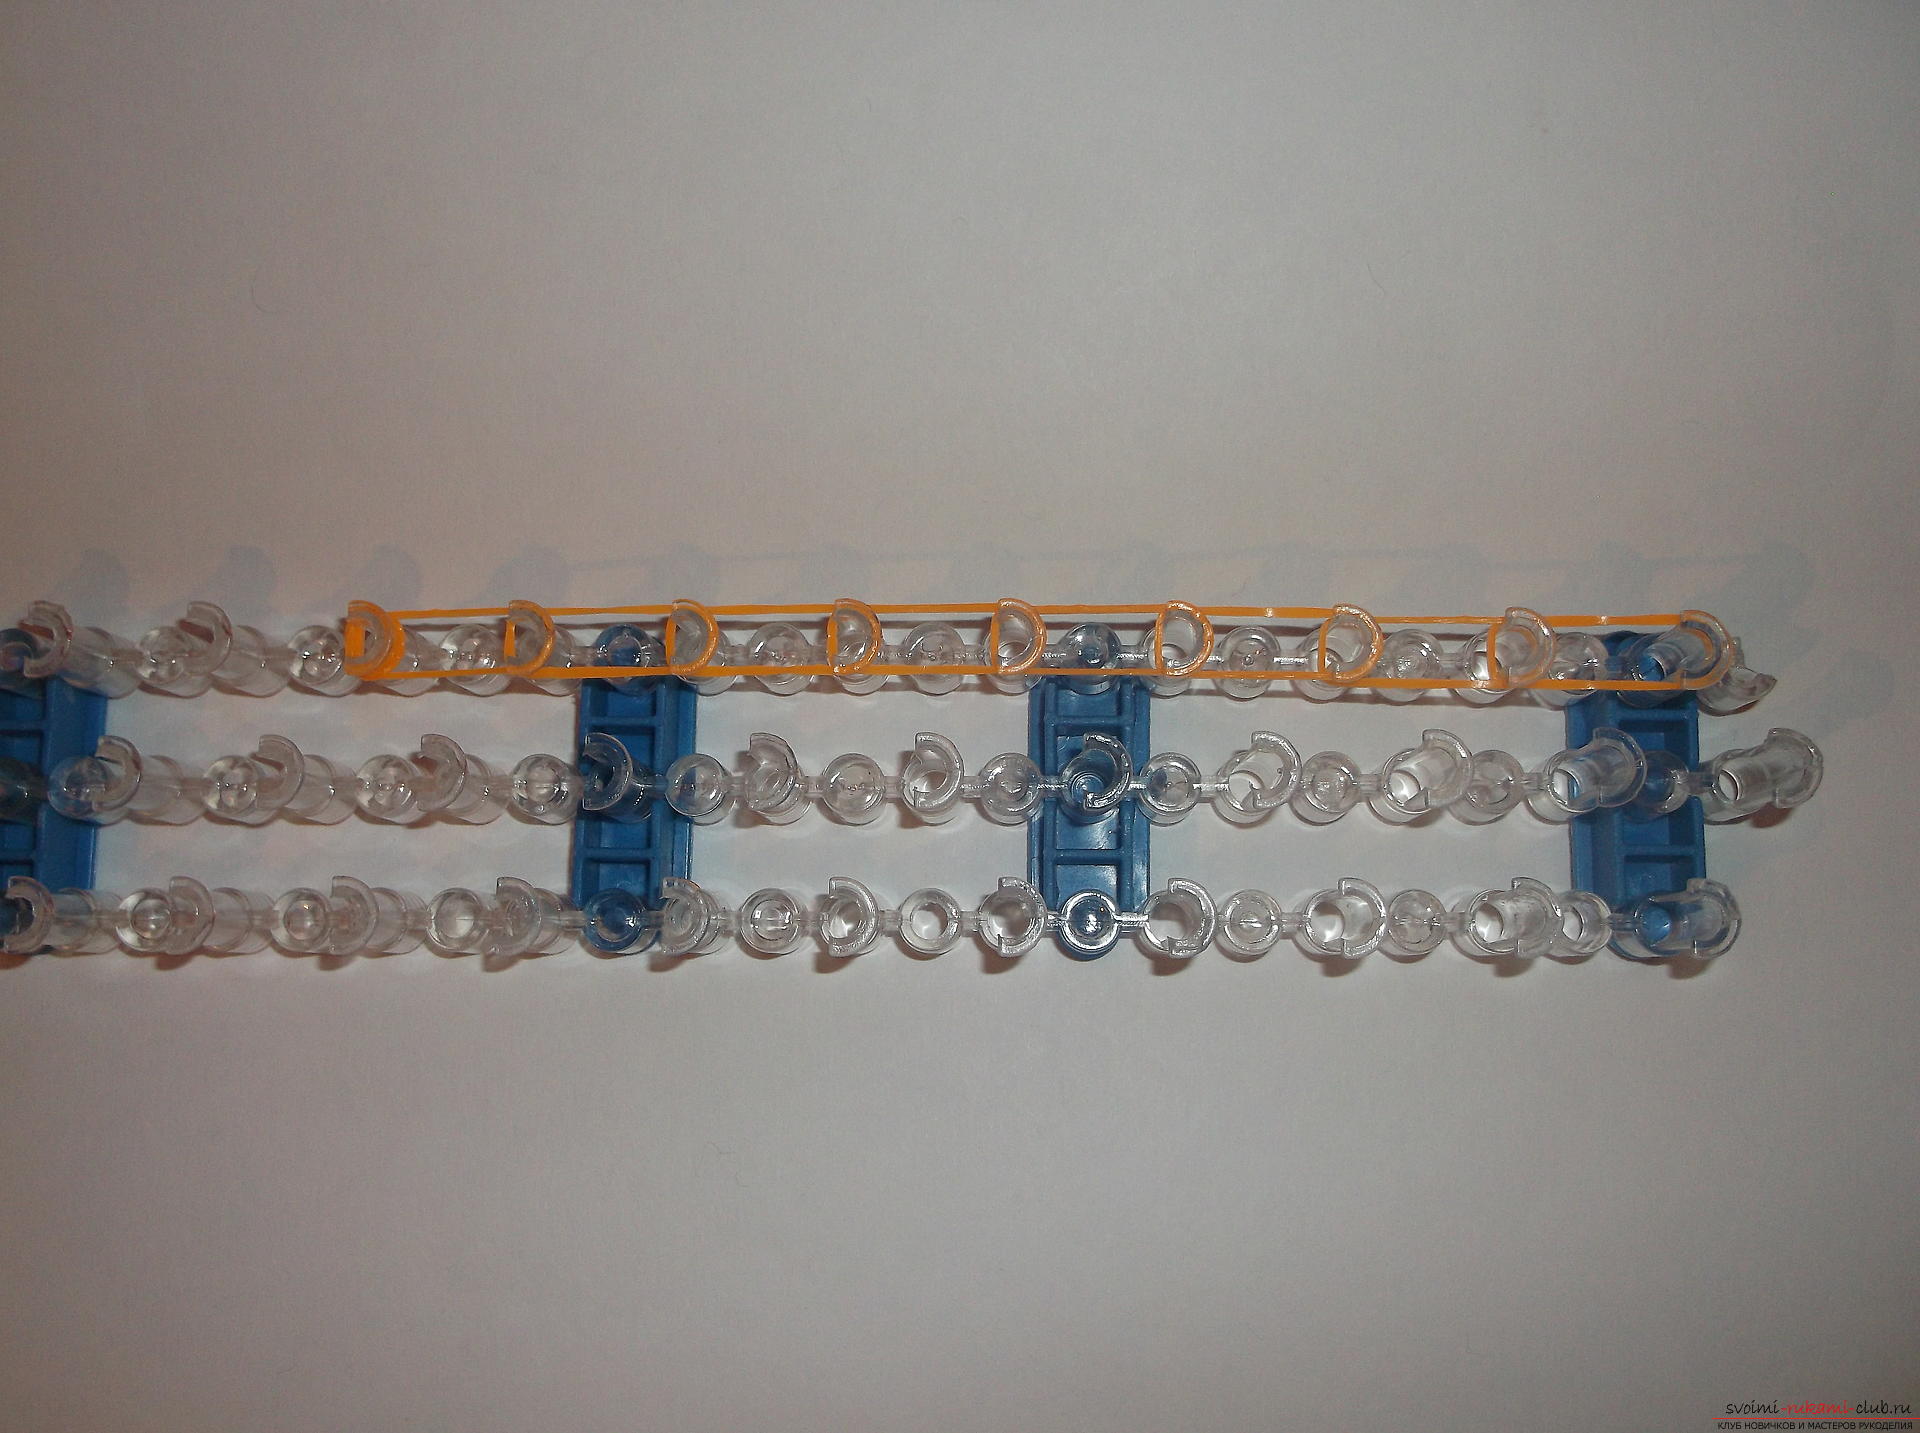 If you want to make your hair longer, you canextend the row to the end of the machine. On the last column we put on another rubber band, stretch it and put it on the same column three more times, that is, wrap it with an elastic band. Now you need to turn the machine open part to yourself. We remove the layer in this way: we put the hook under the elastic band, which was folded four times and we find the lowest elastic band. We grab it with a hook, remove it from the column and put it on the next column. The same is done with the rest of the columns.
 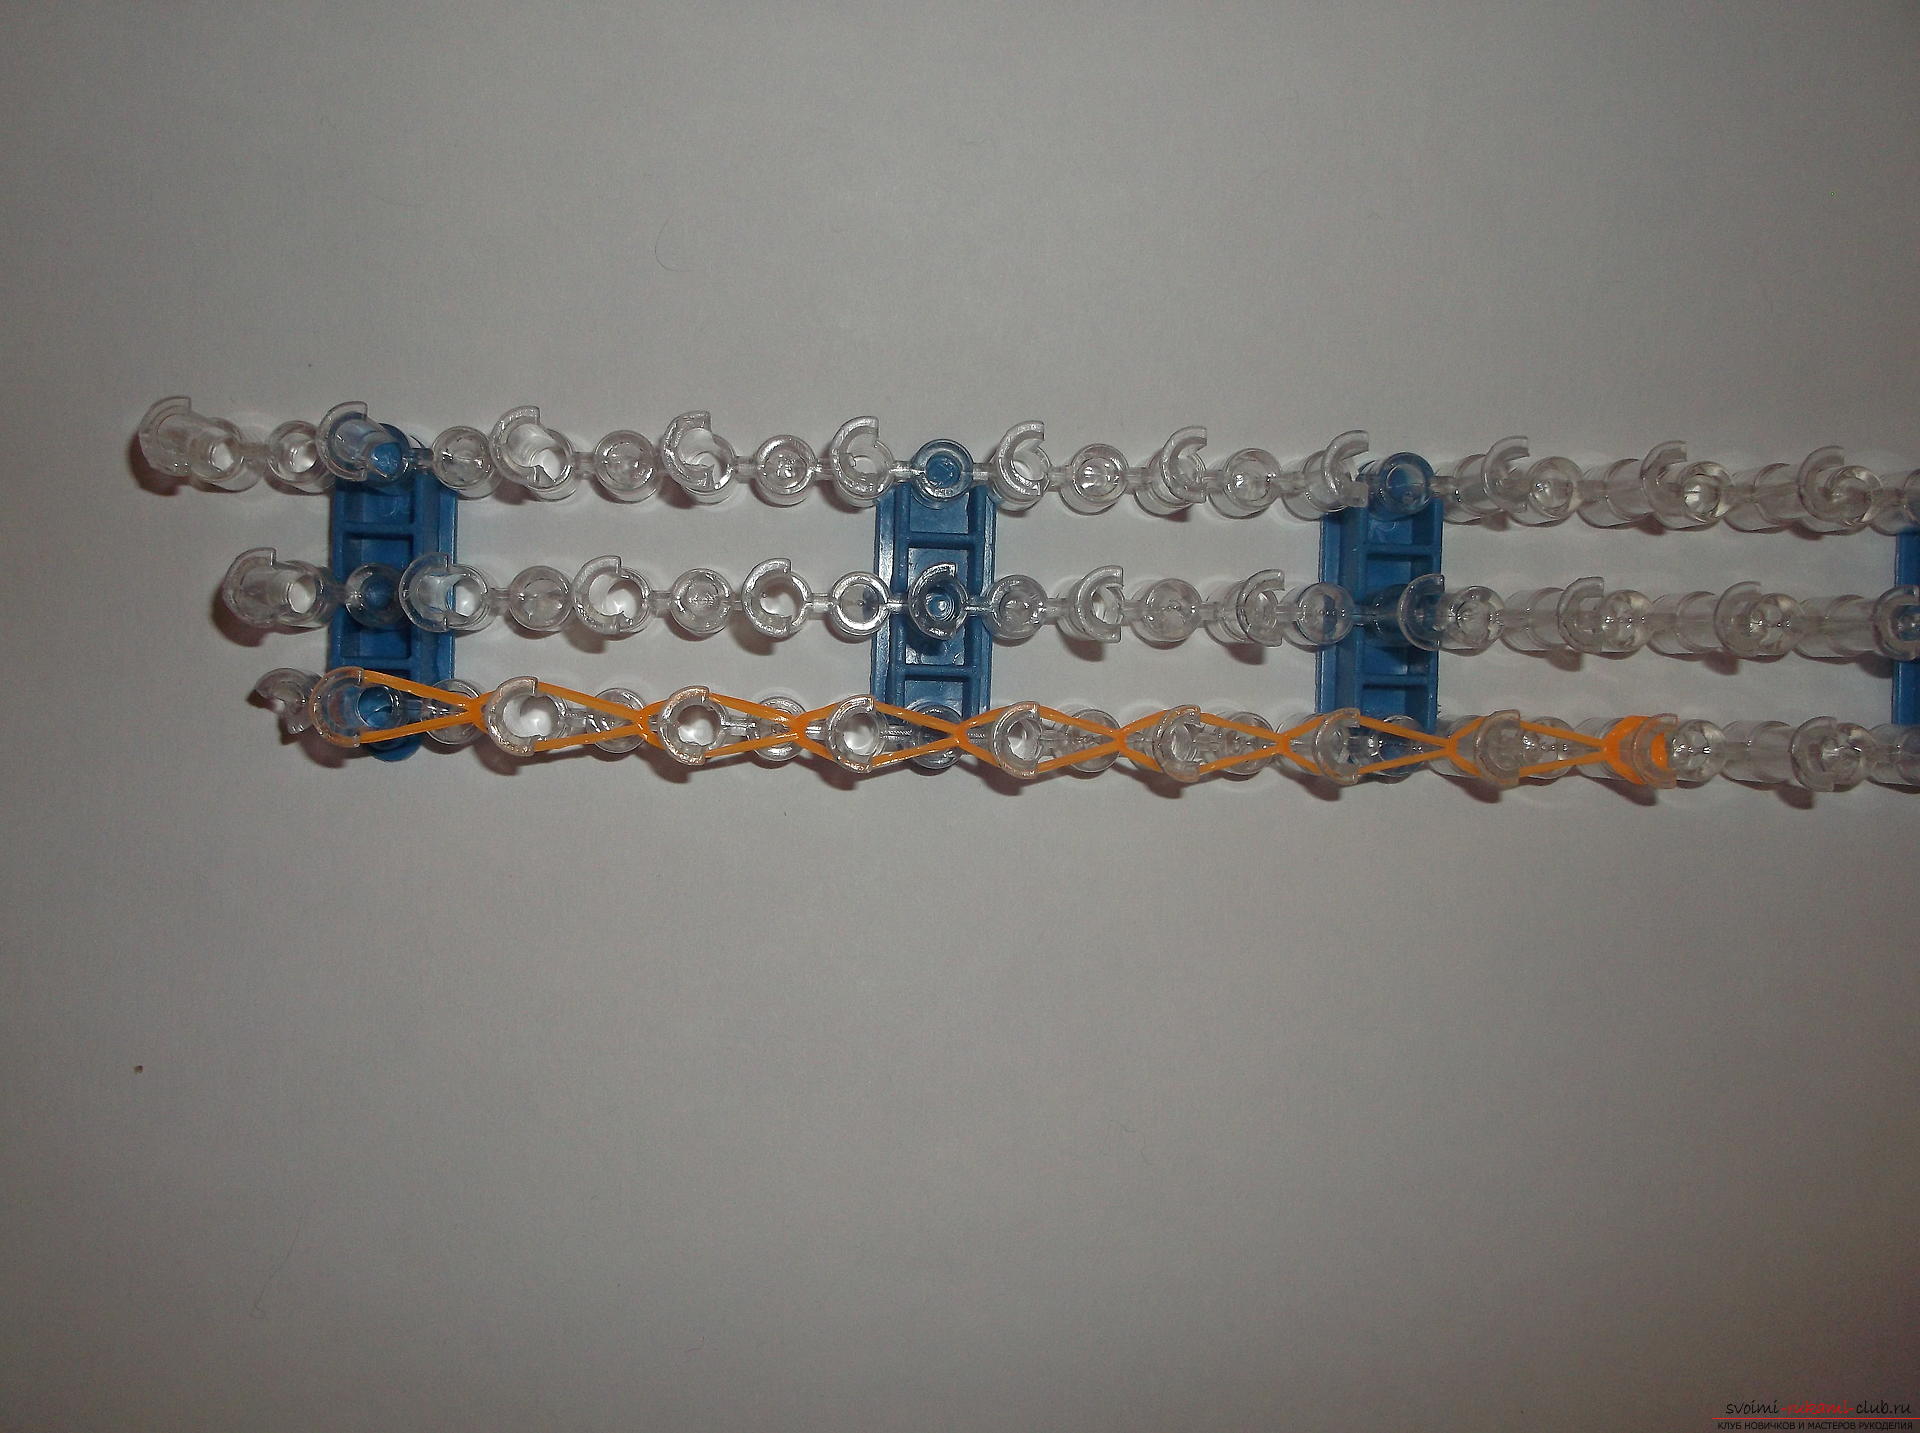 One curl is ready. It must be removed from the machine, as we will need it now. We take the hook and carefully, holding the rubber bands, we take turns from each column weaving. We need four such tresses, so we'll make three more in the same way. If you want your hair to be thicker, then weave six such curls.
  Leave the hair on the hook and put it away for a while. Next, we rub our head and part of the T-shirt. We take the two rubber bands of green color and put them on the 1st to the 2nd column. Next, we take two rubber bands of flesh color and we put them from the 2nd to the 3rd column. Again, two flesh-colored rubber bands are inserted from the 3rd to the 4th column. Now we put on one flesh-colored elastic band on the 4th column and wind it in four turns.
  Again we open the machine with open sides tothemselves and just like weave the curls, the plait of the hand. Gently remove all the rubber bands from the machine with a hook. We need two pens, so we do one more.
 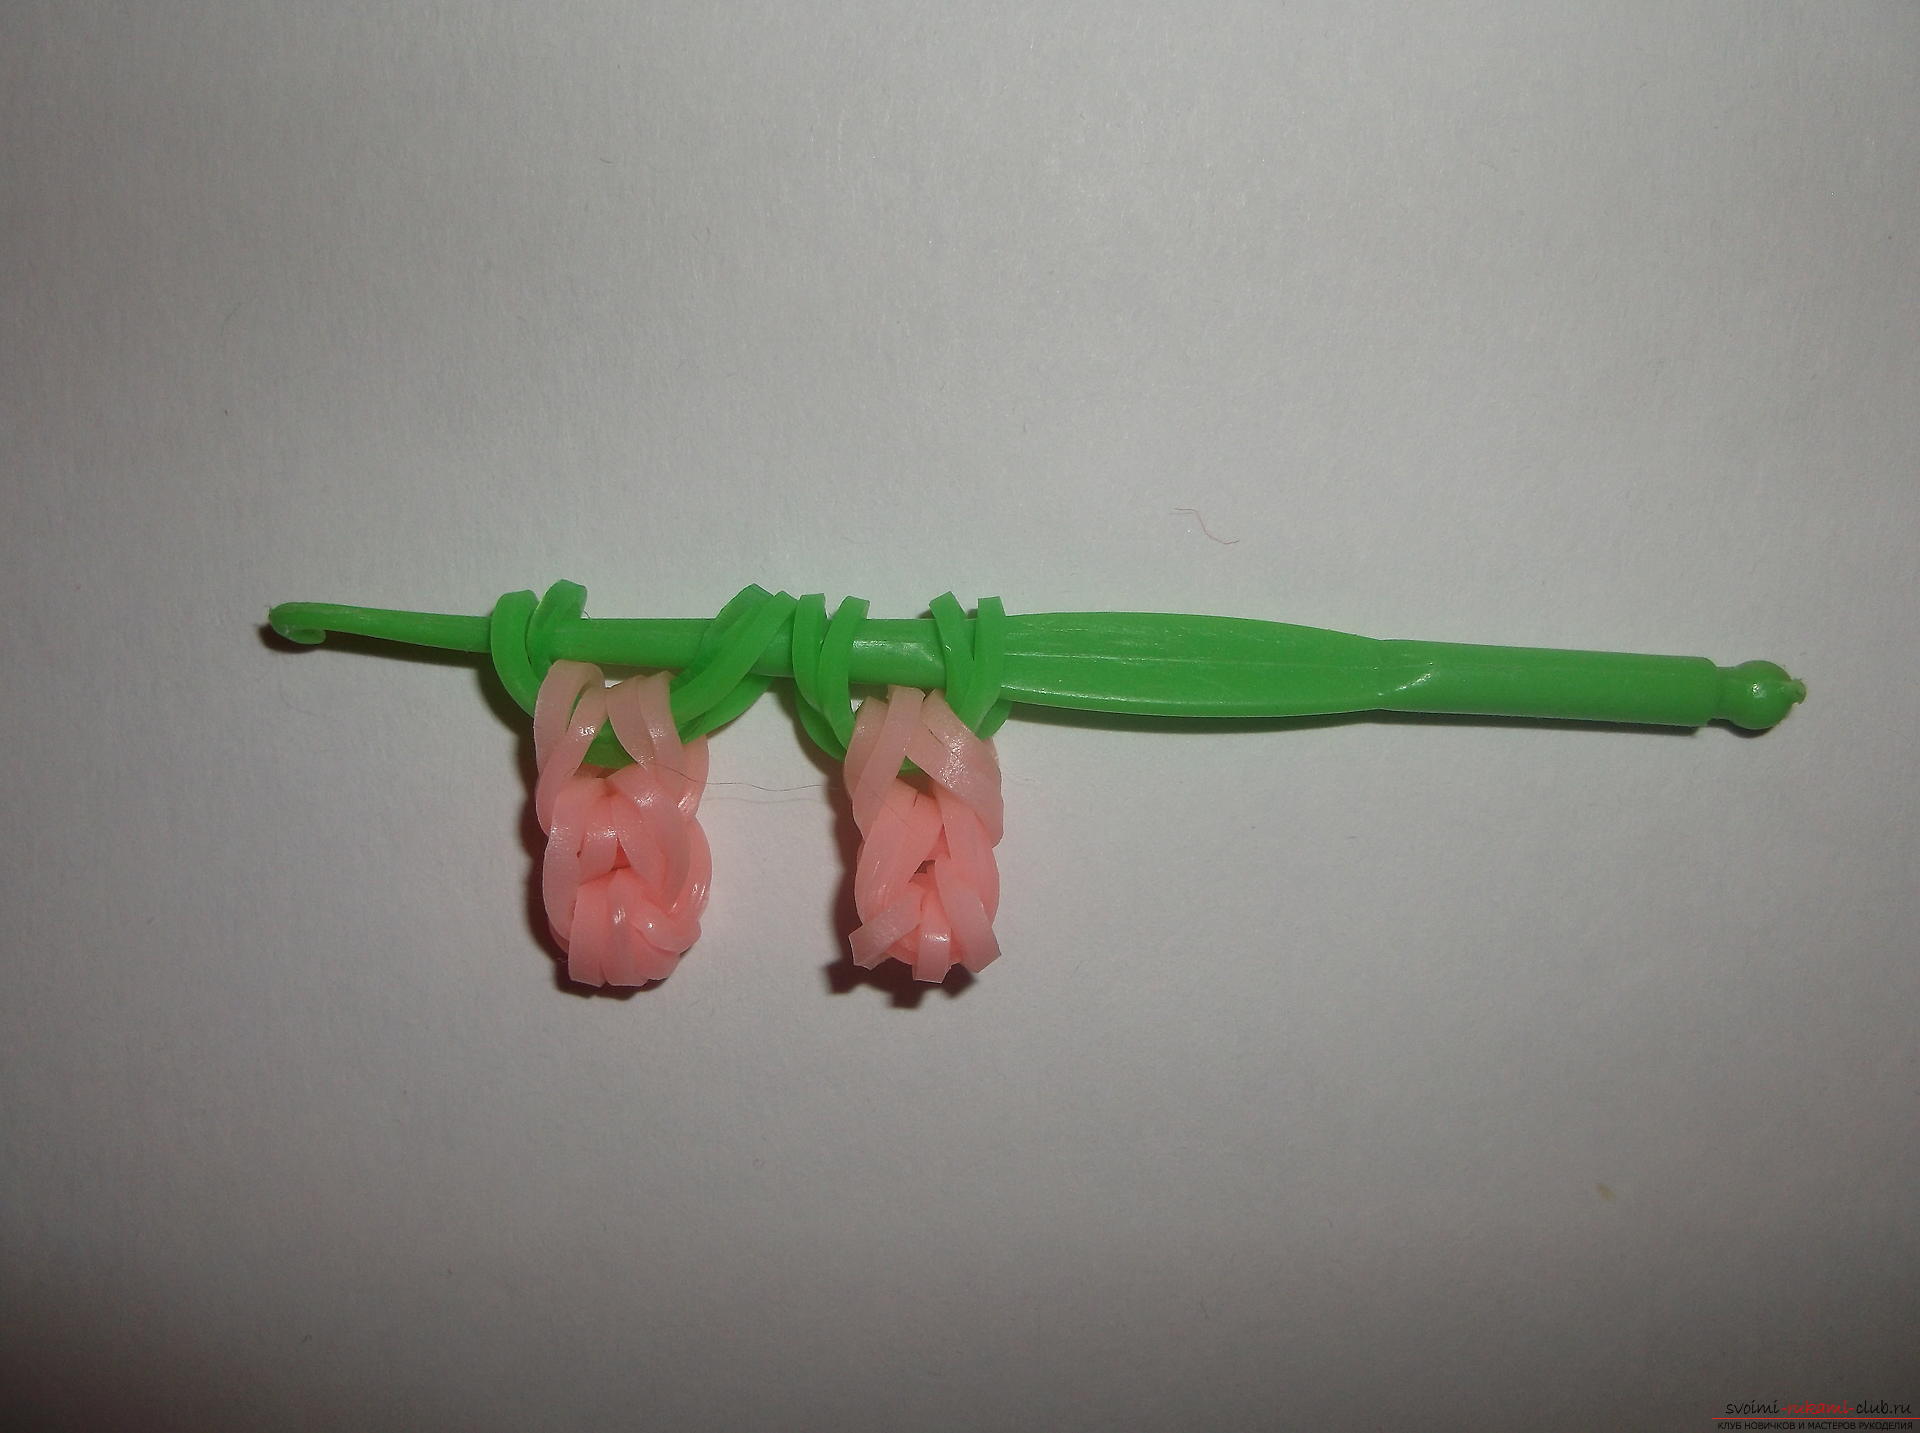 Handles, like curls, leave on the hook orpencil and clean for a while. Then we'll put them on the machine. Now we need to make the hem skirts. We turn the machine by the open sides of the columns from ourselves. We take one blue and one yellow elastic band and we throw them from the 1st to the 2nd column. Similarly, the blue and yellow elastic band is thrown from the 2nd to the 3rd column, from the 3rd to the 4th. On the 4th column, we put on one blue rubber band and wind it four times. We unfold the machine and remove the bottom layer, as in the previous cases.
 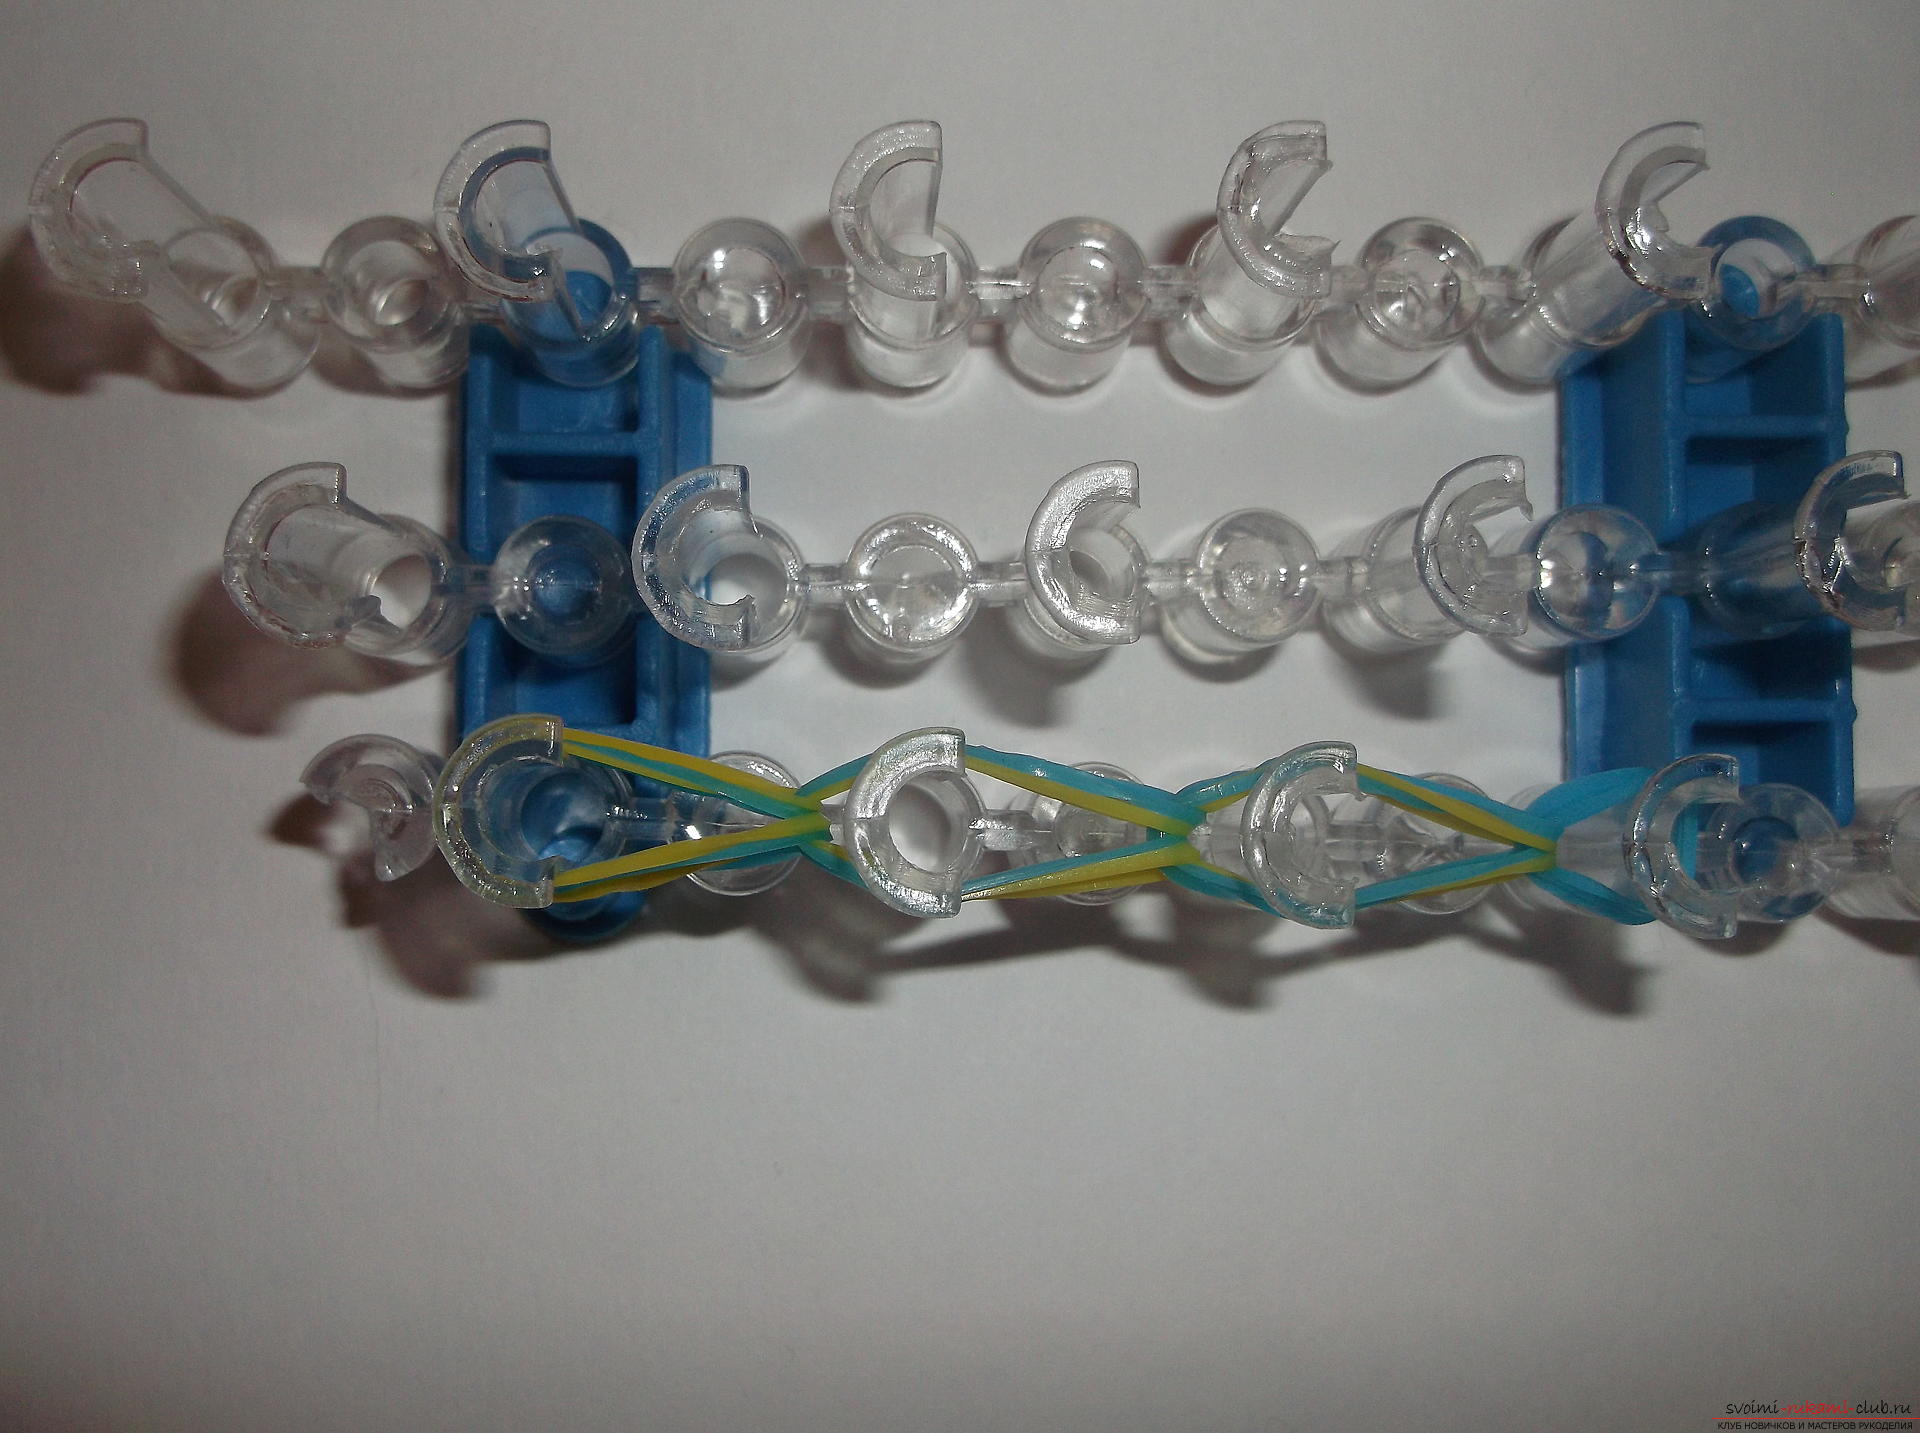 This part is also transferred to the hook. The sham is another one exactly the same.
  All the necessary individual parts are ready, nowshave directly to the girl herself. Turn the machine open sides to yourself. We put on two orange rubber bands from the 1st column of the left row to the 1st column of the central column. We put two other orange-colored rubber bands on the first column of the central row and drag them to the first column of the right row. Then put two orange rubber bands from the 2nd column of the left row to the 1st column of the left row, from the 2nd column of the central row to the 1st column of the central row and from the 2nd column of the right row to the 1st column of the same row series. Next, we put the two beige rubber bands from the 3rd column of the central row to the 2nd column of the central row. Similarly, we put on two beige rubber bands on the left and right columns. We put on two rubber bands of beige color from the 4th column of the middle row to the 3rd column of the left row, and from the 4th column of the middle row to the 3rd column of the right row.
 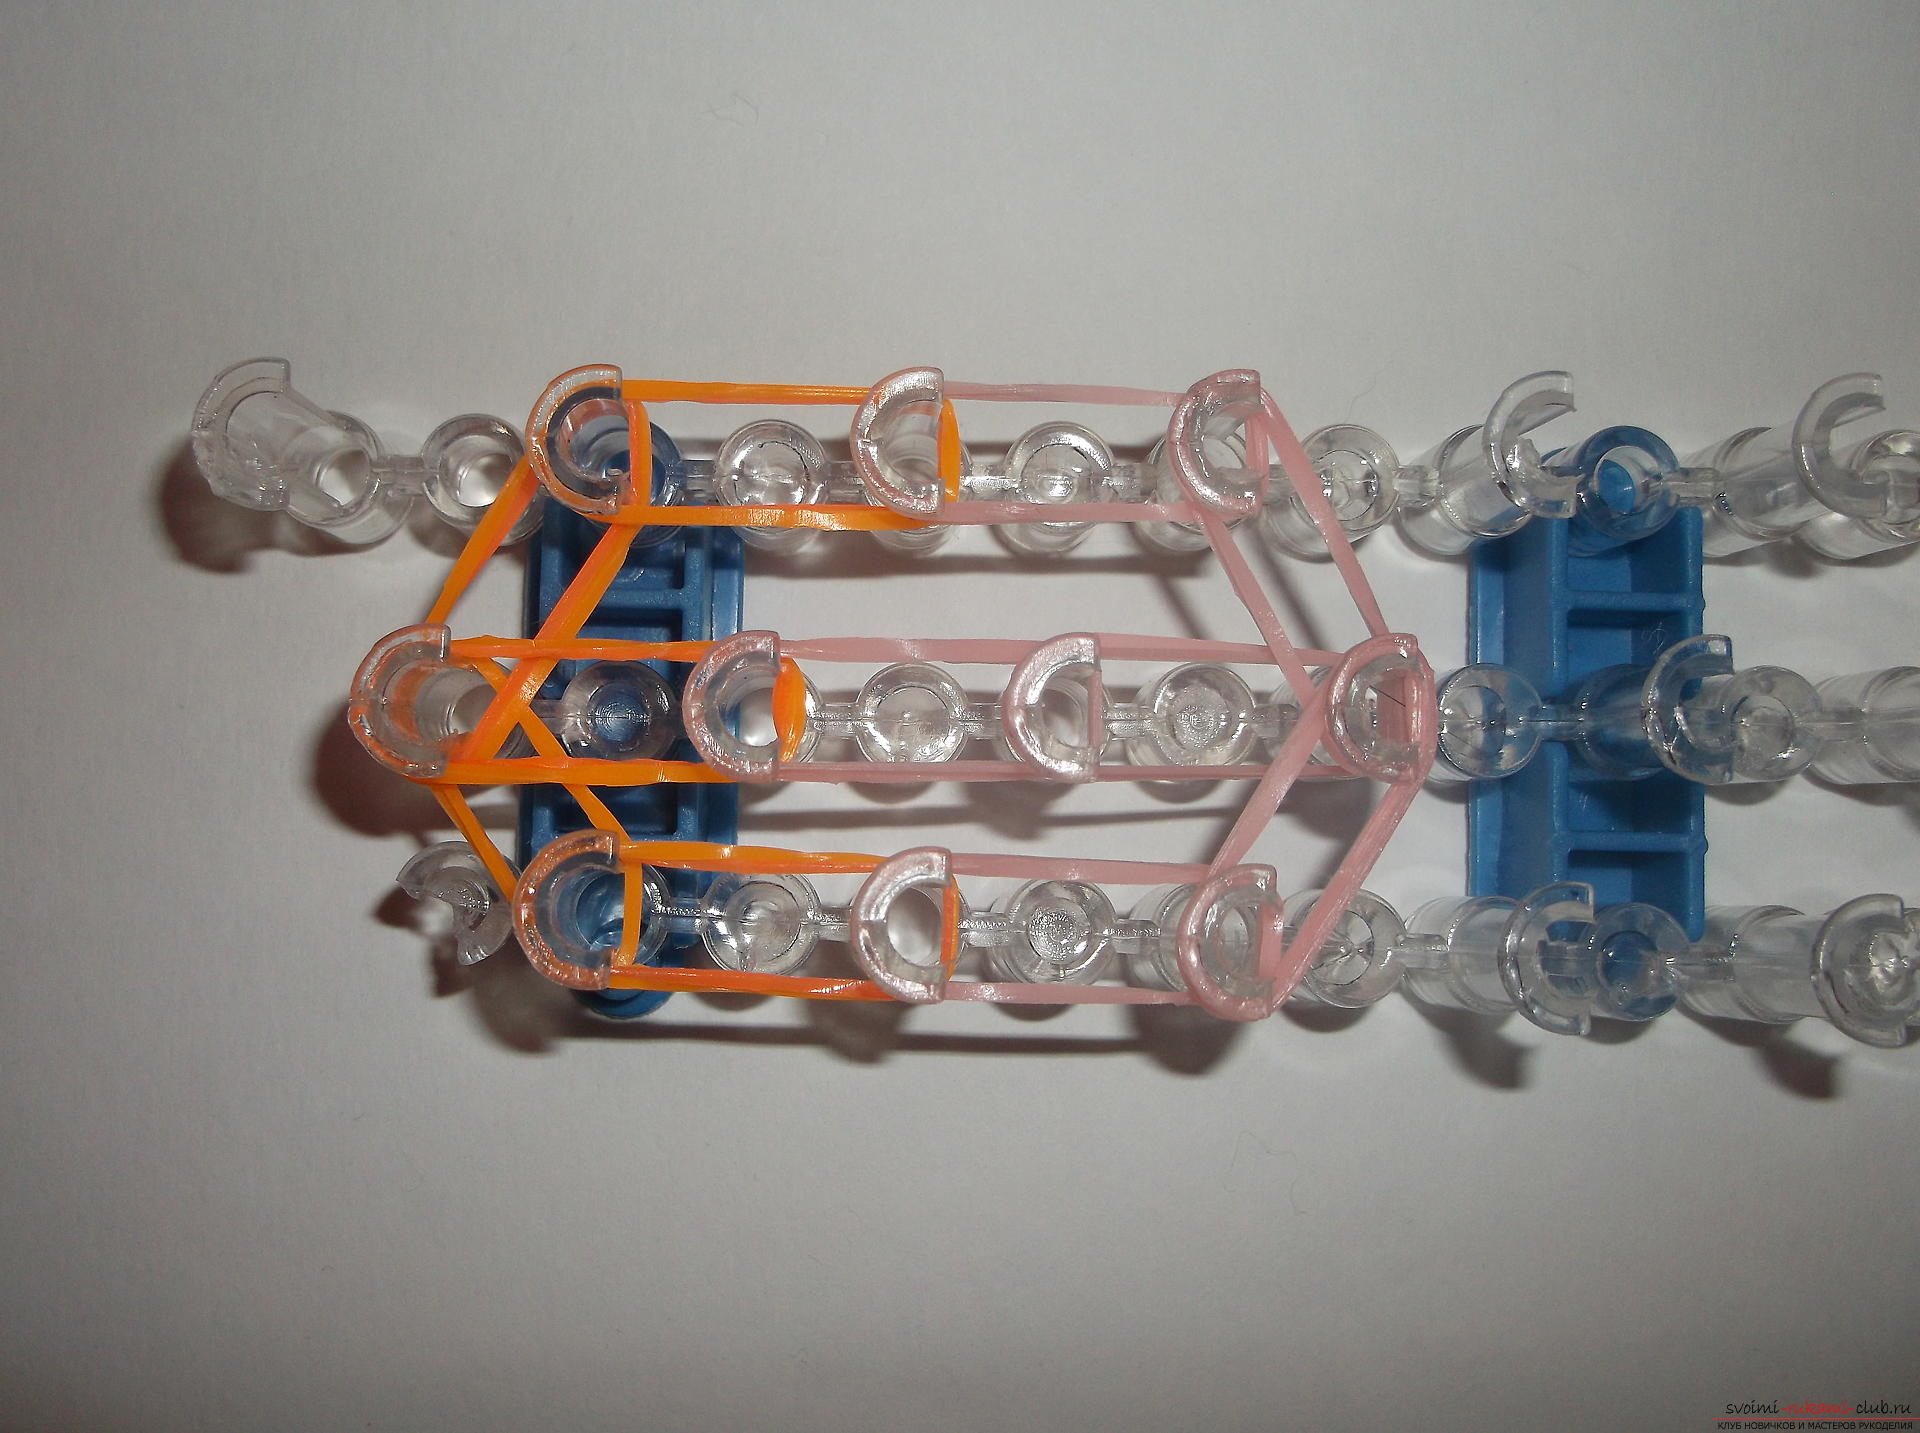 Now we need to put the curls on the head. Gently remove one curl from the hook and, stretching the rubber, put them on the first column of the left row. Here we throw one more curl. The remaining two we put on the first column of the right row. Now let's make eyes. Eraser blue color on the second column of the right row and wind it three more times. Similarly we do the second column of the left row.
 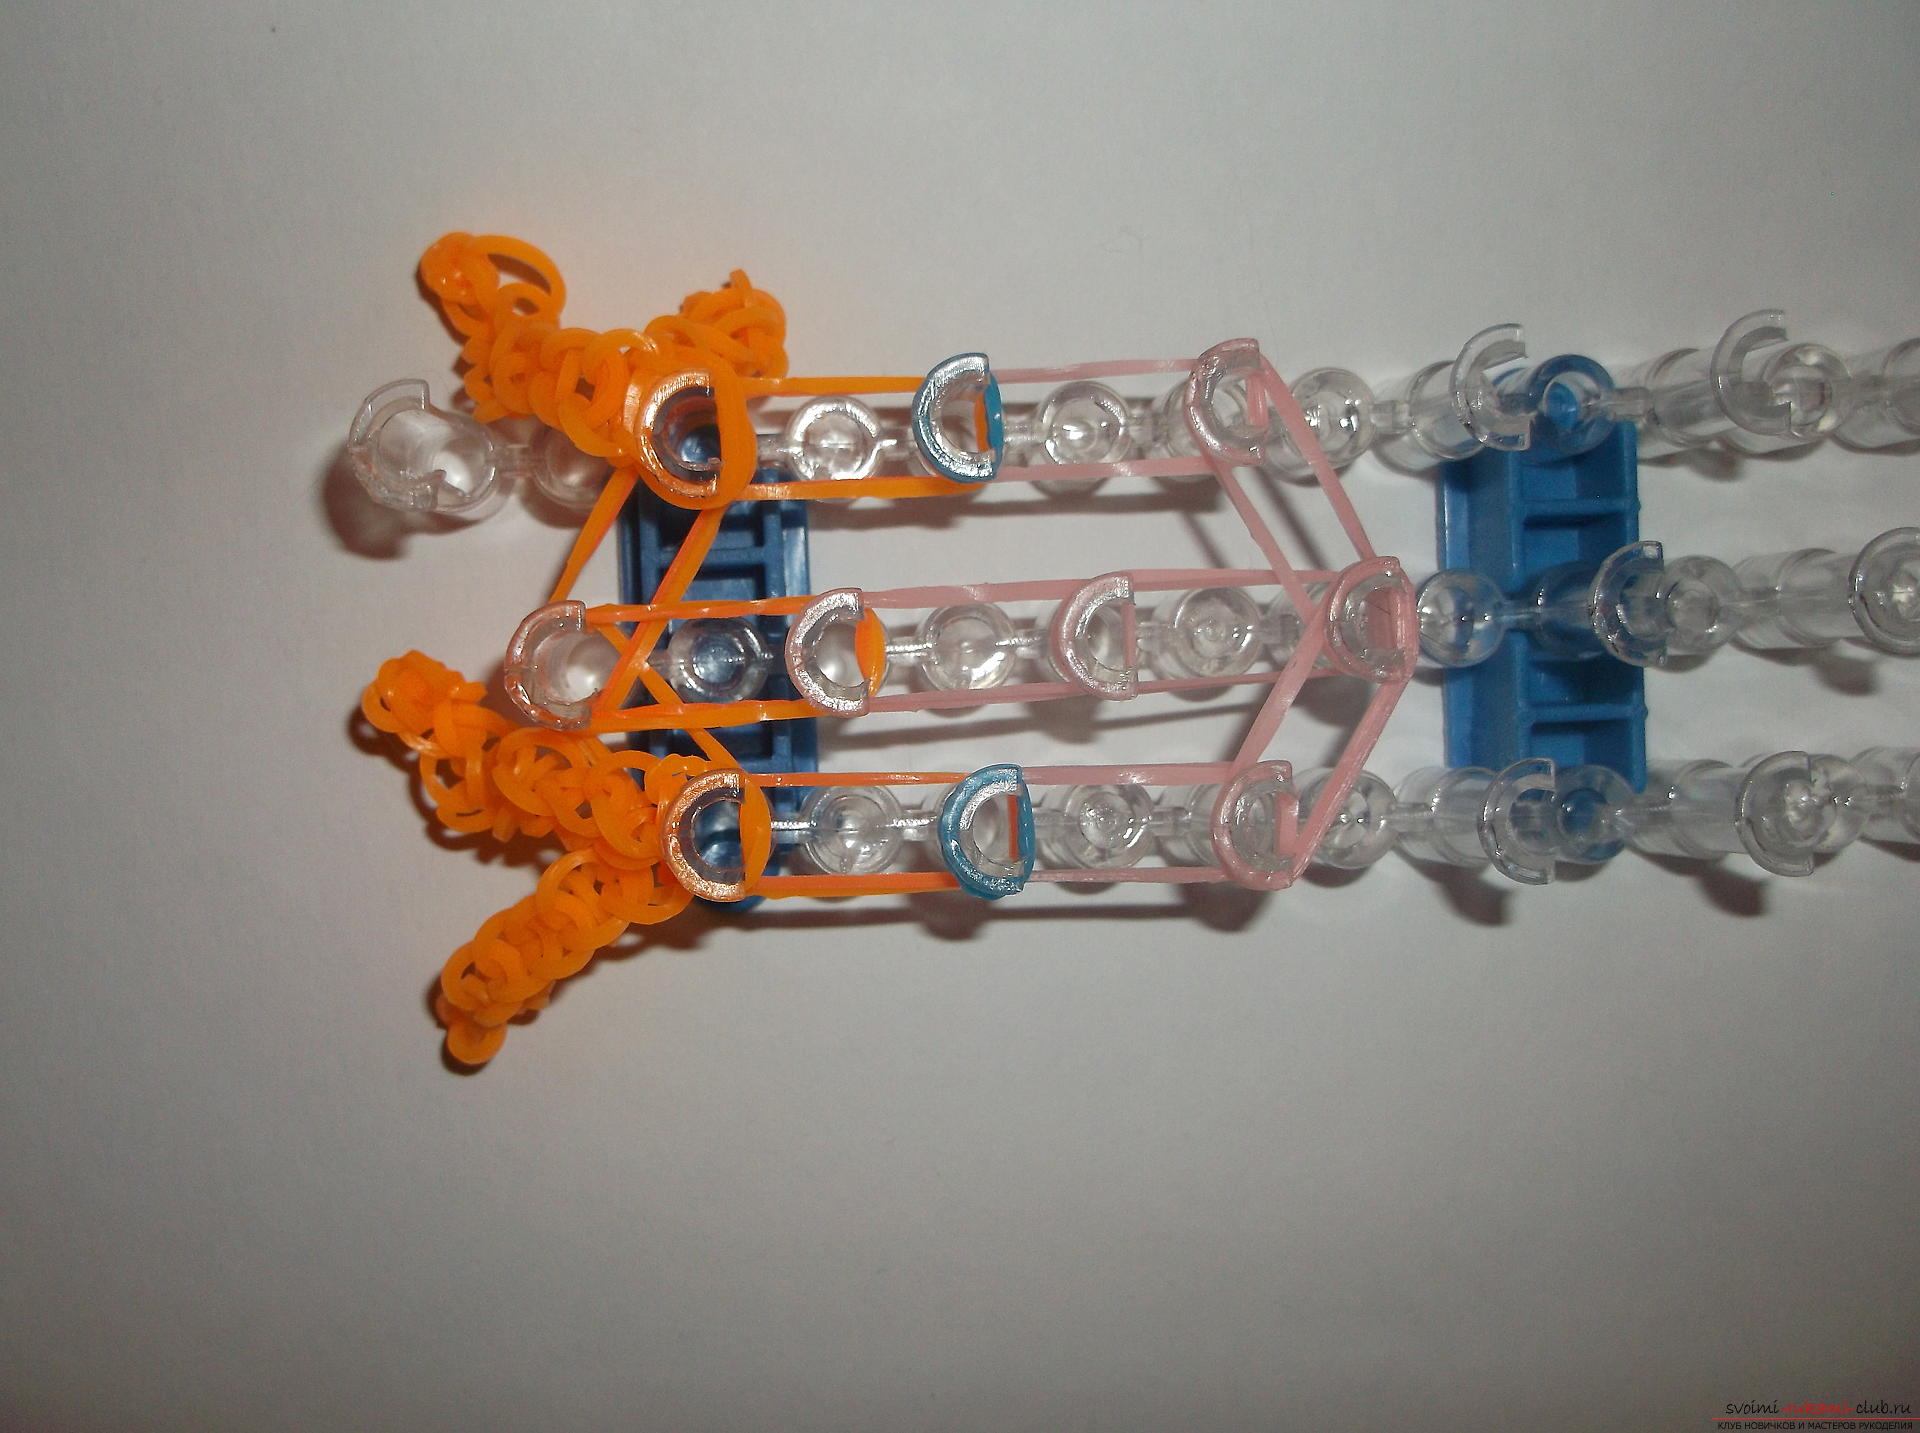 We put the beige gum on the 3rd column of the middle row and the second two columns of the left and right rows.
  Next, we remove all blue hinges from the 2ndcolumn of the right. Similarly we do the second column of the left row. One gum of beige color is put on a triangle on all three columns of each row.
 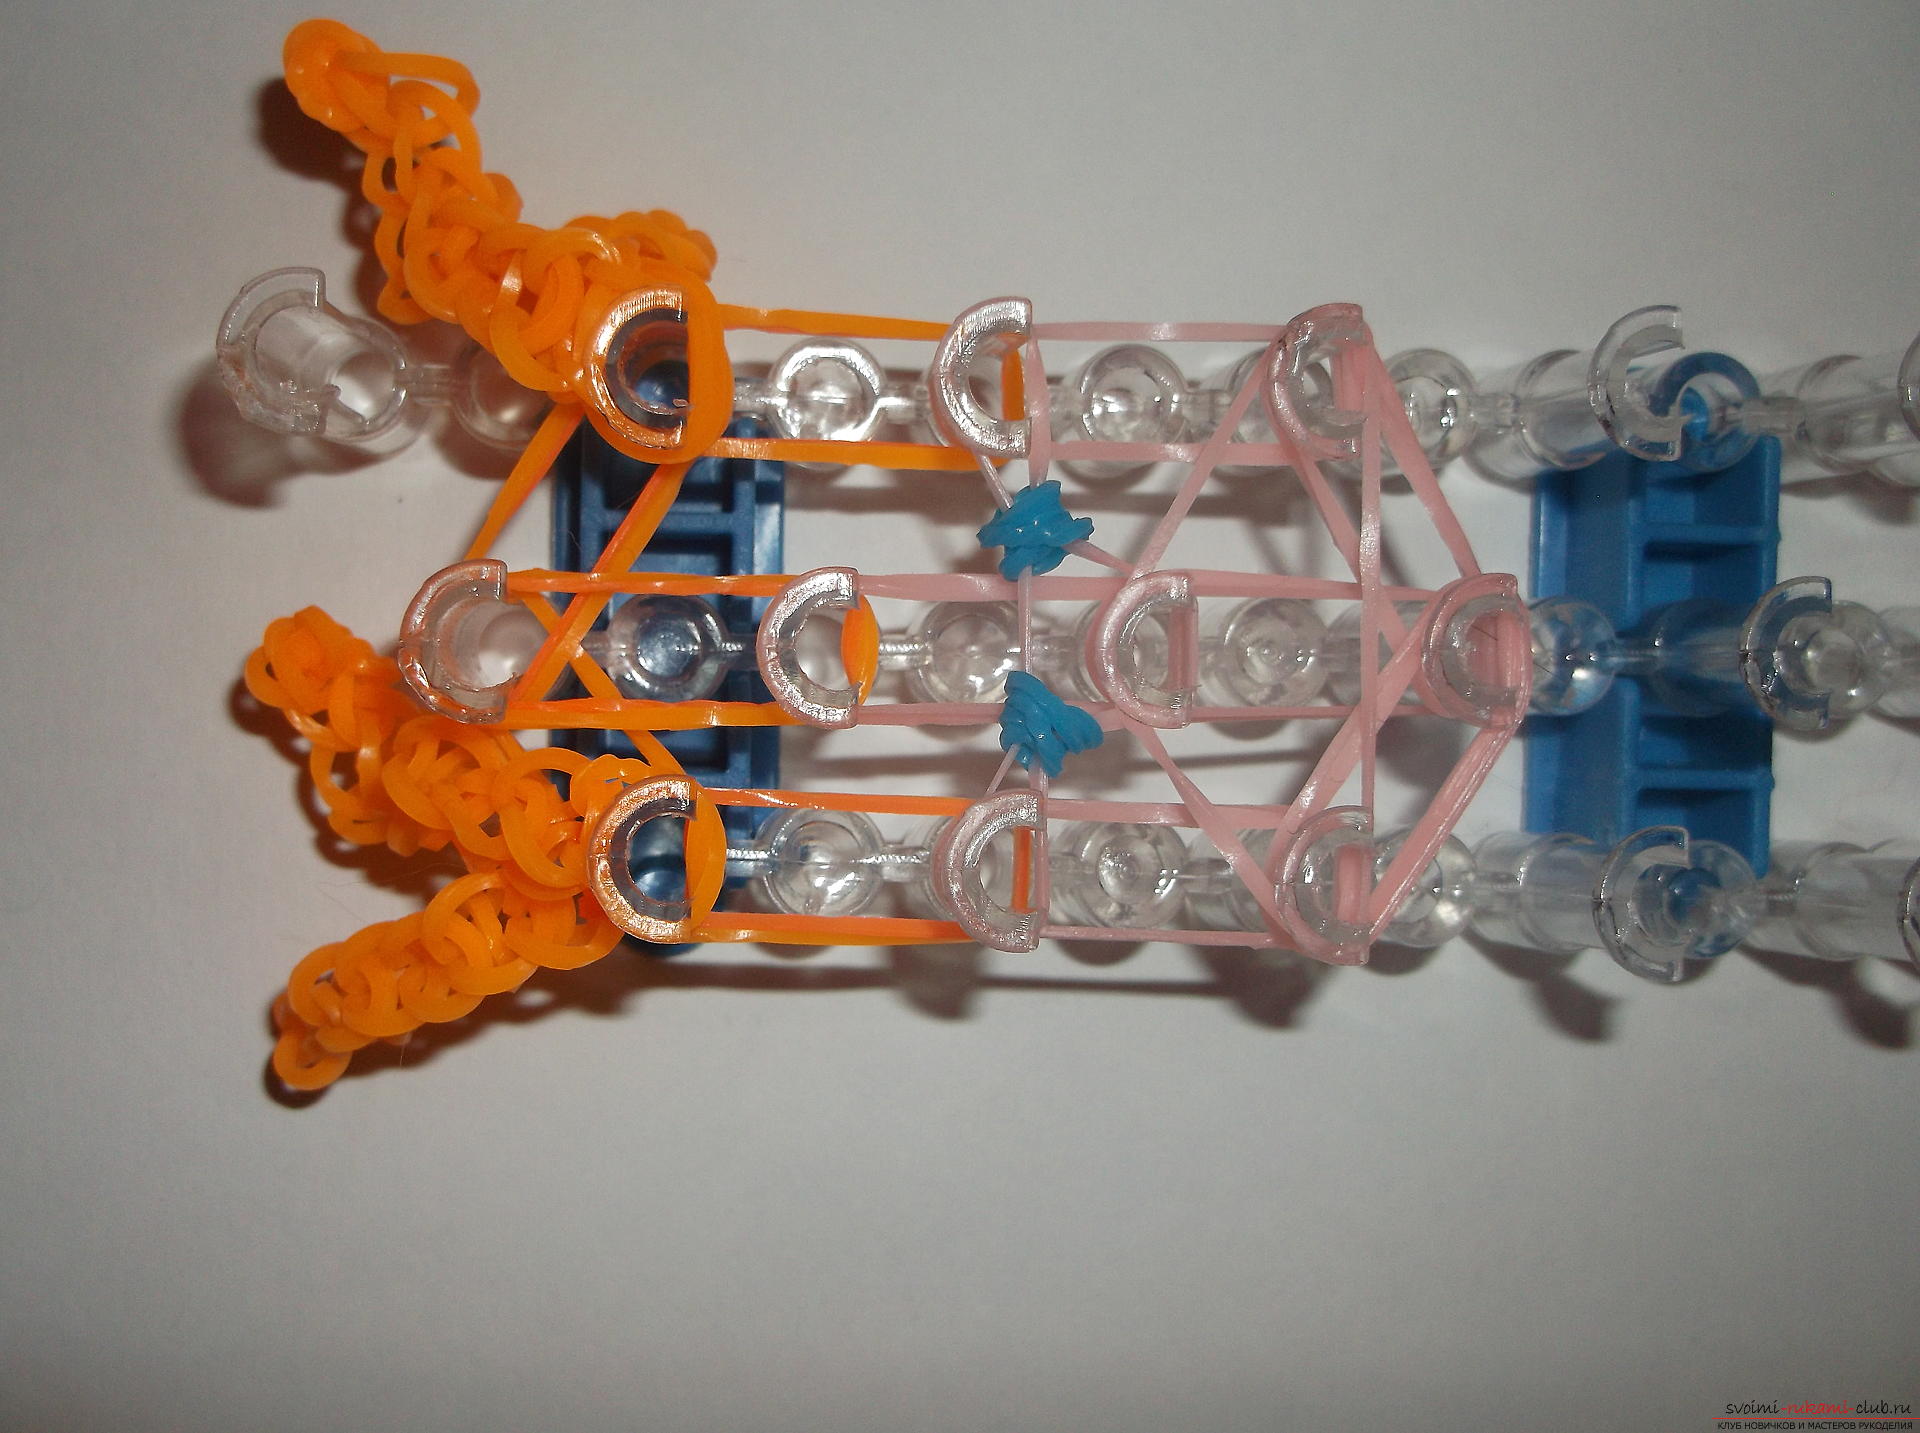 To make the neck, put on two rubber beige beige from the 5th column of the middle row to the 4th column of the same row.
 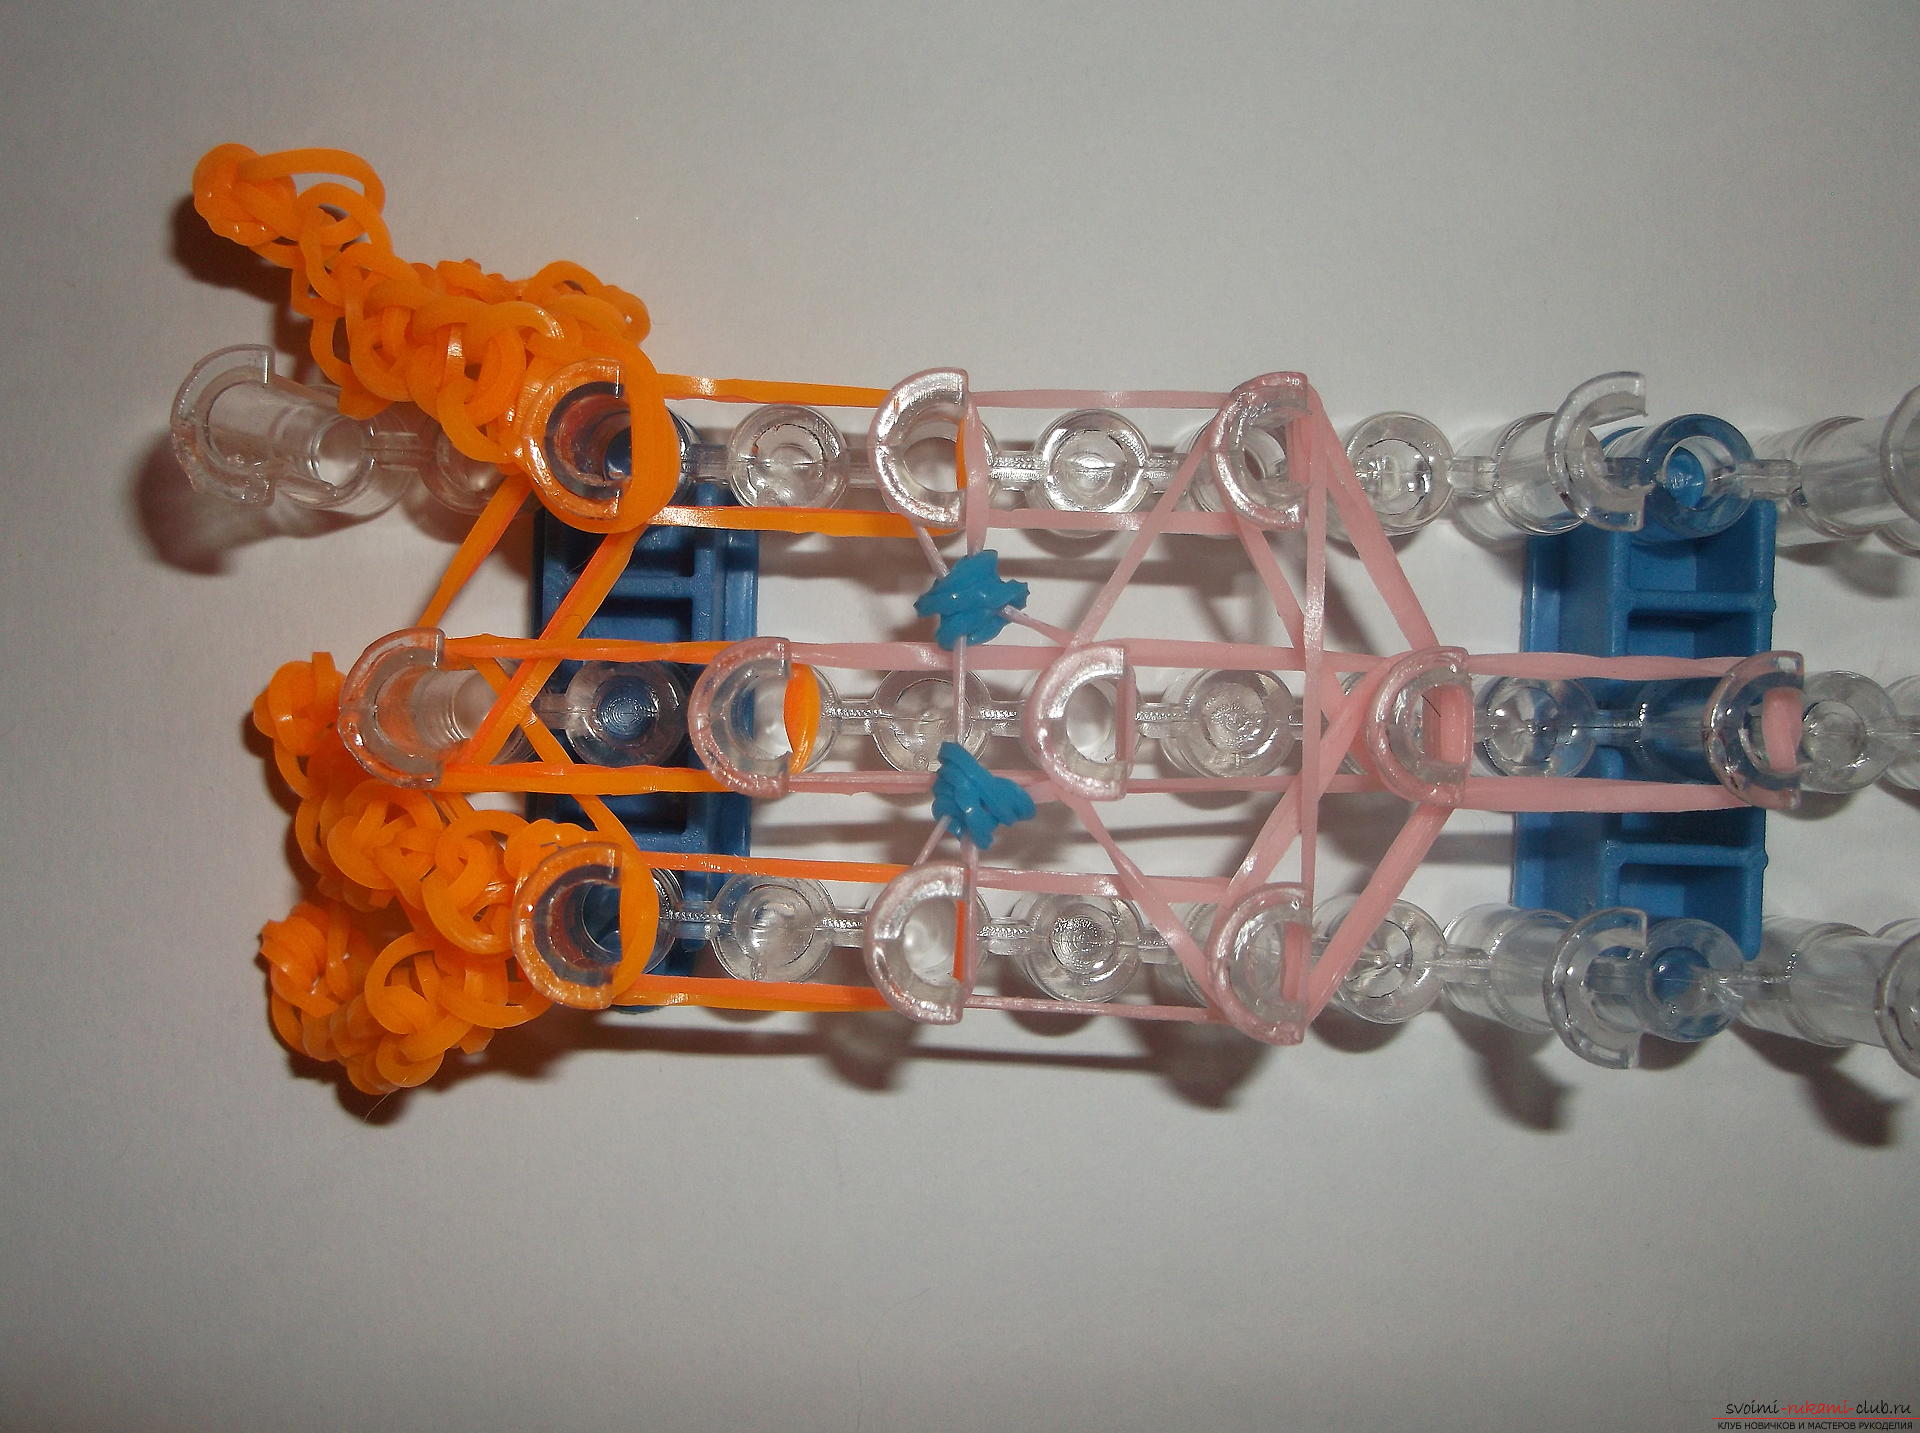 We pass to the T-shirt. Two green rubber bands are put on the 5th column of the middle row and stretched to the 5th column of the right row. In the same way, we put on two green rubber bands from the 5th column of the middle row to the 5th column of the left row. And two more green rubber bands from the 5th column of the middle row to the 6th column of the same row.
 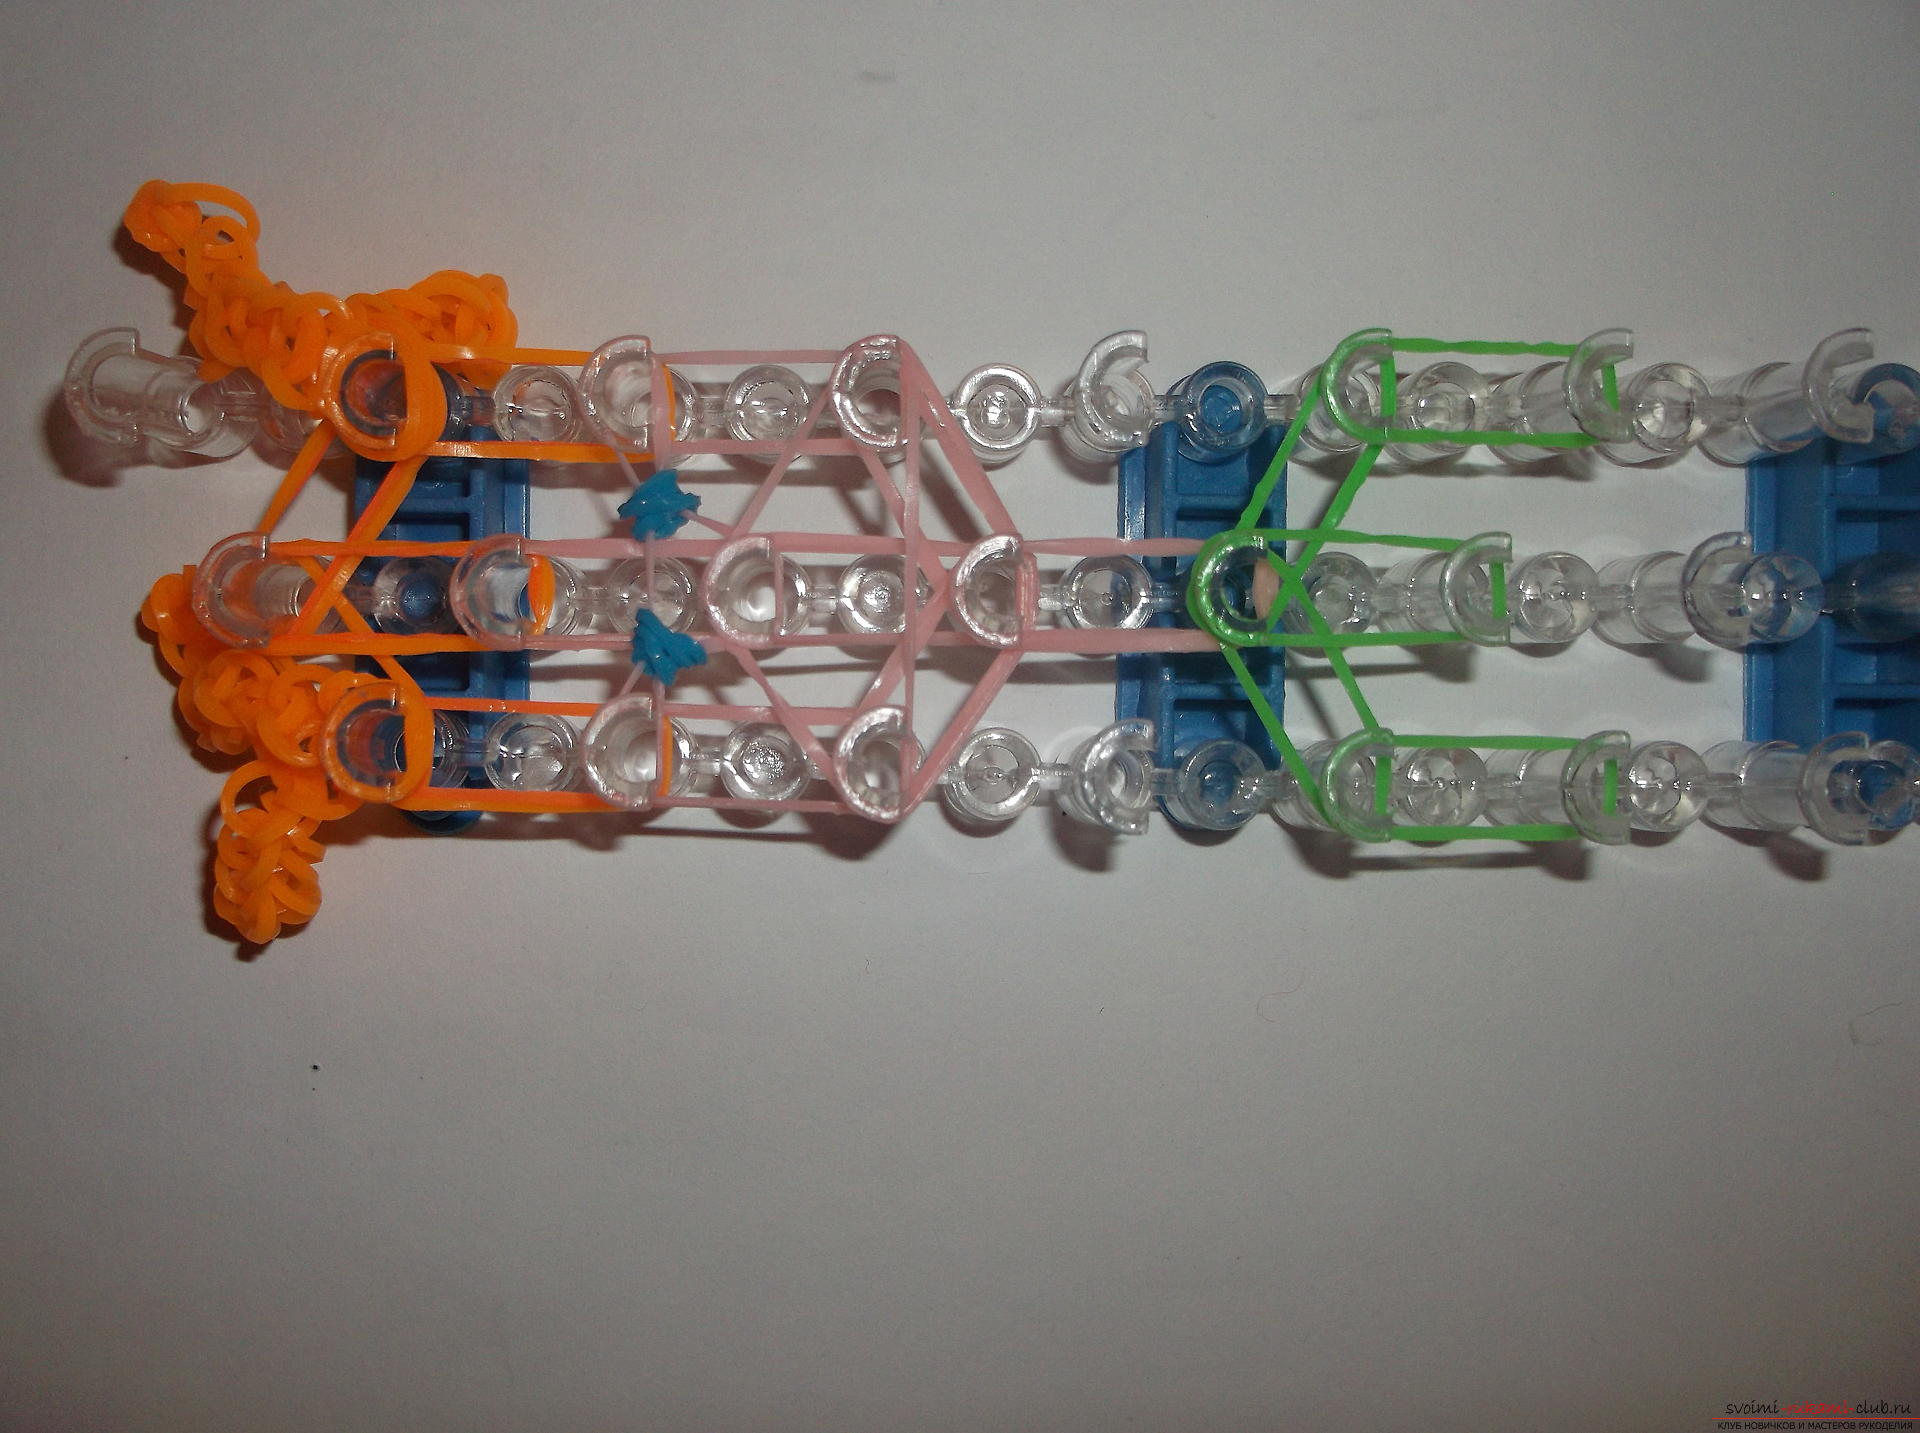 Now we throw in the knobs. We have woven them in the beginning.
 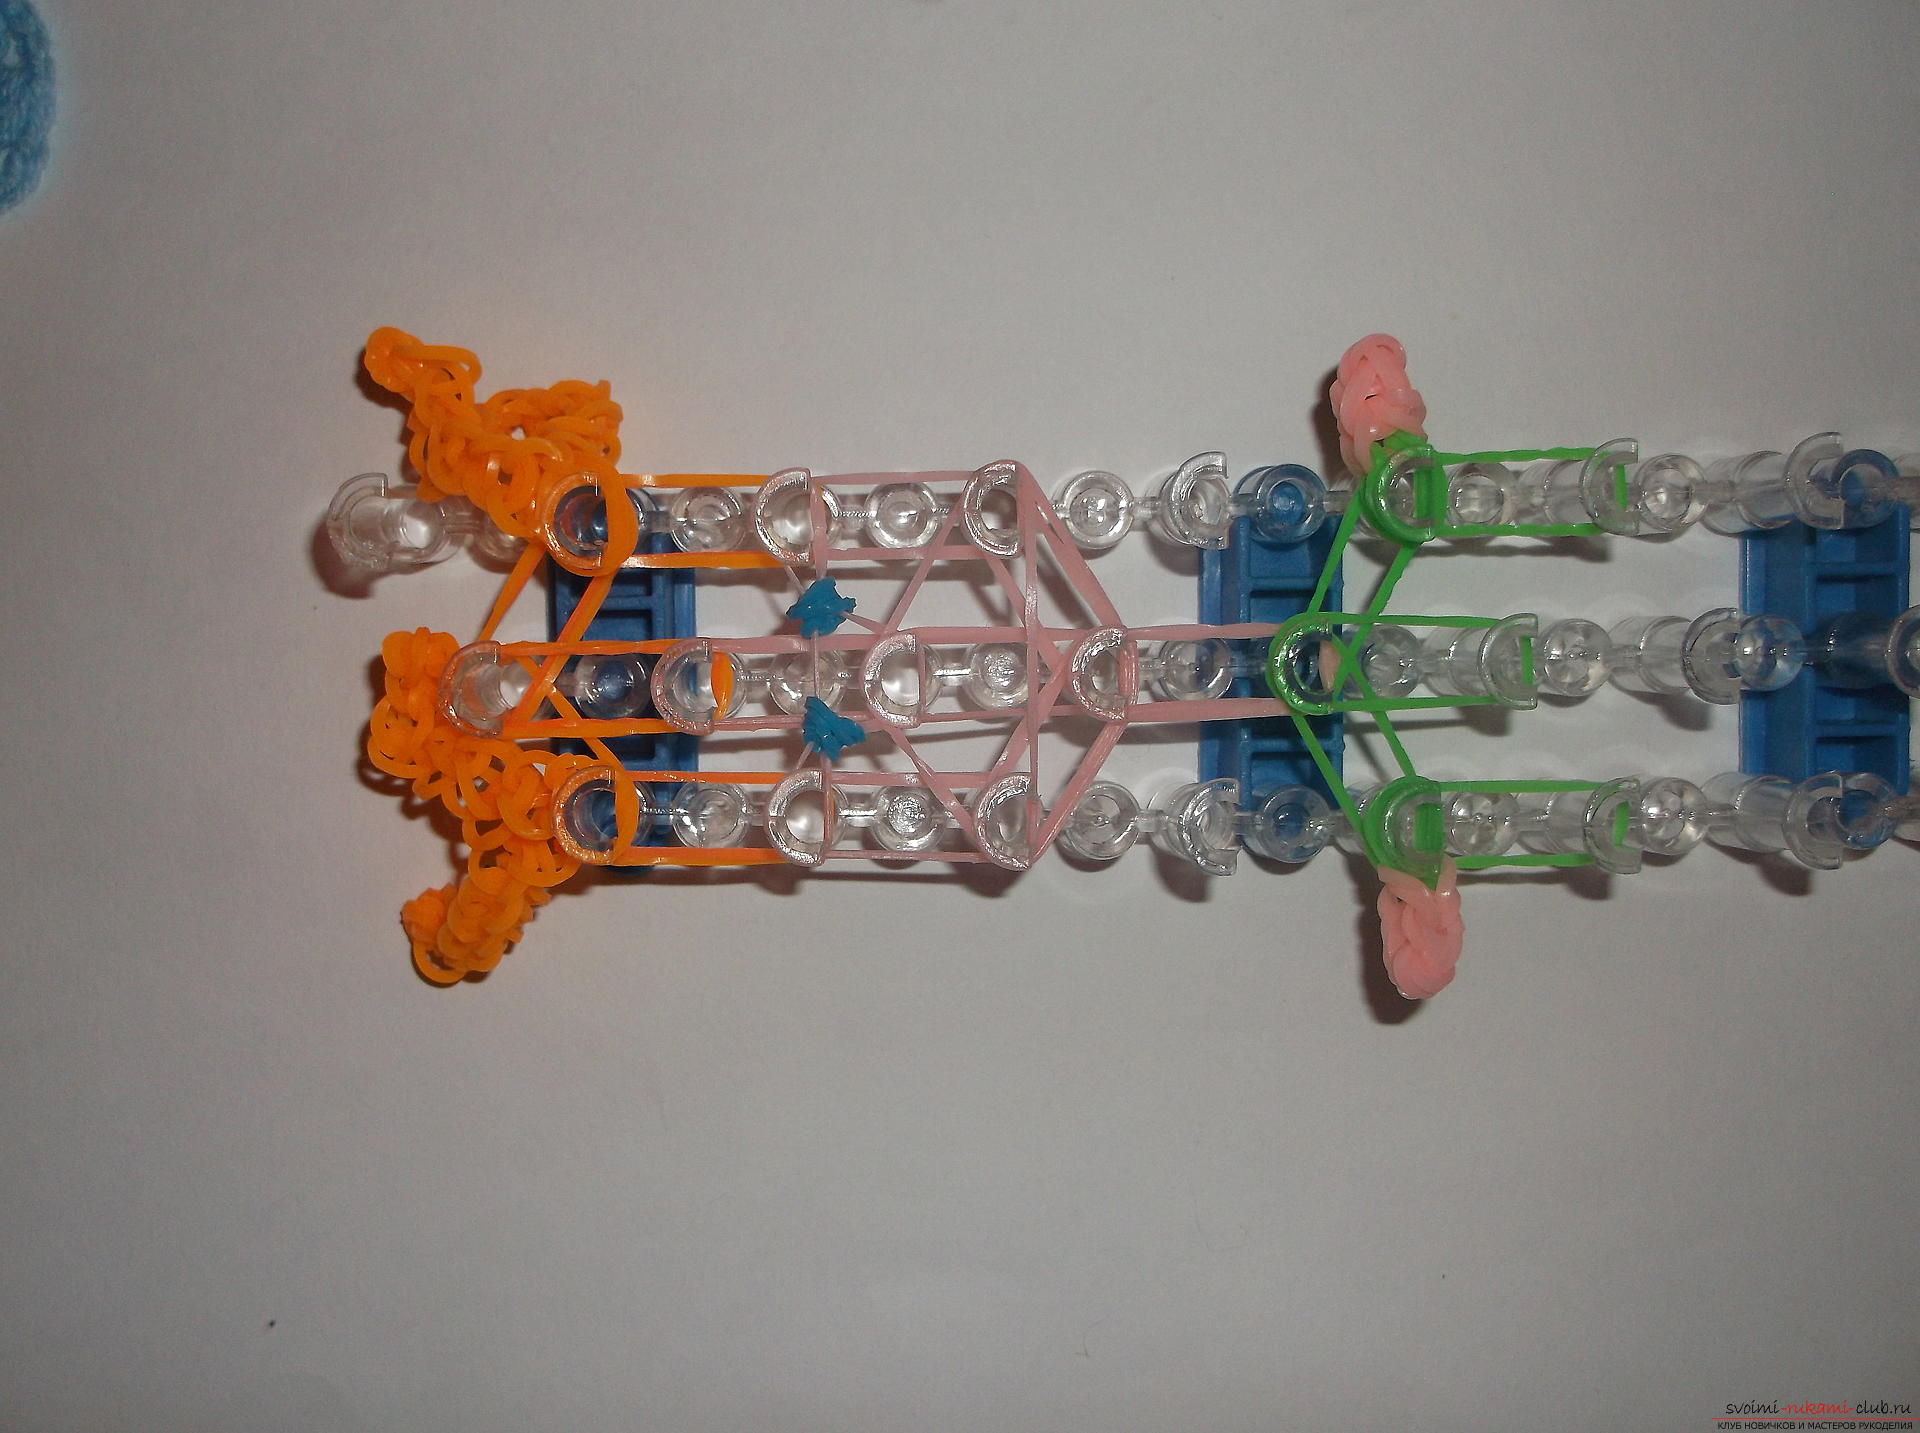 Next, make a skirt. It consists of blue and yellow rubber bands. Blue and yellow elastic band on the 6th and 7th column of the middle row. Another pair of such rubber bands will put on the 7th and 8th column of the middle row, as well as the 8th and 9th. Similarly, for one yellow and blue rubber we put three times on the columns of the left and right rows.
 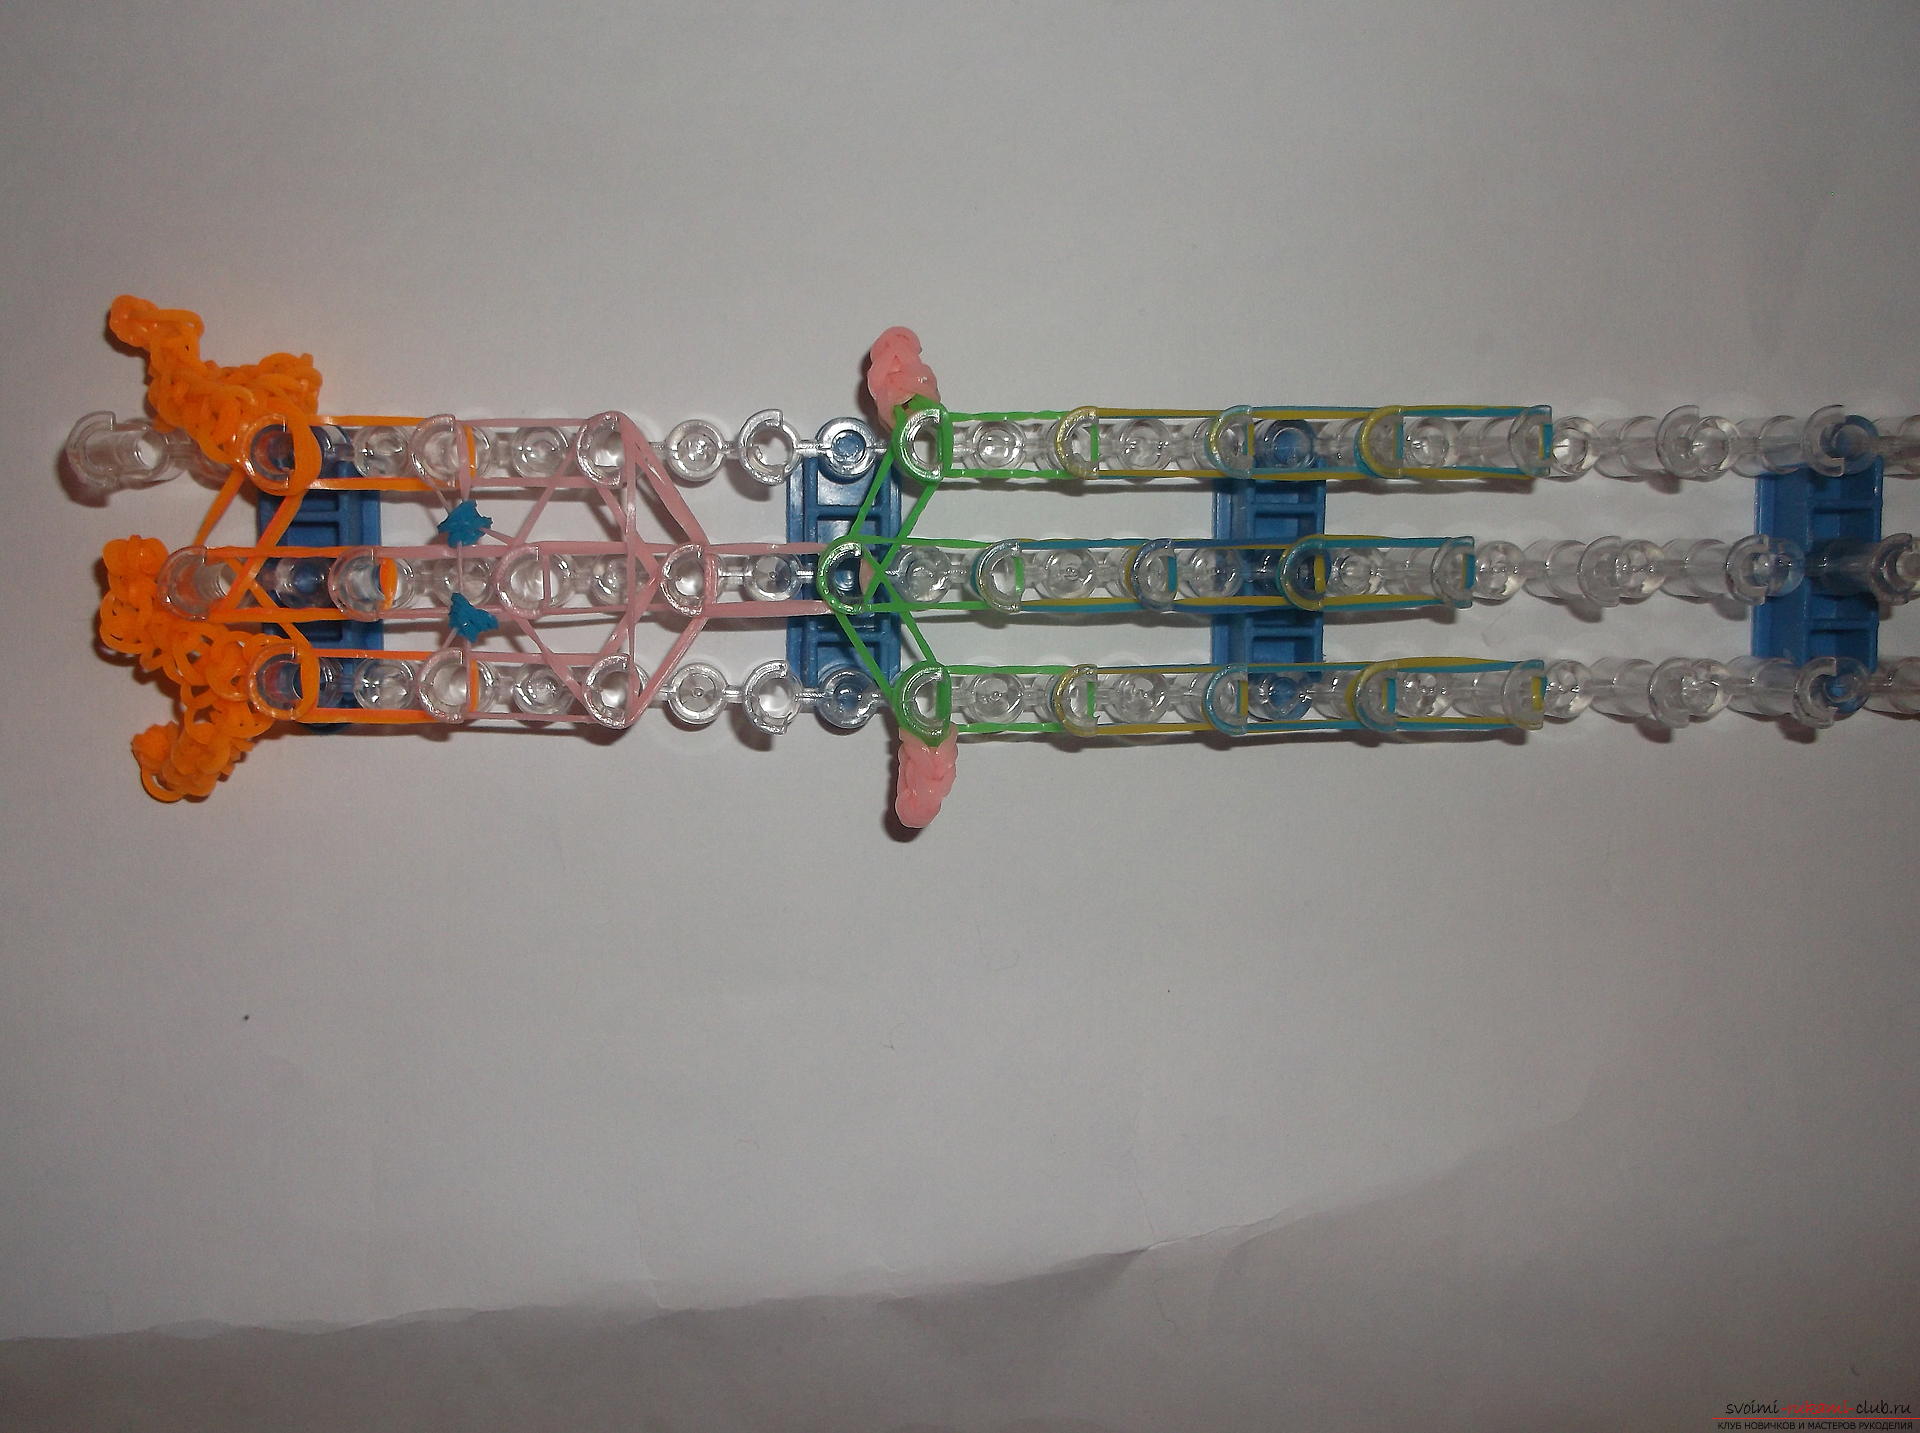 We make feet. Two rubber bands of beige color are thrown three times on the left and right rows. On the last columns of the left and right rows, we put on one blue or black rubber band and wind it in three turns.
 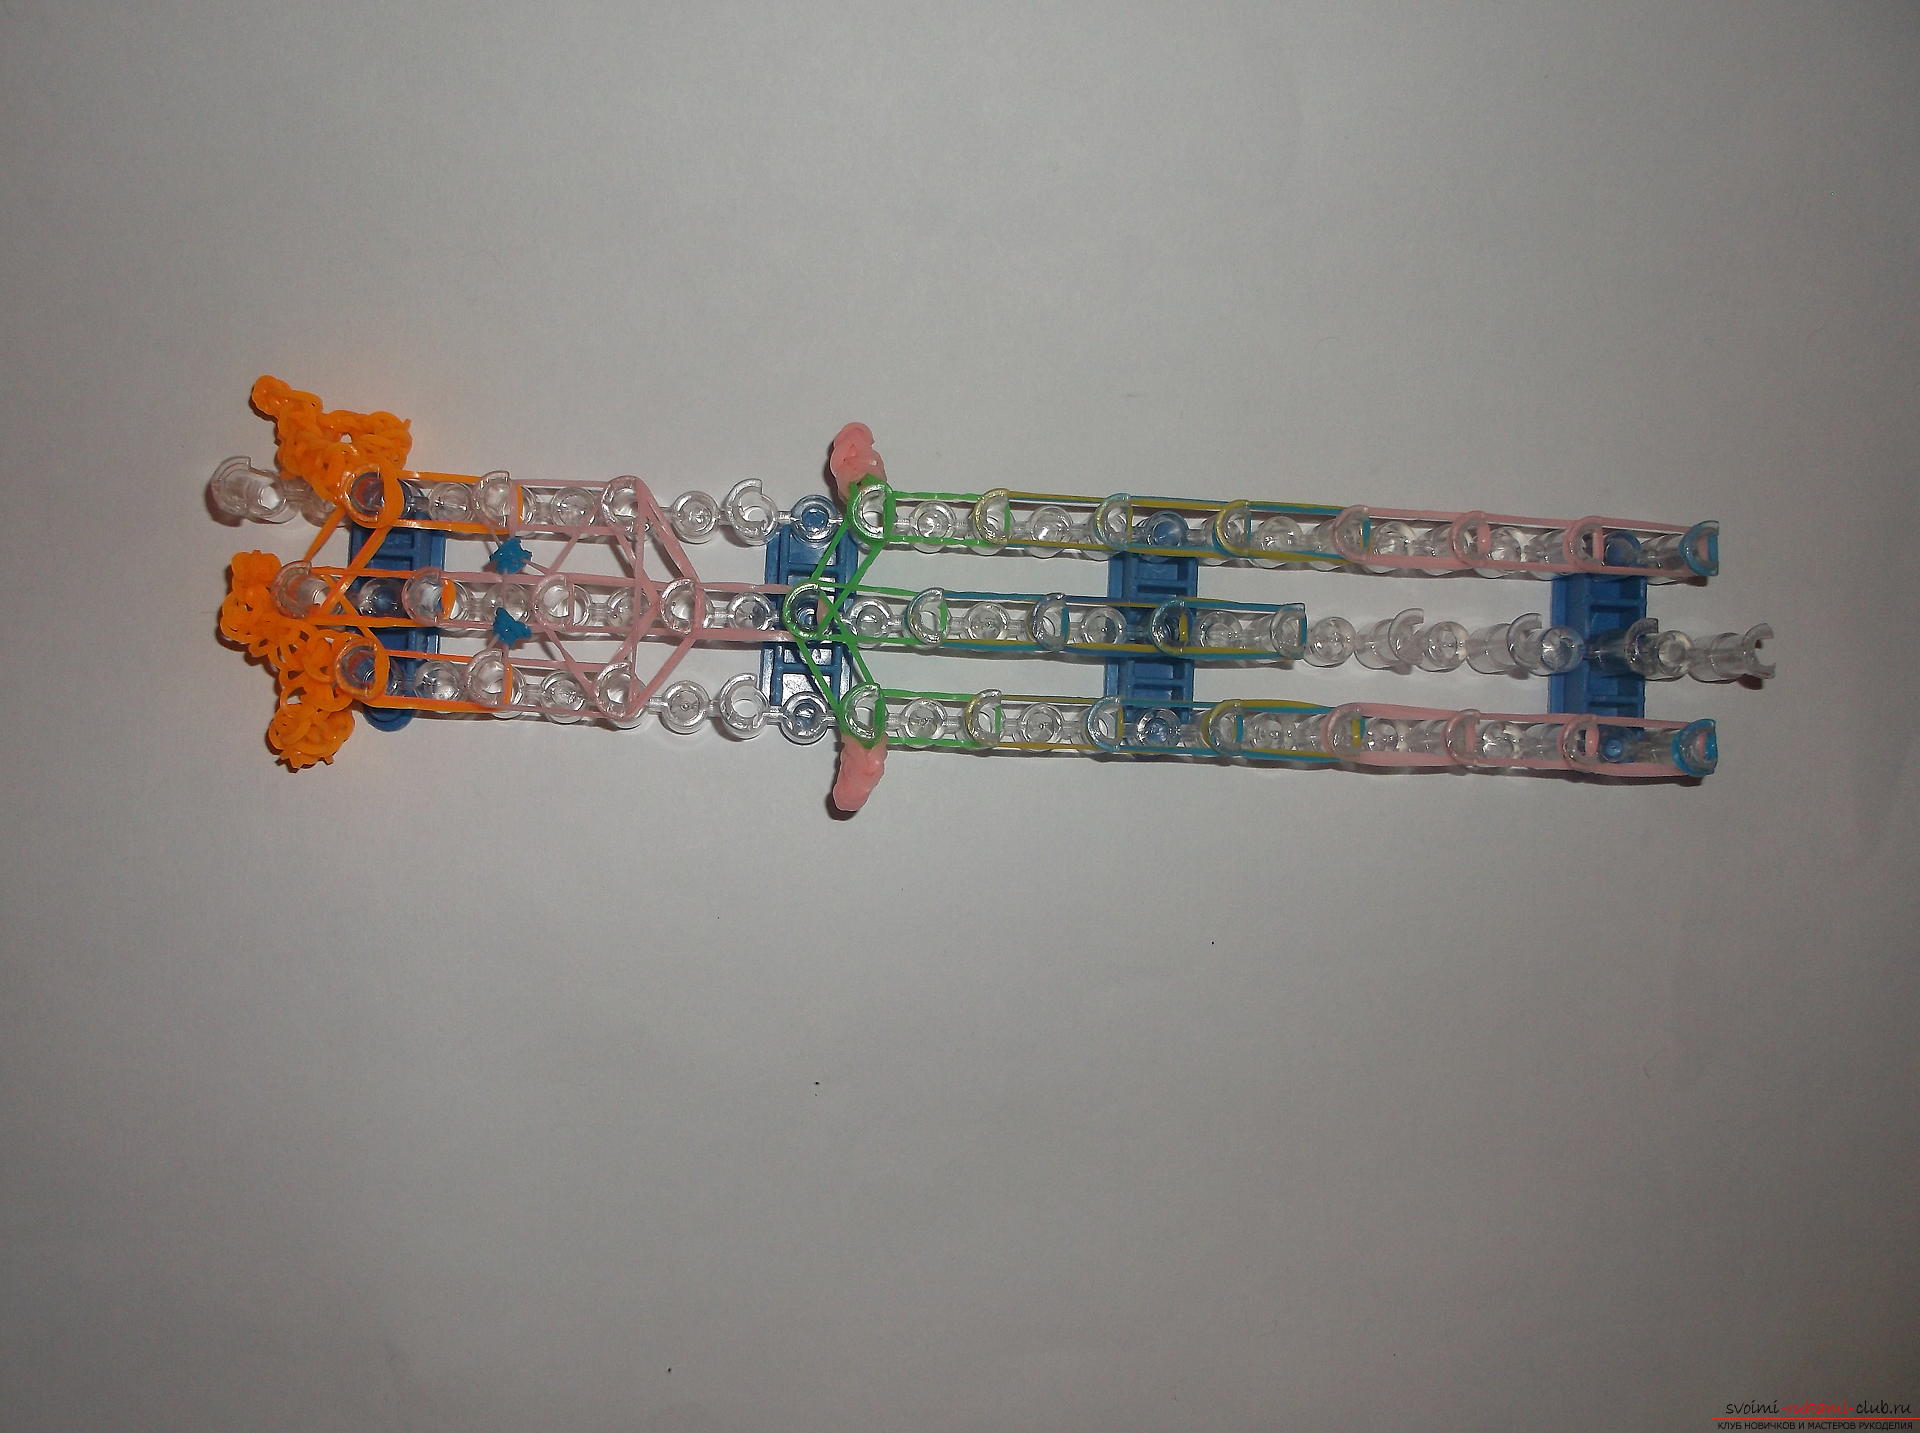 Eraser blue color on that columnon the left, on which the leg begins. Stretch it, hold the ninth column of the middle row and put the 2nd end of this rubber on the 9th column of the right row. Put another blue rubber band on the 8th columns of all rows with a triangle.
  Another rubber band of blue color is doubled andPut the triangle on the seventh column of all rows. Now put a green triangle on the sixth column of all rows with a triangle. We had to put on the hem, which we had woven earlier on the 8th column of the left and right rows.
  We threw the girl and now we can take off the hinges. We start to remove from the last column of the left row. We shoot in the same way as all previous times. That is, hooks grab the bottom layer and pull it out. Further we throw these rubber bands on the column ahead. So shave up a column with a pen. From this column, the lower layer is not thrown on the leading column of the same row, but on the leading column of the middle row. Similarly, we remove the left row of the machine. We pass to the central row. The first rubber bands will simply be removed. The rest are exactly the same as the previous ones. We weave our necks. Find the 4th column of the middle row. We start the hook and find a pair of rubber bands located above all. They are transferred to the third column of the left row. And here we grab the next two rubber bands and transfer them to the third column of the right row. The remaining rubber bands on the 4th column of the middle row are placed on the 3rd column of the same row. And we go further according to the algorithm already known to us. That is, we hook in the 3rd column of the middle row, we catch the two lower rubber bands and throw them on the 2nd column of the same row and so on to the end. The central row is finished. We return to the third column of the left row. We hook and weave the same way. From the first column of the left row we drop the two lower rubber bands on the first column of the central row. With the right side we do all the same. Weaving is completed. It remains to remove the girl from the machine. To do this, carefully remove all the rubber bands from the 1st column of the middle row to the hook. We take an elastic band of orange color, we catch it with the tip of the hook and transfer all the rubber bands from the hook to this one rubber band. We put the 2 nd end on the hook. There are two loops on the hook. The first is conducted through the second, a knot is obtained. We tighten it. And now with the help of a hook, we remove all the rubber bands from all the columns. We take off carefully, helping the crochet so as not to tear the rubber bands, because they are in strong tension. The girl herself is held by the loop, which was tightened at the end. That such a funny red-haired girl turned out!
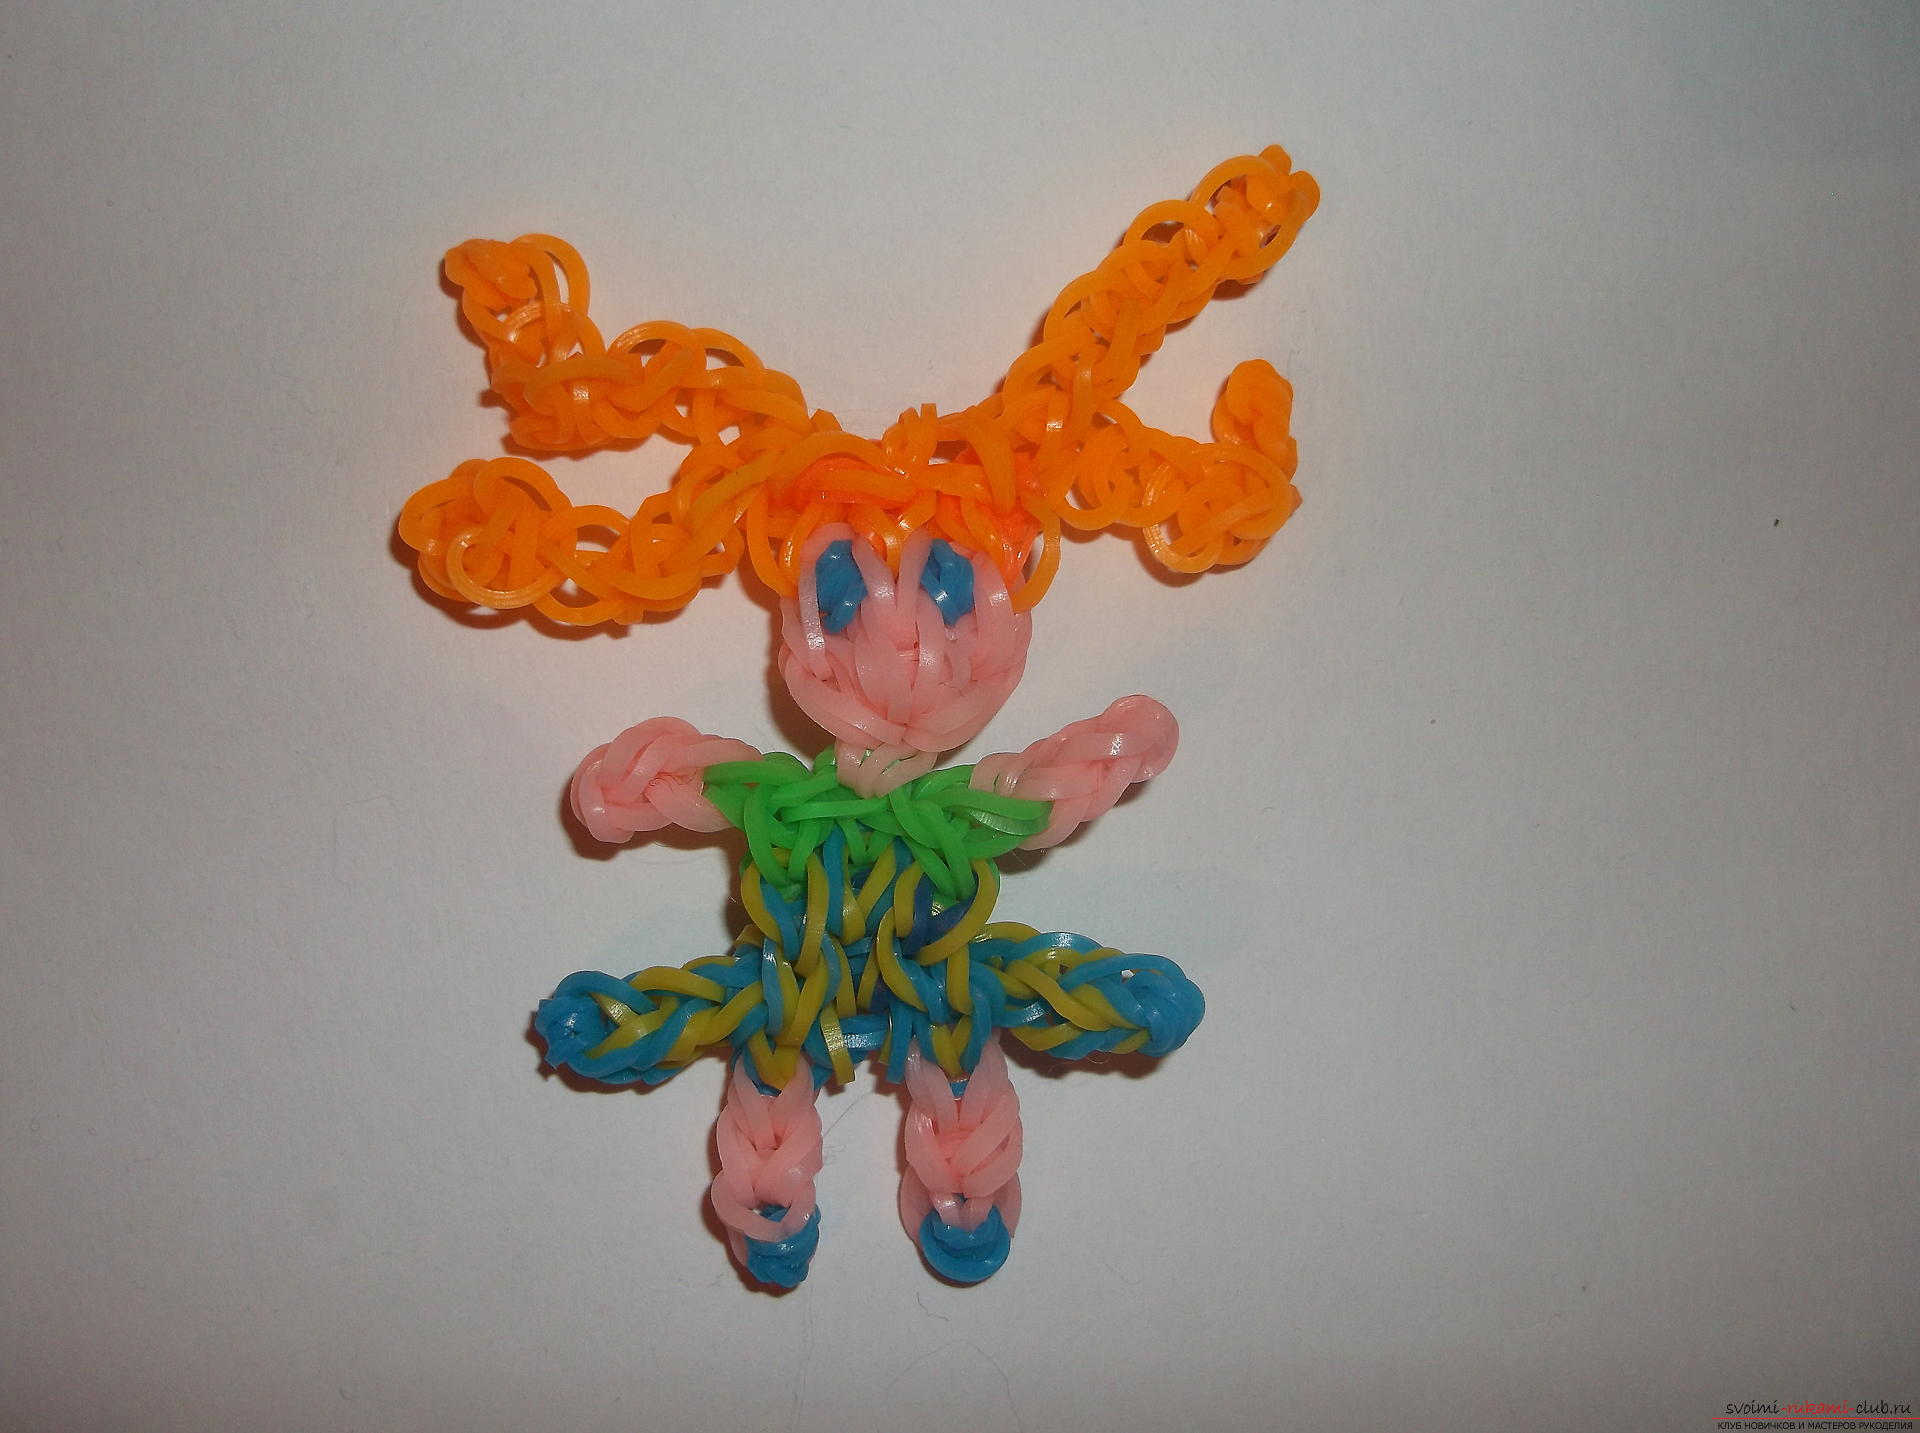
Comments
Related posts:
 How to weave flowers of poppies, photo and description of weaving a bouquet of poppies
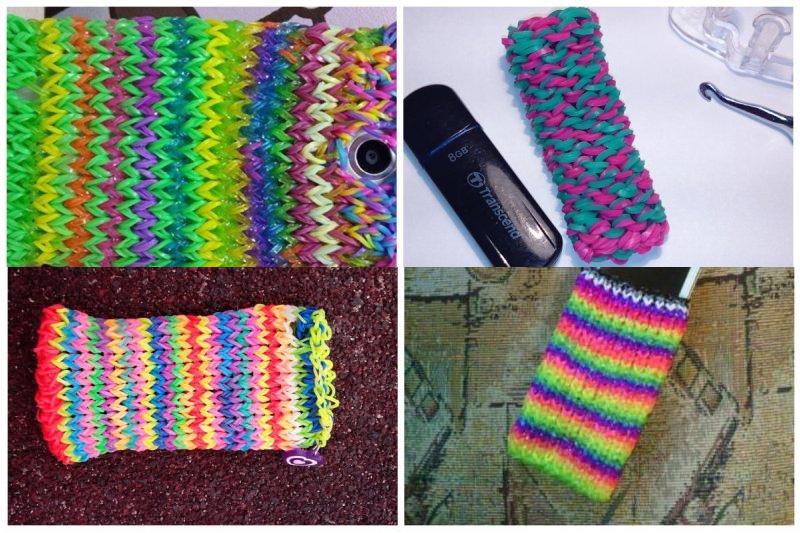 How to weave the phone case from a rubber band: photo master-class
 Lessons from the weaving of the rubber on photo and video master-class
 Elastomeric thread: selection of materials for beading (photo)
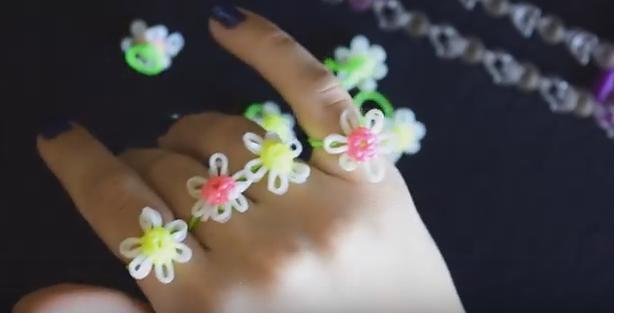 How to weave a flower from a rubber band in many ways