
How to weave from a rubber band a cute penguin toy? Step-by-step recommendations, tips and photos
Weaving of rubber shoes rainbow loom conquershearts of needlewomen! If at first they were different bracelets, now it's possible to weave cute 3D beasts from rubber bands. In this master class, we just and weave one of them, or rather the penguin.
Materials and tools
For weaving we will need:
- Erasers of three colors;
- Hook;
- Weaving machine;
- Synthepon.
At first, it may seem that it is difficult and time-consuming to paddle such a penguin. But actually it is not. The weaving takes about 30 minutes.
Stages of work
First, install the machine. We will use all three rows, but we need to push the middle row 1 column ahead. Turn the machine so that the open columns are turned to the right. We will use a circle of the first six columns. Now sketch the first row of gum. Two black rubber bands are worn on the very first column of the middle row. We rotate the rubber bands with the figure-eight and stretch them on the 2nd and 3rd columns of the middle row. 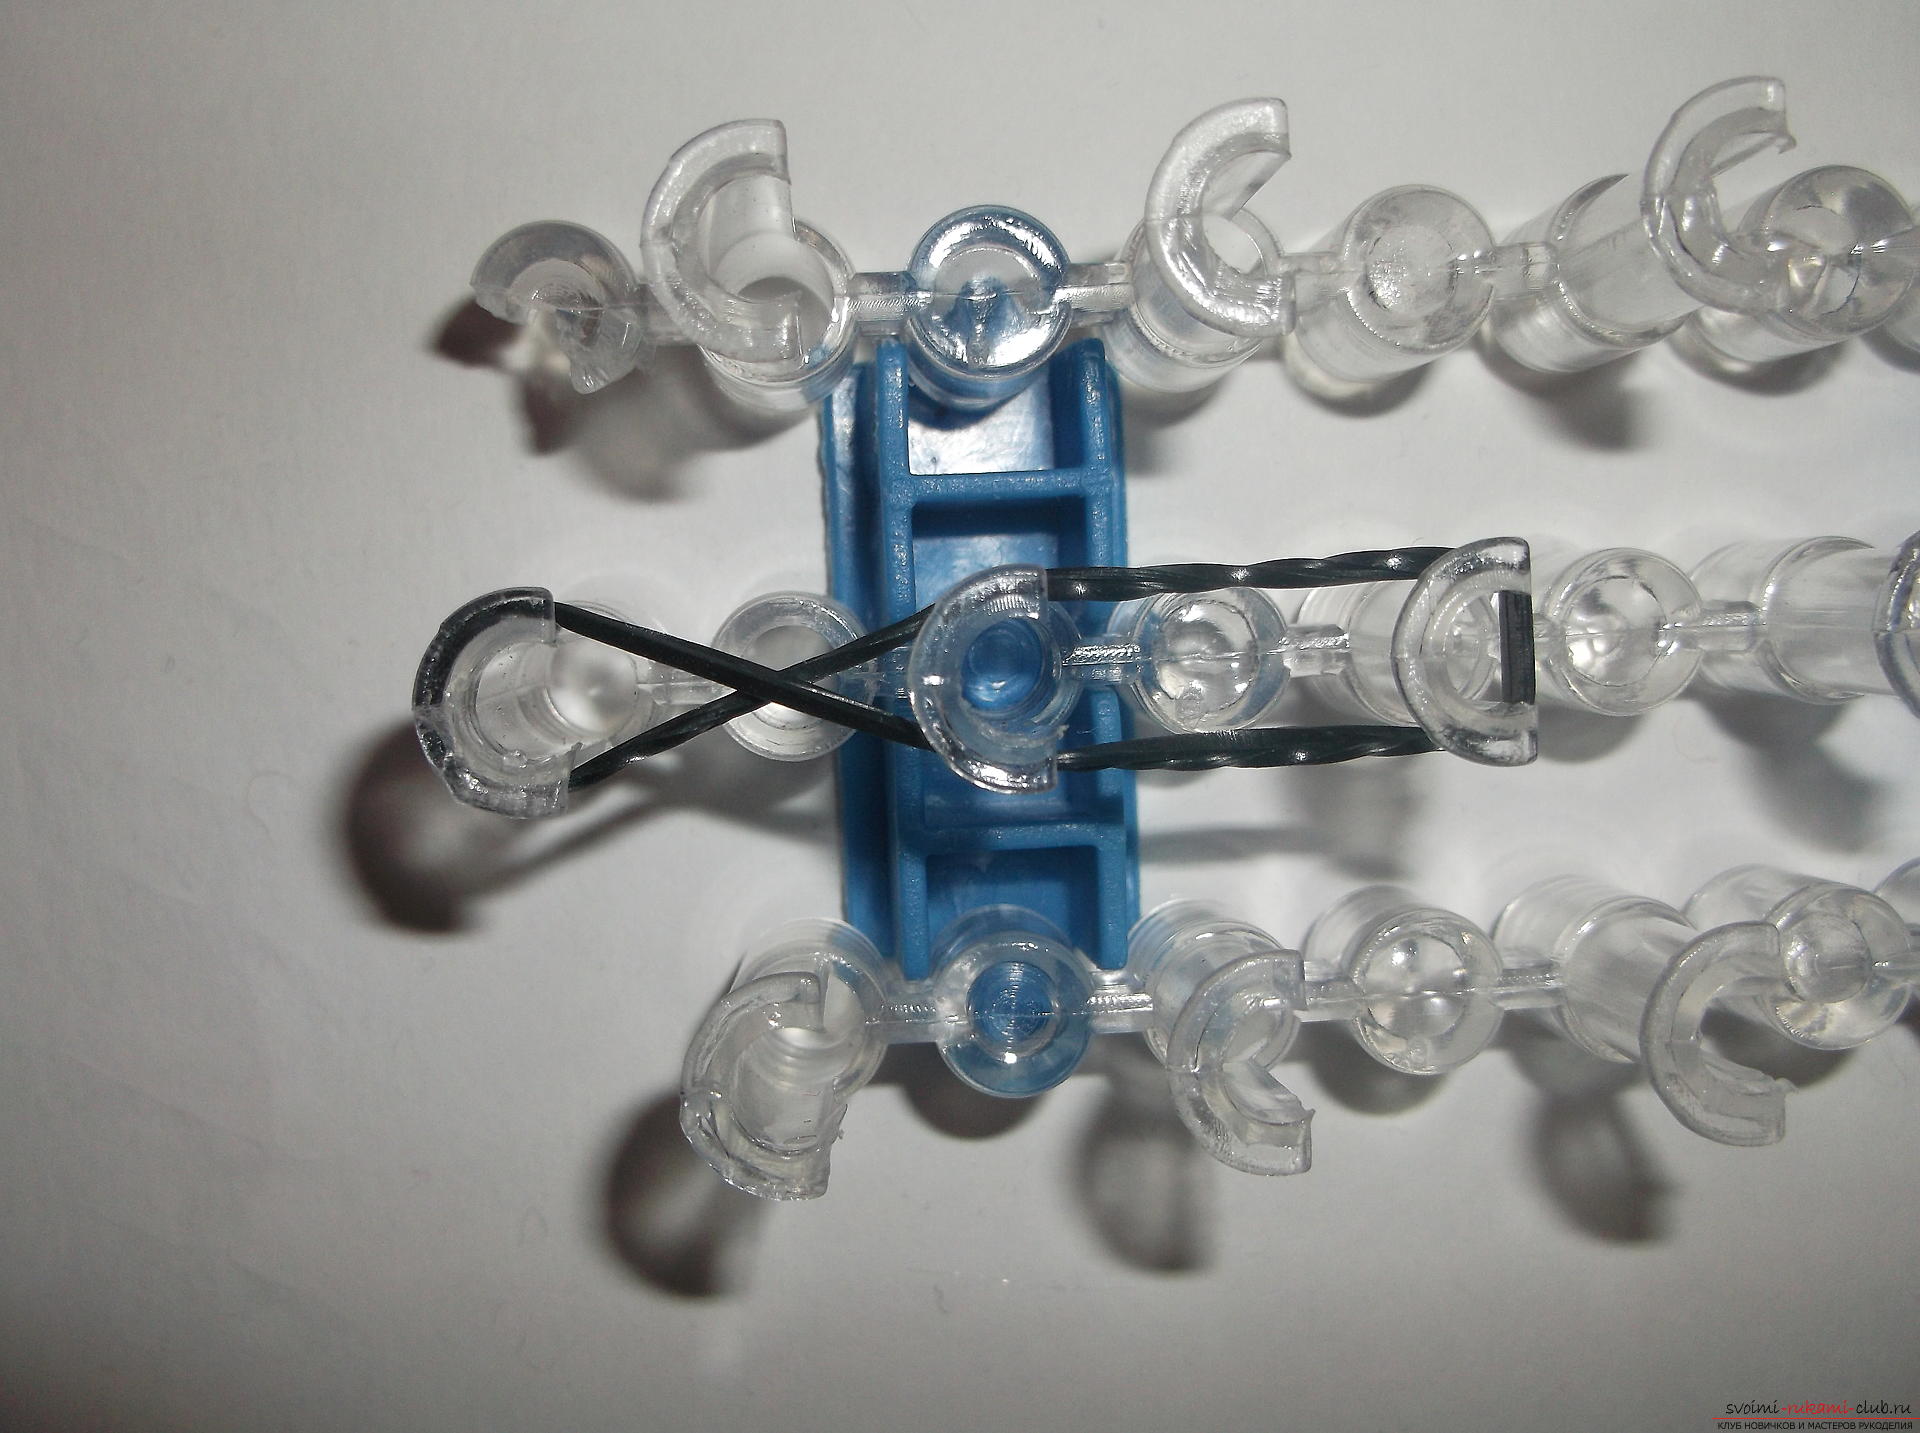 Next, just the same gum we throw on the 1stthe column of the top row of the machine, we pull the rubber bands, turn them by the figure eight and stretch it by two columns, on the 2nd column of the middle row and on the 2nd column of the lower row. That is not directly, but diagonally down. In the same way, we grit black rubber on the 2nd column of the top row of the machine, turn the figure eight and pull on the 2nd column of the middle row and the 2nd column of the bottom row.
 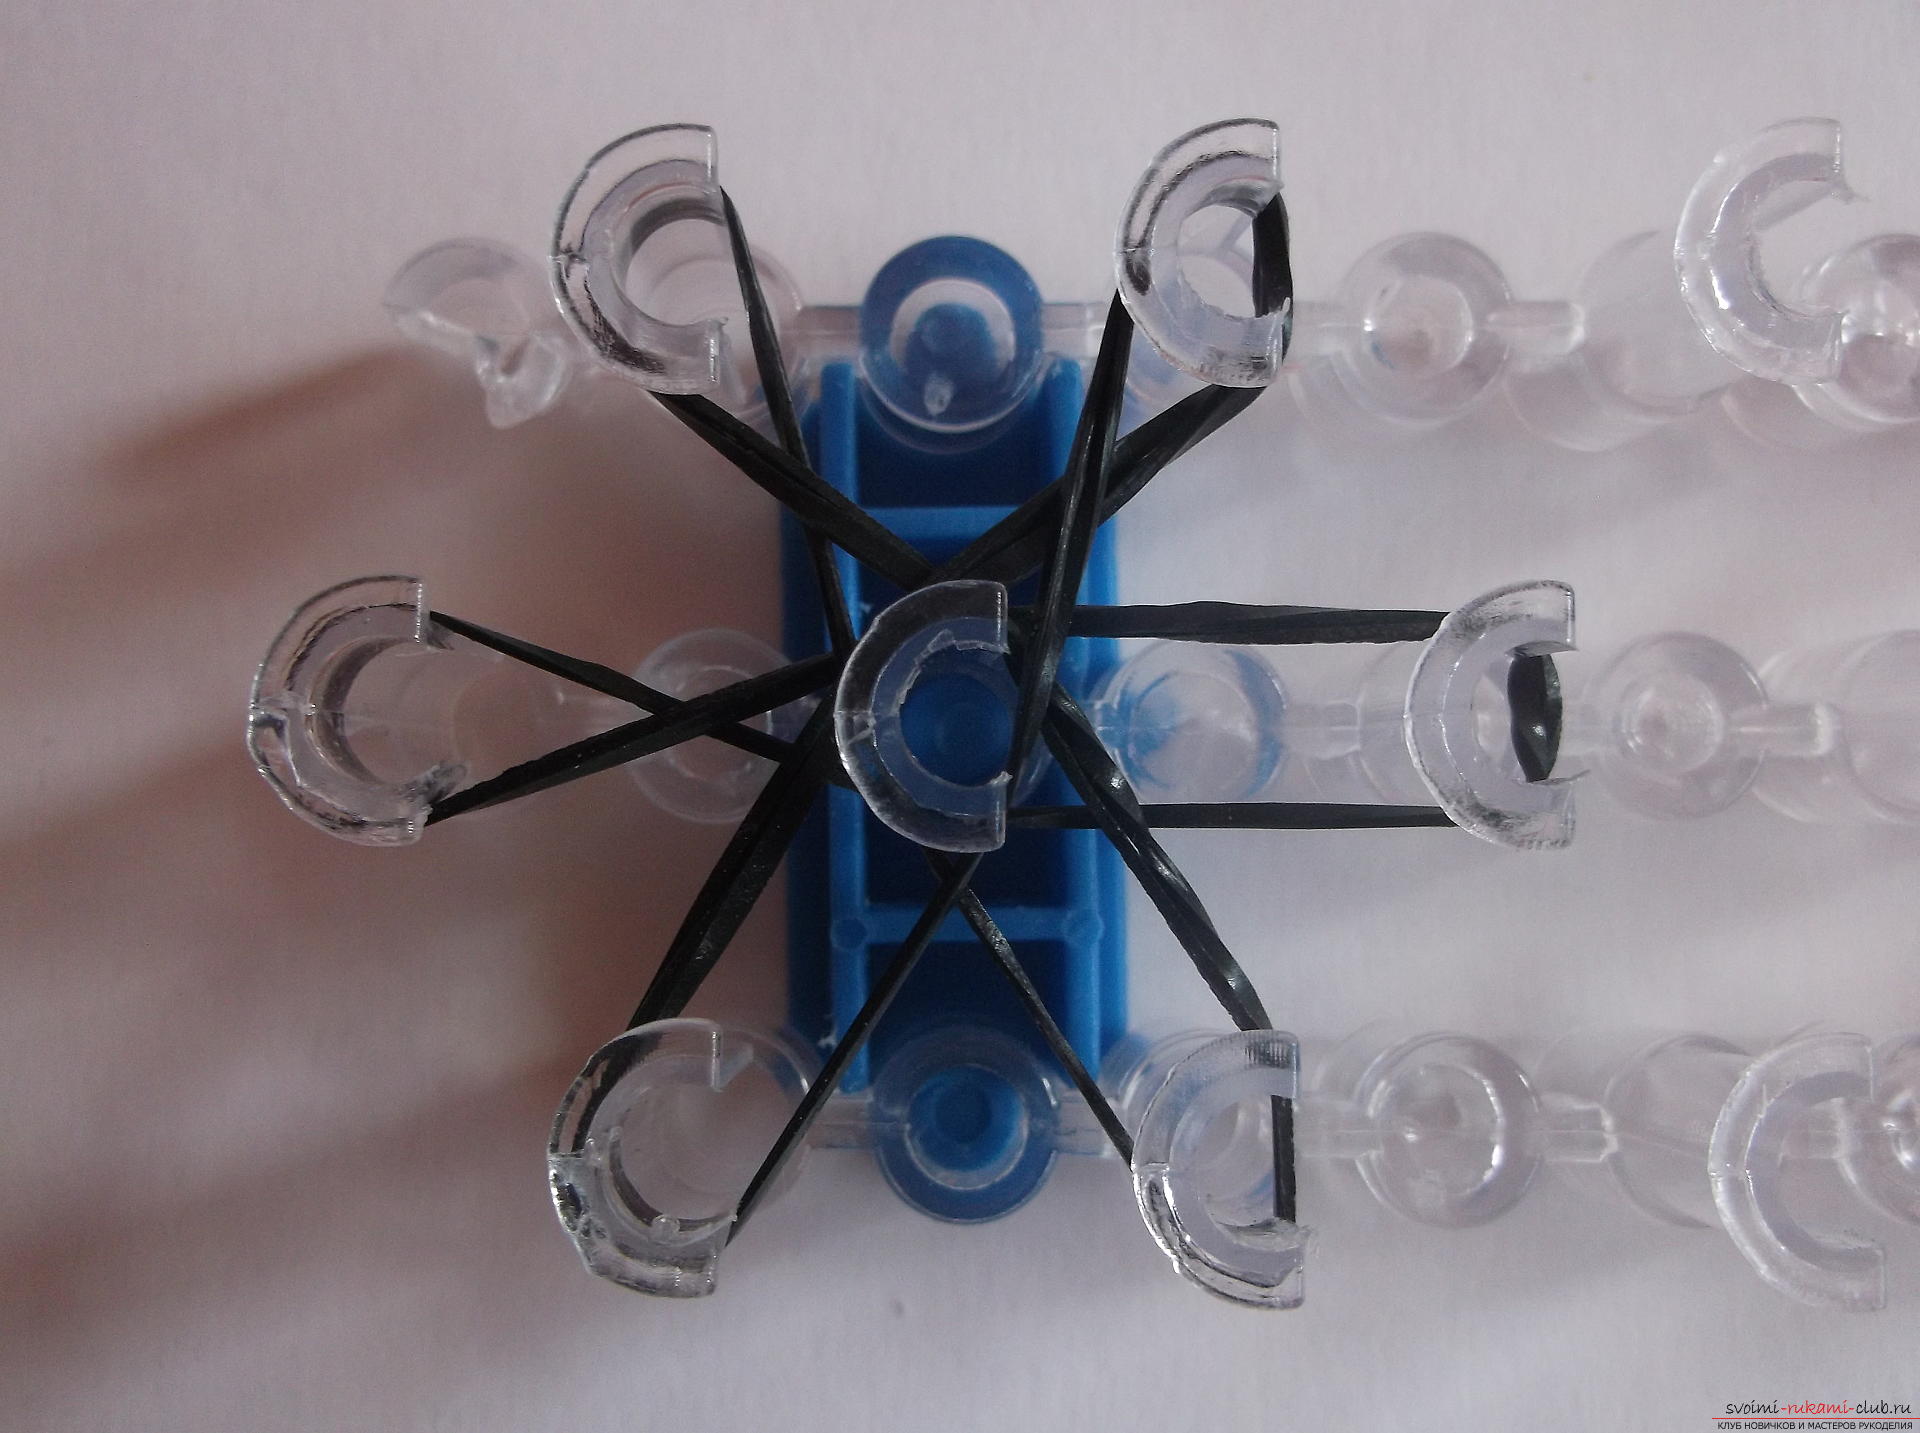 Slightly lower the rubber bands down to make it comfortablethrow on the other gum. Now we'll sketch out one rubber band in black, and we will not turn them by the figure eight. We put the elastic on the first column of the upper row and pull it on the 2nd column of this row, that is now not diagonally, but horizontally. Put another rubber band on the 2nd column of the upper row and stretch it diagonally to the 3rd column of the middle row. Next, we throw one gum on the 3rd column of the middle row and stretch it diagonally to the 2nd column of the bottom row. As well as on the top row, we will sketch one rubber band on the 1st column of the bottom row and extend it horizontally to the 2nd column of the same row. Now we throw the elastic on the first column of the middle row and pull it on the first column of the bottom row. Finally, we throw the elastic on the first column of the middle row and pull it onto the first column of the upper row. The 1st row is ready!
 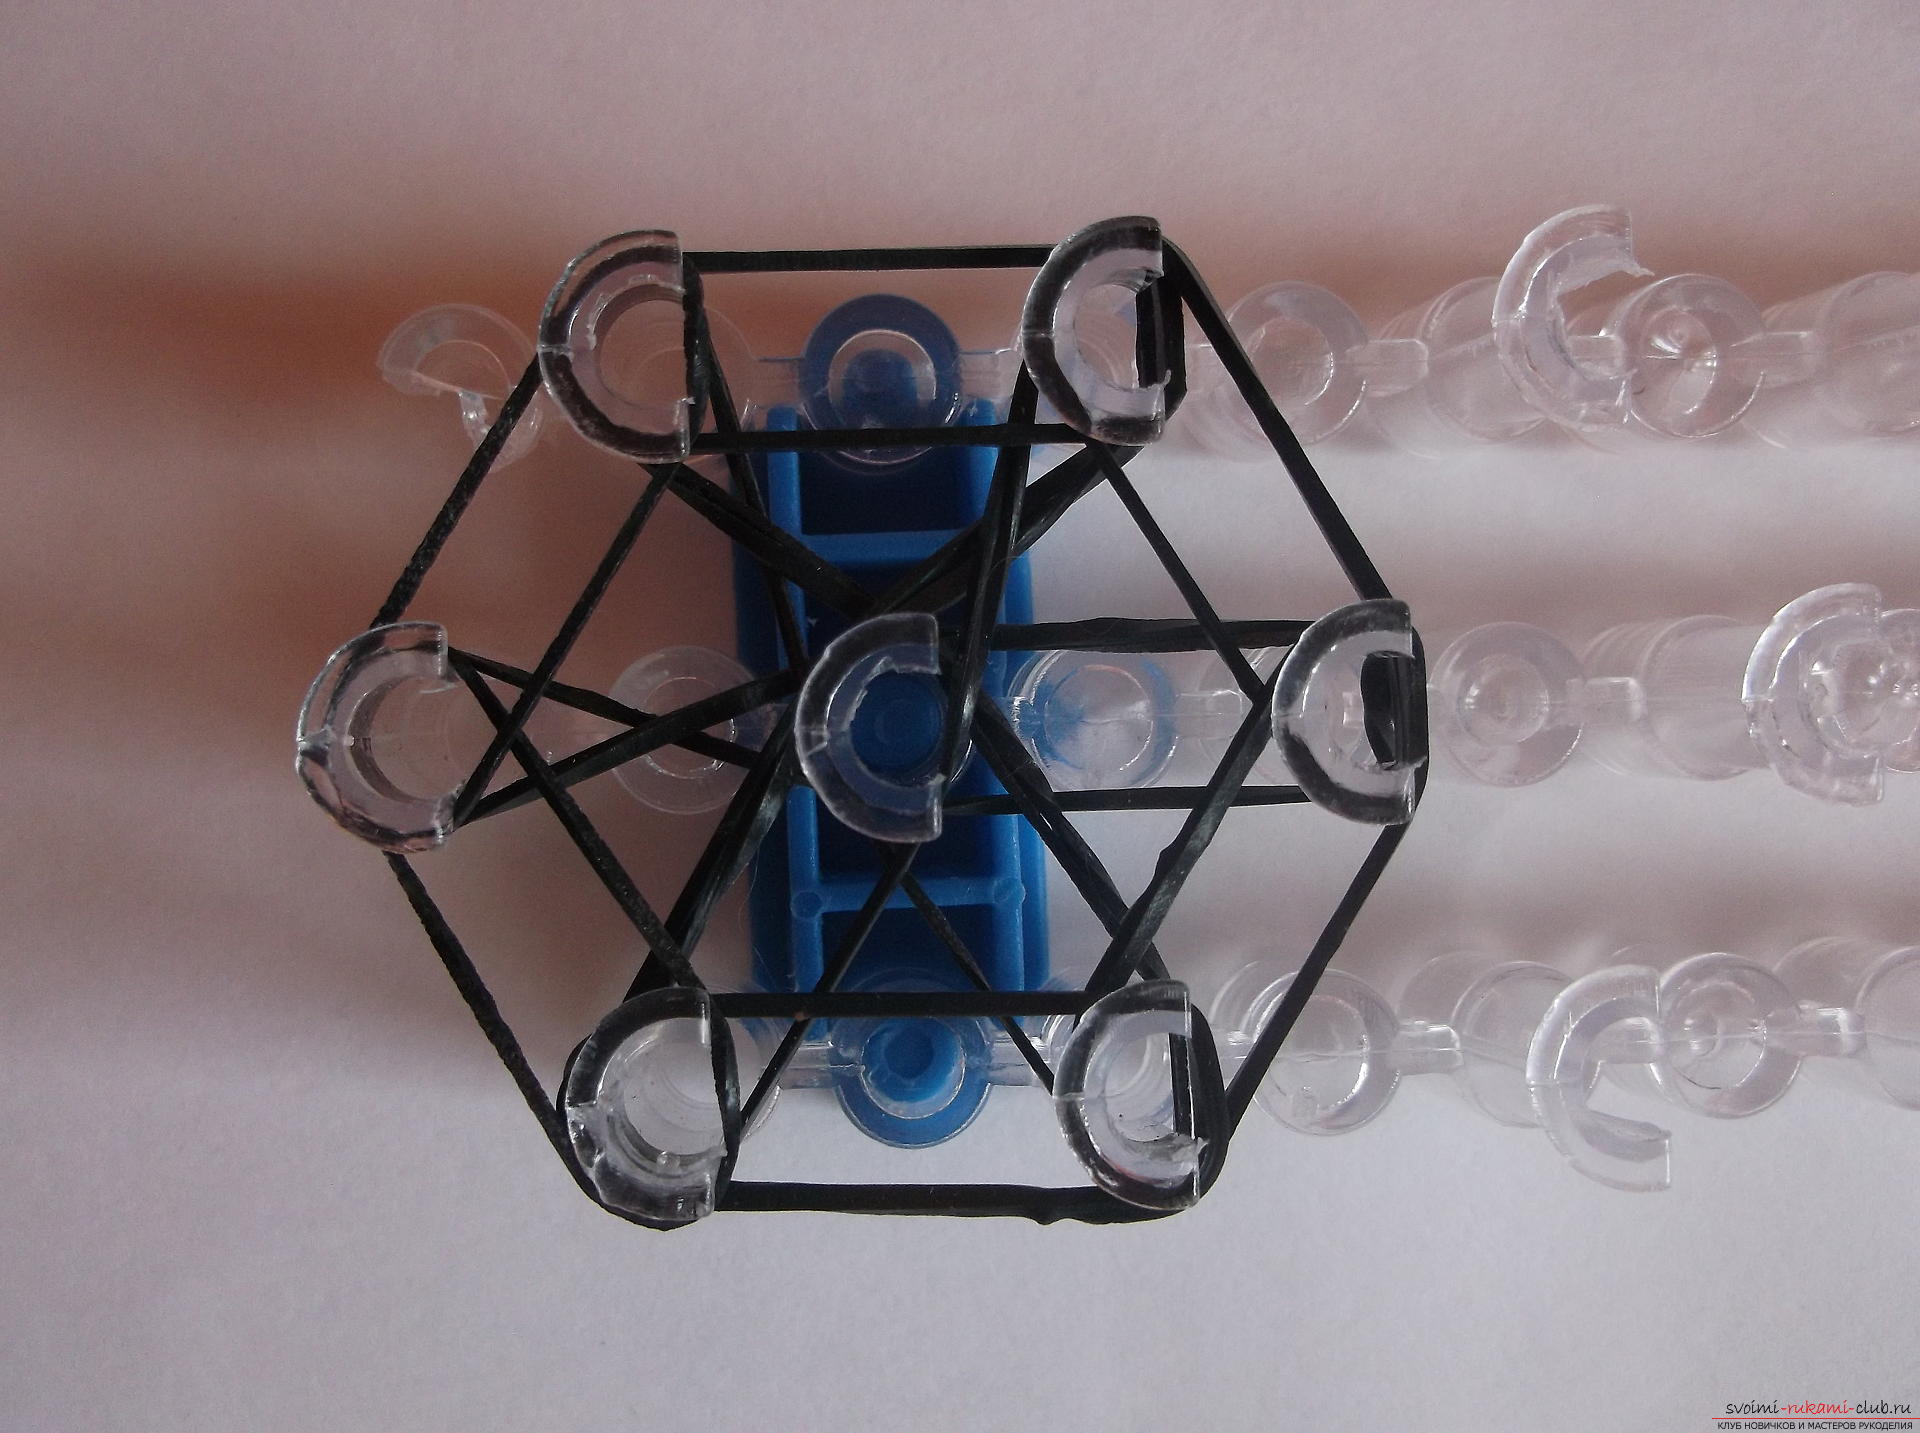 We begin to weave. We hook the two lowest gums on the first column of the middle row and remove them from the column as if into the center of the weaving. In the same way we do with all the columns. Consistency here is unimportant.
 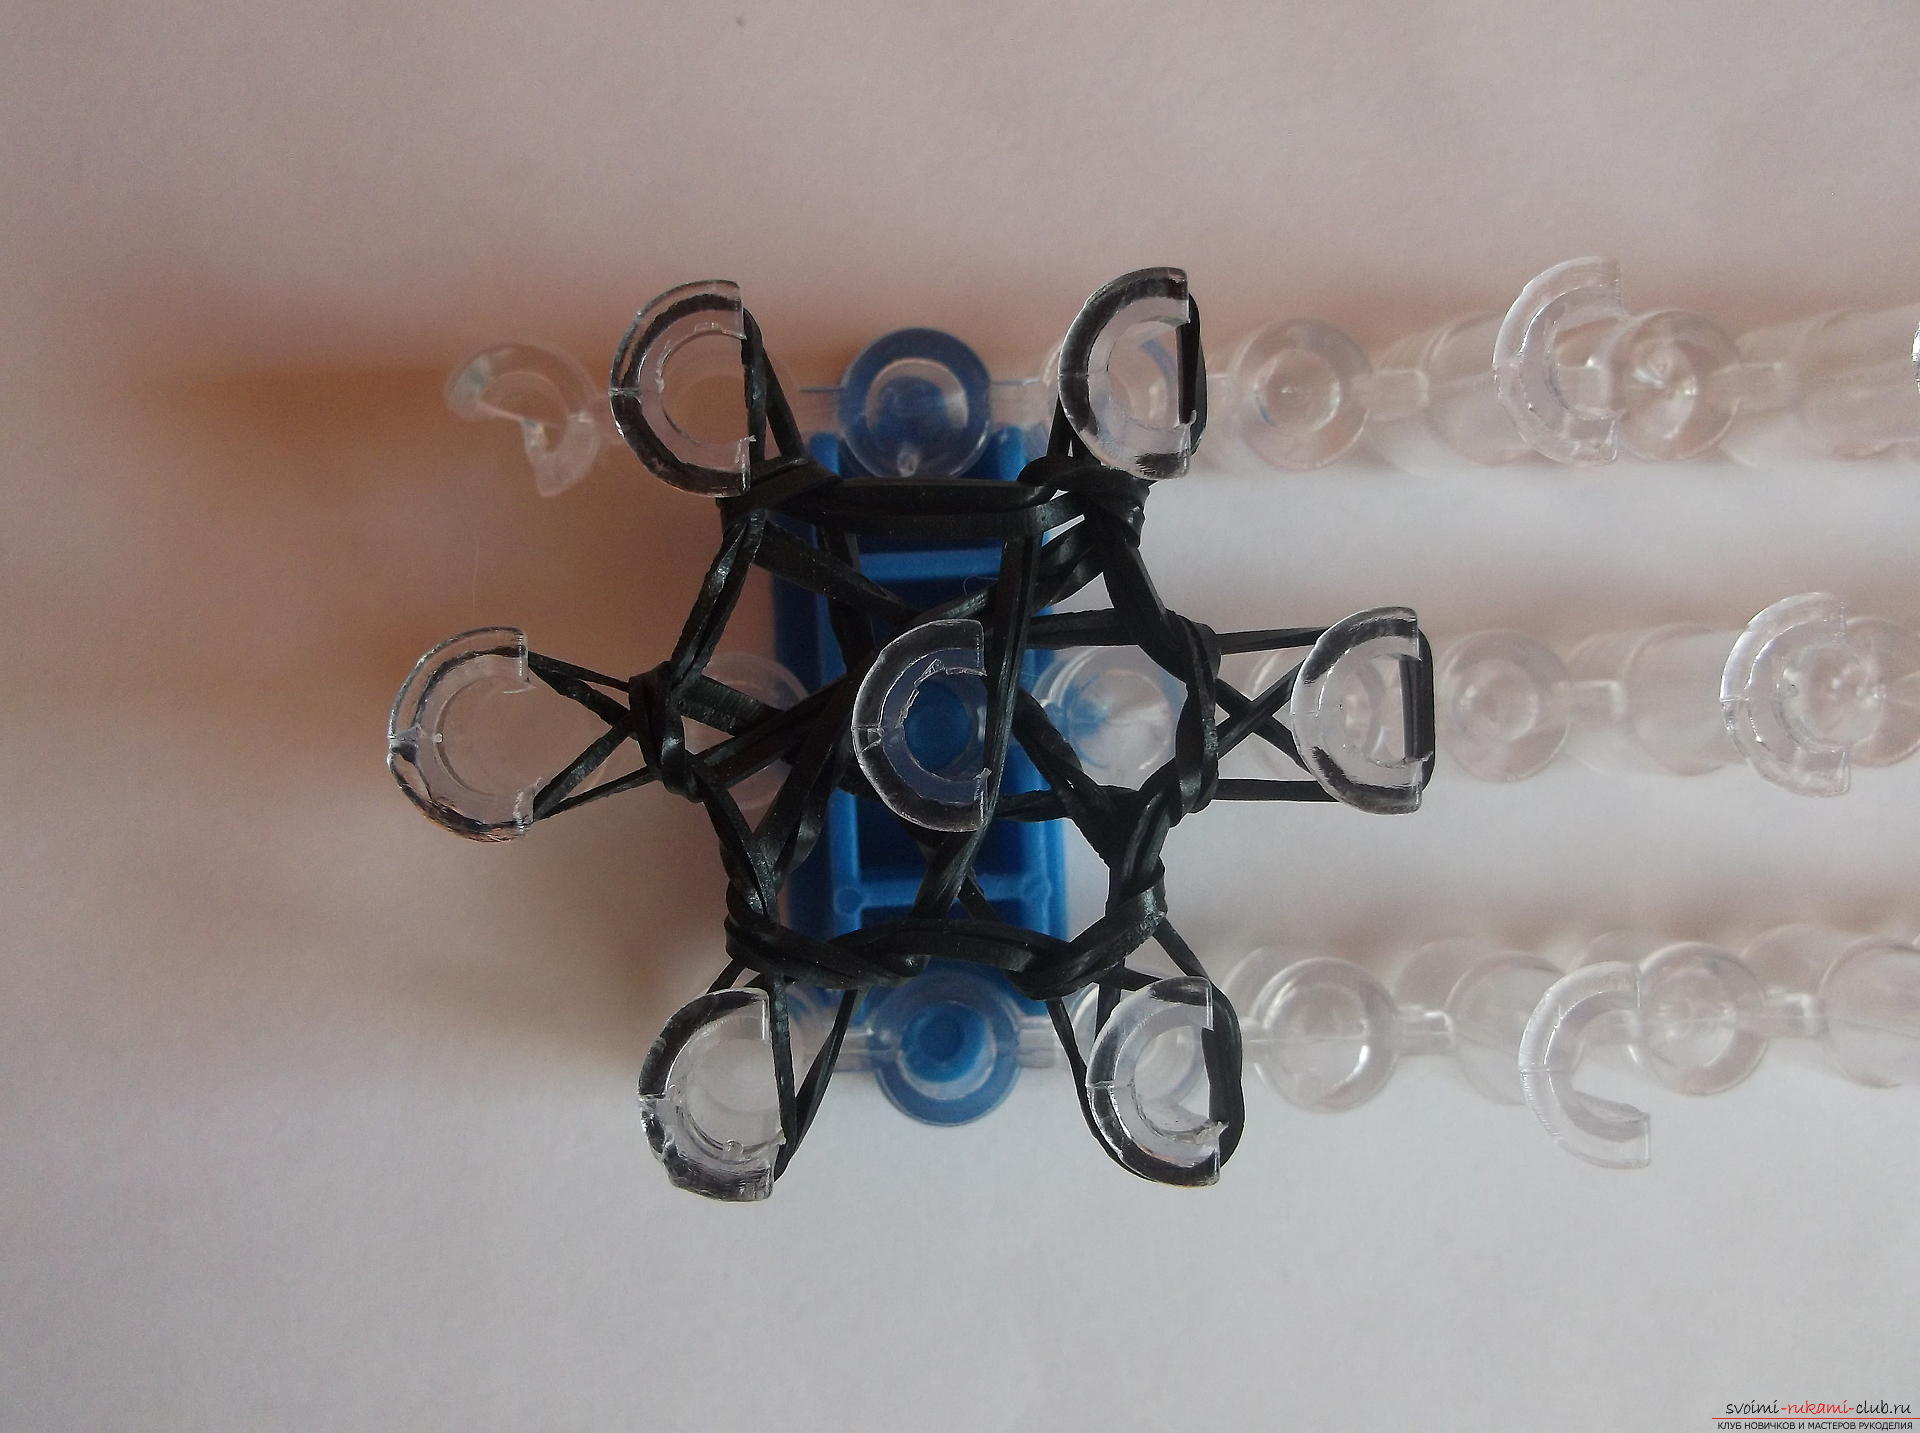 For further convenience, expand the machineopen part of the columns to yourself. Now let's designate the series on the machine as follows: left, middle and right. We'll sketch the 2nd row. The penguin is black and white, so we'll also use the same rubber band, but different colors. One elastic band of white color is thrown on the first column of the left row and we pull it on the first column of the middle row. Now we throw one white rubber band on the 1st column of the middle row and we pull it on the 1st column of the right row. Next we'll throw in black rubber bands. We put one on the 2nd column of the right row and pull it on the first column of the same row. We throw one rubber band of black color on the 3rd column of the middle row and pull it on the 2nd column of the right row. Next - on the 3rd column of the middle row and pull on the 2nd column of the left row. We throw an elastic band on the second column of the left row and pull it onto the first column of the left row.
 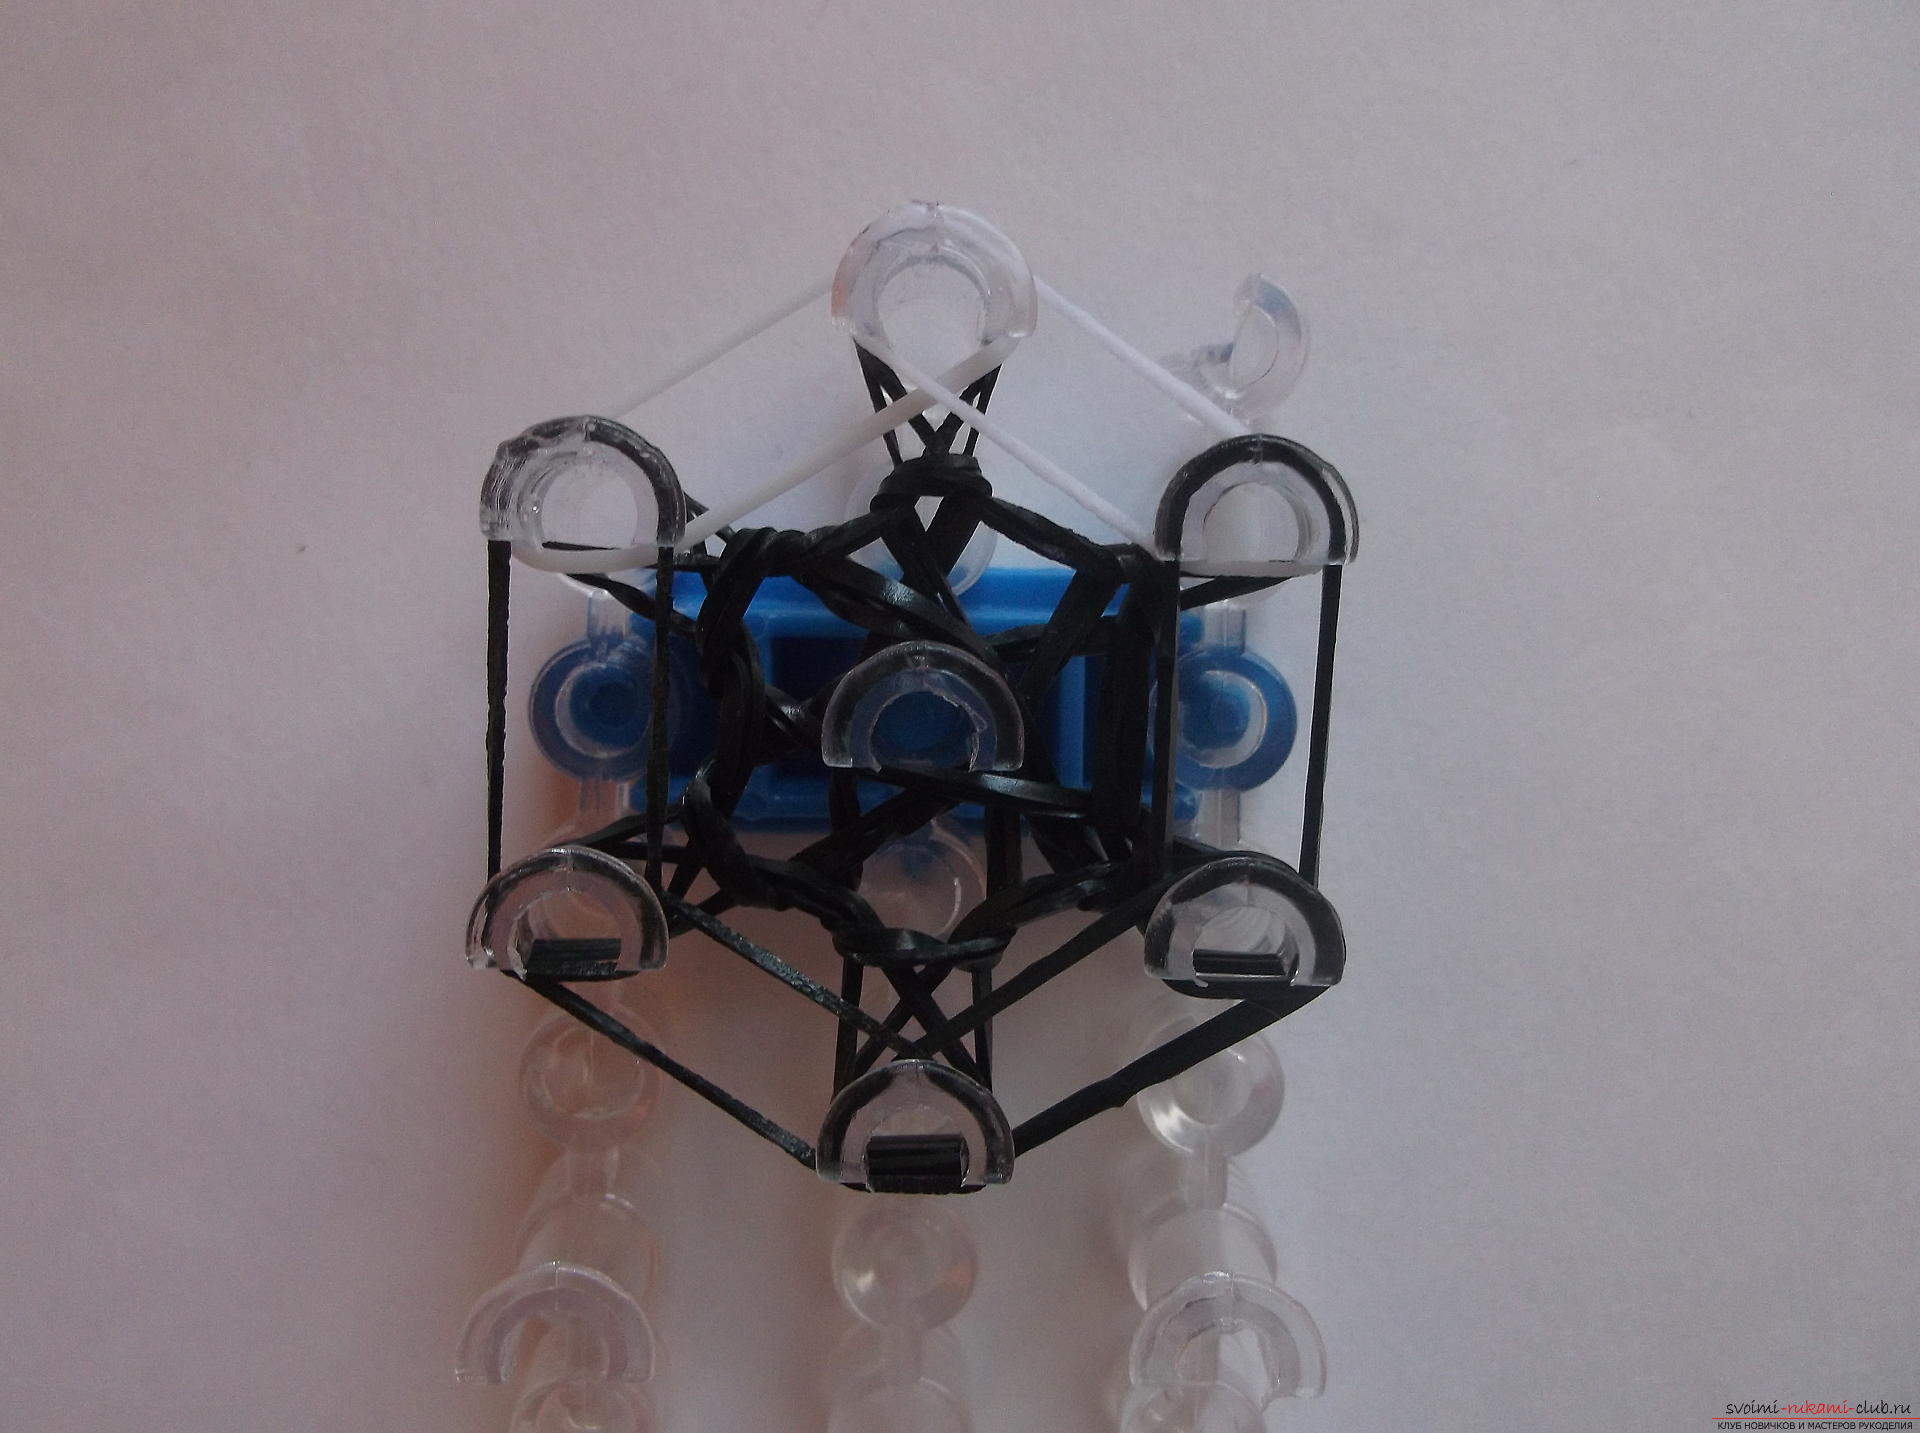 Just like in the previous series, crochetwe take off the two bottom bands from all the columns. We throw the 3rd row. Every time we will throw one, but the gums will be of different colors. Now we need to throw four white and two black gum. On the first three columns of each row, we will throw in white gum and pull them along the same lines as the previous two rows. That is, from the first middle to the 1st left, again from the first middle, but now to the 1st right. Further from the first right to the 2nd right and from the first left to the 2nd left. Now we'll draw two black bands. From the second right to the 3rd middle and from the second left to the 3rd middle. This should be the design.
 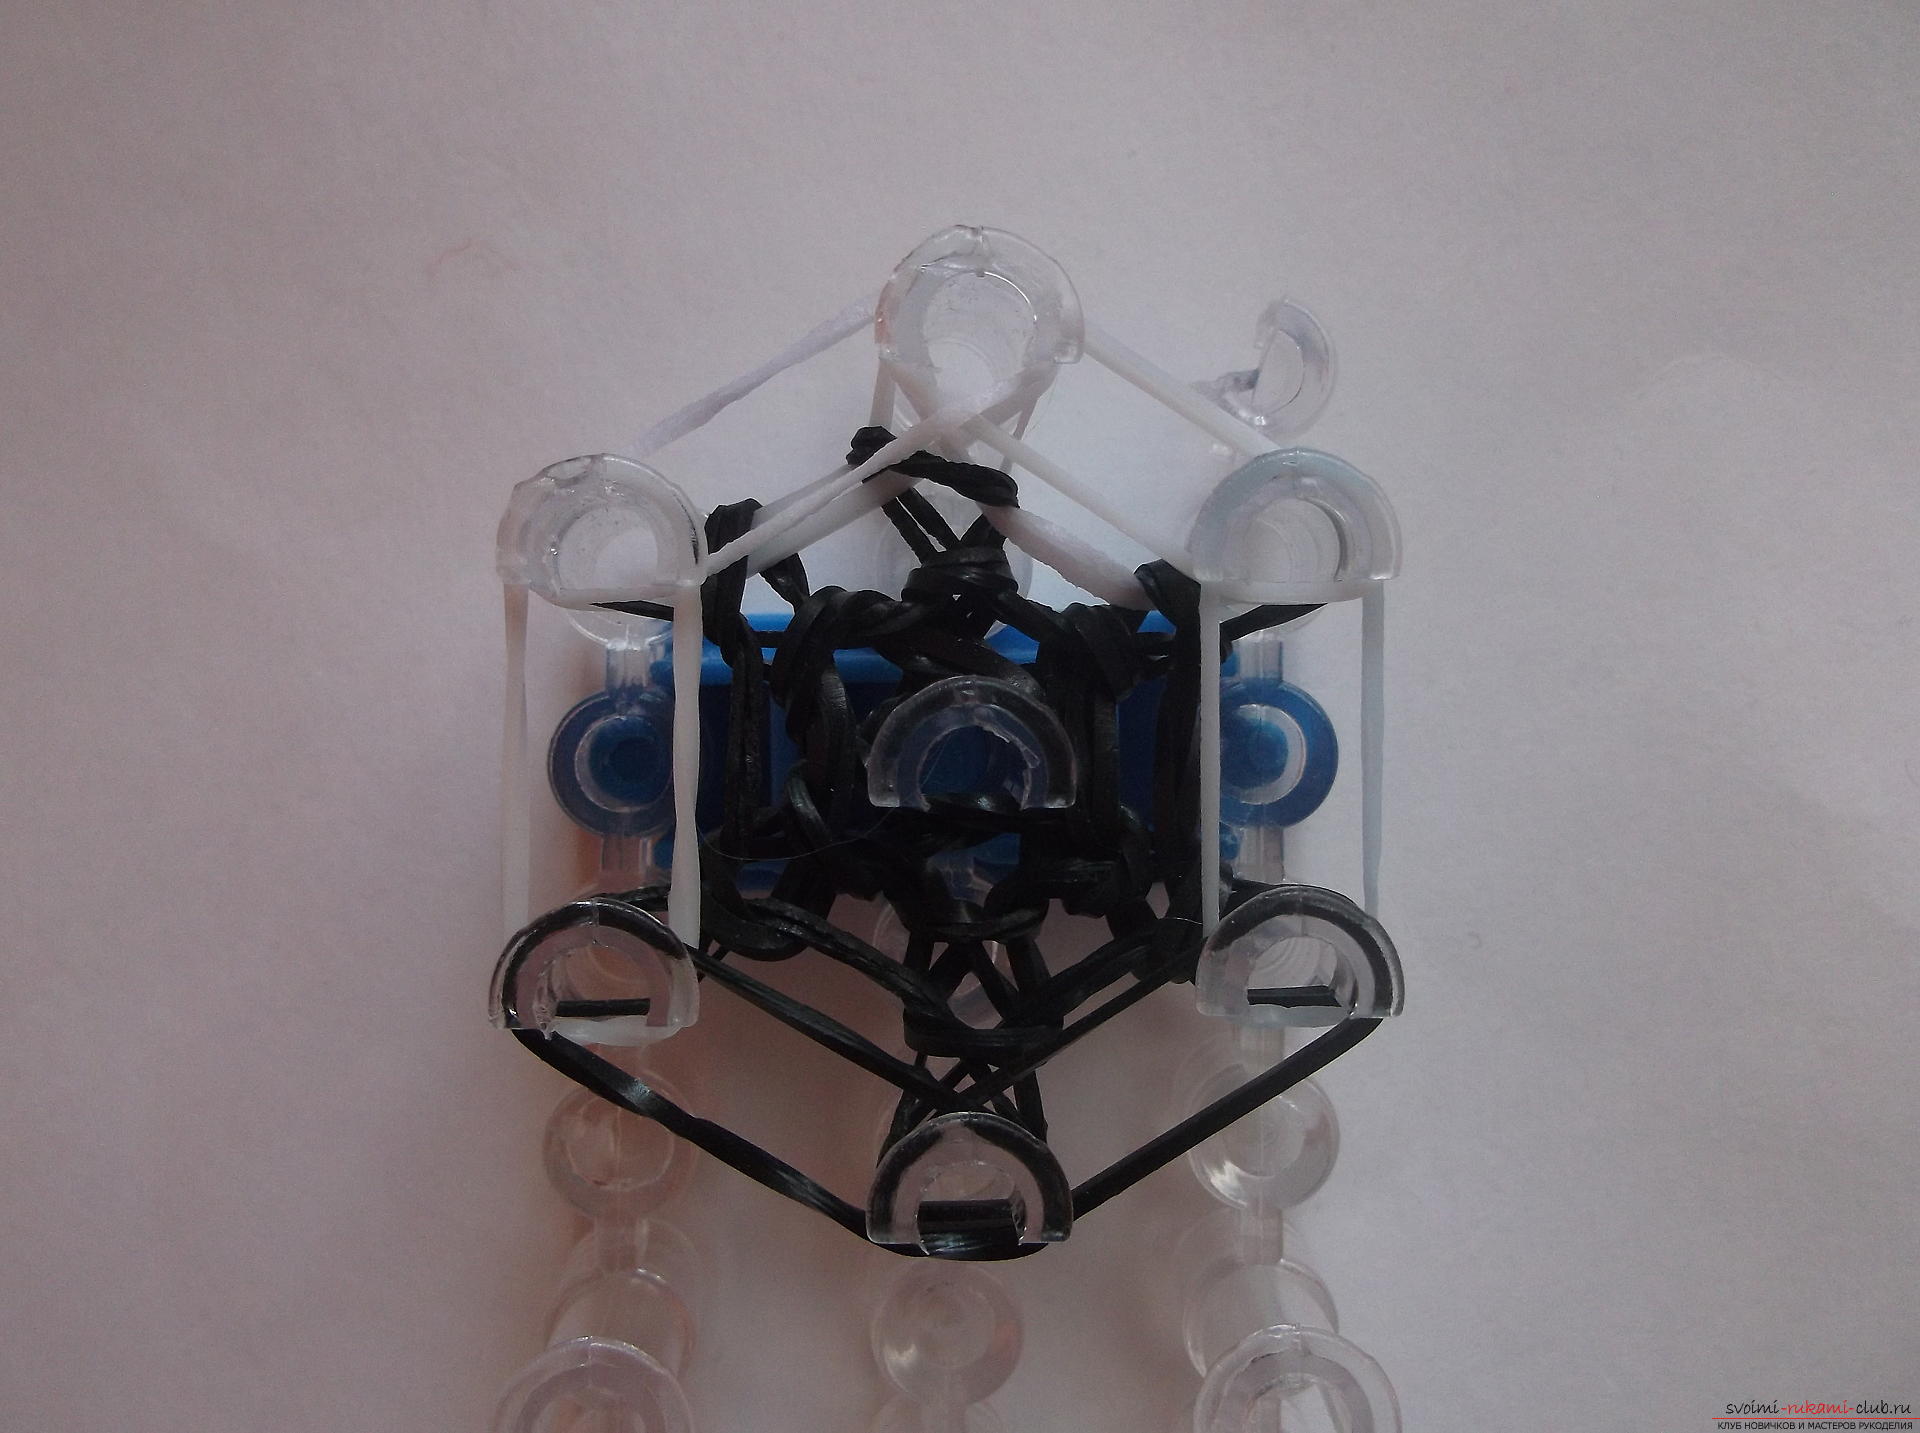 Again, we drop the two lowest rubber bands withof each column. It is important to ensure that they do not change places with the top ones, therefore, before throwing the next row, the elastic bands on the columns need to be lowered. For a while we push the machine back. We need to make eyes for the penguin, because in the next row we will weave them. Take one of the blue rubber bands and put it on the hook, then turn the figure eight and draw again. So two more times. That is, there must be four loops on the hook. Now we throw on the finger a rubber band of white color, grab it with the same hook and put on it four blue rubber bands from the hook. 1 eye is ready, in the same way do the 2nd. We throw a new row like this: the white elastic band, from which we have now made eyes, put on the first column of the central row, and put the second end on the first column of the right row. We put the second elastic band on the eye again on the first column of the middle row and stretch it already on the first column of the left row. On the 1st and 2nd columns of the left row we throw a rubber band of white color. On the 1 st and 2 nd column of the right row, too. On the 3rd column of the middle row and the 2nd column of the right row we throw a black rubber band. And on the 3rd column of the middle row and on the 2nd column of the left row, we also cast a black rubber band.
 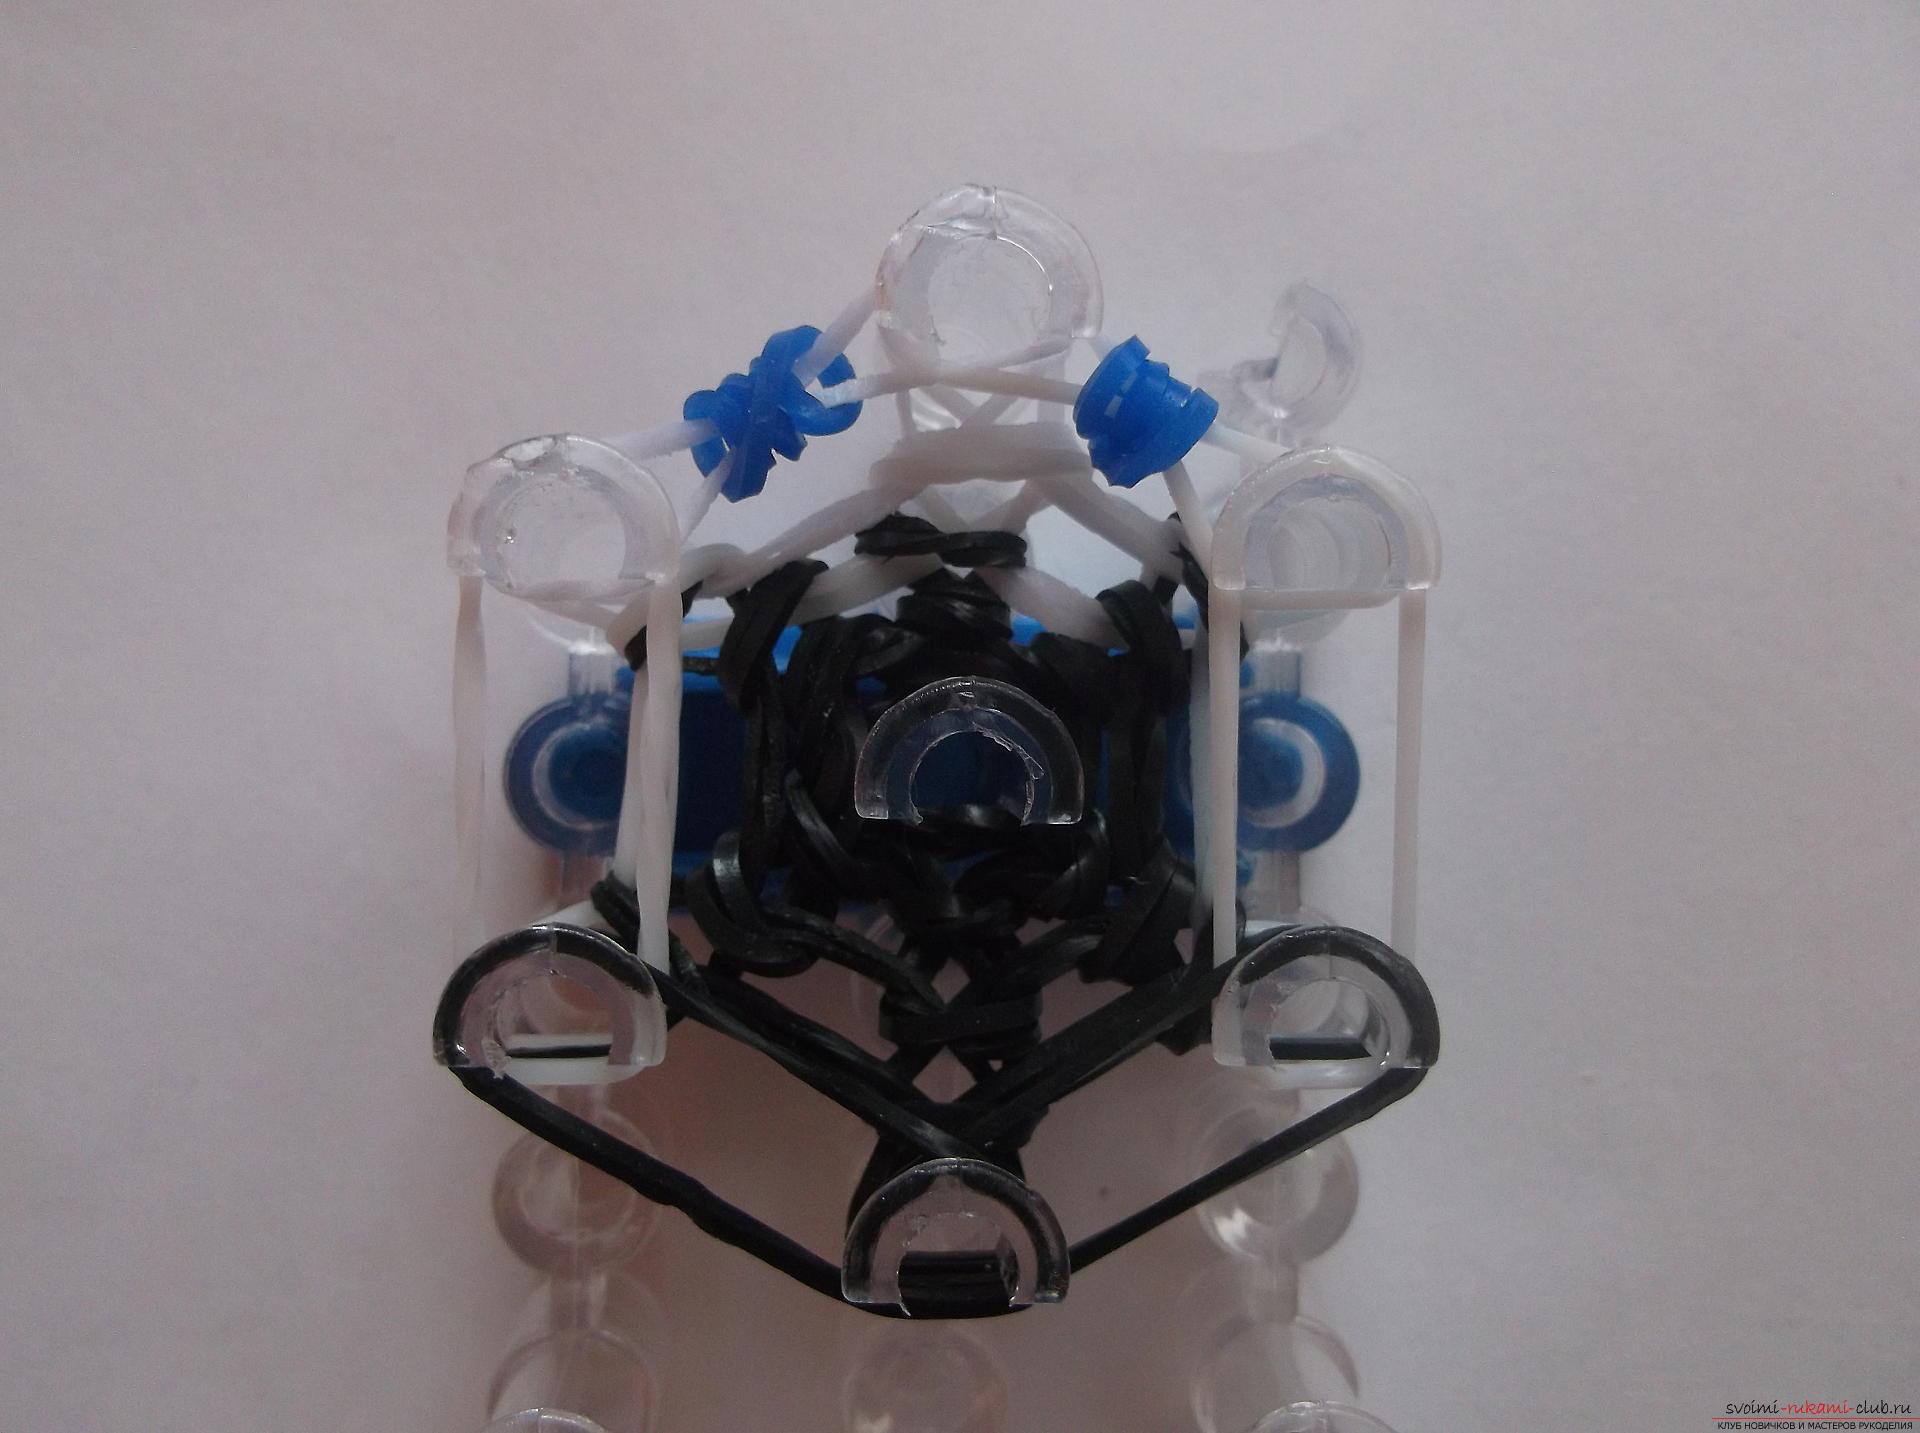 We remove as usual the two lowest elastic bands withof each column. Again, leave the machine for a while. We need to make a beak. For this, the rubber band of yellow color is wound on the hook four times, as well as the eyes. Now we put two yellow bands on the finger, stretch it, rotate the figure eight and add it like twice. And those four loops, which are put on the hook, we put on them. We put the second end on the hook.
 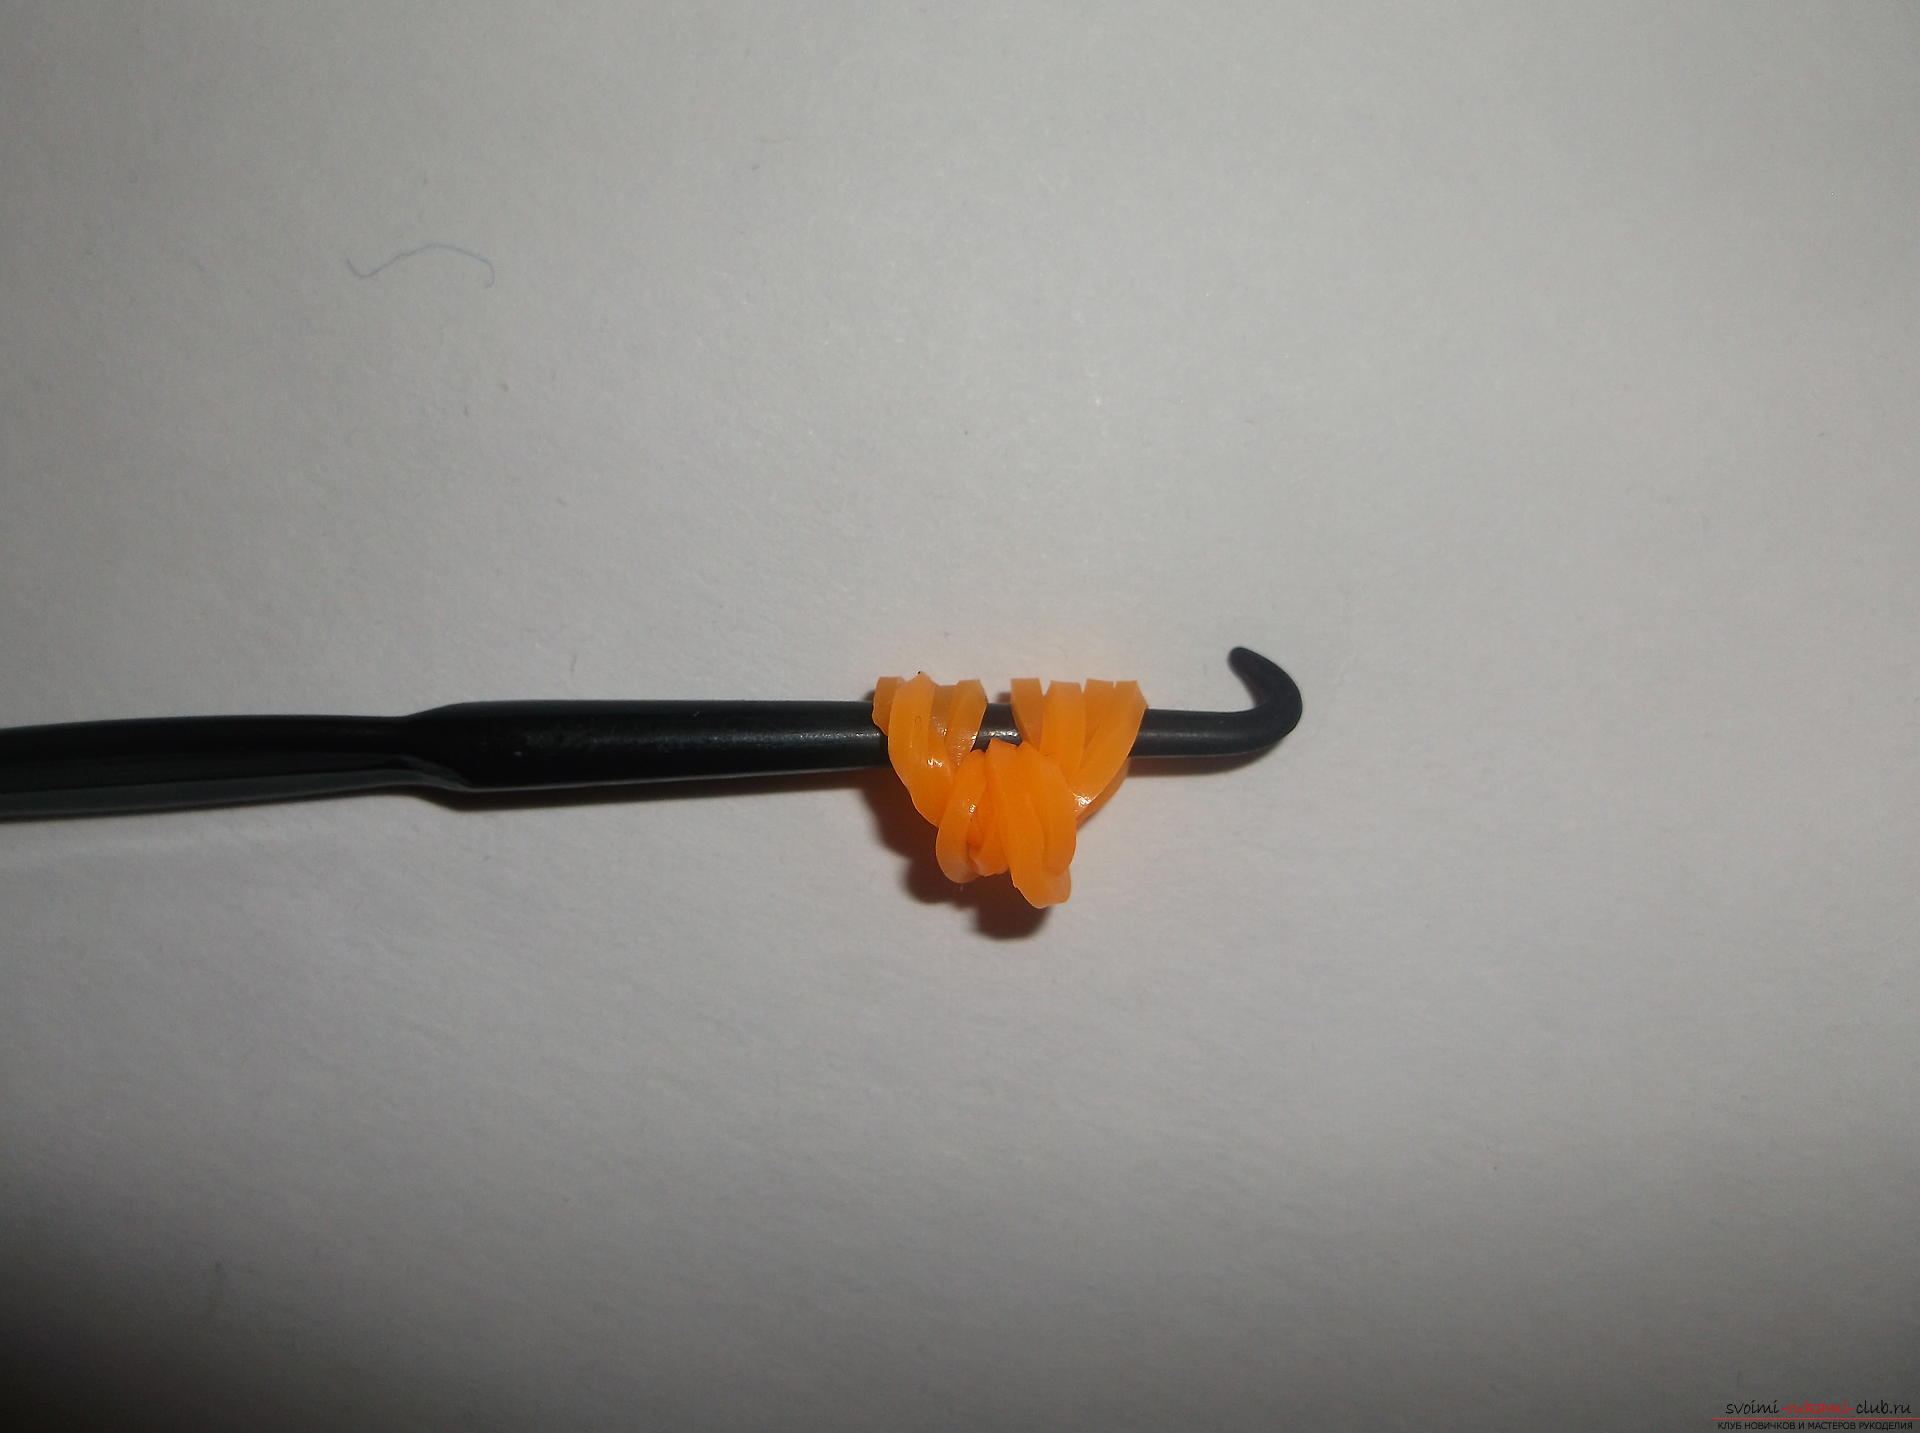 The yellow gum that forms the beak is now worn onhook. Next, carefully remove all the gums from the first column of the middle row and throw them on the hook. Yellow rubber bands from the hook are put on the rubber bands from the column. Then we put the rubber bands back on the 1st column of the middle row.
  We sketch the next series in the usual way. On the 1st column of the middle and left row we throw a white elastic band, on the first column of the middle and right rows, too, white, and on the remaining black. Hook off the bottom two elastics from each column. We throw a new series just like the previous one. The colors are the same. We remove the two bottom bands from each column. Then we catch all the gums from the third column of the middle row and stretch them to the fourth column of the same row. Note that when you stretch, a triangle of rubber bands is formed over the third column. We put them on this column.
 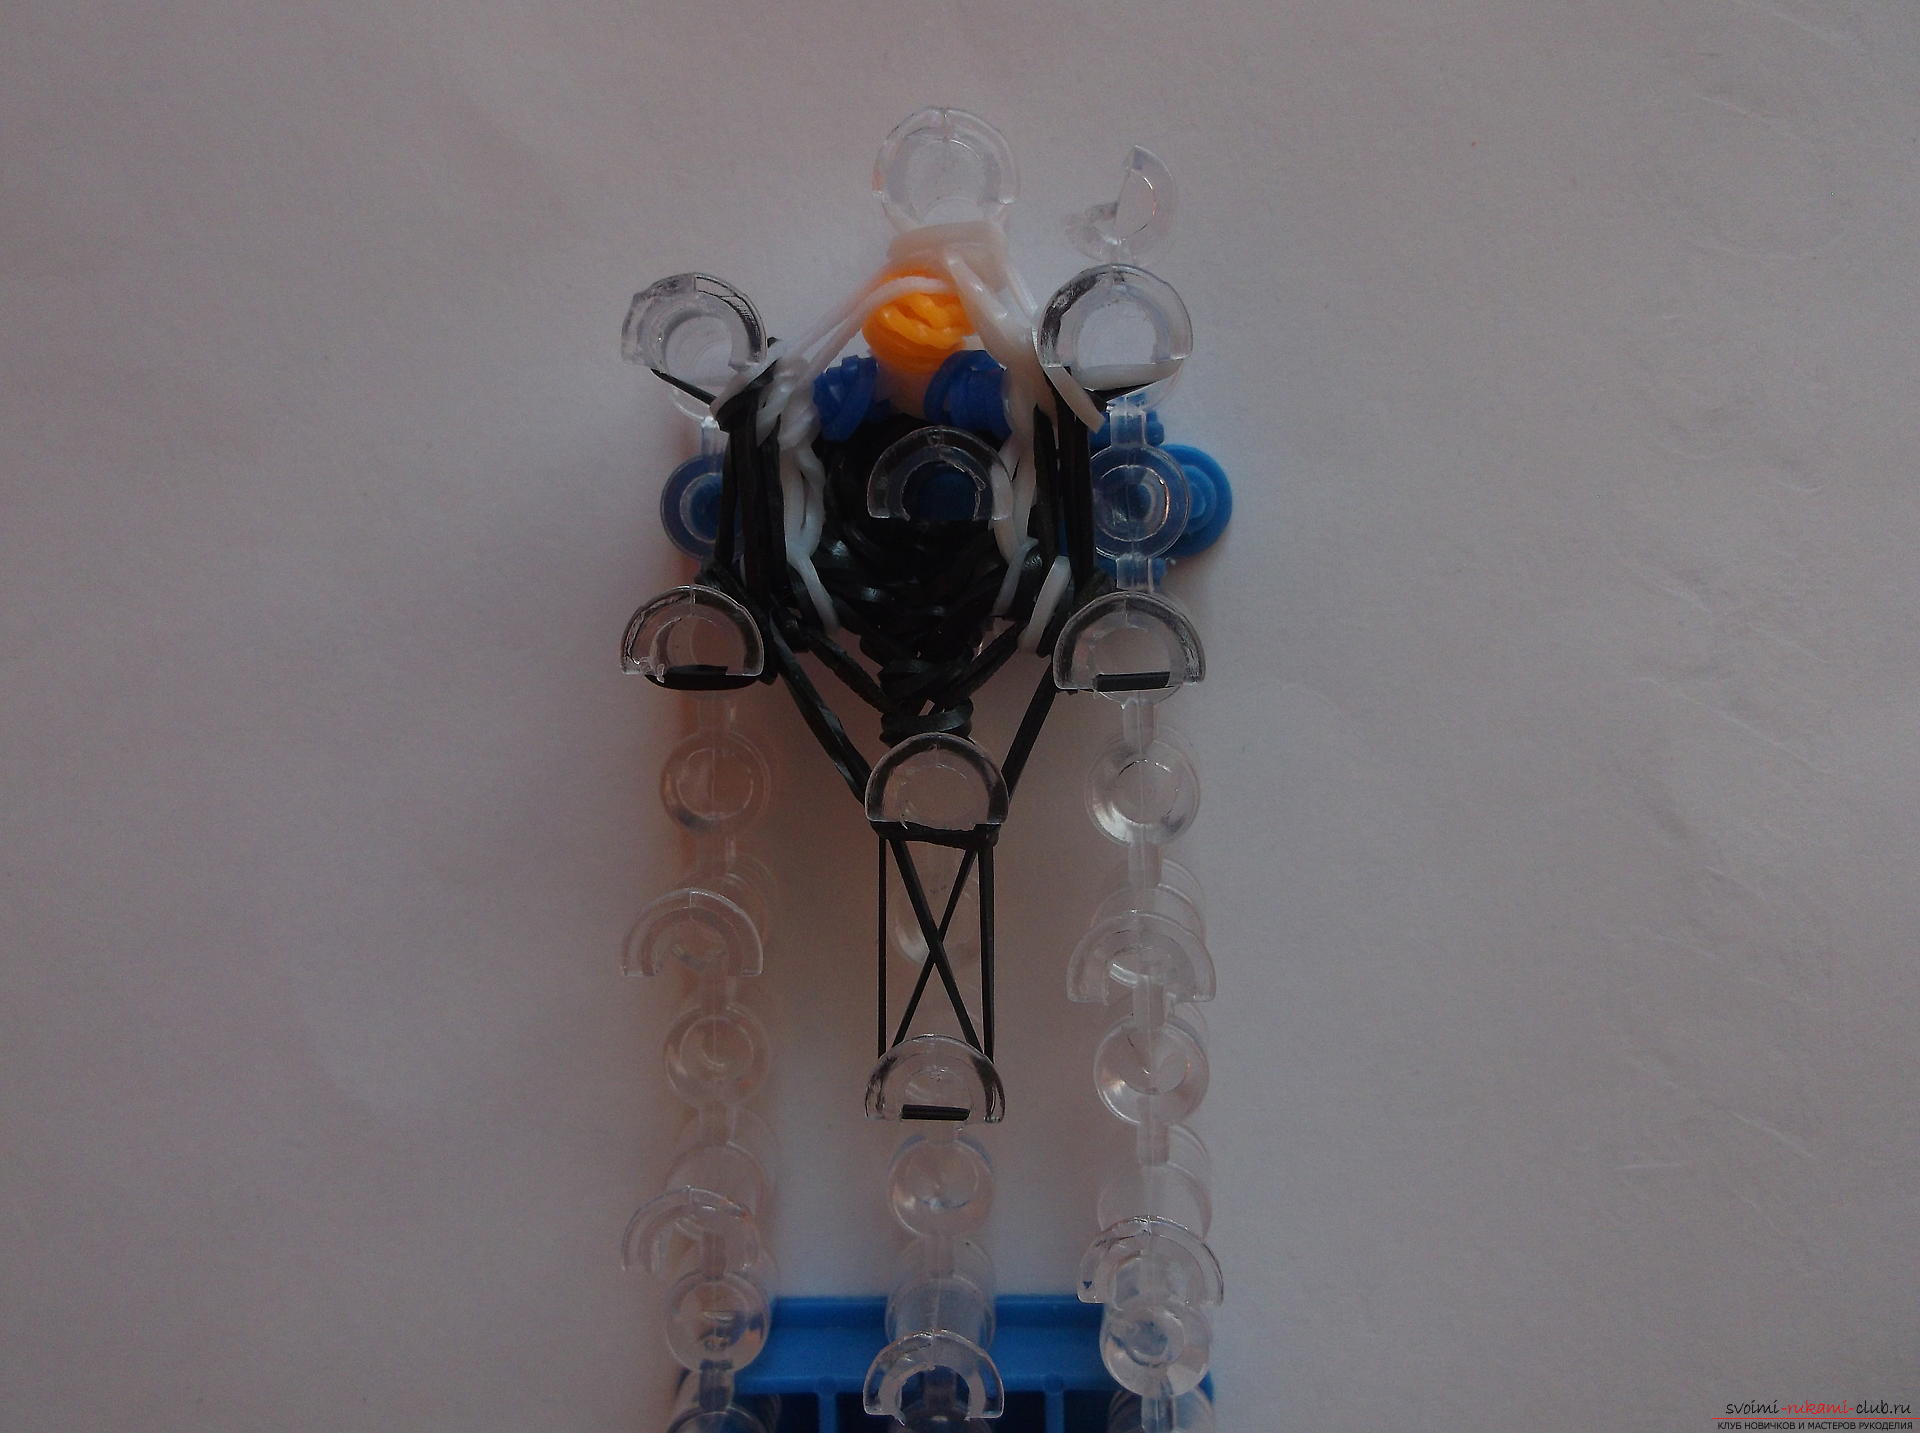 Now, on the second column of the right row, we find the gum that comes from the first column of the same row. Drag it to the 3rd column of the right row. The same is done with the left side.
 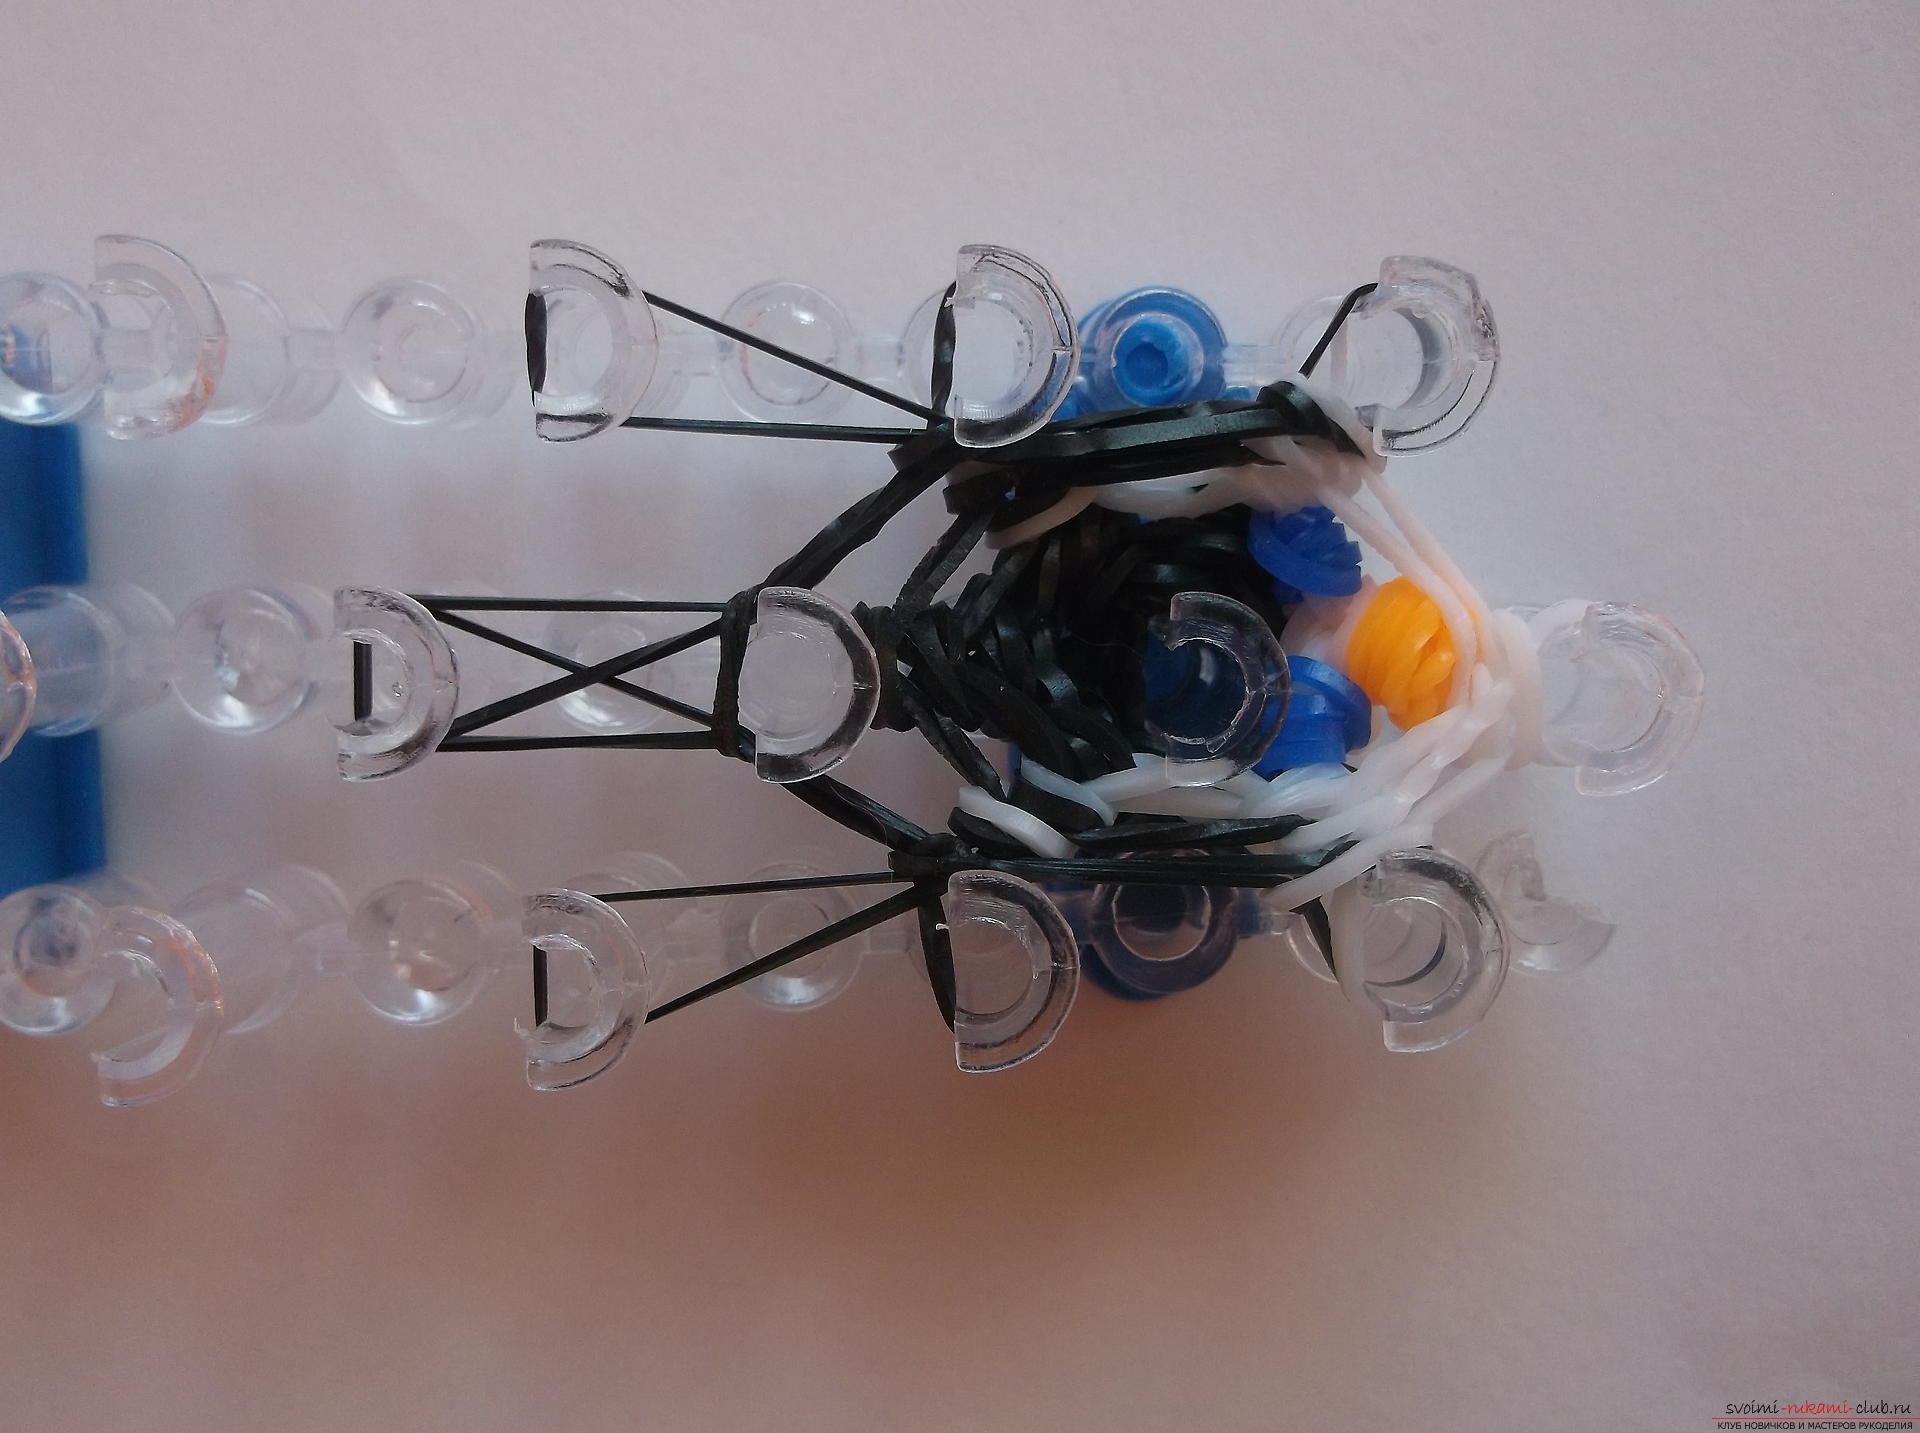 So we made an increase. Next, we throw a new row. On the 1st middle and 1st right we throw a white elastic band, on the 1st middle and on the 1st left also a white rubber band. On the 1st and 2nd right we throw a black rubber band. On the 2nd and 3rd, we throw a black rubber band. On the 3rd right and fourth middle - black. The fourth middle and third left are also black. On the 3rd and 2nd left columns, too, we draw a black one. And on the 2 nd and 1 st left black. We remove the bottom layer so that on each column there are two top gums left.
 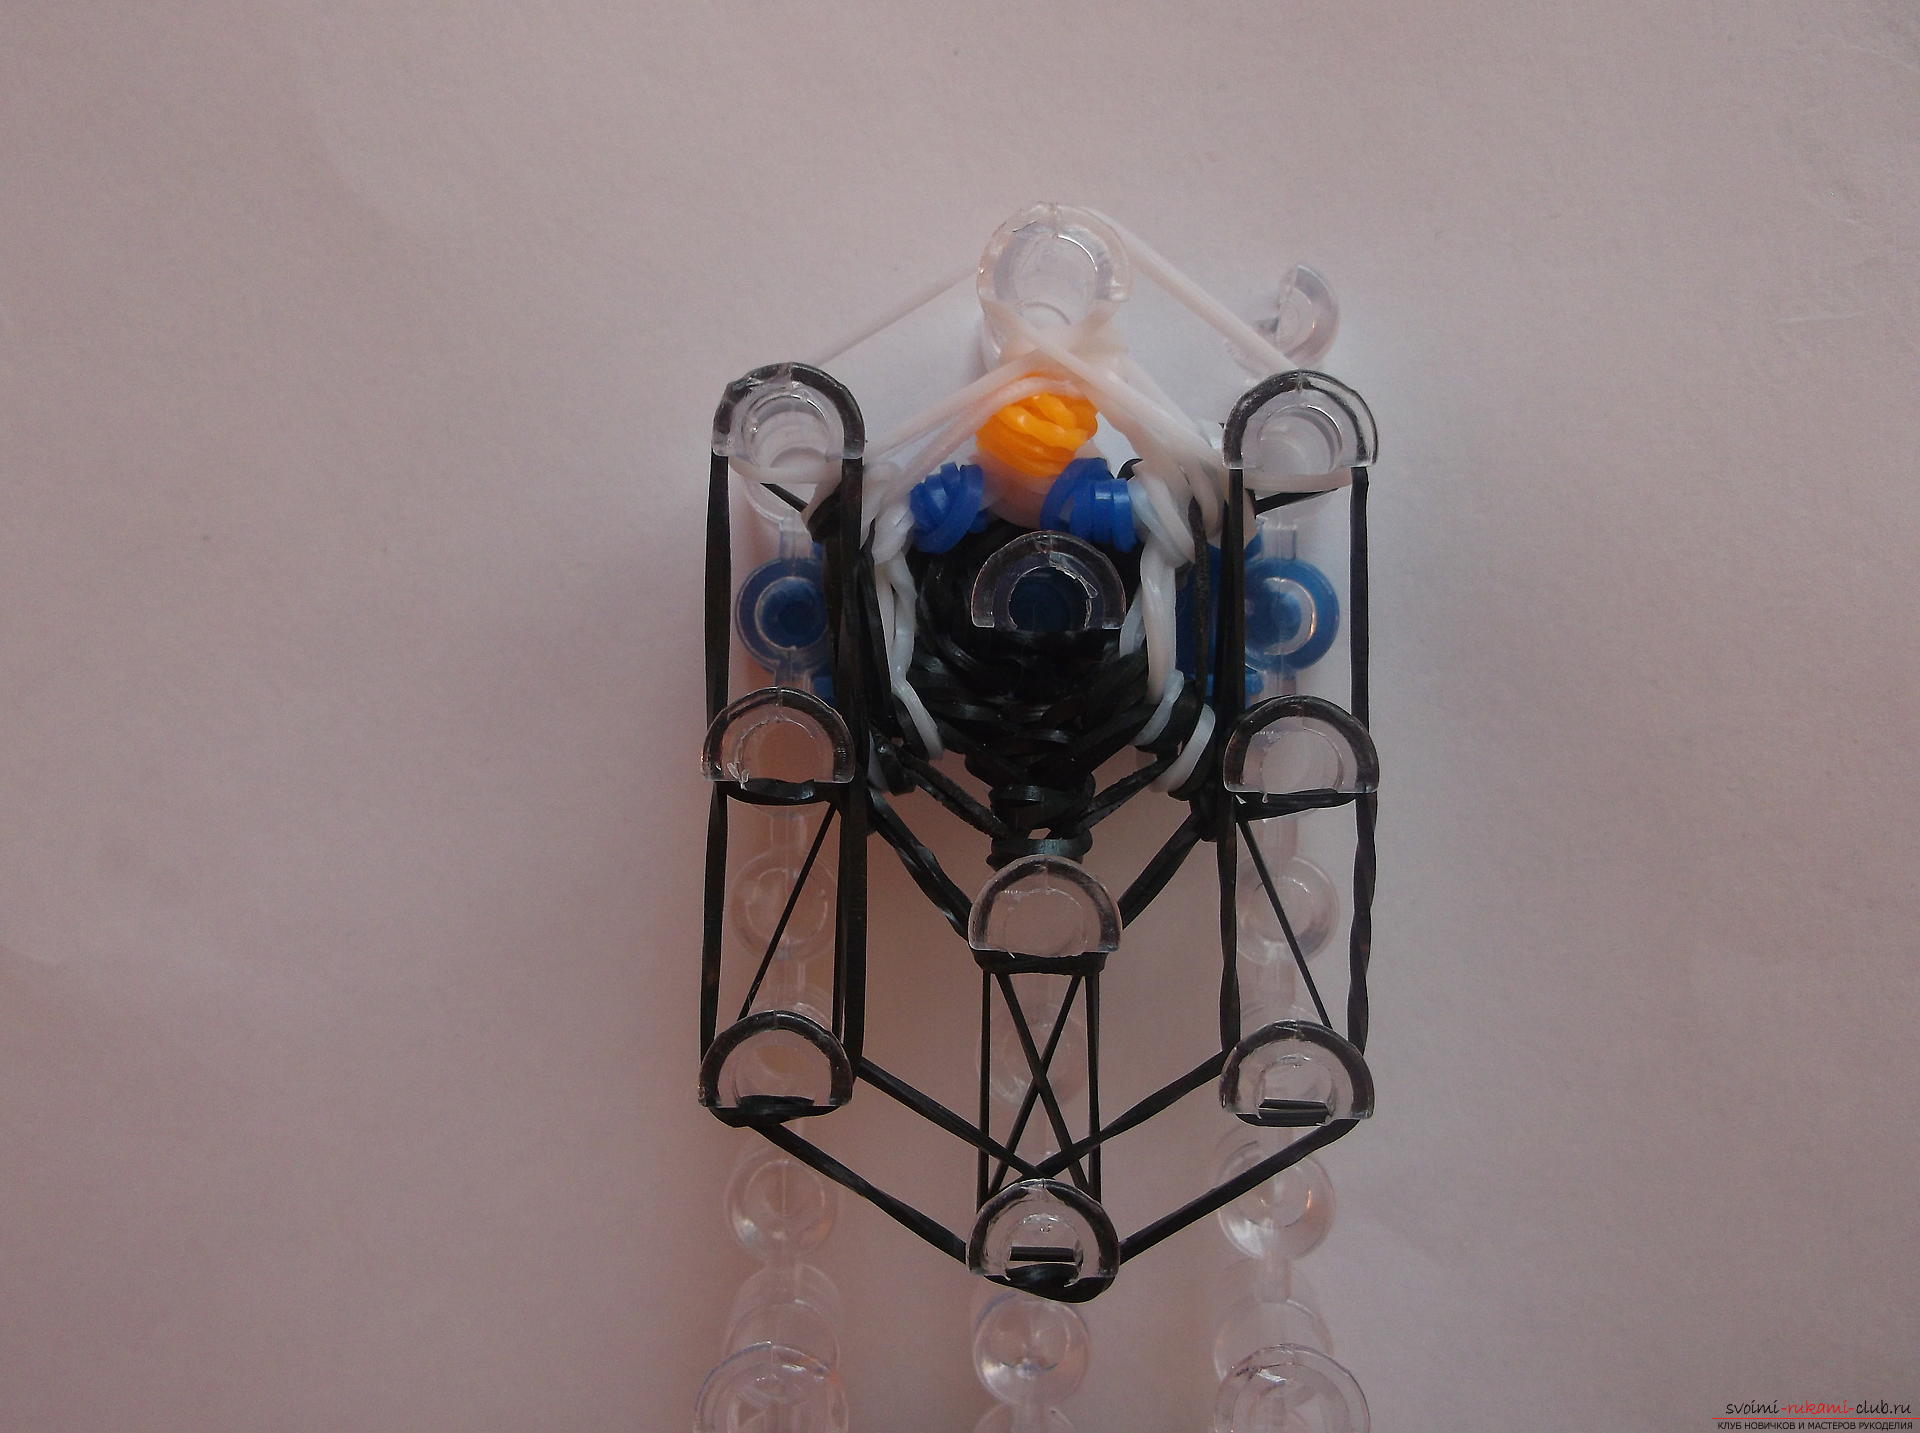 We put the machine away for a while. We need to make wings. To do this, gum black color on the hook three times and place it on two rubber bands in black. We throw on the hook three rubber bands in black and place all the elastic bands from the hook on them. We pass all the bands from the hook through one black one. So do it twice. At once we will make paws. One rubber band of yellow color is wound on the hook three times. We take another rubber band of yellow color and do the same. Now we put all the elastic bands from the hook on two rubber bands of yellow color. Next, all the elastic bands from the hook are placed on one rubber band of black color. One foot is ready. In the same way do the second.
 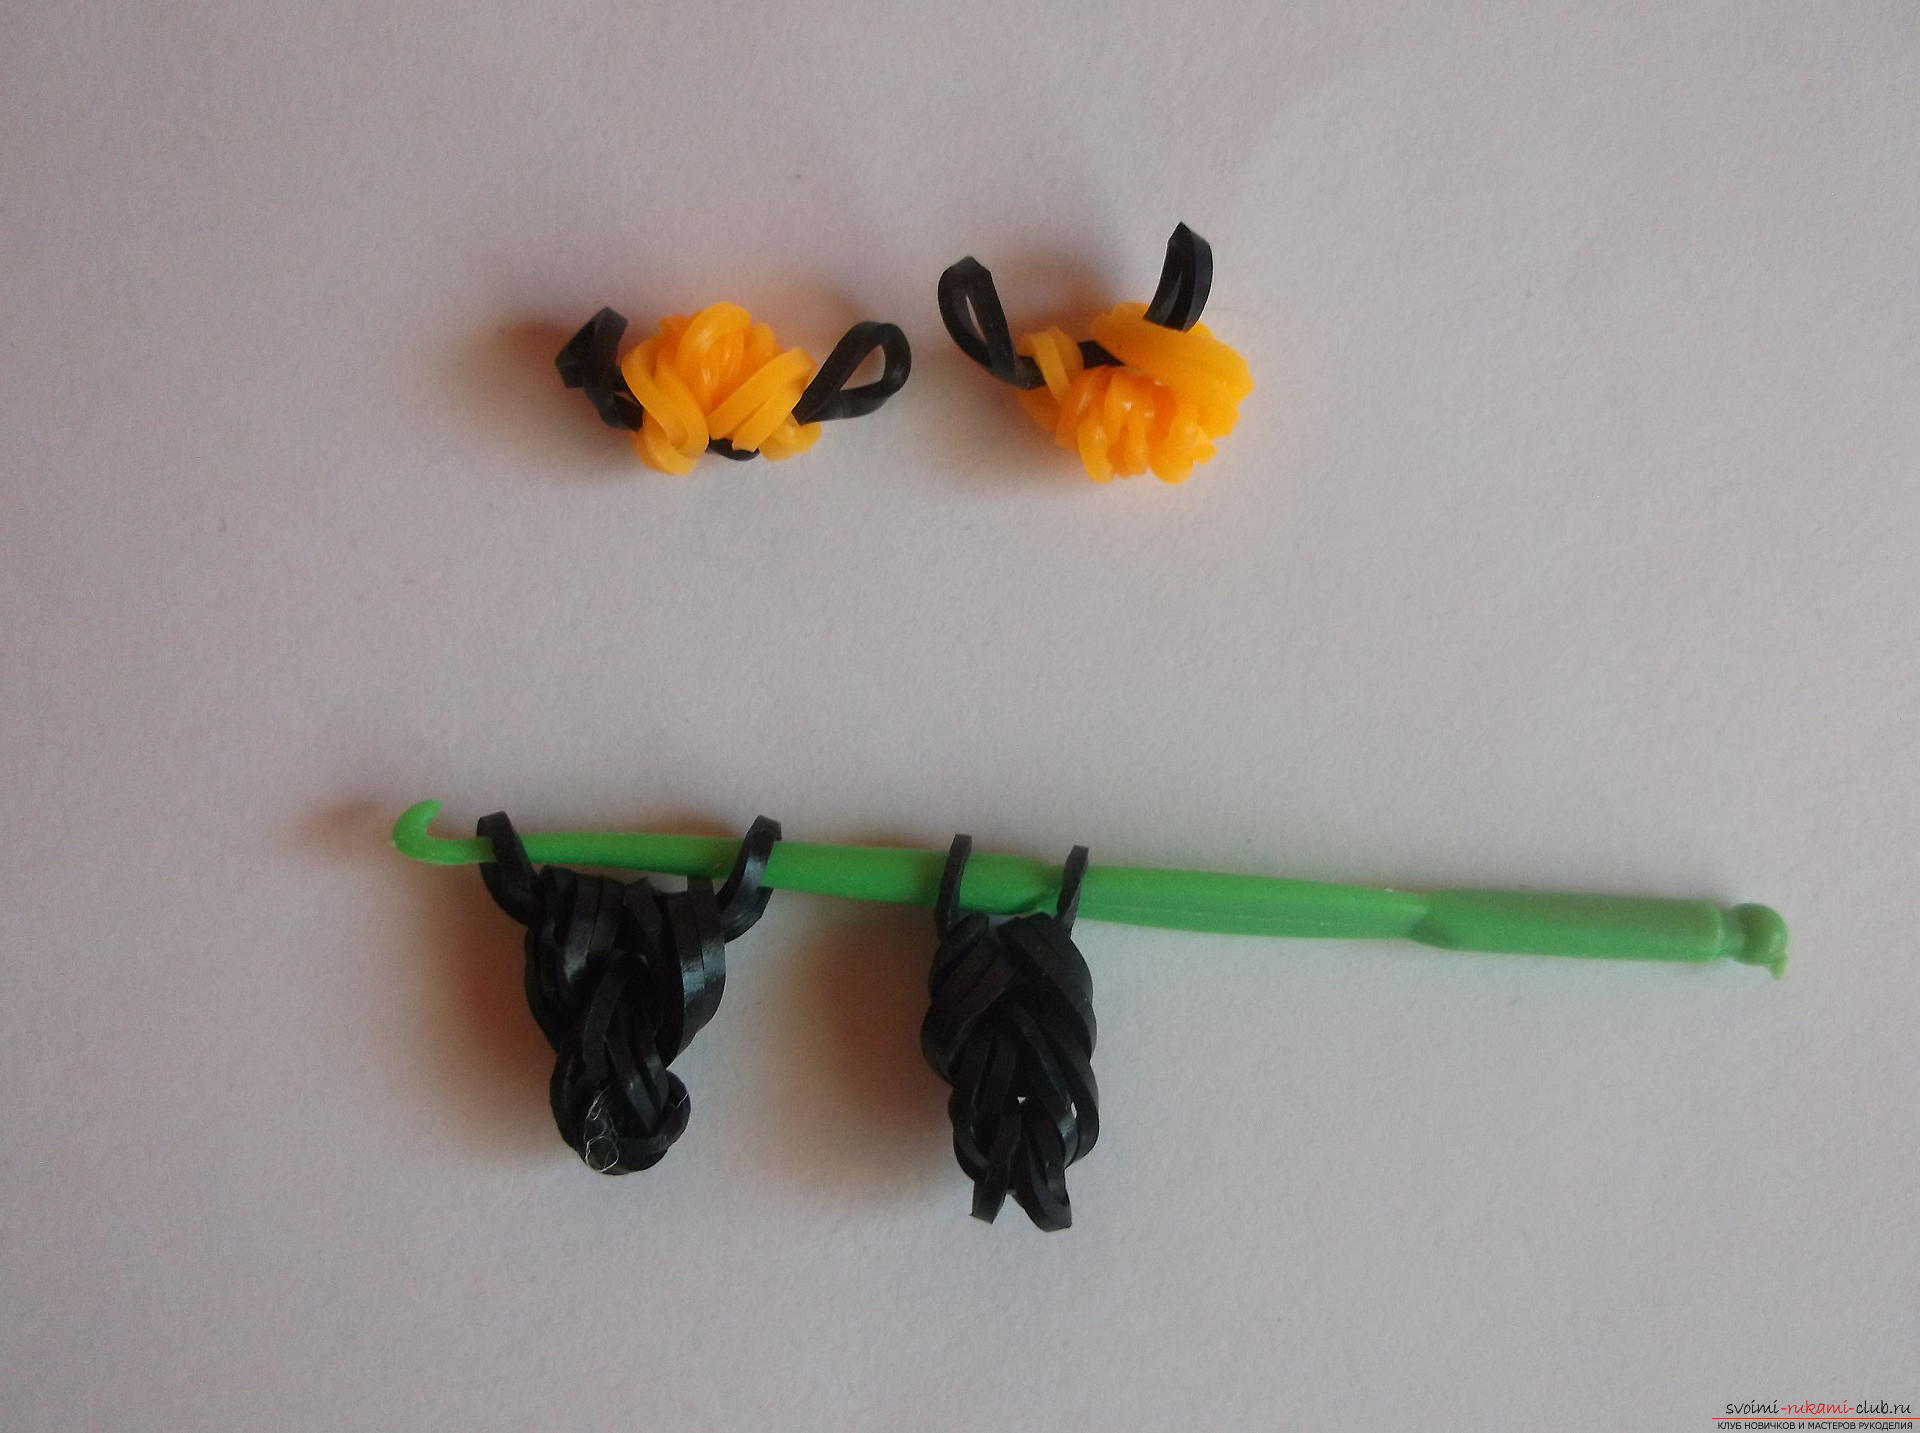 We put on a new layer. On the first columns again put on white gum. Now take the winglet and put it on the 1st and 2nd columns of the left row. The second wing is put on the 1st and 2nd columns of the right row. On the remaining columns, as usual, we put on one rubber band of black color.
 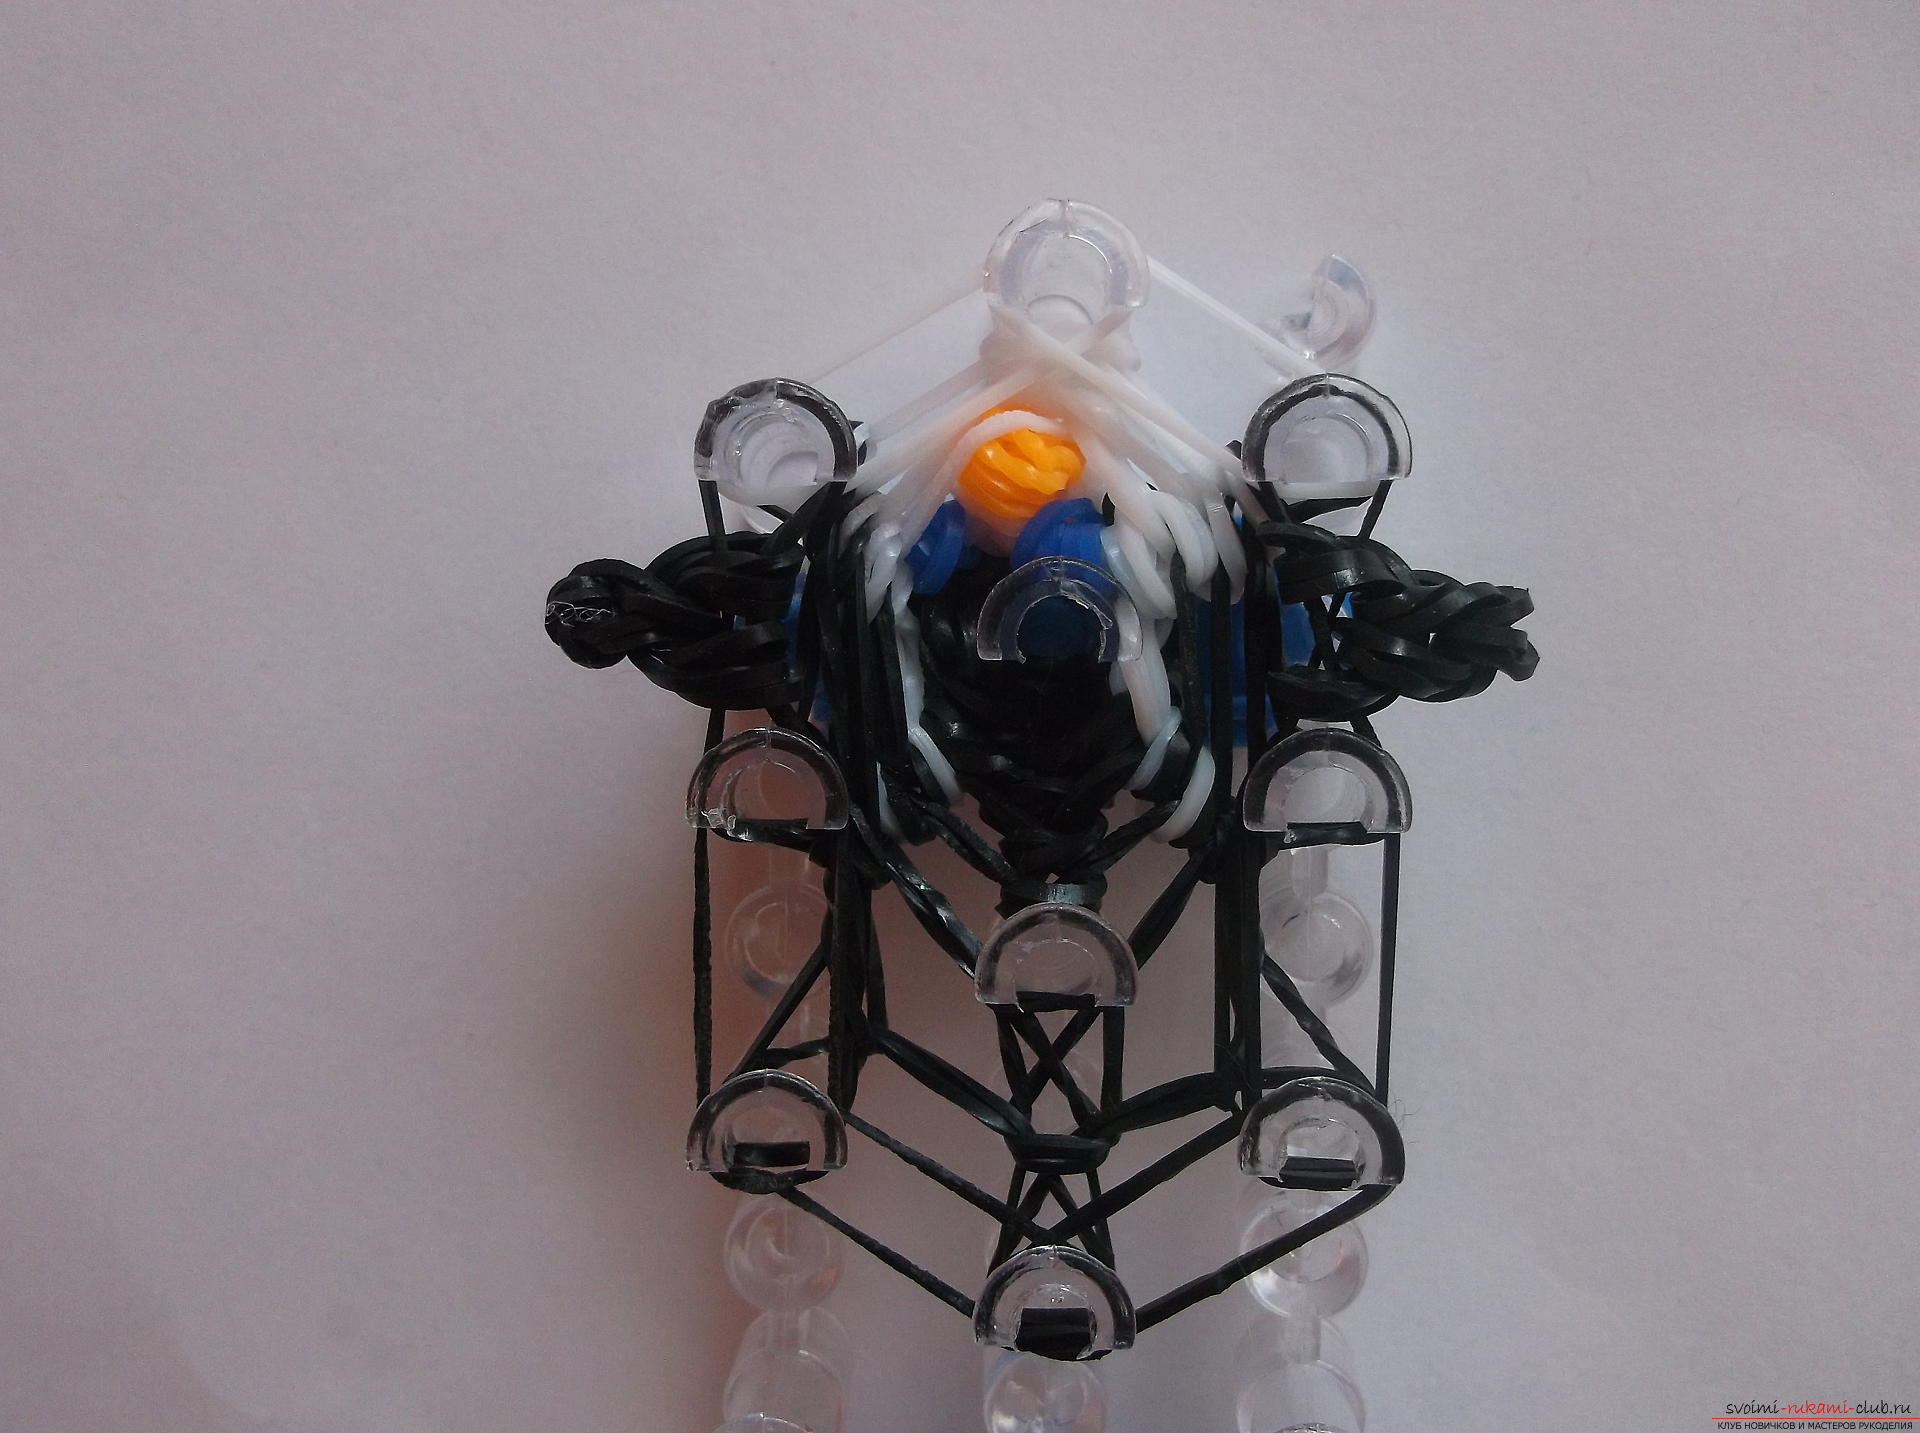 Remove the bottom layer. We check that each time after removal, we have two gum sticks on each column. Draw a new layer. Now put on the white bands on the first columns, as in the previous rows. And two more white bands are put on those columns on which wings were put on. On the remaining columns we put on black rubber bands.
 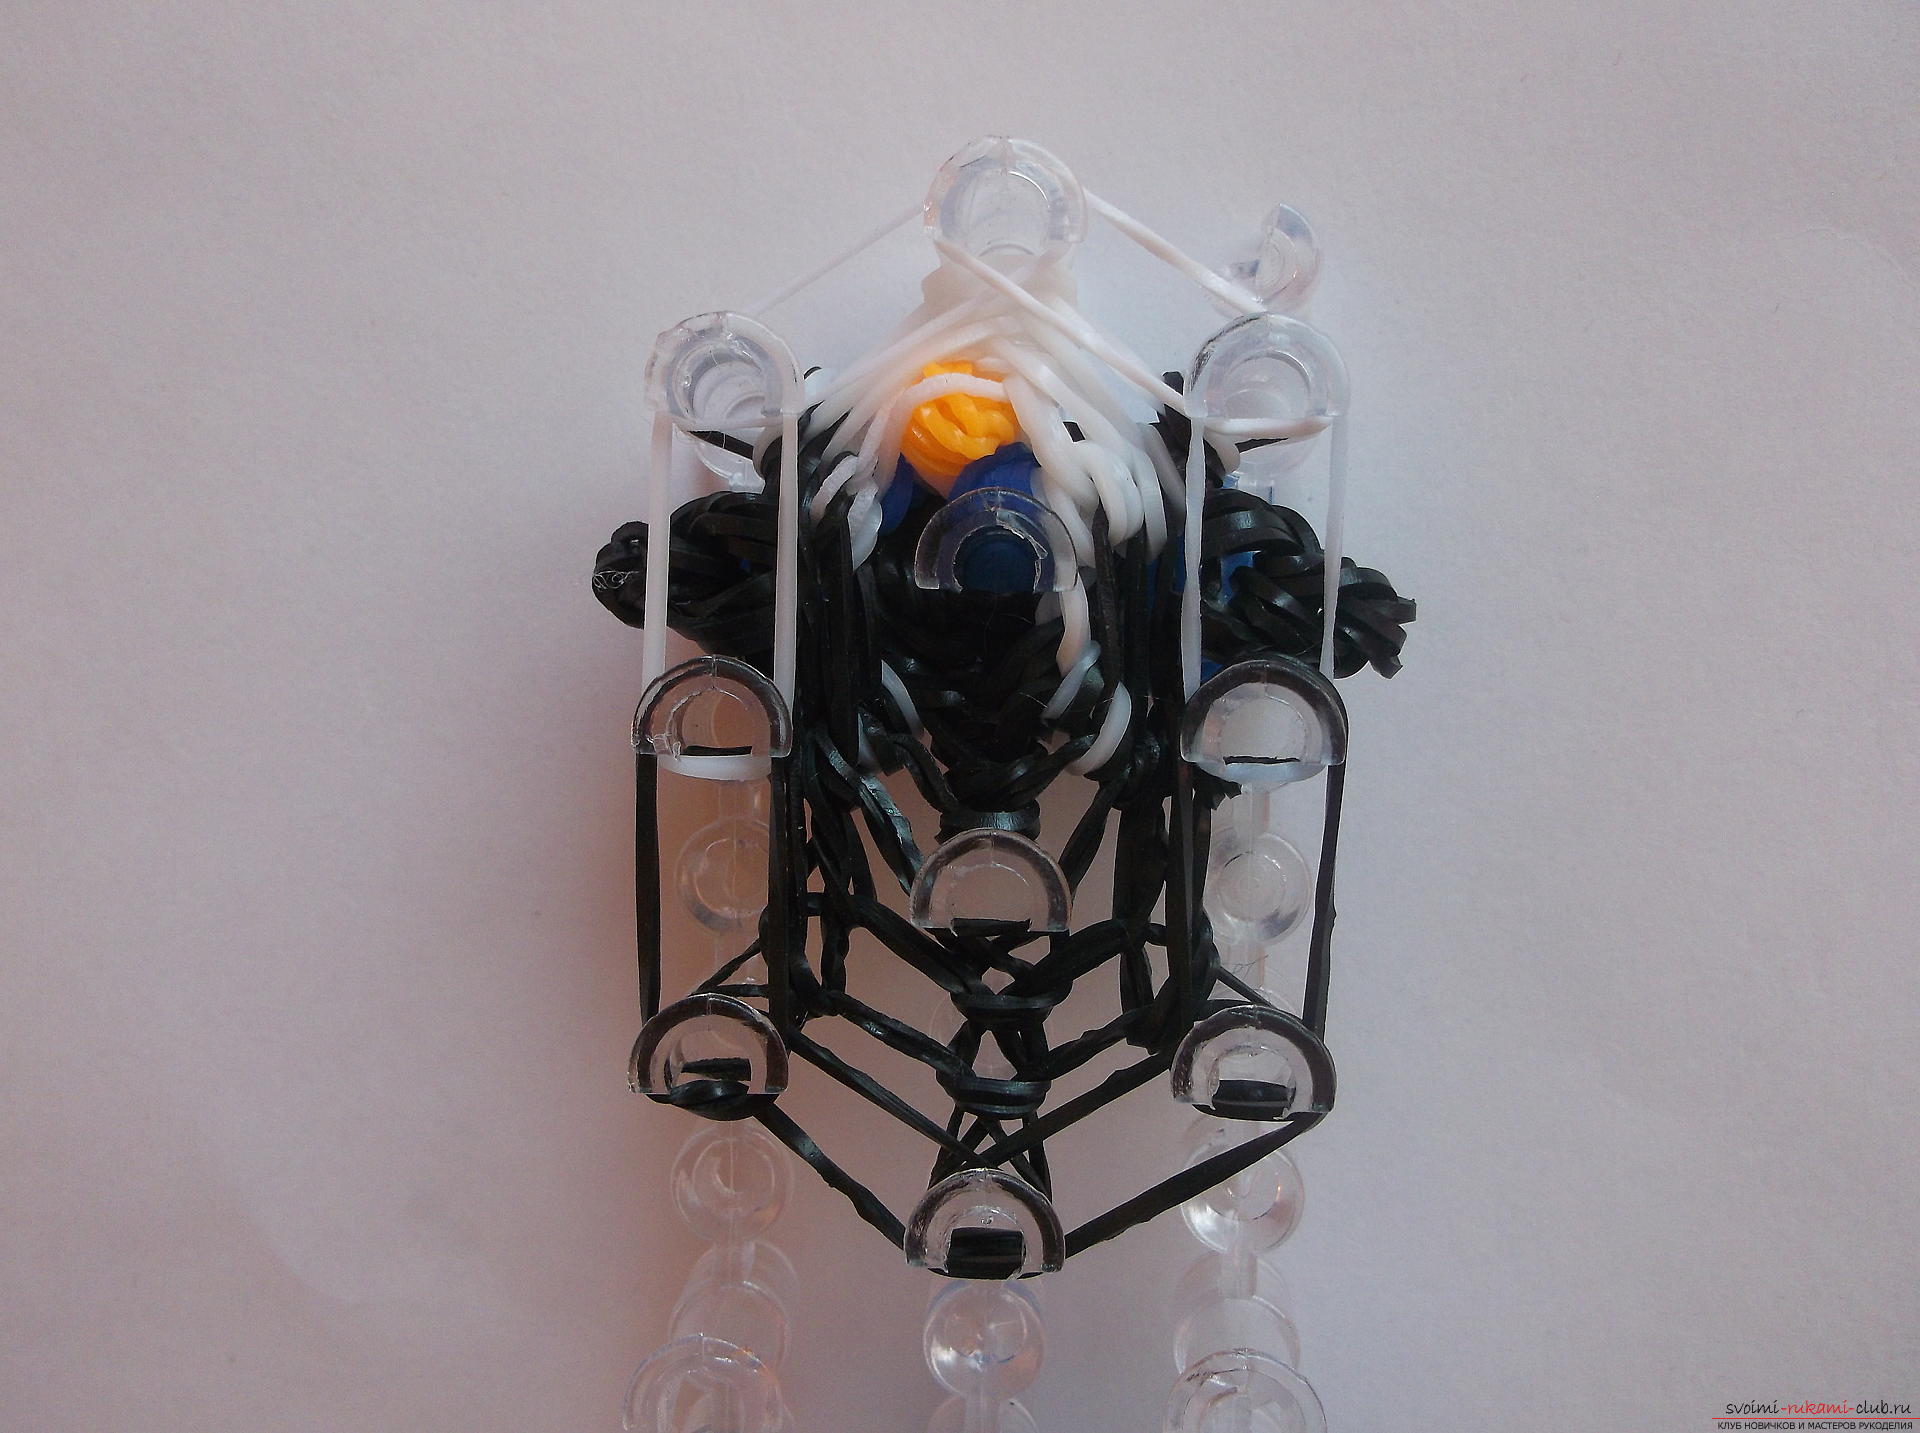 Again, remove the bottom layer from each column. The next row is sketched in exactly the same way as the previous one. Again, remove the bottom layer. The new series is formed by black rubber bands, that is, we will only cast black gums on all the columns. Remove the bottom layer. We put the paws on the first column of the middle and right rows and on the 1st column of the middle and left rows. We throw black gums on all the other columns.
 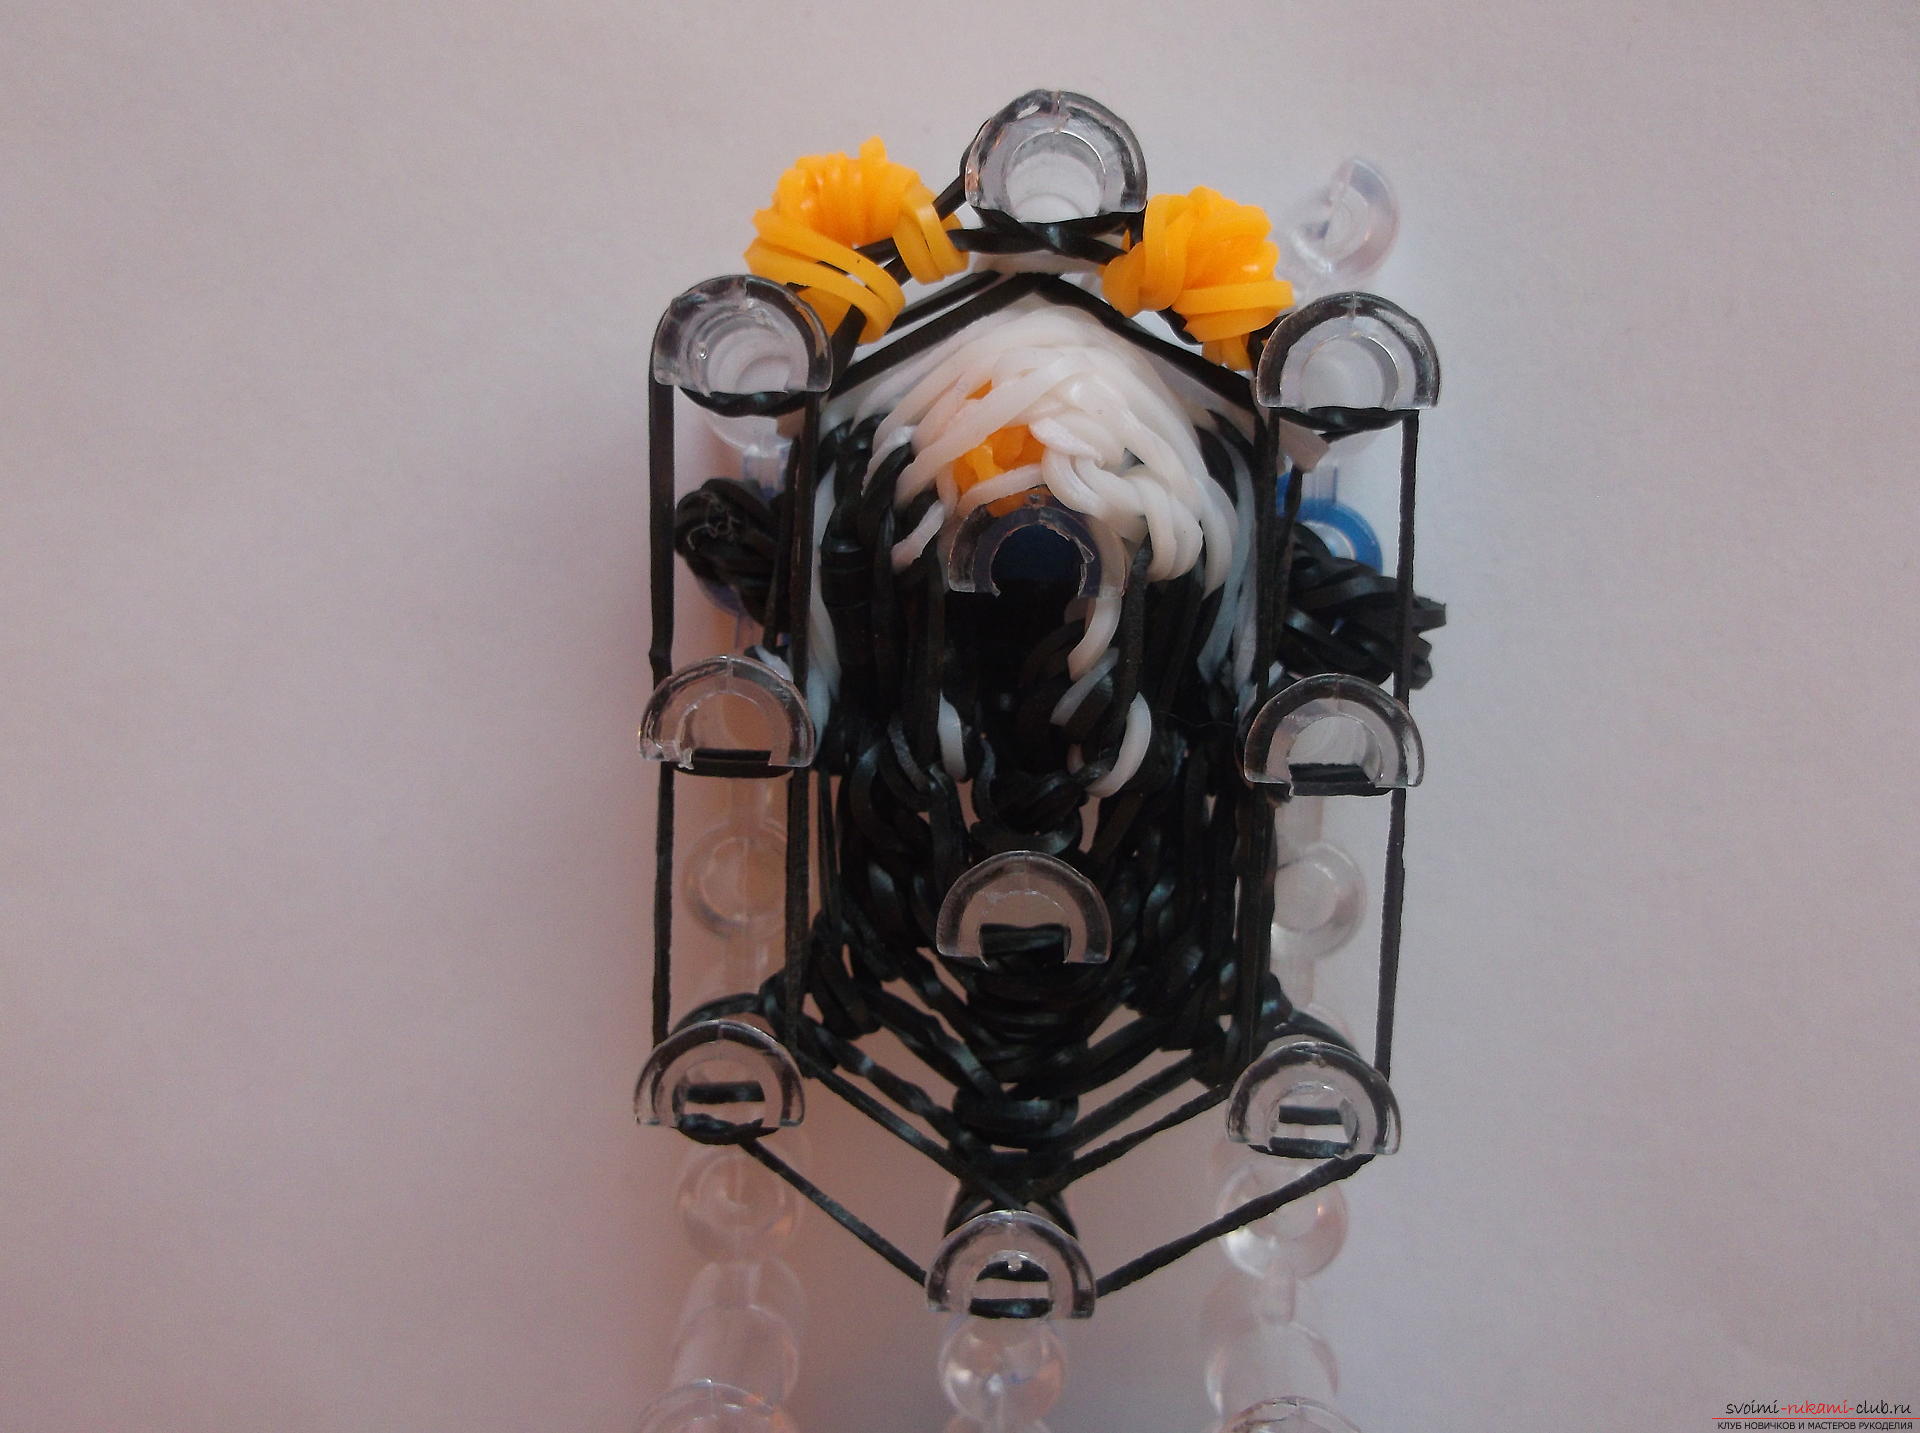 As usual, we remove the bottom layer. The penguin is ready, it remains only to remove it from the machine. To do this, we collect all the elastics from the columns to the hook.
 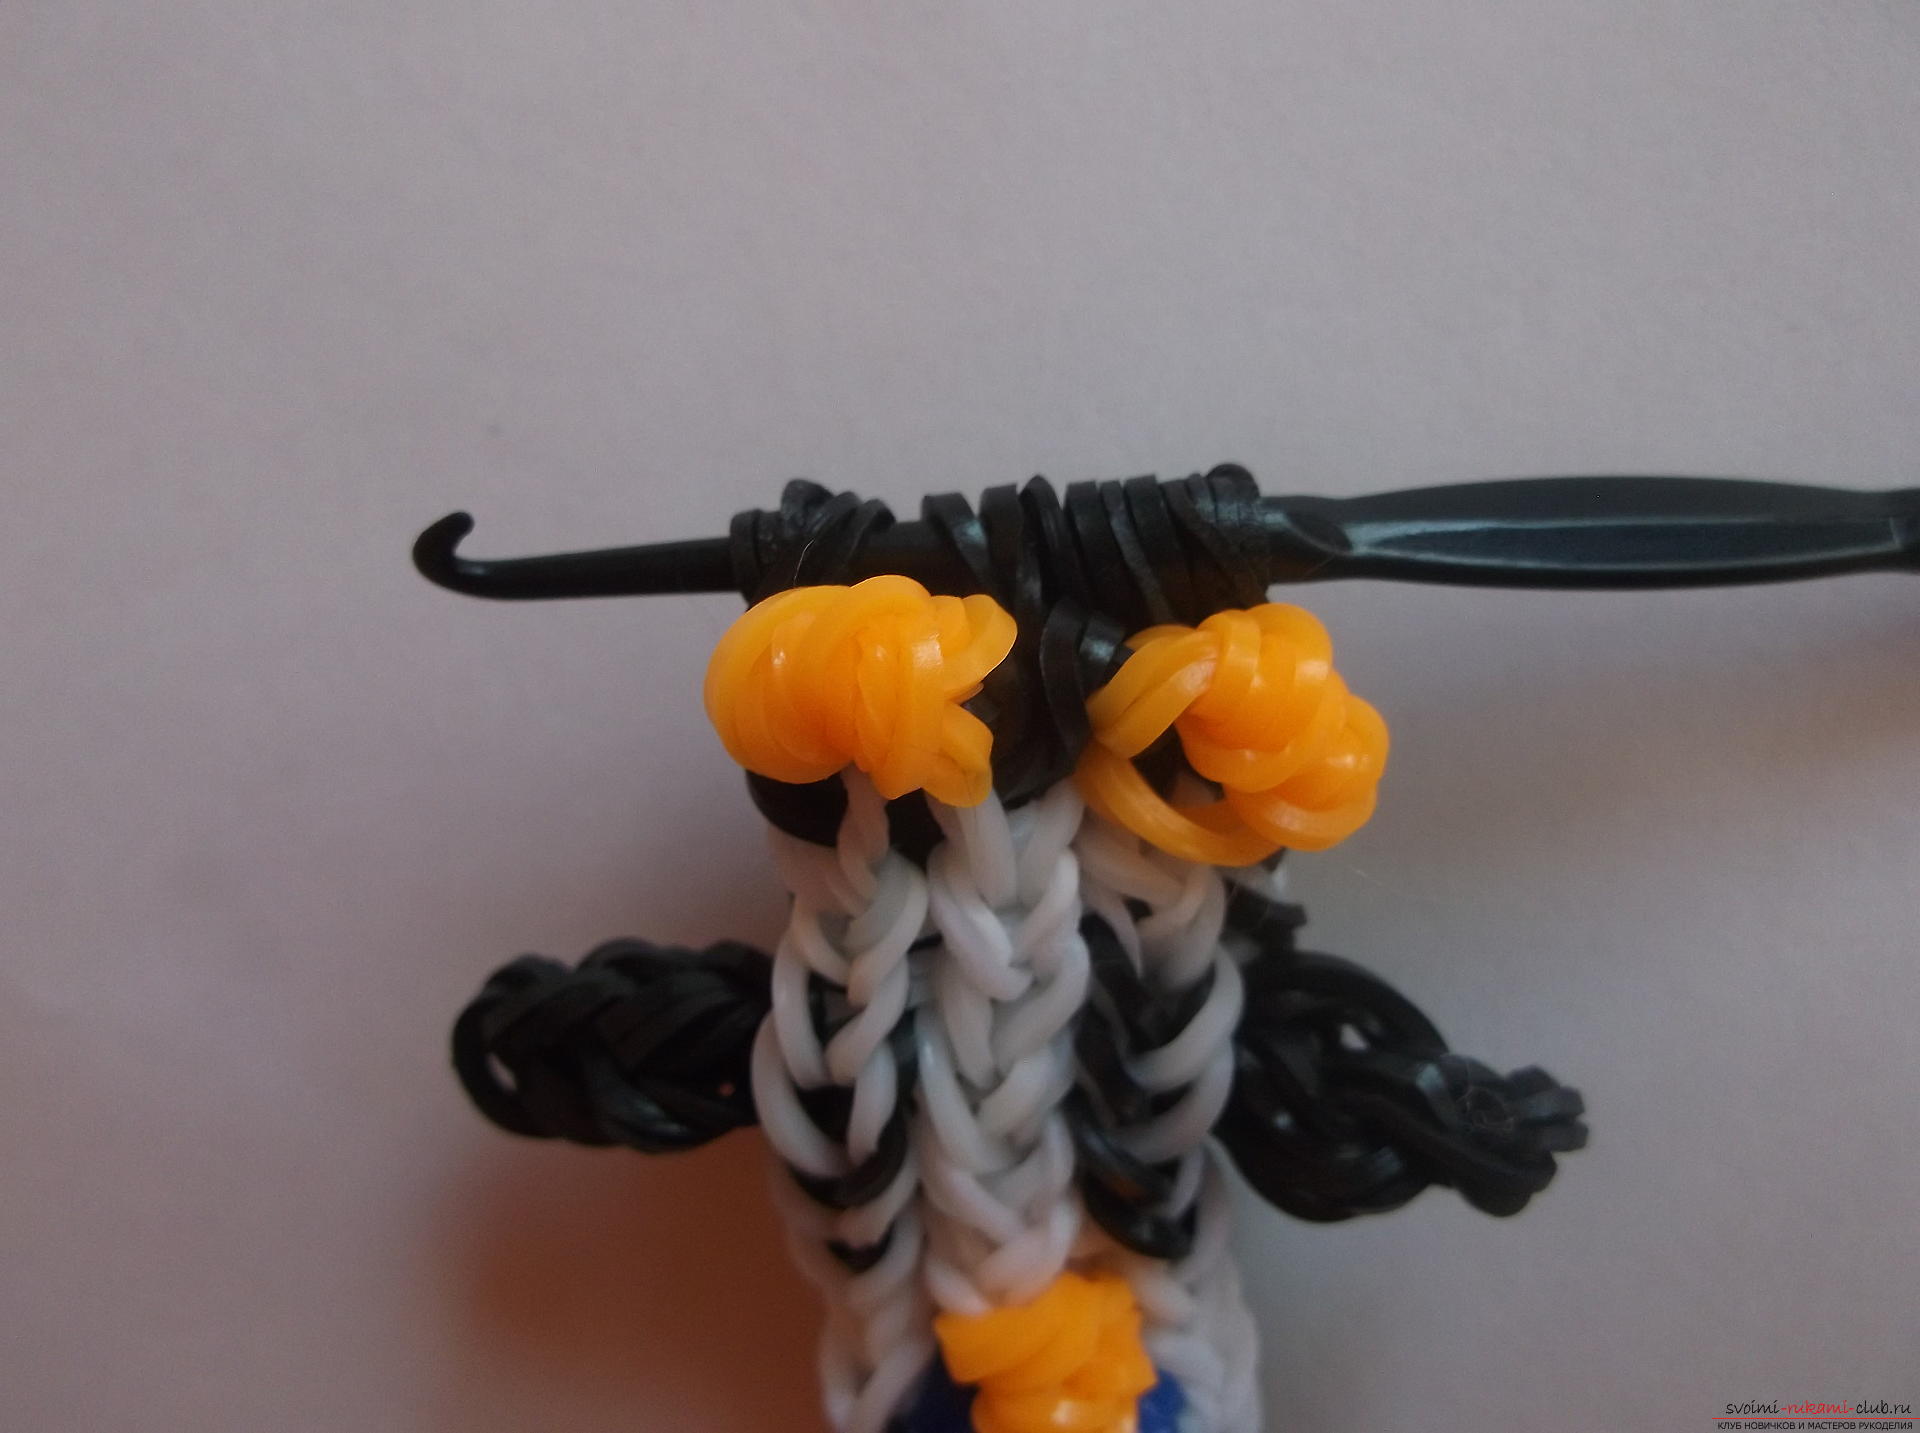 Through the hole below we fill the sintepon. Next we put all the elastic bands from the hook onto one black rubber band. We put the second side on the hook and pass through the first one. A knot is formed. We tighten it. Using the hook, push it inside the penguin. That's such a wonderful penguin turns out!
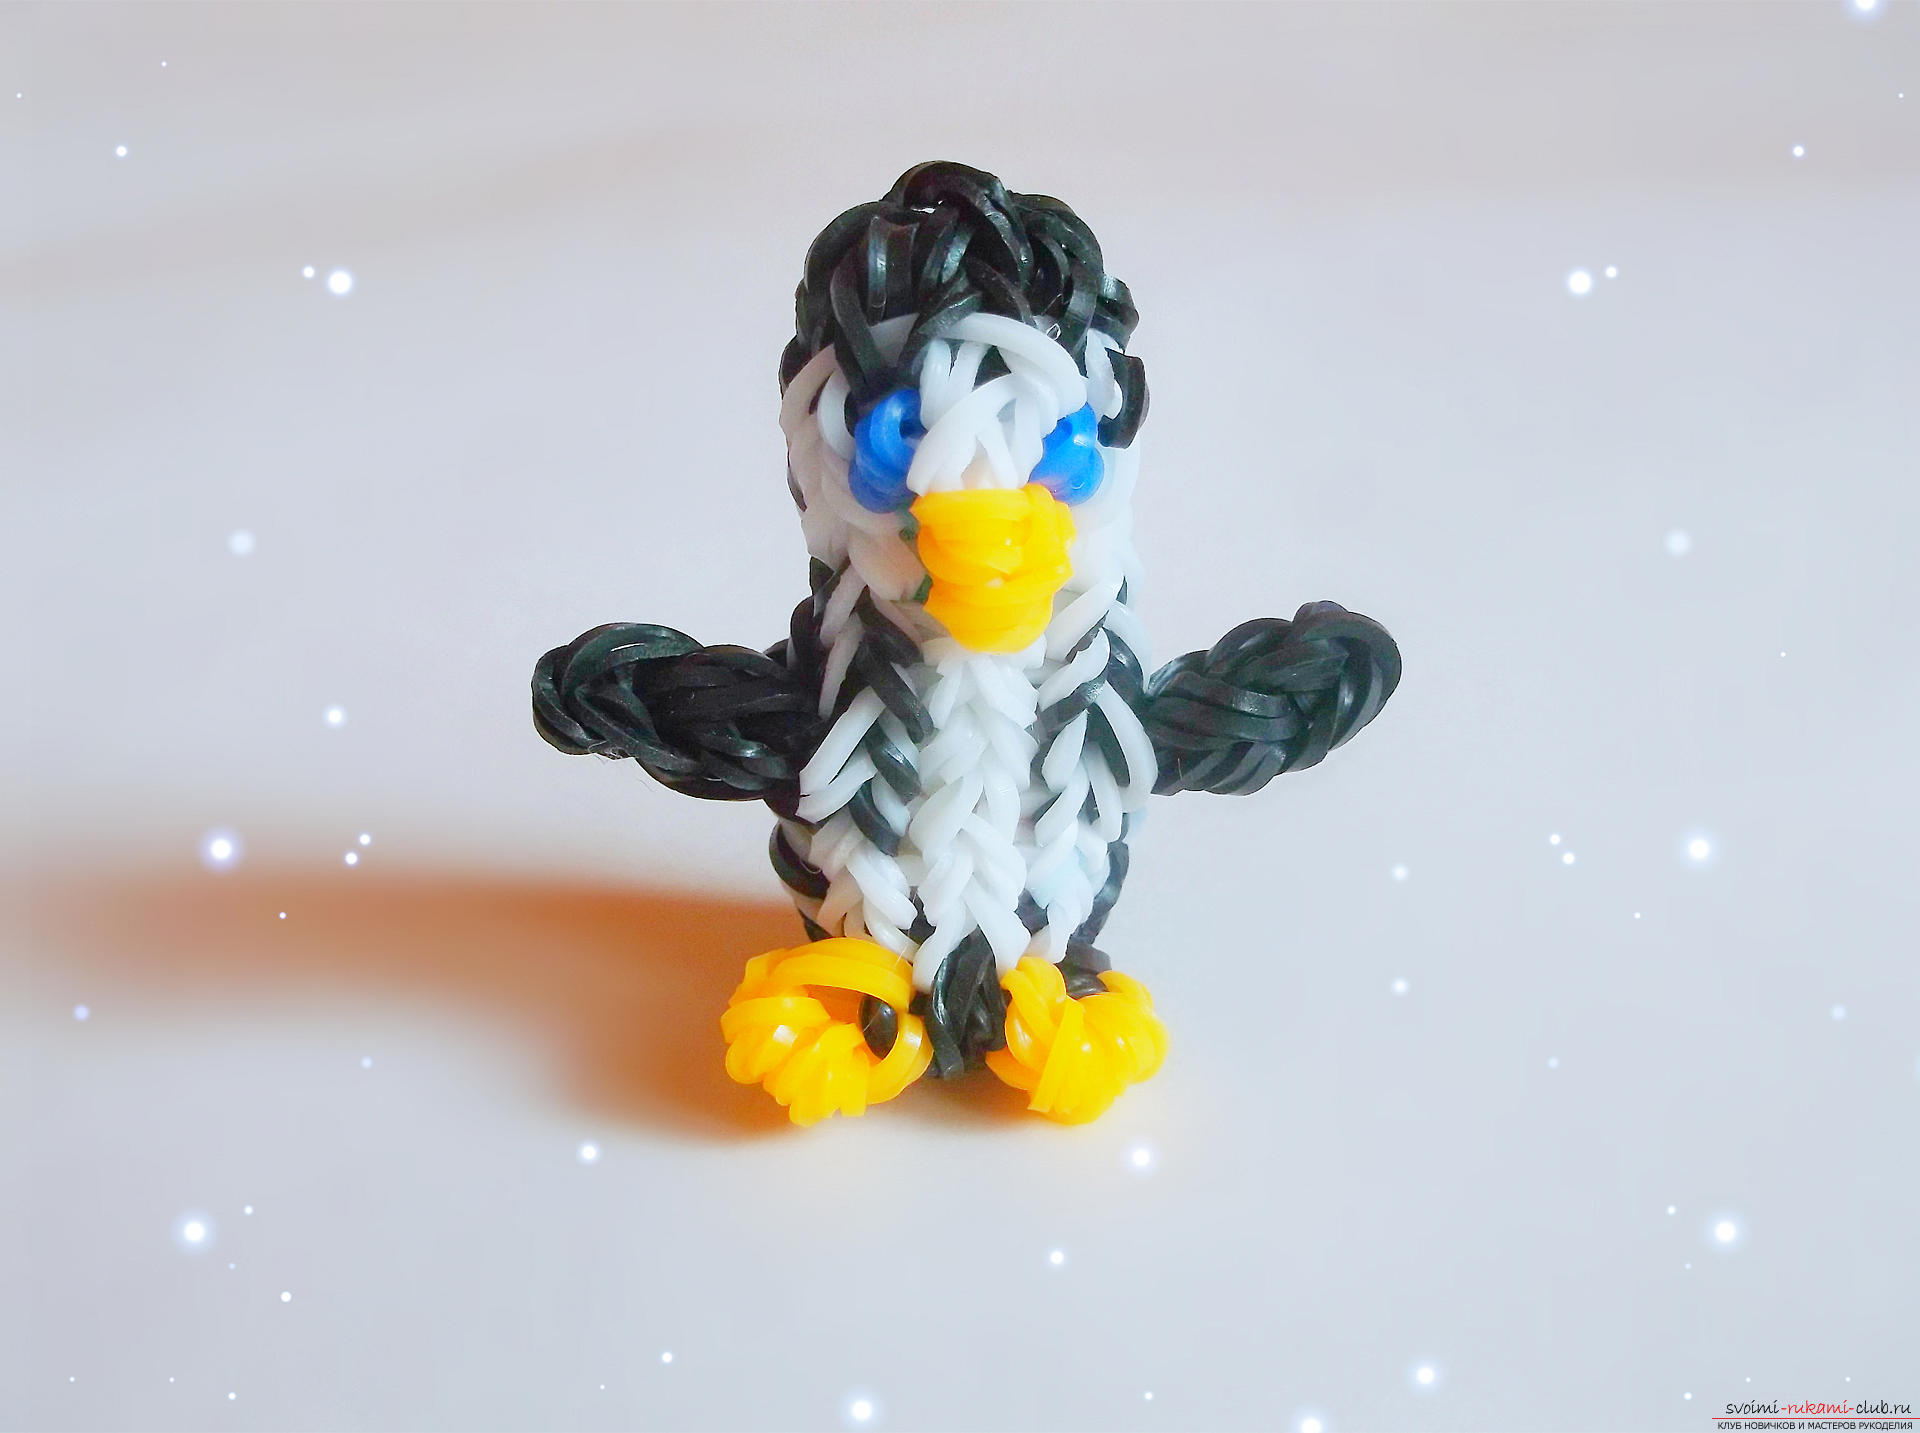
Comments
Related posts:
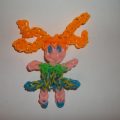 How can we weave a small toy "Red-haired girl" out of multicolored rubber bands? Detailed description of the process of weaving, a list of necessary materials and step-by-step photos
 We make a toy "squirrel" with our own hands. Just out of wool we make a soft and sweet toy for your baby
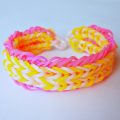 How to weave the original bracelet from the rubber bands "Houston". Step-by-step recommendations, description of technology and photos
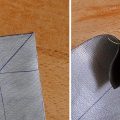 Lesson on making a stool with a dermatine seat with your hands, step by step recommendations and photos
 Master-class on weaving from elastic bands will teach how to weave hearts with our own hands