The development of Kansas technique for beginner needlewomen, a detailed lesson with photos and descriptions.
We all like beautiful and originalornaments and accessories. And when such an ornament is created by one's own hands, then its uniqueness and uniqueness increases even more. To make a unique thing with your own hands, even a novice needle-worker can, if you carefully study the material of this article on mastering the technique of Kanzash. Here we will detail about all the details of this process.  First let's determine what "Kanzash" is. This Japanese word has no literal translation. It is commonly believed that it is formed from 2 separate words: "kami" and "sasu". The first word in translation means "hair", and the second word is read from Japanese as "sticking". Thus, one can understand that Kanzas are different decorations for women's hairstyles. However, in fact, this term is understood as an art form, the essence of which is to create all kinds of accessories from ribbons, beads and other elements. Today, with the help of this technique, jewelry is created not only for the hair, but also for things, the interior of the house and so on. Where do I start? For beginners, we do not advise you to start immediately for creating something complicated. First we advise you to master the most simple parts in the manufacture. What will you need to work?
 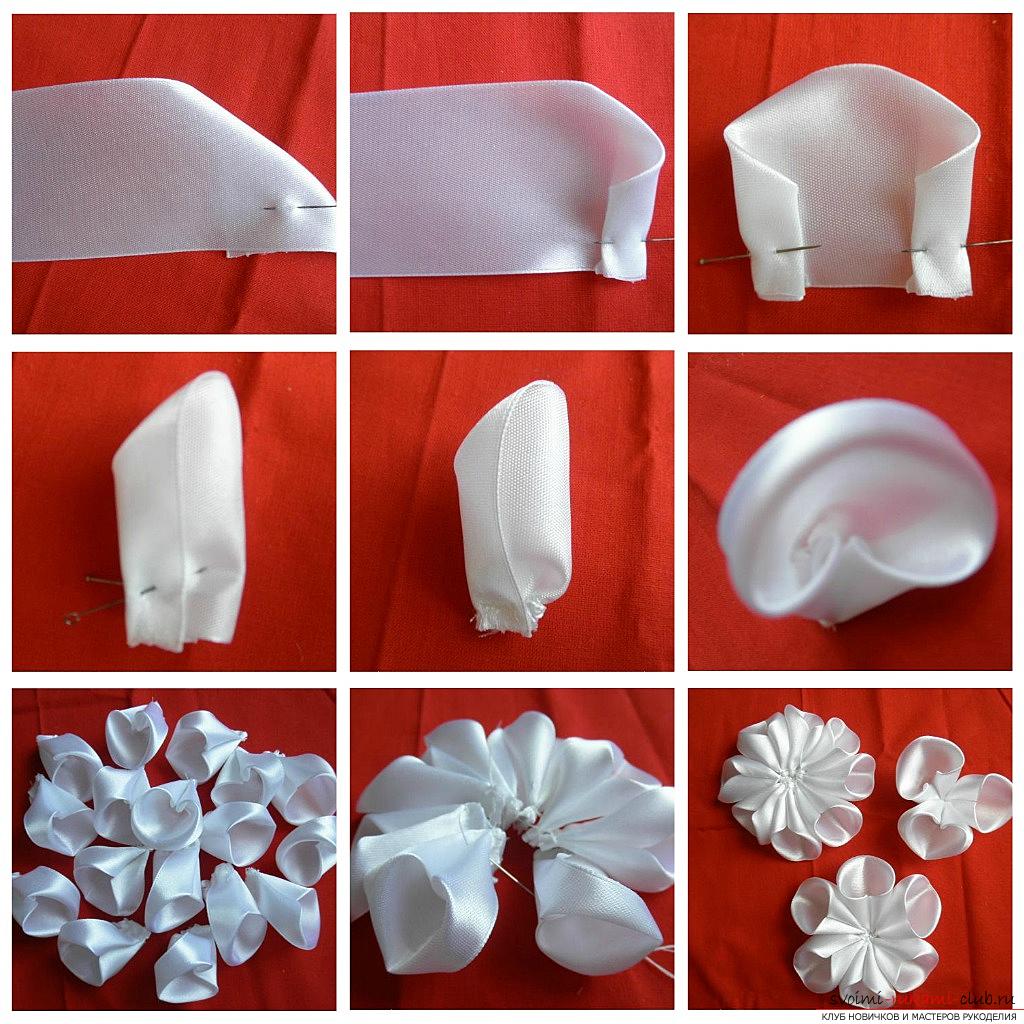 Here is a list of the most commonelements for work in Kansas technique. Here they are: 1. Multicolored ribbons. Experienced needlewomen use ribbons made of satin fabric, crepe-satin, organza. The first of these materials is the most acceptable, since it can be easily melted without deforming a large surface area. 2. Ruler and pencil for working on the fabric. 3. Scissors, which must be very sharp. 4. A candle or a lighter to handle the edges of the bands. 5. Glue. Only not PVA. It is better to choose a kind of it that is designed to work with fabrics and has a great adhesive ability. You can use the glue "Moment". And it's even better to work with a glue gun. 6. Multi-colored thread. 7. Thin needles. 8. Tweezers or tweezers with which you will grasp the petals of future colors. 9. Decor: beads, beads, solderings, rhinestones and much more. 10. You may need a hair spray to fix the desired shape of the petal. 11. Depending on how you decide to make the product, you can stock up with elastic bands, hairpins, rims and so on.
  Next we offer your attention a simplemaster-class on making a rim with a flower in Kansas technique. To create such a product, take: a tape of satin fabric of your favorite color (width - three centimeters); usual thin hoop; candle; a large pebble or bead; strasses; scissors; glue gun). So, let's begin.
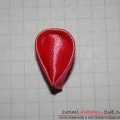
  1. First cut from the ribbon of small segments, the length of which is six to seven centimeters. Their number you determine yourself, but keep in mind that the more petals you create, the more magnificent your flower will turn out. 2. Take 1 piece and add it to two equal parts in length. 3. Next, take one cut and add it in two equal parts so that the wrong side is in the middle. We cut one edge with scissors along a diagonal line. Then clamp this edge with tweezers and process using a candle flame, so that the edges are connected to each other. 4. Put the petals face to face. The free edge located below, it is necessary to bend to the center, take a tweezers and burnt a candle. 5. By analogy we create all other petals.
 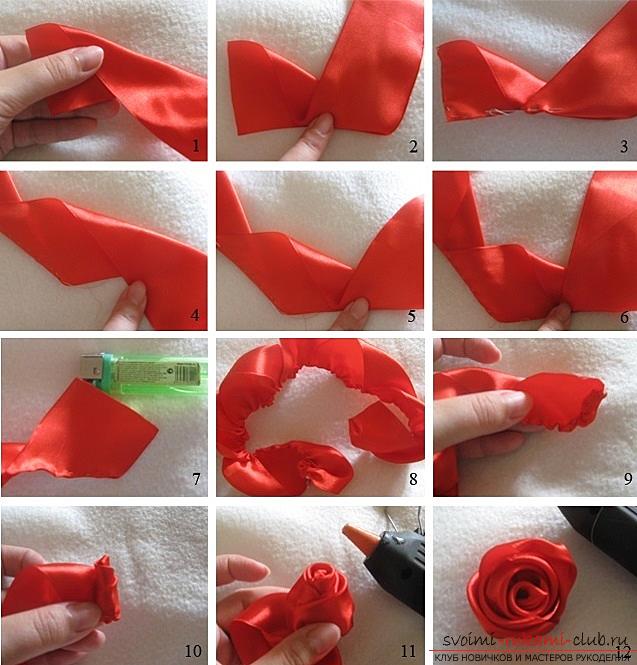 6. Then, from the tape, cut 2 or 3 circles. 7. The resulting circles must be joined together and processed by the flame of the edge, at the same time to connect these elements to each other. Put the workpiece on a smooth surface, then we will attach the petals to it. 8. Adhesive gun attach the petals in a circle to the very edge of the template. 9. When making the 2nd circle, the petals should be placed so that their tips are between the edges below them. 10. Similarly, create another final circle. In the center, most likely, the place will be gone. 11. In the center we attach a bead or a pebble. 12. The edges of the petals are decorated with rhinestones. 13. We wrap the wrap around the ribbon, and fix it with glue. 14. At the side we attach our flower. All! Our hoop with a beautiful kanzashi flower is ready!
Comments
Related posts:
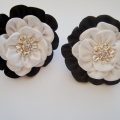 Black and white Kanzash flowers - master class and a detailed lesson with video and photo description
 Master class on knitting hats with a bow for a girl, a detailed lesson with a photo and description
 A lesson on making a flower in Kansas technique for beginners
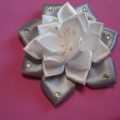
 Round Kanzas with their own hands, a lesson on creating a circular petal Kansas with a description and photo.
 A detailed lesson for beginners on the set of knitting needles for different types of loops for socks, socks, scarves and much more with detailed descriptions and photos for free.