Origami herringbone with her own hands for beginners. Simple origami for children and adults.
How to make a New Year tree with your own hands? In the New Year's bustle over this issue, lovers of crafts, teachers, children are all thinking about, for whom the New Year is a holiday that can bring warmth and heartfelt joy to the house. That is why I so want to create an original Christmas tree with my own hands, an odd thing that you can decorate a holiday. This craft is perfect for New Year holidays. Paper Christmas tree origami can decorate a festive table, a Christmas tree or simply attributed to the school or kindergarten for a contest of New Year's handicrafts. To create a Christmas tree, we need the following materials. The most important thing in this craft is to choose a colorful paper. My example is shown with plain paper, but I advise you to use the finished Christmas paper in your work or to decorate the watercolor paper with New Year's colors. Watercolor paper is very dense, it is more difficult to bend, but the effect is worth it to work. Here's an example of a colored paper for a Christmas tree. For the snow effect, you can use wax, for dark inclusions we use salt, pouring it onto a damp painted sheet. 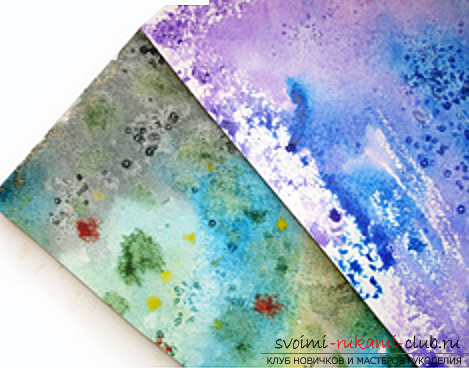 Cut out a square sheet from the workpiece and add it in all directions. Horizontally, vertically and diagonally. Expanding.
 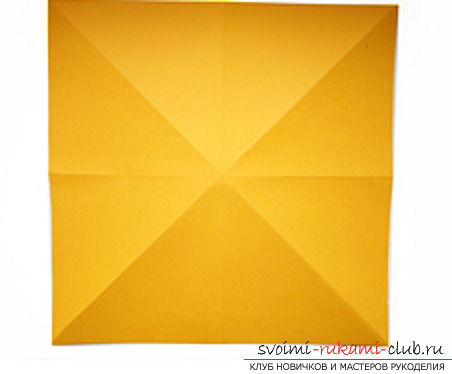 Using the finished fold lines, we add the base model of origami from the square sheet to the triangle.
 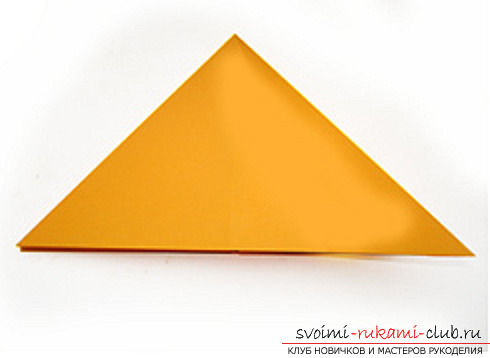 We outline the middle of the right triangle by bending the line, bending it in half, as shown in the photo. Expanding.
 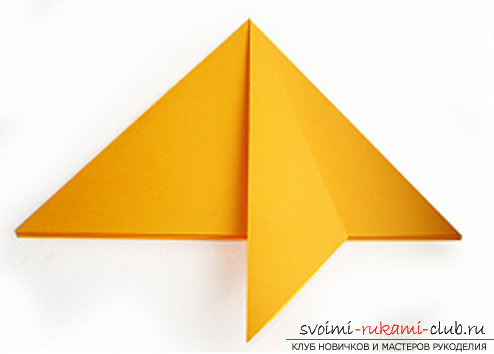 Applying the fold line, we turn (rotate the angle so that the bottom corner is in the center of our main triangle.) (See photo)
 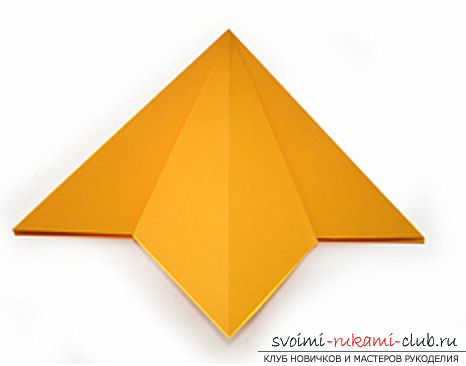 Fold the corner to the right. In this way we process all our four corners in the main triangle.
 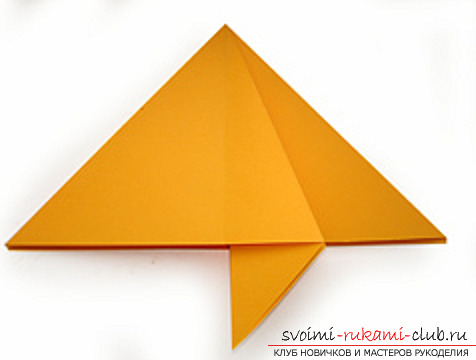 After all the folds of the corners, this is the figure.
 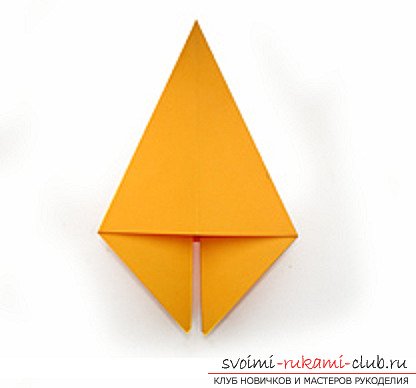 Then we need scissors. Cut the bottom of the diamond or the whole, or modeling the foot at the tree. We make three cuts on the sides. We do not perform the cuttings until the middle and parallel to the base of the future tree.
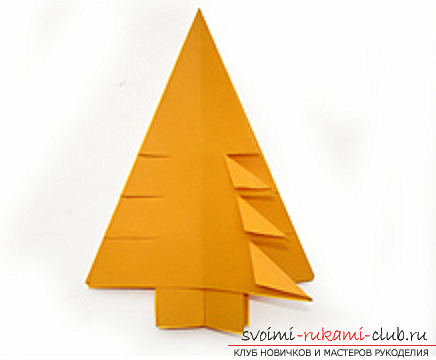
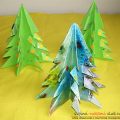
 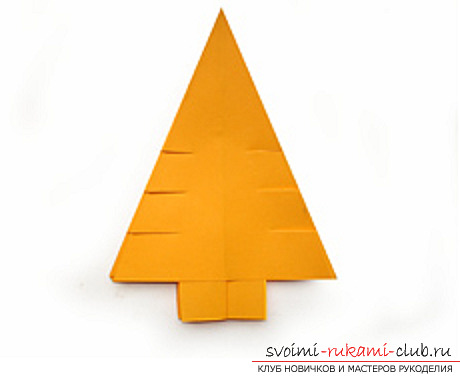 Each rectangle that turned out after the notch is bent inward diagonally, forming triangles. Be sure to perform in one direction on all the faces of the tree. Straighten the tree, which turned out and can be decorated. For decoration, you can use confetti, cut into a punch, gold hairspray, sequins and other New Year's attributes.
Comments
Related posts:
 This detailed master-class origami for children of 8 years will teach how to make an origami snake made of paper.
 New Year origami. Origami-Christmas tree with your own hands and for free.
 Summer hats for children and adults, connected with their own hands crochet with diagrams, descriptions and photos.
 Family tree with their hands in the technique of quilling with step-by-step photos and a detailed master class for children and adults
 How to create your own handicraft in origami technique for children aged 9 years.