The original knitting pattern knitting sweater without seams. A simple master class with a step-by-step photo.
Rukodelnitsy, I offer to your attention myanother creation - a sweater with knitting needles "Knitted Geometry". All the charm of this model is that it fits together without detachment of the thread from the part, and you do not have to, then take a needle and staple everything. It sounds, of course, scary and confusing, but in reality everything is simple. It is only necessary to take the knitting needles in hand, pick up a thread from which you want to knit and begin to create, following the description given below. Let's start. 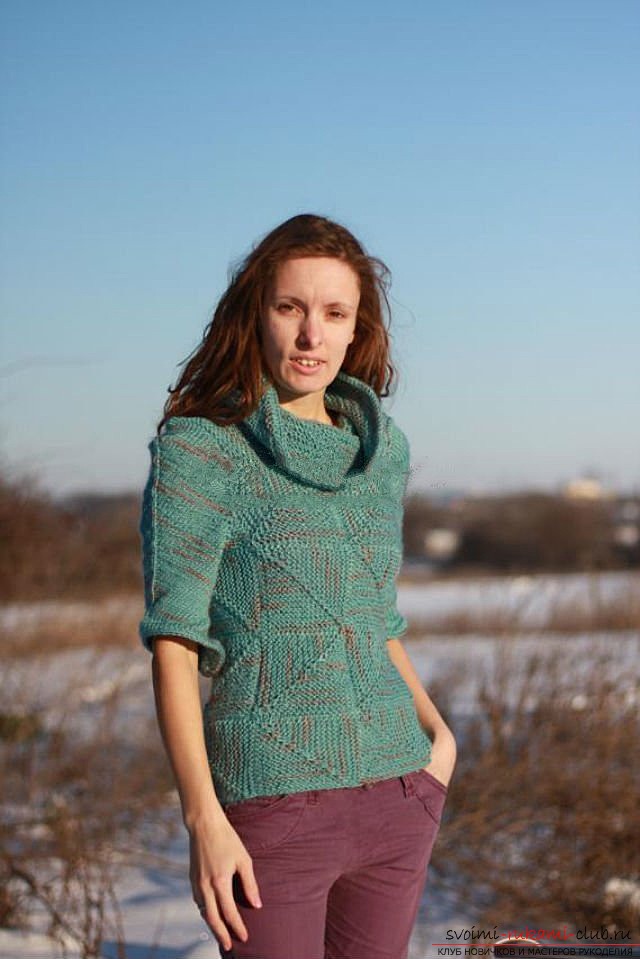 Threads for knitting sweaters I used the firm Nako Sirma, and circular knitting needles No. 3.
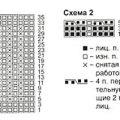
  In the process of the product, several types of knitting will be used:
- Garter stitching (all rows are knitted with facial loops)
- Facial smoothness (on the front side - facial loops, on the purl - purl)
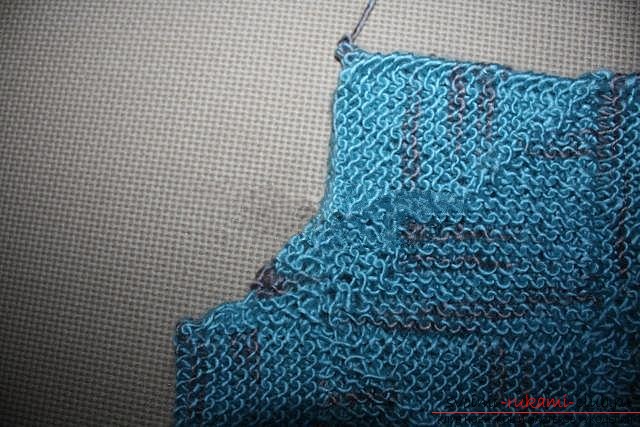
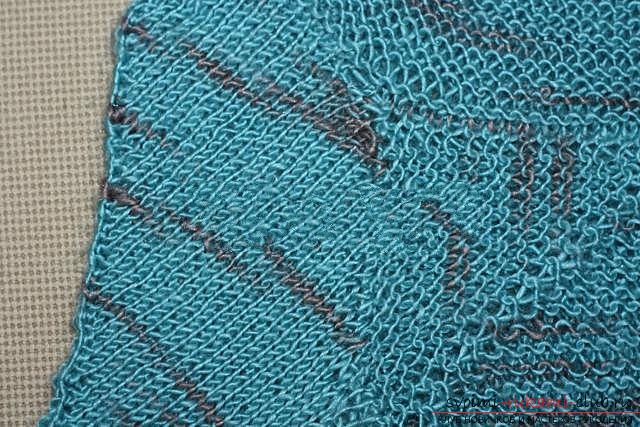
Knitting this sweater is modular, i.e. start with one square, then we tie it to the next one and so on until the whole product is ready. Below is a description of the square, all the others will be knitted similarly to the first. On the spokes we type 37 loops. 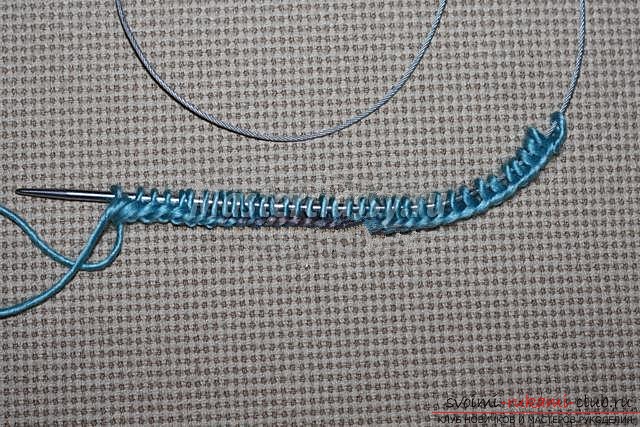 1 row. We knit 17 facial loops (the first one always, like the edge, we remove without tying), then we need to tie 3 loops together, and the middle one should be on top. To do this, you need to remove the first two loops in places and put them back on the spoke, then changing places (in reverse order), i.e. we, as it were, twist 2 loops among ourselves, after which we tie 3 loops together facing. The remaining 17 loops are also knit with facial.
 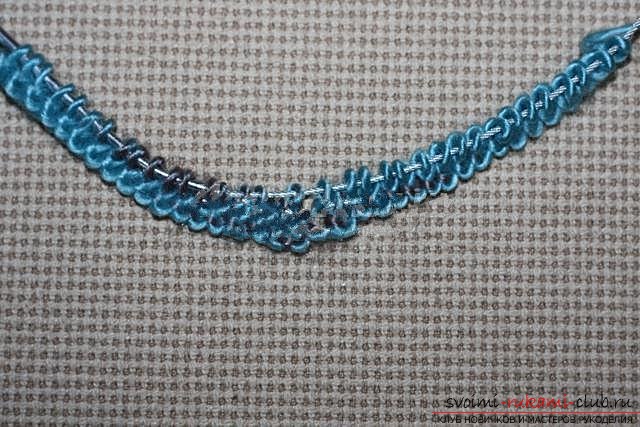 I want to draw your attention to the fact that in this modelknitting squares the last loop in each row is always tied with the front, contrary to the accepted custom to do it with a purl loop. We do this in order to get a "knotted" edge of the canvas. 2 row. The next row is knitted simply by facial loops. 3 row. We knit 16 facial loops, 3 loops together (as in the first row), 16 facial loops.
 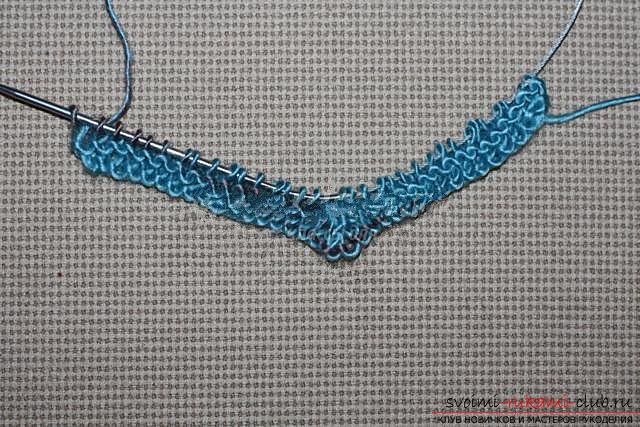 4 row. We knit just facial loops. 6 row. 15 facial loops, 3 loops together, 15 facial loops.
 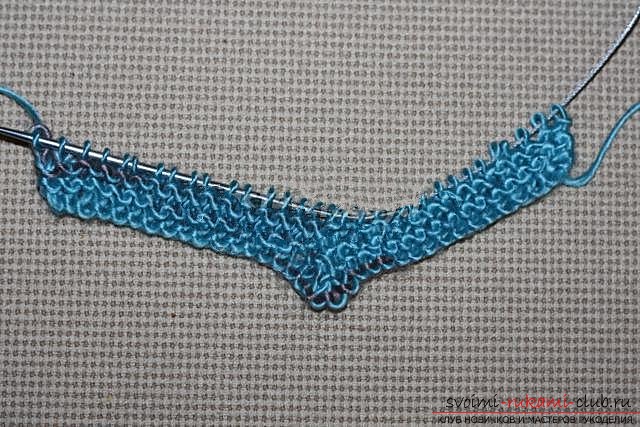 7 row. All hinges are facial. 8 row. 14 facial loops, 3 loops together, 14 facial loops.
 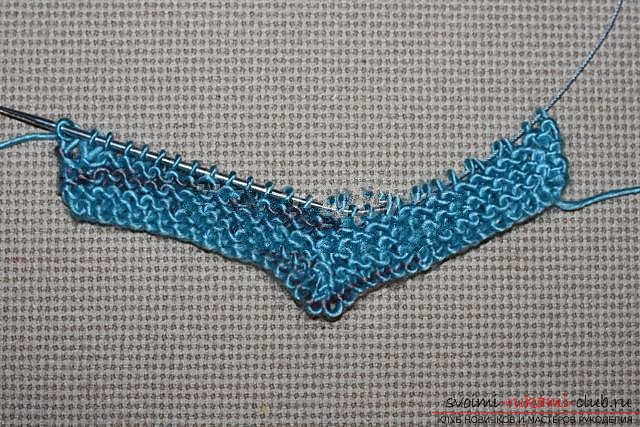 9 row. All hinges are facial. 10 row. 13 facial loops, 3 loops together, 13 facial loops.
 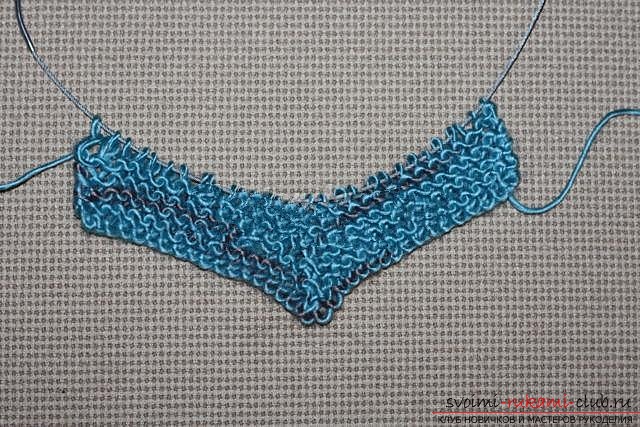 11 row. All hinges are facial. 12 row. 12 facial loops, 3 loops together, 12 facial loops.
 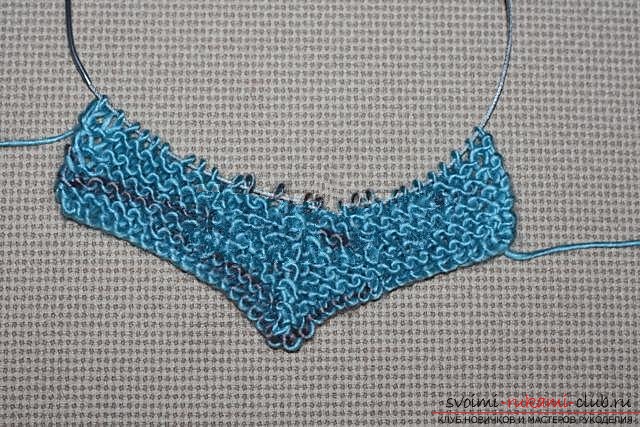 13 row. All hinges are facial. 14 row. 11 facial loops, 3 loops together, 11 facial loops.
 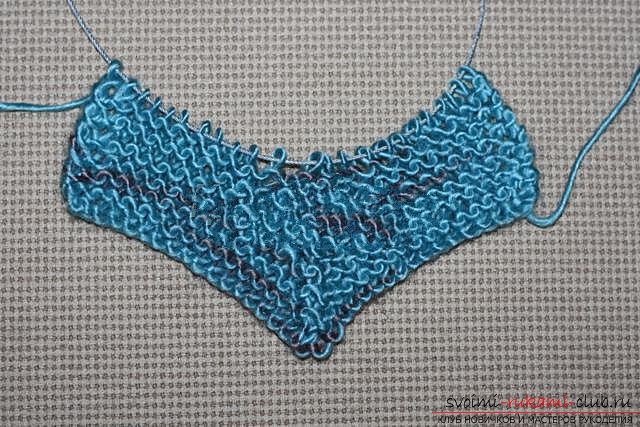 15 row. All hinges are facial. 16 row. 10 facial loops, 3 loops together, 10 facial loops.
 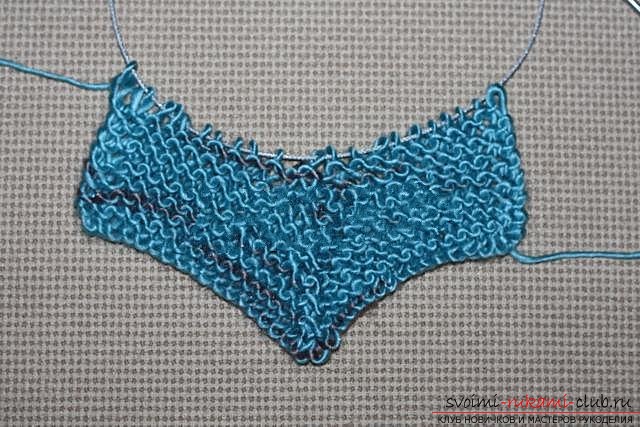 17 row. All hinges are facial. 18 row. 9 facial loops, 3 loops together, 9 facial loops.
 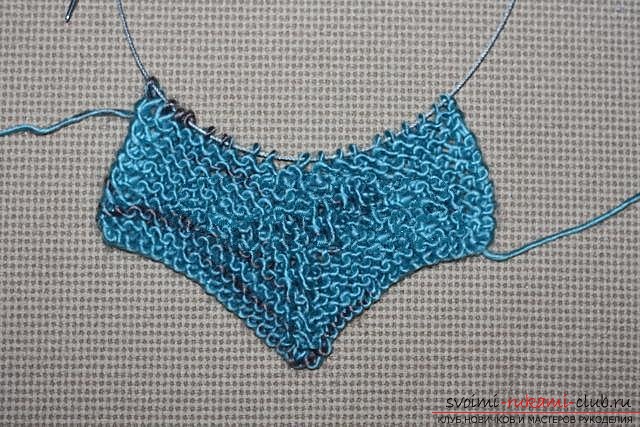 19 row. All hinges are facial. 20 row. 8 facial loops, 3 loops together, 8 facial loops.
 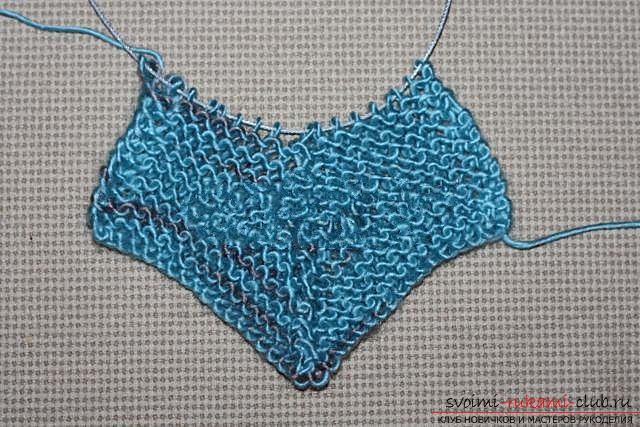 21 row. All hinges are facial. 22 row. 7 facial loops, 3 loops together, 7 facial loops.
 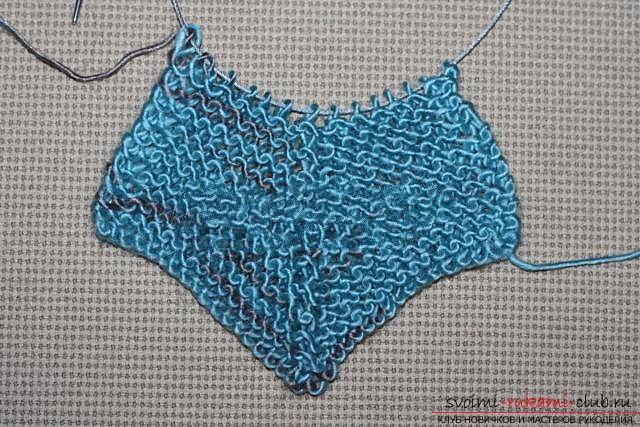 23 row. All hinges are facial. 24 row. 6 facial loops, 3 loops together, 6 facial loops.
 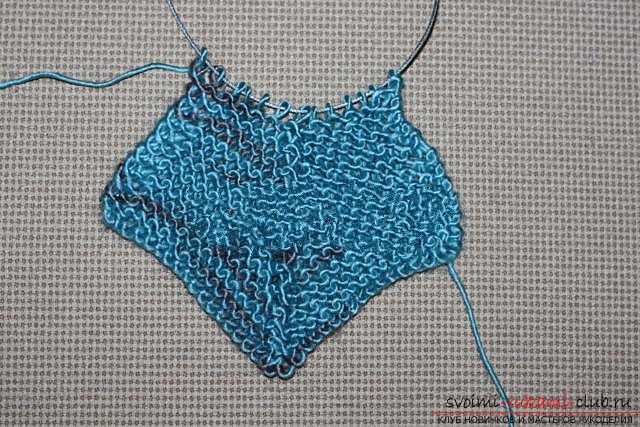 25 row. All hinges are facial. 26 row. 5 facial loops, 3 loops together, 5 facial loops.
 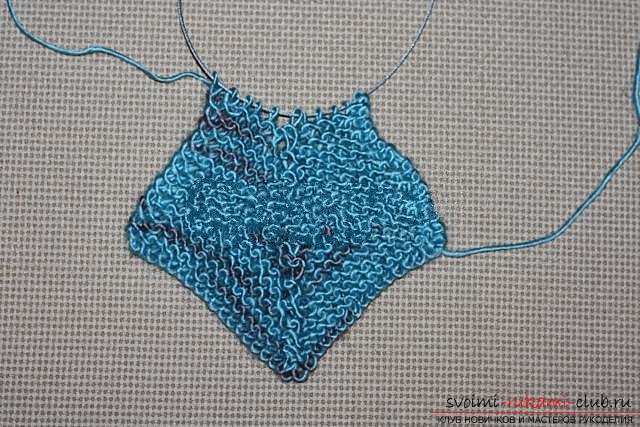 27 row. All hinges are facial. 28 row. 4 facial loops, 3 loops together, 4 facial loops.
 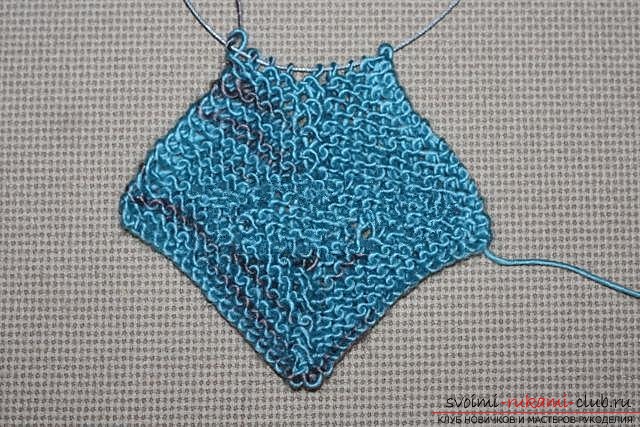 29 row. All hinges are facial. 30 row. 3 facial loops, 3 loops together, 3 facial loops.
  31 row. All hinges are facial. 32 row. 2 facial loops, 3 loops together, 2 loops together.
  33 row. All hinges are facial. 34 row. 1 face loop, 3 loops together, 1 facial loop.
 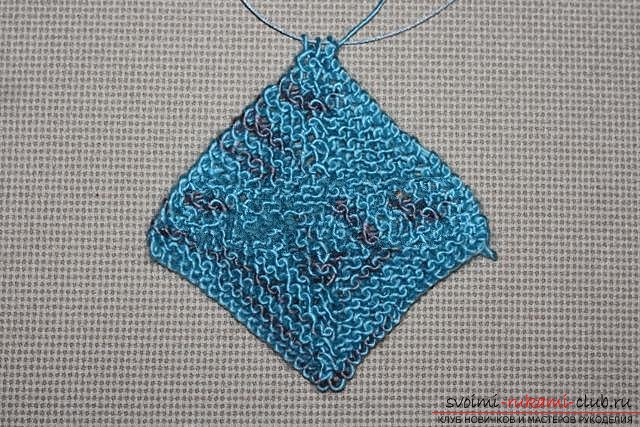 35 row. All hinges are facial. 36 row. 3 loops together.
 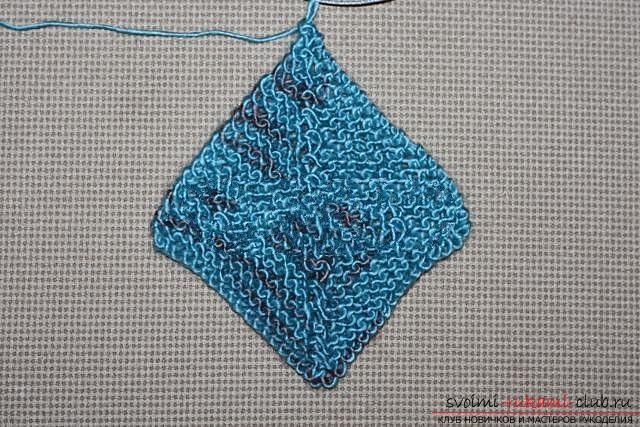 So we have the first square ready. Next, along the edge of our square, we collect 17 loops.
 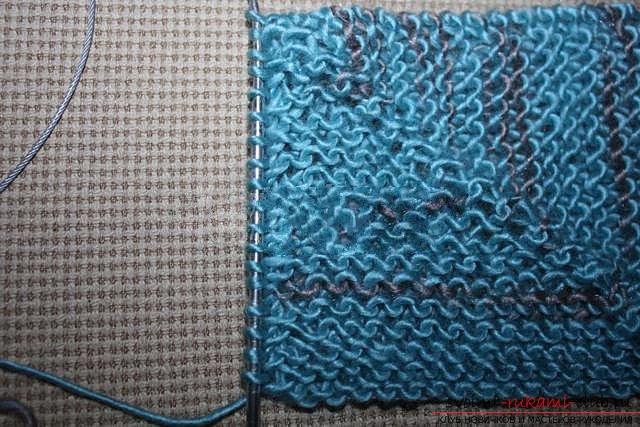 Donate the remaining 19 loops on the spoke so that it is 37, and knit the next square.
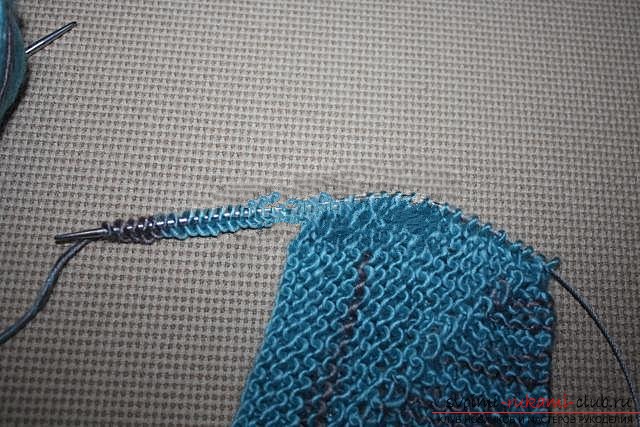
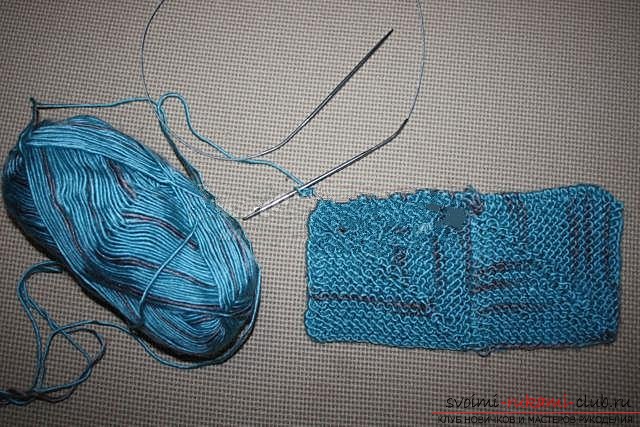 So for the first row we need 6 squares, inThe time of untying the last 6 squares is tied to the first. To do this, you need to tie the last loop in each second row, grabbing the extreme loop of the first square in the corresponding row. So the first row is ready for us.
 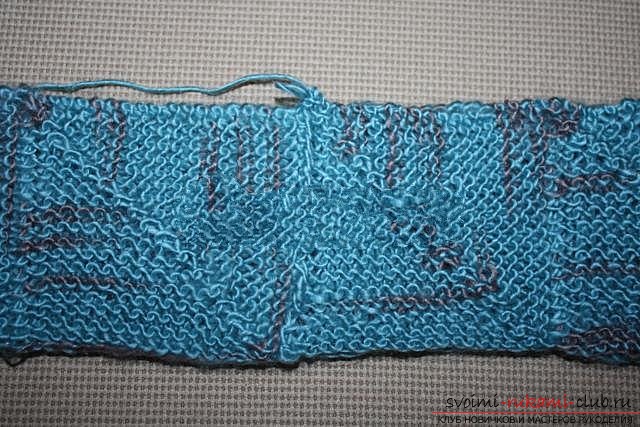 The remaining 2 rows are knitted similarly to the first. We collect loops along the edge of the near square (take into account, in which direction do you choose the bottom box, in that direction the diagonal strip on the next square will go) 17 loops, the remaining 19 loops are donated from the working thread.
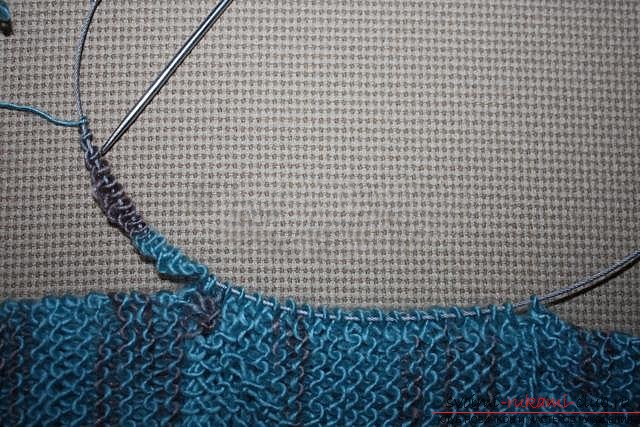
 We knit the first square of the second row similarly to all previous squares.
 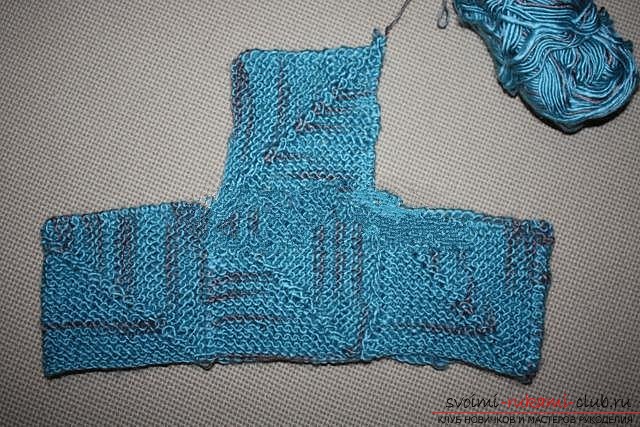 In order to connect the next square 17 loops we collect on the edge of the just bound square, and the remaining 19 on the bottom corresponding square.
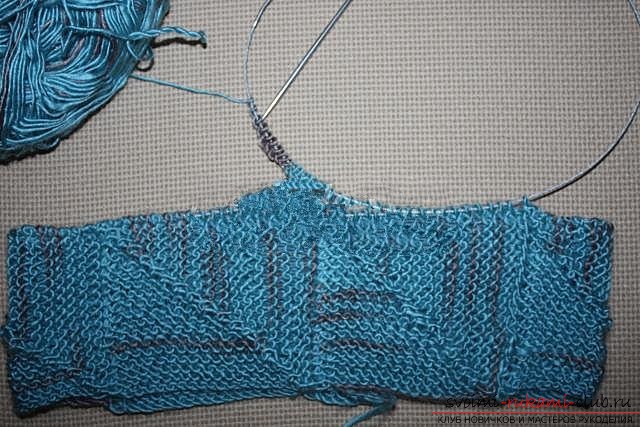
 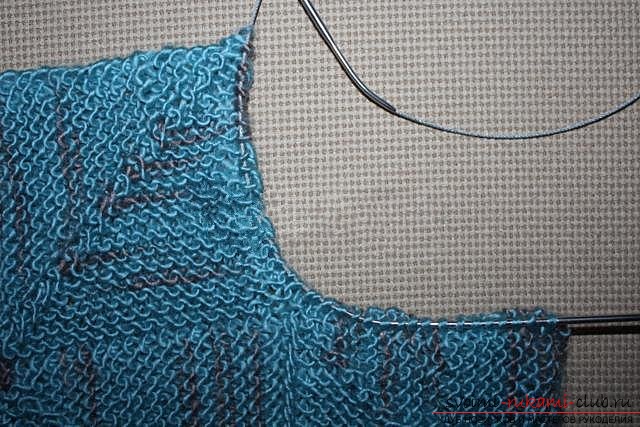 Further we continue to knit on the same principle allthe rest of our squares, until we get three rows. In the fourth row, you need to link the 2 front squares and cut the thread, skip one lower square and, on the basis of 4 and 5 squares from the 3 rows, associate 2 more squares of 4 rows. As a result, we get 2 squares, one skip and 2 more squares. Thus, we unbind the armholes for the sleeves. But they turn out to be too square, so you need to tie up small triangles in the corners.
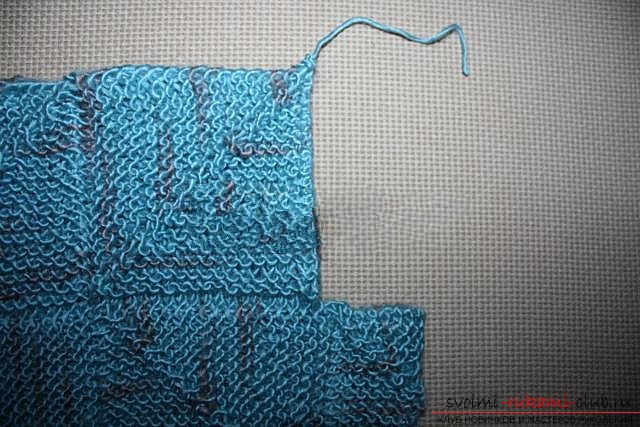
 This is done in this way: on the lower edge we type 6 loops and we sew them with facial, in the next row the last two loops knit together the front one, and so in each row 2 the last loops are tied together by the facial and we climb along the wall of the side square until the loop ends. These triangles need to be connected 4 pieces - 2 on the front side and two on the back. That's all, the main detail is ready, it's up to the little thing, the sleeves and neck of the sweater! Sleeve On the needles we type 30 loops. 1 row all the loops are wrong, at the end of the row make an addition (from one loop of the lower row, tie 2). 2 row all the front loops at the end of the row do the addition and the last loop is tyed, capturing the top loop of the square to which our sleeve joins.
  3 rows all purl loops, last looptied to the edge of the rear square. Since the product we have without seams, then we bind all the parts to each other in the process of knitting. That's how we put the beginning of our sleeve to the right front and back square of the main part. We continue to knit the facial rows in the same way with facial loops, the purl loops with the wrong loops and go down the armhole arm until we reach the end of the armhole.
 Next, connect all the loops in a ring, gofor convenience on the stocking knitting needles of the right size and knit the sleeve in a circle, now all the time with facial loops, adding in each second row 2 loops at the place where we put the sleeve in a circle (from one lower loop we sew 2 and from the next lower loop we sew 2). In the same time, for the pigtail in the middle of the sleeve in every 2 rows starting from the 7th row, we sew 3 loops together, in the same way as we did in our squares.
 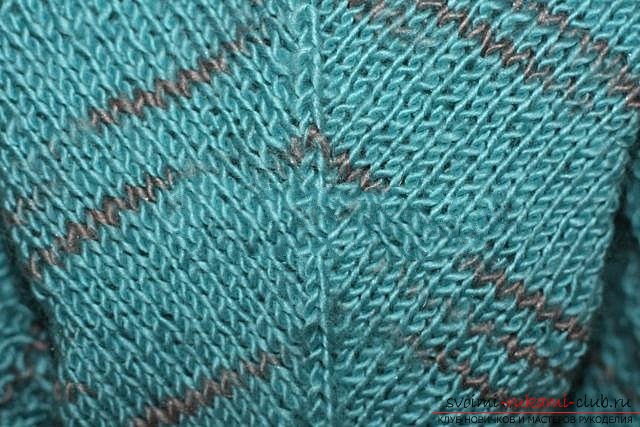 We knit the sleeve that we need and are at the end of 1 cmhollow elastic band. This is done as follows: 1 row: after each loop we make a cap, thus increasing the number of loops by half. 2nd row: we sew each facial loop with the front loop, but we remove the nacs on the spoke, without tying, while the working thread is held in front of them. 3 rd: all nakidy we sew by purl, and we remove the facial loops, without tying, while leaving the working thread behind the face loops. Repeat 2 and 3 rows 2 times. Thus, we divided our cloth into two, making it hollow inside. Close all the hinges, tying together not as usual 2 together, but three loops together.
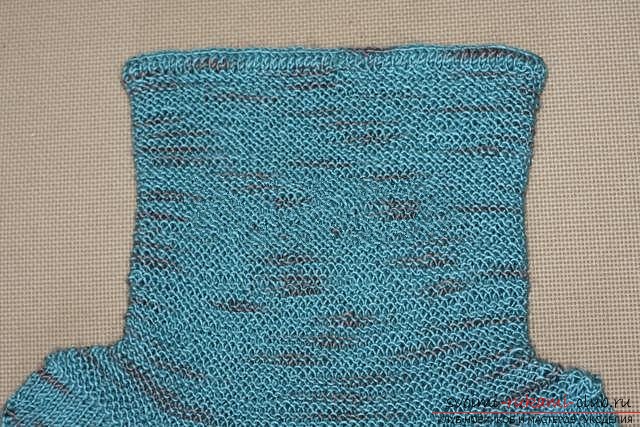
 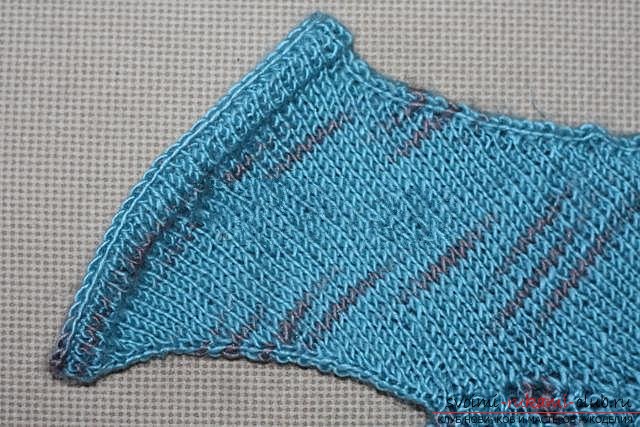 The second sleeve is similar. The neck At the edge of the product we collect loops from one one and knit on circular or stocking knitting needles (as it will be more convenient for you) all the time round a series of front rows of the back loops. Starting from the 2nd row on the right and left side of the neck, opposite the reduction on the sleeves, we make the reduction by tying 3 loops together in the same way as in the squares. Decrease in every second row 7 times. We knit the neck of the sweater we need the length and finish with a hollow elastic band, just like it did on the sleeves. That's all! Cheers, sweater with knitting needles "Knitted geometry" is ready. It remains to prune all the strings, conduct a wet-heat treatment (wash or steam, depending on the yarn chosen by you) and you can go to flaunt!
Comments
Related posts:
 Knitting with knitting needles of a beautiful knitted sweater female Whirlwind. Diagram with photo for beginners
 A simple knitting pattern of socks with five knitting needles. Simple and free workshop
 Knitting with knitting needles sweater with a pattern for the boy. Diagram with photo and description for beginners
 Knitting pattern with knitting needles of a women's sweater with a coquette of braid. Detailed description with photo for beginners
 Knitting pattern knitting sweater with a pearl pattern. Detailed description with photo for beginners