Original postcards for popular cross-stitch patterns for free, cross-stitch embroidery schemes
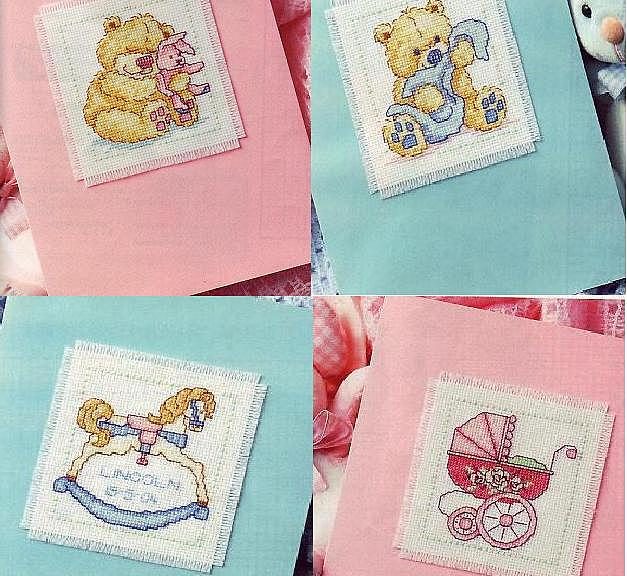
We embroider the original greetingpostcards Original postcards, which are presented without special occasion, can become a real surprise, and embroidered post cards will be doubly pleasant. 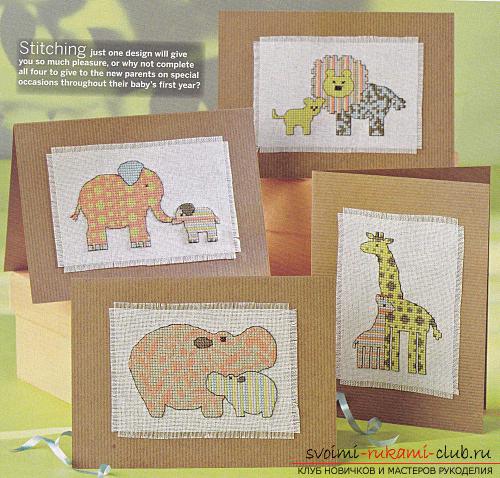 In order to create such a postcard, youneed: a canvas of white or light shade (for example, Aida); needle for embroidery; embroidery scheme, which you print in color or make it a photocopy; mulina different shades (adhering to the color scheme in the proposed scheme); dense thin multi-colored cardboard; glue; a marker or a pencil to apply the marking lines to the base; embroidery frame; Scissors or a stationery knife with two types of blades (straight and curly shape). Embroider such small animals, which are placed on postcards, quite simply and very quickly. All schemes have a bright appearance and are quite simple in terms of implementation. To engage your children with something exciting, we suggest that they be involved in the process of making our creative cards. To facilitate the work of children, you can choose for them a base with large cells, so that children do not spoil their eyesight. For the same purpose, we recommend using a special marker or a simple soft pencil to make on the canvas a special marking of cells (ten to ten in size). Then put the canvas in the small hoop.
 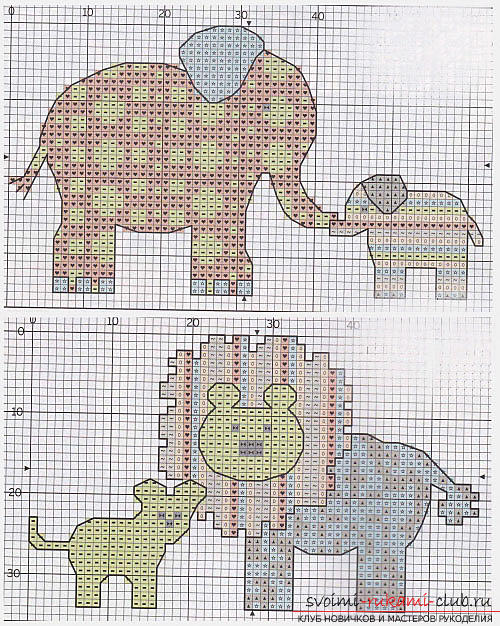 Using the color key to the proposedscheme, you must select all the necessary shades of floss-thread. Follow the diagram shown, embroider the whole main pattern with a cross. In the end, in order for your product to acquire a neat, attractive appearance, it is necessary to pass through the seam "back needle" all the lines and contours, as required by the scheme. We remove the improved embroidery from the embroidery frame. Then you need to delete the markup. Then we erase the embroidery in cold water with soap. And after the sheet dries, you need to cut out the embroidered pattern with scissors, while making an indentation from the edge by one or two centimeters.
 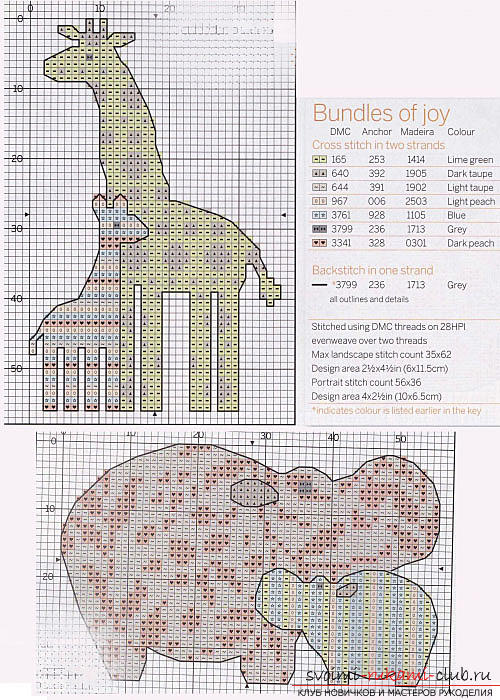 Now take a thin cardboard of any, except white,shade, and make a blank for our future postcard. After you make a cut, you need to bend it twice. At the edges of the postcard can, at your discretion, processed with a figured blade or scissors. From the front of our postcard, you need to attach the embroidery made, and then put the points along its corners (or outline the contour with a simple pencil). Next, remove our embroidery, and on its edge, apply glue with a thin layer. At the end, we paste the embroidery on the base of the cardboard in the place where the marking was previously made.
 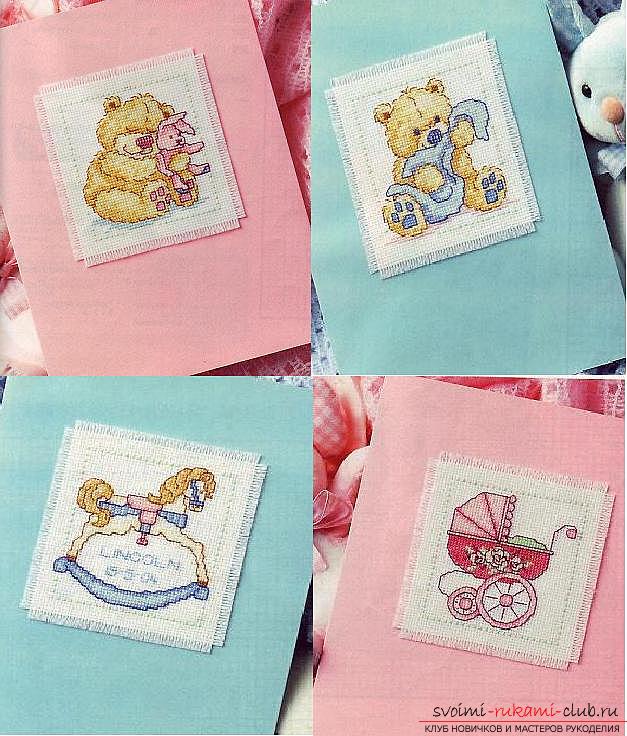 All! Our original postcard with cross-stitched embroidery is ready!
Comments
Related posts:
 Cross-stitching lessons for beginners for free, cross stitch patterns, free embroidery schemes
 We learn how to cross-stitch towels for beginners for free, schemes of cross-stitch embroidery, free schemes of embroidering towels
 Cross-stitch embroidery designs for embroideries, cross-stitch embroidery on roses, free cross-stitch patterns for embroideries, a masterclass for embroidering pillows with roses according to the scheme
 Interesting schemes of black and white cross-stitch embroidery, tips for beginners on black and white embroidery, black and white embroidery schemes for free.
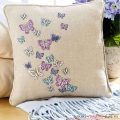 Cross-stitch embroidery designs for embroideries, butterfly embroidery, free cross-stitch patterns for embroideries, a master-class for embroidering pillows according to the scheme