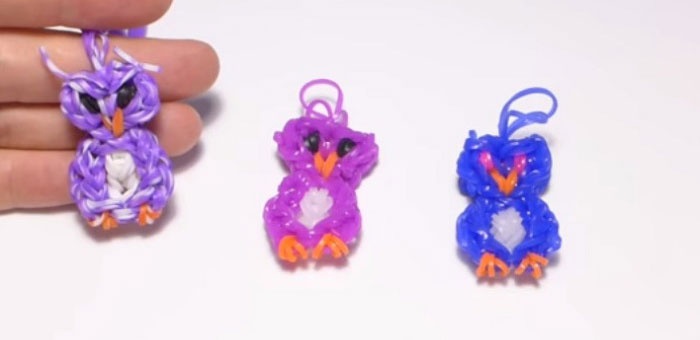
Owl made of rubber bands: photo and video master-class of weaving
Content
- Owl made of rubber bands on the machine
- Owl on the mini-machine - how to weave
- Video: How to weave a figurine of an owl
In recent years, an increasing number of children andAdults are fond of weaving of rubber, so-called irises. Of these, you can do almost anything. Especially popular are small figures - trinkets, for example, an owl made of rubber bands. A huge number of video lessons and master classes in detail tell everyone how to weave it. It will not be superfluous for us to dwell on this topic.


Owl made of rubber bands on the machine
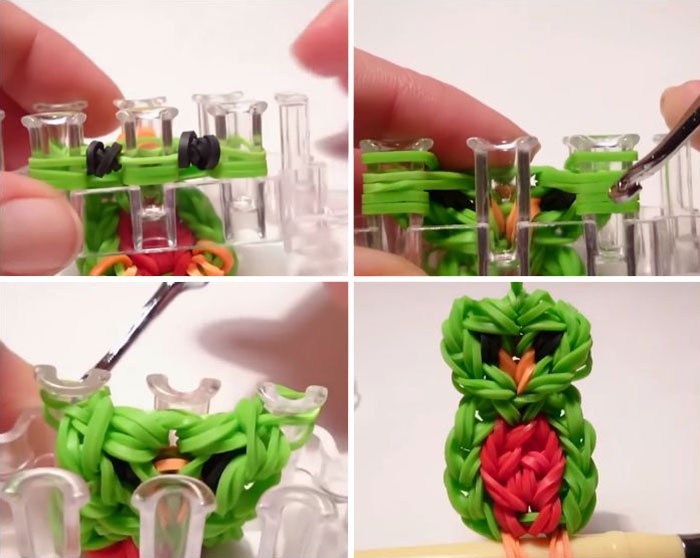
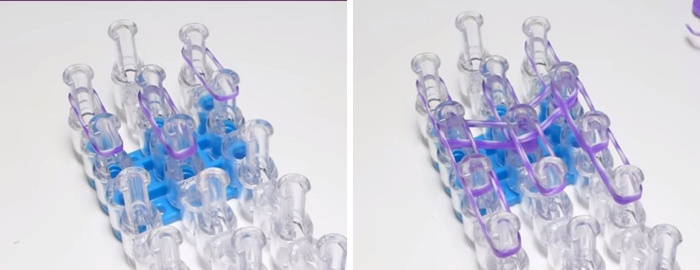
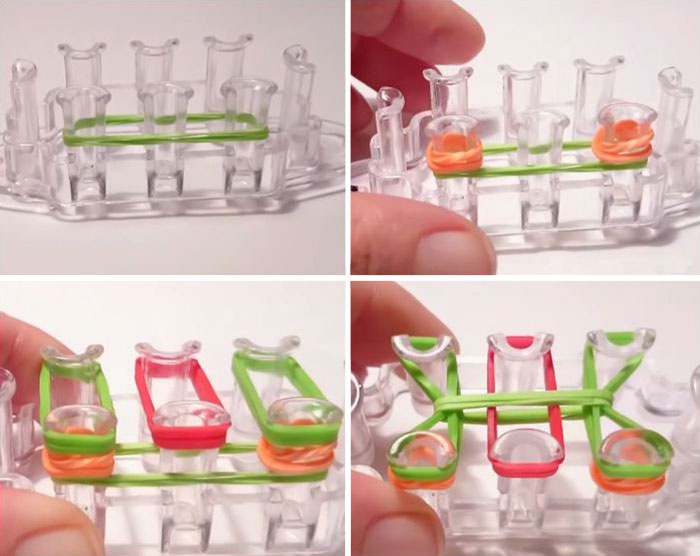
In this master class,To weave an owl of rubber bands on the machine. The machine should be installed so that the slots in the pegs are turned towards you, and the central row is slightly pushed out from you. Now you need to put on the rubber (you need different colors for the body, tummy, legs, beak, peephole and body):
- In the extreme rows - one at the first and second column;
- On the average - two on the second and third pin;
- Diagonally clings to a pair of elastics on the second column of the extreme rows and a third of the middle;
- Next, the pairs cling to the extreme rows of two, to the central one.
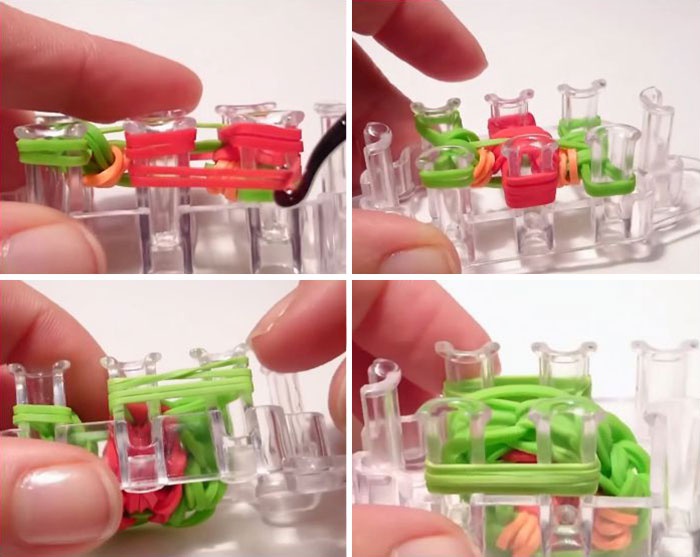
To form a beak, in the continuation of the middle row hang an orange ring. As the end of the head and shoulders - 4 pairs cross on the cross as in the picture.
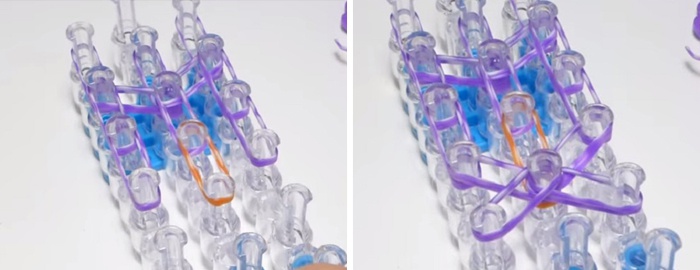
For the tummy of an owl on the middle row, hook 4Iris. On the sides should hang on three pairs. Twisting the two orange rubber bands four times, make the paws, and put them on the machine. On the last columns hang curled in three turns.
Now we need to make eyes. For this, turn the black 4 times, throw a triangle and throw down his eyes.

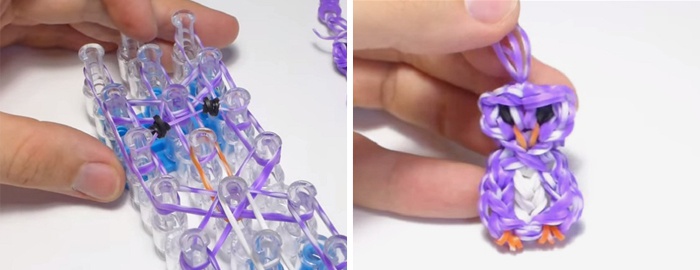
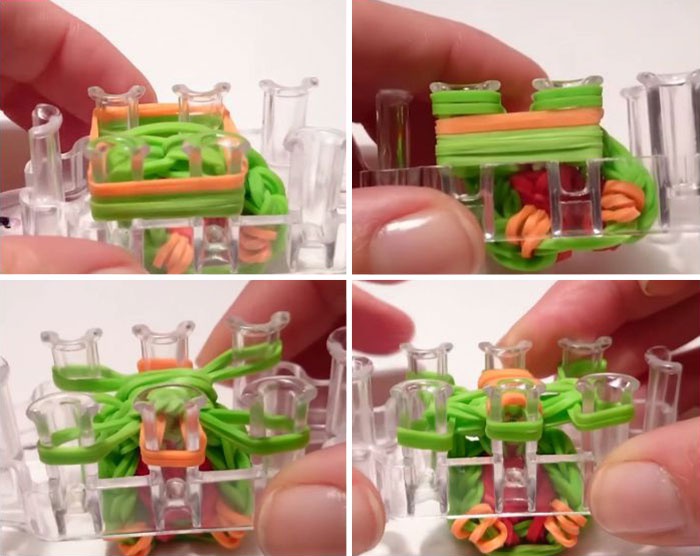
It remains to weave the figure. You should start from the edge close to you. Through the hole in the column, the lower elastic is grabbed, stretched and transferred to the front standing. So you need to weave the entire figure, make a loop and take off the figure. Straighten neatly weaving. The new beautiful keychain is ready!
Owl on the mini-machine - how to weave
On the Internet, a lot of videos on how to weave onMini-owl machine. They are sufficiently detailed and intended for those who are just beginning to master this kind of needlework. Those who already know a little about how to weave a figure, it is often more convenient to use a detailed master class. It clearly shows in the photo how to make such a key chain. In this case, there is no need to watch the video several times, rewind it to the places that cause questions.
Now you can start working. To weave an owl, first on the three nearest bars should put on the rubber band of the primary color. At the extreme pins, fold the irises curled into 3 turns for the feet.
Connect the pairs of columns that are located on the left and right, a pair of the main color. In the center hang a pair for the tummy. Reset the elastic band that was worn the very first, as well as the feet from the columns.
Throw out the body gum on the 3 front, right on the front and back pin. The first iris should be thrown off the right column, and the lower layer should also be thrown off.

Girdles of tummy to stretch and throw on the right columns. Replace the horizontal ring. To put on the right and in the center of a pair of belly, to the left - of a body.
From the front posts and all the lower ones to throw off. Forming tummy rings to return to the center.
Double repeat the layering sequence.
Now you can weave your head. To do this, first put on the iris of the color of the body. Throw off the horizontal and all the bottom ones. Now you need to hook all the rubber bands for the right and center pins.
Put a three-folded ring for the beak. Upward is the iris of the primary color. Lower the base color to reset, the remaining distribute between the three pegs.
Throw one rubber band horizontally and two on eachOther columns. Lower to throw off. Make eyes by folding four times. Throw the main color - two on the edges, four - in the center. Discard the gum with the eyes and the bottom.
It remains to distribute the rubber bands between the two extreme pins, strung on the right and left, drop the lower ones. The owl is ready.
To simplify the work on the key fob, we publish a video, which is often required for beginners. It describes in sufficient detail how an owl of rubber bands on a mini-machine is trudging.
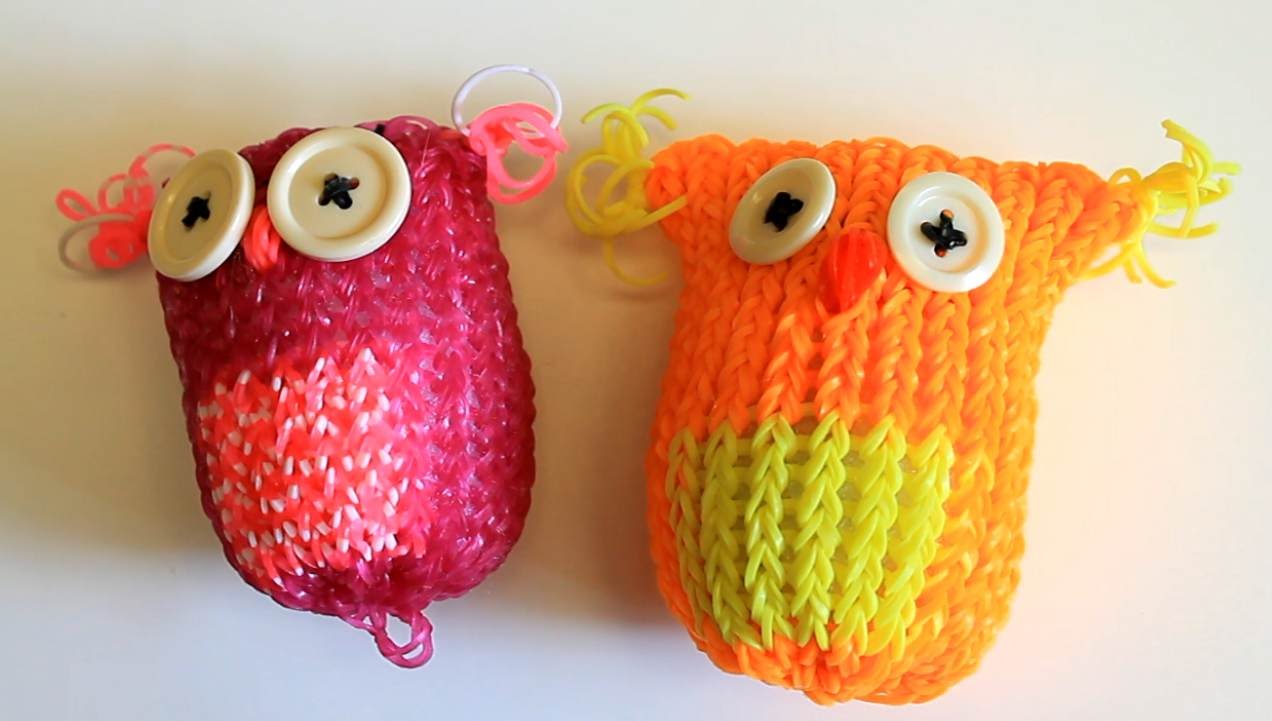
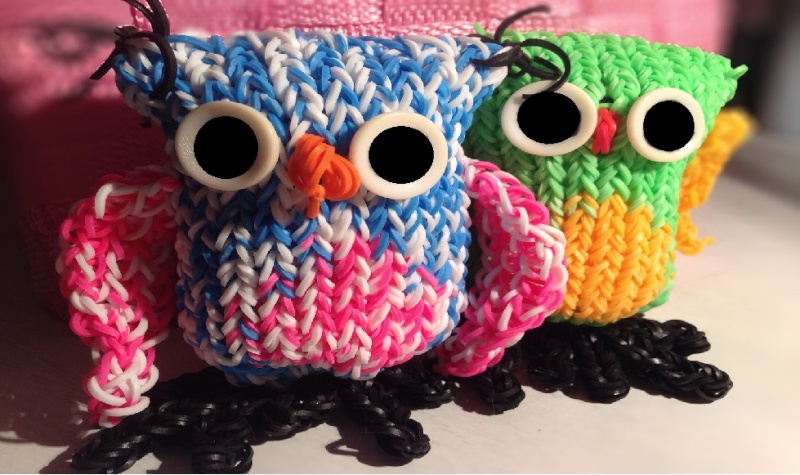
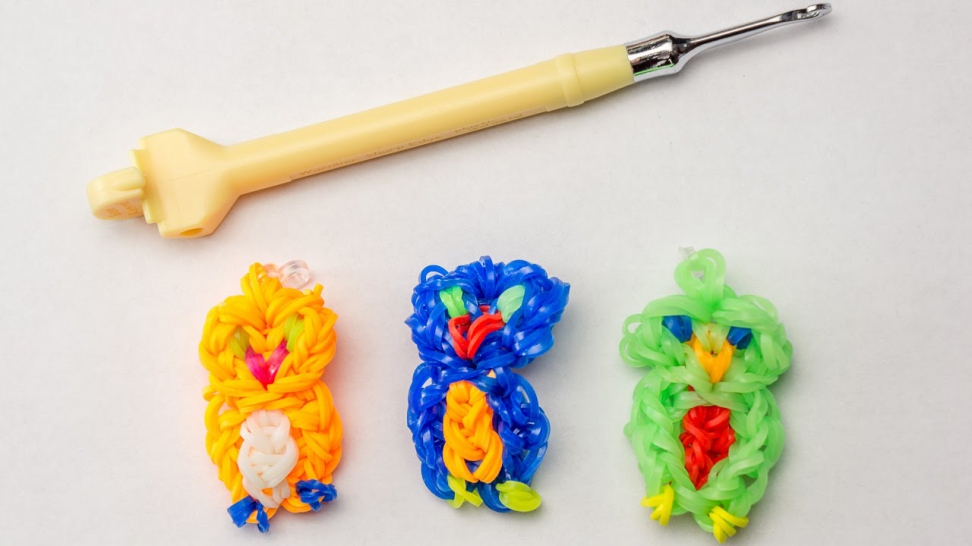
Thus, weave an owl under the power of anyBeginning to the needlewoman. The main thing is to be patient. Videos and fairly detailed master classes will help you understand all the nuances of the work. Once a simple figure is mastered, you can try to complicate the charms from the iris. For example, weave a bird with wings.
When working with iris, you should be careful,So as not to break the rubber bands. When the work is removed from the machine, you need to carefully spread it. Many advise to pull the figure with a wire. This allows you to ensure that the key fob will not open. To make the owl easier to hang on the keys or bag, you can add it with a carbine.
Video: How to weave a figurine of an owl
Comments
Related posts:
 Video and photo workshop netting fish from the gums
How to weave a purse made of rubber bands: master class (photo and video)
Video and photo workshop netting fish from the gums
How to weave a purse made of rubber bands: master class (photo and video)
 Photo and video master-class on weaving turtle from rubber bands
 Detailed photo and video lesson of weaving dogs from rubber bands
 Anthurium from beads master class and weave scheme (photo)