Drawing with a chicken child will be easy if you use the step-by-step technique of drawing
Drawing with a chicken child in stages isa vivid example of a simple drawing that the kid will surely like, carry him away, and, at the same time, and teach him how to apply the knowledge obtained in subsequent drawings. At the first stage, of course, he will need your help, but, in consequence, he himself will happily put on the image images. The process is not complicated and suitable for any age category. Drawing lesson is the best and most desired entertainment for a child at any age. The main thing is to support his interest in creativity and at first to help the kid in his creative impulse. To teach you how to draw a child, you do not need much effort. Even if you do not have special abilities for this kind of creativity, do not be scared. Lessons in gradual drawing for children will contribute to the development of skills. And, who knows, maybe a kid will wake up a talent. The main thing is to start with simple images, gradually moving to more complex ones. Today we will paint a beautiful chicken. Drawing with a chicken child in stages will not take much time and will not require special efforts. Everything is simple enough. The creative process consists of only seven stages. As a result of our work, we get these kinds of fuzzy ones, like in the photo.  Initially, you will draw a contour of thisyellow miracle, which we make light brown. Then we turn to the decoration. So, let's get started. Step One We need to draw a circle that will become the trunk of the chicken.
 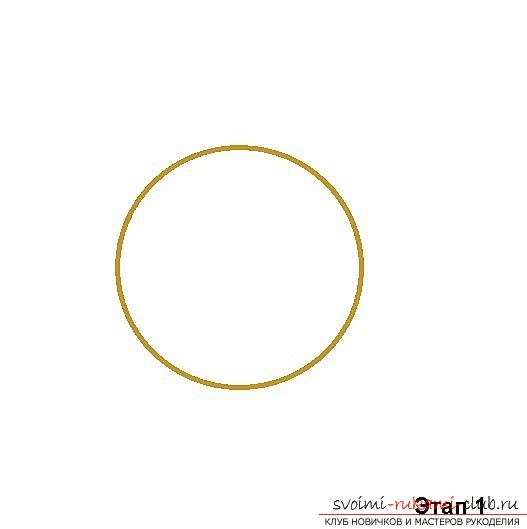 Step TwoA smaller bird is the head of a small bird. The picture below shows how it should be drawn, in relation to the previous simple figure (circles are superimposed one on another).
 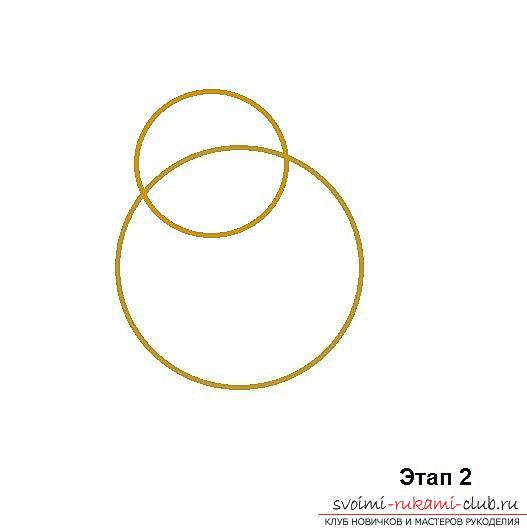 Step Three At this point, we need an eraser, with which, we will remove the line of intersection of the two separate figures. Thus, we get a holistic outline of the future chicken.
 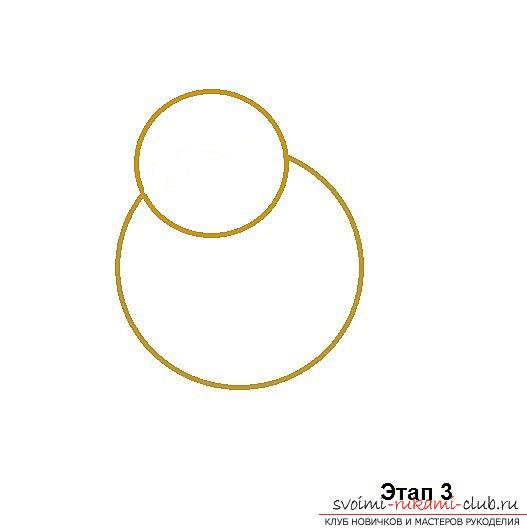 Step Four Draw two small circles on the head of the chick (see picture) - these are the eyes.
 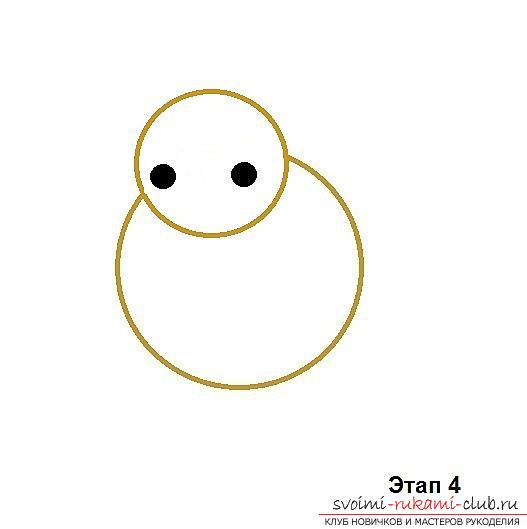 Step Five Now let's make the chicken a chicken. To do this, we need to draw a small irregular rectangle, such as we see in the picture of the picture. Drawing it is absolutely not difficult with the help of small simple lines.
 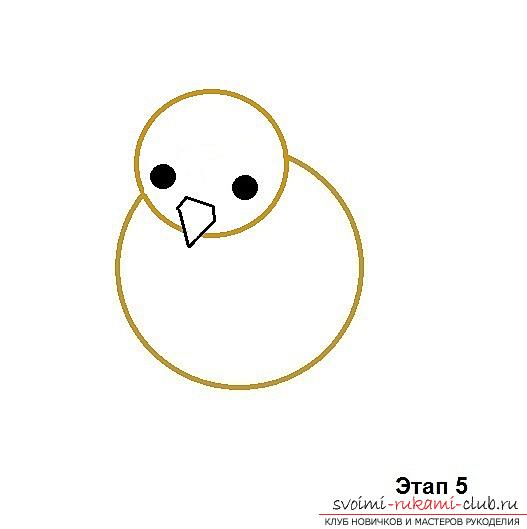 Step Six Go to the drawing of the feet. In the figure we see what form they should be and what to draw them easily enough. Draw out the outlines in a light brown pencil.
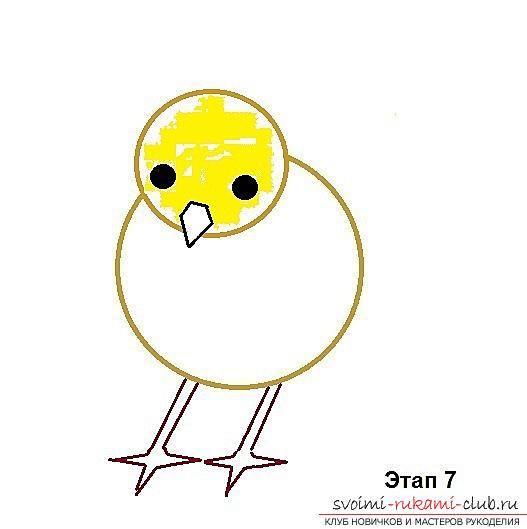
  Step Seven This stage of the chicken imageis final. We proceed to paint the resulting picture. We will decorate the chicken itself in yellow, and the beak and legs - in light brown. By a few simple steps we getbeautiful pattern. It took very little time to complete it, but the child can not like this lesson either. To fix the experience gained in drawing a chick, ask the young artist to draw a few more of these fuzzy, using all the same technique. As a rule, kids are happy to respond to such a proposal, especially if there are mom or dad nearby, who at any moment can help him in the work.
Comments
Related posts:
 Drawing a kangaroo is easy even for a child, if you use the technique of step-by-step drawing
 Traditional and non-traditional techniques of children's drawing will help teach children to draw
 A detailed lesson of drawing a sea wave will help you learn how to draw constantly moving objects
 Crocheting will help create a beautiful desktop lampshade with your own hands, if you use our detailed master class.
 Teach children in the preparatory group to draw help using non-traditional drawing